Evening all
Well, Boxing Day come and gone. A bloody awful night of TV in UK, so relented to eyes on the Live Footie (my Team Leicester playing against a seriously good side of Liverpool, and 0 - 1 down).
A lovely quiet day of just me and Mrs DW. Whilst Mrs DW spent the morning wrapped up in super warm Duck-Down quilt, it was time for me to venture down to the M/C for some Boxing Day fun with the 1/35, Takom, M60A1

.
First things first, after assembling the "Saddam" Wall, and priming it the other day, and giving it 48hrs to dry, it was time to lay down shades of Brown

.
I went with five colours from the Tamiya XF range, and a little Vallejo Airbrush Flow Improver

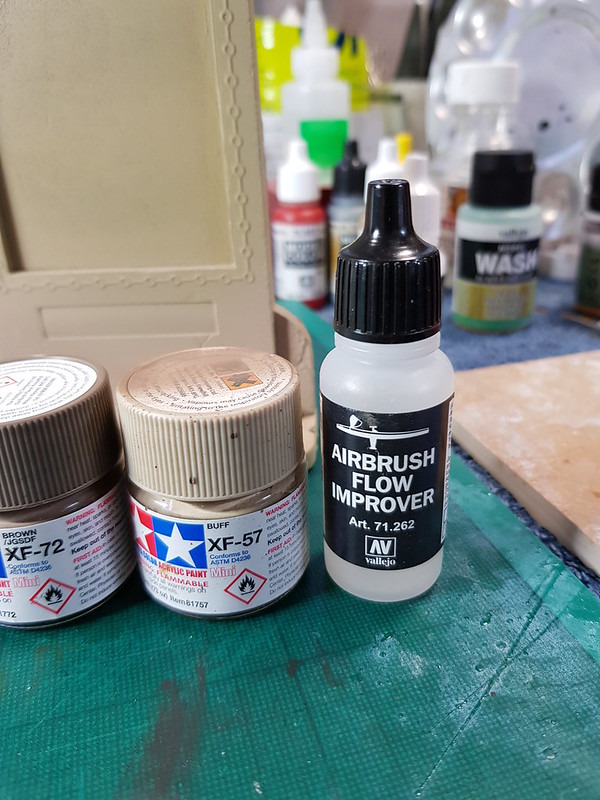
and a spot of Ultimate Thinner. Also used a touch of Vallejo White to Highlight the top areas of the wall.

I used, XF-60, XF-78, XF-72 & XF-57, like I said a little drop of Flow Improver and a drop of Ultimate THinner and away we go
.


This application of four colours, left a nice weathered and faded look to the wall, especially across the top, where the sun would bleach the top areas.

Using these four colours, I also passed the A/B over the base from L/H Bottom corner to top R/H corner with a few darker shades, keeping lighter shades to the back edges.


I then placed the Saddam wall on the base, in the desired position, and drew around the bottom edge of the walls plinth with pencil.
The knife was then run around pencil-line, and I hatched out the inner part of the area, before being gouged out the inner foam area, and to create a hole for the wall.

Having placed the vehicle in the desired position, I used a good amount of Jarvis Thick C/A to bond the vehicle in its position, pushing down the track into small divots and ridges so the track formed to the terrain.

Then, out with the Pigments.

I have gone with the following pigments, Mig Productions Light European Earth (P415), Gulf War Sand (P037) and Mig Golan Earth, and these are applied over the Tracks, Running Gear and lower Glacis. I then used a wife's old Blusher Brush

, to work the Light European Earth over the top surfaces including the figures.
The whole vehicle was then A/B'd with Pigment Fixer. Working at low pressure so as not to knock off all the dusts / pigments.
We're left with the following,


I have shown you this Brick Rubble from DioDump in the packet, but not close up. Absolutely stonking scale detail.

A little A/B work also carried out on the Resin Pallets. Using light shades of Vallejo Old Wood, lightened with Vallejo White, light, thin coats added to Pallets. These, after drying, have been coated with Mr Hobby Gloss from Rattle Can.


To finish off this afternoons work, I added some colour to the Arab Farmers Smock using Tamiya XF-72 Brown.

The eye area has been whitened with Vallejo White prior to use of Archers Eye-Ball Transfer.
All in all, a very productive afternoon of modelling.
Thank you for looking in chaps
,
DW


 .
.  and disappear into town to The Range (difficult to describe The Range to our overseas buddies..................


 .
.


 .
.


 ), BF109 G-6.