Page 2 of 3
Re: Homer's Aoshima McLaren F1 GTR - Pre Season Testing/Long-Tail
Posted: Wed Feb 17, 2016 1:26 am
by chief5437
It's looking really good mate! Your patience is paying off ten fold. I guess I can appreciate it more than most at the moment as I know how it looks without the carbon. Good skills buddy

Re: Homer's Aoshima McLaren F1 GTR - Pre Season Testing/Long-Tail
Posted: Wed Feb 17, 2016 10:15 am
by Homerlovesbeer
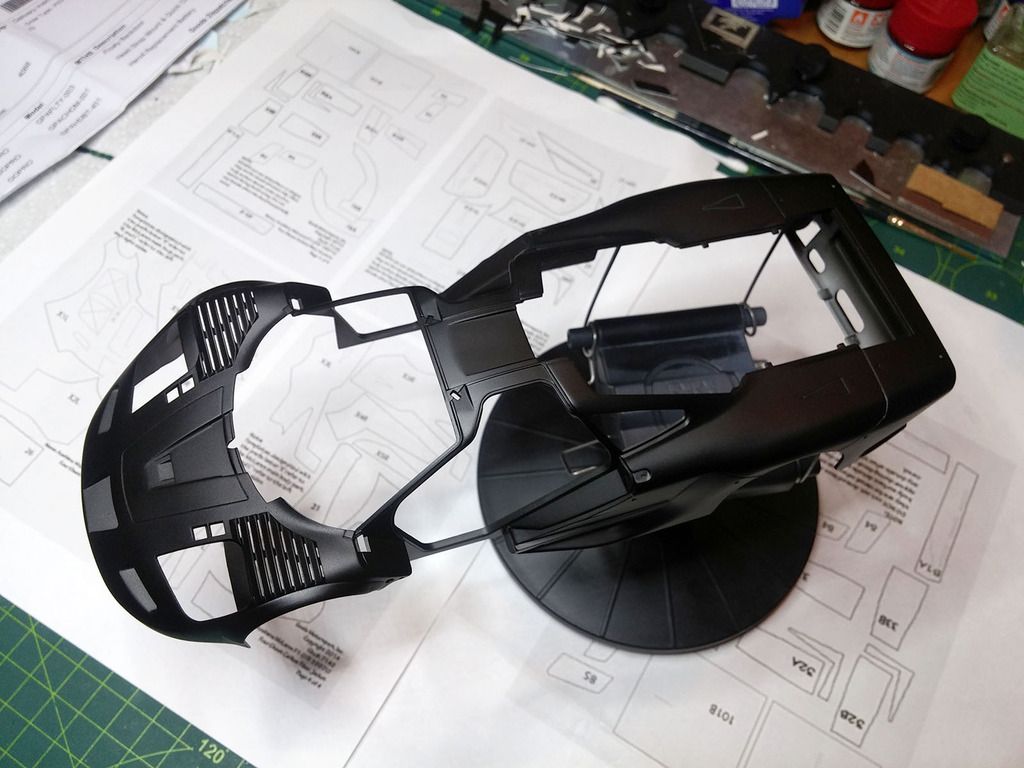
Not much to report today. I just marked all the seams that needed sanding smooth and then used wet and dry sand paper 1200 grit and got them ready for priming (which I hope I'll do tomorrow). I then cleaned the whole body using IPA. I've left the spru supports in place during the sanding but will now remove them prior to priming.
I'm not sure if I need to rescribe some panels a little

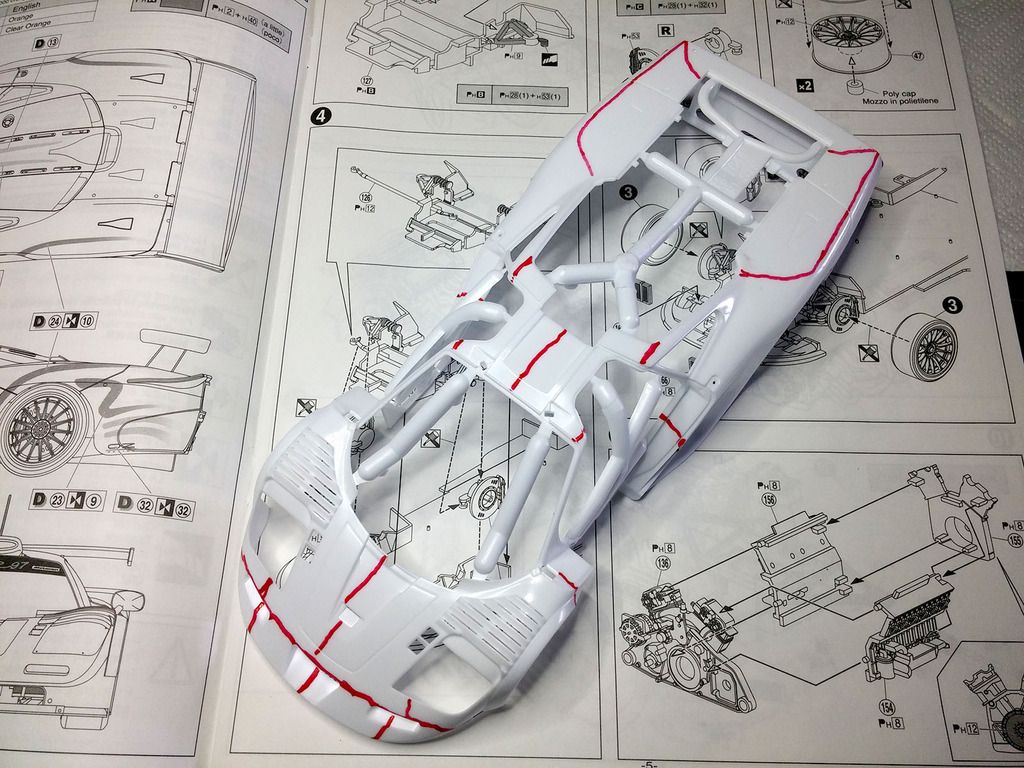
Sanding done
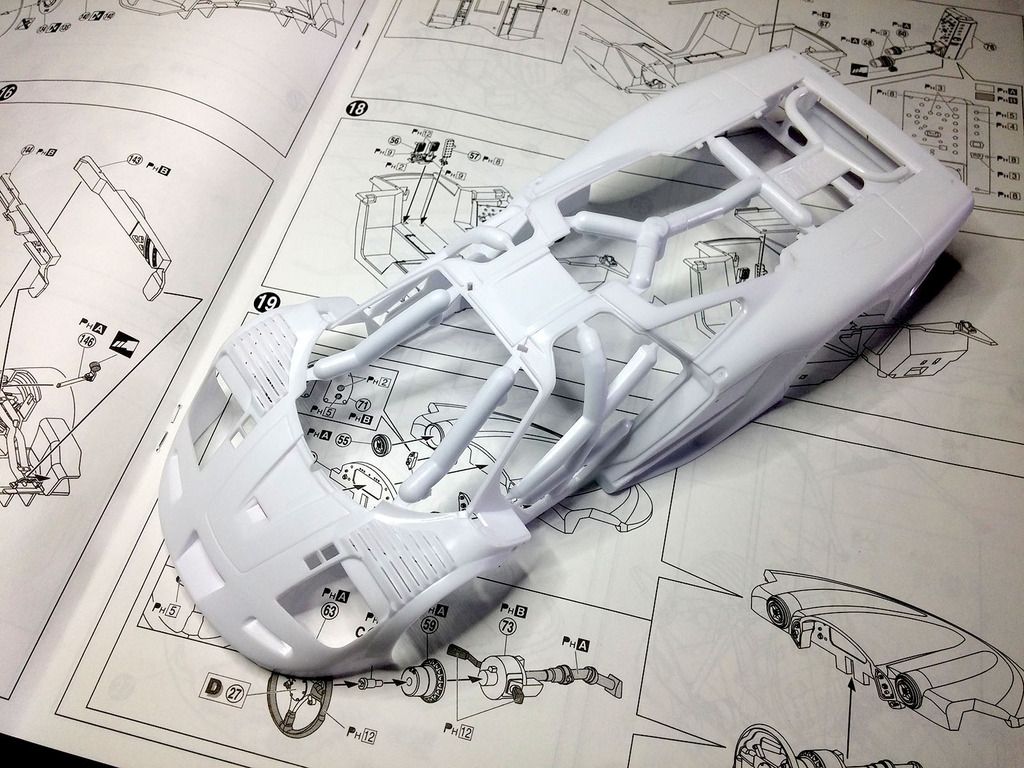
Re: Homer's Aoshima McLaren F1 GTR - Pre Season Testing/Long-Tail
Posted: Wed Feb 17, 2016 12:15 pm
by Homerlovesbeer
chief5437 wrote:It's looking really good mate! Your patience is paying off ten fold. I guess I can appreciate it more than most at the moment as I know how it looks without the carbon. Good skills buddy
Thanks mate!

I'm just waiting on the Gravity paints to arrive so I can make her shine

Re: Homer's Aoshima McLaren F1 GTR - Pre Season Testing/Long-Tail
Posted: Thu Feb 18, 2016 11:53 am
by Homerlovesbeer
Re: Homer's Aoshima McLaren F1 GTR - Pre Season Testing/Long-Tail
Posted: Thu Feb 18, 2016 5:34 pm
by Twokidsnosleep
Smoooooth operator

Re: Homer's Aoshima McLaren F1 GTR - Pre Season Testing/Long-Tail
Posted: Thu Feb 18, 2016 7:28 pm
by Lysus
Homerlovesbeer wrote:Not much to report today. I just marked all the seams that needed sanding smooth and then used wet and dry sand paper 1200 grit and got them ready for priming (which I hope I'll do tomorrow). I then cleaned the whole body using IPA. I've left the spru supports in place during the sanding but will now remove them prior to priming.
Quick question(s): why mark the seams up in red? Visibility? Never seen that before. Also, IPA? Haven't encountered that acronym yet.
I usually drink mine, though I'm more of a porter man, myself.
Re: Homer's Aoshima McLaren F1 GTR - Pre Season Testing/Long-Tail
Posted: Thu Feb 18, 2016 7:29 pm
by Twokidsnosleep
Iso Propyl Alcohol..IPA
Stick to drinking yours, IPA makes you go blind
Re: Homer's Aoshima McLaren F1 GTR - Pre Season Testing/Long-Tail
Posted: Thu Feb 18, 2016 7:33 pm
by Lysus
Twokidsnosleep wrote:Iso Propyl Alcohol..IPA
Stick to drinking yours, IPA makes you go blind
Ha! And here I thought it was some coat brand I'd not heard of yet. Even better...
Re: Homer's Aoshima McLaren F1 GTR - Pre Season Testing/Long-Tail
Posted: Thu Feb 18, 2016 8:45 pm
by Homerlovesbeer
Lysus wrote:Homerlovesbeer wrote:Not much to report today. I just marked all the seams that needed sanding smooth and then used wet and dry sand paper 1200 grit and got them ready for priming (which I hope I'll do tomorrow). I then cleaned the whole body using IPA. I've left the spru supports in place during the sanding but will now remove them prior to priming.
Quick question(s): why mark the seams up in red? Visibility? Never seen that before. Also, IPA? Haven't encountered that acronym yet.
I usually drink mine, though I'm more of a porter man, myself.
Twokidsnosleep beat me to the IPA explanation.
I marked in red so that when the red marker is no longer visible then theoretically the seam should be gone. I used red because that's the colour I had. You could also use black

Re: Homer's Aoshima McLaren F1 GTR - Pre Season Testing/Long-Tail
Posted: Sat Feb 20, 2016 9:54 am
by TheSmoo
cant wait to see the top coat and decals go on this beasty
Re: Homer's Aoshima McLaren F1 GTR - Pre Season Testing/Long-Tail
Posted: Sat Feb 20, 2016 3:38 pm
by Twokidsnosleep
Homerlovesbeer wrote:Lysus wrote:Homerlovesbeer wrote:Not much to report today. I just marked all the seams that needed sanding smooth and then used wet and dry sand paper 1200 grit and got them ready for priming (which I hope I'll do tomorrow). I then cleaned the whole body using IPA. I've left the spru supports in place during the sanding but will now remove them prior to priming.
Quick question(s): why mark the seams up in red? Visibility? Never seen that before. Also, IPA? Haven't encountered that acronym yet.
I usually drink mine, though I'm more of a porter man, myself.
Twokidsnosleep beat me to the IPA explanation.
I marked in red so that when the red marker is no longer visible then theoretically the seam should be gone. I used red because that's the colour I had. You could also use black
That is like an old woodworker trick when using a hand plane to smooth a board......pencil the high spots and plane until they are gone.
Brilliant, never thought of spying it to plastic
Re: Homer's Aoshima McLaren F1 GTR - Pre Season Testing/Long-Tail
Posted: Sun Feb 21, 2016 12:46 am
by Homerlovesbeer
Yep it works very well! I picked up the technique from "The scale modeling channel" on youtube.
https://www.youtube.com/channel/UCnBrly ... yuiofgwmSw
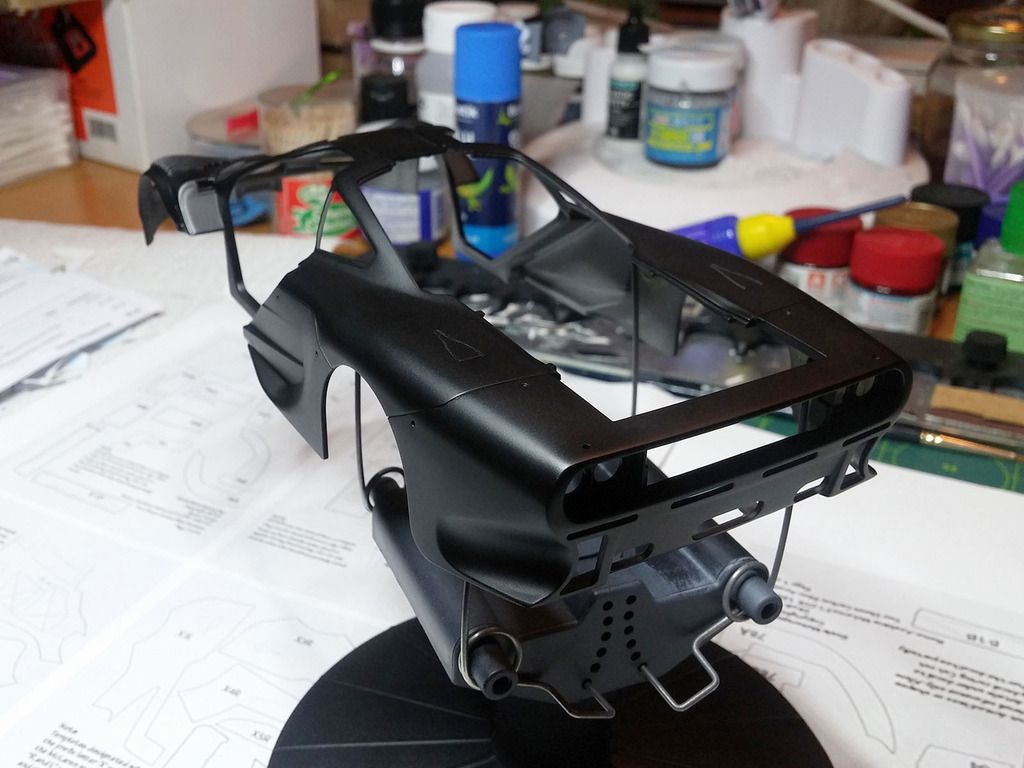
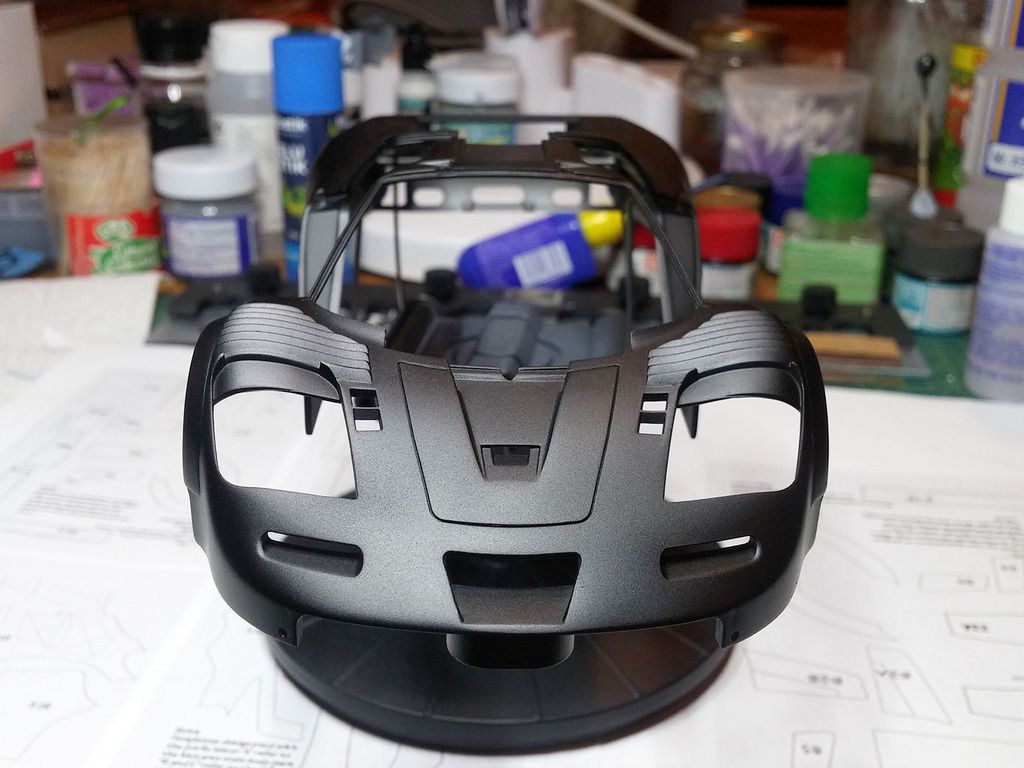
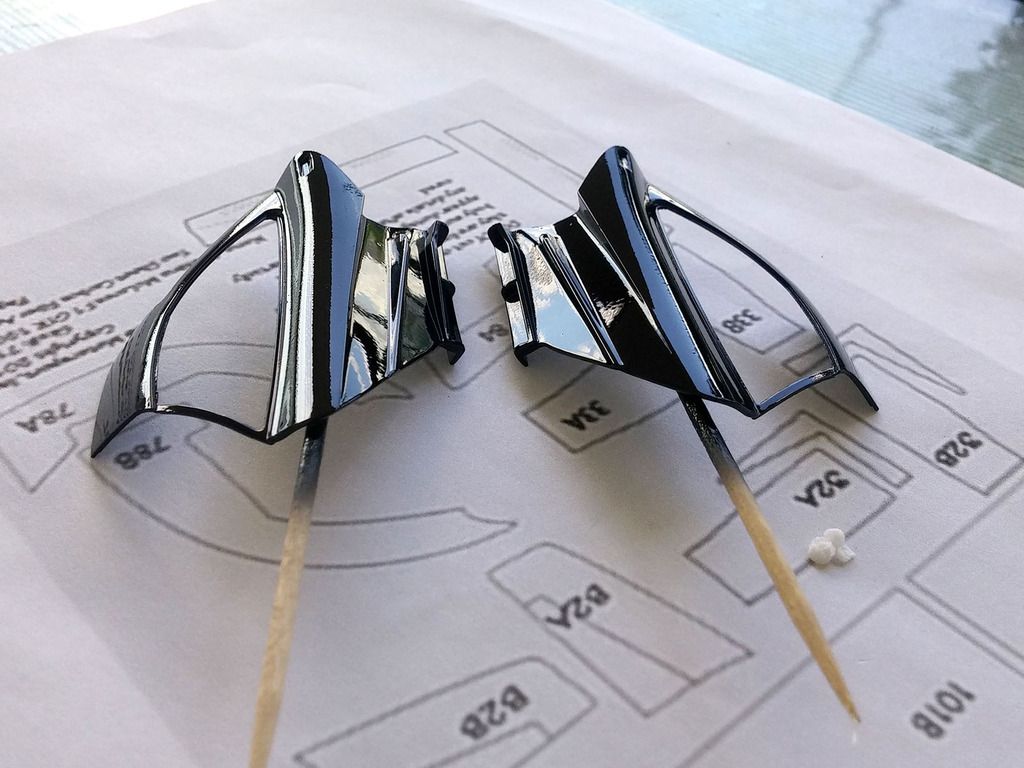
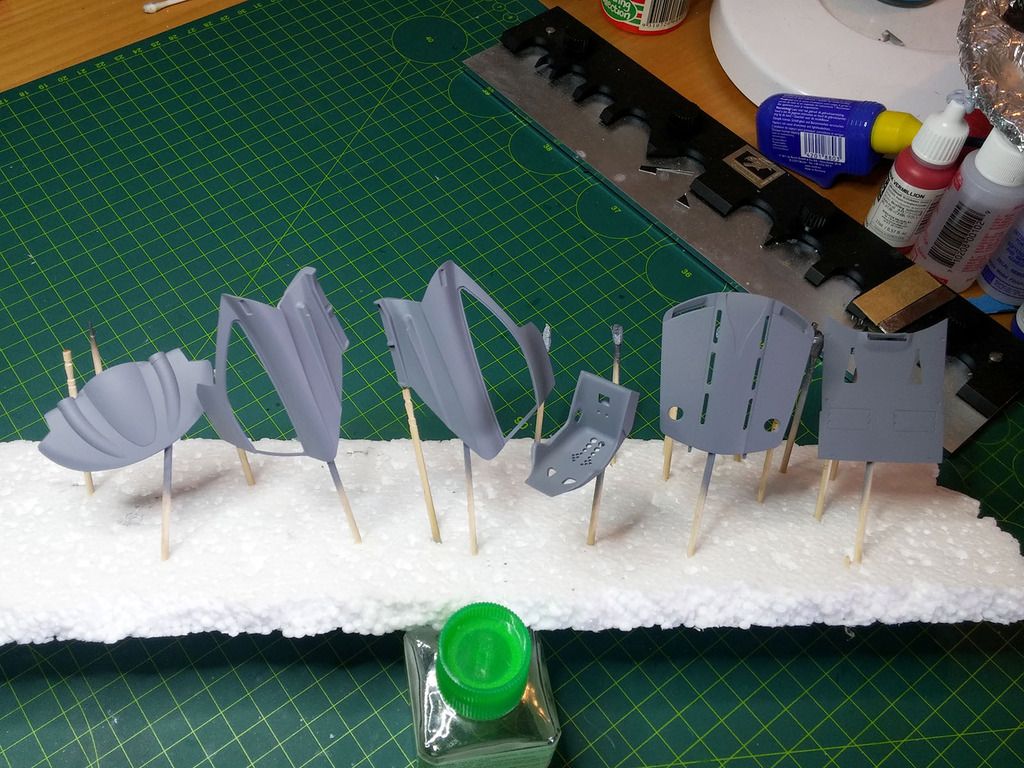
I sanded back the primer in a few places as the primer showed a few marks that needed attention. Both front wheel arches (molding lines showing) and the sink mark at the front. I applied 3 layers of Mr Surfacer 1000, sanded back, and re primed. I also primed the seat and various body panels.
Much better!
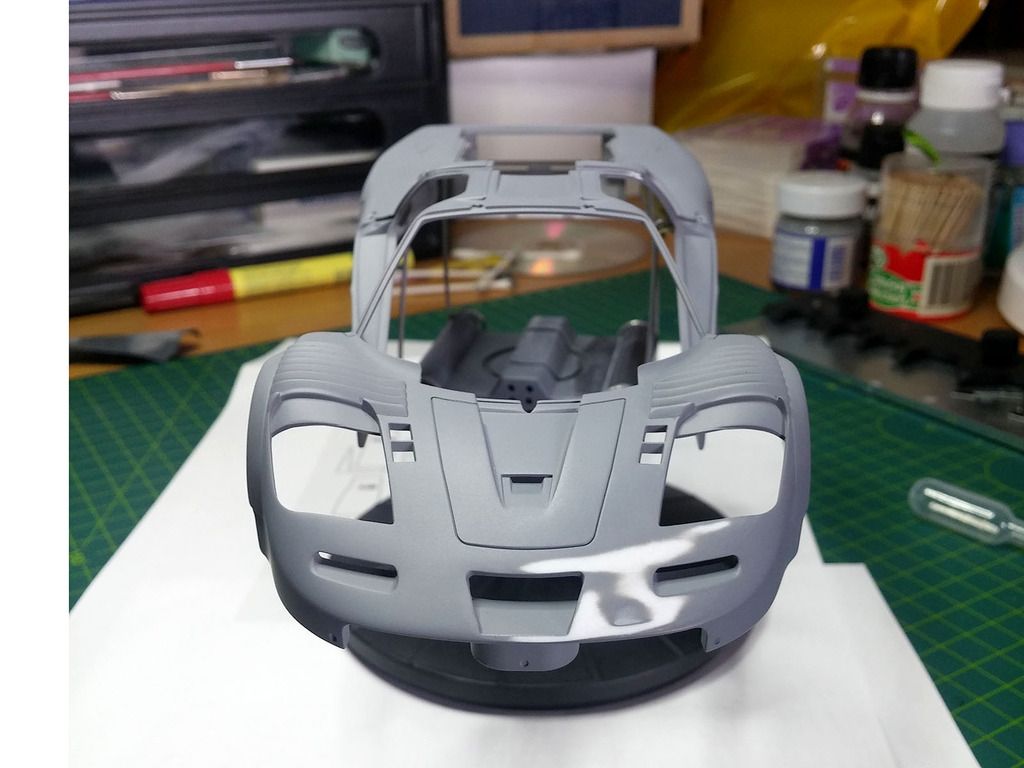
After re priming
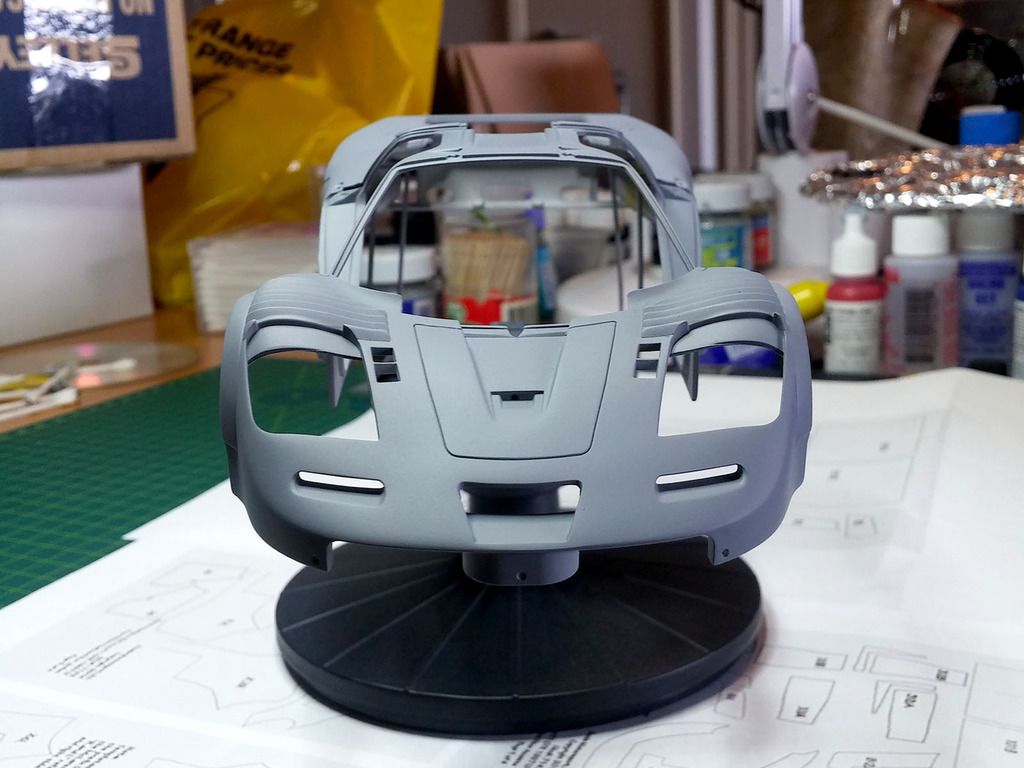
Various parts primed
Re: Homer's Aoshima McLaren F1 GTR - Pre Season Testing/Long-Tail
Posted: Sun Feb 21, 2016 11:34 am
by PrivateMansoor
Man that looks sweet, neat work Homer.
Re: Homer's Aoshima McLaren F1 GTR - Pre Season Testing/Long-Tail
Posted: Sun Feb 21, 2016 12:58 pm
by Homerlovesbeer
PrivateMansoor wrote:Man that looks sweet, neat work Homer.
Thanks. I think for my first proper go at a car I could have had a crack at a cheaper kit lol. I'm learning a lot and when what I try works ok it's a good feeling.
I'm working slowly when I'm not working and taking my time so I don't stuff it up

Re: Homer's Aoshima McLaren F1 GTR - Pre Season Testing/Long-Tail
Posted: Mon Feb 22, 2016 12:46 pm
by Homerlovesbeer
Re: Homer's Aoshima McLaren F1 GTR - Pre Season Testing/Long-Tail
Posted: Mon Feb 22, 2016 12:55 pm
by Kingdan
Looking good great work dude
Dan
Re: Homer's Aoshima McLaren F1 GTR - Pre Season Testing/Long-Tail
Posted: Mon Feb 22, 2016 4:59 pm
by Homerlovesbeer
Kingdan wrote:Looking good great work dude
Dan
Thanks for checking it out

Re: Homer's Aoshima McLaren F1 GTR - Pre Season Testing/Long-Tail
Posted: Mon Feb 22, 2016 5:50 pm
by Lysus
It's coming together really well, I'm looking forward to this reveal considering all the work you've done.
Re: Homer's Aoshima McLaren F1 GTR - Pre Season Testing/Long-Tail
Posted: Mon Feb 22, 2016 11:14 pm
by chief5437
Great progress Homer! Real nice job sorting that sink mark out! I'll have to check mine for that one
buddy!
Re: Homer's Aoshima McLaren F1 GTR - Pre Season Testing/Long-Tail
Posted: Tue Feb 23, 2016 1:21 am
by Homerlovesbeer
Lysus wrote:It's coming together really well, I'm looking forward to this reveal considering all the work you've done.
Thanks!
I'm still waiting for my Gravity paints to arrive from the US. Shipped on the 2nd Feb, no sign of them yet
Re: Homer's Aoshima McLaren F1 GTR - Pre Season Testing/Long-Tail
Posted: Tue Feb 23, 2016 1:21 am
by Homerlovesbeer
chief5437 wrote:Great progress Homer! Real nice job sorting that sink mark out! I'll have to check mine for that one
buddy!
Thanks Chief, where are you up to?
Re: Homer's Aoshima McLaren F1 GTR - Pre Season Testing/Long-Tail
Posted: Tue Feb 23, 2016 6:22 pm
by chief5437
Homerlovesbeer wrote:chief5437 wrote:Great progress Homer! Real nice job sorting that sink mark out! I'll have to check mine for that one
buddy!
Thanks Chief, where are you up to?
Not much, lol! Going to put some pics up now.
Re: Homer's Aoshima McLaren F1 GTR - Pre Season Testing/Long-Tail
Posted: Sat Feb 27, 2016 1:44 pm
by Homerlovesbeer
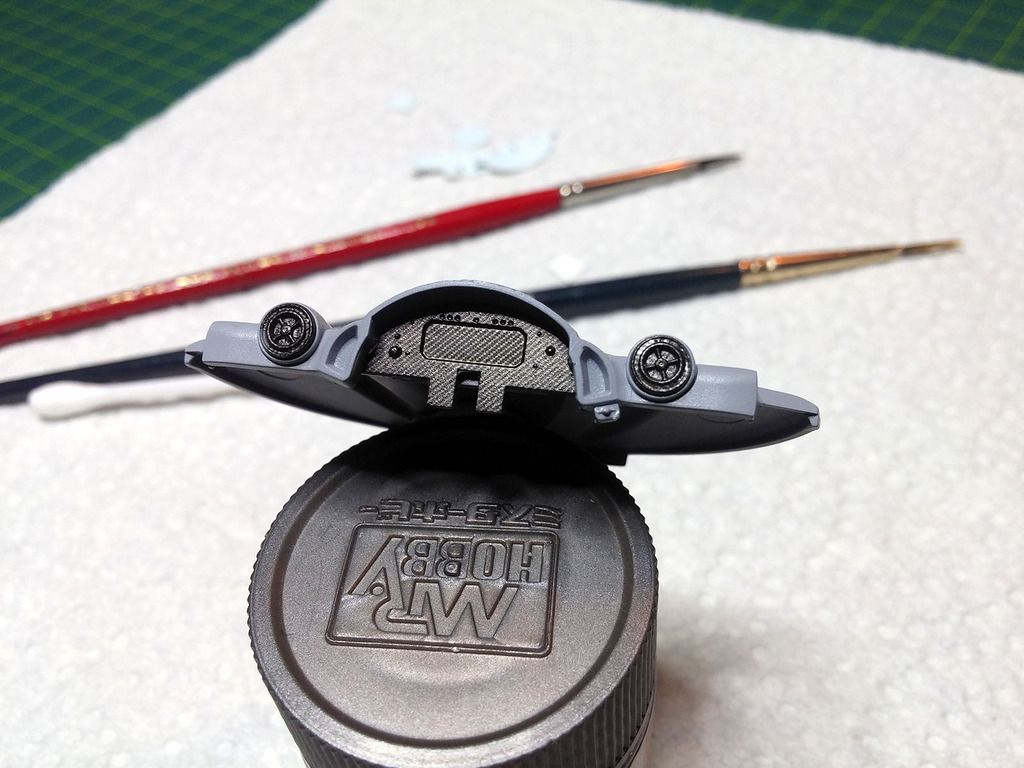
Some carbon fiber work done on the dash today fit in around life with the other half. About 2 hours work just to do what you see here. Cutting out the instrument panel and one vent (applying the decals twice each because I stuffed up the first time)

Lots and lots of micro set/sol and hair dryer usage to get the result you see here

Re: Homer's Aoshima McLaren F1 GTR - Pre Season Testing/Long-Tail
Posted: Tue Mar 01, 2016 11:34 am
by Homerlovesbeer
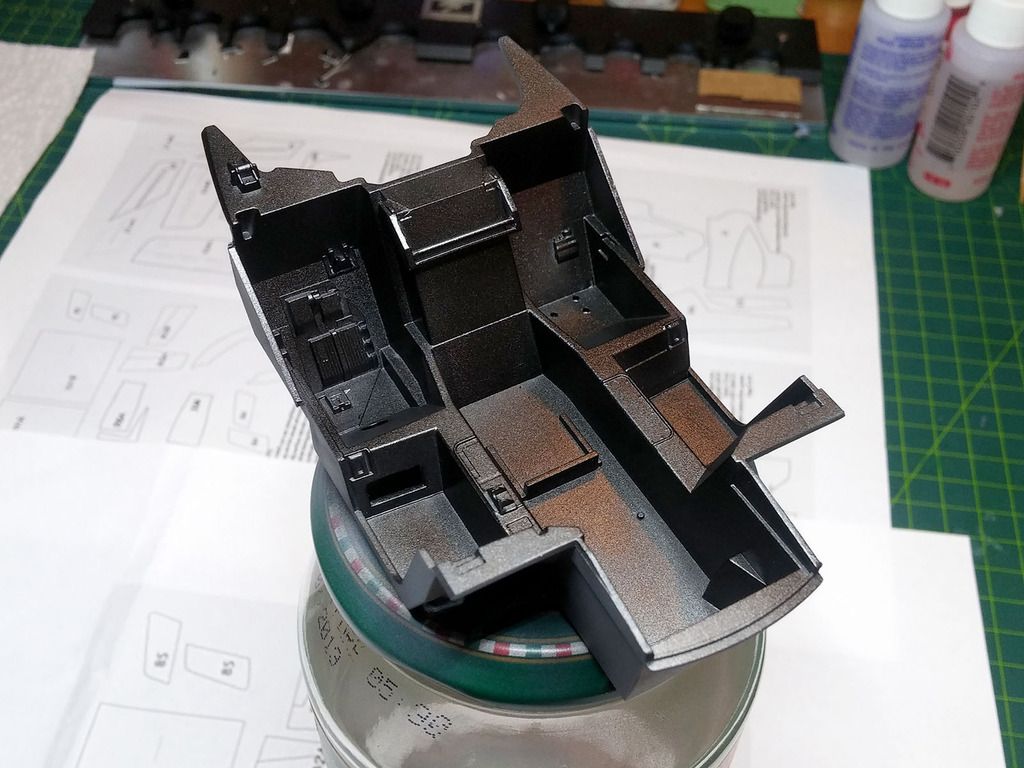
A little bit more done today. More prep on the tub and other parts getting them ready to apply the carbon fiber. I'm happy with the way the seat came out with the grey front and the custom mix metallic steel/gloss black back which will be covered in a carbon fiber decal.
I make the paint that colour so that if I perhaps miss a spot it is a lot harder to see as the metallic steel/black paint will help it blend in.
I also painted the door trims and the roll cage (didn't take pics).
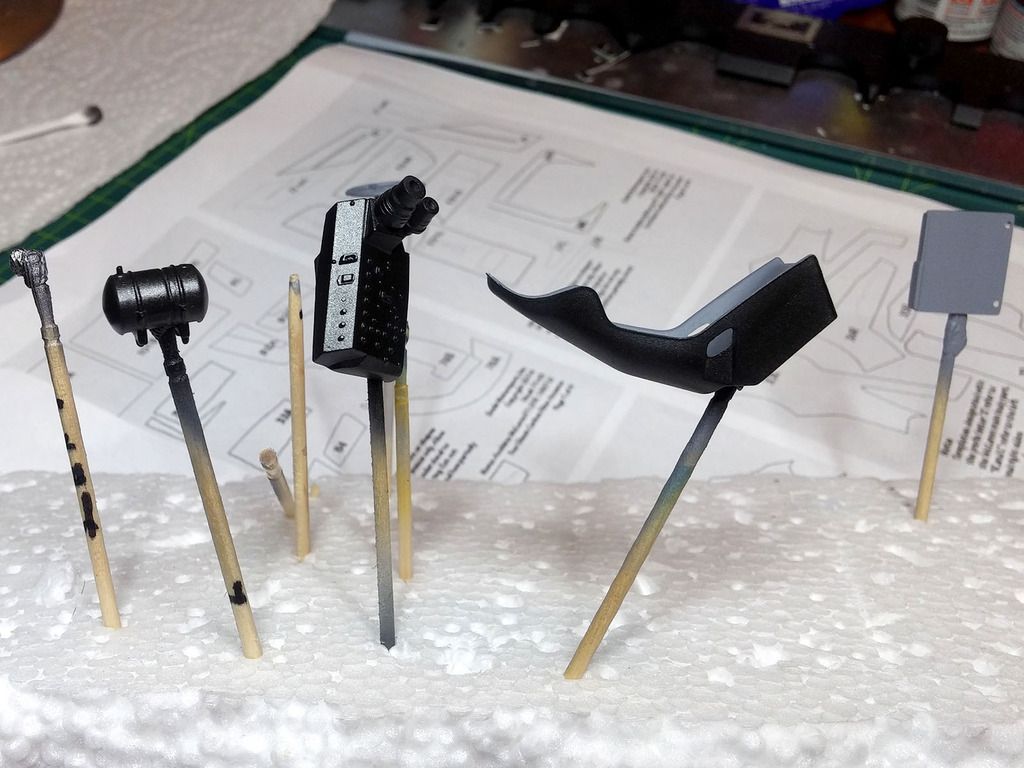
Parts to be covered in carbon fiber that have been prepped;
1. extinguisher bottle
2. steering wheel boss
3. the whole tub
4. the seat back
5. the door trims
6. large switch panel beside the driver
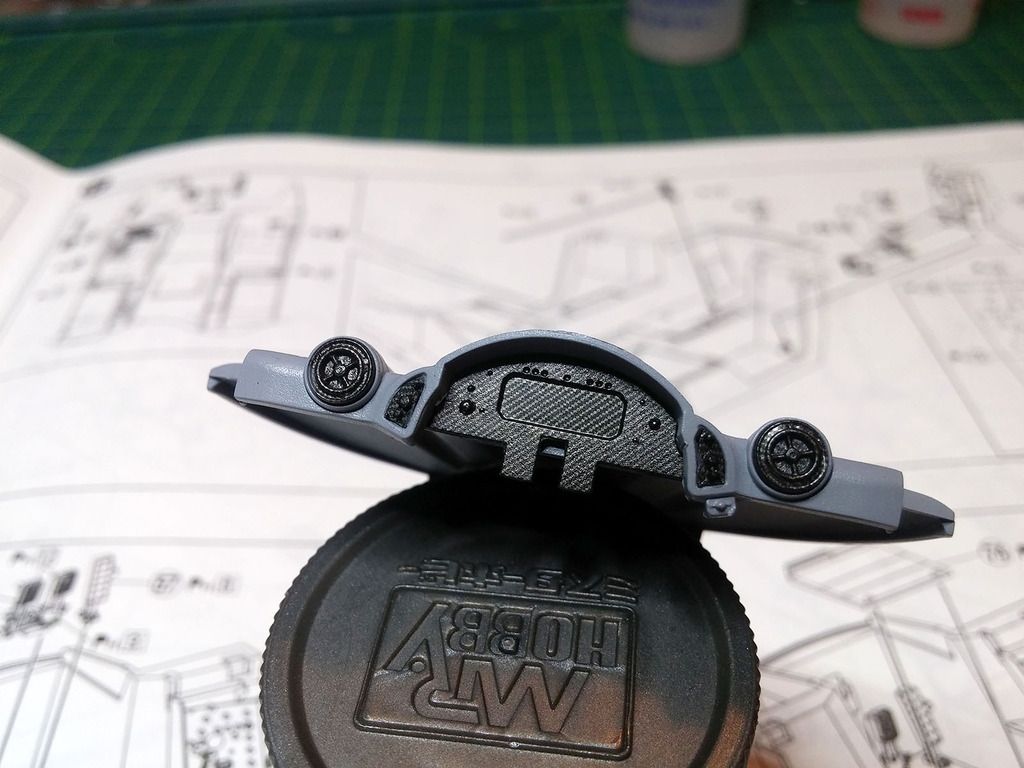
The two little switch panels in the console beside the air vents have finally been given the carbon treatment. They were the most incredibly frustrating things to cover and took me 3 goes to get it right. In the end the best solution was to apply to micro set and then flood them with micro sol. You could watch them melt before your eyes when they are so small!

Various parts ready for the carbon treatment
The metallic steel/black painted tub. Lots of heartache applying carbon to come

Re: Homer's Aoshima McLaren F1 GTR - Pre Season Testing/Long-Tail
Posted: Fri Mar 11, 2016 12:40 pm
by Homerlovesbeer
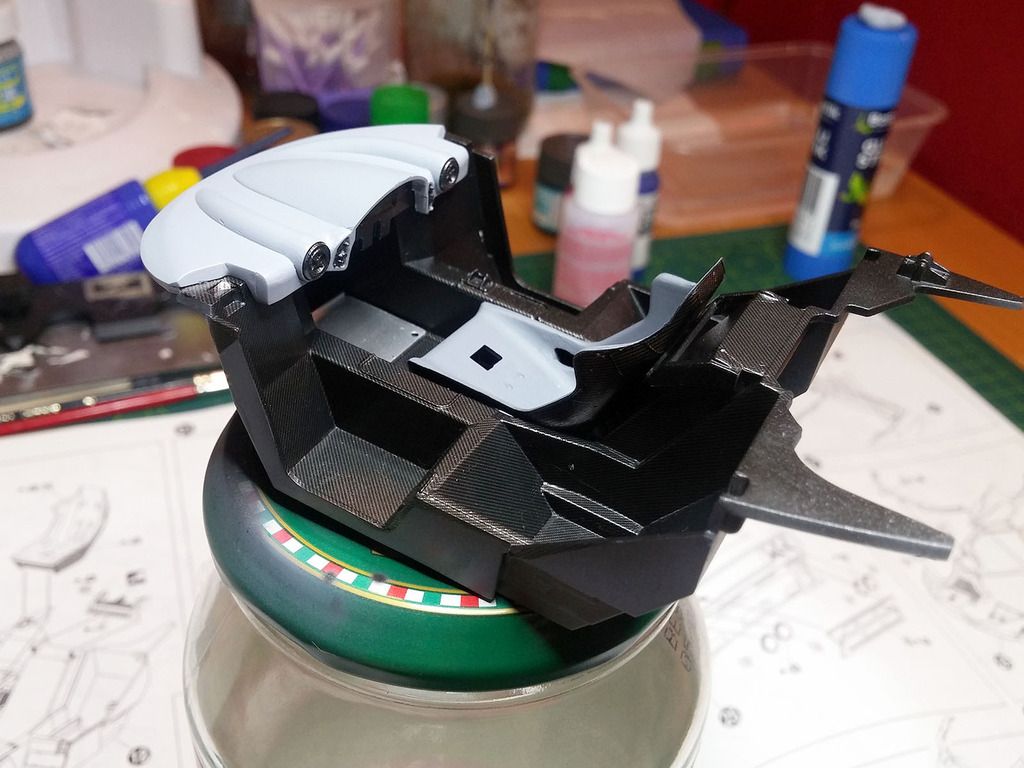
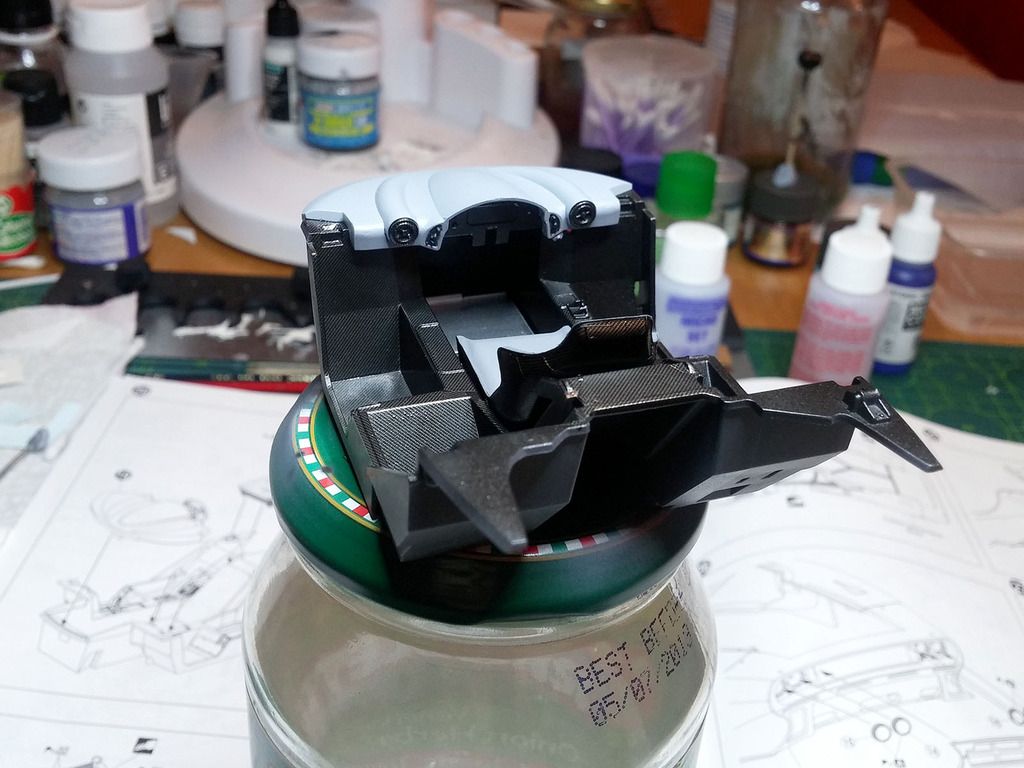
Hours and hours and hours of making paper templates, tracing onto the carbon fiber decal sheet, cutting out, applying, heating, micro Set/sol multiple coats and I've now finished half of the tub and the back of the seat (in gold weave like the real one).
It looks good but I wonder if it's worth all the effort!


Sorry about the pics, the weave is very hard to photograph.
Re: Homer's Aoshima McLaren F1 GTR - Pre Season Testing/Long-Tail
Posted: Fri Mar 11, 2016 1:05 pm
by Paul
Great progress so far mate, looking forward to seeing it with some paint down
Re: Homer's Aoshima McLaren F1 GTR - Pre Season Testing/Long-Tail
Posted: Fri Mar 11, 2016 1:48 pm
by Icemannique
Looking gooood !

and it is all worth of the effort, u see it in the end.
Re: Homer's Aoshima McLaren F1 GTR - Pre Season Testing/Long-Tail
Posted: Fri Mar 11, 2016 7:06 pm
by Homerlovesbeer
Thanks guys
Re: Homer's Aoshima McLaren F1 GTR - Pre Season Testing/Long-Tail
Posted: Sat Mar 12, 2016 2:53 pm
by Homerlovesbeer
Paul wrote:Great progress so far mate, looking forward to seeing it with some paint down
Thanks Paul,
My Gravity Colours paints went missing in the post so I'm waiting for replacements to arrive so I can have a crack at painting.
I'm pretty keen to try my hand at it.
Re: Homer's Aoshima McLaren F1 GTR - Pre Season Testing/Long-Tail
Posted: Sat Mar 12, 2016 10:19 pm
by Tacoman2000
Twokidsnosleep wrote:Holy Cow, that is some smooth painting work
I wouldn't sell yourself short in the skill department
Little tip: When you paint the body, leave it alone for a week and let it cure so you don't get finger prints and dings...ask me how I know

Hey Scott, How do you know? lol

Re: Homer's Aoshima McLaren F1 GTR - Pre Season Testing/Long-Tail
Posted: Sun Mar 13, 2016 1:42 am
by Twokidsnosleep
Tacoman2000 wrote:Twokidsnosleep wrote:Holy Cow, that is some smooth painting work
I wouldn't sell yourself short in the skill department
Little tip: When you paint the body, leave it alone for a week and let it cure so you don't get finger prints and dings...ask me how I know
Hey Scott, How do you know? lol

At least my thumb and first finger prints on my little Lotus egg car from last year will identify it as being mine if it is ever stolen!!
And you just had to ask, didn't ya
Re: Homer's Aoshima McLaren F1 GTR - Pre Season Testing/Long-Tail
Posted: Mon Mar 14, 2016 12:33 pm
by Homerlovesbeer
Well I've been plodding along with the carbon decal work. Sheesh, what a time consuming pain in the "you who" this is! I've only got the passenger side foot well and firewall (well the right hand side as there are 3 seats and the driver is in the middle lol) to go. The boxes on the seat backs were a nightmare to cover in carbon but I had a win!
I thought I'd show you guys the process I go through for every panel
1. Do your best to make a paper template. This can require multiple attempts to get the correct shape as the panels are small and tight to work in.
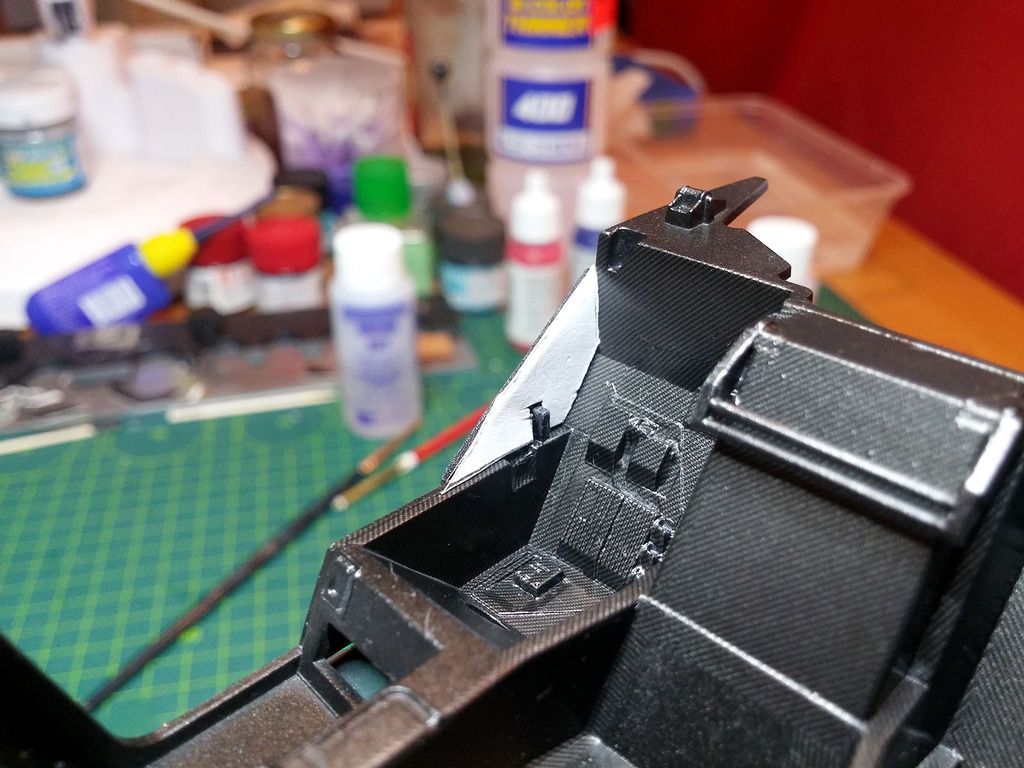
2. Trace the template onto the back of the carbo decal. Remember to flip the template over otherwise you'll cut a mirror image of what you have with the carbon on the wrong side. I've made this mistake a couple of times due tiredness and inattention. Once cut you'll do plenty of trial fitting and trimming until it fits. Sometimes you'll take too much off or cut the angles wrong so you'll waste a decal and need to start from step one again! Yes I've done this!
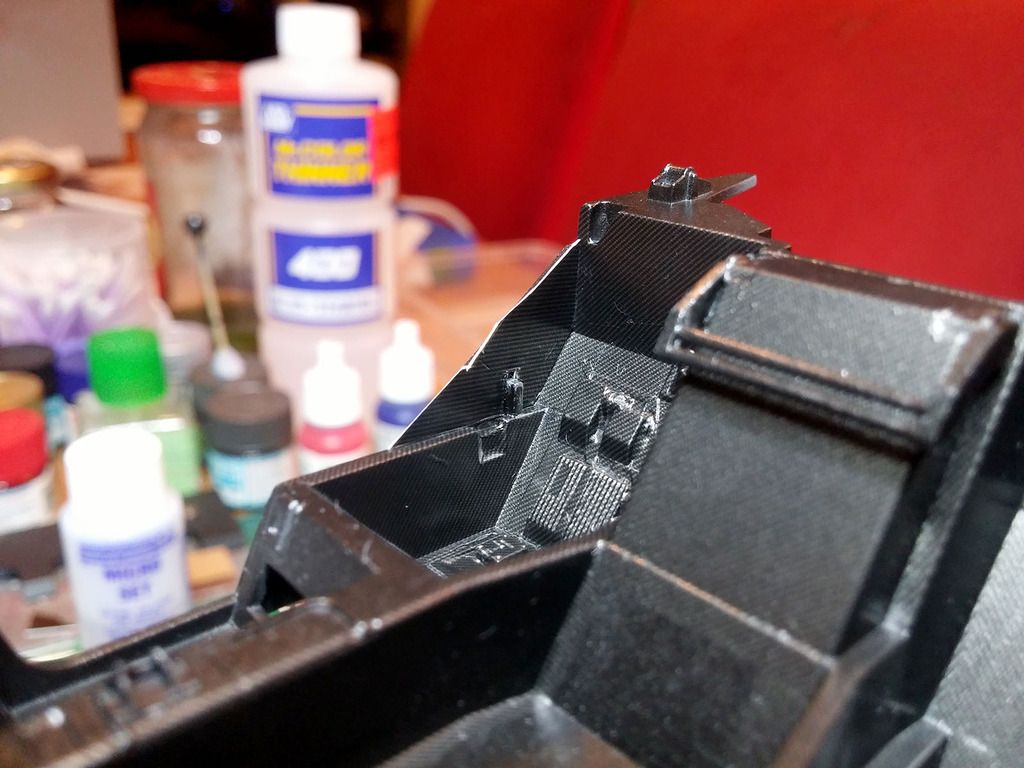
3. Apply Micro Set to the plastic while the decal soaks in water for approx 20-30 secs. Take the decal out of the water with tweezers, gently move the decal off the sheet a bit with your thumb and then pick up a cocktail stick to keep the decal in position while you remove the backing paper. Apply decal as well as you can and work FAST to position in the correct place. Apply more Micro Set to help moving. Try not to have the decal curl under itself. If it does it's a horror to correct and usually results in the decal being ruined and repeating step 2 again (step one if you lost the paper template grrr).
Once in place use a paint brush soaked in Micro Set to smooth out the decal. Use a hair dryer to speed up the process. Once the decal has dried use a damp cotton bud to further smooth out air bubbles and help the decal conform. Apply Micro Sol generously and use the brush you're applying it with to further assist in conforming. More hair dryer goodness. Then more Micro Sol etc etc until the decal has fully conformed. This can take many many repeats to get the required result.
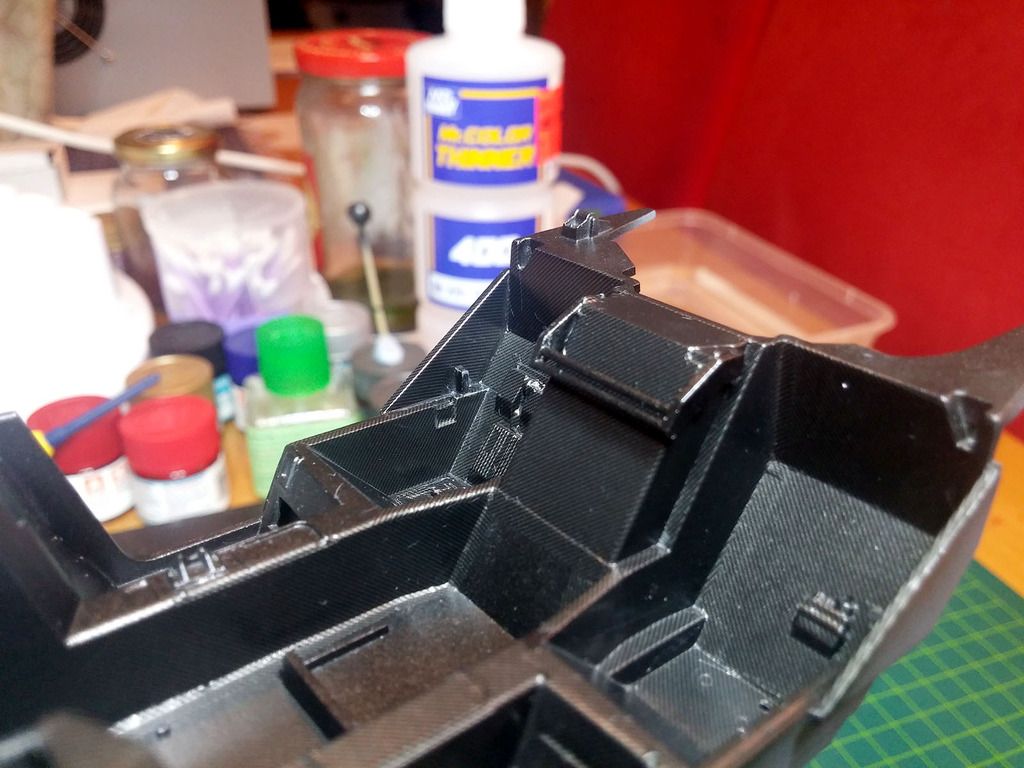
Then move on to the next area! As you can imagine this takes HOURS!
Well I'm on the home straight now. Once the tub is fully completed I'll allow to dry for 48 hours before applying a gloss clear coat.
Progress shot....
Before....
After......
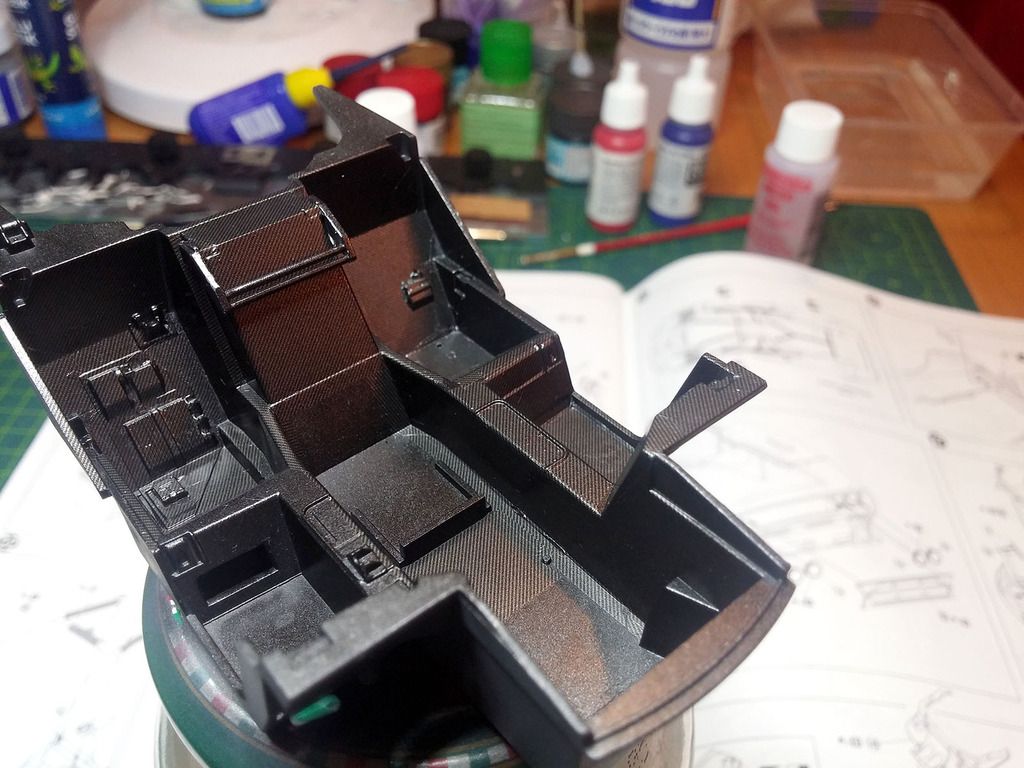
TO BE CONTINUED.............
Re: Homer's Aoshima McLaren F1 GTR - Pre Season Testing/Long-Tail
Posted: Sun Mar 20, 2016 1:51 am
by Twokidsnosleep
Your carbon fiber decal work looks great.
I saw a McLaren P1 at lunch today....Grey with black carbon fiber and orange brake calipers and accents. The interior was black with orange stitching. Man was it low and looked like it was going Mach 1 sitting parked.
Beautiful!!!!

Re: Homer's Aoshima McLaren F1 GTR - Pre Season Testing/Long-Tail
Posted: Tue Mar 22, 2016 5:39 am
by Homerlovesbeer
Thanks Scott
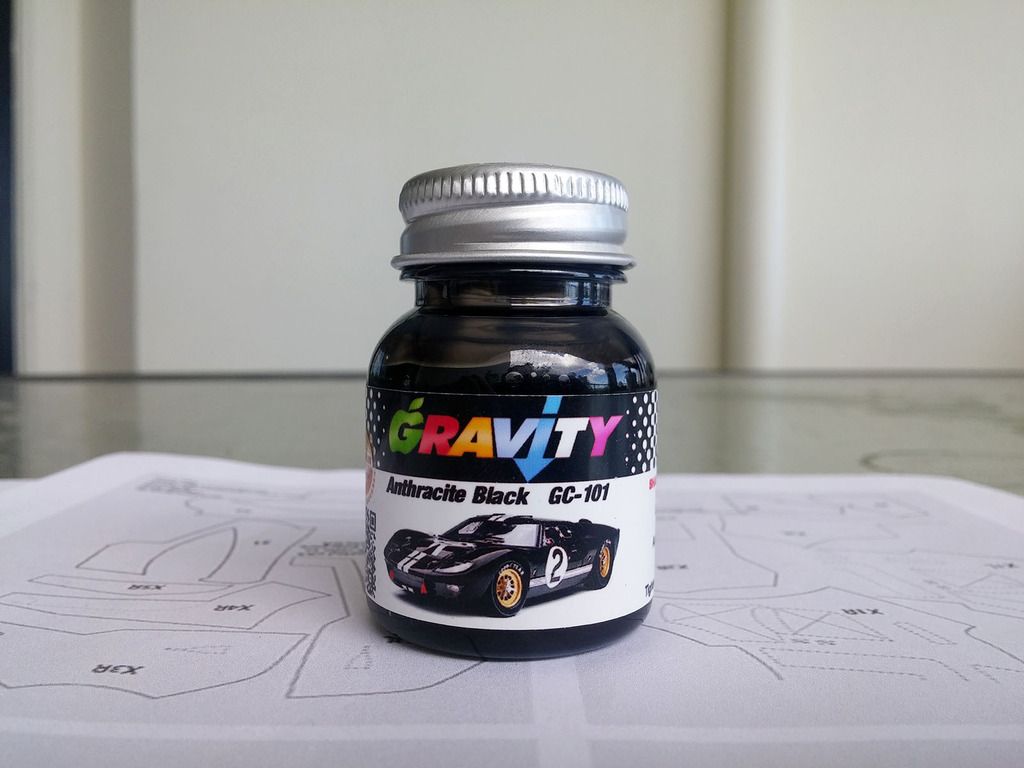
Well my Gravity paints FINALLY arrived yesterday after the fist shipment went MIA. A special thanks goes to Matt at Gravity Colors, who heard on the grape vine that my paints were well over due to arrive, so reached out to me to chase things up. He reasoned that the parcel he sent had gone missing and elected to resend my order again, free of charge, via registered post to ensure the order arrived this time.
FANTASTIC CUSTOMER SERVICE GRAVITY COLORS!
So this is what colour the F1 GTR will be.
I did a test run on a spoon and am blown away by the results, truly amazing.
 First base coat applied
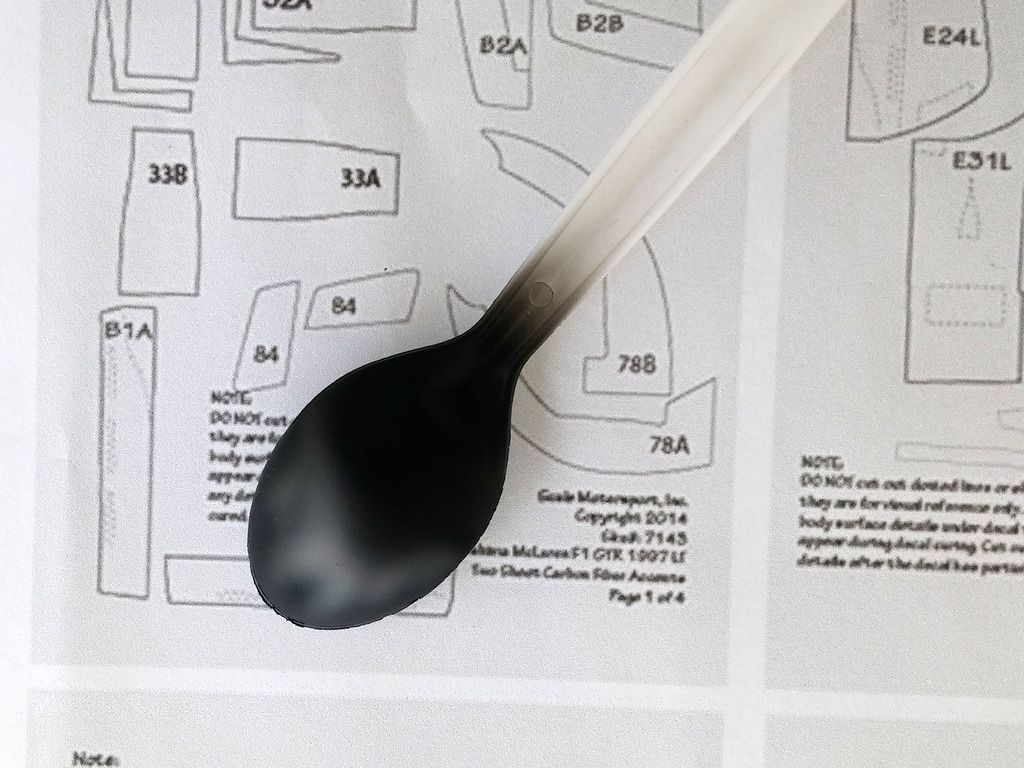 After three coats of base colour
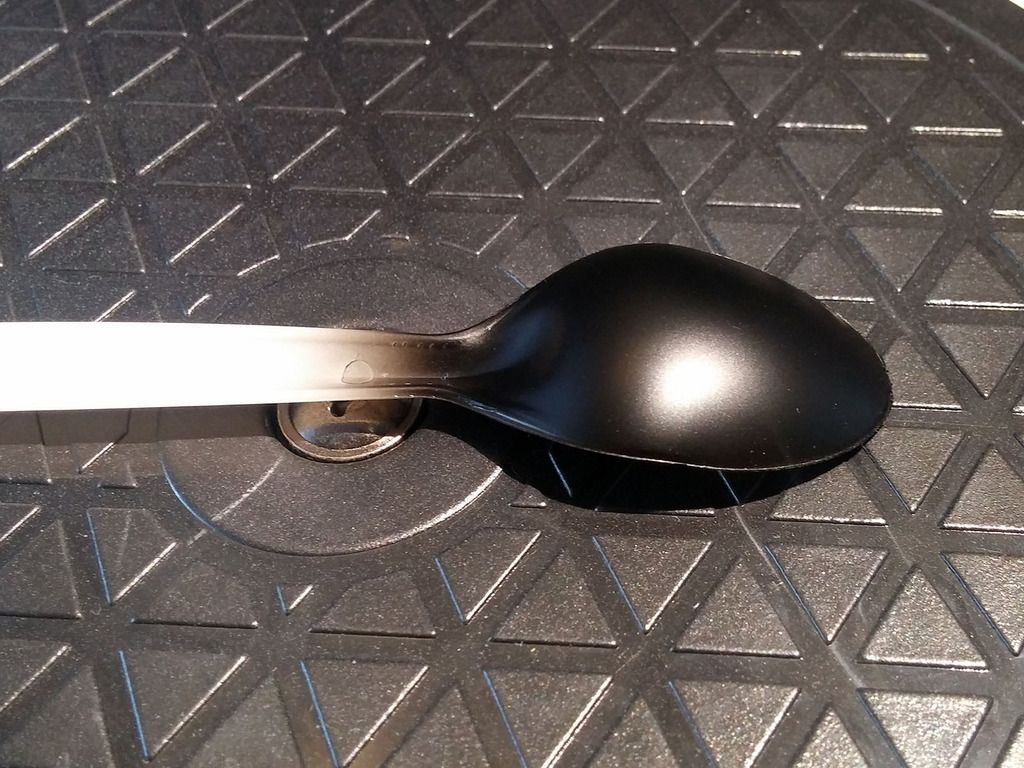
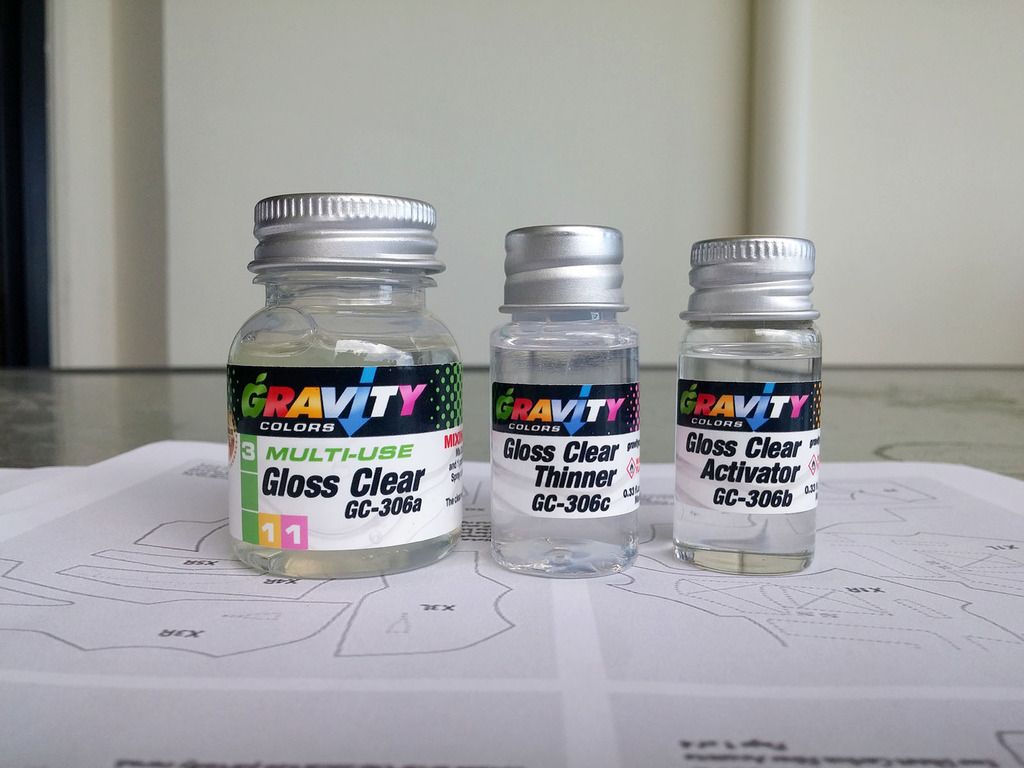
Next is the clear coat system which is very easy to use and apply. Three parts of gloss clear mixed in with 1 part activator and 1 part thinner. Wait 5 minutes after each coat, applying a light misting coat first then 2 wet coats.
RESULT!

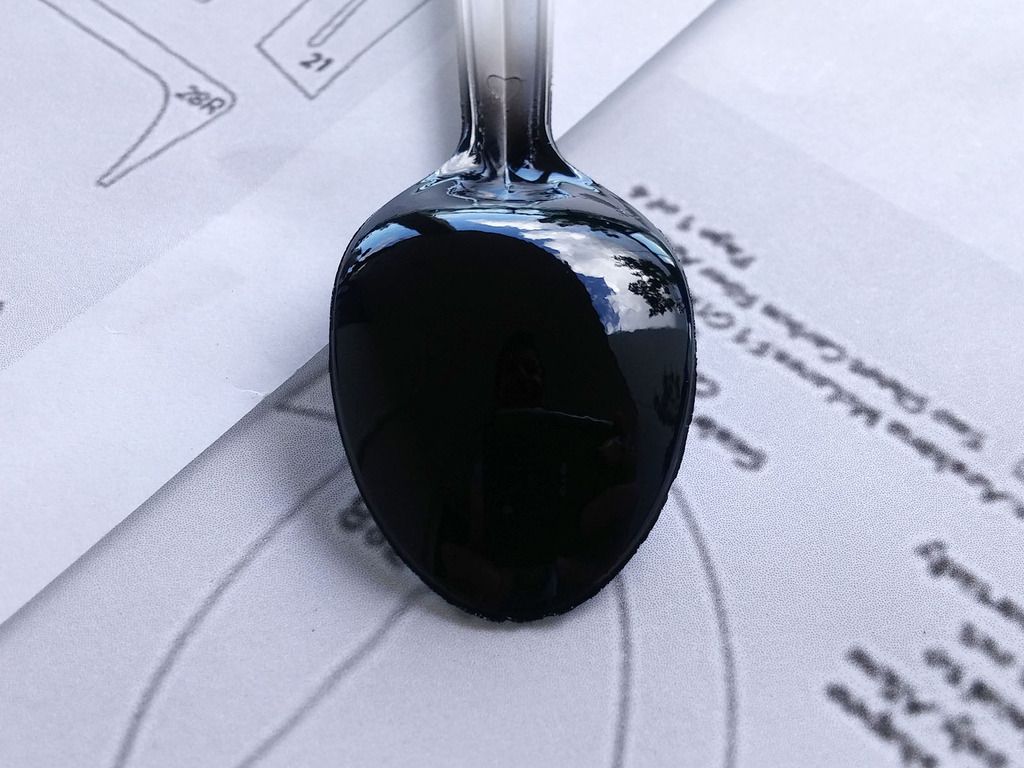
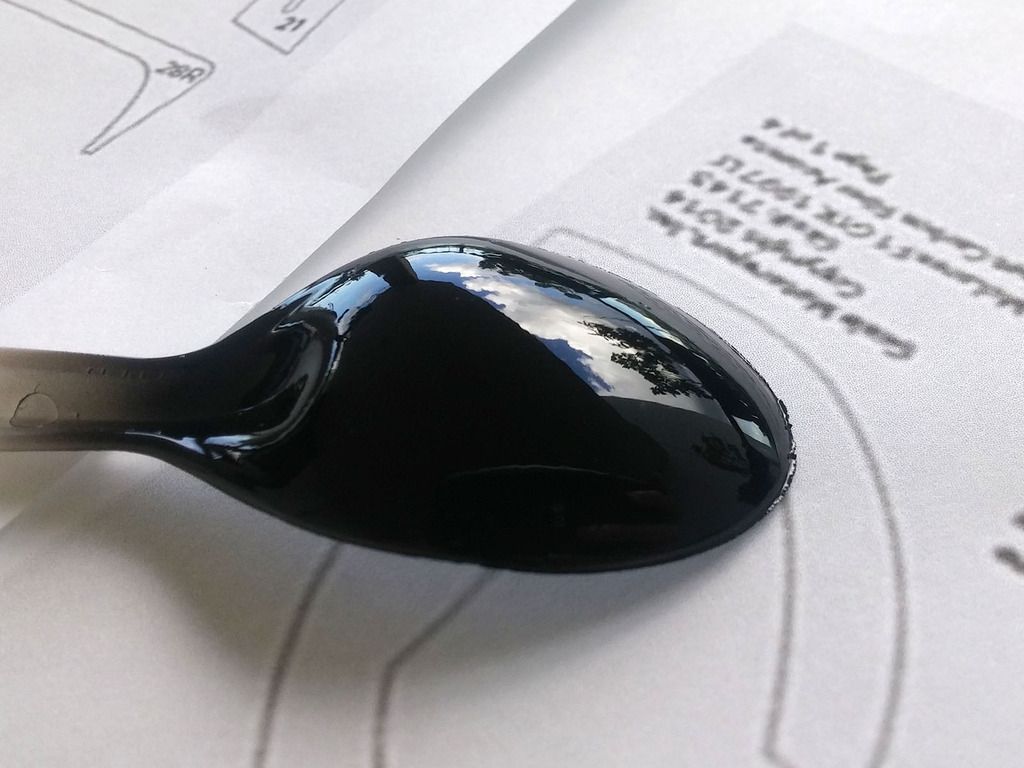
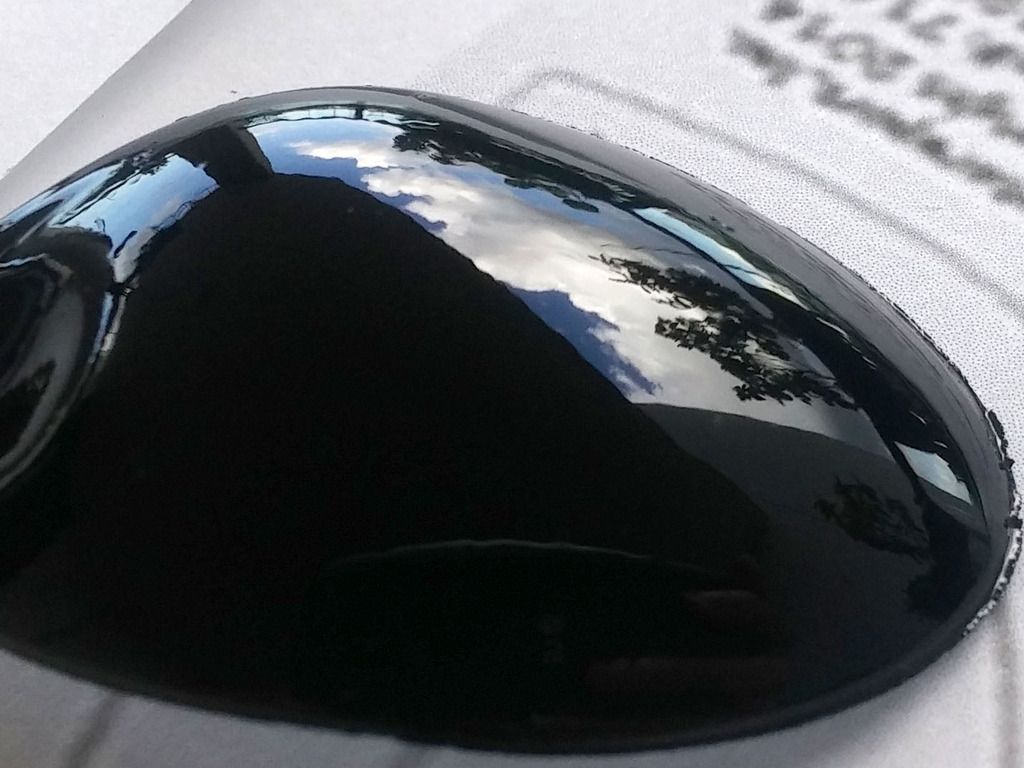
Simply an amazingly gorgeous shine, zero orange peel that is astonishingly beautiful. If I can manage to apply the paint and achieve a finish like this on the actual model I'll be in heaven! The only thing that's a problem is some dust in the paint which I hope will not be on my F1 GTR.
This is ONLY the clear coat finish, No sanding, no buffing, no polishing has been done to achieve the shine.
 Extreme close up

Re: Homer's Aoshima McLaren F1 GTR - Pre Season Testing/Long-Tail
Posted: Tue Mar 22, 2016 10:06 am
by Homerlovesbeer
Re: Homer's Aoshima McLaren F1 GTR - Pre Season Testing/Long-Tail
Posted: Tue Mar 22, 2016 12:54 pm
by Goose
Nice!!!!
love it
go on that way and you'll get an eye-catcher/killer
Goose
Re: Homer's Aoshima McLaren F1 GTR - Pre Season Testing/Long-Tail
Posted: Tue Mar 22, 2016 3:22 pm
by Homerlovesbeer
Thanks Goose

Re: Homer's Aoshima McLaren F1 GTR - Pre Season Testing/Long-Tail
Posted: Tue Mar 22, 2016 4:38 pm
by RicRodrigues
Brilliant stuff!!!! Actually jaw dropping finish on that sample spoon!!! If nothing goes wrong, that will be a perfect shiny finish effect!!!
Re: Homer's Aoshima McLaren F1 GTR - Pre Season Testing/Long-Tail
Posted: Wed Mar 23, 2016 2:01 am
by Homerlovesbeer
Re: Homer's Aoshima McLaren F1 GTR - Pre Season Testing/Long-Tail
Posted: Wed Mar 23, 2016 3:25 am
by Twokidsnosleep
Oh that is looking sweet, some real fine paintwork there.
Now some unsolicited words of advice:
DON'T F WITH IT!!!!!!
Put the body and panels away safe and sound from fingers and dust ( like a cabinet) and leave it for a few days
If you are anything like me, I always seem to want to look at the body again and move it to a different spot, hey how will the wheels look with the body paint....oops and then drop the darn thing or bump it into something. Dust, fingerprints dings are your enemy now. Let that clear coat cure and harden for as long as you can.
My favorite body painting is to do it on Sunday night and put it away. That way I will likely be too busy during the work week to mess with it and it will cure unmolested for three or four days
Just saying
Re: Homer's Aoshima McLaren F1 GTR - Pre Season Testing/Long-Tail
Posted: Thu Mar 24, 2016 11:27 am
by Homerlovesbeer
Twokidsnosleep wrote:Oh that is looking sweet, some real fine paintwork there.
Now some unsolicited words of advice:
DON'T F WITH IT!!!!!!
If you are anything like me, I always seem to want to look at the body again and move it to a different spot, hey how will the wheels look with the body paint....oops and then drop the darn thing or bump it into something.
Just saying
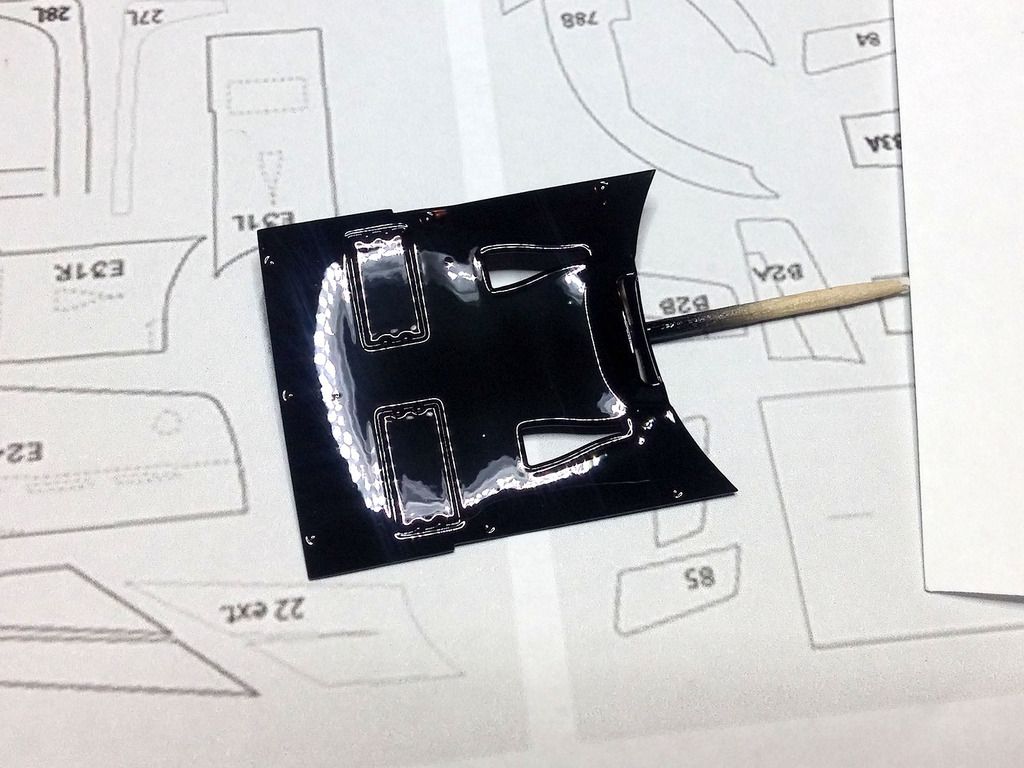
LOLOL yes that's me! I had another go at my clear coat system tonight with the engine cover and I must say it worked out AWESOME! I applied a slightly heavier misting initial coat, 5 mins, a wet second coat by applying a few passes of a medium spray, 5 mins, then about the same again for the third coat, about 5-8 passes of medium spray coats.
Done.
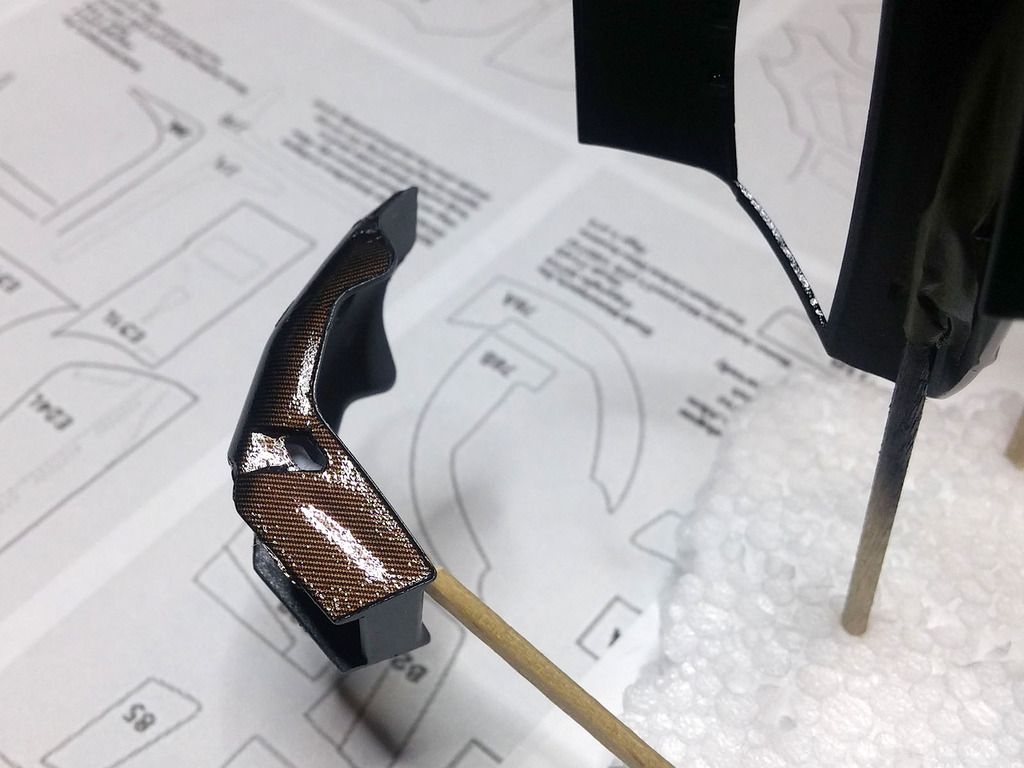
The seat with carbon fiber decal with a gloss coat. The door I did yesterday is beside it.
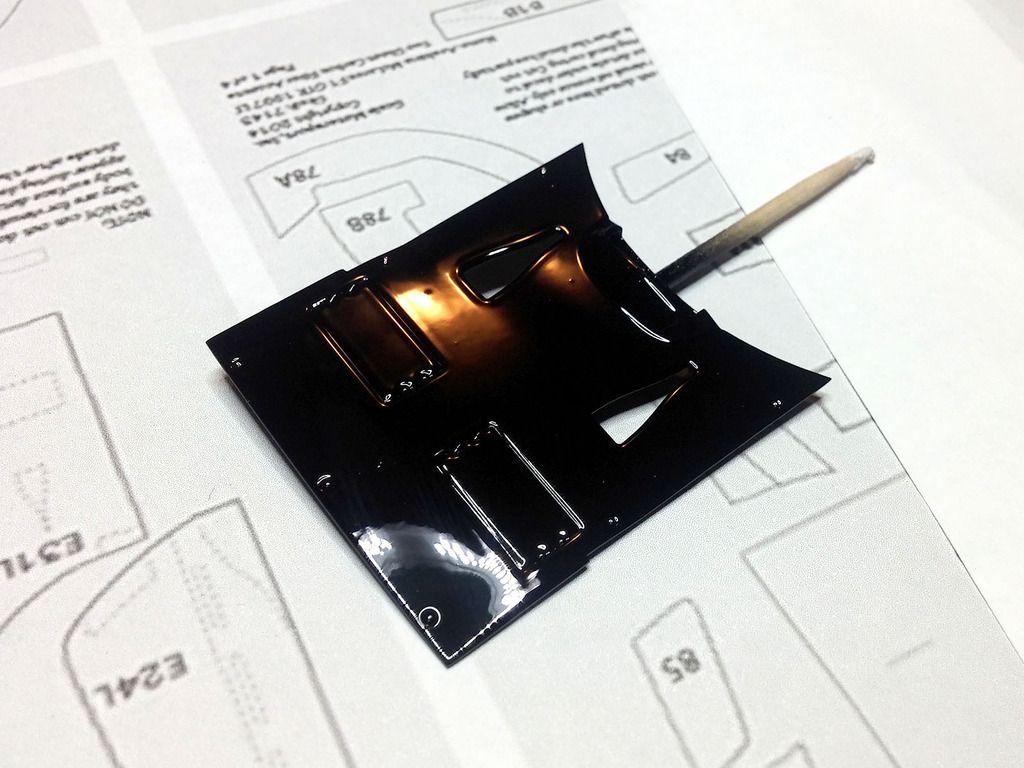
 The engine bay cover. The lights you see are the leds in my work light. It's beautifully smooth, no orange peel at all. I'll take some outdoor shots tomorrow. Black is SO hard to photograph!
Re: Homer's Aoshima McLaren F1 GTR - Pre Season Testing/Long-Tail
Posted: Sat Mar 26, 2016 10:04 am
by Homerlovesbeer
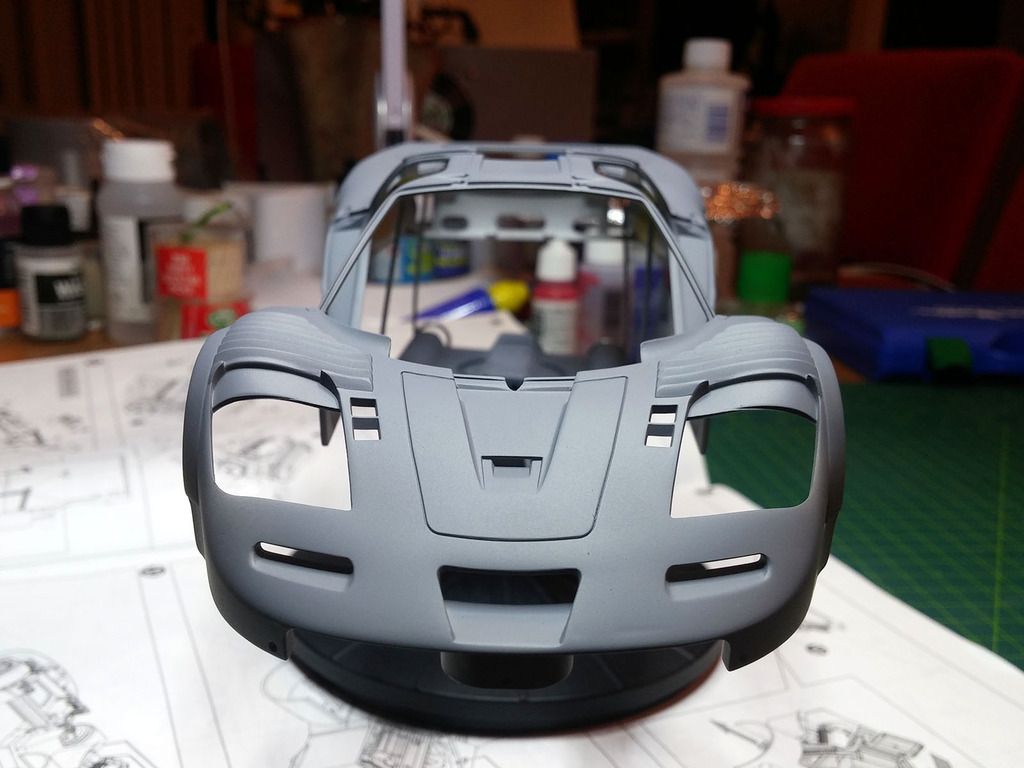
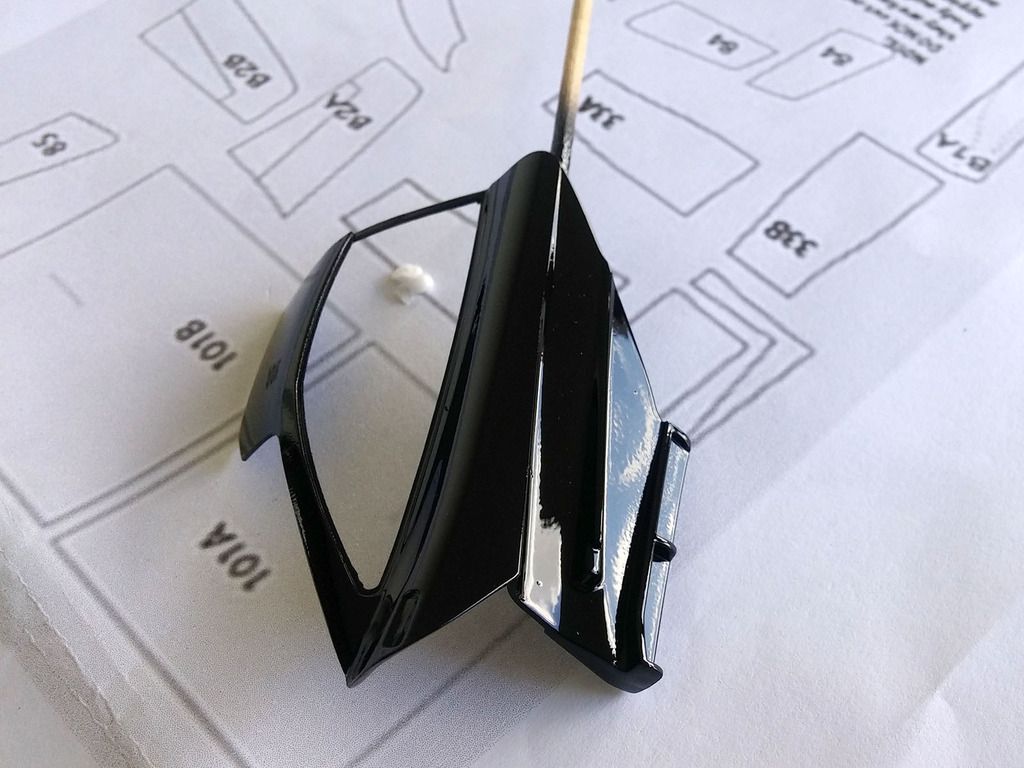
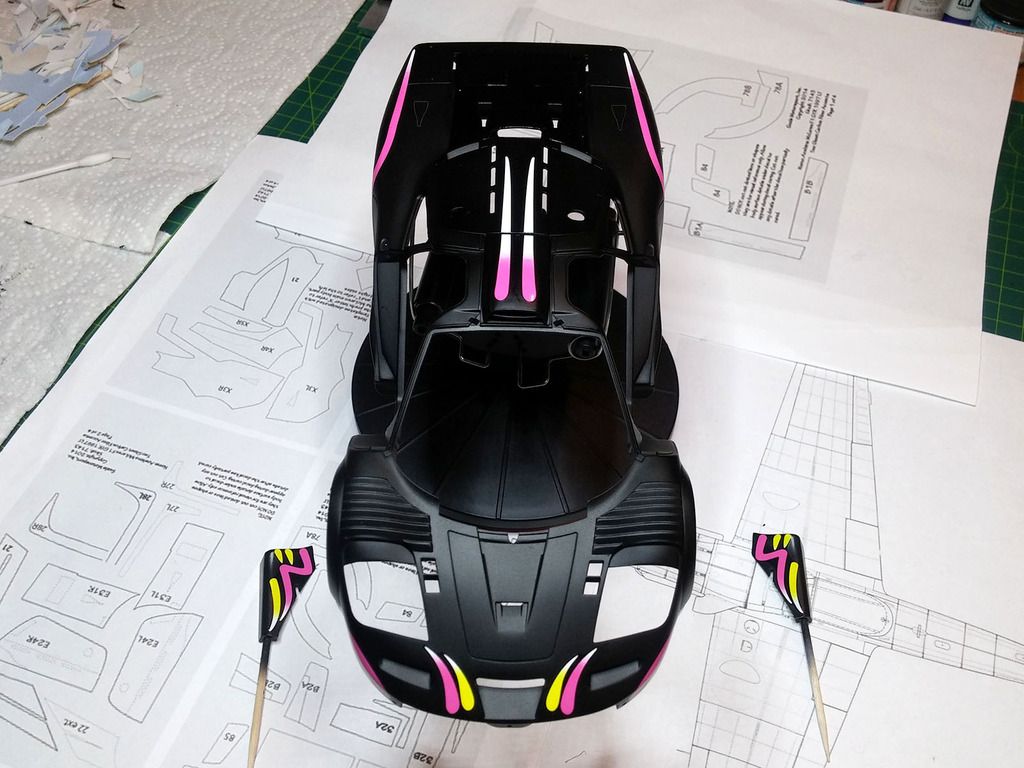
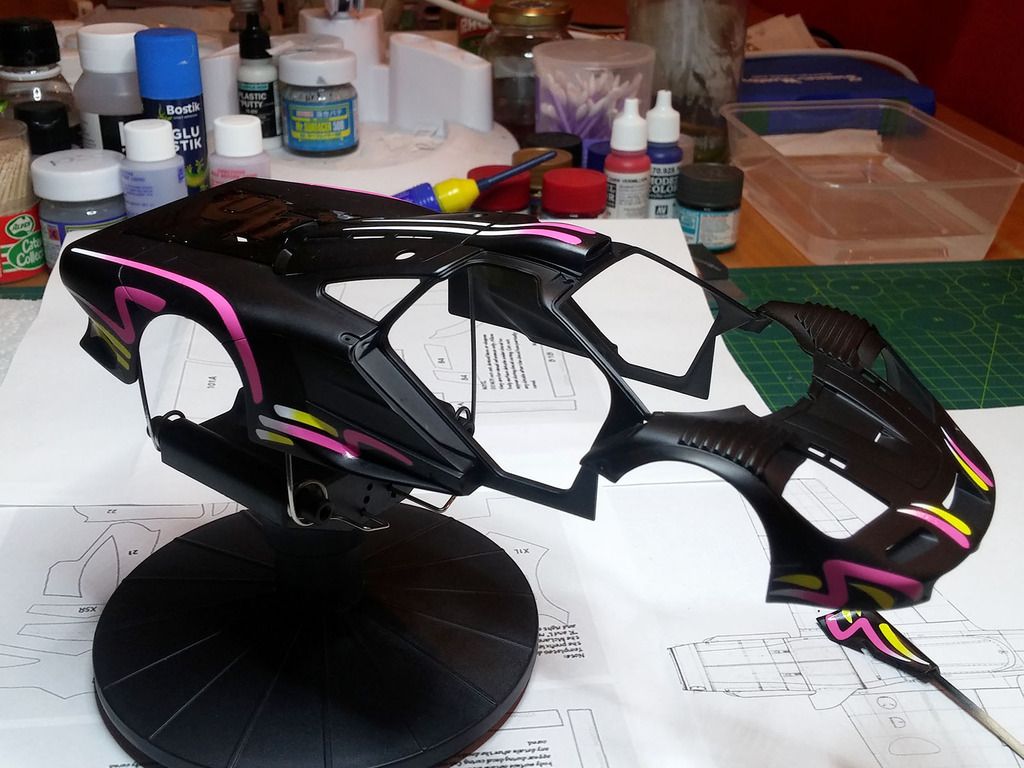
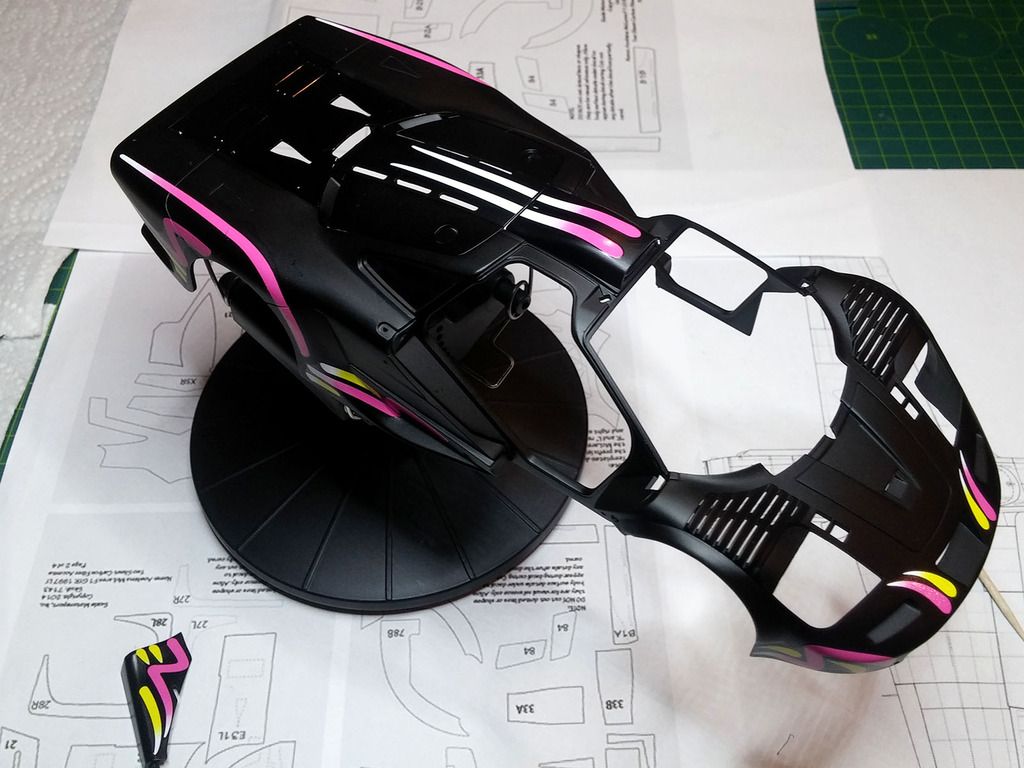
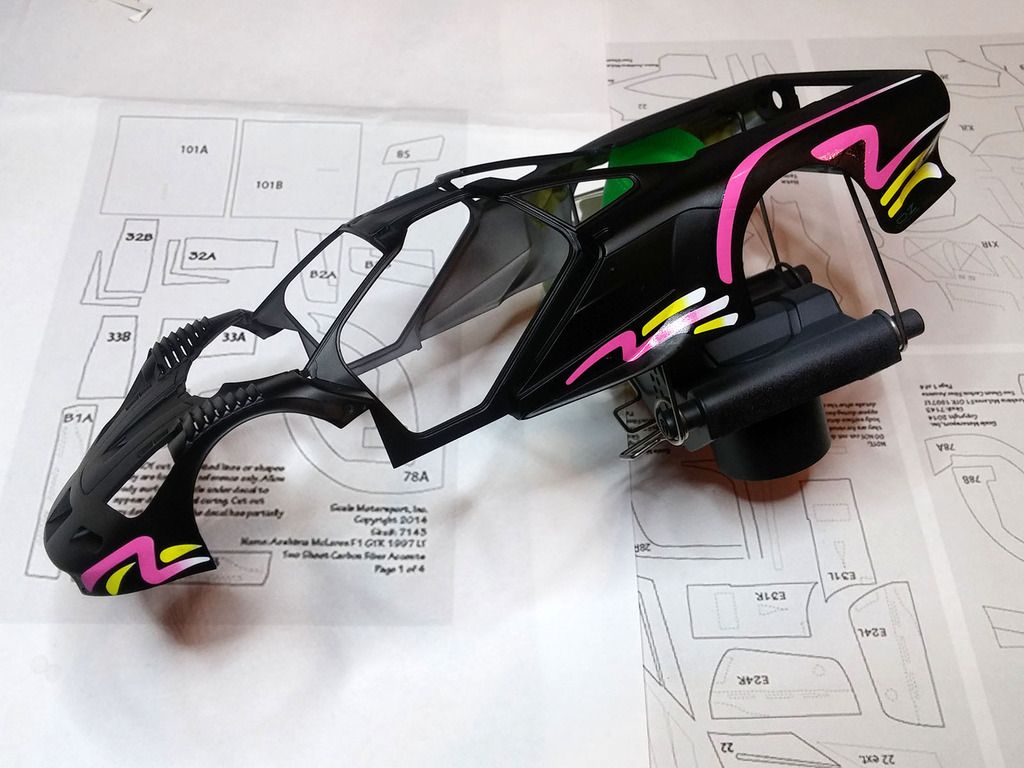
I've started decaling the body in preparation for the clear coat. It's starting to look a bit more like an F1 GTR now
Re: Homer's Aoshima McLaren F1 GTR - Pre Season Testing/Long-Tail
Posted: Thu Apr 07, 2016 12:02 pm
by Homerlovesbeer
Re: Homer's Aoshima McLaren F1 GTR - Pre Season Testing/Long-Tail
Posted: Thu Apr 07, 2016 4:29 pm
by Twokidsnosleep
Sweeeetttttt
Re: Homer's Aoshima McLaren F1 GTR - Pre Season Testing/Long-Tail
Posted: Thu Apr 07, 2016 8:35 pm
by chief5437
Hey buddy, just catching up with this. Gotta say, it's looking stunning so far.
I'm impressed with your patience slogging through all those carbon decals, I think that would drive me crazy

Loving the paintwork going on, beautiful finish! Best of luck with the rest of it mate, impressive stuff
Re: Homer's Aoshima McLaren F1 GTR - Pre Season Testing/Long-Tail
Posted: Thu Apr 07, 2016 9:27 pm
by Homerlovesbeer
Thanks Chief,
How's yours coming along?
Re: Homer's Aoshima McLaren F1 GTR - Pre Season Testing/Long-Tail
Posted: Fri Apr 08, 2016 6:30 am
by Lysus
Looking sharp. I was starting to worry the project had been lost...but here we are! Excellent work, dude.
Re: Homer's Aoshima McLaren F1 GTR - Pre Season Testing/Long-Tail
Posted: Thu Apr 21, 2016 1:07 pm
by Homerlovesbeer
Hi guys,
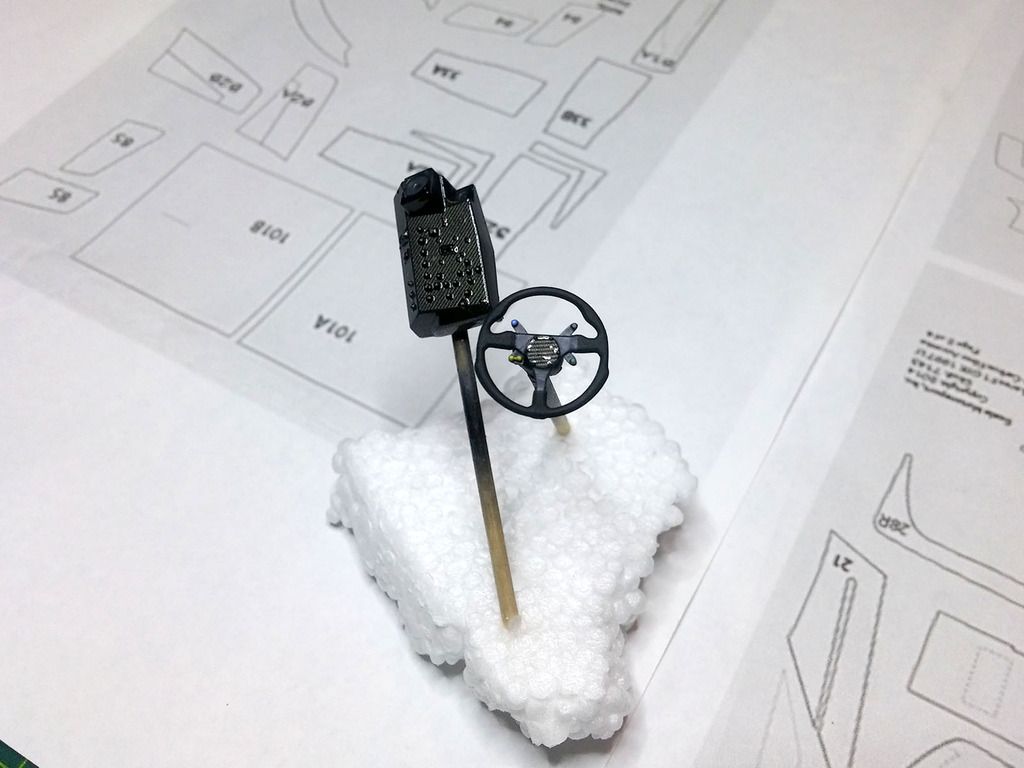
Progress slow due work. I managed to knock a bit more over yesterday and today. I finished off the carbon tub and gave it 3 coats of Gravity colors clear. The parts without the carbon decals will not be seen as the seat and dash will cover those parts.
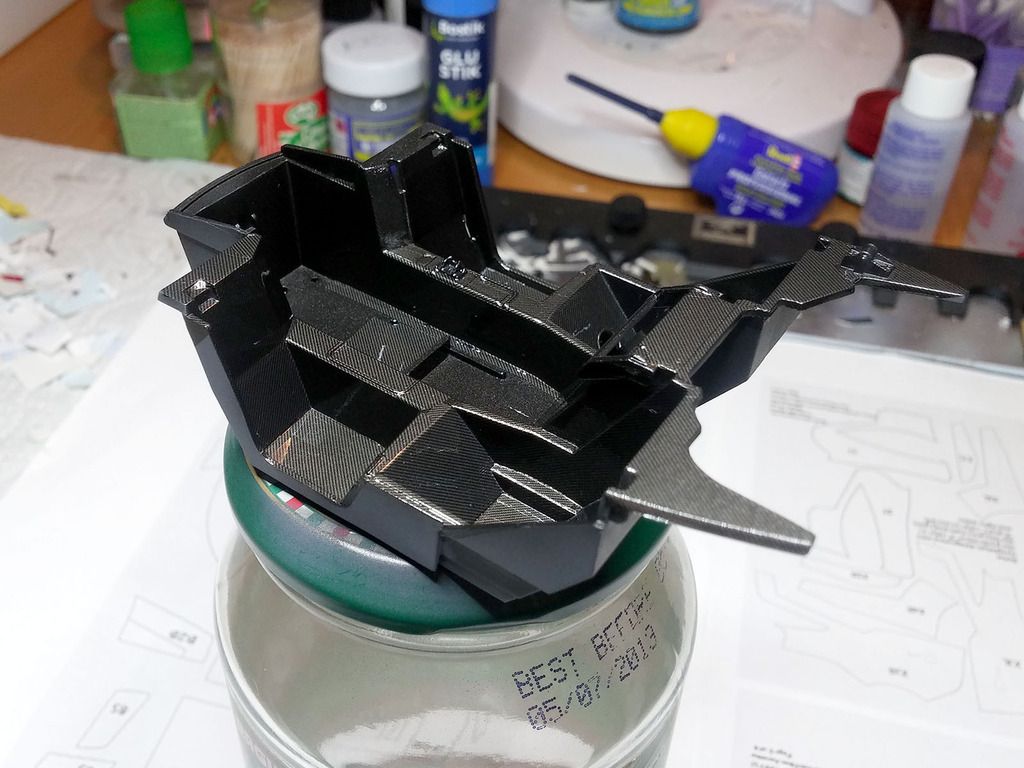
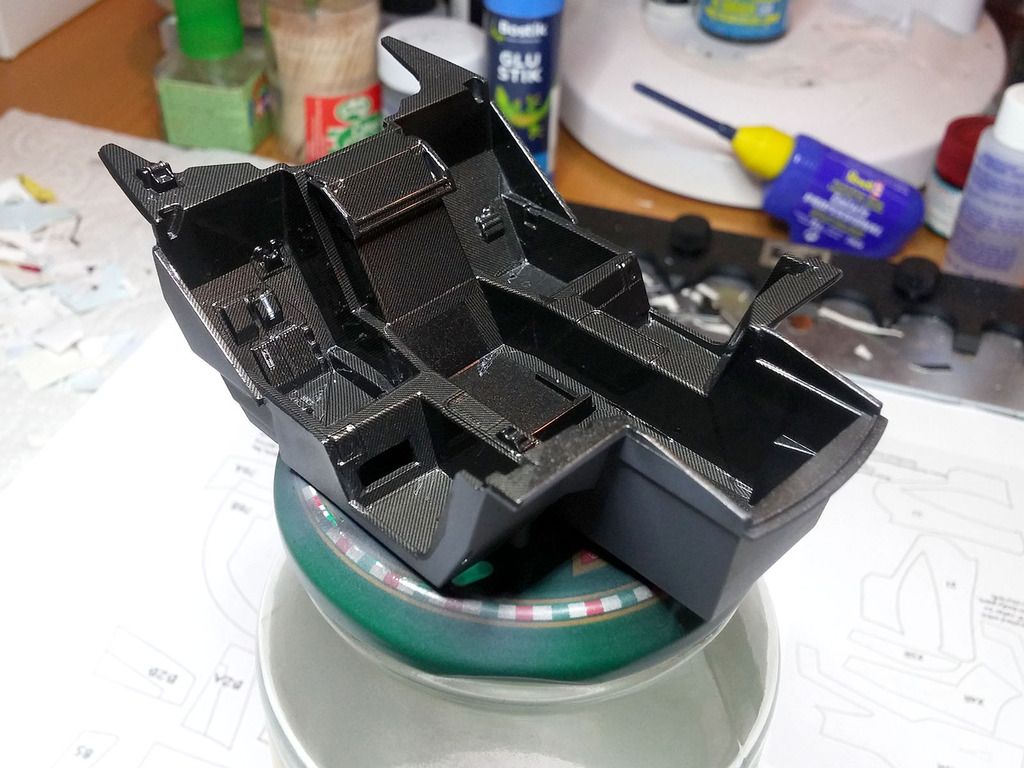
I also applied the carbon decal to the switch panel which goes on the right hand side foot well. I just need to wait for it to dry before applying the colours for all the switches. I also finished off the steering wheel and applied the carbon boss as well as painting the steering wheel frame and paddles, applying the buttons in their correct colours.
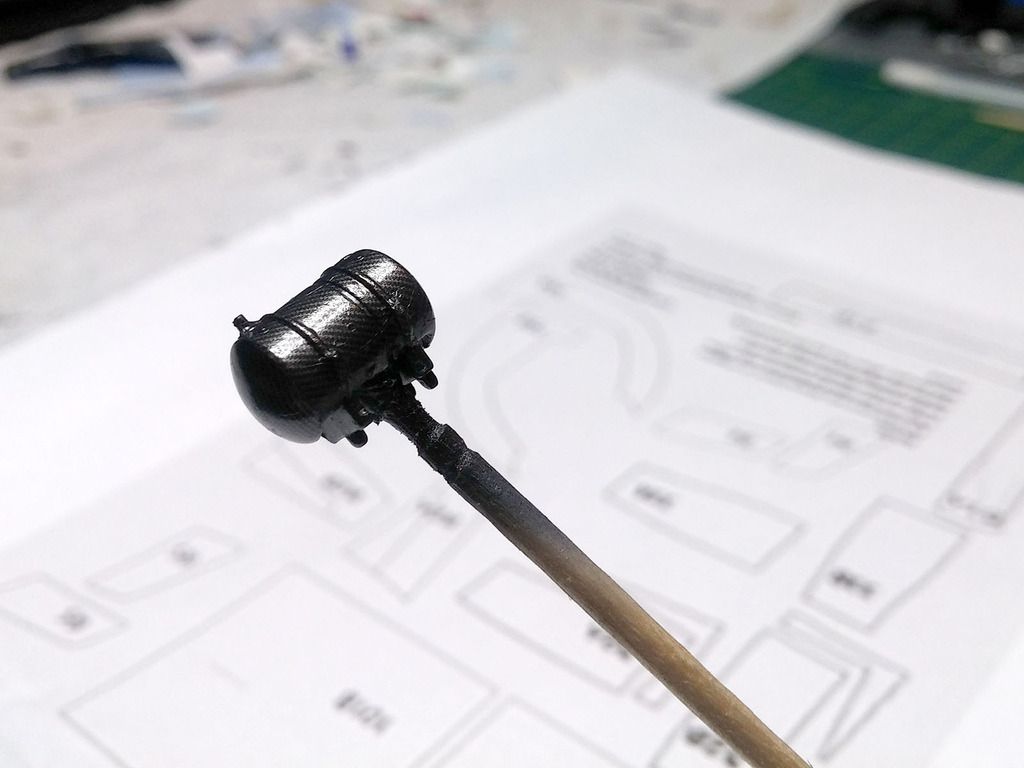
My cat chewed on the extinguisher before I applied the carbon decals, so now it looks a bit beat up with the carbon applied
It's very hard to photograph and needs to be detailed yet with brackets etc to be painted once the clear coat has been applied.
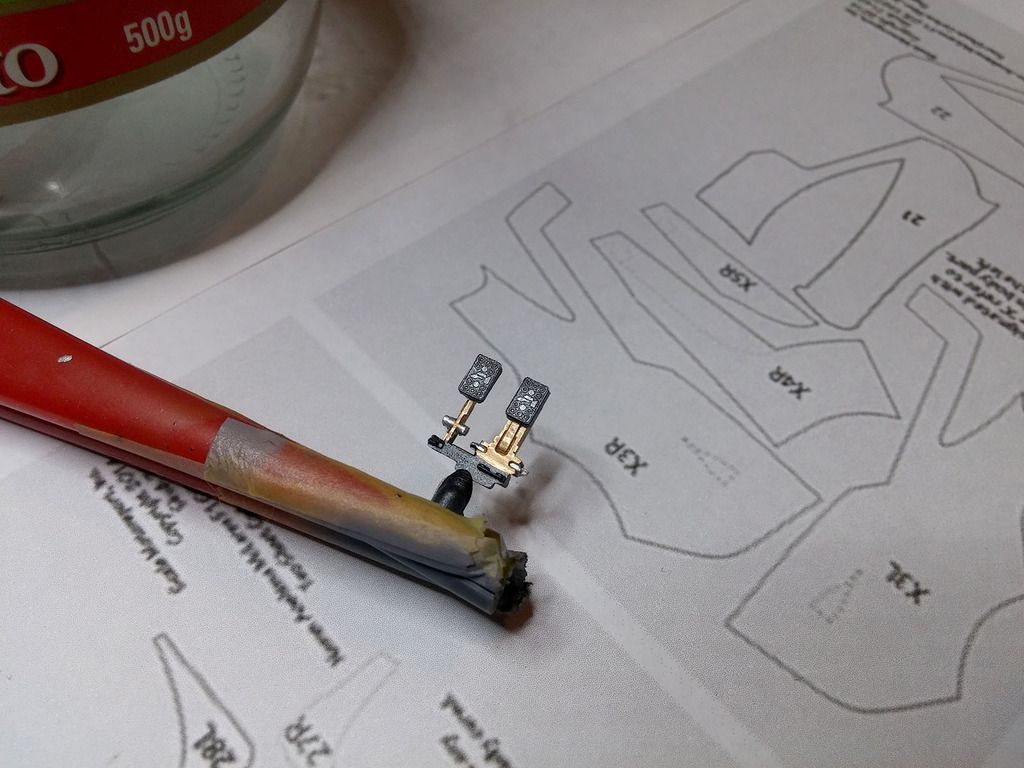
The clutch and brake pedal have also been done.
Sorry for taking so long guys

I'll crack on a bit more hopefully.
Re: Homer's Aoshima McLaren F1 GTR - Pre Season Testing/Long-Tail
Posted: Thu Apr 21, 2016 4:18 pm
by Twokidsnosleep
You are doing great, take your time
Everyone is miles ahead of that darn Bugatti build of mine

Re: Homer's Aoshima McLaren F1 GTR - Pre Season Testing/Long-Tail
Posted: Thu Apr 21, 2016 10:16 pm
by Homerlovesbeer
LOL true. It's all the darn carbon fiber work grrr