Page 2 of 2
Re: Tamiya M60a1 with Reactive Armor
Posted: Mon Dec 30, 2013 7:23 am
by T3hGuppy
Shame about the marks on the flat bed dude.
Looking good though

Re: Tamiya M60a1 with Reactive Armor
Posted: Sat Jan 04, 2014 1:55 am
by NovYank
Goodness gracious great balls of fire this is the best website ever!!!
http://www.primeportal.net/m60a3_action ... _shots.htm
Re: Tamiya M60a1 with Reactive Armor
Posted: Sat Jan 04, 2014 2:51 am
by NovYank
So some decal-ing happened and I done goofed.
I skipped a step in my paint job. I've never seen an Deuce that's not sun bleached to all hell, so I was planning on putting a layer of lighter paint on. But instead of doing that I put some decals on.
Also, I lost the instructions to this kit so I basically grabbed all my spare decals and went to town on the kit. Which means they are probably incorrect and I know for a fact that the KFOR decal is wrong for the time period. So I'll deal with that can of worms later.
Some progress pics on the Deuce, next will be the sunbleach, varnish, and then weathering practice.
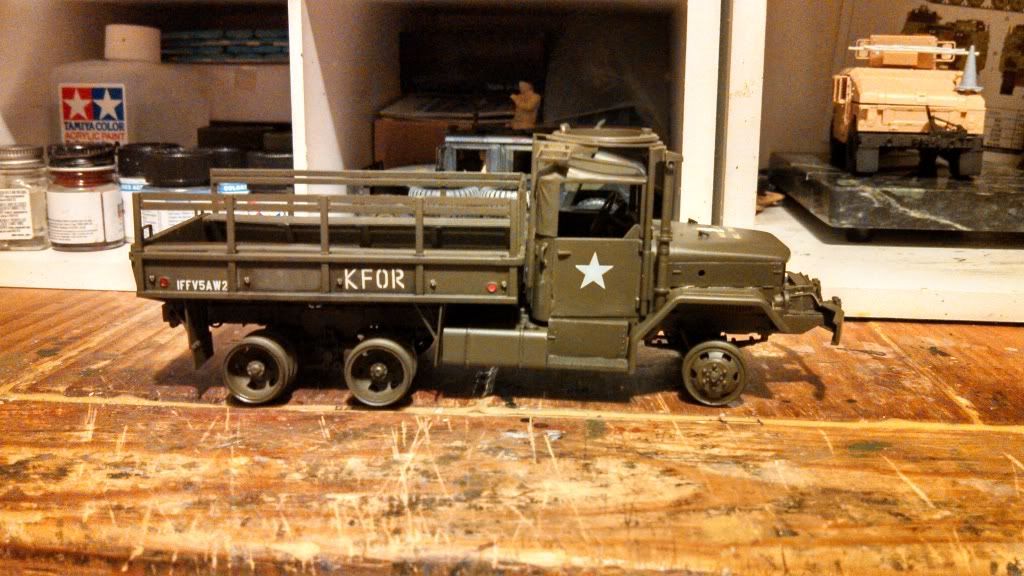

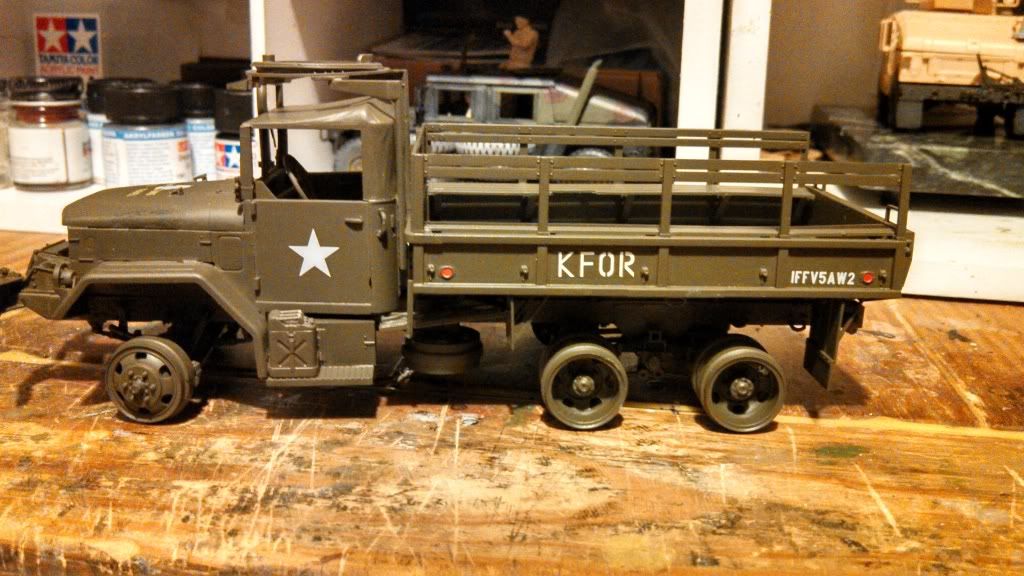
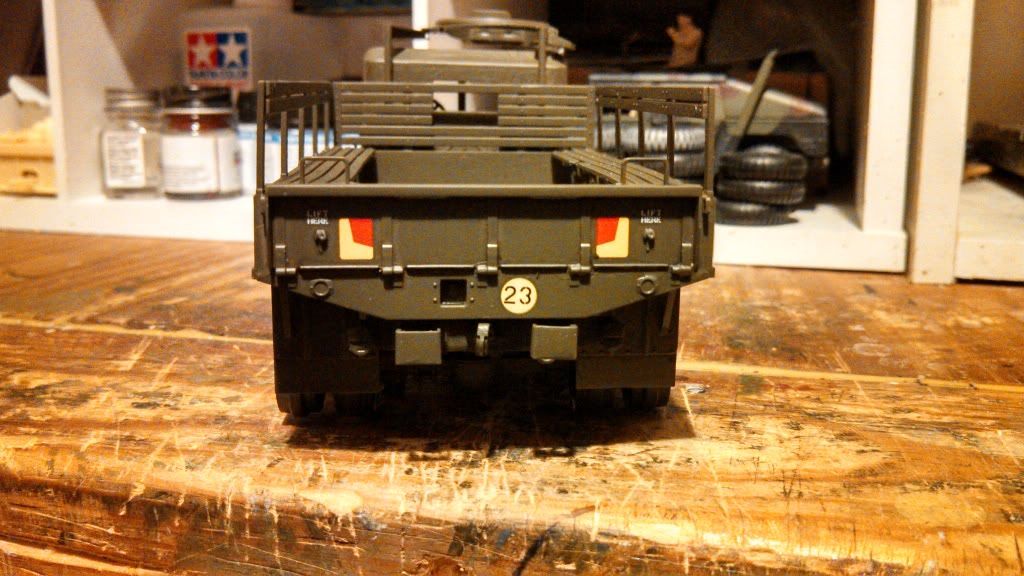

While I do plan to get some sagged tires I'm weathering the wheels. This color may seem weird but it fits into the range setting of this diorama.

Re: Tamiya M60a1 with Reactive Armor
Posted: Sun Jan 05, 2014 8:48 pm
by Jamesday1998
i like the weathering youve done with the paint work and the tire! keep up the good work
Re: Tamiya M60a1 with Reactive Armor
Posted: Mon Jan 13, 2014 1:03 am
by NovYank
Remember the KFOR decal I put on a while ago? Well I came to find out that it is off date. KFOR didn't happen yet... so they needed to be removed.
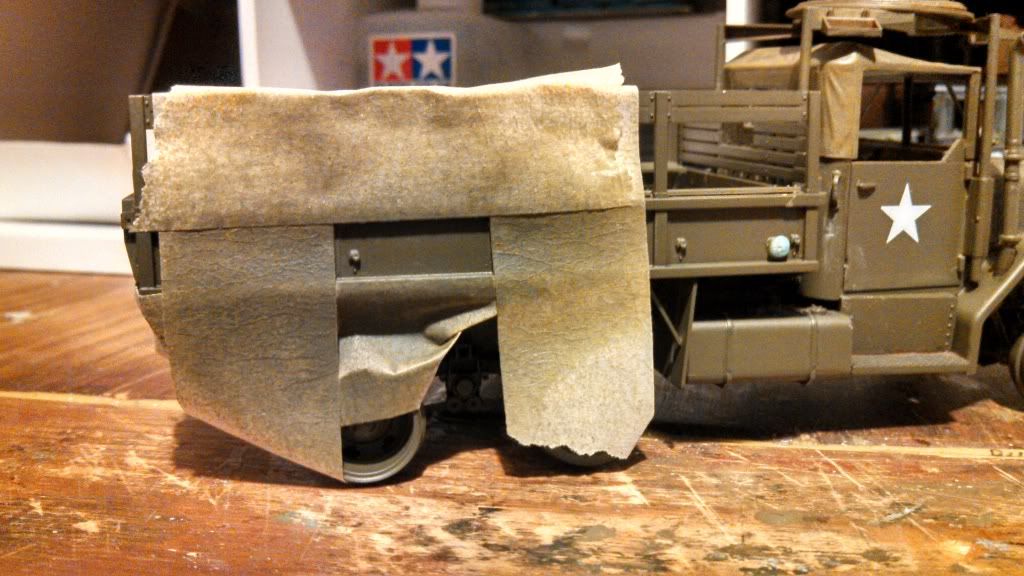
Funny story actually as you can see below I made the Deuce look like a mummy with masking tape because I use spray cans. As you all know there is a lot of overspray so I didn't want the paint to tamper the other decals and the tarp over the cab.
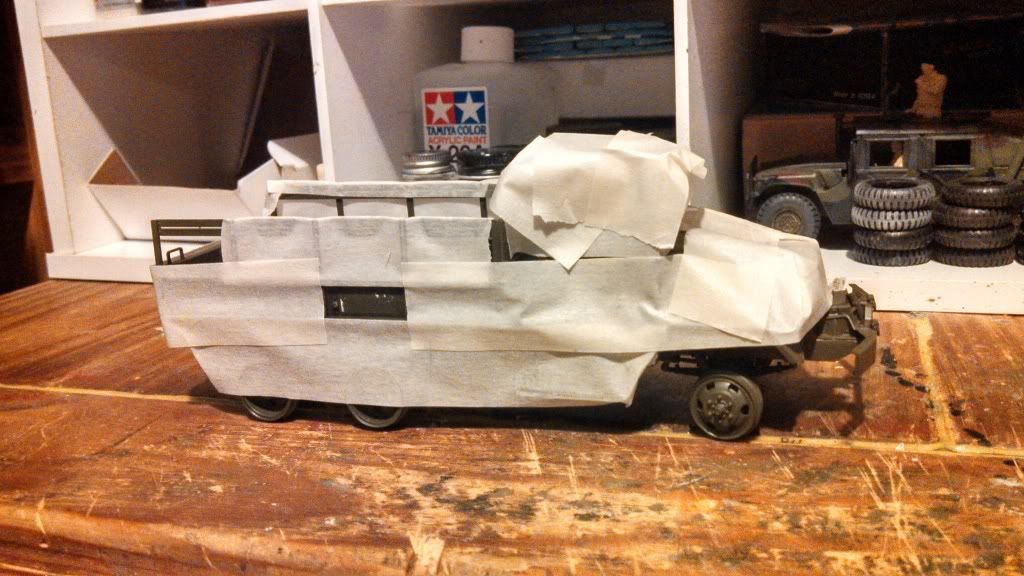

I was originally going to paint over the decal itself and hope it would even out after the paint dried. That was until I found out there was an easier way to go about things. I put the a piece of tape on the decal itself, as an experiment at first, and low and behold the decal came off of its own free will.
The first attempt worked like a charm. Result:

Second attempt wasn't as successful.
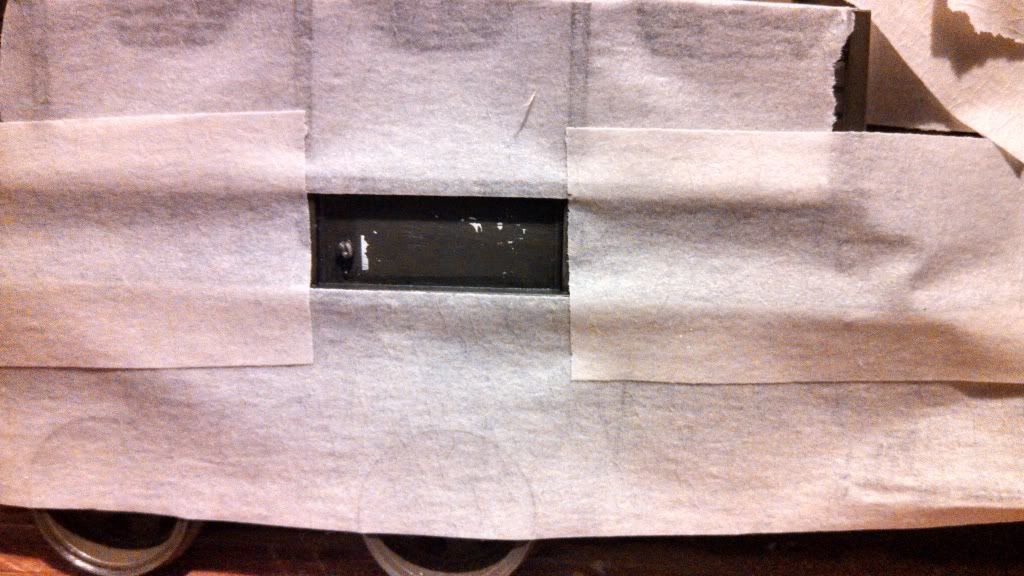
As hard as I tried I couldn't get the other remnants off. So I had to paint over them. I showed some self control that surprised my big thuggish self. The area where the paint spreayed was quite minimal. I thought that I would need to cover the entire model again. But instead the spray was focused in a pretty small area for painting with a spray can.
 WARNING MODELER BEING STUPID
So do you guys see the area to the left of the KFOR decal? If you do then congratulations, you're intelligence far surpasses mine.
It happened when I was experimentally trying some wash, their was too much and I tried to remove it with paper towel. I must of forgot what ease is and just rubbed hard like I was polishing a hubcap.Needless to say I removed some of the paint and now the plastic is showing.
Being my idiotic self I didn't notice this until
AFTER I removed all of the masking tape. I was tired and I had stuff to do so I contemplated just leaving it. I decided against it because knew that it would be a huge eyesore and I'd hate myself forever and ever.
So now I had to re-mask the entire section, go back and paint it all again. Here's a photographic evidence of my stupidity...

I was a little less careless with this paint session but it all worked out okay.
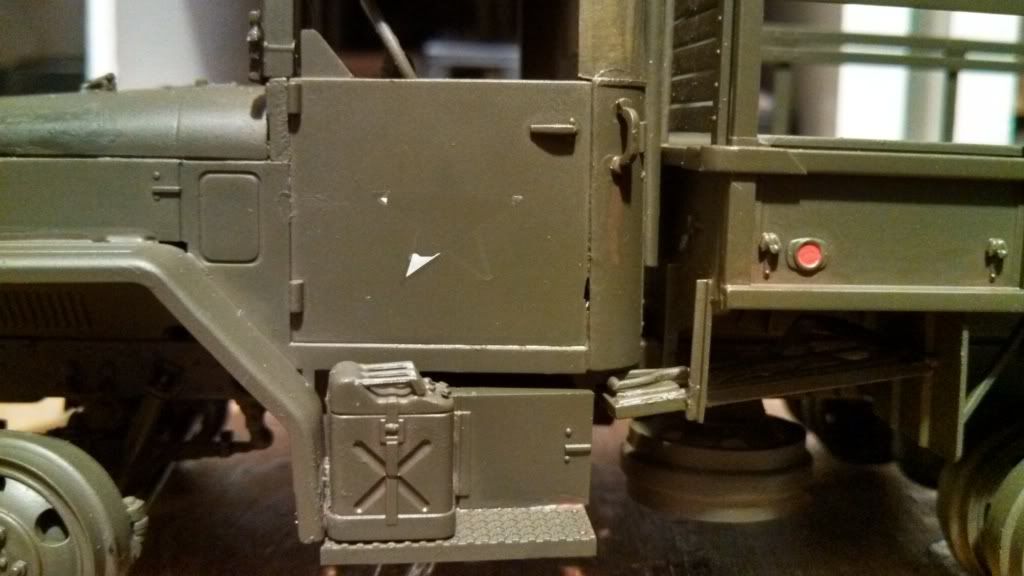
Now an even stupider story. When I was removing the original masking tape I accidentally removed part of the star on the driver's door. Here's what it looked like:
Now I couldn't have that on the model so I decided to remove the star from the door on the other side too. Unlike my first attempt this was going to be the easy way. So now here's a quick tutorial on how to take off decals on a model.
Step #1:
-You need to place masking tape on the decal. DON't apply too much pressure or you'll risk breaking pieces of your model.
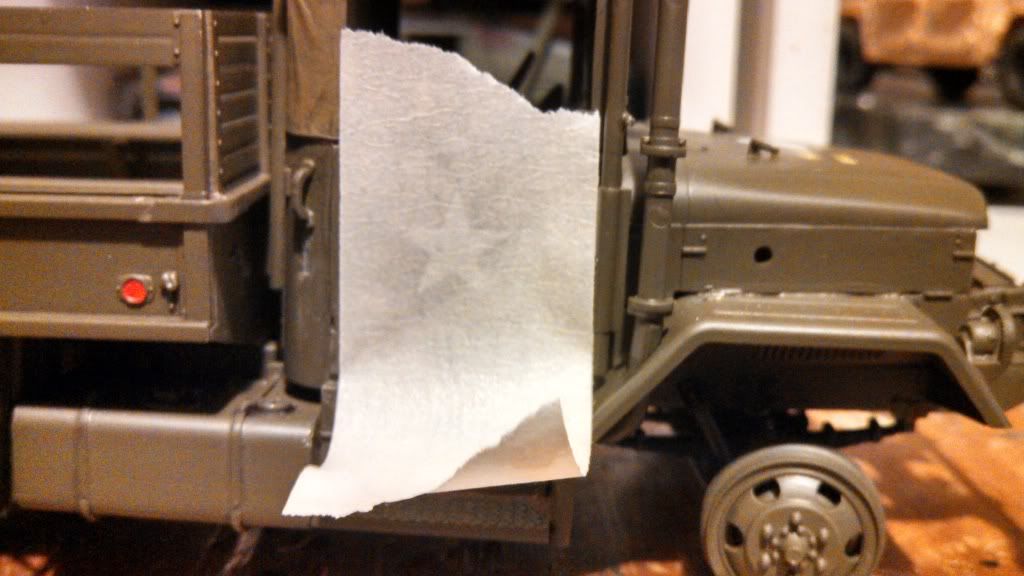
Step #2:
-Now with the tape on take a Q-tip and gently rub the masking tape on the decal making sure that there's no between the tape and the decal. Make sure it's an even surface.

You can see the circle that I applied pressure to:

Step #3:
-With haste but not like ripping off a band-aid peel off the tape. This should be your result:
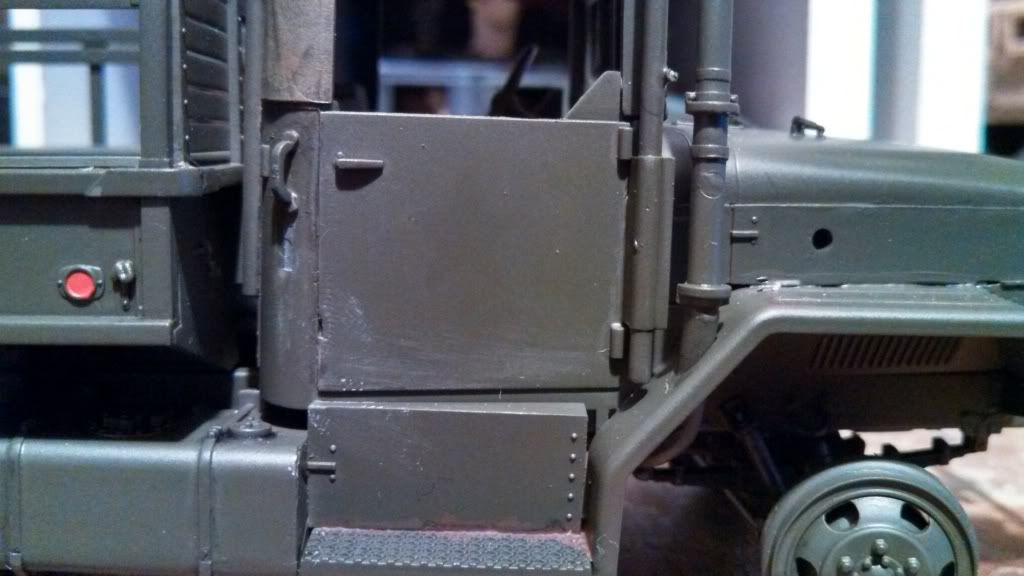
Now the Deuce after this session: Basically two steps backwards.


So I then went to a craft store and recieved some oil paints and to be a filter. Being my lucky self when I planned to go outside and apply a varnish it started to hail. So until next time I'm dead in the water.
Re: Tamiya M60a1 with Reactive Armor
Posted: Wed Jan 15, 2014 6:49 pm
by T3hGuppy
This is really shaping up great dude.
Managed to get anymore done?
Re: Tamiya M60a1 with Reactive Armor
Posted: Wed Jan 15, 2014 7:07 pm
by Tiger131
nice recovery we have all got carried away with the airbrush in our time...and thats one hell of a line up off washes you got
Re: Tamiya M60a1 with Reactive Armor
Posted: Wed Jan 15, 2014 8:32 pm
by NovYank
T3hGuppy wrote:This is really shaping up great dude.
Managed to get anymore done?
I put a varnish on it. Does that count?
Re: Tamiya M60a1 with Reactive Armor
Posted: Wed Jan 15, 2014 8:44 pm
by T3hGuppy
NovYank wrote:T3hGuppy wrote:This is really shaping up great dude.
Managed to get anymore done?
I put a varnish on it. Does that count?
Lol yes it does lol

Re: Tamiya M60a1 with Reactive Armor
Posted: Wed Feb 05, 2014 3:41 pm
by NovYank
After a long and difficult hiatus I've returned with stories of my progress. The short of it is that I put a gloss varnish on the Deuce and put a pin wash on it. But just saying that doesn't make an interesting topic so for you fine gents i'll put in a few pictures.
Here's the Deuce with what appears to be a wash. As you can see I haven't completed the wash. There are still a few places that need to be touched up with white spirit. But until then I'm stuck here with this load. If you have any questions about how I did it please watch this video.
[youtube]mJH6LqczUK0[/youtube]
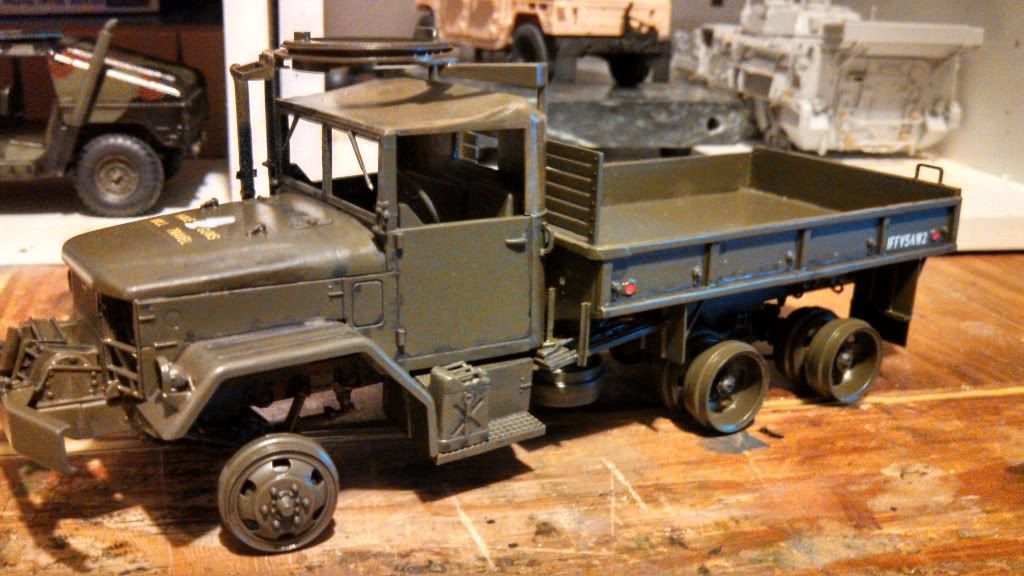


I tried some streaking on the fuel tank. I think it looks nice.
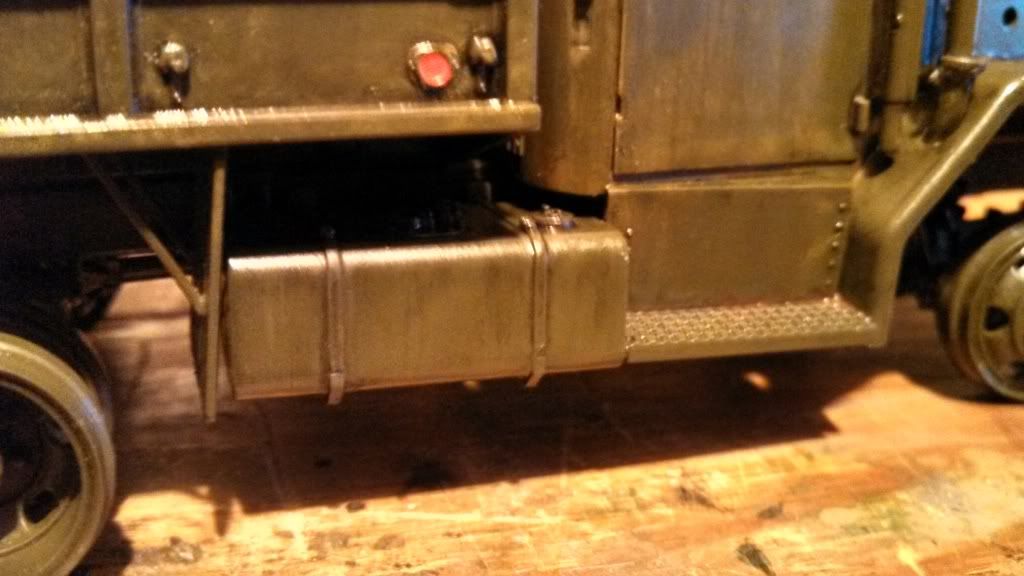
I tried some streaking on the fuel tank. I think it looks nice.
I also applied the weathering to an old humvee. This one too needs to be completed with some white spirit.
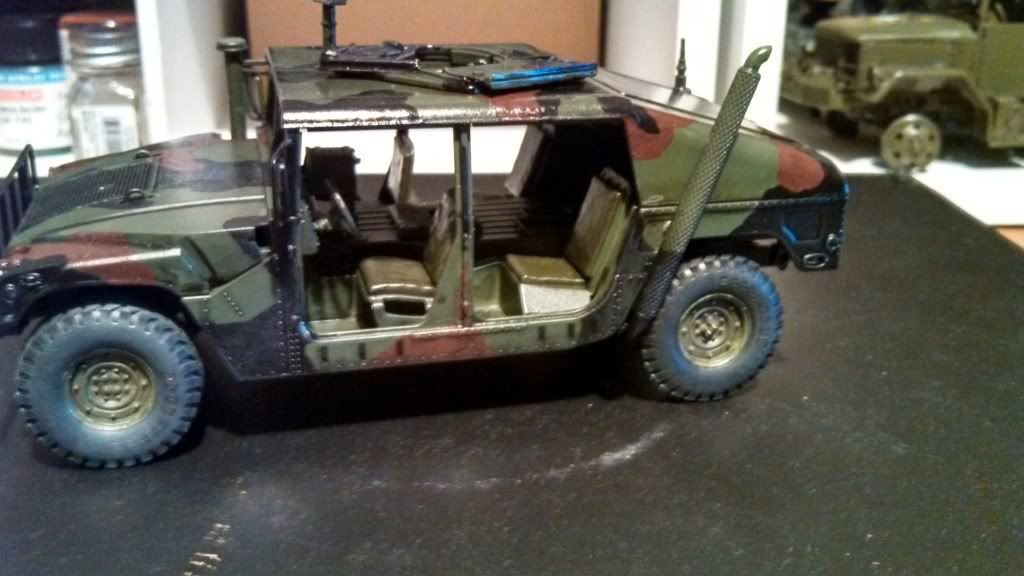
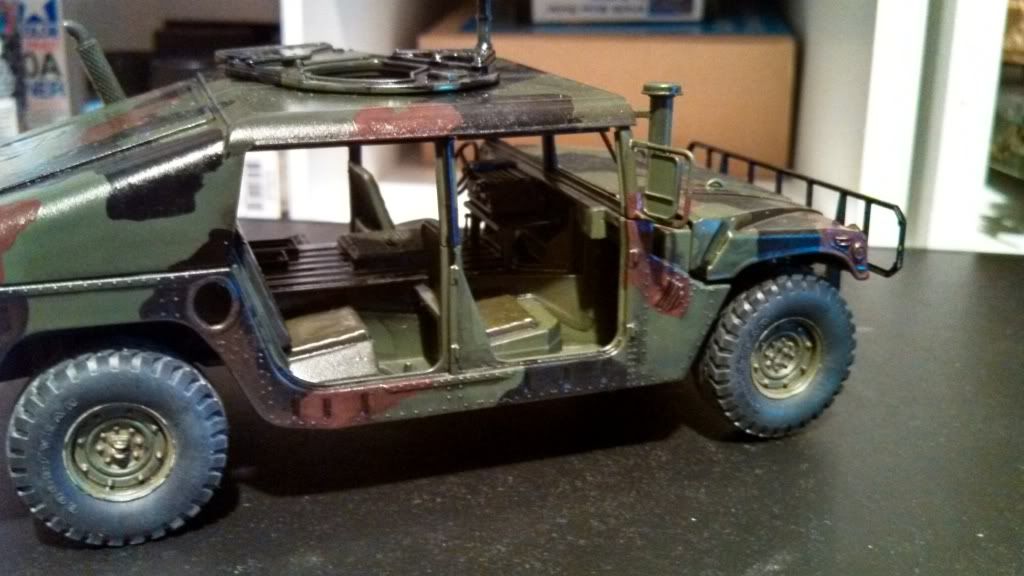
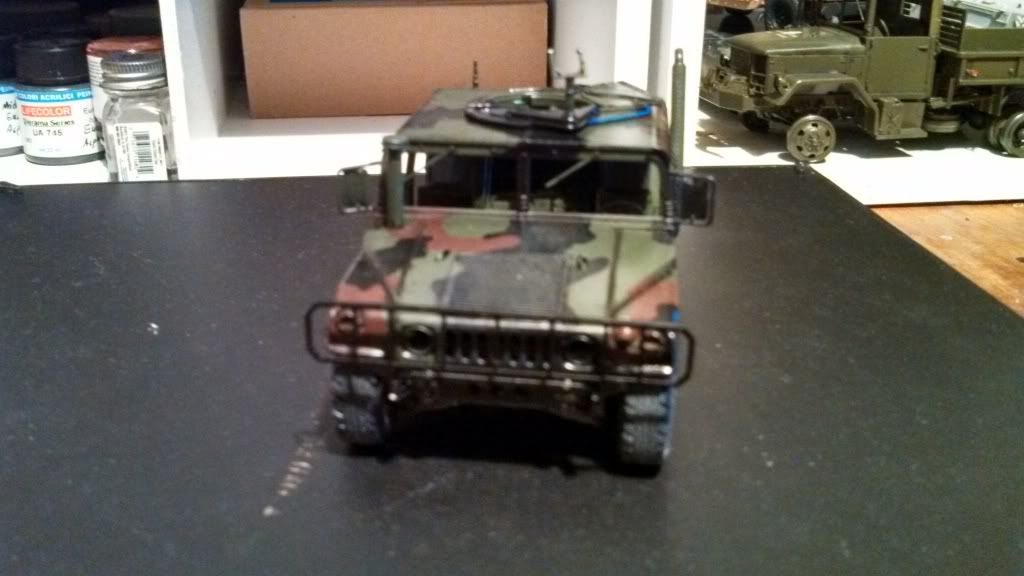
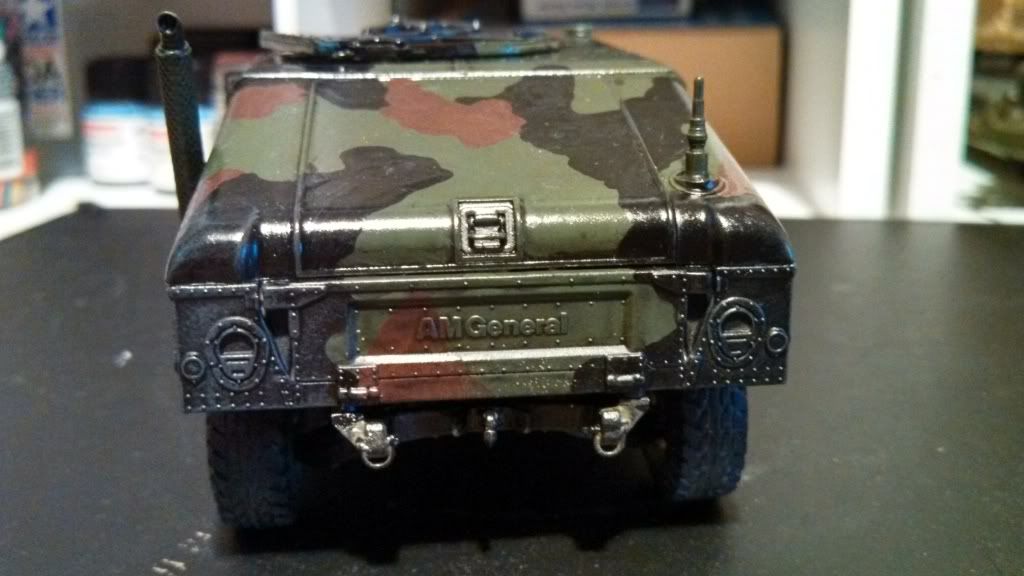
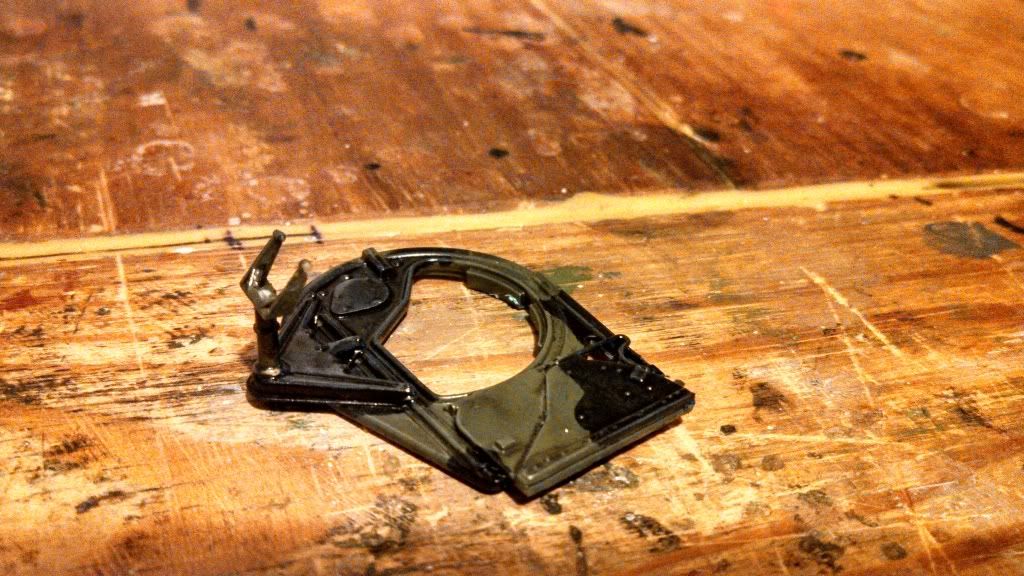
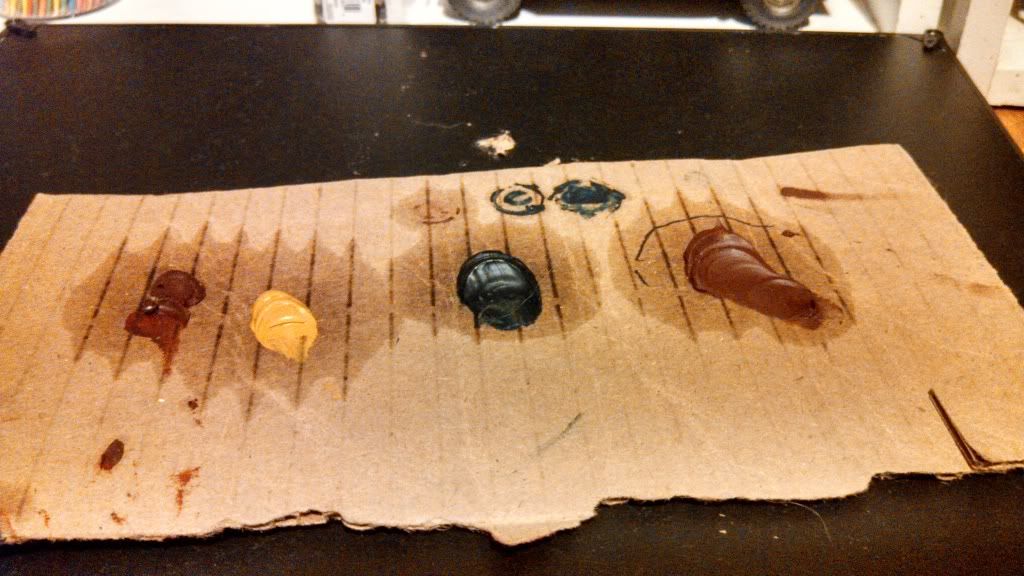
For all of these vehicles I will do an oil filter on to seperate the colors so I've had these colors sitting on a piece of cardboard for a while, but I do have a question. Should I use the oil filter if I'm going to use the other AK Interactive products? Or is there any specific order in which I should use them in?
So apparently this topic was made about some sort of tank....I know right? Surprised me too. But as it turns out there is an M60 lying around my bench and I thought I could put it in this build and nobody would be the wiser.
Here's the stowage that I plan to use and here's how I plan to arrange it. Remember that this tank is at rest in a mechanic pit having its engine replaced after a day at the range. Now there will be more ammo boxes (both tank rounds and smaller munitions) and more personal items like canteens, toolboxes, and other bags.
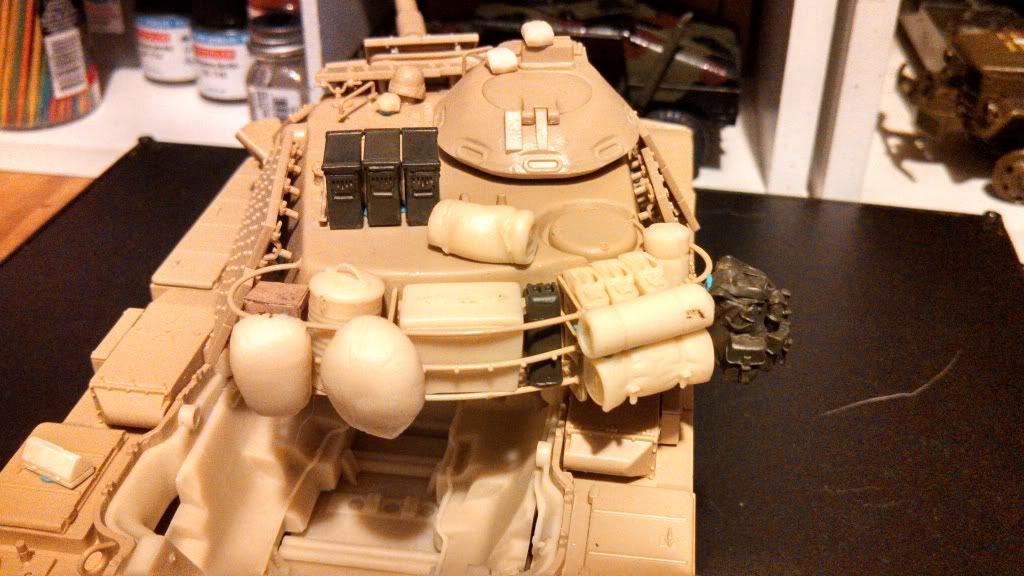
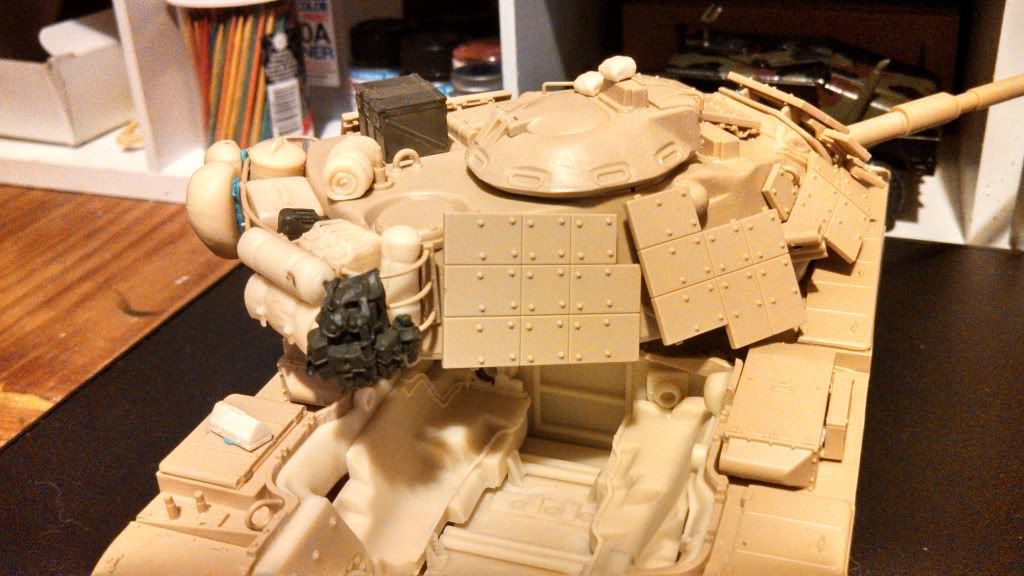
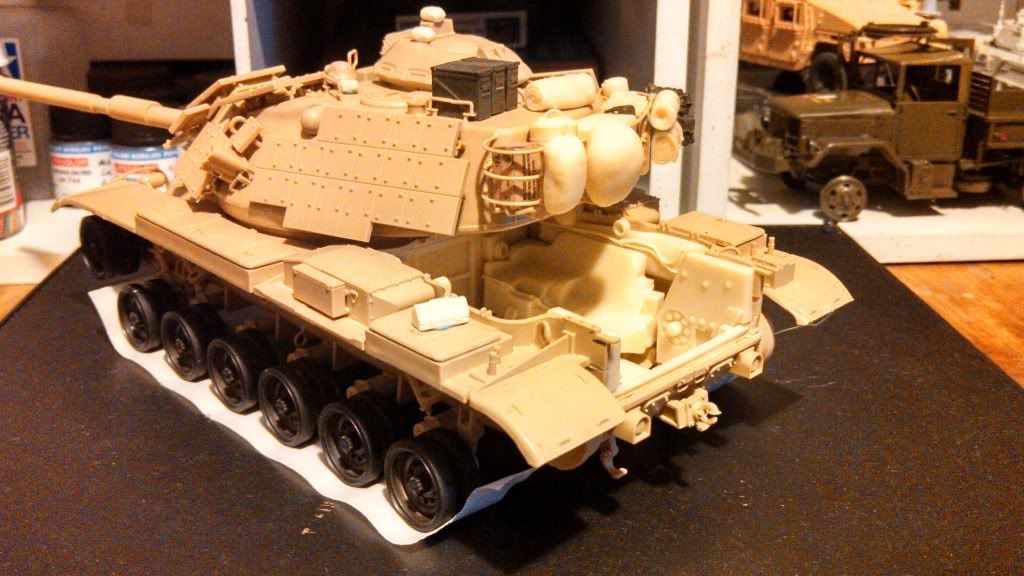
Now the diorama. It'll be called "Trouble on the Range" it will be the M60 in a pit being repaired and removing the ammunition. Here are a few reference videos that show the type of weathering that I will do. There's no thick mud that layers up on the tank and the road-wheels. Instead the composition of the US domestic ranges is a highly maintained gravel road. The tanks that roll on them get some fine dust everywhere and lots of buildup on the sides of the tank.
Here are some videos that show my point.
[youtube]pDIL88x3GJU[/youtube]
[youtube]aBRO5Z8ZnKA[/youtube]
[youtube]Srfyrsg6V1g[/youtube]
For my diorama I'll be using a picture frame as the base. The trick is to find the cheapest frame available.
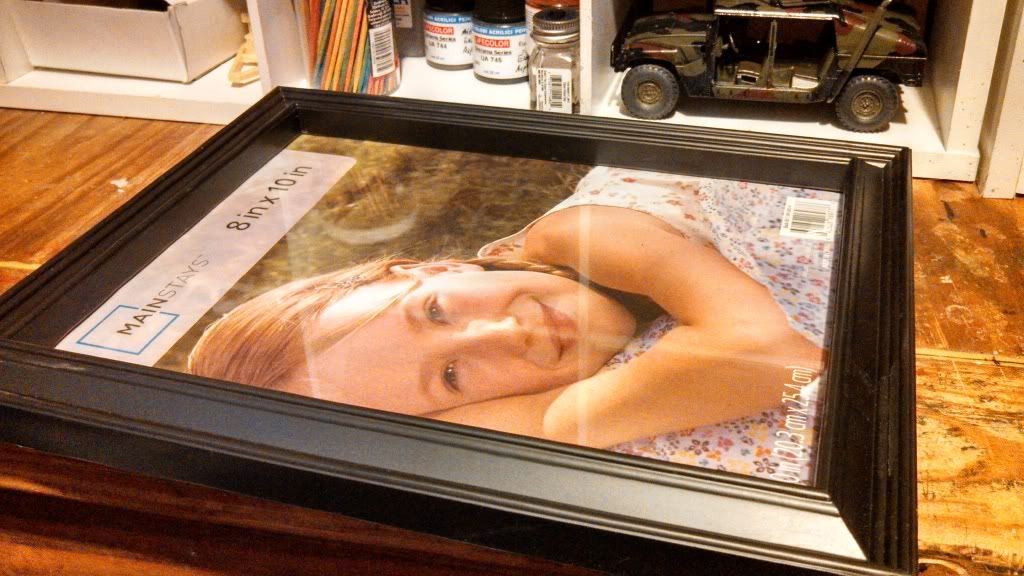
Then you tape the frame so it doesn't get as dirty as the diorama. Also remove the stock photo, if you leave it in there it just gets creepy as you slowly cover them with clay.

This will be the posed as such. The tank will be more elevated though. This just gives a rough idea of what it will look like.
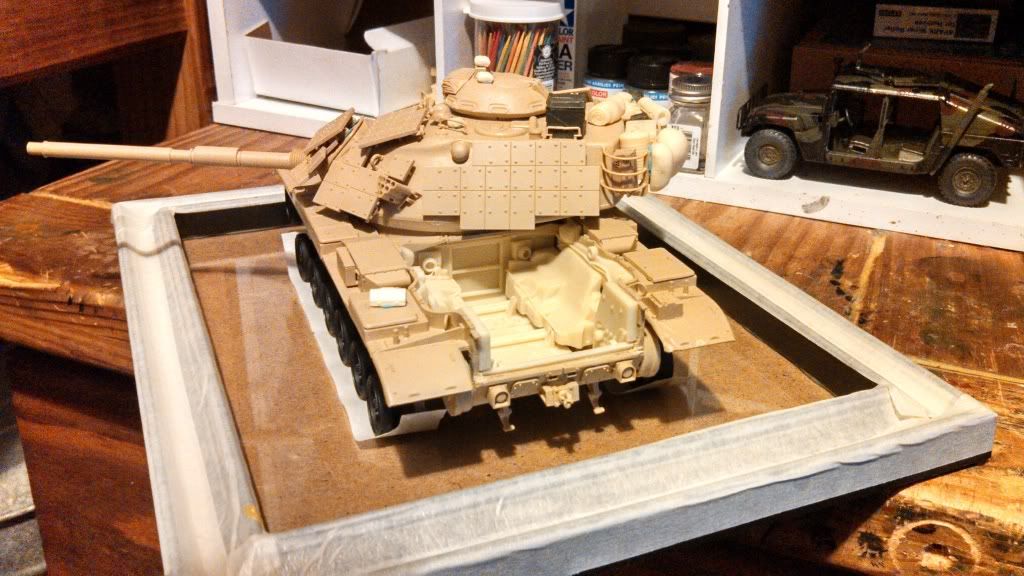
If you have any questions, comments, or concerned don't be afraid to ask.
Cheers,
-Nate
Re: Tamiya M60a1 with Reactive Armor
Posted: Wed Feb 05, 2014 3:45 pm
by schweinhund227
That engine bay on the M-60 looks amazing !
was it very hard to install ???
Re: Tamiya M60a1 with Reactive Armor
Posted: Wed Feb 05, 2014 4:11 pm
by NovYank
schweinhund227 wrote:That engine bay on the M-60 looks amazing !
was it very hard to install ???
Well you know how I feel about Verlinden resin. The flat pieces are a pain which makes part fitting a little difficult and makes some gaps. I still need to fill some of it with putty and touch up a few things. And the instructions aren't very specific on what to do. The instructions for the engine are better. I'd like to think the Legend Productions kit is leagues beyond this but I don't know for sure. Being the pro you are you'll have no problem with this kit. It's no BD LORIT set. Seeing how you got on with that you'll knock this kit out of the part.
Re: Tamiya M60a1 with Reactive Armor
Posted: Wed Feb 05, 2014 4:16 pm
by Coen
WOW... You've been really busy Nate!
Awesome! These are going to look unbelievable once it's all done. You're going to be painting until you die though. WOW. Haha.
Re: Tamiya M60a1 with Reactive Armor
Posted: Thu Feb 06, 2014 11:04 pm
by Gav0909
M60 is coming on nicely there mate. Looks good!
Re: Tamiya M60a1 with Reactive Armor
Posted: Fri Feb 07, 2014 12:41 am
by schweinhund227
I'll keep that in mind when I get to do another one !!! using an M-88 to simulate an Engine Swap !!! thanks man !
Re: Tamiya M60a1 with Reactive Armor
Posted: Mon Feb 10, 2014 3:02 am
by NovYank
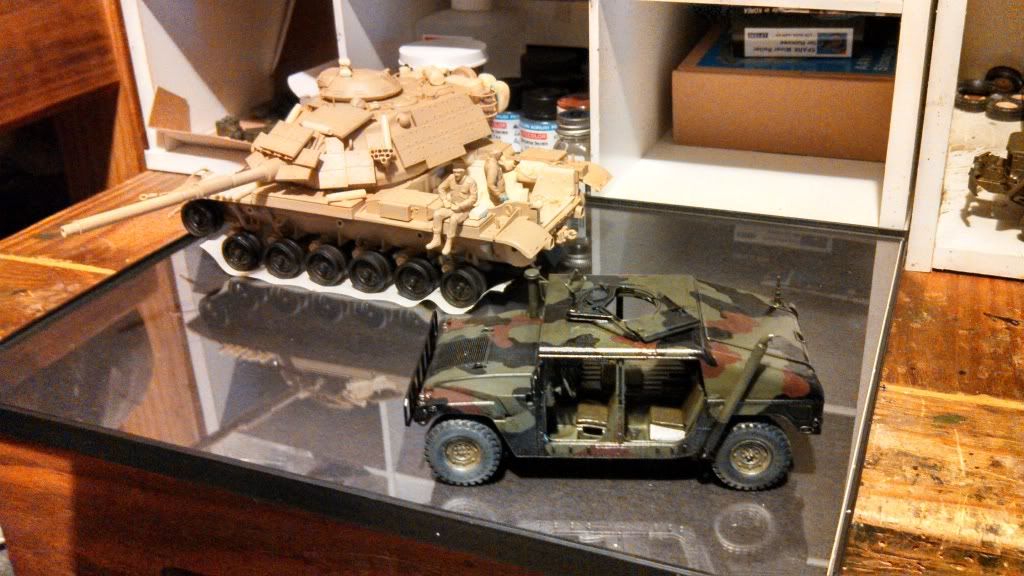
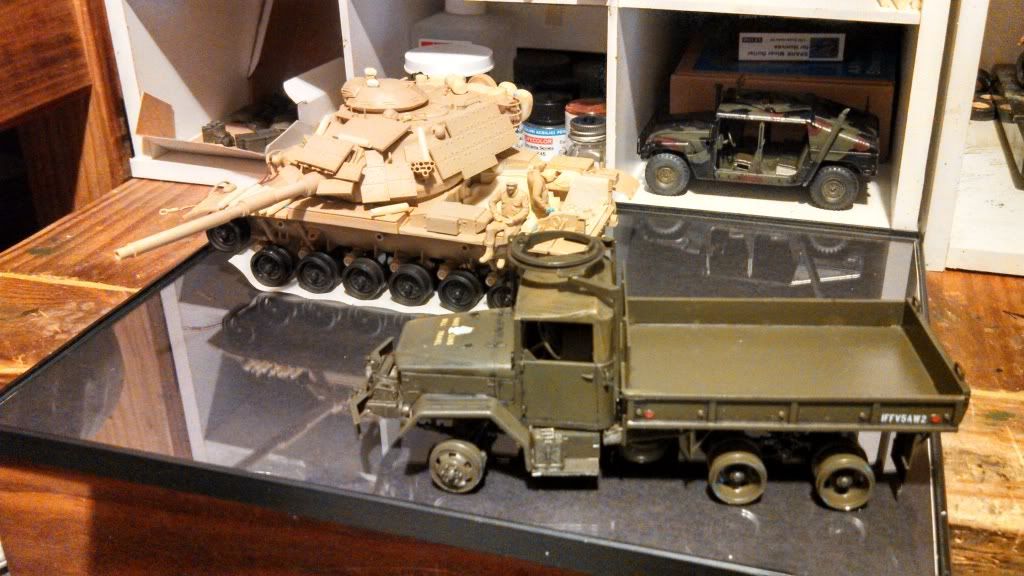
New plan gents, I found a bigger picture frame and I want to dump another vehicle in this diorama. But I have a slight dilemma. I don't know which one to pick.
I could use the humvee (it'll have doors and such at a later time):
Or the duece and a half:
On the eastern front I added some rounds and shells to the M60. I want the shells randomly spread out throughout the tank like this. I do need more shells so I will probably cannibalize the other rounds that were provided in the kit.
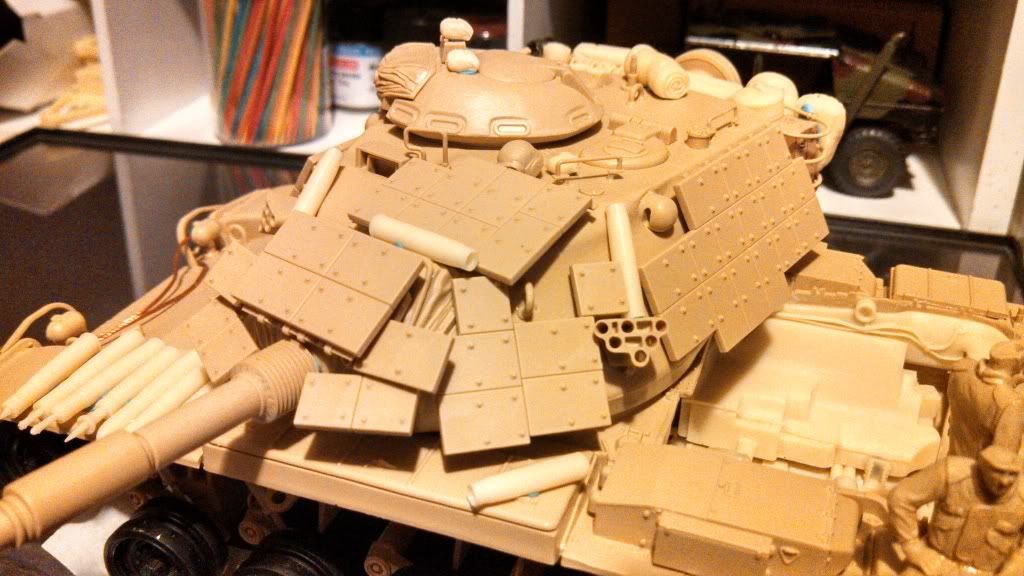

These figures were part of the humvee kit. One was the gunner and the other was the driver. I plan to get another set of figures that are processing the ammo but that will be a later choice. For now here are the figures.


On a side note, I gave the ammo boxes a base coat of Tamiya dark earth. It's a good color for wood. I'm thinking of whether or not to paint the boxes in green and chipping them slightly. Until then here's the boxes.
Re: Tamiya M60a1 with Reactive Armor
Posted: Mon Feb 10, 2014 10:44 am
by Coen
Sigh... that's so cool looking... and its not even painted.
This is going to be a wicked piece when you're done with it.
Well chosen Nate!
You're inspiring me to put a few hours in on my M113A3 and the M1 Abrams that I have collecting dust on my bench.
Re: Tamiya M60a1 with Reactive Armor
Posted: Sun Mar 09, 2014 11:11 pm
by NovYank
Re: Tamiya M60a1 with Reactive Armor
Posted: Mon Mar 10, 2014 12:12 am
by snappercity
I have used the streaking grime before with good results. I used a wide flat brush with metholated spirits or whatever it says to use on the bottle This should take it off but be careful if you didn't protect the paint underneath first.
Re: Tamiya M60a1 with Reactive Armor
Posted: Mon Mar 10, 2014 12:40 am
by schweinhund227
If you have protected your paint job With Future. Then you can try some turpentine but
I had trouble removing some AKi effects myself in the past!
So .... If you fail? You migth have to strip the paint !
Sorry to be a barer of bad news buddy!
Good luck anyway!
Re: Tamiya M60a1 with Reactive Armor
Posted: Mon Mar 10, 2014 9:09 am
by Coen
I actually like the look of some of that rain effect. The roof and engine hood might be a bit overdone, but the sides look kinda cool. I've seen that effect before on real vehicles in urban settings so I know that it's possible.
I've never used those over the counter products before so Norm and the other fellas would know best how to fix the issues.
Though I'd never put turpentine on a model.
At least not what we call turpentine here.
It would ruin the kit quite impressively.
Re: Tamiya M60a1 with Reactive Armor
Posted: Mon Mar 10, 2014 10:41 am
by Tiger131
i your m60a1 is looking superb and i would go with the truck especially with the engine out could be a base dio..but what ever you choose i will be looking forward to seeing more
Re: Tamiya M60a1 with Reactive Armor
Posted: Mon Mar 10, 2014 6:59 pm
by NovYank
snappercity wrote:I have used the streaking grime before with good results. I used a wide flat brush with metholated spirits or whatever it says to use on the bottle This should take it off but be careful if you didn't protect the paint underneath first.
Yep, I tried it on the back of the deuce to good affect, but I left the paint alone to dry too long and now nothing seems to get rid of it. It does have a varnish layer on. So I'm hoping to get rid of it without hurting the paint underneath the varnish. Turpentine has no affect on it.
Re: Tamiya M60a1 with Reactive Armor
Posted: Mon Mar 10, 2014 7:11 pm
by NovYank
schweinhund227 wrote:If you have protected your paint job With Future. Then you can try some turpentine but
I had trouble removing some AKi effects myself in the past!
So .... If you fail? You migth have to strip the paint !
Sorry to be a barer of bad news buddy!
Good luck anyway!
It does have a varnish layer on. I put turpentine on it and it doesn't do anything. Any suggestions?
Re: Tamiya M60a1 with Reactive Armor
Posted: Mon Mar 10, 2014 8:23 pm
by schweinhund227
NovYank wrote:schweinhund227 wrote:If you have protected your paint job With Future. Then you can try some turpentine but
I had trouble removing some AKi effects myself in the past!
So .... If you fail? You migth have to strip the paint !
Sorry to be a barer of bad news buddy!
Good luck anyway!
It does have a varnish layer on. I put turpentine on it and it doesn't do anything. Any suggestions?
Ok!
First off!
What kind of paint did you use as camouflage? Enamels or Acrylics
What kind of varnish over the camouflage ? Lacquer or Acrylic
AKI rain marks = Enamel, that I know!
And...... Turpentine is also known as "White spirit" in Canada or USA or paint thinner
What is recommended to work with AKi products.
Basically what Coen used in his Washes video .... What he called Turpenoid (low odour) terpentine.
On the other hand
"Lacquer thinner" will destroy your model finish! And probably melt it!
stay away from lacquer thinner...

Re: Tamiya M60a1 with Reactive Armor
Posted: Mon Mar 17, 2014 7:27 pm
by NovYank
schweinhund227 wrote:NovYank wrote:schweinhund227 wrote:If you have protected your paint job With Future. Then you can try some turpentine but
I had trouble removing some AKi effects myself in the past!
So .... If you fail? You migth have to strip the paint !
Sorry to be a barer of bad news buddy!
Good luck anyway!
It does have a varnish layer on. I put turpentine on it and it doesn't do anything. Any suggestions?
Ok!
First off!
What kind of paint did you use as camouflage? Enamels or Acrylics
What kind of varnish over the camouflage ? Lacquer or Acrylic
AKI rain marks = Enamel, that I know!
And...... Turpentine is also known as "White spirit" in Canada or USA or paint thinner
What is recommended to work with AKi products.
Basically what Coen used in his Washes video .... What he called Turpenoid (low odour) terpentine.
On the other hand
"Lacquer thinner" will destroy your model finish! And probably melt it!
stay away from lacquer thinner...
I used Tamiya Acrylics spray can for the paint. Then I put a testors varnish (from a spray can) on top of that. With the polished surface I then put on the AK products. I put turpentine on the kit and nothing came off
Re: Tamiya M60a1 with Reactive Armor
Posted: Wed Mar 19, 2014 2:54 pm
by ConnorM
Weathering looks good like it alot.
Re: Tamiya M60a1 with Reactive Armor
Posted: Wed Mar 19, 2014 3:06 pm
by schweinhund227
I am not aware of any "Acrylic paints" made by Tamiya in spray cans?
Testor clear coats are most likely lacquer or Enamel based!
Any AKi. Products should be applied over an Acrylic based Barrier like Future or some other Acrylic Clear coat.... Not over Enamel coat which migth explain why you had trouble
With your weathering ?
I am almost certain now that you will have to strip the paint off!
Sorry!
Re: Tamiya M60a1 with Reactive Armor
Posted: Sat Mar 29, 2014 6:12 pm
by NovYank
schweinhund227 wrote:I am not aware of any "Acrylic paints" made by Tamiya in spray cans?
Testor clear coats are most likely lacquer or Enamel based!
Any AKi. Products should be applied over an Acrylic based Barrier like Future or some other Acrylic Clear coat.... Not over Enamel coat which migth explain why you had trouble
With your weathering ?
I am almost certain now that you will have to strip the paint off!
Sorry!
On the bright side, I did want to make the duece in the tri-tone NATO scheme. Could you recommend a method of stripping the paint?
Re: Tamiya M60a1 with Reactive Armor
Posted: Sat Mar 29, 2014 6:28 pm
by longlance67
wonderful work mate, this should make a great scene mate
sorry for missing for a lot of this
Shane
Re: Tamiya M60a1 with Reactive Armor
Posted: Sat Mar 29, 2014 7:06 pm
by NovYank
Re: Tamiya M60a1 with Reactive Armor
Posted: Sat Mar 29, 2014 8:11 pm
by schweinhund227
NovYank wrote:schweinhund227 wrote:I am not aware of any "Acrylic paints" made by Tamiya in spray cans?
Testor clear coats are most likely lacquer or Enamel based!
Any AKi. Products should be applied over an Acrylic based Barrier like Future or some other Acrylic Clear coat.... Not over Enamel coat which migth explain why you had trouble
With your weathering ?
I am almost certain now that you will have to strip the paint off!
Sorry!
On the bright side, I did want to make the duece in the tri-tone NATO scheme. Could you recommend a method of stripping the paint?
I feel sorry you have to go through this....
for Enamel paint stripping... you better talk to "Car" Guys... if the base paint is actually Enamel ?
They have ""Strip kits""... which are sold
in the Model shops... I am not acquainted with that method... but.. it seems the only way to get that coat of paint off !
Another method could involve some judicious sanding... to make sure no... bumps or demarcation lines are showing on your Old paint job
Then a Good Primer... to start over... ? Then.. your normal painting... using Acrylics, preferably !
Remember that... if you want to use AK interactive products.... later in the build ?
You must have a barrier in between the paint and the AKi ! Klear or Future Acrylic floor wax works Good !
I am sure you know that ! and it should be Sprayed.... not painted on... in order to minimize interaction with the base coat !
Let Dry completely HARD... 3 days. then you can weather with AKi !
Don't let others tell you otherwise...
Better be safe than sorry !
Good luck !
Re: Tamiya M60a1 with Reactive Armor
Posted: Thu Apr 17, 2014 6:13 am
by kiwiinaus5604
Hi NovYank, I would just like to say the build looking really good, the M60 is one of the tanks I do have a soft spot for in kit form, you have done a really good job, what's next on the work bench?
Les
Re: Tamiya M60a1 with Reactive Armor
Posted: Wed Apr 23, 2014 3:47 pm
by NovYank
schweinhund227 wrote:NovYank wrote:schweinhund227 wrote:I am not aware of any "Acrylic paints" made by Tamiya in spray cans?
Testor clear coats are most likely lacquer or Enamel based!
Any AKi. Products should be applied over an Acrylic based Barrier like Future or some other Acrylic Clear coat.... Not over Enamel coat which migth explain why you had trouble
With your weathering ?
I am almost certain now that you will have to strip the paint off!
Sorry!
On the bright side, I did want to make the duece in the tri-tone NATO scheme. Could you recommend a method of stripping the paint?
I feel sorry you have to go through this....
for Enamel paint stripping... you better talk to "Car" Guys... if the base paint is actually Enamel ?
They have ""Strip kits""... which are sold
in the Model shops... I am not acquainted with that method... but.. it seems the only way to get that coat of paint off !
Another method could involve some judicious sanding... to make sure no... bumps or demarcation lines are showing on your Old paint job
Then a Good Primer... to start over... ? Then.. your normal painting... using Acrylics, preferably !
Remember that... if you want to use AK interactive products.... later in the build ?
You must have a barrier in between the paint and the AKi ! Klear or Future Acrylic floor wax works Good !
I am sure you know that ! and it should be Sprayed.... not painted on... in order to minimize interaction with the base coat !
Let Dry completely HARD... 3 days. then you can weather with AKi !
Don't let others tell you otherwise...
Better be safe than sorry !
Good luck !
As much as I like this truck in particular I might just scrap it and build another one, I built it as one of my first kits, and It really isn't up to par with what I want this diorama to be.
Would painting over the current paint coat be an option? Would this look bad or too thick? Whatever I do I want to paint the kit in the 3-tone NATO and then sunbleach it all to hell.
Thanks for all the help, mistakes are made so you know what not to do.
Re: Tamiya M60a1 with Reactive Armor
Posted: Wed Apr 23, 2014 3:52 pm
by NovYank
kiwiinaus5604 wrote:Hi NovYank, I would just like to say the build looking really good, the M60 is one of the tanks I do have a soft spot for in kit form, you have done a really good job, what's next on the work bench?
Les
Glad the kit has caught your eye, next on the workbench for me is to get caught up. Currently I have an unfinished AAV-7, two Humvees, and an LAV III lined up waiting for care.
Now that I'm thinking about the question I don't think that was the answer you were looking for. Next on the M60 is paint. I need to complete the NATO camo. I'm still waiting on the right color black and I still need to work on the green.
Re: Tamiya M60a1 with Reactive Armor
Posted: Wed Apr 23, 2014 4:04 pm
by UKguyInUSA
Wow, you've got some awesome looking models in these photos....can't wait to see this latest one completed!
Thanks for sharing.
Cheers,
Martin


