Page 2 of 3
Re: MiL Mi-1
Posted: Tue Dec 17, 2019 7:20 pm
by jmurphy18
Cool Neil! Definate do not touch on the blades Neil. Mine sagged when I assembled upside down to show off and I should not have oops
Re: MiL Mi-1
Posted: Wed Dec 18, 2019 12:24 am
by RangerNeil
Looking again at the photo in my last post I noticed the cockpit floor had lifted on the side closest to the camera.

Thats annoying - so right now the fuselage is stting there with that toolmakers clamp on the nose and a bead of cement along the join on both sides. Puts a block on any more work tonight until that has set properly - 24 hours should do it. Gives me time to get hold of a set of micro drills - not only for the rotor assembly but I also noticed when I did the boom seams I've lost the locating indents for the 1 upper and two lower antenna!! Doh!!!!

Re: MiL Mi-1
Posted: Thu Dec 19, 2019 9:57 pm
by RangerNeil
Sorry folks - seems like photobucket have thrown their rattle out of the pram again. None of the image links on here are working right now. I am trying to yank the images off and try a different hosting service.
Re: MiL Mi-1
Posted: Fri Dec 20, 2019 1:53 am
by RangerNeil
OK - slowly moving images over to
www.postimage.org. No idea how good its going to be or how long it will last but lets see...
Tonight I made I start on assembling the rotor head - Aaaargh!!!! Did my brain in!!!! I carefully measured it up with the lower part of the head sitting on the shaft and the upper part pressed against the top of the shaft and got 6mm Cut 3 pieces of plastic rod from an unused part in the kit to 6mm long and started off sticking them to the lower head part. Nightmare!! - they would not stay in place but I think I cracked it in the end. However the 3 parts are about 1mm too long...

So they need to be left to set overnight and then tomorrow I will take -
VERY carefully - 1mm off the end of each one.
These are the parts before assembly the 1 Ruble and 5 Kopek coins are to give an idea of scale (the 1 Ruble coin is roughly the size of a £1 coin:
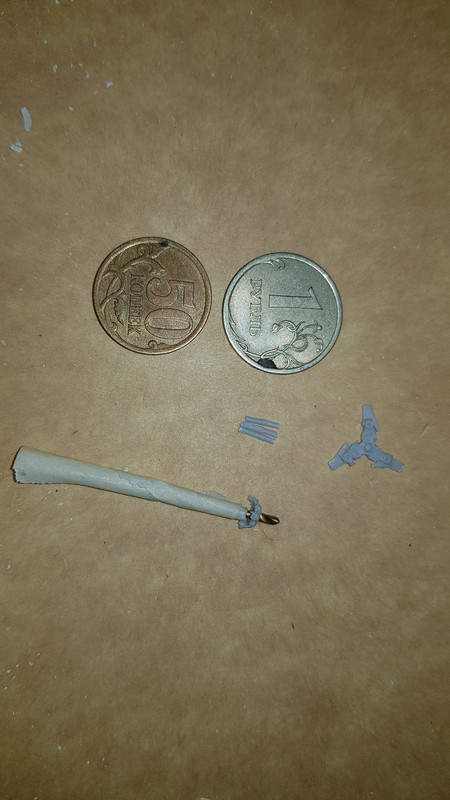
And this as far as I've got overall....
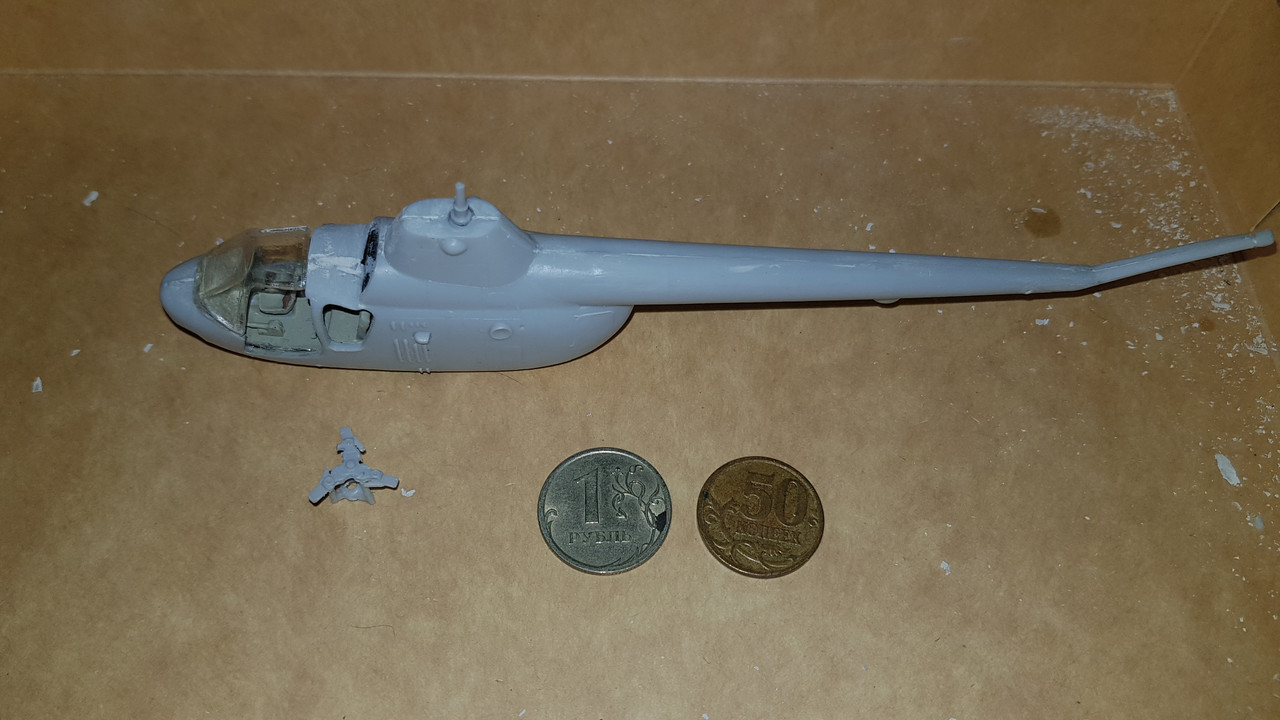
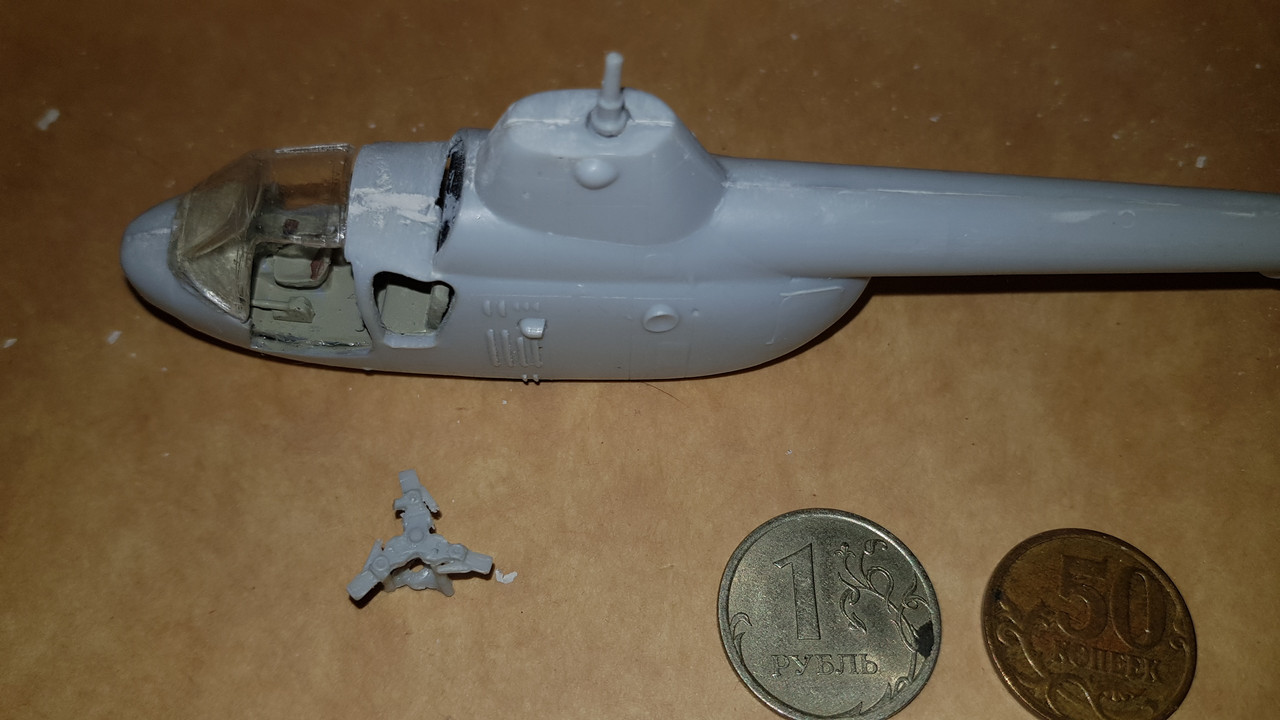
The cockpit glazing is just place in to see if it would fit properly. I need to take the doors off the sprue and see it if all lines up properly before going further with that. Masks for the glazing are on order from a Ukranian store (no one else had them,..)
Re: MiL Mi-1
Posted: Fri Dec 20, 2019 3:24 am
by digger303
Got your work cut out for yourself there Neil.
Nice work though


Re: MiL Mi-1
Posted: Fri Dec 20, 2019 1:02 pm
by Tomcat64
Strewth that's putting up a fight!
Keep on at it mate and show it who's boss.
Re: MiL Mi-1
Posted: Fri Dec 20, 2019 2:12 pm
by Quax
its beginning to take shape now and looking good


Paul
Re: MiL Mi-1
Posted: Fri Dec 20, 2019 8:31 pm
by jmurphy18
the shape is looking good and WOW on the size! Fumblining along with this 1/35 scale gives me some perspective. I am use to 1/24 cars.....
Re: MiL Mi-1
Posted: Sat Dec 21, 2019 12:25 am
by RangerNeil
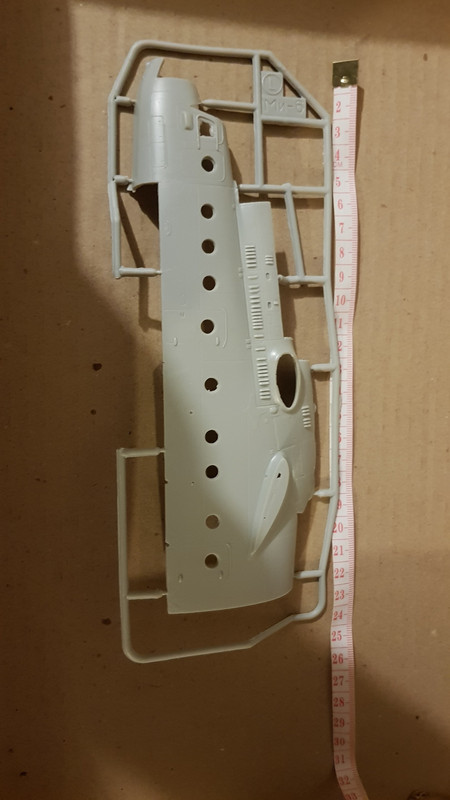
Just to illustrate the size of the Mi-1 with more contemporary machines this photo shows the fuselage of the Mi-1 on the right with HALF the fuselage of the Mi-6 beside it (photoio.com keeps rotating photos without asking). There's a wee bit of a difference.....


And heres the Mi-6 with a tape measure beside it:
The situation with Photobucket goes from bad to worse - apparently they lost power to their servers (whatever happened to failsafe generators??) a couple of days ago and the situation is still not sorted. And to add to the issues - although we can now log on again - a lot of images are coming up saying "deleted by owner"" and they don't know if they can get them back.
But on to brighter things. Tonight was rotor hub assembly time! The three rod sections had dried nicely if a bit skewed but a bit of warmth allowed them to get more or less into position. My hands are a bit too big and too old to going this fine but what the hey!

Placed onto the rotor shaft its obvious they are longer than than the remaining length of the shaft so I had to trim them down a little at a time until they were just a tad shorter.
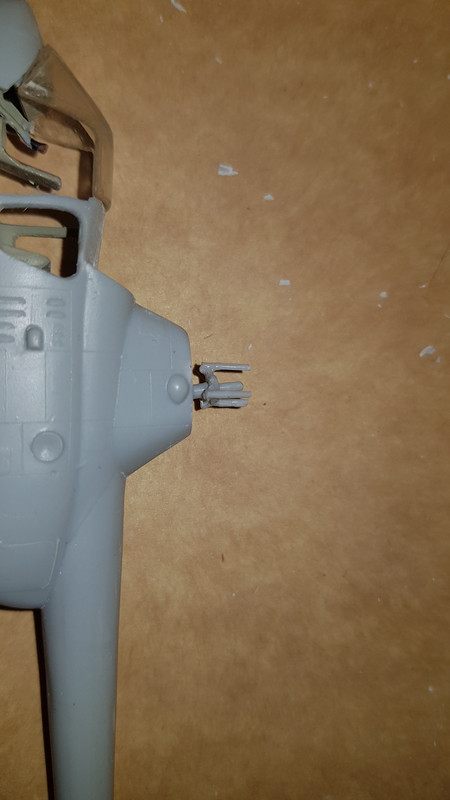
I placed this assembly back onto the rotor shaft loosely then added adhesive to the 3 tip and place the top rotor head onto them making sure the top of the rotor shaft was engaged in the location depression on the underside. This is now set aside to dry overnight.. Tomorrow I think I'll fit the main rotor blades and then - once dry - this assembly can be painted and put to one side until the main body is complete. According to the instruction sheet the main hub is all Gun Metal (Humbrol 53) and the blades are Aluminium (Humbrol 56)
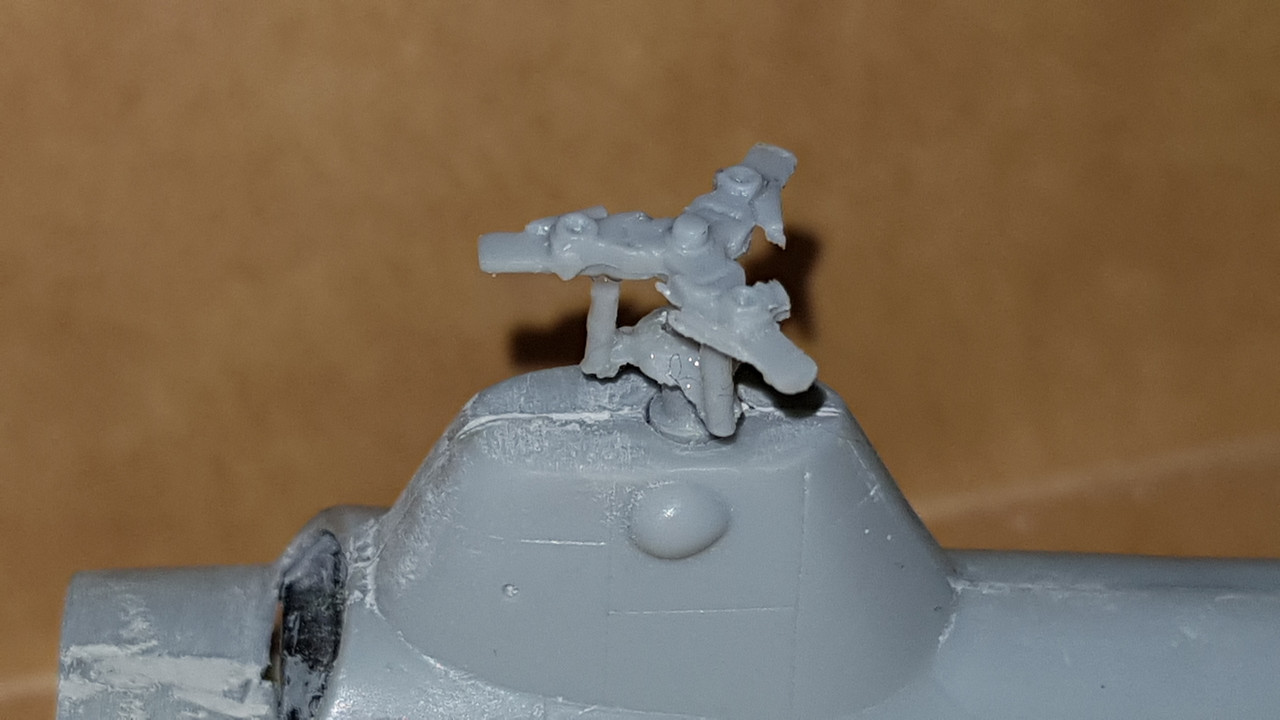
Looking at this photo now I think I need to do a bit more - careful - cleaning up!
right now the body is rocking about the rear curve as if a bit tail heavy - I think I need to add some weight under the front of the cockpit floor. to bring the nose down.
Re: MiL Mi-1
Posted: Sat Dec 21, 2019 6:26 pm
by jmurphy18
Great work there Neil! Bummer on the lost owner
Re: MiL Mi-1
Posted: Sun Dec 22, 2019 12:29 am
by RangerNeil
jmurphy18 wrote: Sat Dec 21, 2019 6:26 pm
Great work there Neil! Bummer on the lost owner
Many thanks - it slowly -VERY slowly - comes back to me
For tonight - the three main rotors were removed from the sprue together with the three tiny little cap pieces and cleaned up ready for assembly. Why AModel never made the top head at least as one piece is beyond my understanding!! Still - what is - is!!
The blade at the top of the photo has been cleaned up and attached to the top head - the join area is SMALL - maybe 1mm wide by 2mm long so not a lot of strength there. The other two blades as are as they came off the sprue and need cleaning up. At the very top of the photo you can see the three minute little caps that go onto the head after the blades have been attached. The instructions are not very clear on the assembly sequence so trial builds are essential - in this case if you fit these caps first then the blades are difficult to attach. It will be interesting when moving onto the bigger and later AModel kits to see if they get clearer in this regard.
(A point worth noting is that the shaft in the fuselage has a LOT of play in it - if I can work out how to post a video clip without using YouTube I will - suffice it now to say that the top of the shaft, if moved by finger, will transcribe something like a 3mm dia circle. I am seriously considering making it immobile)
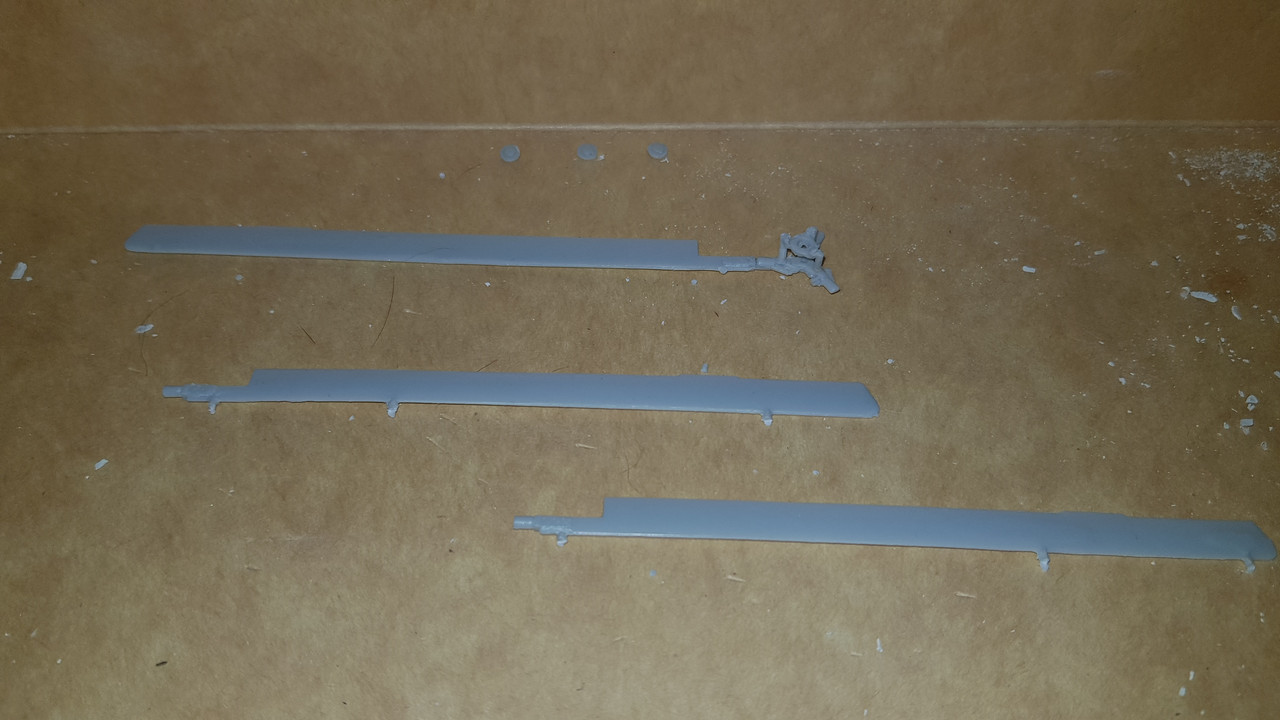
This has two of the blades attached - and I am stopping work on the head here to let these two dry thoroughly.
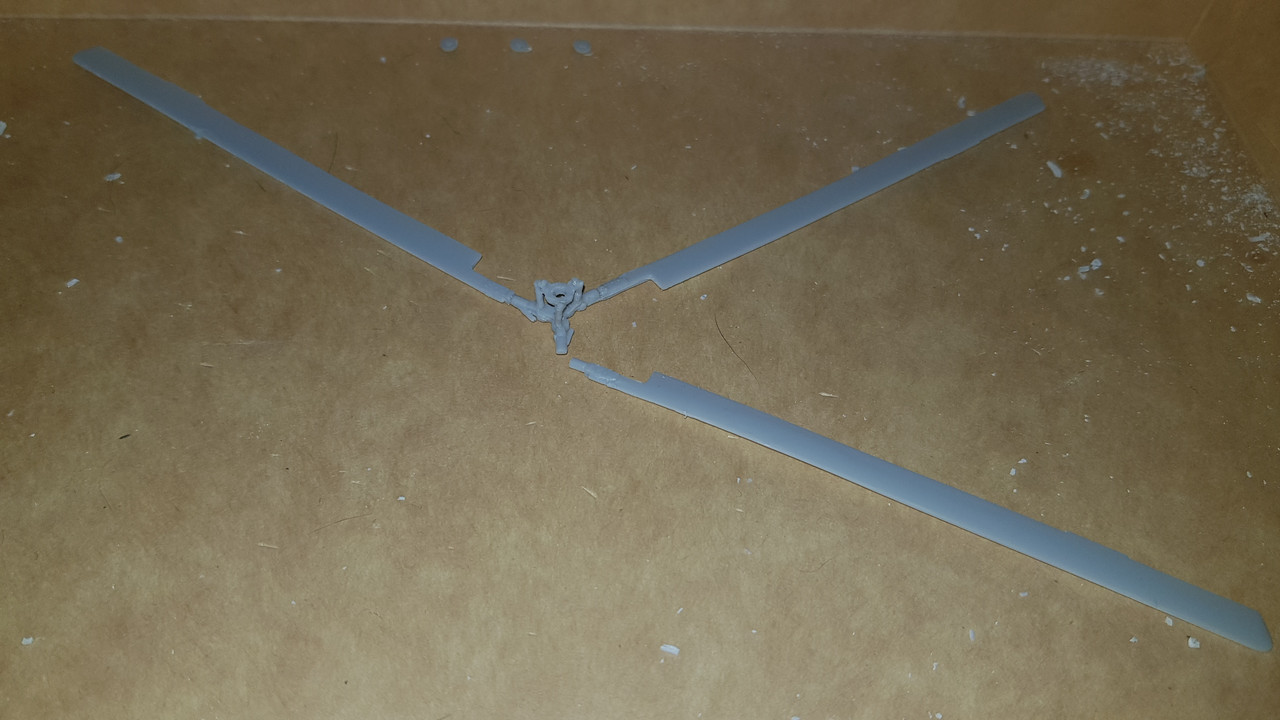
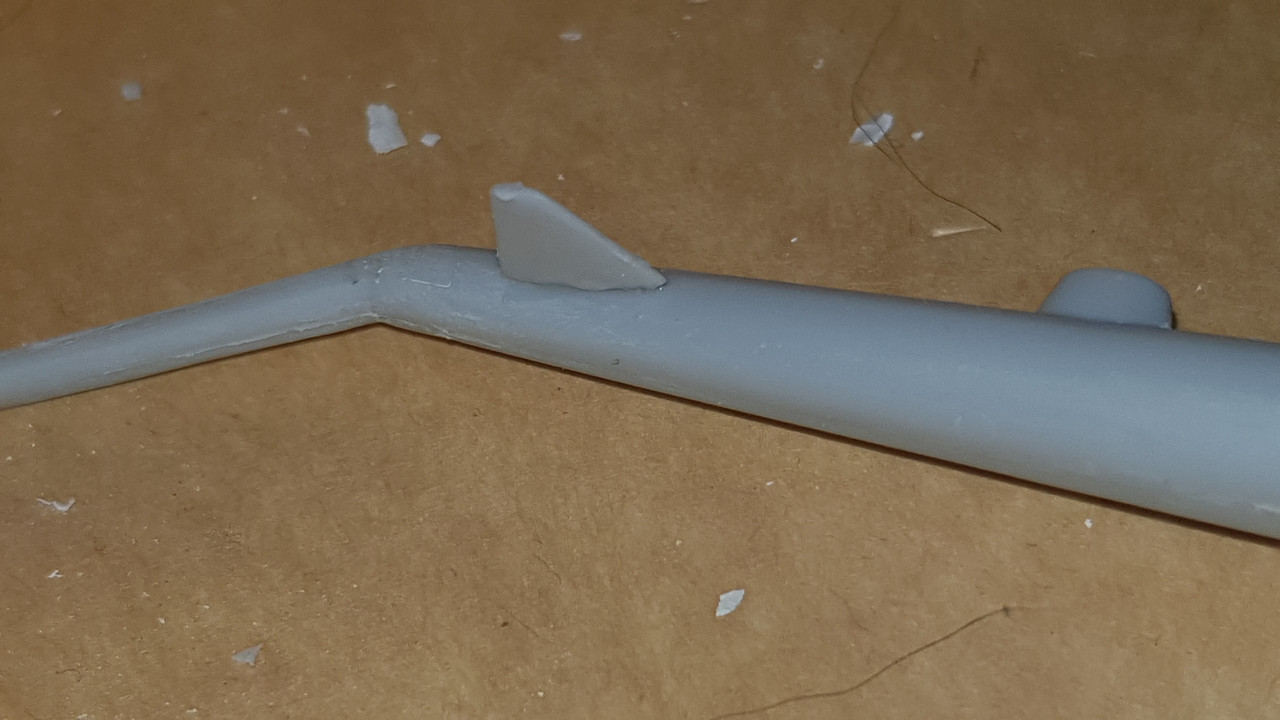
Last job of the night was adding one of the rear stabilisers - there is a matching one to go on the other side. Then I can add the main landing gear, cabin steps and various antenna (one on top of the tail boom need the locations remade as they got filled by mistake) and the fuselage will be ready for painting. Adding was a PITA. the location was a simple in the side of the boom and I had to clean flash away from the base of the fin AND the corresponding nub on the fin. It looked OK on the dry run but with adhesive on it would not quite fit and needed jiggery-pokery to get it on. I will make sure this does not happen on the other side.
Re: MiL Mi-1
Posted: Sun Dec 22, 2019 11:43 pm
by RangerNeil
A bit more productive night tonight... Not a lot of assembly - a hell of a lot of delicate parts cleaning but results to were be had and seen:)
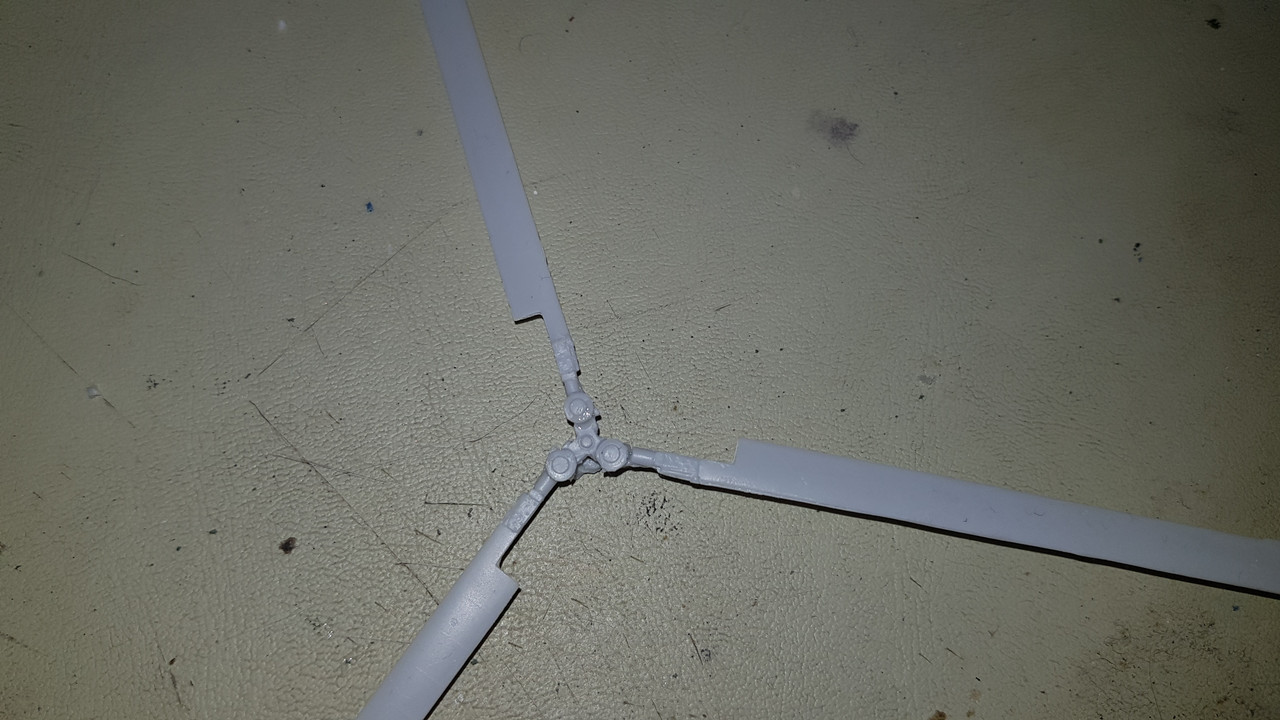
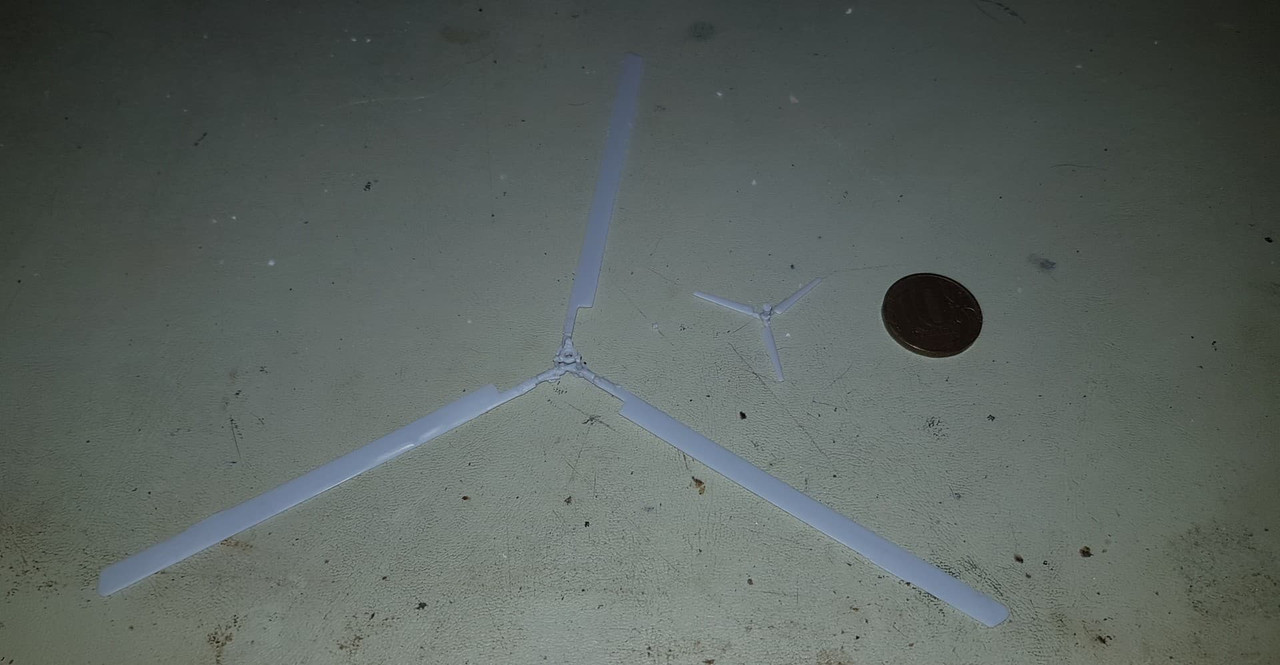
Firstly the main rotor and tail rotor assemblies were completed. Did my head in on the main rotor as once blade 3 was fitted and dry it looks like one of the blades was out of alignment. But measuring everything the geometry is spot on so it must be on be of those weird optical illusions. The tail rotor is another highly weak spot - the surface are to hold the tail rotor to the boom is less than 1mm in dia and its a flat face onto a flat face so it will need support whilst drying and deffo is a no touch item once done. This bird is for sure going into a display case permanently fixed to the base!!
Anyways - this is the main rotor completed and then with the tail rotor beside it - the coin in the second photo is a 10 Ruble - about the size of a UK £1.
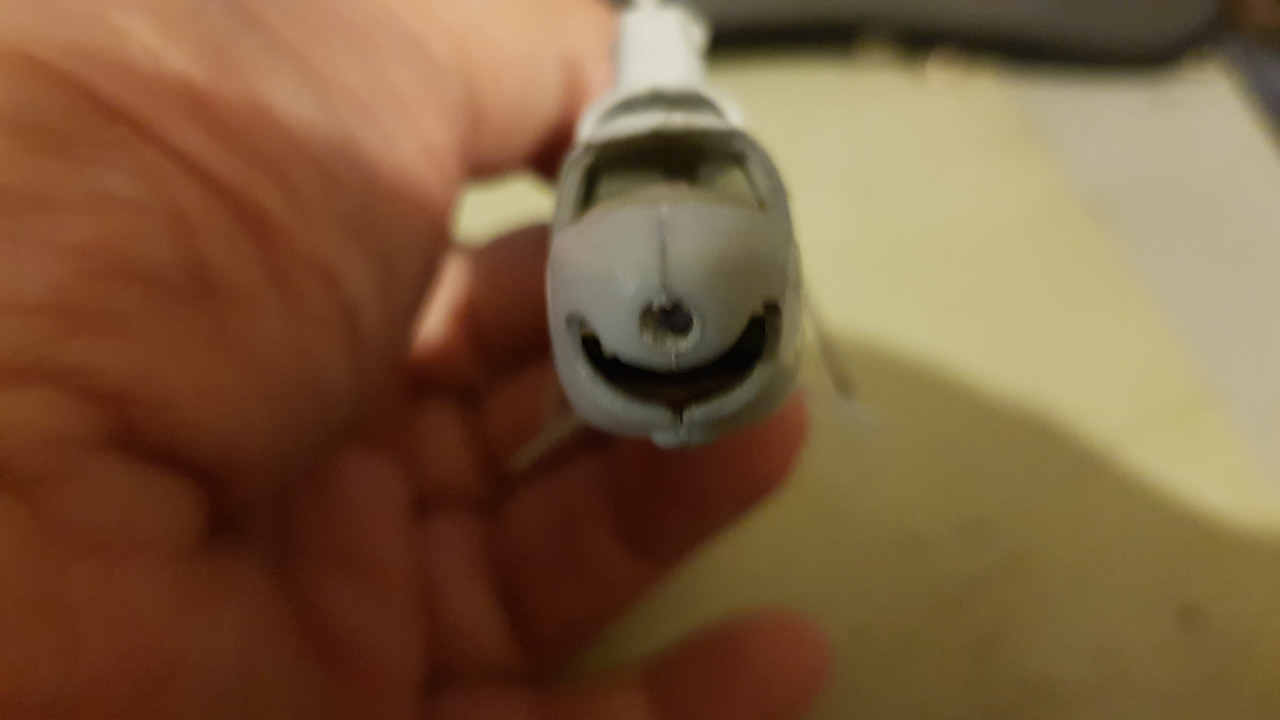
Then we move on to the parts that needed all the cleaning - the 2 per side for the main landing gear. The flash on these was almost invisible to the eye but the finger tip revealed it together with the remains of the sprue gate - I must have spent over 4 hours cleaning these parts up. Assembly ran head on into the main problem with this kit- there are NO physical locators on anything. Just recesses moulded into the main body and without a direct, bright light they are almost impossible to see at times. Same for where parts join like the vertical strut to the horizontal frame I've got it the best I can but I'm not so happy with it in all honesty. Doesn't look right to me compared to photos of the real thing but short of major surgery there's not much I can do. The finished job looks like this:
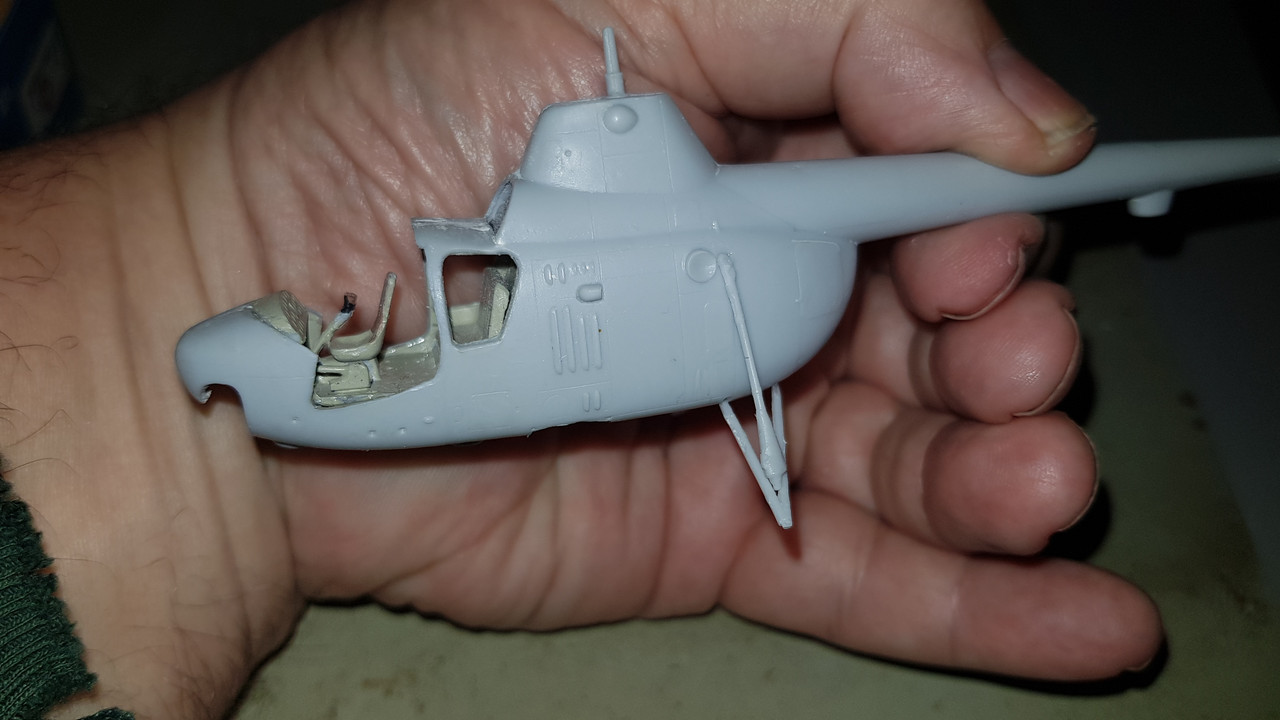
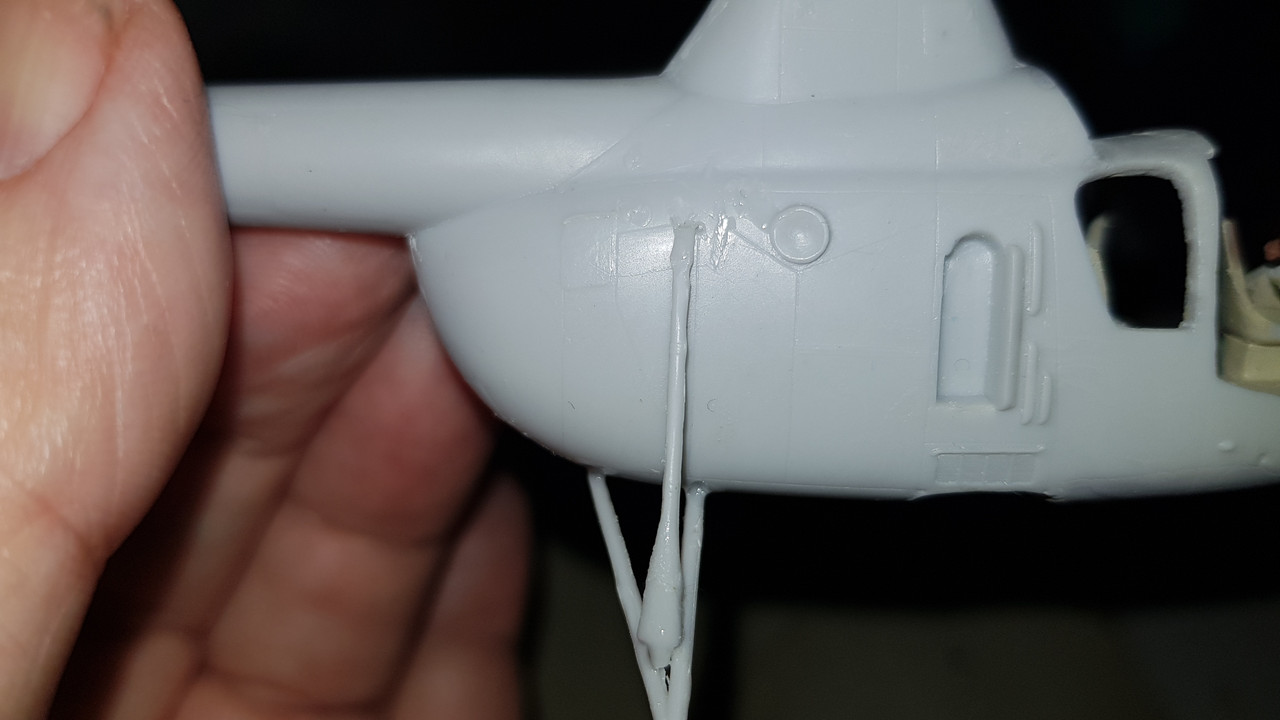
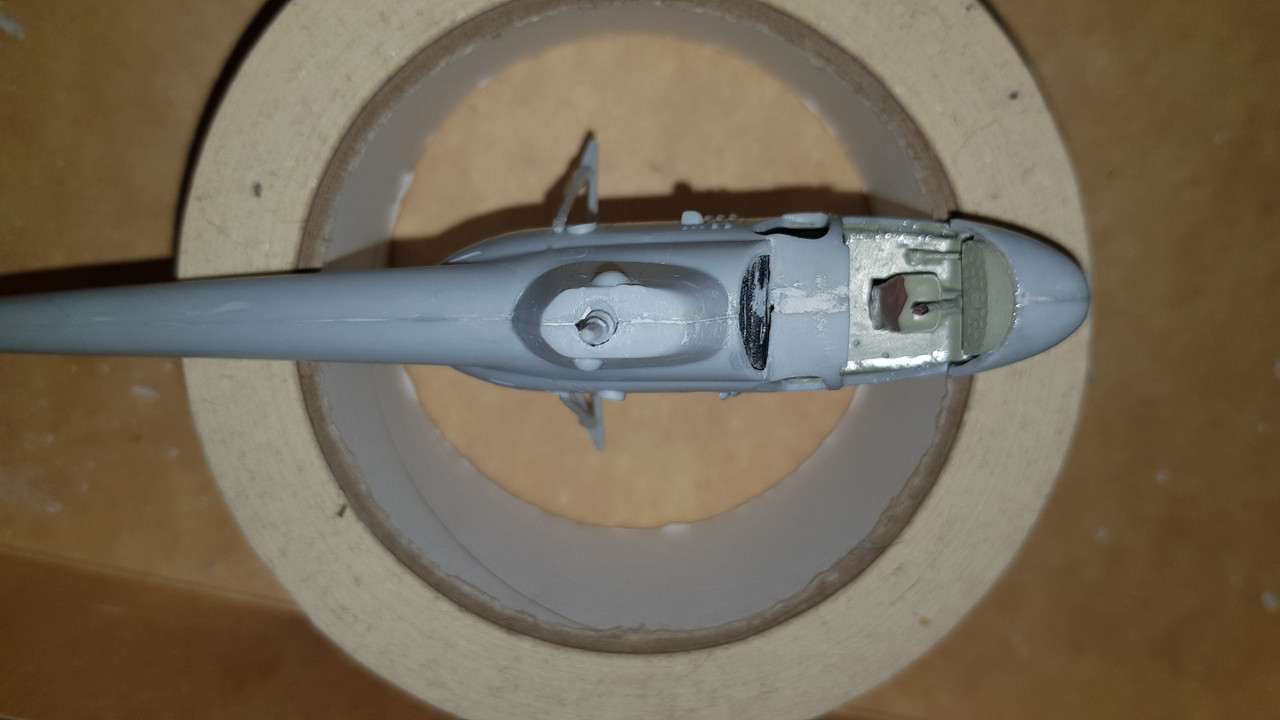
Re: MiL Mi-1
Posted: Mon Dec 23, 2019 9:29 am
by Tomcat64
Looks like Photobucket has kindly returned your pics to the thread at last - that's very generous of them!
More good progress on knocking this into shape as well - limited run kits always through up "unique" challenges but they seem to have stuffed them all into this one.
Re: MiL Mi-1
Posted: Mon Dec 23, 2019 2:34 pm
by jmurphy18
looking good Neil! Sweet shot
Re: MiL Mi-1
Posted: Mon Dec 23, 2019 10:35 pm
by Kevthemodeller
Boy this ones really fighting you, top skills going on here mate
Re: MiL Mi-1
Posted: Wed Dec 25, 2019 12:58 am
by RangerNeil
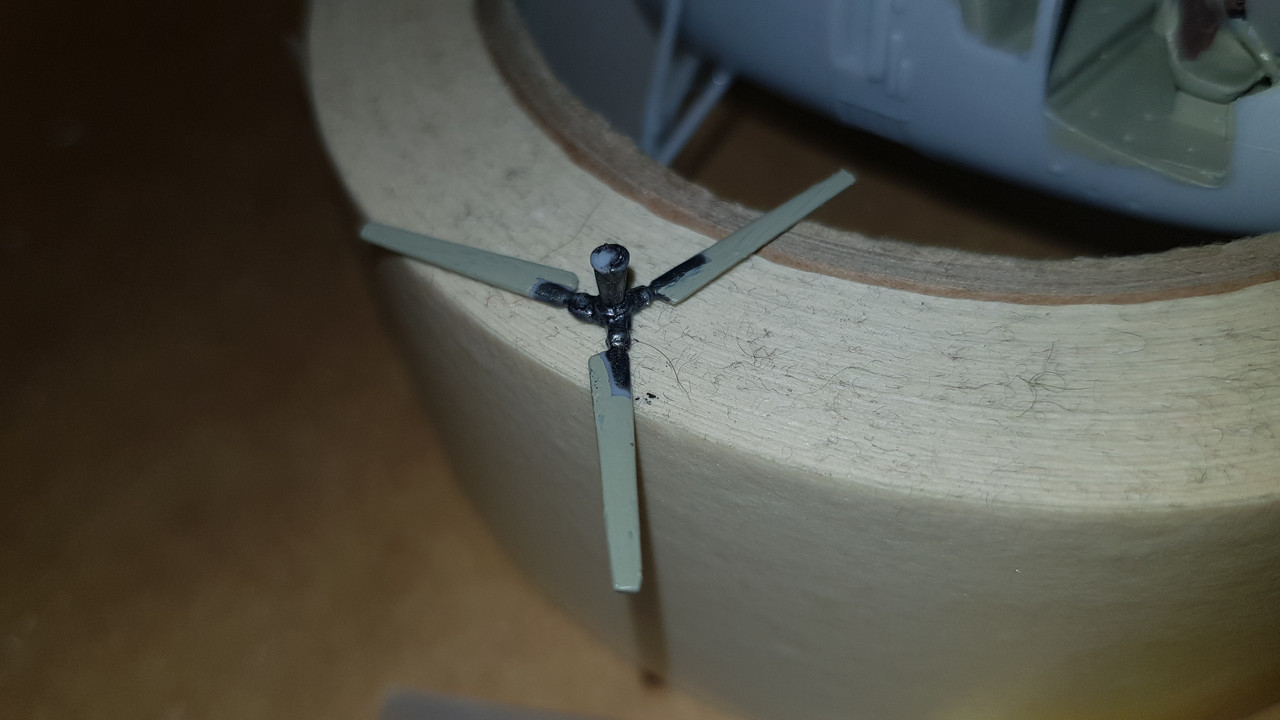
Not much done today - what with one thing and another it was a bit hectic. However - we passed another landmark tonight - first of the exterior paint went on!! Before anyone gets too excited - it was only the rotor blades and rotor heads for the main and tail plus the main rotor shaft
Overall view of the parts thus far. The paints used here were Humbrol Acrylics - #56 Aluminium and #53 Gunmetal as well as AKAN #73047 Grey (серый) as per the painting guidelines in the instructions. Main rotors need the yellow tips still
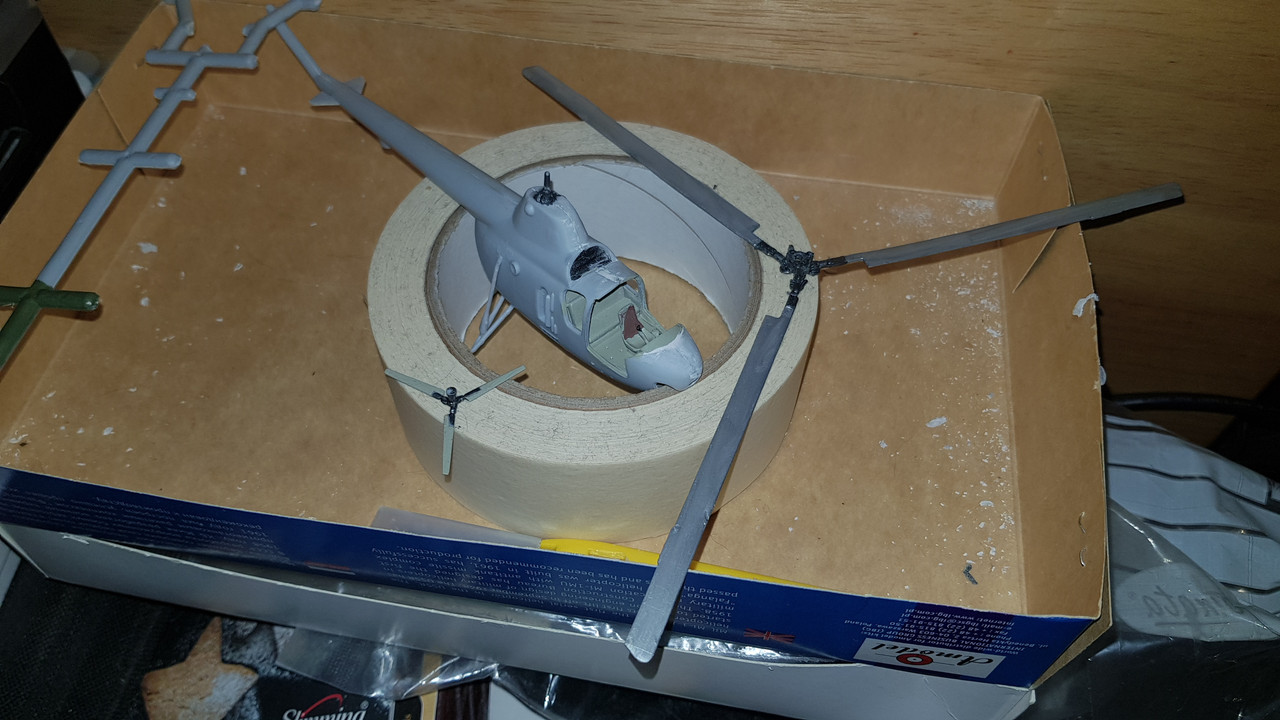
The tail rotor - once completely dry there are red/white striped decals that wraps around the tips. In the xray-view of the camra lens I can see that I need to cloe the gap between the grey and the gunmetal
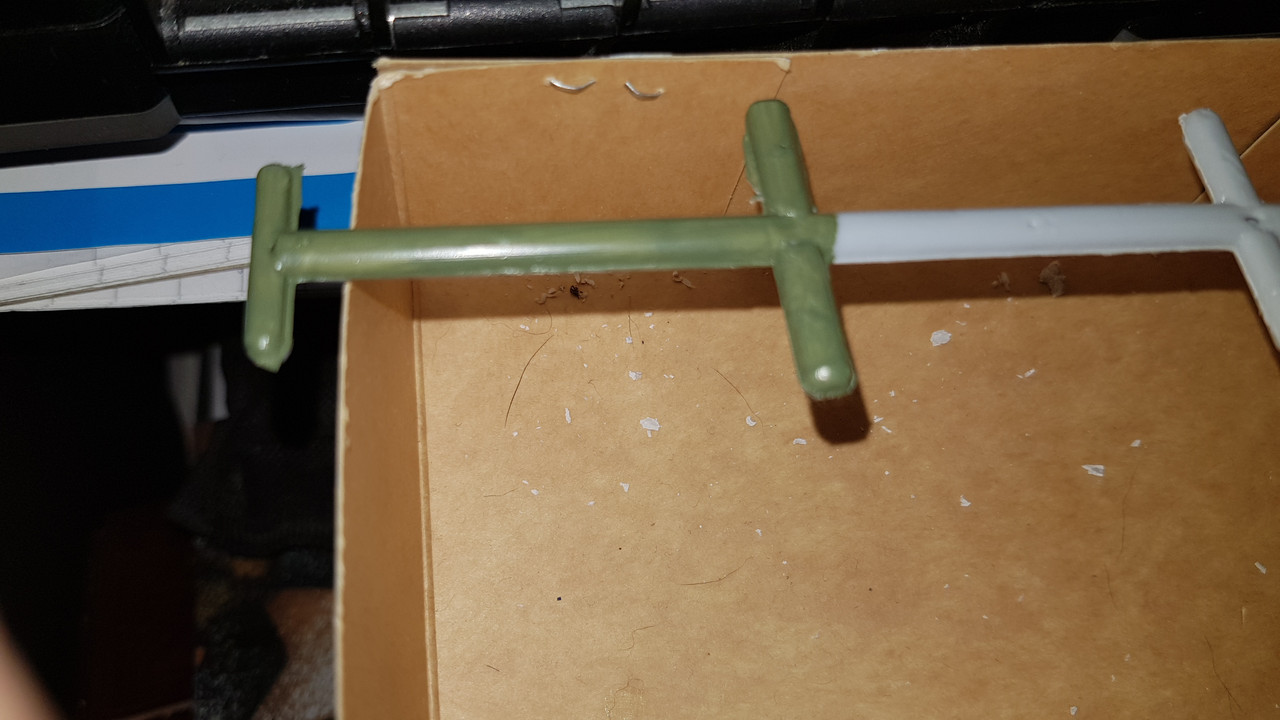
This is the AKAN Green (зеленая) for the fuselage test painted onto a bit of dead sprue to see how it looks. Note that this is just one coat applied by brush.
Time to hit the pit here now so I wish you all a very merry Christmas tomorrow and a happy New Year to come.
Re: MiL Mi-1
Posted: Wed Dec 25, 2019 12:58 am
by RangerNeil
RangerNeil wrote: Wed Dec 25, 2019 12:58 am
Not much done today - what with one thing and another it was a bit hectic. However - we passed another landmark tonight - first of the exterior paint went on!! Before anyone gets too excited - it was only the rotor blades and rotor heads for the main and tail plus the main rotor shaft
Overall view of the parts thus far. The paints used here were Humbrol Acrylics - #56 Aluminium and #53 Gunmetal as well as AKAN #73047 Grey (серый) as per the painting guidelines in the instructions. Main rotors need the yellow tips still
The tail rotor - once completely dry there are red/white striped decals that wraps around the tips. In the xray-view of the camra lens I can see that I need to cloe the gap between the grey and the gunmetal
This is the AKAN Green (зеленая) for the fuselage test painted onto a bit of dead sprue to see how it looks. Note that this is just one coat applied by brush.
Time to hit the pit here now so I wish you all a very merry Christmas and a happy New Year to come.
Re: MiL Mi-1
Posted: Wed Dec 25, 2019 1:07 am
by digger303
RangerNeil wrote: Wed Dec 25, 2019 12:58 am
RangerNeil wrote: Wed Dec 25, 2019 12:58 am
Not much done today - what with one thing and another it was a bit hectic. However - we passed another landmark tonight - first of the exterior paint went on!! Before anyone gets too excited - it was only the rotor blades and rotor heads for the main and tail plus the main rotor shaft
Overall view of the parts thus far. The paints used here were Humbrol Acrylics - #56 Aluminium and #53 Gunmetal as well as AKAN #73047 Grey (серый) as per the painting guidelines in the instructions. Main rotors need the yellow tips still
The tail rotor - once completely dry there are red/white striped decals that wraps around the tips. In the xray-view of the camra lens I can see that I need to cloe the gap between the grey and the gunmetal
This is the AKAN Green (зеленая) for the fuselage test painted onto a bit of dead sprue to see how it looks. Note that this is just one coat applied by brush.
Time to hit the pit here now so I wish you all a very merry Christmas and a happy New Year to come.
Awe and I was looking to see the canopy fitted . The green looks to be right to me, certainly went on smooth.
Merry Xmas Neil
Re: MiL Mi-1
Posted: Wed Dec 25, 2019 6:48 pm
by jmurphy18
Looking good here. Poor looks great
Re: MiL Mi-1
Posted: Fri Dec 27, 2019 1:58 am
by RangerNeil
Did a quick bit more today. Got the various antenna added. started to fill the gap around the join of the main undercarriage legs where the vertical member mets the lower A Frame. Still too full from yesterdays eating to do an awful lot but its nearly at the point where it needs the cockpit masked off and the body primed. Just go to add the tail skid. The glazing - I am waiting for the painting masks to come from the Ukraine. Hopefully before the end of January as the outline of the framework on the chin glazing will be nightmare free hand.
I am debating whether to try stretching spue to make the aerial line between the post on the side of the rotor head or use thread. I never had much luck stretching sprue to get the right thinness.... Also debating whether to try slicing some strips of thin plasticard and seeing if I can make up some seat belts before the glazing goes on.. Never tried doing that before either....
Anyways - this is todays works:
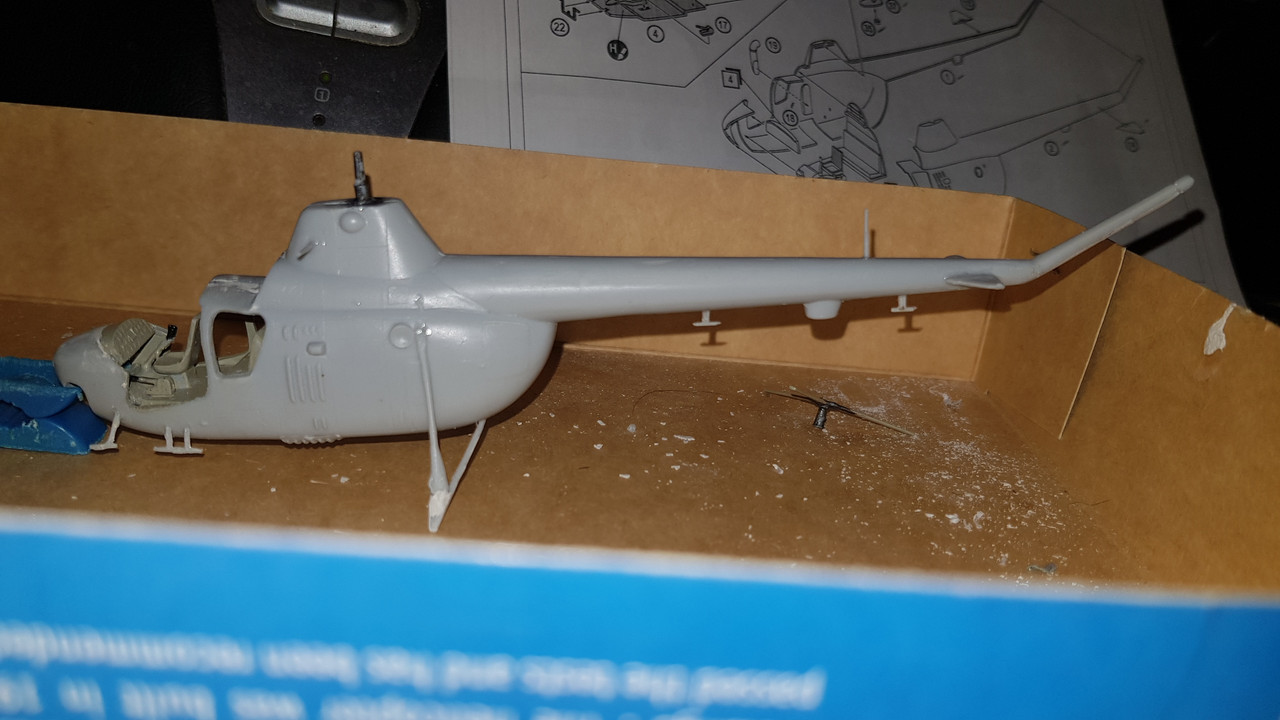
And for those who like to see the cockpit glazing at least partially in place:
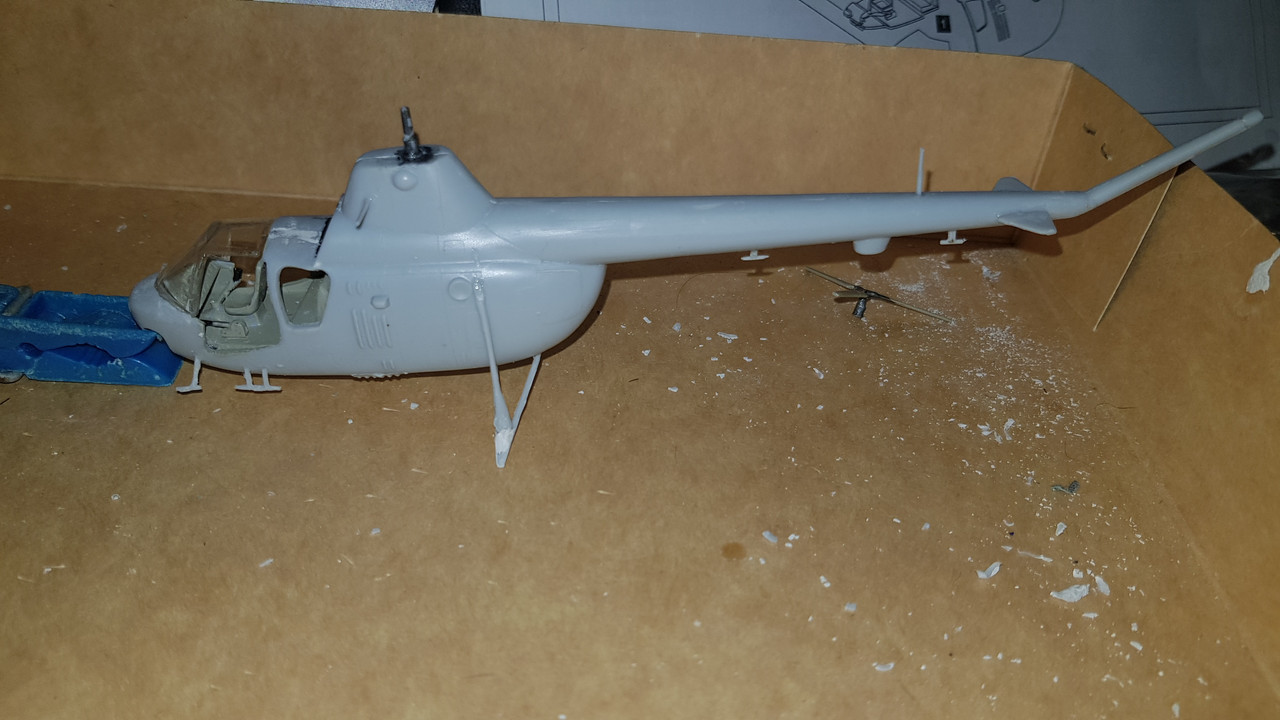
Whilst for those who like to see the glazing and at least the main rotor in place (temporarily):
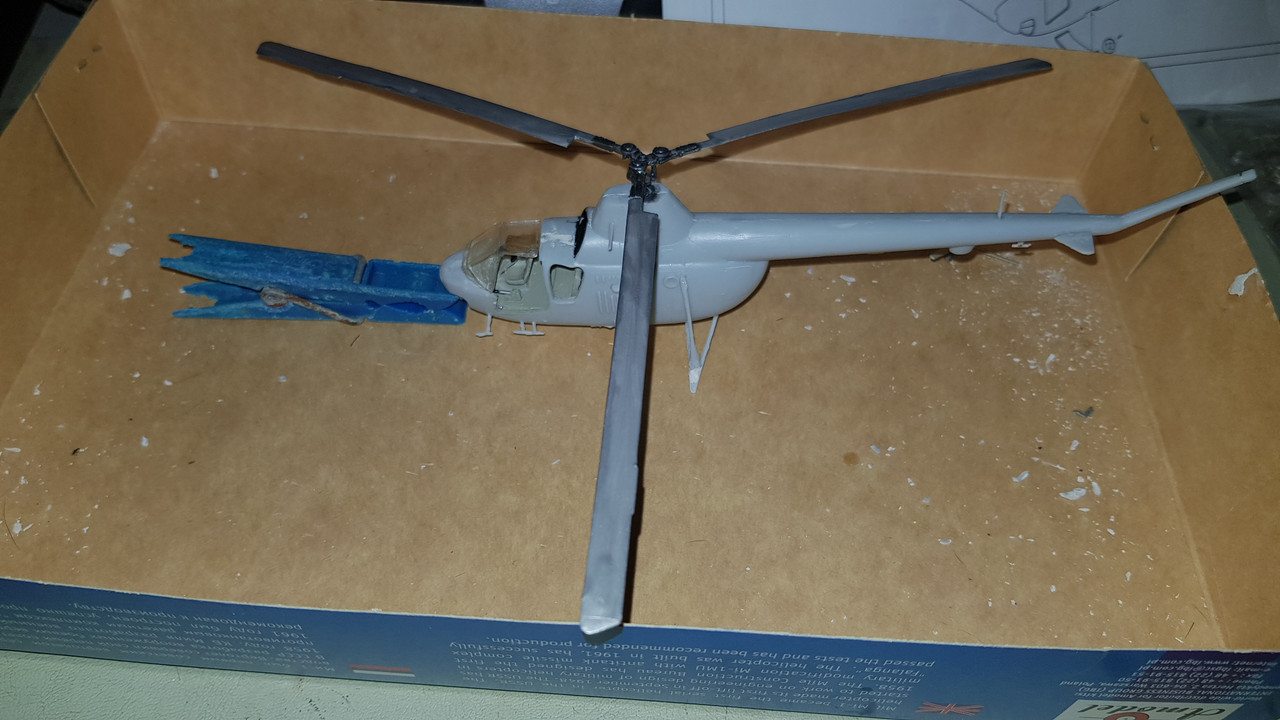
(Footnote here - I am absolutely dreading the cockpit glazing assemble - its is 5 peices - what odds to I get its all going to line up nicely after the experience thus far??
)
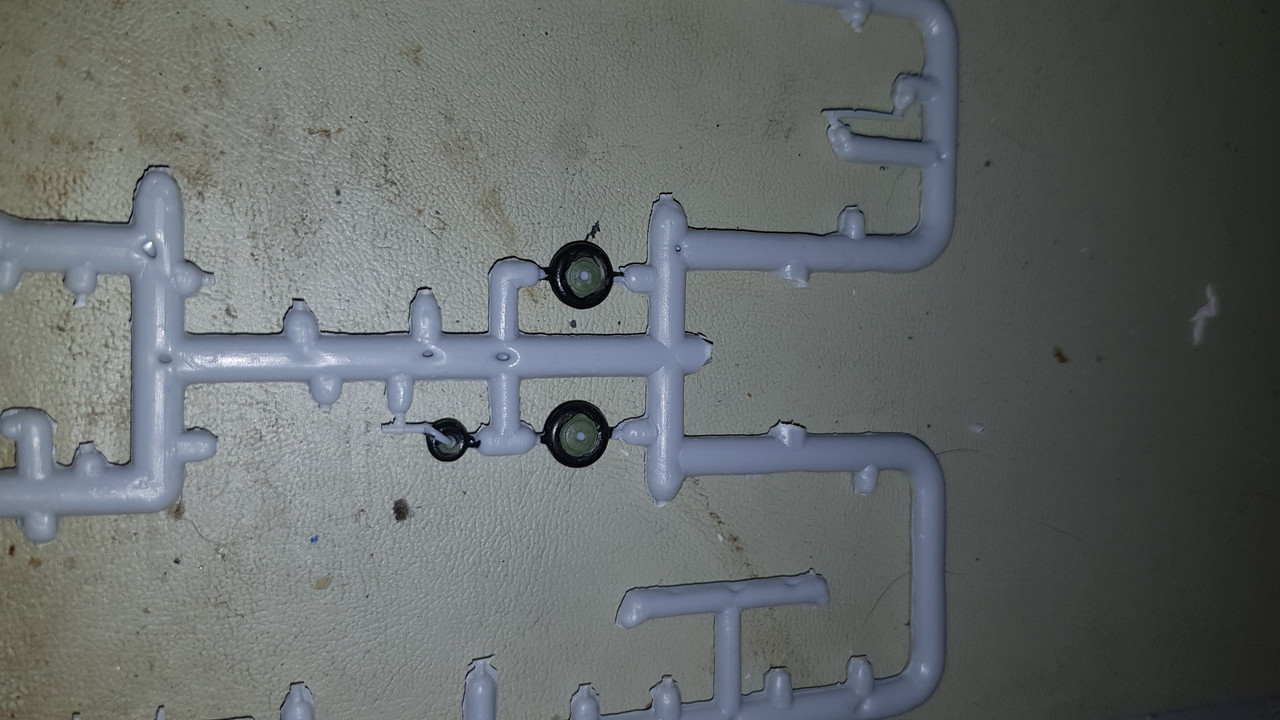
Finally the main undercarriage wheels and the nose wheel got their first coats of paint. the main wheels obviously need tidying up:
Re: MiL Mi-1
Posted: Fri Dec 27, 2019 4:47 pm
by jmurphy18
Looks really good so far Neil! The body and blades and the wheels..... I have faith in you on the glazing.. You will pull through!
Re: MiL Mi-1
Posted: Sun Dec 29, 2019 11:27 pm
by RangerNeil
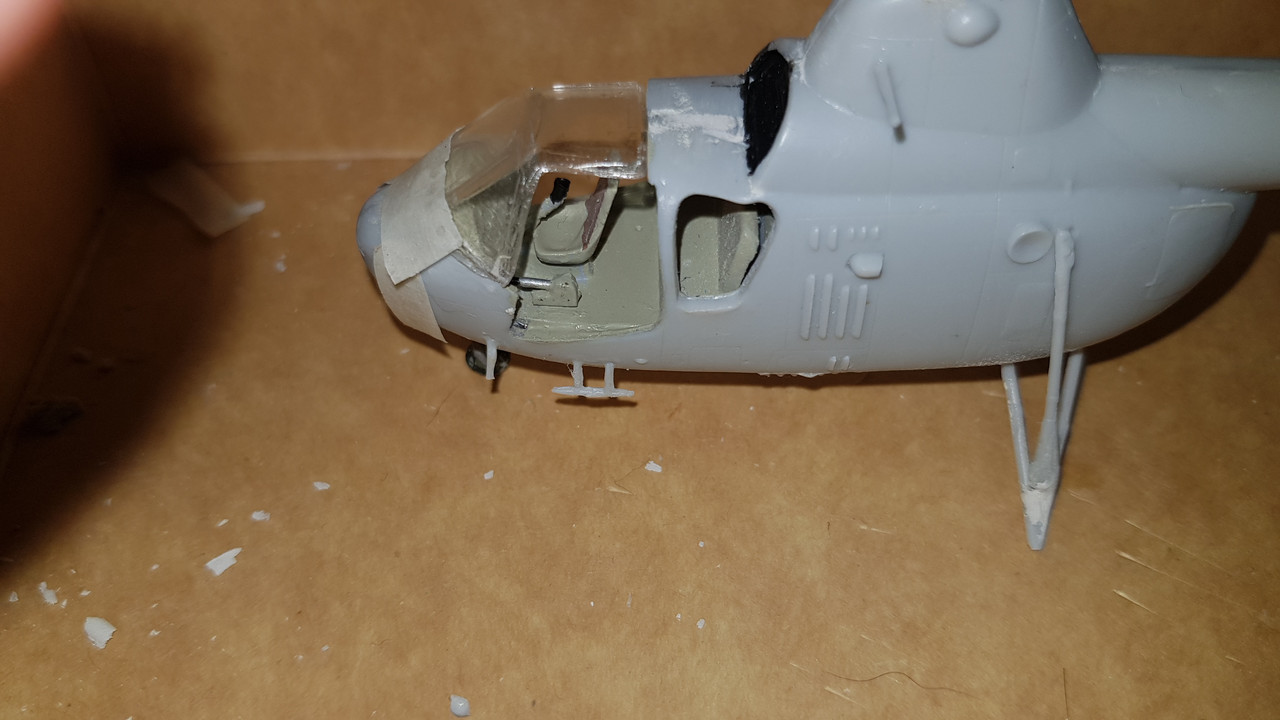
Made a start on test fitting the glazing tonight starting with the chin glazing. As feared its not an exact fit. Right now it feels too wide but I think its a combination of the poor form of the chin glass and the need to reshape the aperture itself on at least one side.
Real bummer was somehow in the testing, despite being very very careful, I managed to break the head of the pitot tube off so now I need to make up a new bit of VERY thin sprue to replace it.
AFTER all the glazing is in!! Kicking myself right now - BIG time!!
Re: MiL Mi-1
Posted: Sun Dec 29, 2019 11:30 pm
by digger303
RangerNeil wrote: Sun Dec 29, 2019 11:27 pm
Made a start on test fitting the glazing tonight starting with the chin glazing. As feared its not an exact fit. Right now it feels too wide but I think its a combination of the poor form of the chin glass and the need to reshape the aperture itself on at least one side.
Real bummer was somehow in the testing, despite being very very careful, I managed to break the head of the pitot tube off so now I need to make up a new bit of VERY thin sprue to replace it.
AFTER all the glazing is in!! Kicking myself right now - BIG time!!
Damn bad luck, could you use a fine sewing needle ?
Re: MiL Mi-1
Posted: Sun Dec 29, 2019 11:37 pm
by RangerNeil
digger303 wrote: Sun Dec 29, 2019 11:30 pm
<snipped>
Damn bad luck, could you use a fine sewing needle ?
I am thinking - at the moment - I may use some fine fuse wire attached via superglue. The lost part is about 4mm long by about 0.25mm dia..... I have some stuff left from rewiring a UAZ 469 - the Russians had never heard of cartridge fuses back in the early 60's.
Re: MiL Mi-1
Posted: Mon Dec 30, 2019 12:01 am
by digger303
RangerNeil wrote: Sun Dec 29, 2019 11:37 pm
digger303 wrote: Sun Dec 29, 2019 11:30 pm
<snipped>
Damn bad luck, could you use a fine sewing needle ?
I am thinking - at the moment - I may use some fine fuse wire attached via superglue. The lost part is about 4mm long by about 0.25mm dia..... I have some stuff left from rewiring a UAZ 469 - the Russians had never heard of cartridge fuses back in the early 60's.
edit.... fine brass tube/rod is available too and is a bit stiffer.
Re: MiL Mi-1
Posted: Mon Dec 30, 2019 2:59 pm
by Tomcat64
Good to see you're still making progress on this one mate!
At this scale a short length of wire/tube is probably the best bet for replacing that pitot as Digger mentioned - especially if you've got enough space to drill out the mounting point.
Re: MiL Mi-1
Posted: Wed Jan 01, 2020 11:21 pm
by RangerNeil
Reached a hiatus point right now... Waiting for the painting masks to come from hobby.dn.ua - I could probably try free-hand but I think it will not look so good and if the tools are there - I say use them.
Whilst I was ordering the ones for this Mi-1 I also ordered the ones for the AModel Mi-10K and Mi-12 and the Zvezda Mi-8.
Re: MiL Mi-1
Posted: Wed Jan 01, 2020 11:37 pm
by smokeriderdon
And this is why I never attach pitots and antennae and the like until the very last thing.
Re: MiL Mi-1
Posted: Thu Jan 02, 2020 1:45 am
by RangerNeil
smokeriderdon wrote: Wed Jan 01, 2020 11:37 pm
And this is why I never attach pitots and antennae and the like until the very last thing.
A lesson re-learnt. Sadly the hard way....
I won't be making that mistake again.
Re: MiL Mi-1
Posted: Sat Jan 04, 2020 12:03 am
by RangerNeil
Still waiting for the masking set for the Mi-1 to arrive - heard from the Ukranian supplier it should be shipped out tomorrow. I ordered 4 of them - Mi-1, Mi-8, Mi-10 and Mi-12. Seems they've been having troubles getting the latter two so they are now shipping the first two out without them. Rest to follow as/when/if they come into stock.
Needless to say the fingers have been itching and was tempted to install all the glazing first - but then I remember the masking sets are internal and external..... So I have to stop myself.
However - what are the collective thoughts on using something likeTamiya masking tape for making seat belts up with?
I've got a roll of 5 mm and I was thinking maybe painting a couple of inches of it in an off-white color then slicing a 1mm strip off each side that can then be cut up into the right lengths for the two rear lap straps and the pilots harness.
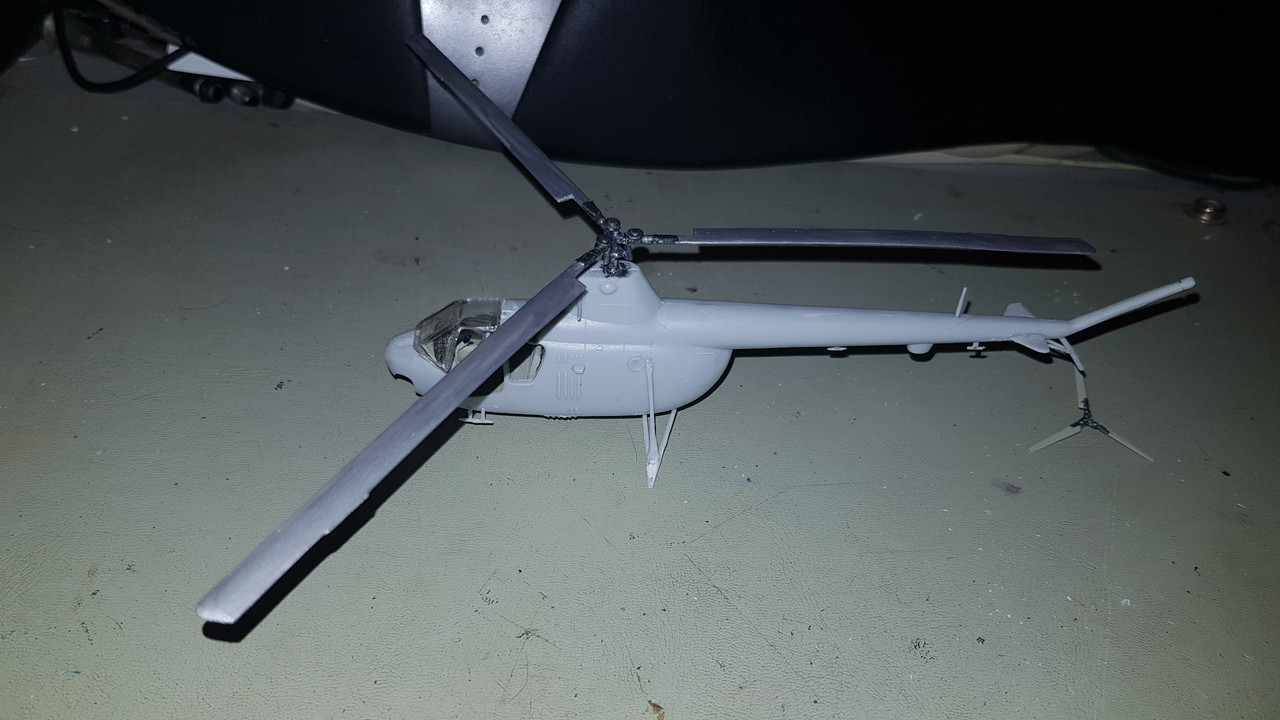
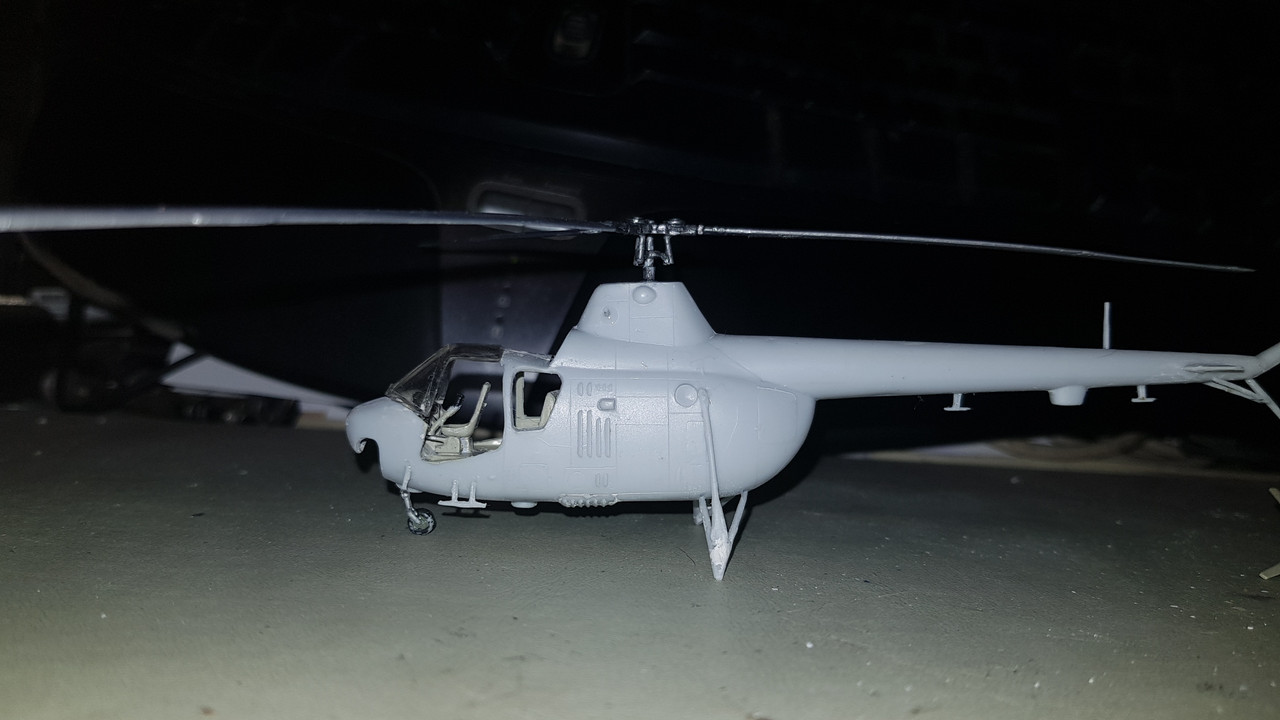
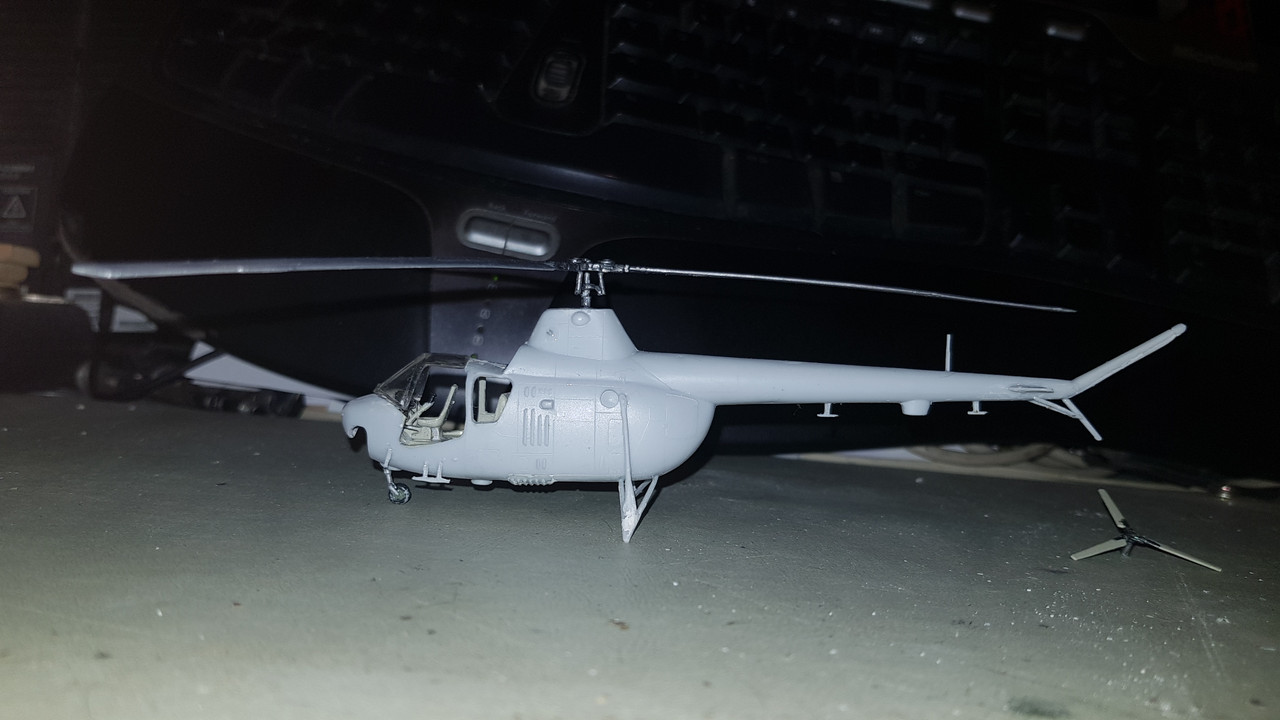
Meantime this is the state of play thus far. Really now just waiting for the glazing to go in/on and be masked then it can be given a coat of primer and the top coats applied.
Re: MiL Mi-1
Posted: Sat Jan 04, 2020 2:00 am
by Maverick231
Great progress mate.
You've inspired me to join this GB!
Re: MiL Mi-1
Posted: Sat Jan 04, 2020 2:21 pm
by Quax
You absolutely can use tamiya tape to make seatbelts, the alternatives are the foil around t he top of a wine bottle or the bottom of an aluminium takeaway tray - with a bit of thought you can wash the takeaway down with a glass of wine and kill two birds....
Paul
Re: MiL Mi-1
Posted: Sat Jan 04, 2020 5:25 pm
by jmurphy18
Looking really good here Neil! Awesome work on this one!
Re: MiL Mi-1
Posted: Sat Jan 04, 2020 10:41 pm
by RangerNeil
jmurphy18 wrote: Sat Jan 04, 2020 5:25 pm
Looking really good here Neil! Awesome work on this one!
Many thanks for the kind words - I assure you it doesn't look as good as the photo's might suggest at the moment though
Maverick231 wrote: Sat Jan 04, 2020 2:00 am
Great progress mate.
You've inspired me to join this GB!
Excellent - whats you choice of hovery thing to build?? (hint - unless you are a masochist do not choose the AModel route!!
)
Quax wrote: Sat Jan 04, 2020 2:21 pm
You absolutely can use tamiya tape to make seatbelts, the alternatives are the foil around t he top of a wine bottle or the bottom of an aluminium takeaway tray - with a bit of thought you can wash the takeaway down with a glass of wine and kill two birds....
Paul
Oooh - never thought of those two options, got to be worth a try next time!!
Think I'll try the tape first though, especially as the alcohol of choice for this build is Imperial Standard Vodka!! Chilled of course and served with a small dish of pickled cucumbers (aka gherkins)...
Re: MiL Mi-1
Posted: Sun Jan 05, 2020 9:56 pm
by Johno
Wow i am really impressed you got that bent old bird together and looking good, great job so far
Re: MiL Mi-1
Posted: Sun Jan 05, 2020 10:52 pm
by RangerNeil
Johno wrote: Sun Jan 05, 2020 9:56 pm
Wow i am really impressed you got that bent old bird together and looking good, great job so far
Many thanks
It's not all together yet though - there is still all the cockpit glazing to do - and I'm dreading that one!!
Then there is the fun job of brush painting acrylics.....
Re: MiL Mi-1
Posted: Mon Jan 06, 2020 4:32 am
by Maverick231
My choice for this GB is the New Airfix Westland Sea King HAS.3.
Re: MiL Mi-1
Posted: Mon Jan 06, 2020 1:25 pm
by RangerNeil
Maverick231 wrote: Mon Jan 06, 2020 4:32 am
My choice for this GB is the New Airfix Westland Sea King HAS.3.
Nice choice!!
Looking forwards to seeing that.
Re: MiL Mi-1
Posted: Mon Jan 06, 2020 3:34 pm
by Tomcat64
I think Quax covered off some of the best options for seatbelts (and dinner) and there's also Aizu tape (skinny masking tape) that comes in narrower widths if you don't fancy trimming down Tamiya tape. I've got various rolls from 2.5mm down to 0.4mm which have all come in handy for various projects.
@Maverick231 come on in mate - there's still plenty of time
Re: MiL Mi-1
Posted: Mon Jan 13, 2020 4:37 am
by Maverick231
Thanks guys I'll be adding it soon.
Re: MiL Mi-1
Posted: Mon Jan 13, 2020 8:12 am
by Stokesy44
Looking good. Weird, but good!
Re: MiL Mi-1
Posted: Mon Jan 13, 2020 6:29 pm
by RangerNeil
Tomcat64 wrote: Mon Jan 06, 2020 3:34 pm
I think Quax covered off some of the best options for seatbelts (and dinner) and there's also Aizu tape (skinny masking tape) that comes in narrower widths if you don't fancy trimming down Tamiya tape. I've got various rolls from 2.5mm down to 0.4mm which have all come in handy for various projects.
@Maverick231 come on in mate - there's still plenty of time
Hmm - I think the 0.4mm would have been ideal here. I started out at 1mm then trimmed it down and down till it looked right on the seat. I wound up at on or just under half the original width. I'll have to have a nose on-line for that one. Thanks
Re: MiL Mi-1
Posted: Sat Jan 25, 2020 11:28 pm
by RangerNeil
Been getting on for 4 weeks now and no sign of the painting masks arriving from the Ukraine.... So I got a bottle of Humbrols Maskol to do the canopy and doors with. The chin glazing wil have to be left until the masks do arrive as the curves of the frame are too complex to do freehand and there are no scribed markings on the moulding.
So with that in mind I went to make a start on the glazing tonight.
Cue hysterical laughter!!

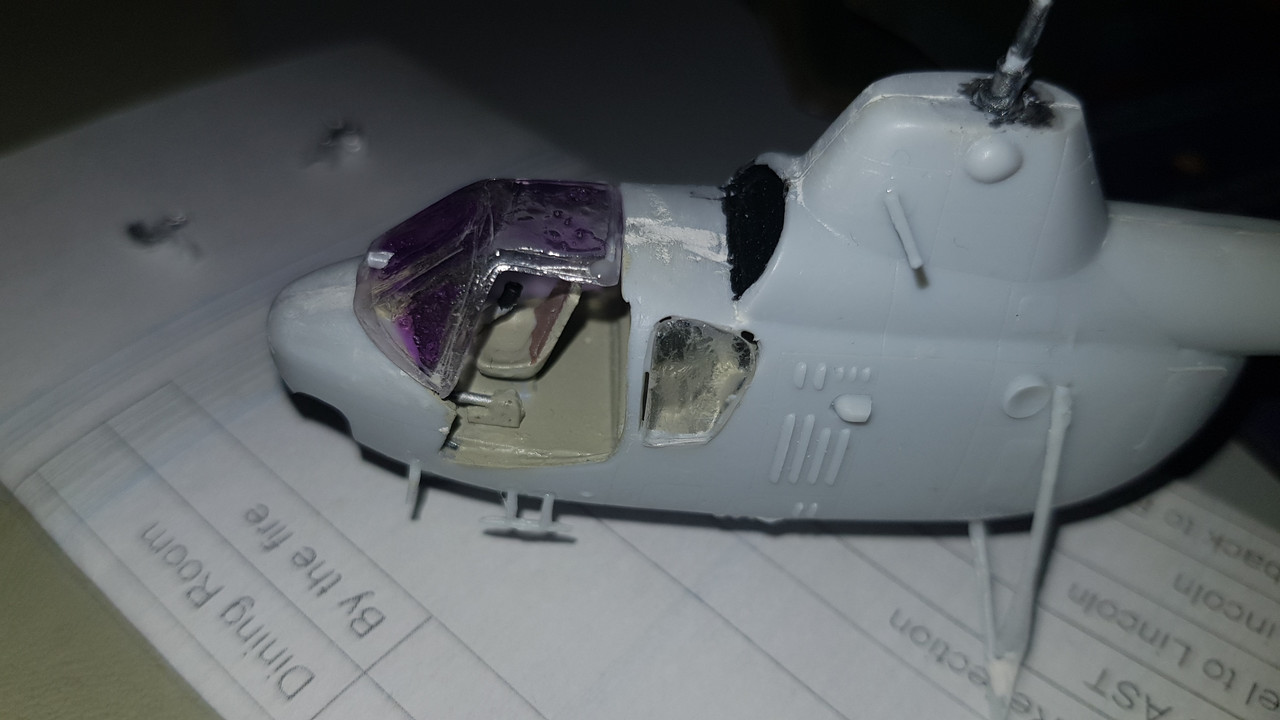
I hope to all the deities you can name the later models are a better fit than this - I have 3 of the biggies from AModel still to do (Mi-6, Mi-10 and Mi-12). I have spent an hour trying to get 1 small window to fit.
You can see the result in the photo. The hole in the fuselage only bore a passing resemblance to the moulded window. having got it to fit I then tried cementing it in place using the recomended white PVA. It feels like trying to mix oil and water, it just does not want to hold. I put the main canopy on and after 15 minutes standing the canopy fell off when I picked the model up to check. The main canopy also has an appalling fit at the front edge. I need to test fit a door to see whether I can sand a bevel onto the canopy or whether I will need to apply filler once its finally in postion.
Re: MiL Mi-1
Posted: Sun Jan 26, 2020 2:57 pm
by jmurphy18
Neil, wishing you the best on this build! I do understand the frustration ..... I hope the gods of building smile on you
Re: MiL Mi-1
Posted: Sun Jan 26, 2020 3:51 pm
by smokeriderdon
The problem is you are doing Amodel kits. They are notoriously awful and you are seeing the reason for the rep.
Re: MiL Mi-1
Posted: Sun Jan 26, 2020 6:08 pm
by RangerNeil
smokeriderdon wrote: Sun Jan 26, 2020 3:51 pm
The problem is you are doing Amodel kits. They are notoriously awful and you are seeing the reason for the rep.
Unfortunately I didn't know this before starting - and in fairness they were gifts from friends over in Moscow who were worried about me (I had a bad dose of being depressed).
Still - If I can survive these hopefully the Trumpeter and Zvezda ones will be easier!!
Re: MiL Mi-1
Posted: Sun Jan 26, 2020 6:57 pm
by smokeriderdon
Gotcha. Believe me, most anything else is gonna be better.
Re: MiL Mi-1
Posted: Tue Jan 28, 2020 9:47 pm
by RangerNeil
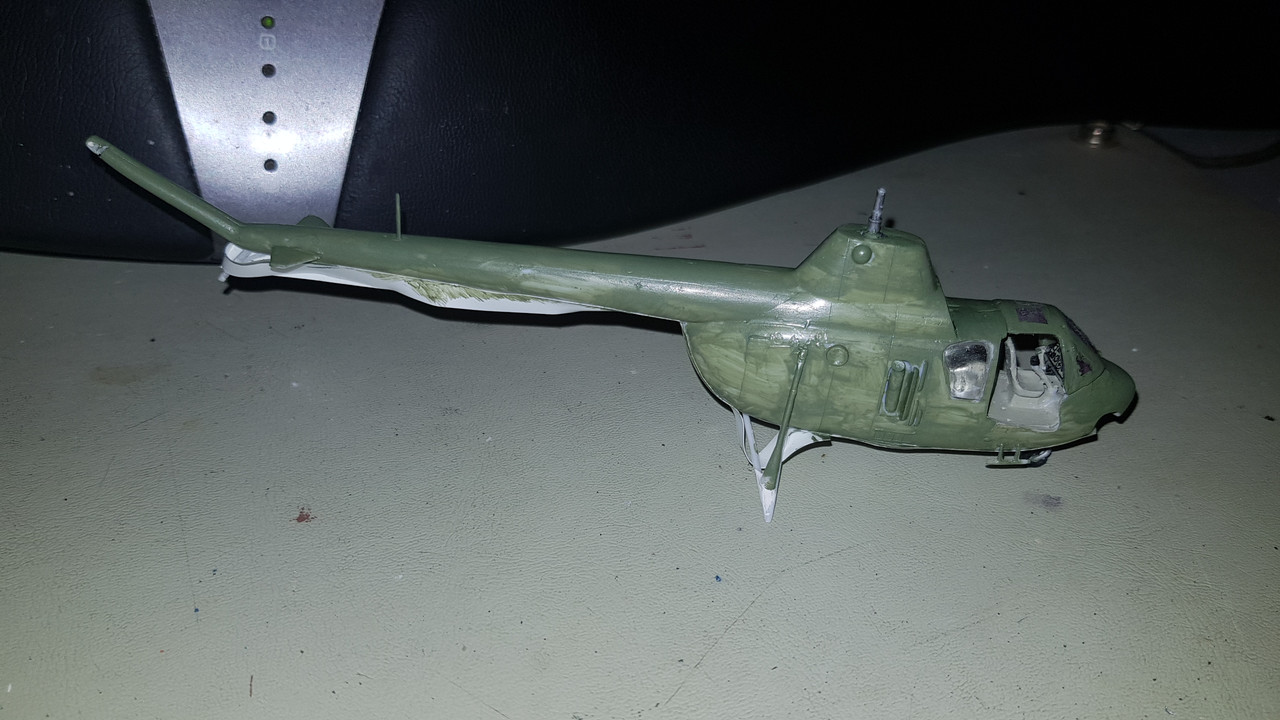
Done a bit more on the Mil tonight... Its fighting every step of the way now..... First off I went to fit the cabin doors. One side was an acceptable fit - the other is nothing like! I might have to complete the build with one door open!!
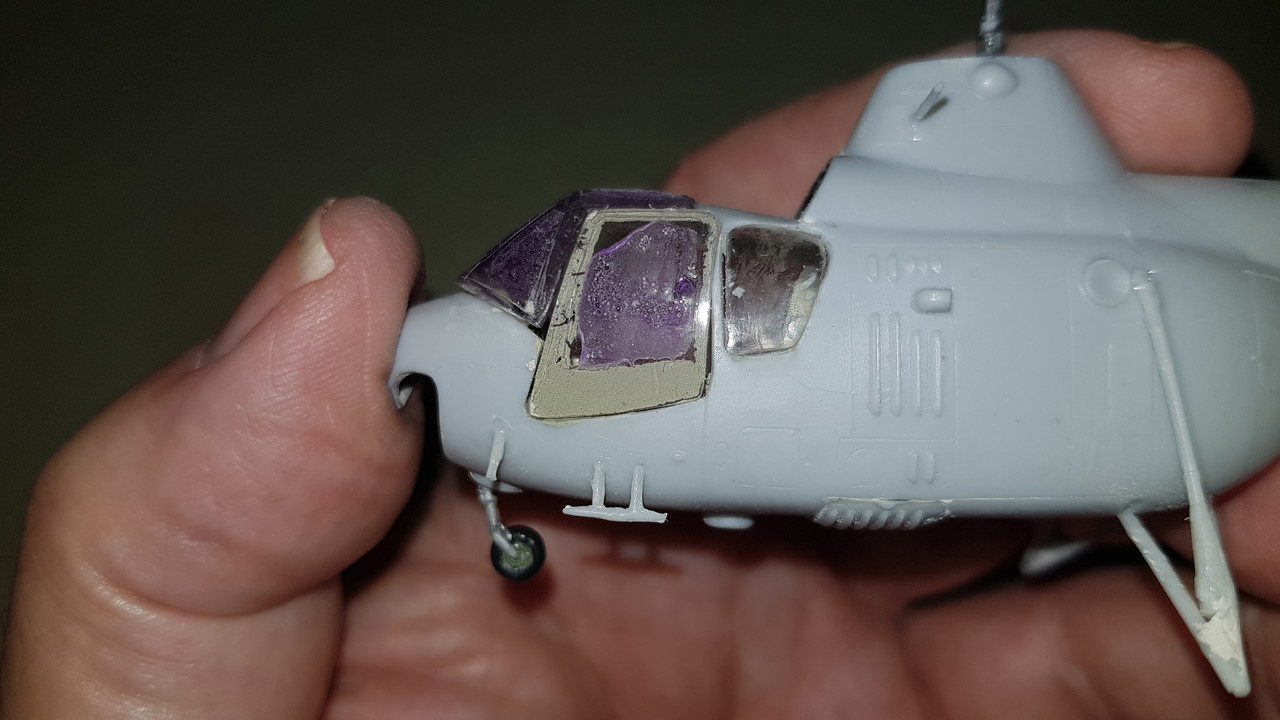
I also applied the first coat of green to the upper surfaces. Brush painted - the AKAN paints are very thin being meant for an airbrush - so it will need a second coat at least once this has dried completely. I used making tape to corm the edge and I am hoped that will be sufficent once the green is finished to create a sufficent "lip" to run the lower blue against. Time will tell.
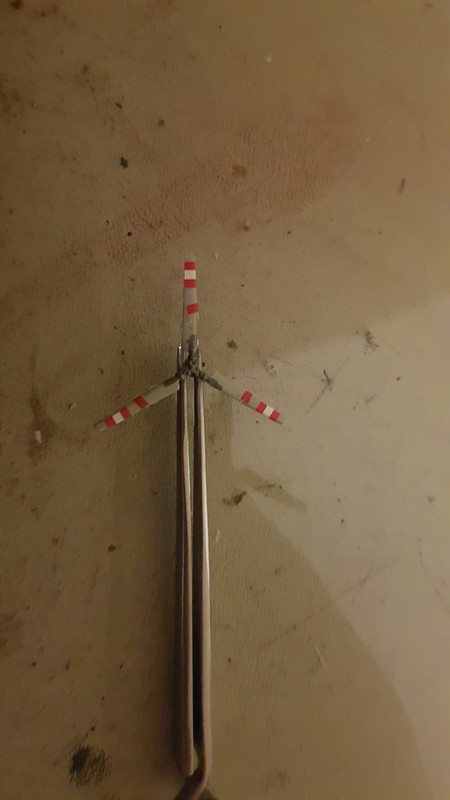
Lastly I made a start on the decals. No quality improvement there I fear. The red/white/red/white/red bands on the tail rotor blades are shown as as 1 piece. They are actually two pieces per blade. And the decals themselves are quite thick. Getting them to wrap around the blade tips was another exercise in nightmares.
Re: MiL Mi-1
Posted: Fri Jan 31, 2020 12:04 am
by RangerNeil
Top coat of Green is on, first coat of underside of blue is on - also very thin. Maybe one day I'll get a chance to try it through an airbrush....
I do note that the surface of acylics is awfully fragile compared to enamels. Bit worrying that!!
I tried using PVA to "plug" the awful gap between the cockpit glazing and the nose. Didn't work too well though
So I may have to resort to putty and rework the nose.
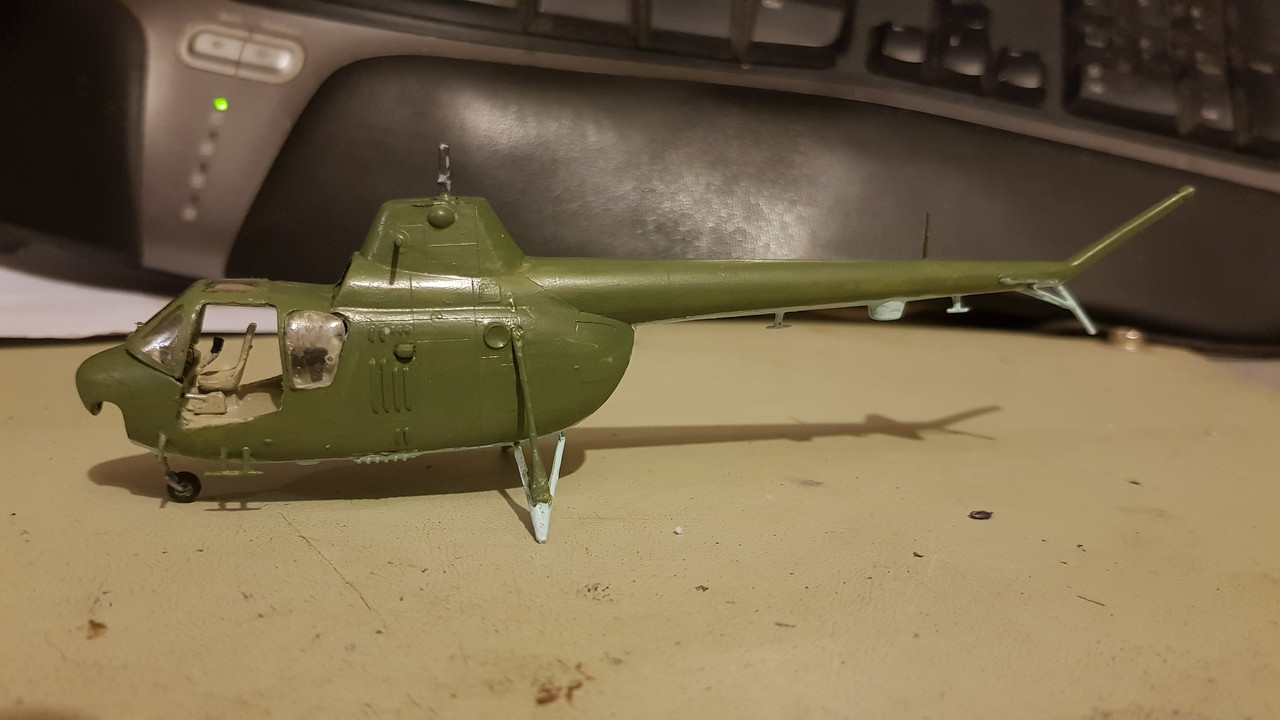
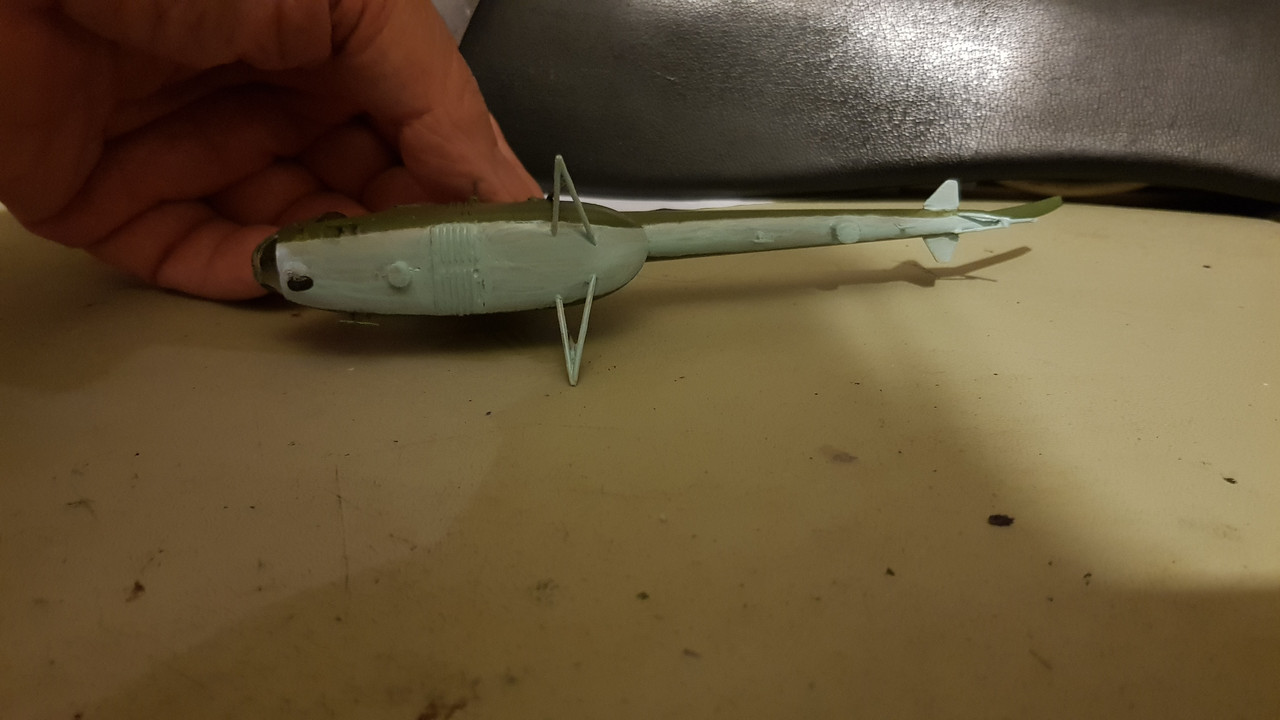
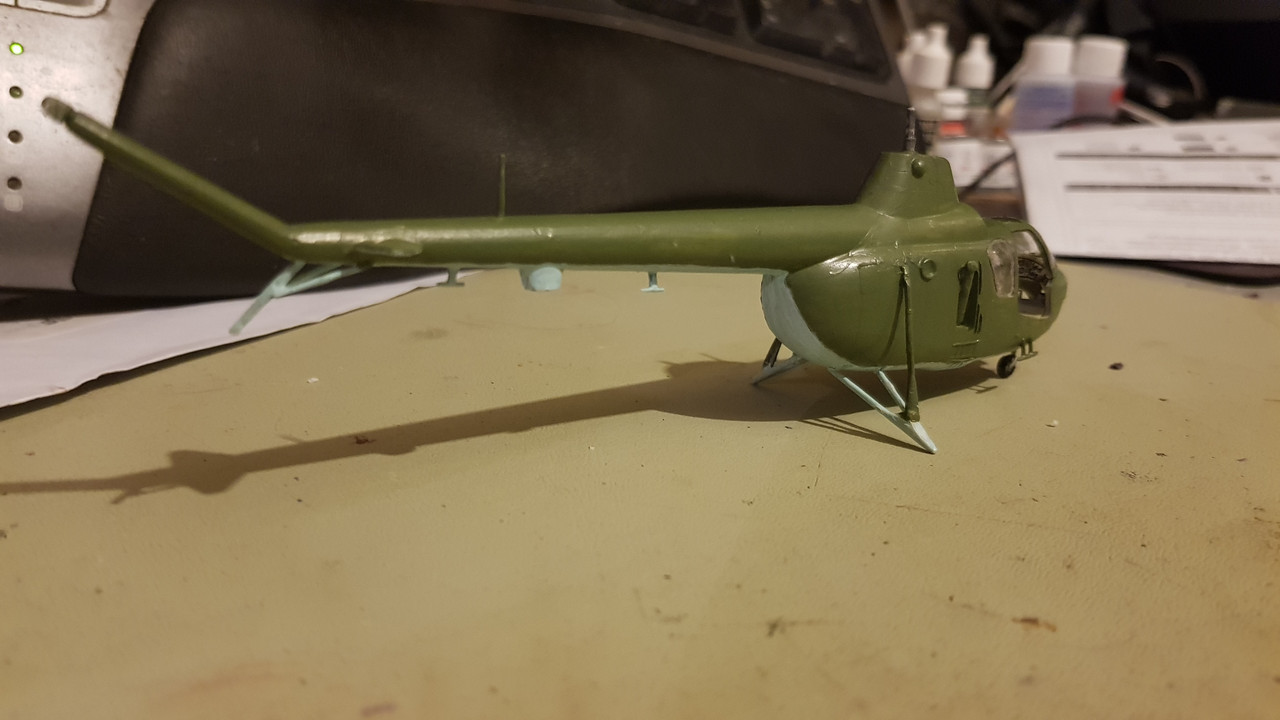
The Maskol - I need to work on getting that into the outlining - as you can see the frame lines are overly thick. In my defence it didn't help that that the frame outlines were barely discernable etched lines.
We are getting there slowly though.
Re: MiL Mi-1
Posted: Fri Jan 31, 2020 2:57 pm
by jmurphy18
Looking good Neil!!
