Page 2 of 2

Re: Italeri 1:48 CH-47D Chinook

Posted: Tue Nov 05, 2013 9:37 am
by alextheblue
Thanks everyone for the comments, always appreciated. It's still a bit untidy, which is down to my impatience more than anything. I rush to get things finished and then miss bits or make mistakes and then have to go back and tidy them up. Must learn to slow down and take my time.

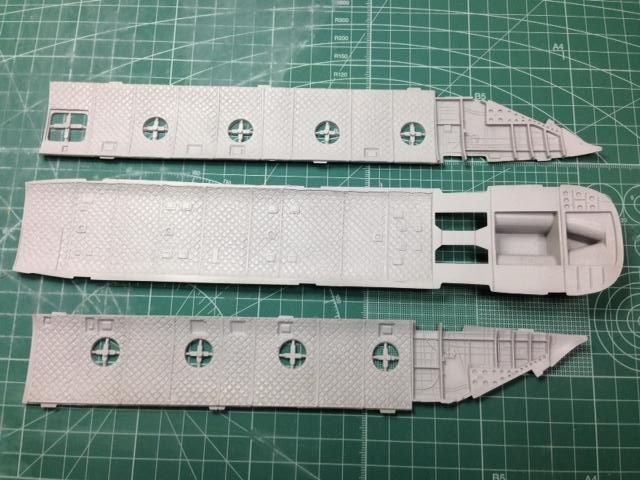
Talking of impatience, I'm looking forward to getting the interior wrapped up so I can start putting it all together - I'm starting to forget that this thing is actually a helicopter. So, got some primer on the inner walls.
Image
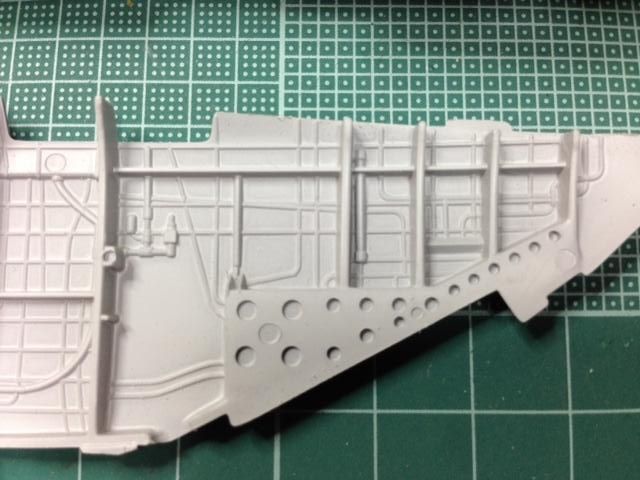
Some nice detail on the rear section and once the wiring is painted in that should be quite visible with the rear loading door down.
Image

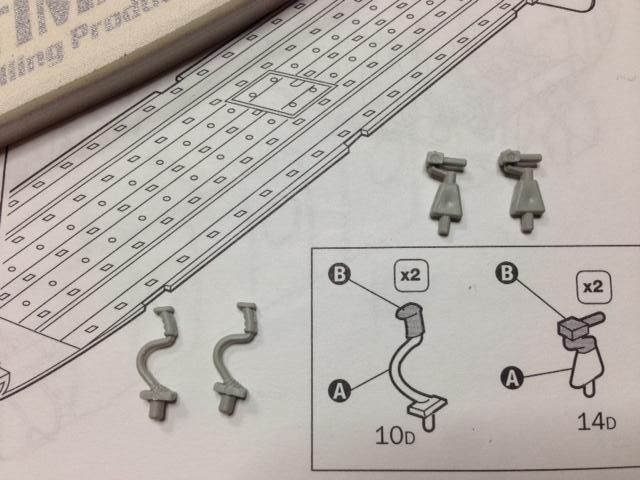
Time to get the other details added to the cockpit.#
Image
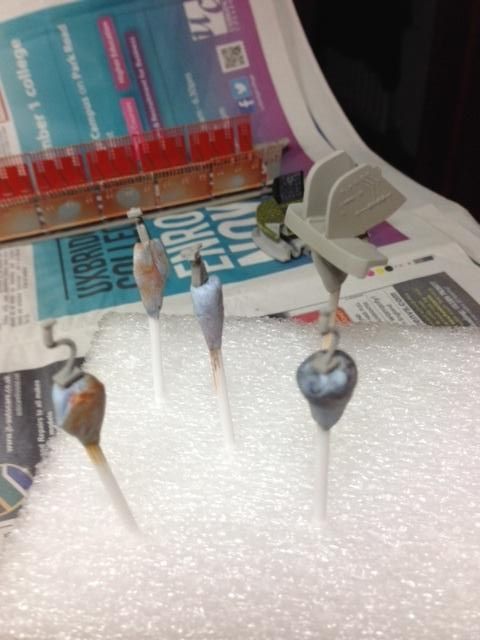
Some primer
Image
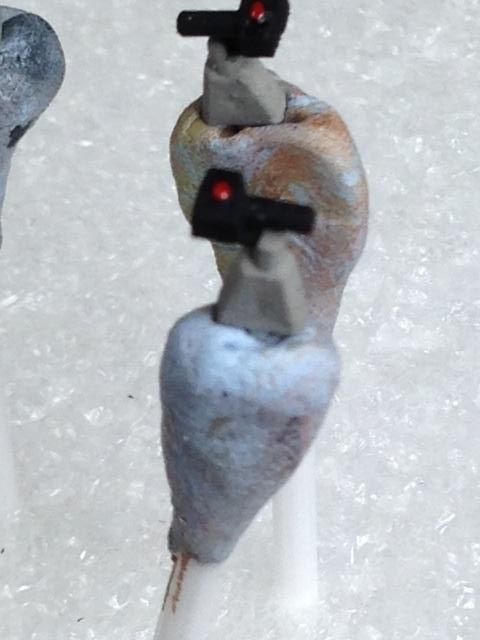
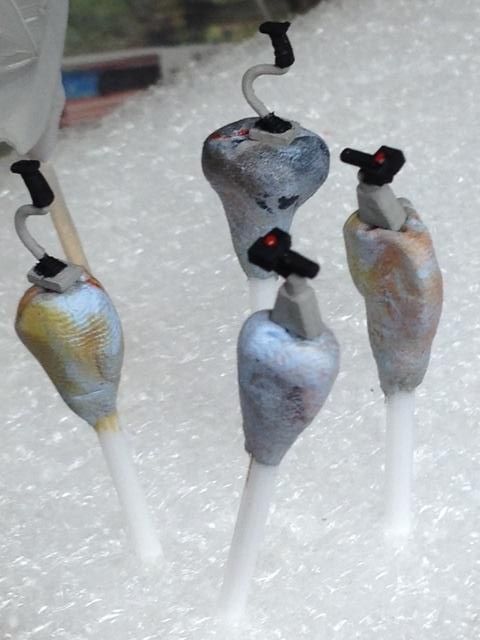
And the first coat. Not too happy with the grey that is recommended, so I'm probably going to change that, but will probably leave it until they are installed and take a view on it then.
Image
Image
Image

Really not happy with that colour, the grey looks really "heavy", so will have to tone that down. Plus, should have really filled those injector marks, but looking at where they will be positioned, you really only going to see the tops of these bits - I hope!
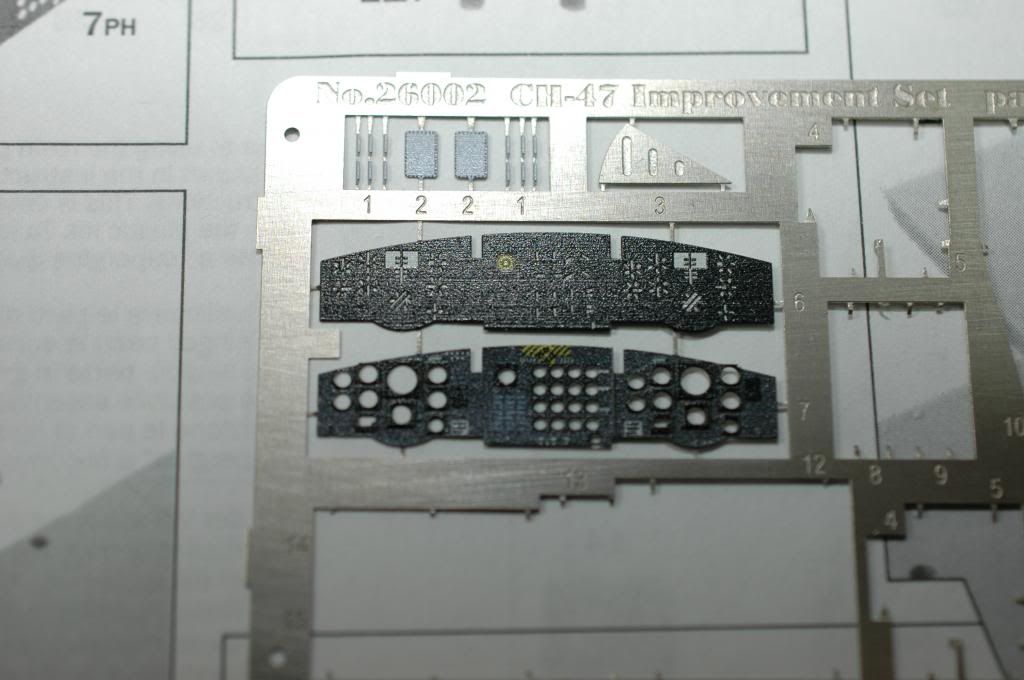
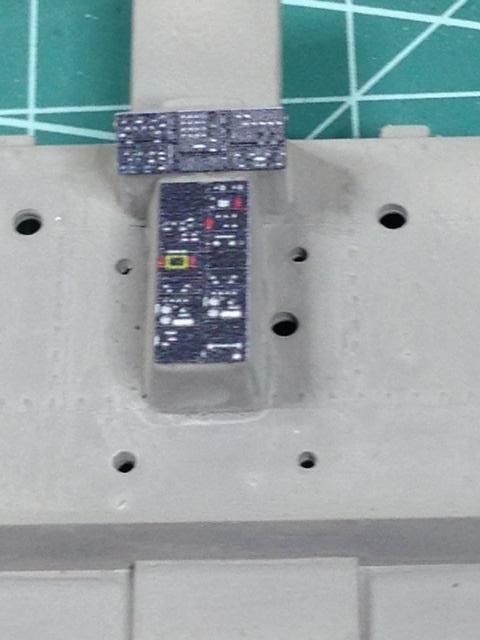
Also got the PE in place on the centre console - these are pre-painted, which is a nice touch and the first time I used anything other the brass PE.
Image

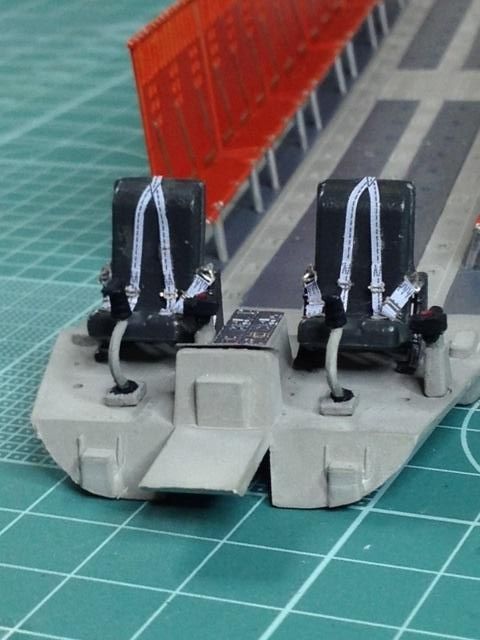
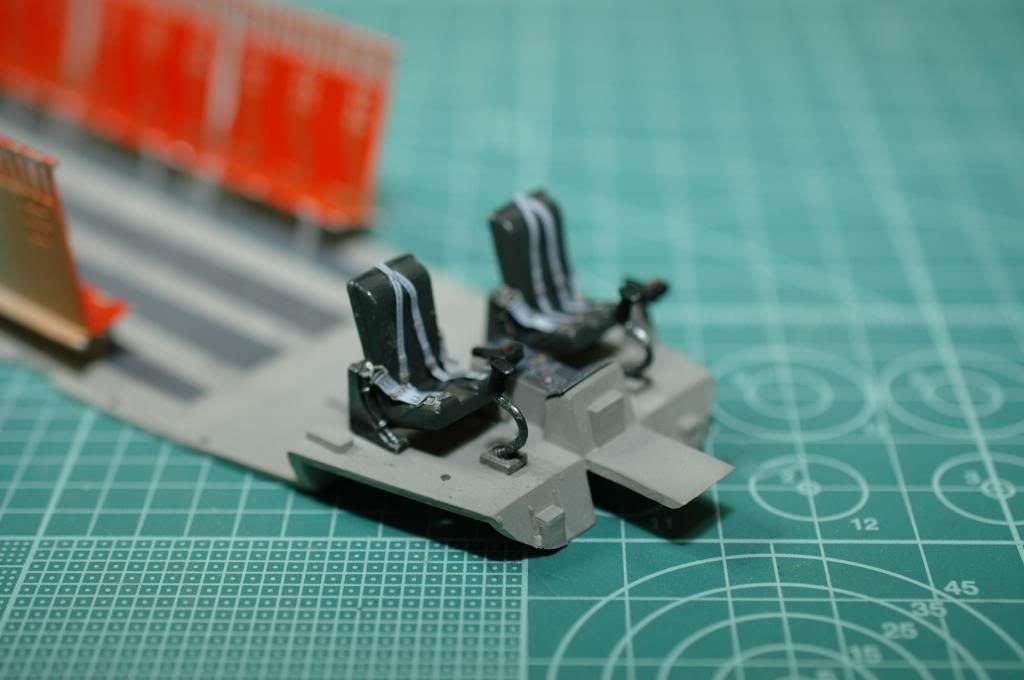
Once I got the sticks etc into place, I was even less happy with the colour, so definitely going to have to sort that out!
Image
Image
Had a bit of a tinker and after a play around with a couple of colours and came up with the this, which is better, but still not quite right. I need to press on as this taking me longer than anticipated - oh, and did I mention that I was an impatient sod!
Image
Image

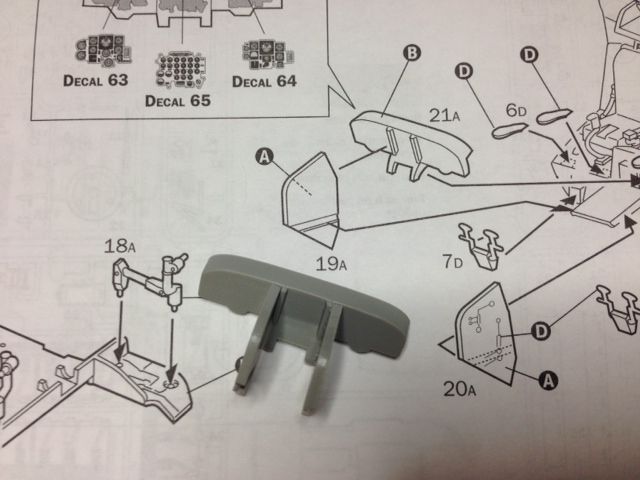
Now on to the main control panel and the PE for it
Image
Image

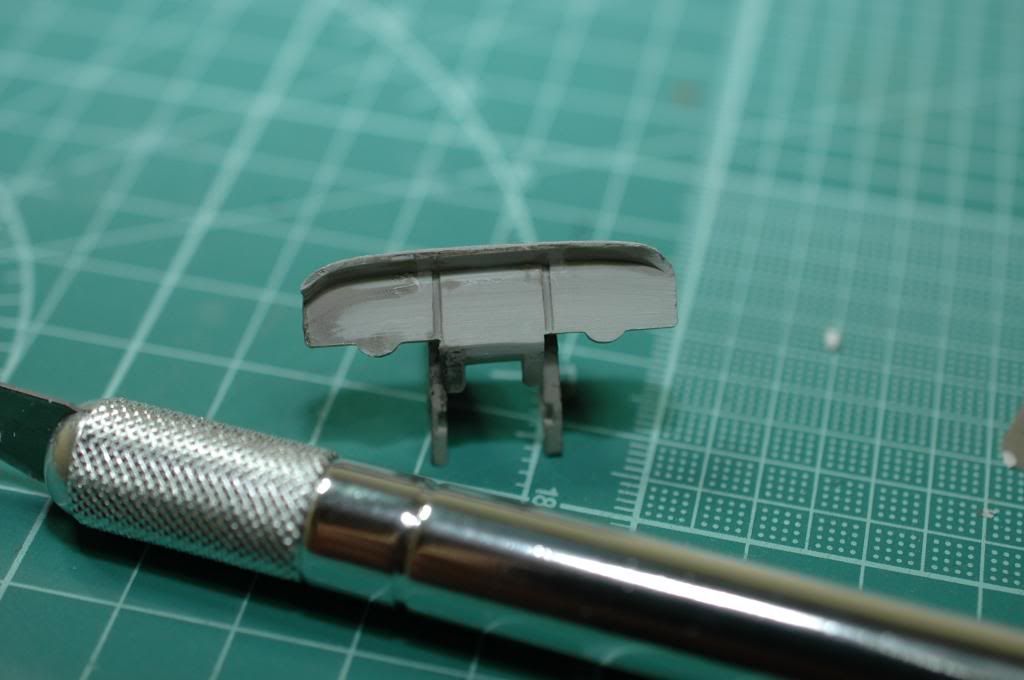
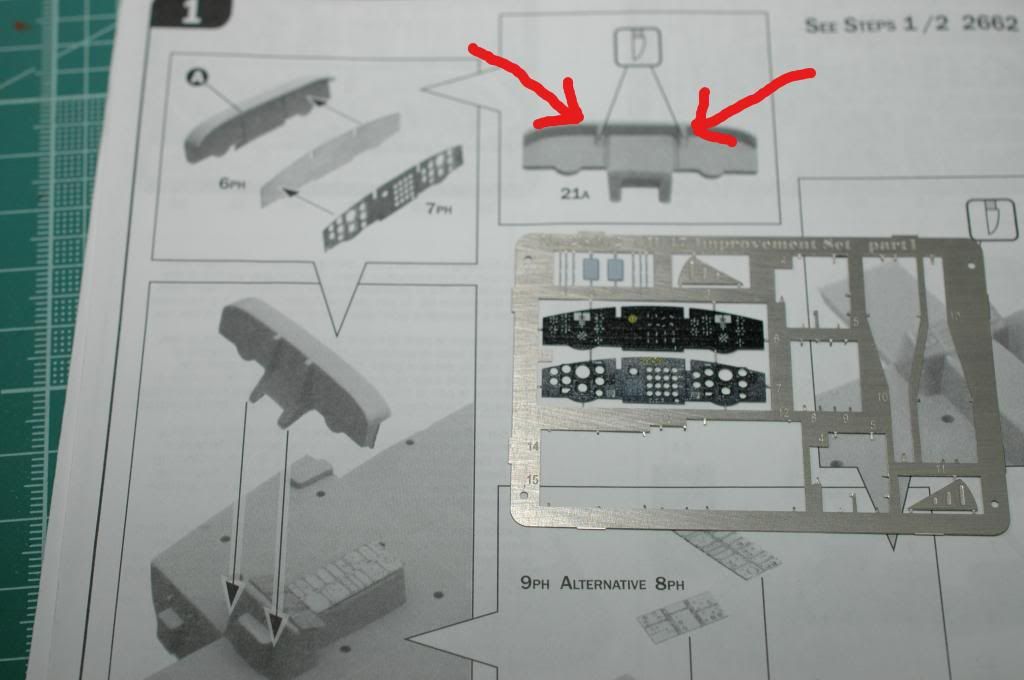
In order for it to fit, it's going to need those lugs taking off.
Image
Image

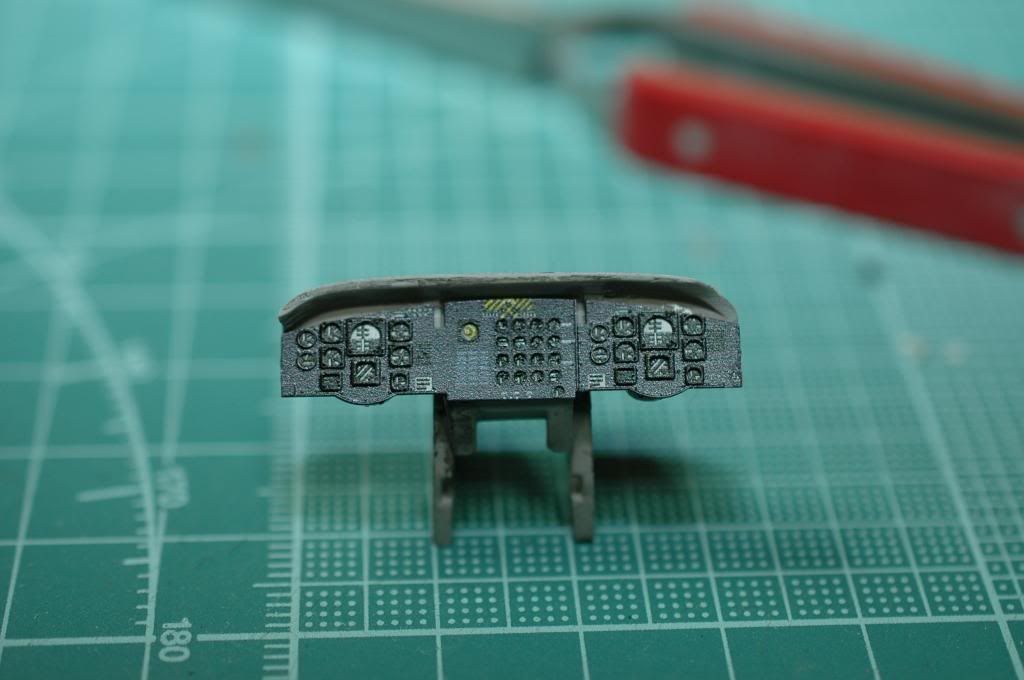
The PE is actually in two parts with the instruments dials on the first sheet, then the top part being the housing for the dials and panels - which means you have to get them to line up just so. Now, for all of you metal-bird-in-the-sky builders, this is probably old hat, but it's a first for me. After years of boxing and martial arts, which has involved countless broken digits (I've broken one finger so many times it's not only bent, but it twists in slightly like a corkscrew!!), I don't have a great deal of feeling in my fingers, so detail work like this is a challenge to say the least. But, with more luck than judgement, they kinda line up.
Image

Not a spectacular update, but it took me while to get all this done and progress is progress. Just need to get that console painted up and detailed, fix in the back wall of the cockpit and I'll be about there for the interior - yahay!!

Thanks again for checking in - I must admit to feeling quite out of my depth with this being my first GB. Plus, there are so many great modelers on this great forum, I almost chickened out. But, not being someone to walk away from a challenge, I thought, the only way I'm going to learn is to get stuck in.

Anyway, I'm having great fun and my wife says it keeps me out of trouble - now, how am I going to hide that big patch of CA that I dropped on her favourite rug!!! :eeek:

Re: Italeri 1:48 CH-47D Chinook

Posted: Tue Nov 05, 2013 10:10 am
by DC87
alextheblue wrote:I must admit to feeling quite out of my depth
You are treading water very convincingly :clap: , all the details you are adding will make this a class interior. Excellent work.

Re: Italeri 1:48 CH-47D Chinook

Posted: Tue Nov 05, 2013 10:25 am
by Paul
alextheblue wrote::oops: Funny you should ask that Paul, but I didn't anneal them first. It was only after I had finished that I suddenly remembered that I had only just recently watched one of your vids where you gave this very useful piece of advice! :oops:

I'll definitely remember next time! :wall:
Well worth doing mate, just a pass over a flame will make it so much easier to work with

Re: Italeri 1:48 CH-47D Chinook

Posted: Tue Nov 05, 2013 10:32 am
by alextheblue
Thanks Dan - I'm starting to learn that patience has it's own rewards!

Paul - that's what is great about this hobby - always something to learn and since being part of the forum, boy have I learnt a lot!! :th:

Re: Italeri 1:48 CH-47D Chinook

Posted: Tue Nov 05, 2013 10:07 pm
by Nige201980
Looking great mate I do love the chinook

Re: Italeri 1:48 CH-47D Chinook

Posted: Thu Nov 07, 2013 11:08 am
by alextheblue
Cheers Nige. Got to agree with you about the Chinook, quite an iconic bird - all those images, everything from Vietnam to Afghanistan. Quite a workhorse - or should that be work-bird... :tongue: ....ah well, you know what I mean!

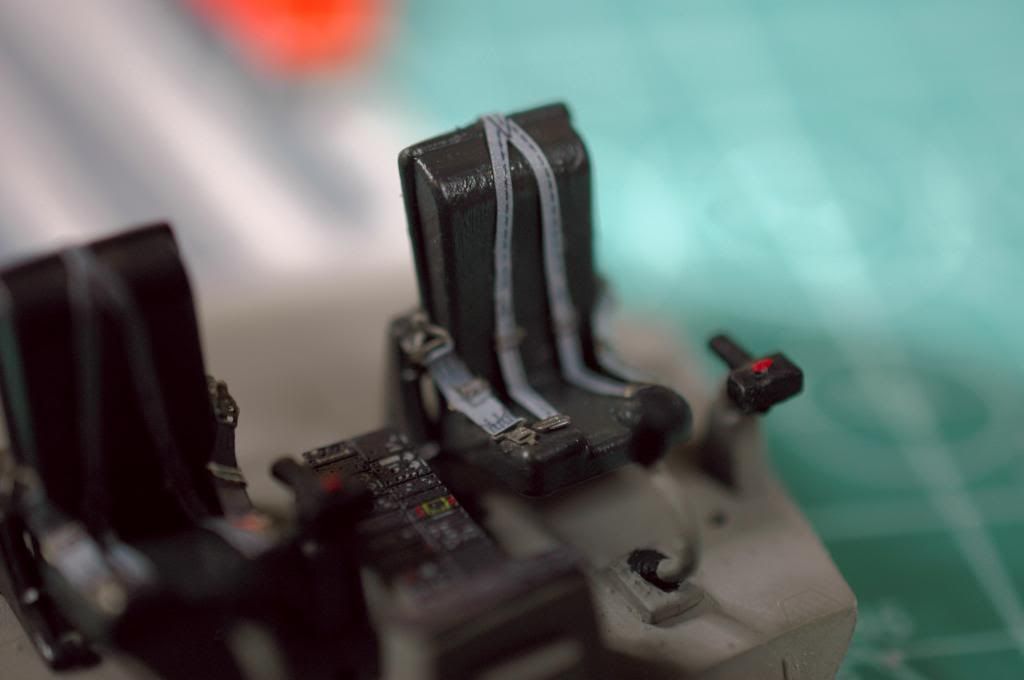
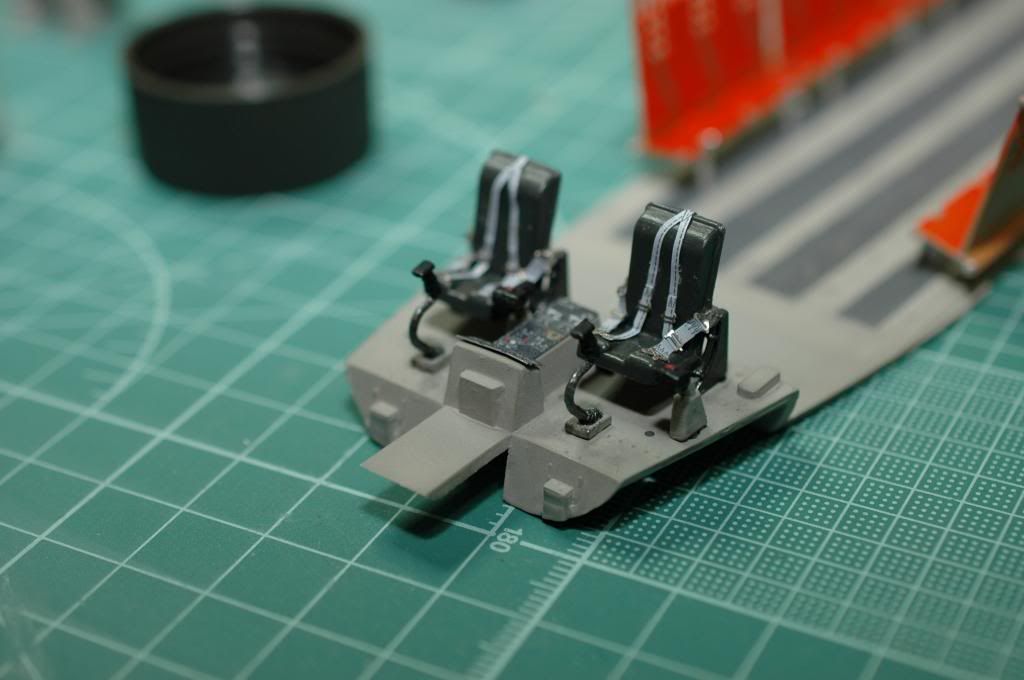
Managed to get a sneaky hour in last night and finished the main control panel and started on the interior walling. The instructions called for the control panel to be painted grey, but this just didn't seem right to me, so i went for good old flat black instead. A dab here and there of Kristal Klear for the glass in the dials and we're about done.

Proved to be quite hard to get any decent pics once the control panel was installed as the lens that I use for close-up work has quite a shallow depth-of-field, so only a tiny amount stays in focus. I'm sure there's a way round this, but my photography skills are even more limited than my modelling skills!! :doh:

First off, I applied a light wash to the interior, thinned down Tamiya smoke. I don't believe these things ever got that dirty, but there would be an element of grime that gets into the nooks and crannies. Plus , your not going to see a great deal of it once it is all put together. Started to dry-brush some of the details into the rear section, using a silver chrome colour to pick up the pipes and wiring. Some colour will be added to boxes and junctions and I want to concentrate more on this area as it will be seen from the rear loading door.
Image
Image

So, finished control panel.
Image

And installed into the cockpit.
Image
Image
Image
Image

Slow but steady is probably the best way to describe this progress. A lot of the stuff here I'm trying for the first time, so I'm never too sure of how it will turn out.

Thanks again for taking a peek - now where did I put that little Panzer!! :th: :th:

Re: Italeri 1:48 CH-47D Chinook

Posted: Thu Nov 07, 2013 6:41 pm
by gosselin2112
You are doing a great job with the bird. The PE instruments came out well. I know PE is not everyone's friend, but I think you did a splendid job. Nothing wrong with slowing down with a build. You're right, we do tend to miss stuff. I am a much slower builder now a days. I'm finding that it does wonders for my builds.

Model on!

Russ

Re: Italeri 1:48 CH-47D Chinook

Posted: Thu Nov 07, 2013 6:49 pm
by Rob
Really nice updates, the model is lookinf fantastic. With the annealing tou mentioned, do you do that to prepainted PE too? Could you point me to the vid in which Paul mentiones this process?
Thanks

Re: Italeri 1:48 CH-47D Chinook

Posted: Thu Nov 07, 2013 7:10 pm
by chief5437
This is looking really good now mate, the cockpit is great! :th:

Re: Italeri 1:48 CH-47D Chinook

Posted: Fri Nov 08, 2013 5:11 am
by ThomasBrown
Super job so far. The cockpit is outstanding can't wait to see the final build.

Re: Italeri 1:48 CH-47D Chinook

Posted: Fri Nov 08, 2013 6:38 am
by T3hGuppy
That cockpit came together really nicely dude well done. :th:

Re: Italeri 1:48 CH-47D Chinook

Posted: Fri Nov 08, 2013 9:09 am
by alextheblue
Rob wrote:Really nice updates, the model is lookinf fantastic. With the annealing tou mentioned, do you do that to prepainted PE too? Could you point me to the vid in which Paul mentiones this process?
Thanks
Thanks Rob, appreciate the comments. I've been racking my brains to try and think where I saw Paul mention about the annealing. I've had a search, but can't find anything, but I've got a feeling it was either in one of the plane build vids (Corsair maybe??), or the vid where he review the photo etch tool. Apologies, doesn't really narrow it down much!! Not too sure about annealing pre-painted photo-etch - I certainly didn't and thinking about, I probably wouldn't just in case it affects the paint.

Re: Italeri 1:48 CH-47D Chinook

Posted: Fri Nov 08, 2013 9:12 am
by alextheblue
Huge thanks for all the comments, very much appreciated.

I know it's been mentioned many times on other threads, but I can't help noticing all of the flaws, so it's nice when someone says something positive. I know I'm not alone in this. Maybe I'll stop being so hard on myself once I've been doing this a bit longer, in maybe about...........oh.............another 20 or 30 years!! :th:

Re: Italeri 1:48 CH-47D Chinook

Posted: Wed Nov 13, 2013 12:38 am
by FatFingaz
That cockpit looks great :thumb2:

Re: Italeri 1:48 CH-47D Chinook

Posted: Wed Nov 13, 2013 9:03 am
by alextheblue
Thanks FF, appreciate the feedback! :th:

Re: Italeri 1:48 CH-47D Chinook

Posted: Wed Nov 13, 2013 5:58 pm
by JayCub
really like the time and patience you have put into your build Alex, another one to add to my buy list, can't wait for the next update

Tom

Re: Italeri 1:48 CH-47D Chinook

Posted: Sun Nov 17, 2013 1:56 pm
by Jamesday1998
Awesome. Job on the cockpit!! The detail set has added a lot to the kit!!
Awesome painting!! :th:

Re: Italeri 1:48 CH-47D Chinook

Posted: Sun Nov 17, 2013 4:52 pm
by JDMMODELS
A+ work!!! :cheers2:

Re: Italeri 1:48 CH-47D Chinook

Posted: Mon Nov 18, 2013 9:03 am
by alextheblue
Thanks JayCub, James, JDM - really appreciate the comments! :th:

Re: Italeri 1:48 CH-47D Chinook

Posted: Mon Nov 18, 2013 9:06 am
by fly1ngdutchm4n
That's on hell of a cockpit!
Great job so far mate! :hand: :clap: :clap: :clap:

Re: Italeri 1:48 CH-47D Chinook

Posted: Mon Nov 18, 2013 10:28 am
by alextheblue
Thanks Frans, appreciate your kind comment. Sharing my efforts with guys like yourself who have an immense amount of talent and ability can be a bit humbling, but also inspiring - loving your MASH heli build and I must confess, I've spent more time following this than building mine!! :th: :th:

Re: Italeri 1:48 CH-47D Chinook

Posted: Mon Jan 06, 2014 11:56 am
by alextheblue
Eeeeek!!! I'd almost forgotten about this one as I got a bit carried away with the Holy Toledo Panzer 2 SIG. Looking at what is left to do and the time that I have, I don't think I'm going to get it completely finished, but I'm going to give it a darn good try!!.

The interior is now all painted and the hydraulic struts for the rear loading door have been fitted so I can show this as being open. The side "walls" have been fitted and fixed in place and it's just the interior roof that needs fitting in place.
Image
Image
Image

I made the decision to get the main body primed and painted before assembly and this was more down to time than any reason. Having never built a flighty thing before, the canopy and windows have been causing me concern. I figured doing it this way will enable me to get the exterior painted before fitting the side window's and I can then assembly the body etc. It doesn't look there should be too much filler needed, so I'm hoping there's not going to be too much "making good" needed once assembled. It's a bit of a risky strategy, but I figure that it may be my best bet to get it finished on time.

Primed and pre-shaded - and yes I had been drinking!! :crazy:
Image

First couple of light coats of the top coat applied using Vallejo Air olive drab and methinks it's looking a bit too brown. Might add a touch of cam green to final top coat just to up the green tone a bit.
Image
Image

If the colour of the top-coat doesn't work out and I have to start again, I may have to resign myself to being a DNF for this one.

As they say, it's not over until the fat lady sings, but I believe she is now in the building and preparing to warm up!! :eeek:

Re: Italeri 1:48 CH-47D Chinook

Posted: Mon Jan 06, 2014 12:07 pm
by Paul
That's a real shame if you DNF mate, as it's looking great, paintwork looks superb, nothing wrong with the preshading either the more random and messy it is the better IMO, it looks more natural through the Paintwork then. :th:

Re: Italeri 1:48 CH-47D Chinook

Posted: Mon Jan 06, 2014 1:05 pm
by T3hGuppy
Still loving this build buddy.

Always a pain in the A** when the paint doesn't do what you wanted.

Im sure you will get it sorted :th:

Re: Italeri 1:48 CH-47D Chinook

Posted: Mon Jan 06, 2014 1:30 pm
by alextheblue
@ Paul - thanks mate, will be gutted if I don't finish in time, but I'm definitely going to finish it. Gotta agree with you on the random messy look, prefer it all day long!

@ Guppy - thanks mate, appreciate that. Kept looking at the colour in the bottle and ended up applying a small amount to the underside with a brush and it looked ok. I quite like the brownish colour, but it doesn't look quite right to me for this one - I mean, just how muddy is a Chinook going to get once in the air!!

Re: Italeri 1:48 CH-47D Chinook

Posted: Mon Jan 06, 2014 2:20 pm
by Bissyboat
Looking fab. Great job on the interior and pre shading the fuselage. :thumb1:

Re: Italeri 1:48 CH-47D Chinook

Posted: Mon Jan 13, 2014 10:09 am
by alextheblue
Sadly ran out of time on this, but I will get it finished and post some pics. I'm gutted I missed the deadline, but slightly pleased as well as I felt that I was just rushing at it the last week or so, but now I can take my time and finish it properly.

Well done to everyone that made it across the line, there is some cracking models there and I don't envy Lee and Paul having to judge it. Take a bow everyone, in my book you're all winners!!!!! :clap: :clap: :clap: :clap:

And here's where I got to.........so close, yet so far!!! :(

Image
Image
Image
Image
Image

Re: Italeri 1:48 CH-47D Chinook

Posted: Mon Jan 13, 2014 11:04 am
by T3hGuppy
Some great work on this one dude.

Looking forward to seeing this in her final finish. :th: :th: :th: