Fine Molds 1/48 Kugisho D4Y1/D4Y2 "Judy"
Posted: Thu Dec 25, 2014 7:51 pm
Hi there! This is my entry into the The Rising Sun GB.  In fact this is my second japanese aircraft.
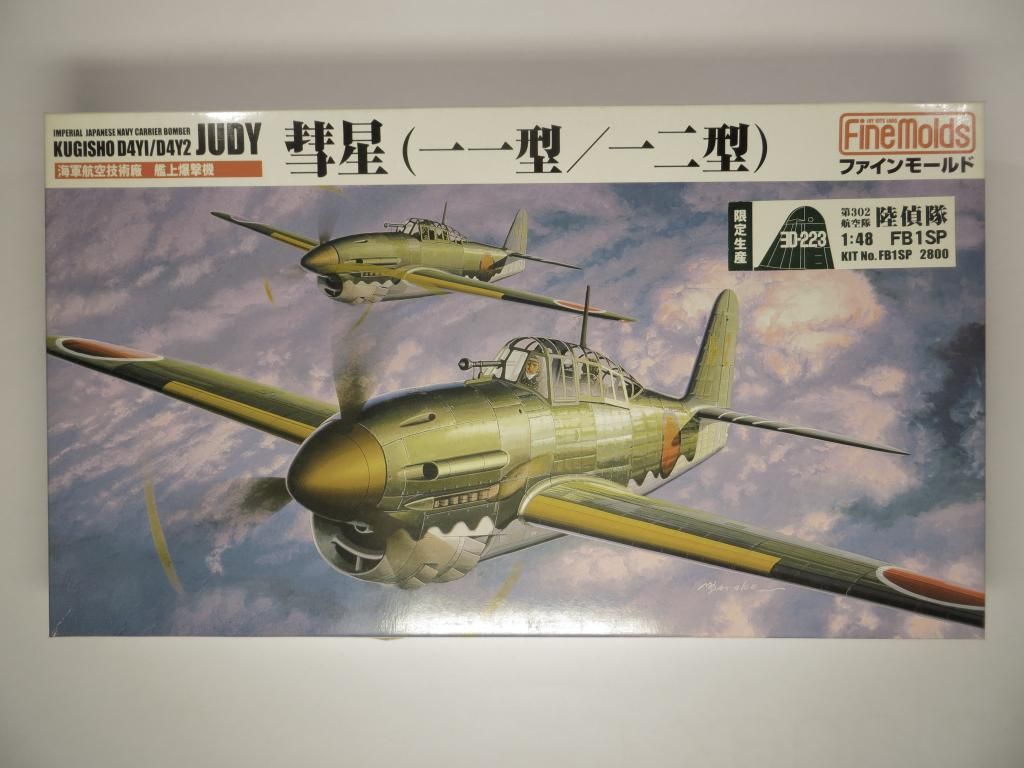
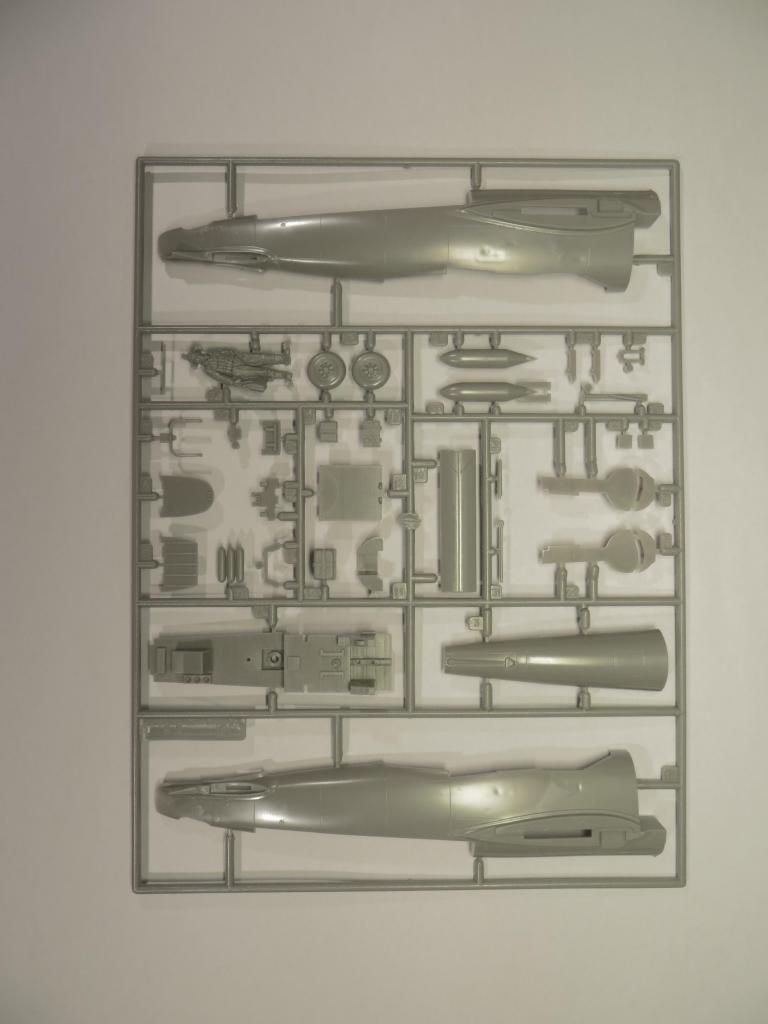
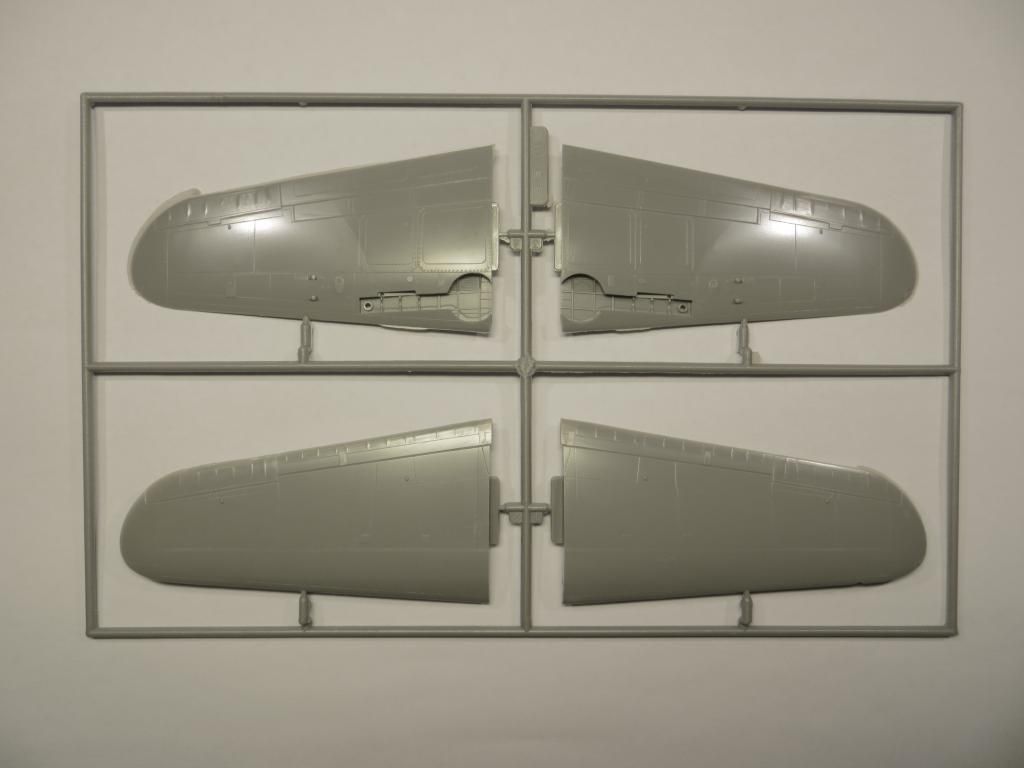
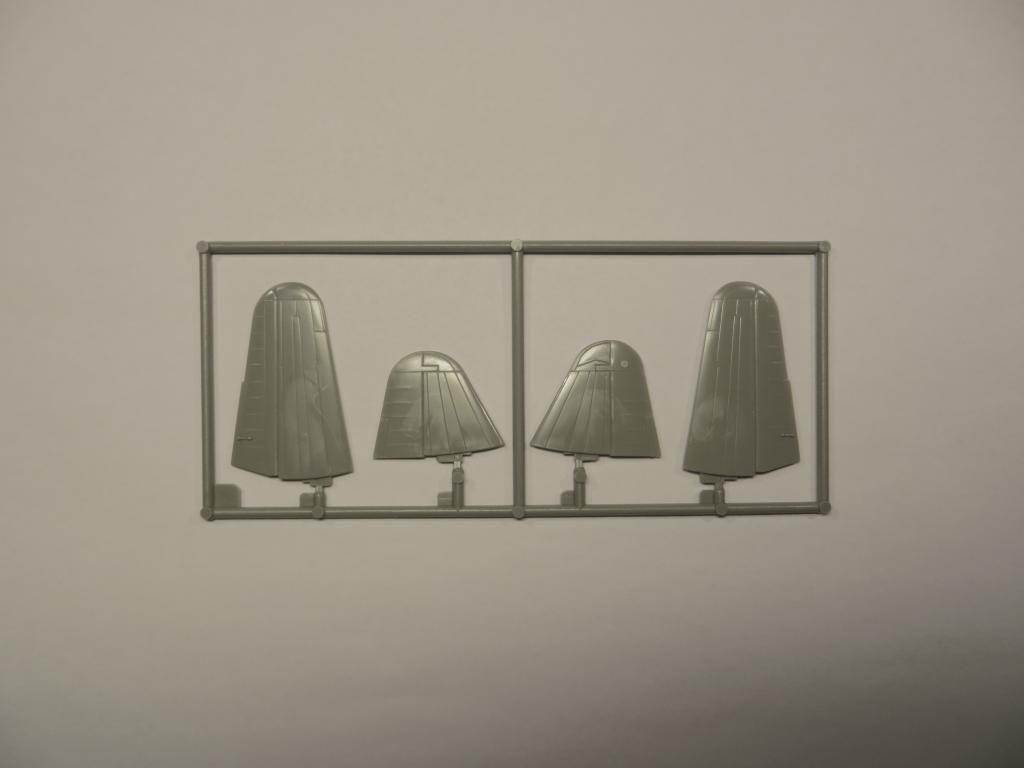
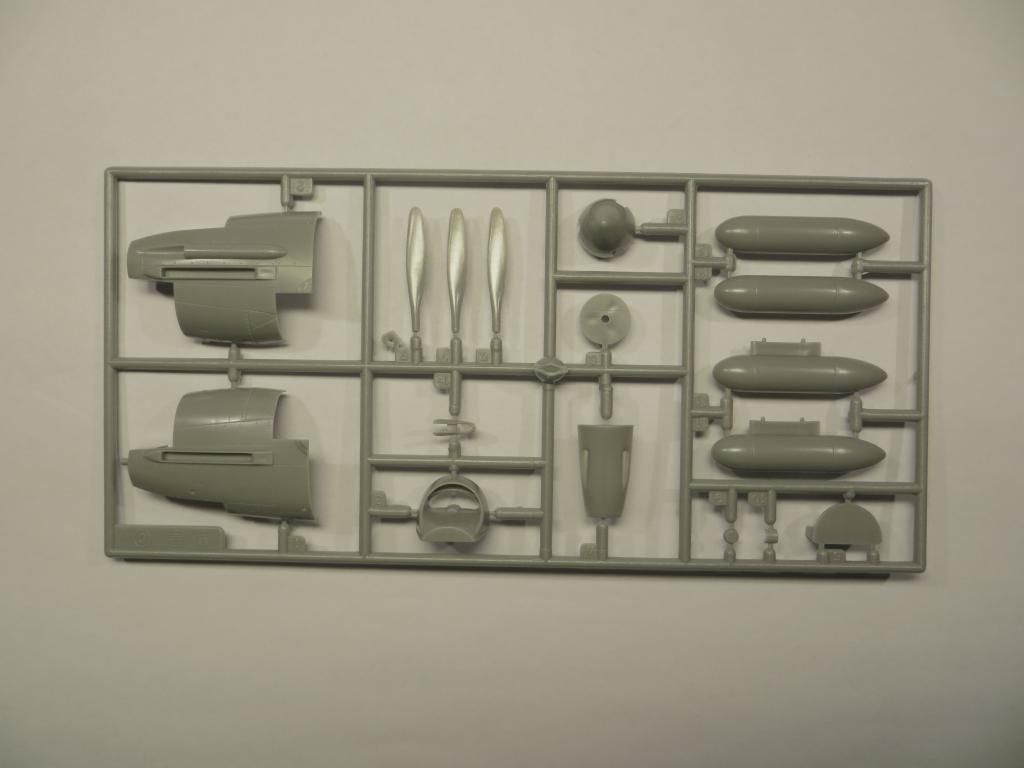
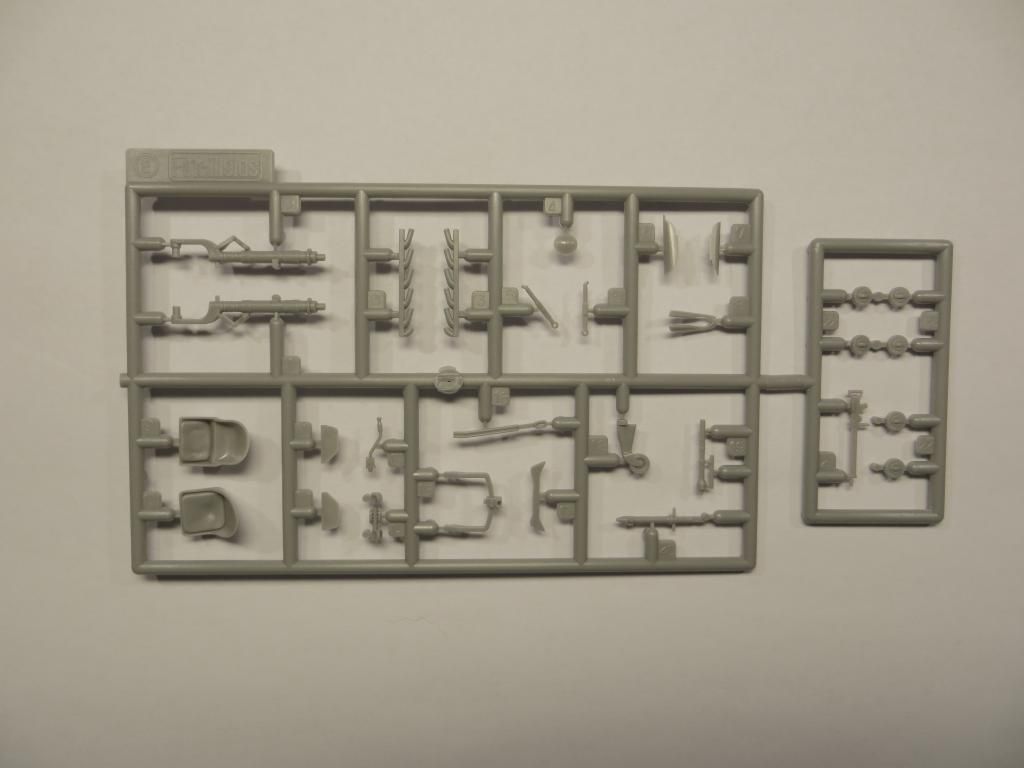
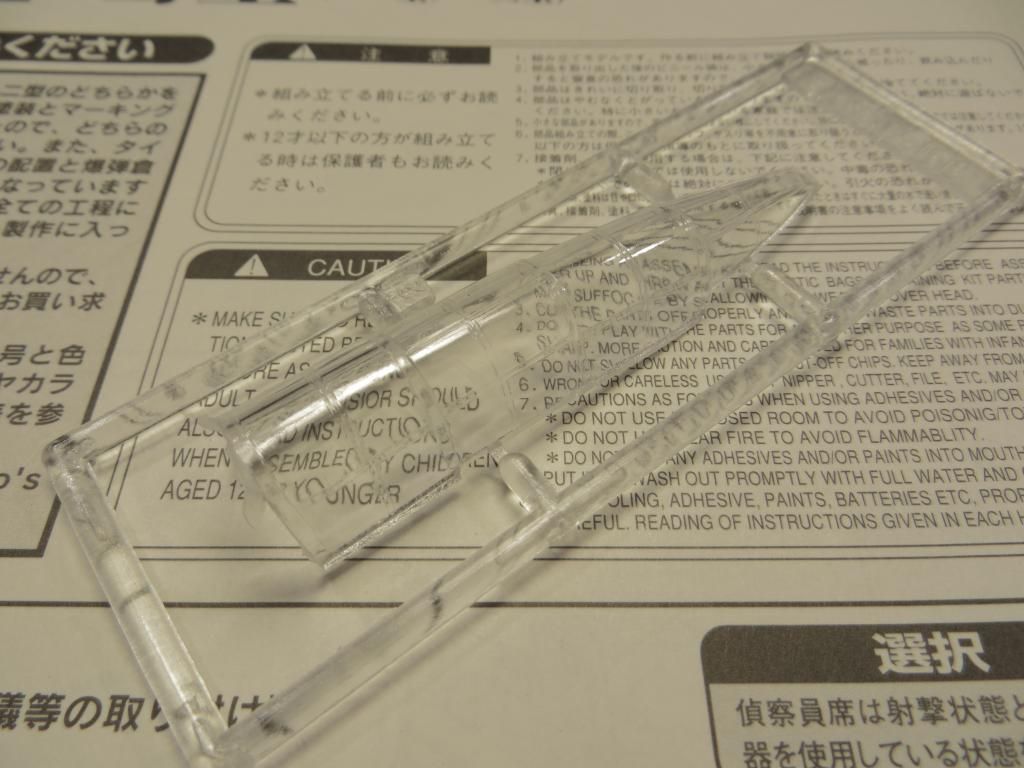
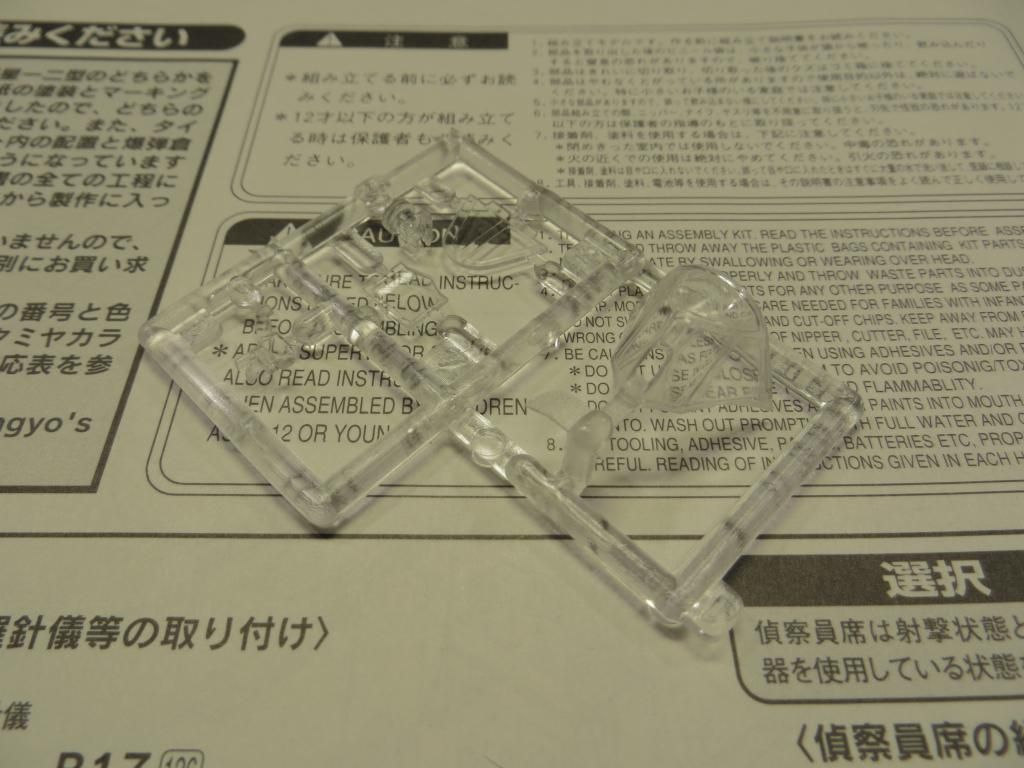
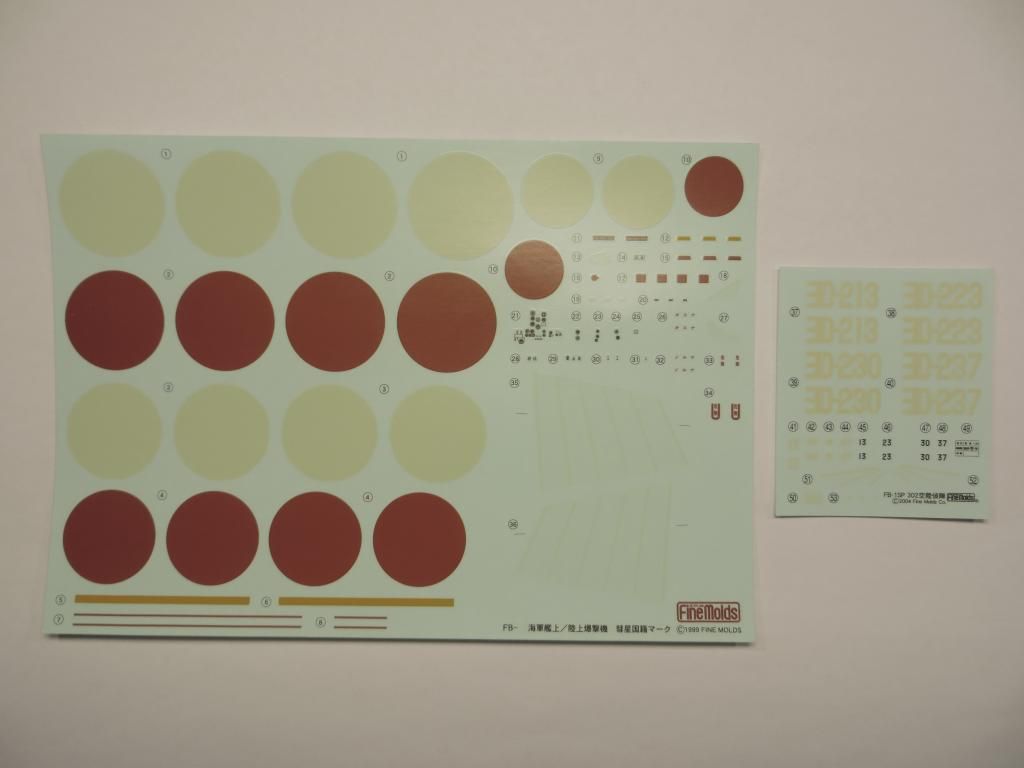
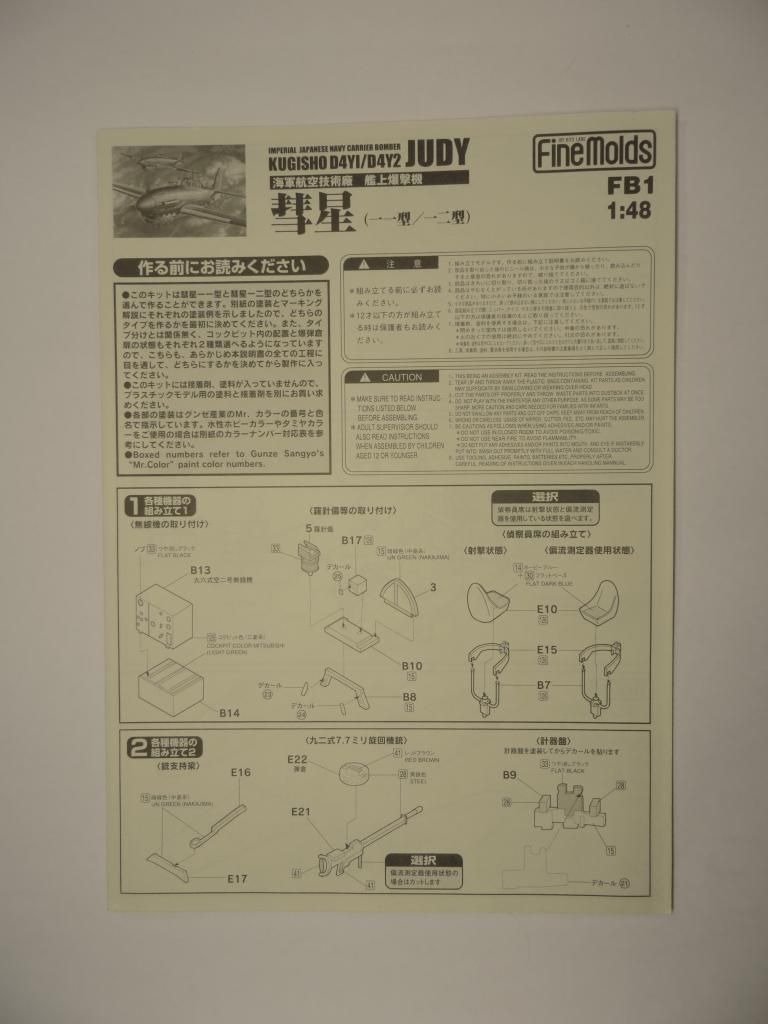
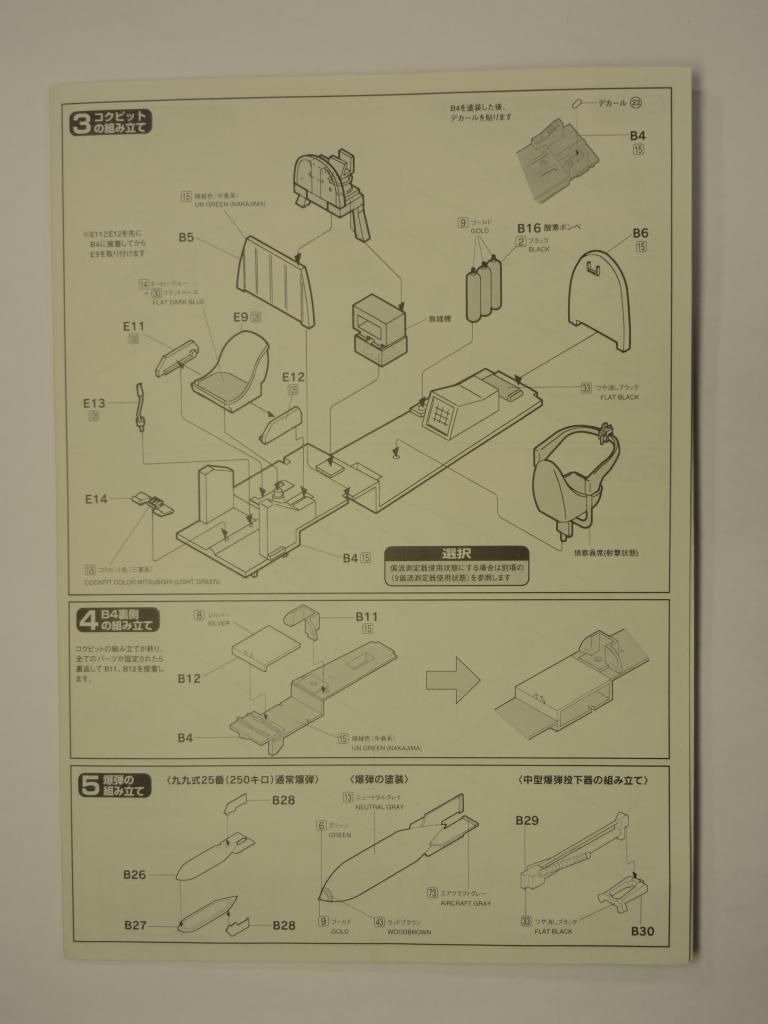
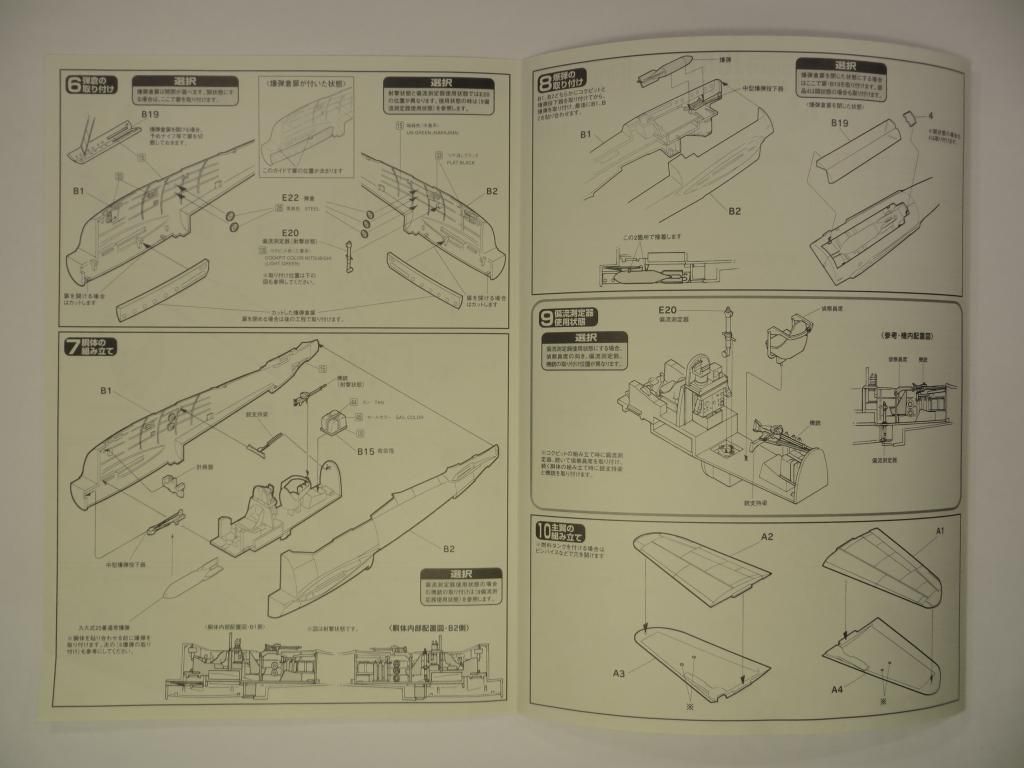
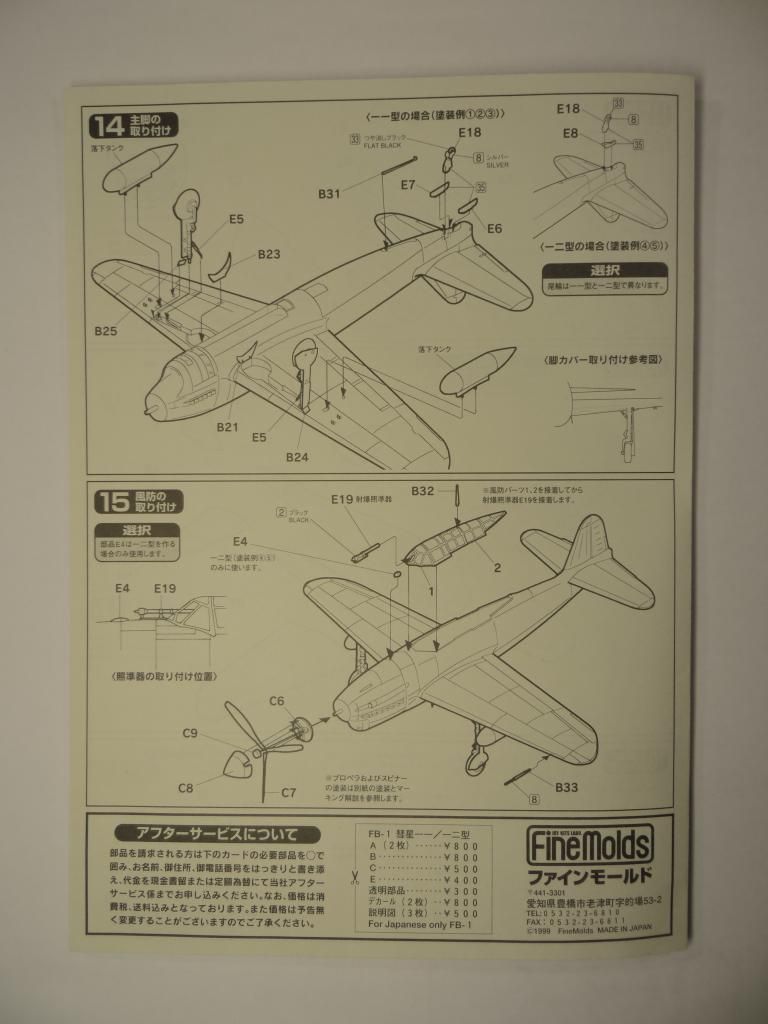
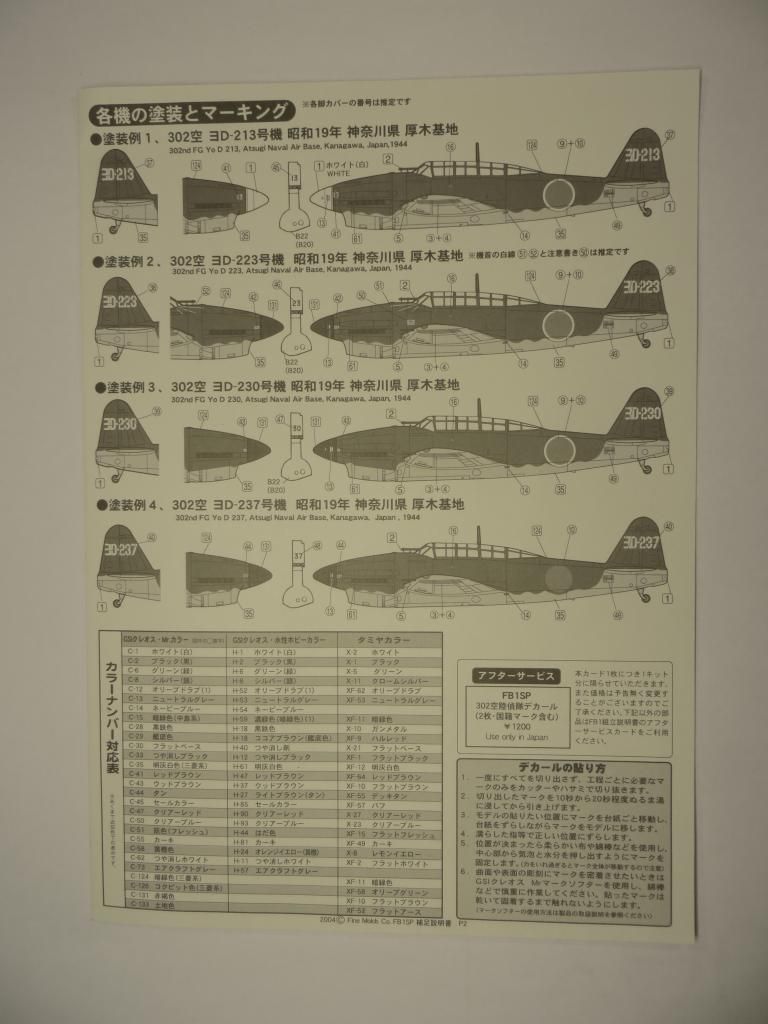
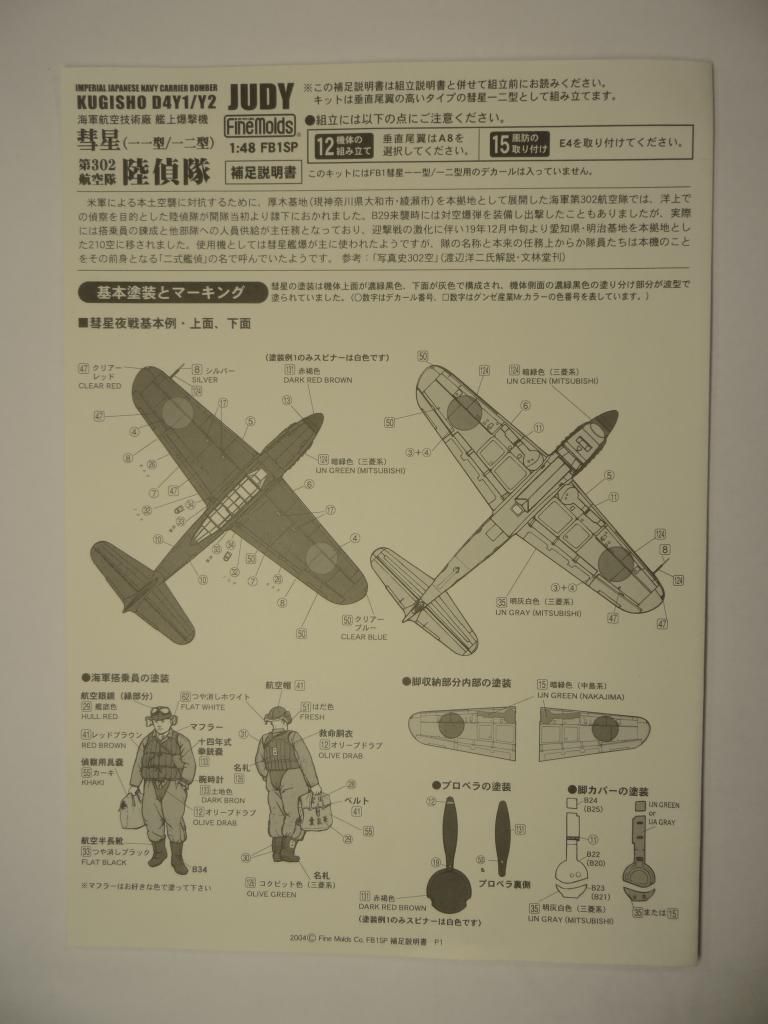
  The first one was a Tamiya 1/48 Mitsubishi J2M Raiden that I built about two years ago and brush painted of course. Anyway, I got this kit on xmas from santa. It's okay kit, with a bit flash here and there and lacking some detail almost everywhere. The bad thing is that the instructions are almost only printed in japanese!
  I think it's gonna be quite a tuff build. It's a nice subject, something less known and I'm looking forwards to building this thing.
History:
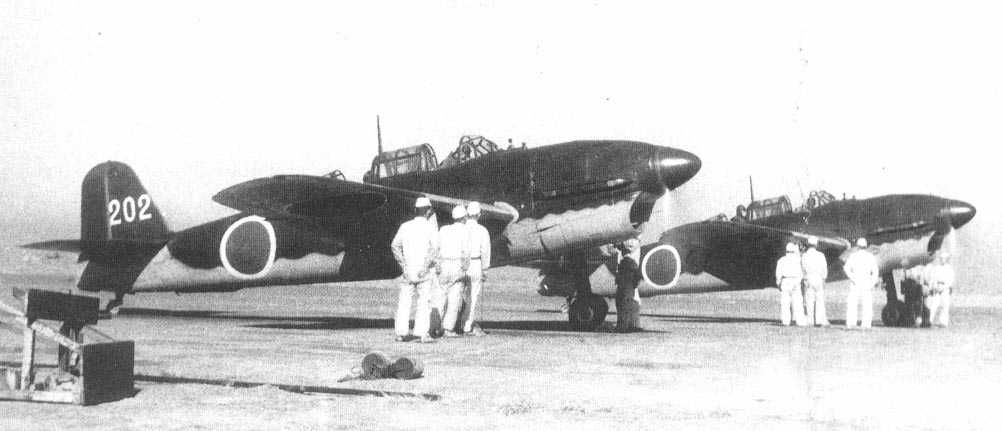
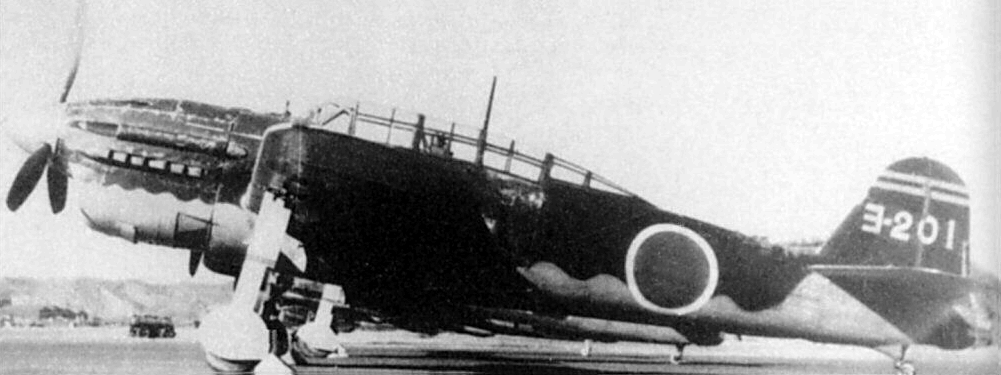
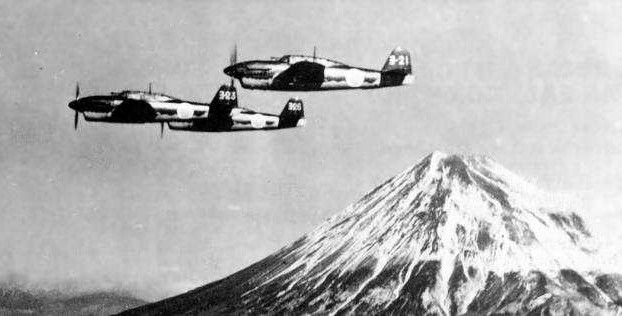
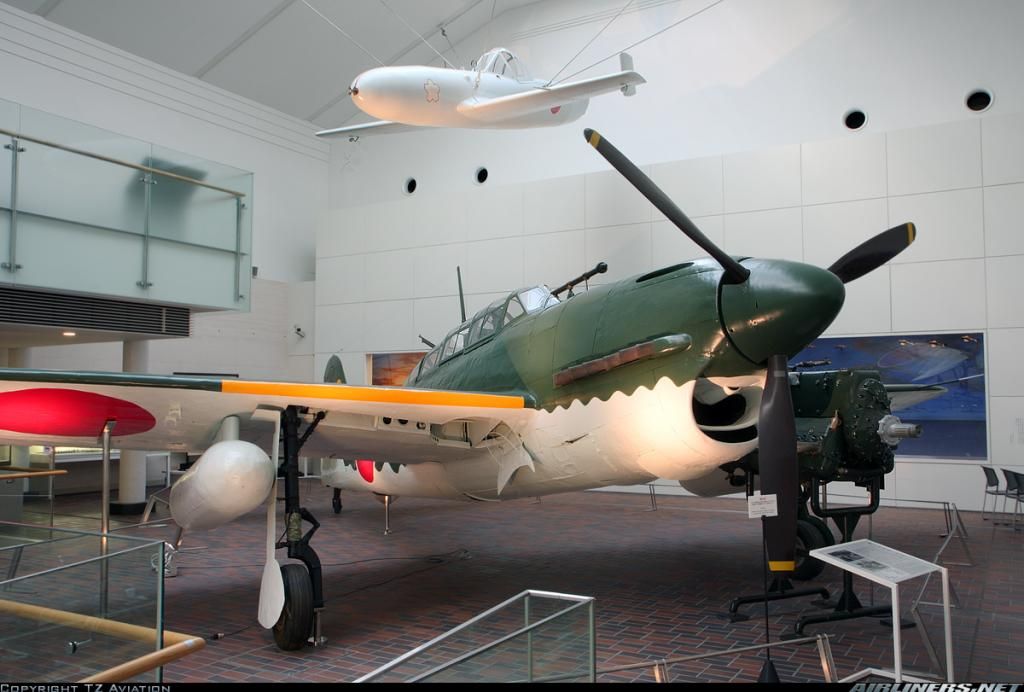
The Yokosuka D4Y Suisei (translating to "Comet" and nicknamed "Judy" by the Allies) was a capable dive bomber serving the Imperial Japanese Navy during the Second World War. The system saw some reliability issues in early presentations and suffered heavy losses at the hands of Allied carrier groups but the system performed admirably well thanks to the performance capabilities inherent in the design - this of course at the expense of crew protection and structural armoring.
The D4Y was a single engine, two-crew dive bomber platform. The Mitsubishi MK8P Kinsei 62 radial piston engine found in the D4Y3 model offered up reliability with performance at 357 miles per hour with a ceiling of nearly 35,000 feet. The crew sat in a long greenhouse-type canopy in tandem. Defensive armament consisted of twin 7.7mm machine guns in a forward-fixed position and a single 13.1mm machine gun in a trainable rear cockpit mounting. External ordnance was limited to 1,235 pounds of stores. Overall, the design concept actually stemmed from the German Heinkel He 118, as Japan purchased manufacturing rights for the German type back in 1938.
The D4Y first flew in late 1942 in its dive bomber form designated simply as the D4Y1. The system then appeared shortly thereafter in a reconnaissance form as the D4Y1-C. Before long, the D4Y series was fielded in quantity across several Japanese carrier groups and would see yet another improved version - known as the D4Y2 - appear. This one being fitted with a Atsuta 32 Aichi-brand 1,400hp engine. It was soon found, however, that the aircraft, though performing well in terms of capability, suffered from reliability problems with the new engine. To add insult to injury, the performance gains brought about by the new powerplant were negated to some extent by the fact that crew and fuel protection was not addressed, leading to heavy losses. The D4Y3 addressed the D4Y2's reliability problems with the introduction of the Mitsubishi MK8P Kinsei 62 radial piston engine. By the end of the war, as with most of the IJN's small airframes, the D4Y was made into a dedicated suicide model. This one, a single-seater, was designated as the D4Y4 and fielded in 1945.
Source: http://www.MilitaryFactory.com
The Kit:
Here is a quick review of the kit:
To be continued...
In fact this is my second japanese aircraft. The first one was a Tamiya 1/48 Mitsubishi J2M Raiden that I built about two years ago and brush painted of course. Anyway, I got this kit on xmas from santa. It's okay kit, with a bit flash here and there and lacking some detail almost everywhere. The bad thing is that the instructions are almost only printed in japanese! I think it's gonna be quite a tuff build. It's a nice subject, something less known and I'm looking forwards to building this thing.History:
The Yokosuka D4Y Suisei (translating to "Comet" and nicknamed "Judy" by the Allies) was a capable dive bomber serving the Imperial Japanese Navy during the Second World War. The system saw some reliability issues in early presentations and suffered heavy losses at the hands of Allied carrier groups but the system performed admirably well thanks to the performance capabilities inherent in the design - this of course at the expense of crew protection and structural armoring.
The D4Y was a single engine, two-crew dive bomber platform. The Mitsubishi MK8P Kinsei 62 radial piston engine found in the D4Y3 model offered up reliability with performance at 357 miles per hour with a ceiling of nearly 35,000 feet. The crew sat in a long greenhouse-type canopy in tandem. Defensive armament consisted of twin 7.7mm machine guns in a forward-fixed position and a single 13.1mm machine gun in a trainable rear cockpit mounting. External ordnance was limited to 1,235 pounds of stores. Overall, the design concept actually stemmed from the German Heinkel He 118, as Japan purchased manufacturing rights for the German type back in 1938.
The D4Y first flew in late 1942 in its dive bomber form designated simply as the D4Y1. The system then appeared shortly thereafter in a reconnaissance form as the D4Y1-C. Before long, the D4Y series was fielded in quantity across several Japanese carrier groups and would see yet another improved version - known as the D4Y2 - appear. This one being fitted with a Atsuta 32 Aichi-brand 1,400hp engine. It was soon found, however, that the aircraft, though performing well in terms of capability, suffered from reliability problems with the new engine. To add insult to injury, the performance gains brought about by the new powerplant were negated to some extent by the fact that crew and fuel protection was not addressed, leading to heavy losses. The D4Y3 addressed the D4Y2's reliability problems with the introduction of the Mitsubishi MK8P Kinsei 62 radial piston engine. By the end of the war, as with most of the IJN's small airframes, the D4Y was made into a dedicated suicide model. This one, a single-seater, was designated as the D4Y4 and fielded in 1945.
Source: http://www.MilitaryFactory.com


The Kit:
Here is a quick review of the kit:


To be continued...

 Sorry for the long wait. Time is just too fast!
  So here is some progress I have done:


 at your sanding and filling skills! - great job, enjoying this build


 Anyway take care buddy!
