Page 1 of 1
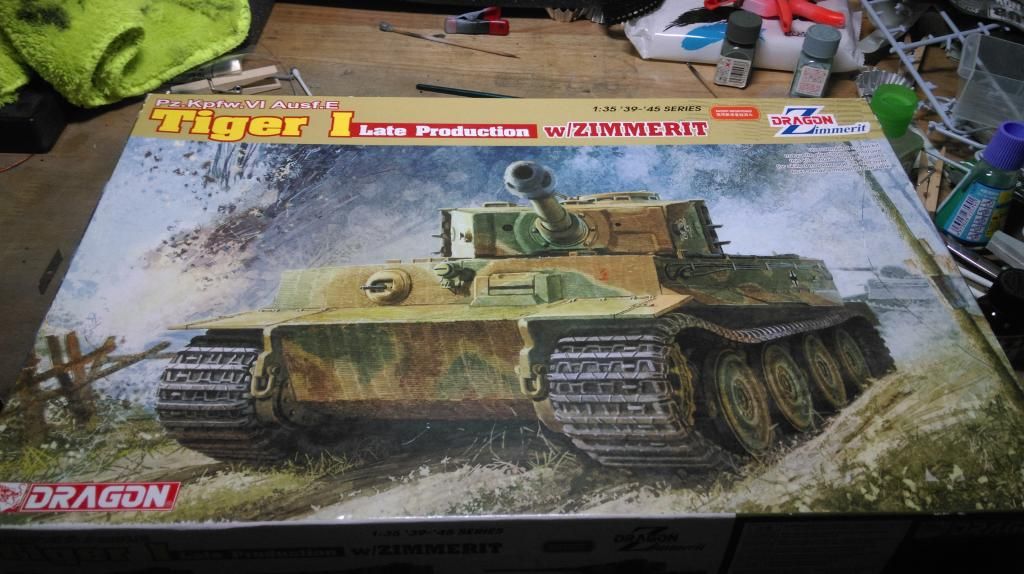
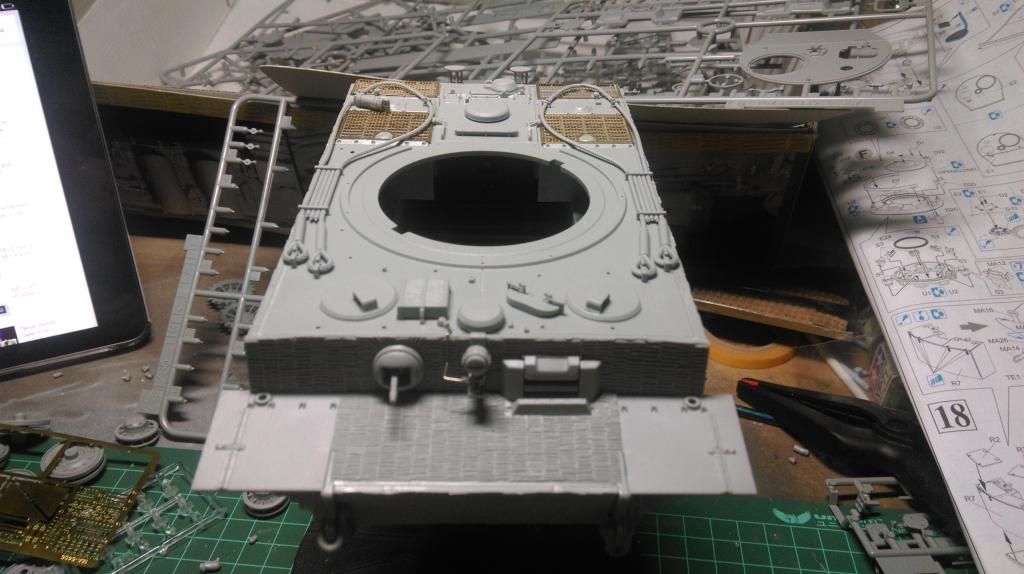
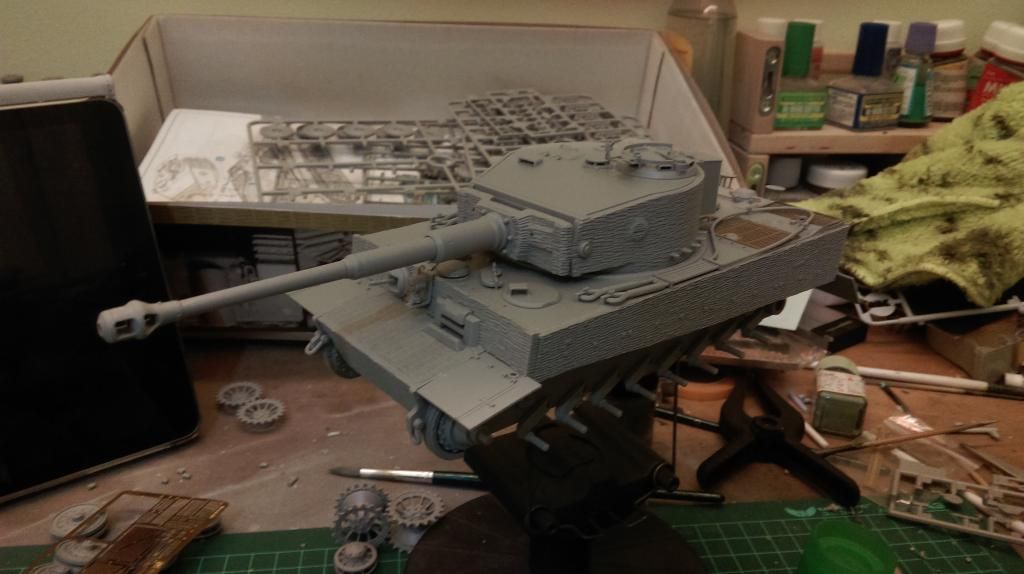
Tiger 221
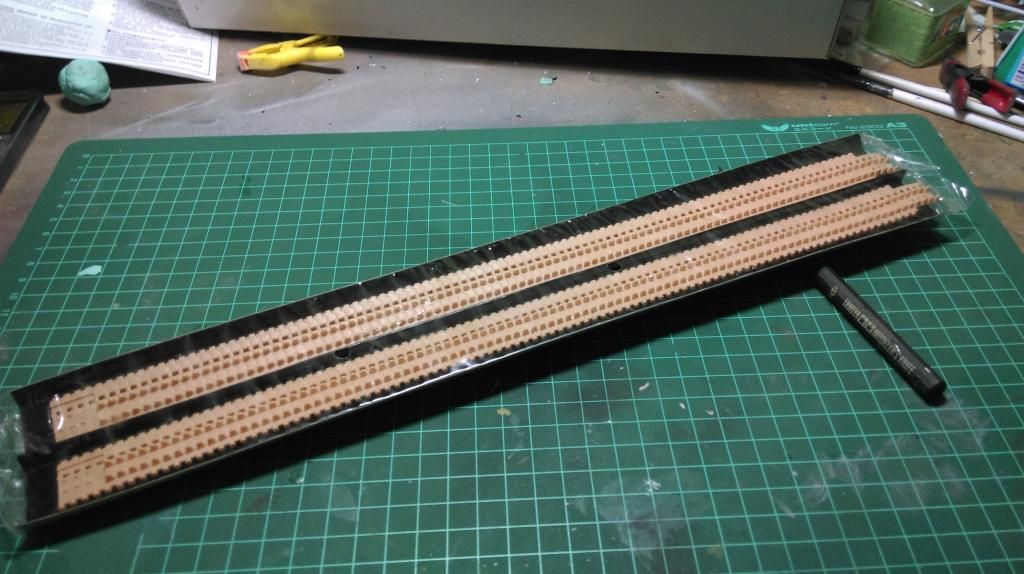
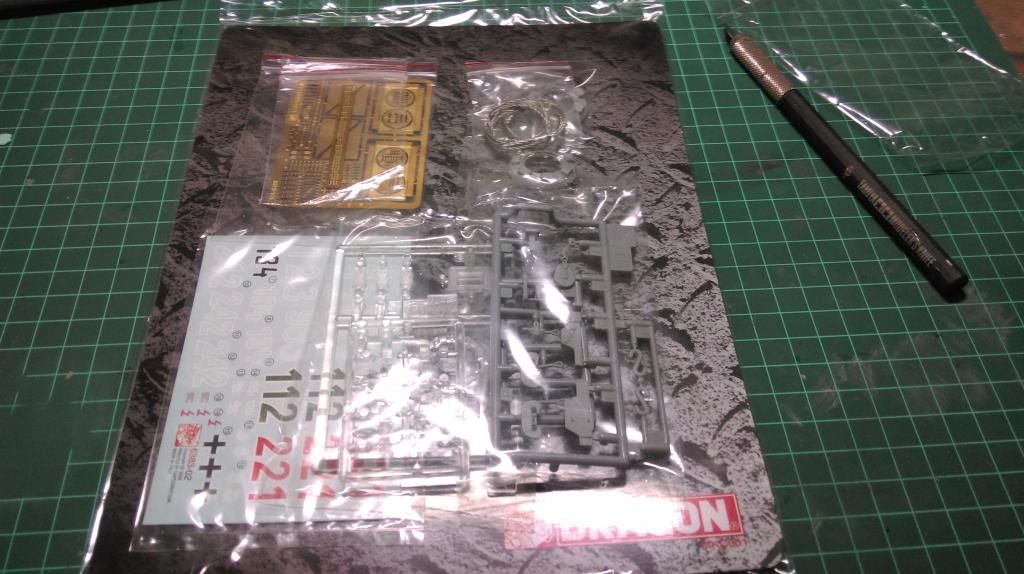
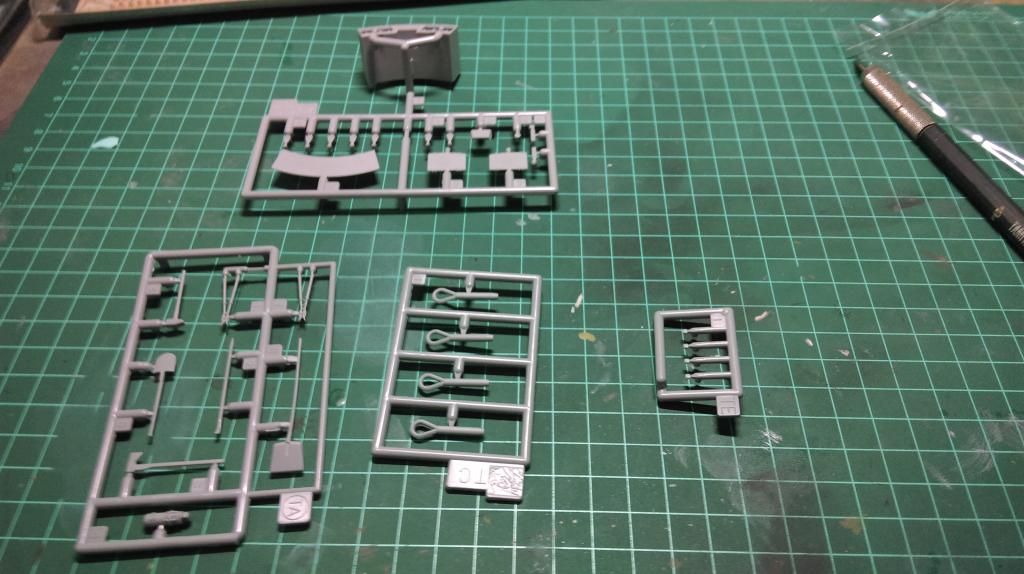
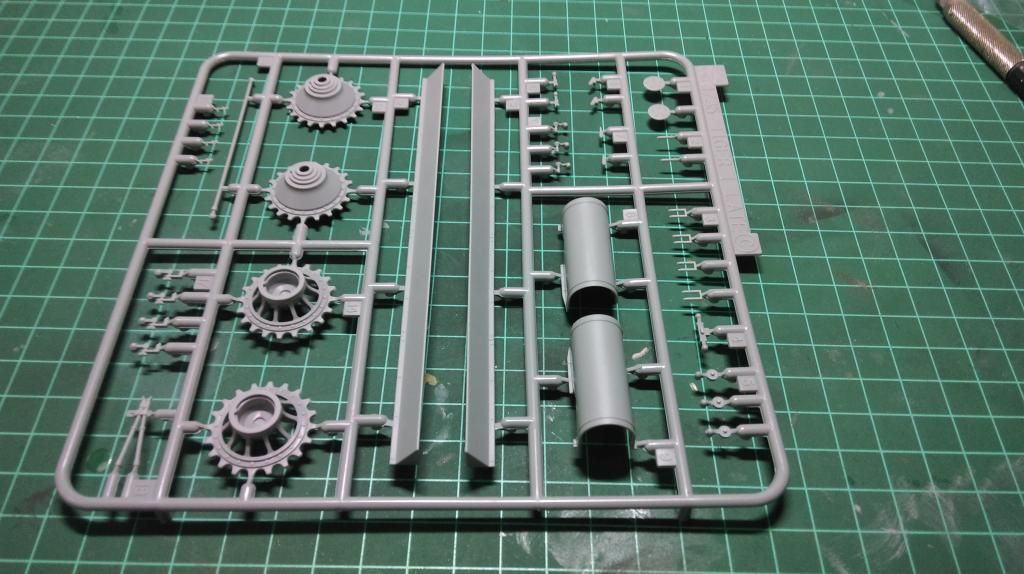
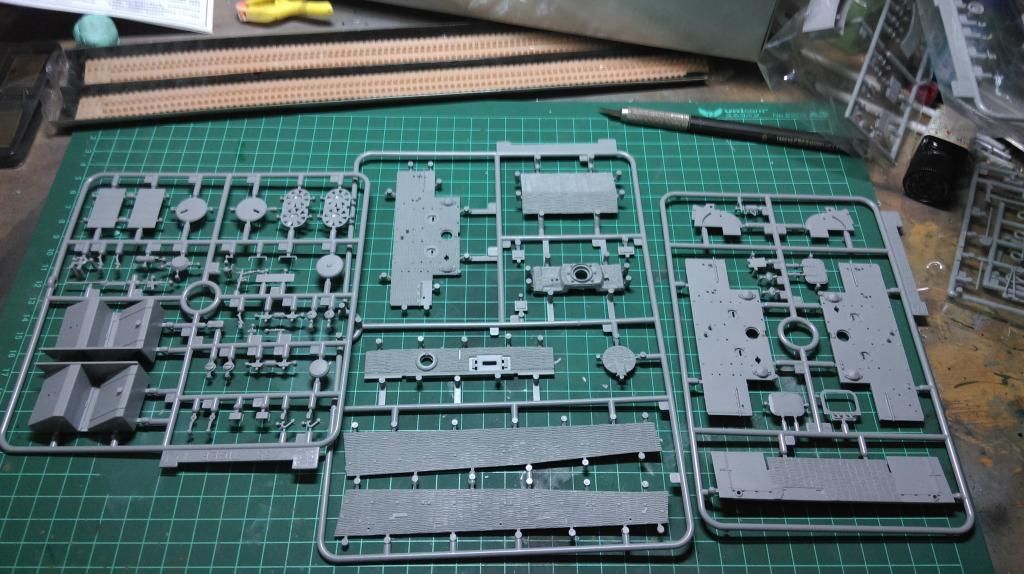
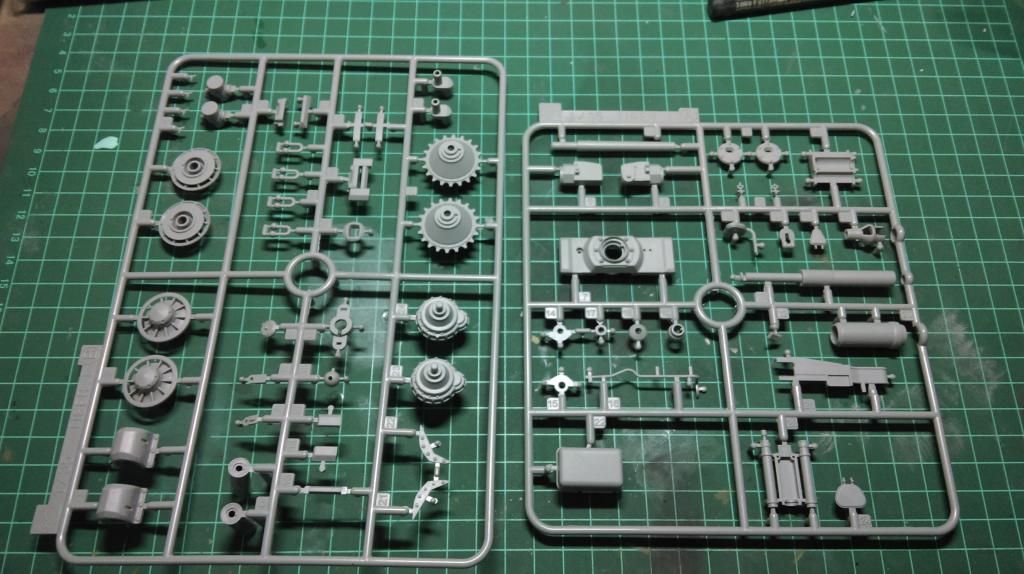
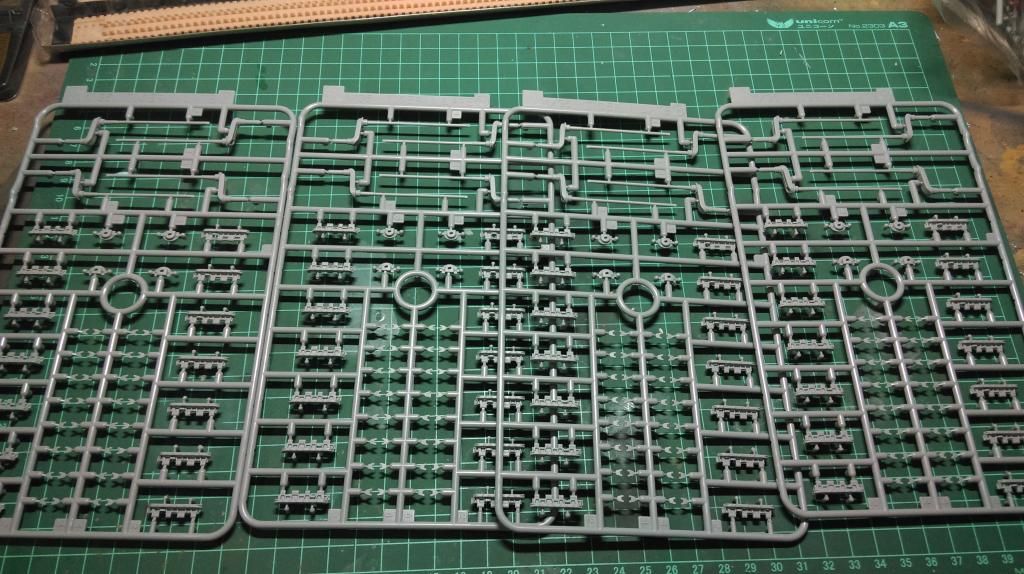
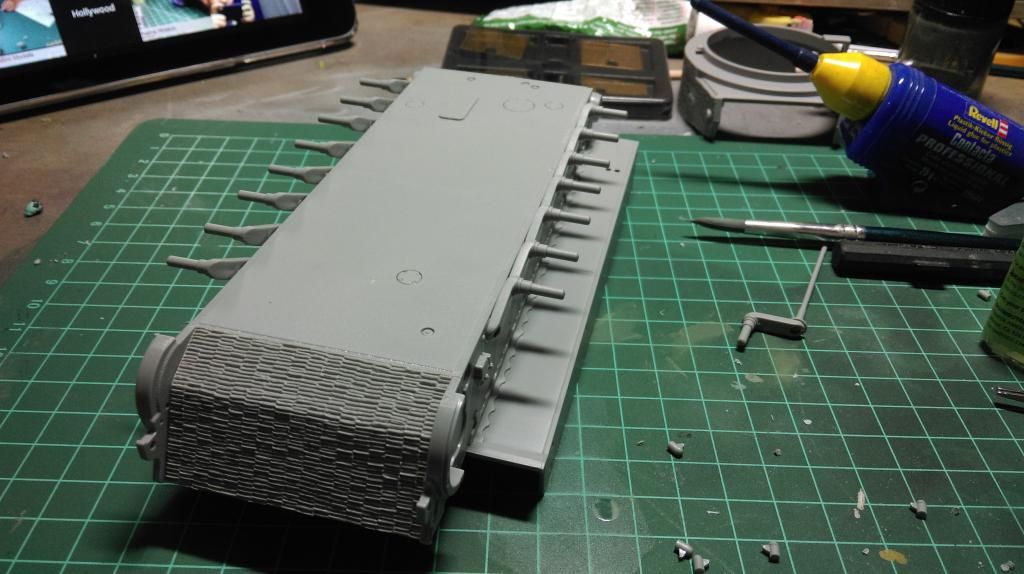
Posted: Mon Jan 05, 2015 1:25 pm
by EasyEight96
Re: Tiger 221
Posted: Mon Jan 05, 2015 4:06 pm
by EasyEight96
Re: Tiger 221
Posted: Tue Jan 06, 2015 1:10 am
by jbellos1
You kitty is coming along nicely. I want this kit for the stash, looks like it has plenty to do too! Great start on it
Re: Tiger 221
Posted: Tue Jan 06, 2015 9:44 am
by EasyEight96
jbellos1 wrote:You kitty is coming along nicely. I want this kit for the stash, looks like it has plenty to do too! Great start on it
thank you bellos. It's a very nice kit and yes a lot of parts compare to a tamiya.
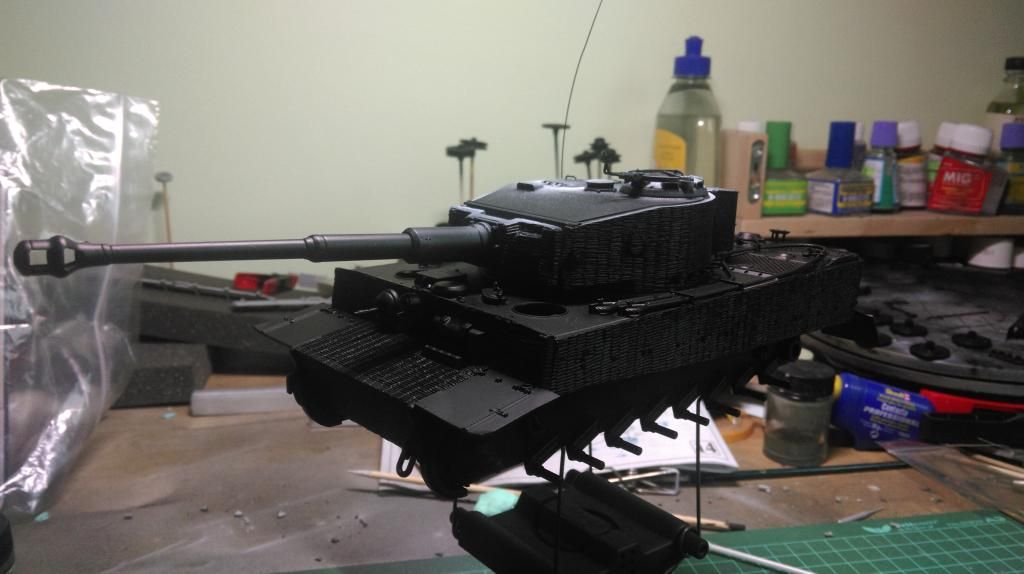
Today's report
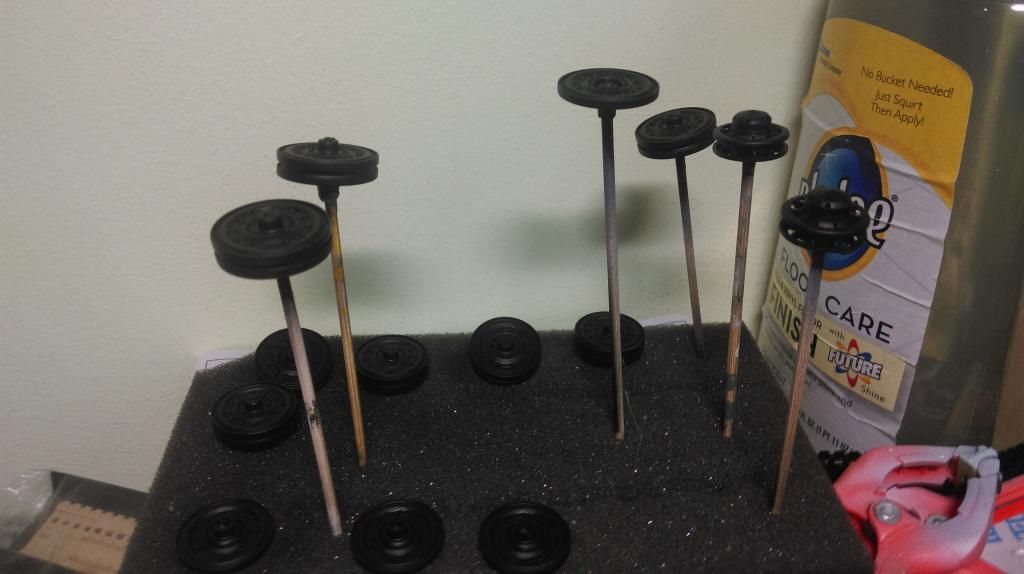
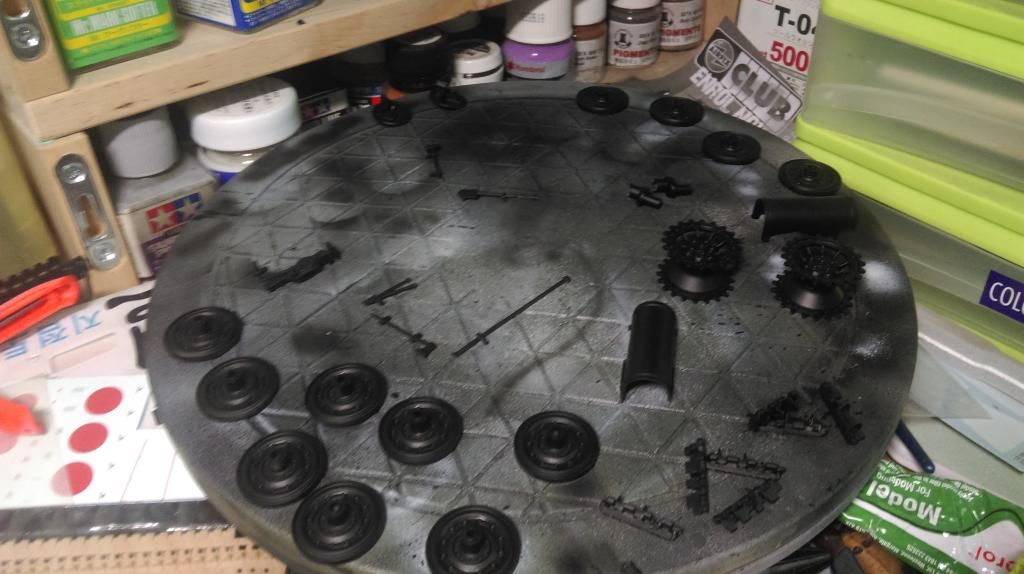
Tiger 221 is now all primed up using Vallejo's black primer and now leaving it to set for a day and will start the paint job tomorrow. I did some painting in the interior of the gun will do some wash later.
Re: Tiger 221
Posted: Tue Jan 06, 2015 11:11 am
by Coen
Wow! Fast Matthew!
I think that you may be the first one to be in paint. Haha. You know that you have three months to finish this eh? Haha.
Looks cool so far buddy.
Re: Tiger 221
Posted: Tue Jan 06, 2015 11:15 am
by EasyEight96
Yup at this rate I could finish it by end of the week. since I got no college yet until 26 Jan my as well just finished this kit don't worry tiger master I'll be weathering this tiger and make a simple vignette for it
Re: Tiger 221
Posted: Tue Jan 06, 2015 12:56 pm
by mannloon
Dude you are cruising. Looks tidy as well.
Re: Tiger 221
Posted: Tue Jan 06, 2015 1:12 pm
by Hillbilly
Wow,great progress and looks like a nice clean build also

Re: Tiger 221
Posted: Tue Jan 06, 2015 1:27 pm
by EasyEight96
Thanks manloon

. and Hillbilly so what do you guys meant by clean??
I manage to did some weathering in the evening earlier and my experiment work out yesss...
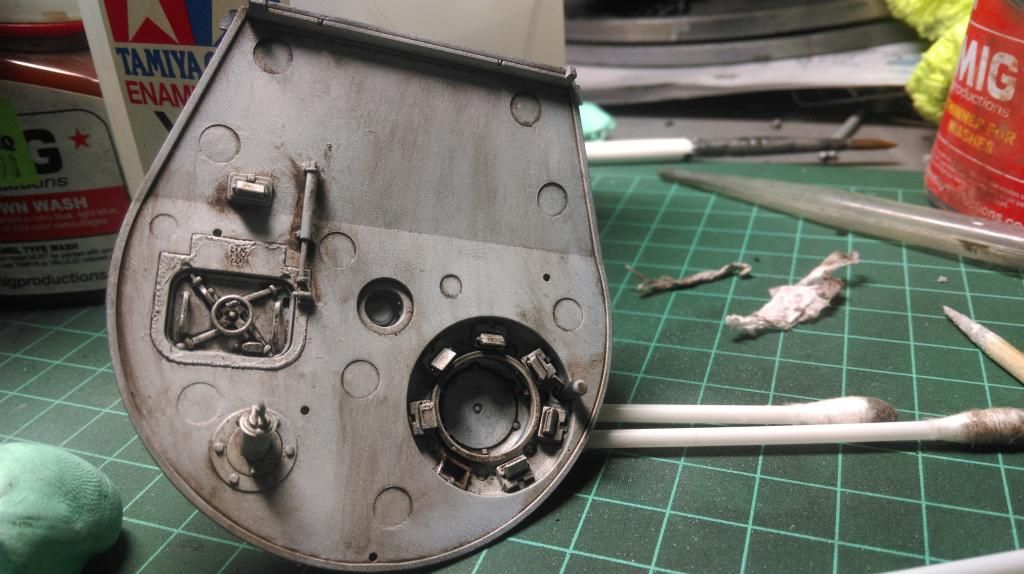
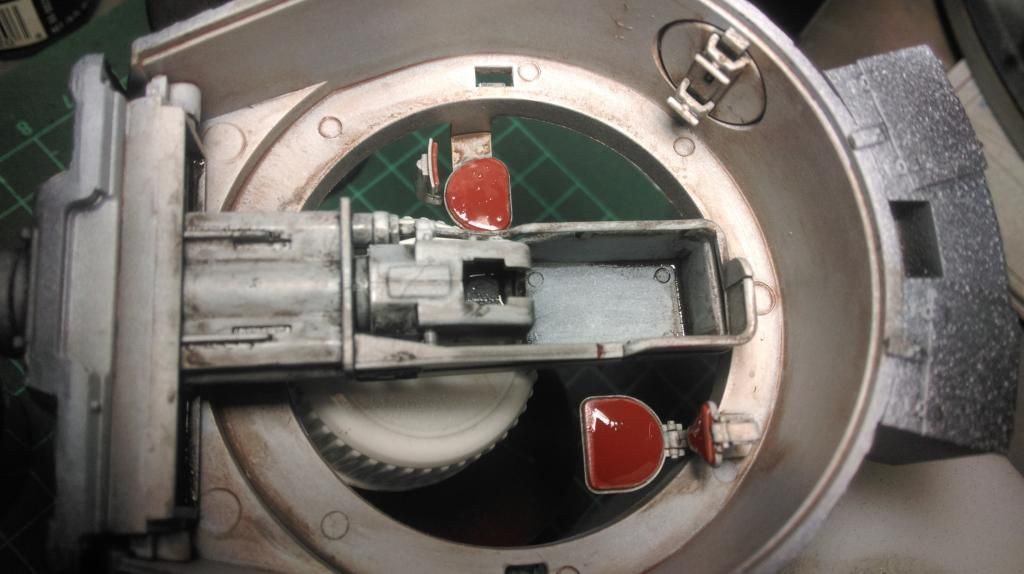
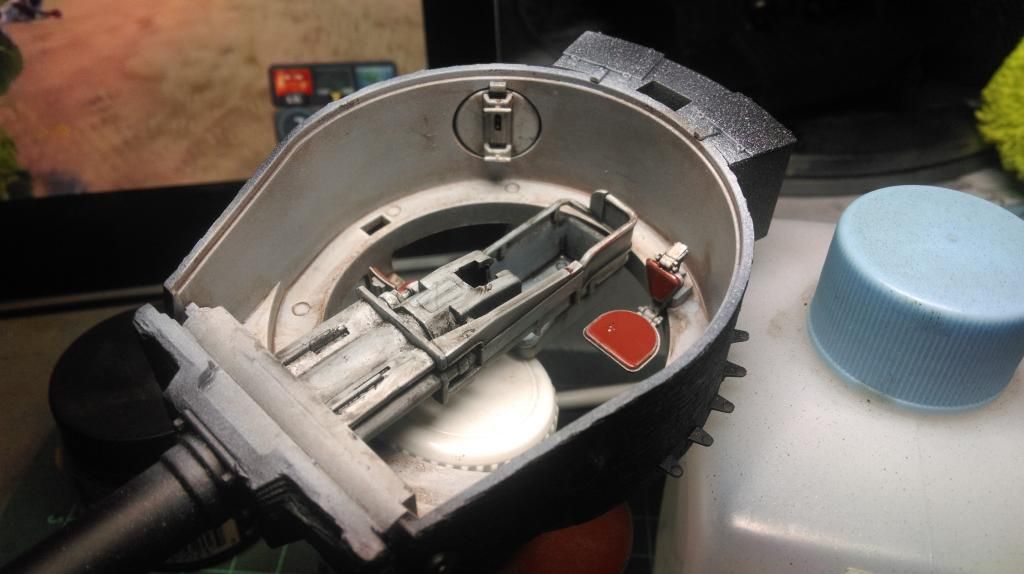
this is how I weathered the interior of the turret.
Step 1
Spread it with Mig's brown wash over the piece like normally you do in applying washes. Leave it to dry for 3 mins.
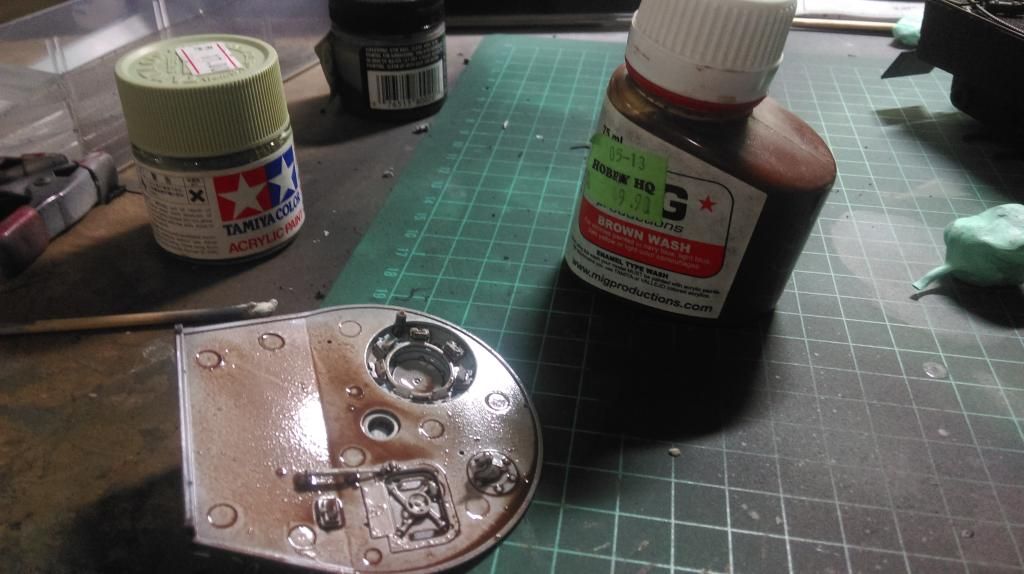
Step 2
Next apply Mig's black wash over it to blend some mixture and variant tones. Not sure if you can see it on the photo though.

Once you've done that then leave it to dry for a while.
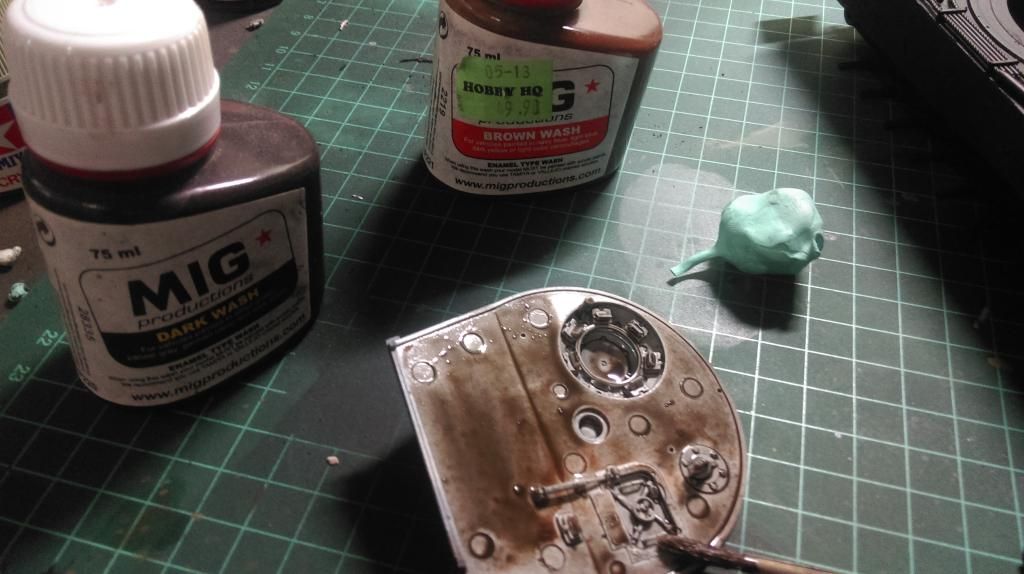
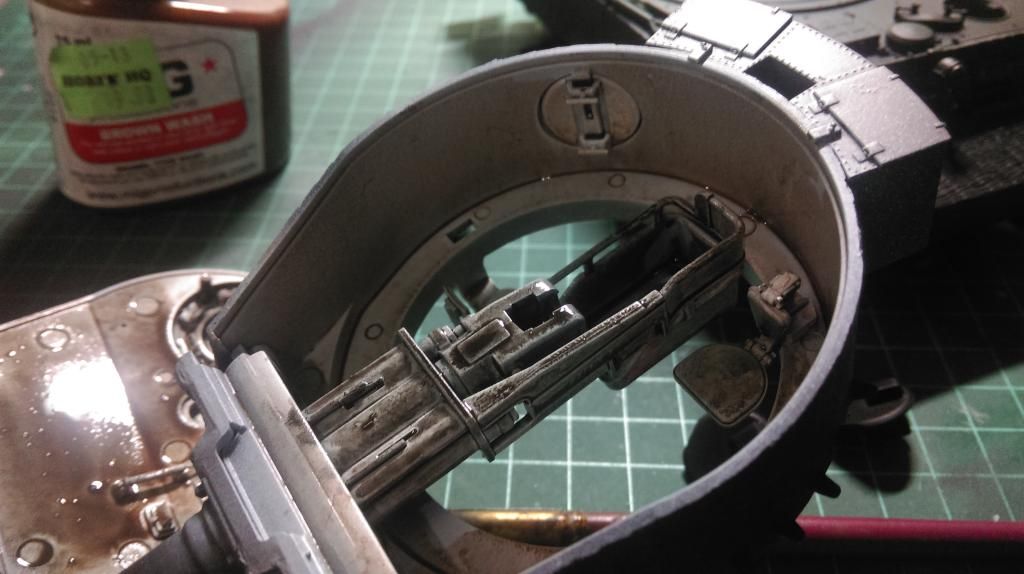
Step 3
Once it's dry use a CLEAN cotton bud damp with some Tamiya's enamel thinner and wipe the excess area or the next way is to wipe it with a tissue ( make sure to damp the piece with thinner first in order to wipe of the excess wash). Try to wipe it from up to down and repeat that sequence over and over to get a nice blend with paint. Then is completed hopefully this pictures could show the mixture that I'm explaining.
Re: Tiger 221
Posted: Tue Jan 06, 2015 11:57 pm
by mannloon
That looks brilliant. Really looks the part.
Re: Tiger 221
Posted: Wed Jan 07, 2015 10:30 am
by EasyEight96
Thanks

.
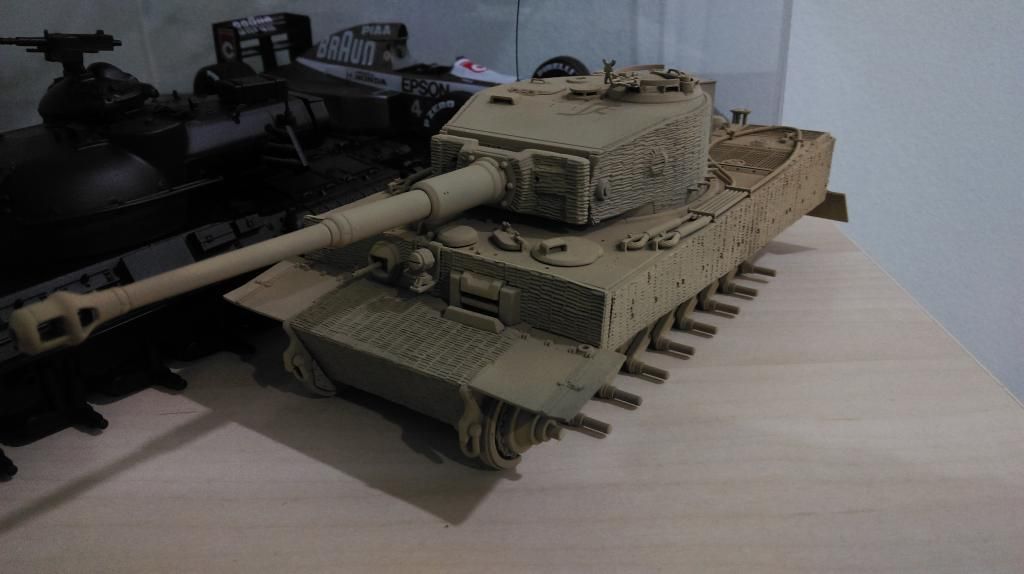
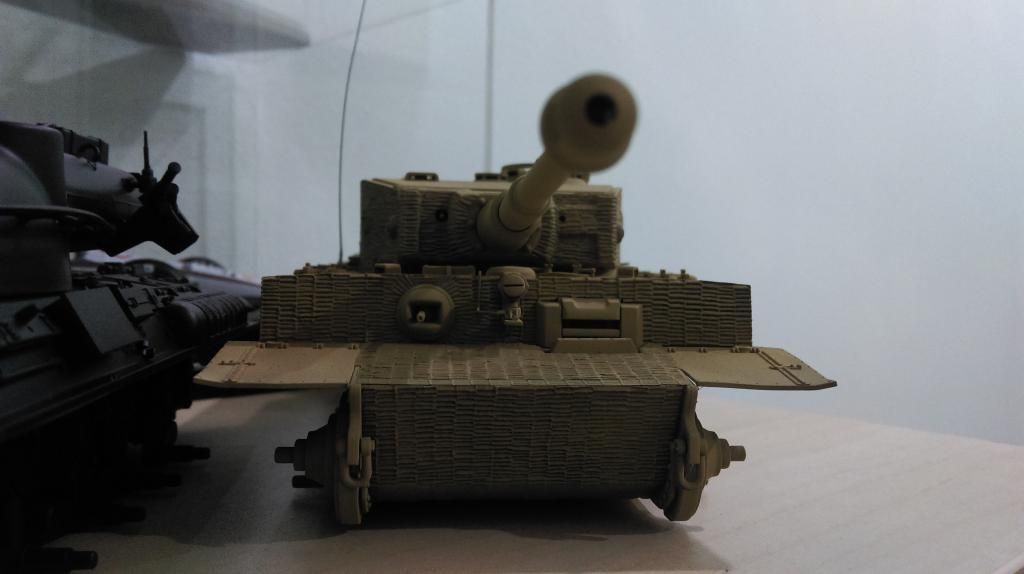
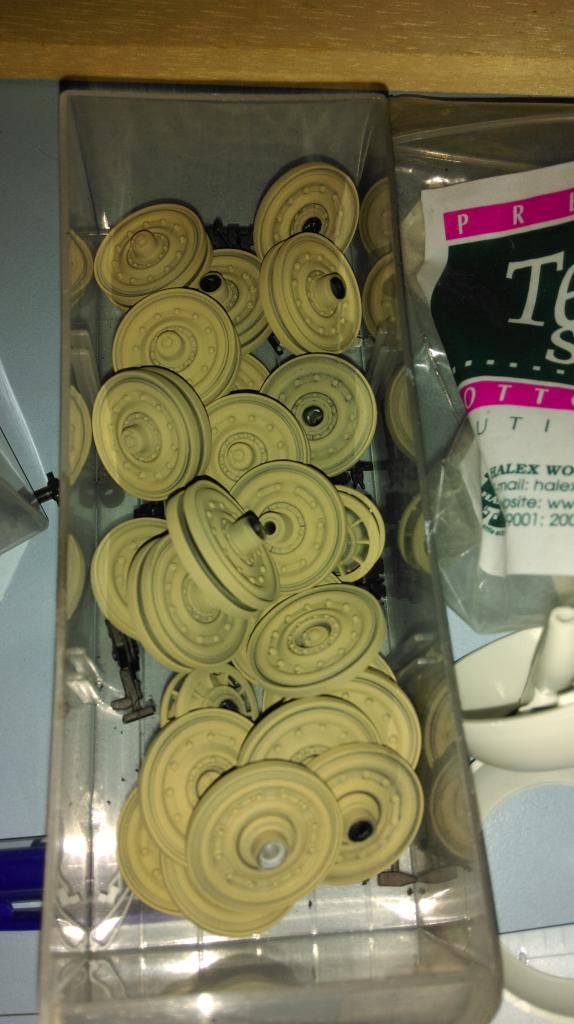
So i started the main colour today but I have to stop for now as I realize I ran out of the paint!!! &*%^#$^*

so here is the progress so far until I get my paints stock up
Re: Tiger 221
Posted: Wed Jan 07, 2015 1:21 pm
by Hillbilly
Looks great....at this speed you will still have time to build another one

Re: Tiger 221
Posted: Wed Jan 07, 2015 1:24 pm
by EasyEight96
Thanks hillbilly but this is my only tiger 1 in my stash I got other kits too finish up too
Re: Tiger 221
Posted: Thu Jan 08, 2015 9:06 am
by Coen
Thats excellent work buddy. Too bad about the paint.
Been there.

Re: Tiger 221
Posted: Thu Jan 08, 2015 1:09 pm
by EasyEight96
Thank you Coen
I've order some paints fro, my LHS it should arrive tomorrow or sat
Re: Tiger 221
Posted: Tue Jan 13, 2015 8:48 am
by EasyEight96
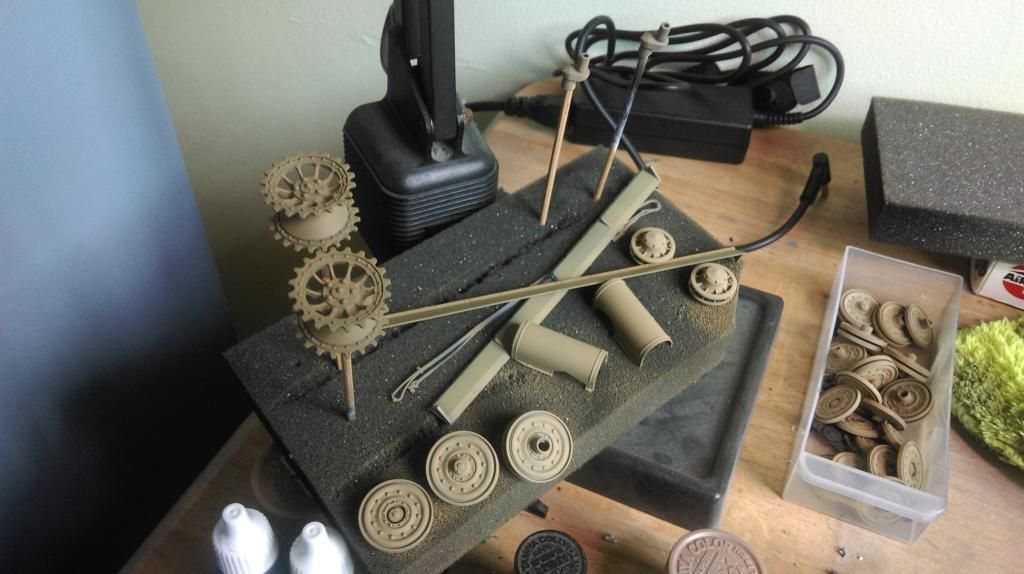
Ok after a break from the project I've now painted up the remaining parts up and now going to start the camo schme.
Re: Tiger 221
Posted: Wed Jan 14, 2015 10:33 am
by Coen
Re: Tiger 221
Posted: Sun Jan 18, 2015 7:55 am
by EasyEight96
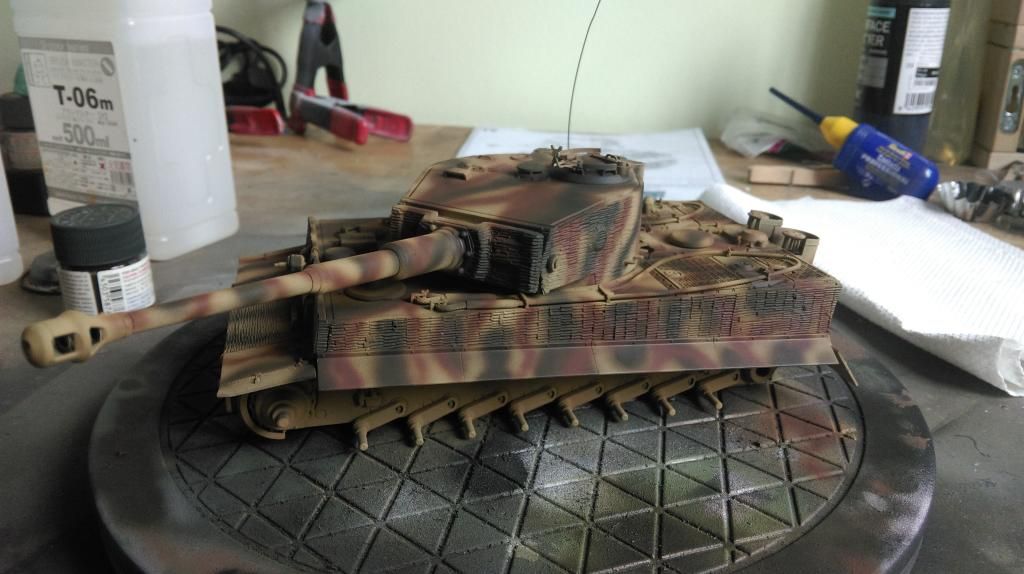
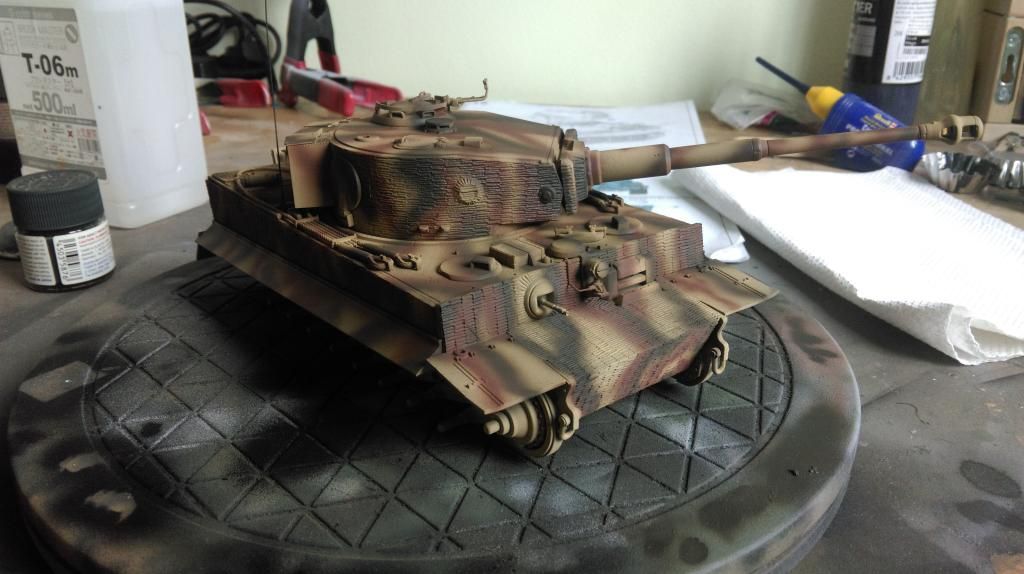
Thanks bud. Yesterday I've finally added the camo schme on it I'm sorry if it does not even look like the real thing
Re: Tiger 221
Posted: Sun Jan 18, 2015 9:09 am
by Nige99
Well done, you are lightning quick in getting this done.
Re: Tiger 221
Posted: Sun Jan 18, 2015 9:34 am
by EasyEight96
Nige99 wrote:Well done, you are lightning quick in getting this done.
Thanks Nige I'm trying to finish it off before I go back to college in two weeks time
Re: Tiger 221
Posted: Sun Jan 18, 2015 12:23 pm
by Coen
Re: Tiger 221
Posted: Sun Jan 18, 2015 12:33 pm
by EasyEight96
Thanks you master for approving but I didn't apply camo on the wheels though
Re: Tiger 221
Posted: Sun Jan 18, 2015 1:33 pm
by Hillbilly
That camo looks great to my eyes

Re: Tiger 221
Posted: Tue Jan 20, 2015 1:49 pm
by EasyEight96
Hillbilly wrote:That camo looks great to my eyes
Thanks Billy
My second last update on the tiger ...
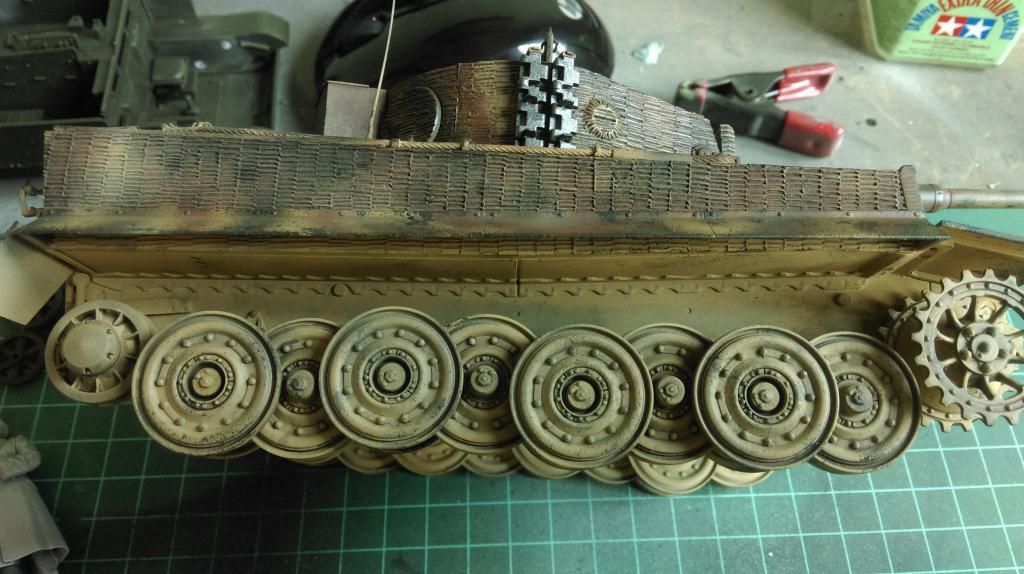
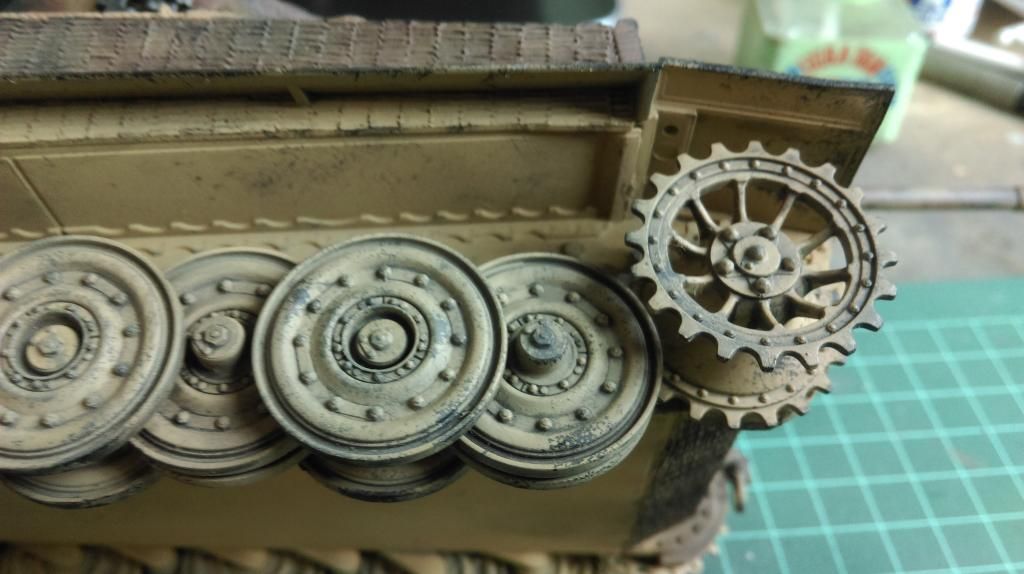
I finally fit in all the sprockets and wheels to its place.
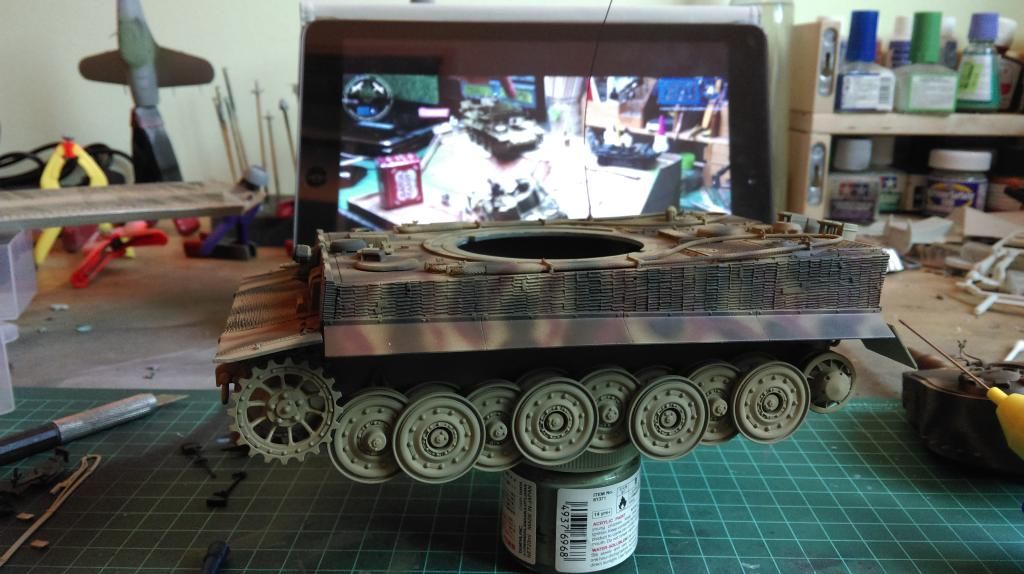
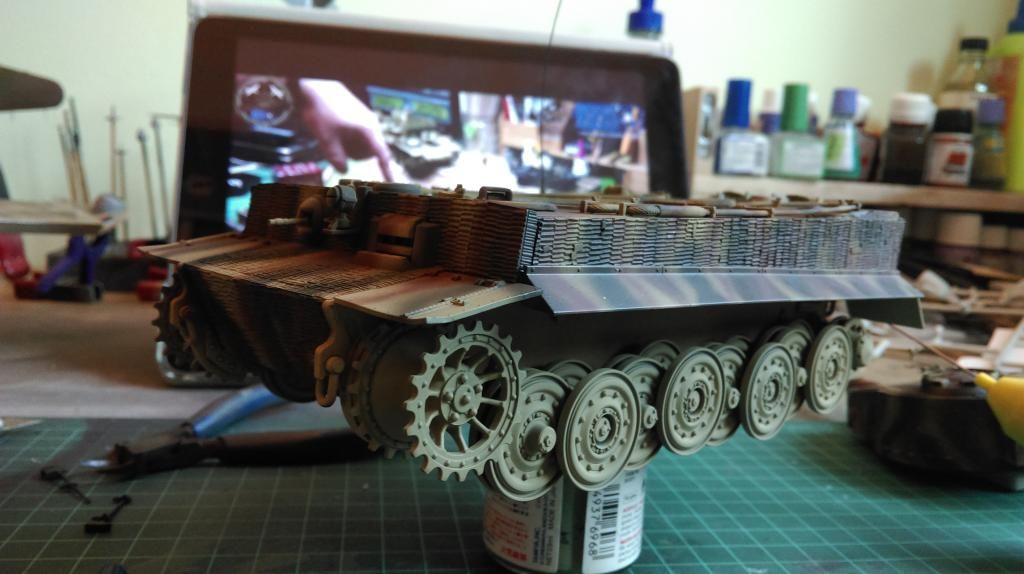
Then when i started fitting the tracks I notice its too long so out with my blade to cut out the excess
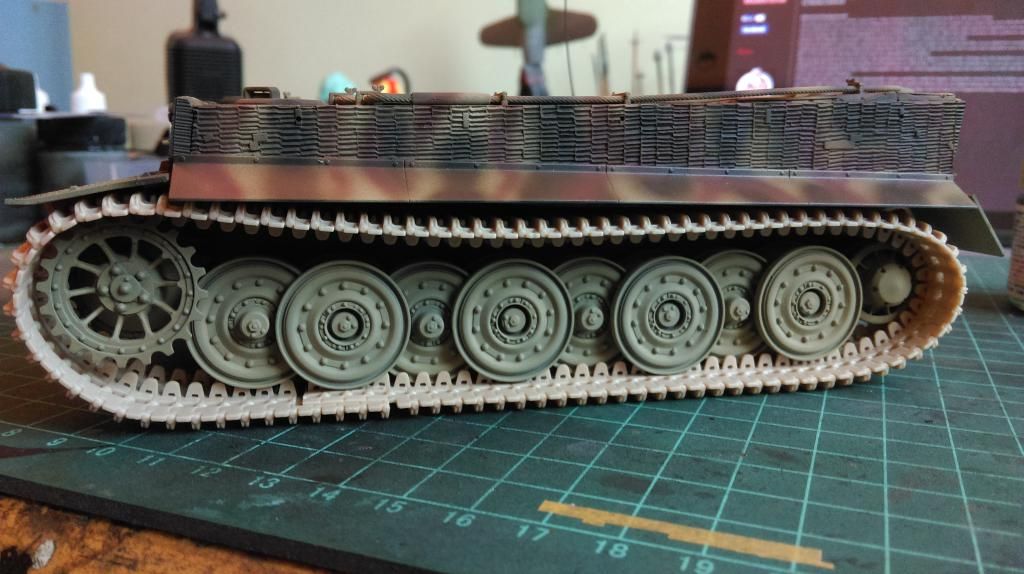
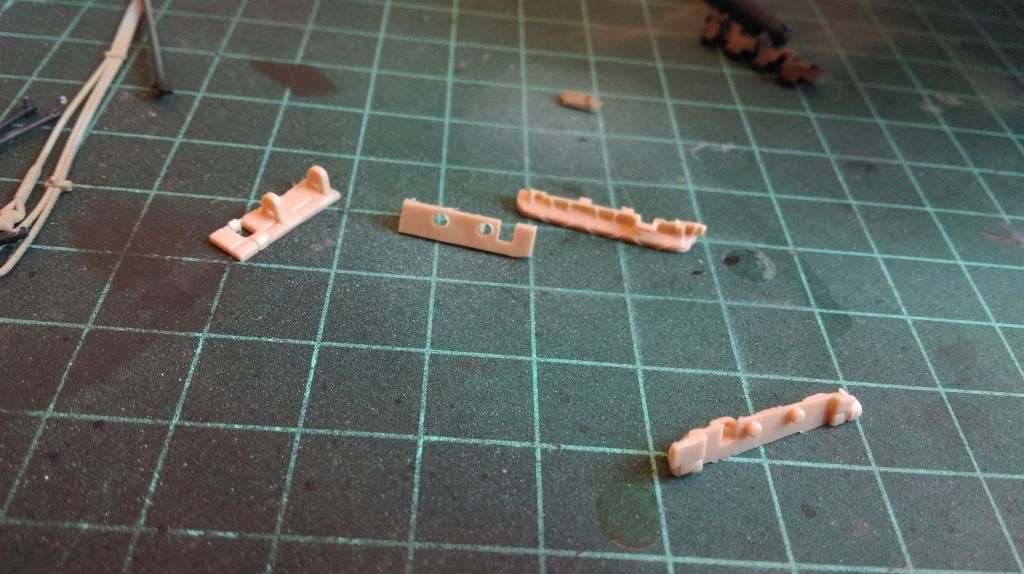
There all nice and tight
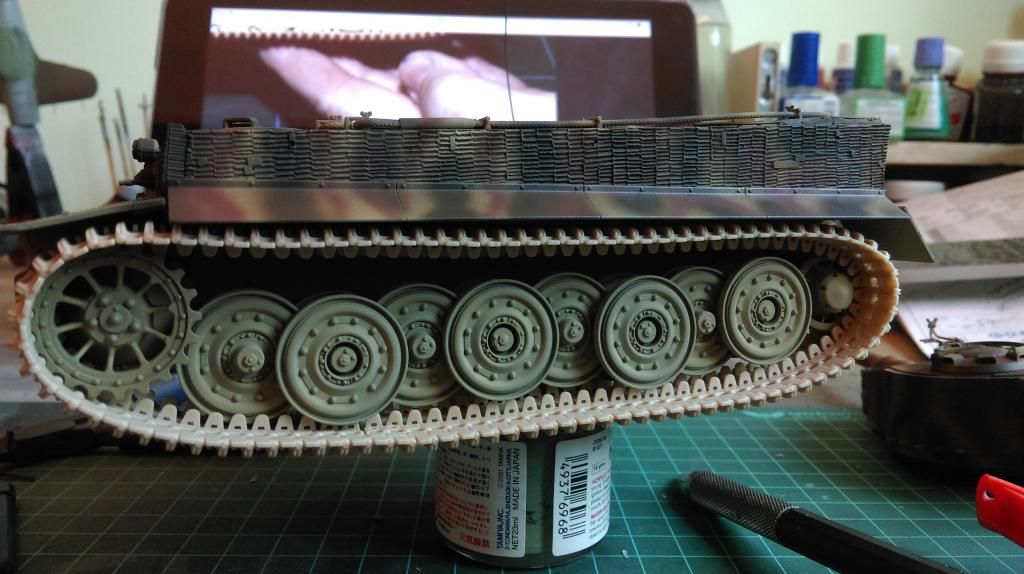
Next I applied Mig's dark wash over the tank left it for few hours and then wiped off the excess not sure the photo shows the results though
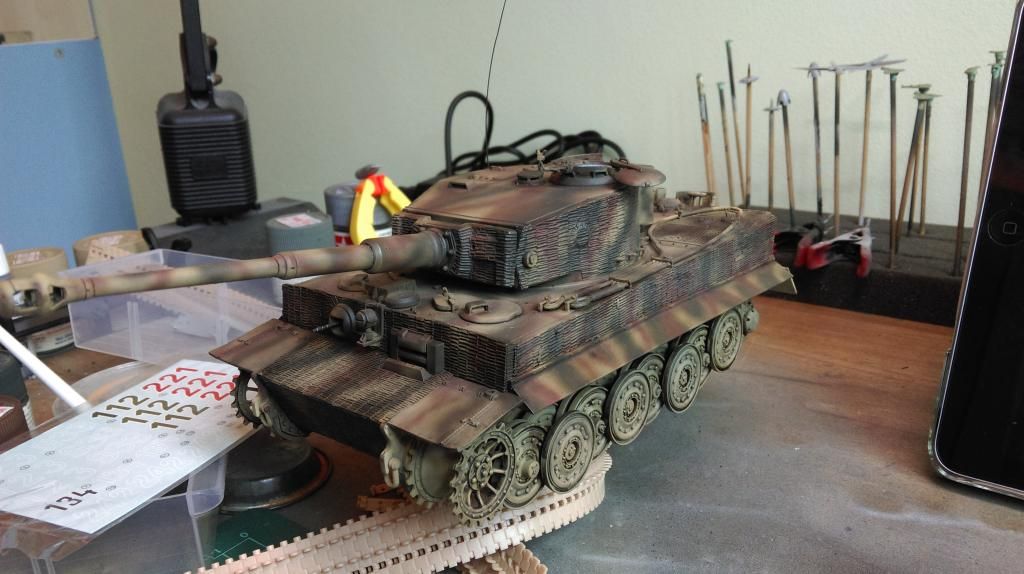
Later that night I started the chipping process.
First I take a sponge and dipped it in the paint
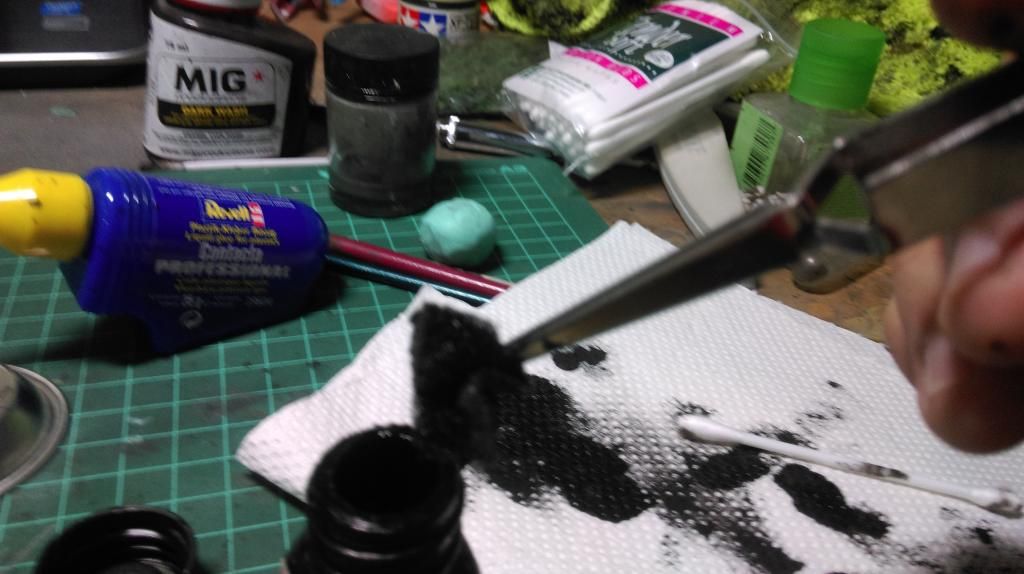
Then I remove the excess on a kitchen towel
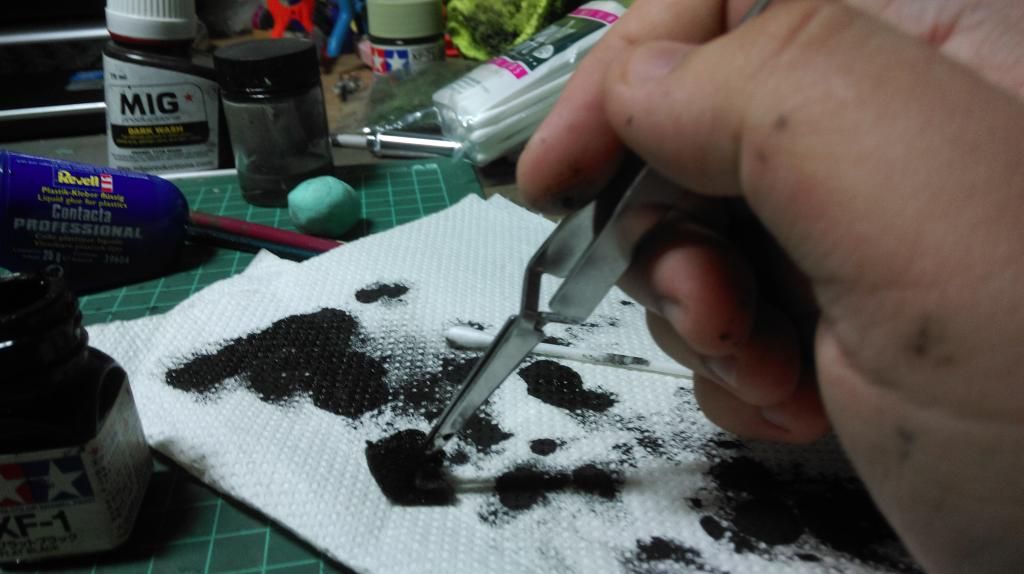
Slowly then I apply it on the tank
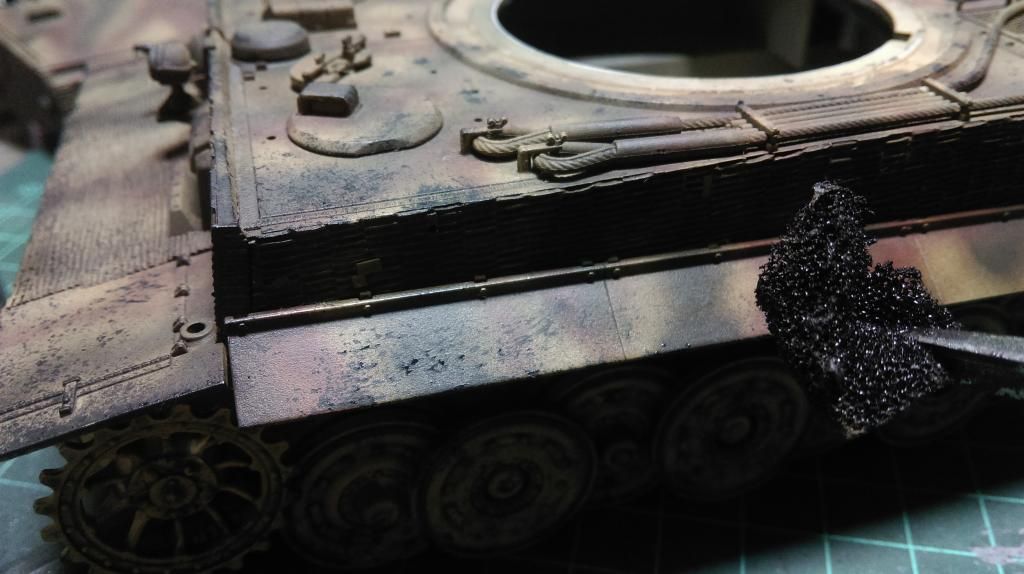
And here's the result I get I want mine to be heavy on chipping effects
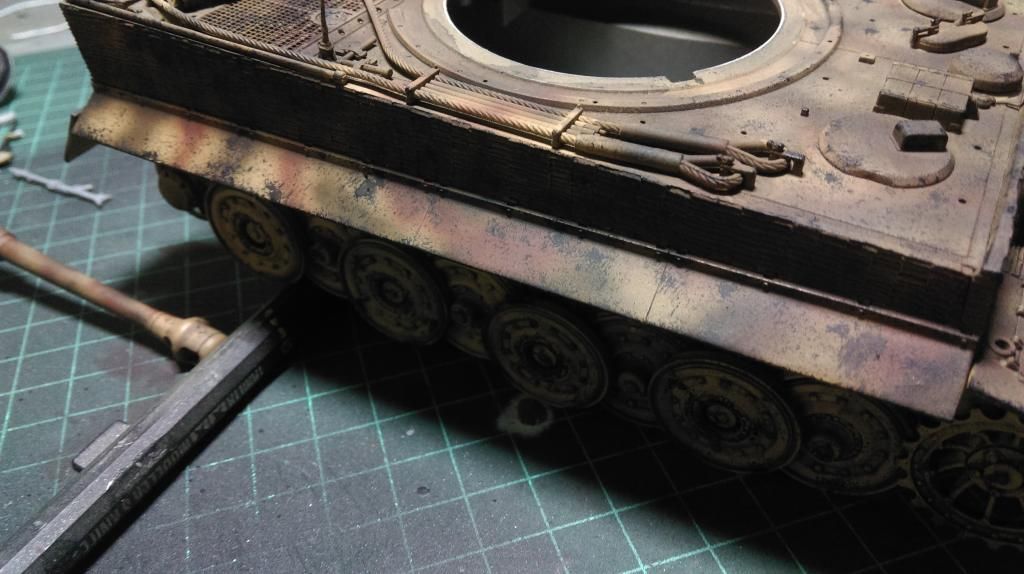
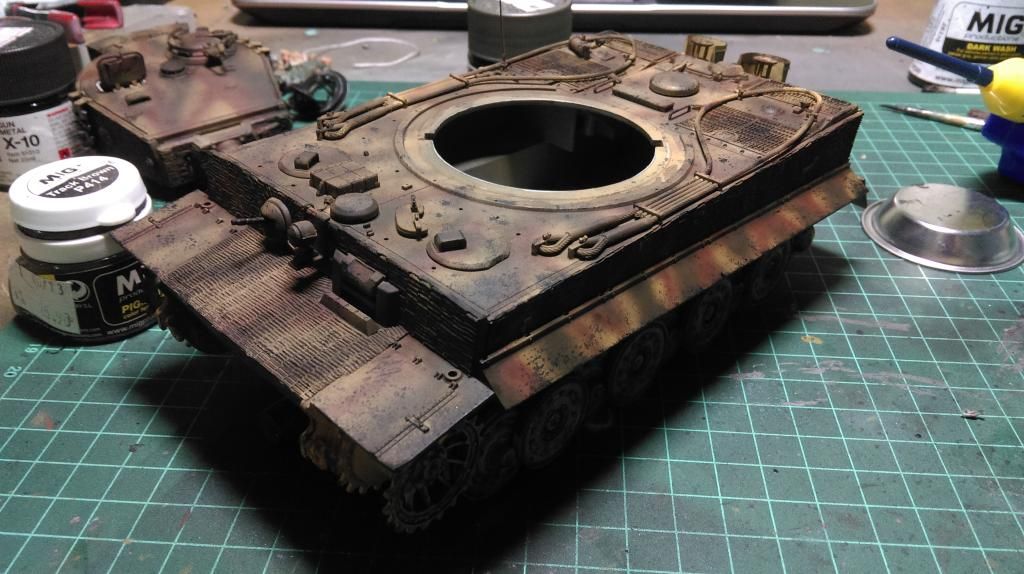
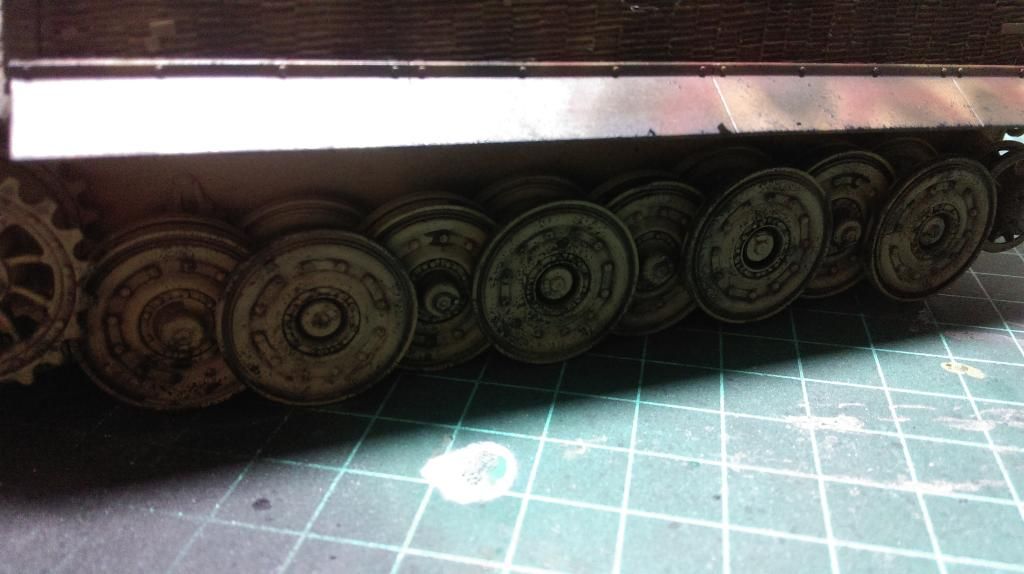
The final stage is to fit all the tools , paint the tracks and do my vignette
Re: Tiger 221
Posted: Wed Jan 21, 2015 12:52 pm
by Coen
That camo work is astounding Mr. M!!! Wonderfully done buddy.
I really loved the look of that, you pulled that off perfectly.
Interesting chipping work as well.
Re: Tiger 221
Posted: Sun Jan 25, 2015 10:07 am
by Nige99
Looking good! Love the camo pattern you've done and the colours a are spot on! Can't fault it at all.
Re: Tiger 221
Posted: Tue Jan 27, 2015 12:37 pm
by EasyEight96
Nige99 wrote:Looking good! Love the camo pattern you've done and the colours a are spot on! Can't fault it at all.
Coen wrote:That camo work is astounding Mr. M!!! Wonderfully done buddy.
I really loved the look of that, you pulled that off perfectly.
Interesting chipping work as well.
Thanks
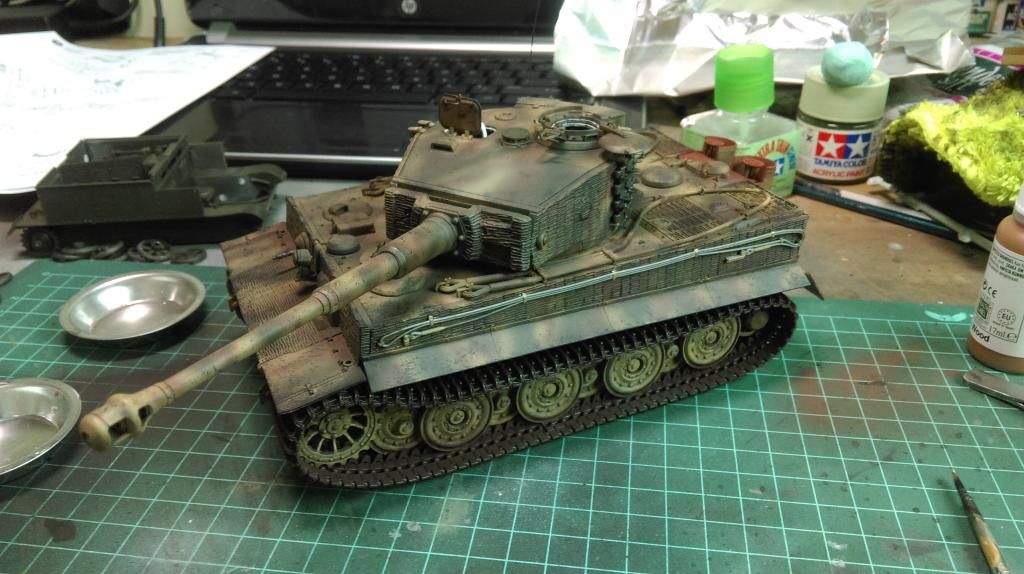
so I've now glued in the tracks now for the track sagging I rolled some aluminium foil and simply slide in
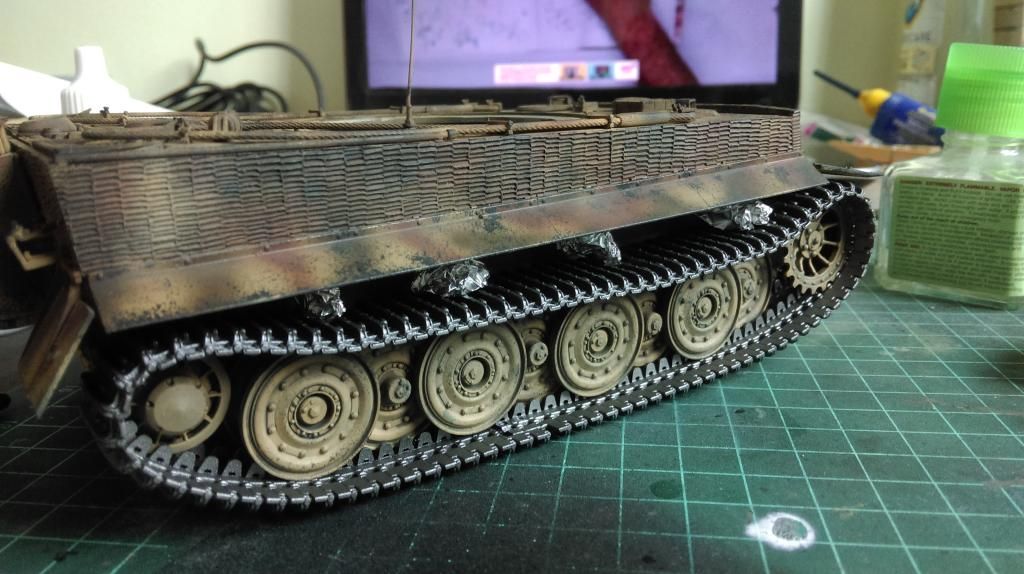
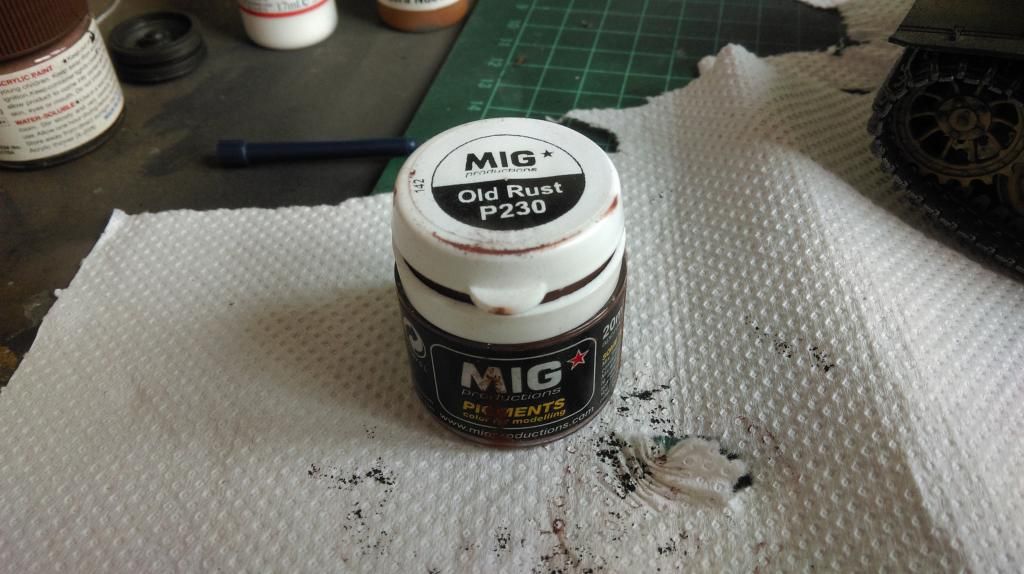
So after leaving it to dry I did the weathering on the tracks using this

using a thick brush I brush the pigments all over the track
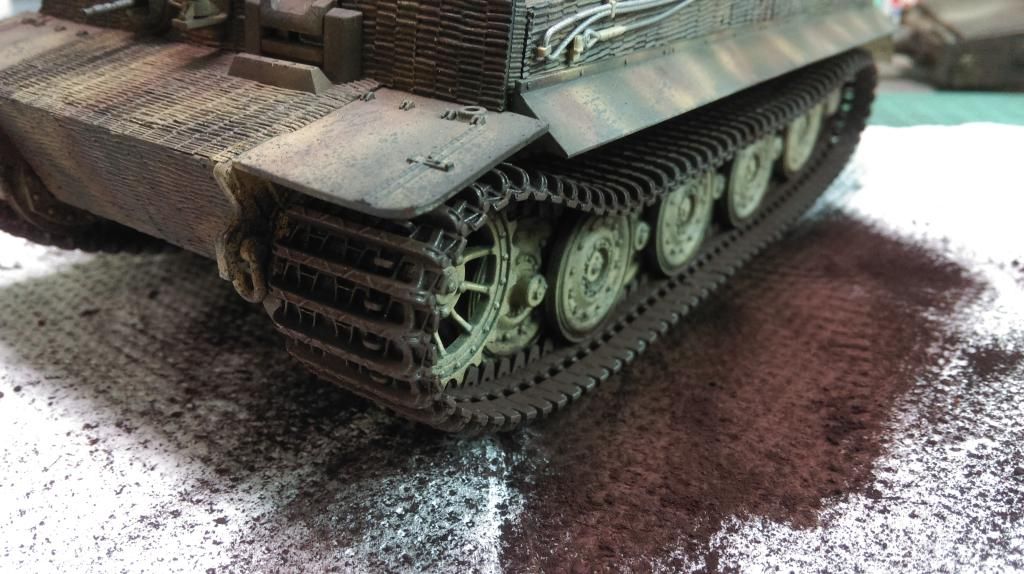
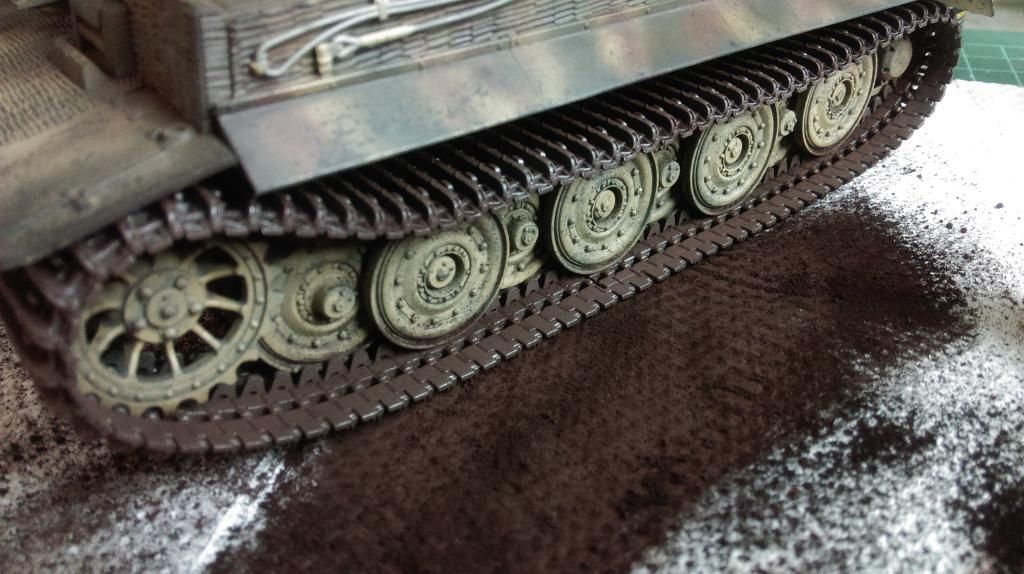
Almost forgotten I did some toning down on the chipping to give it a realistic look
I then added some old rust on the exhaust
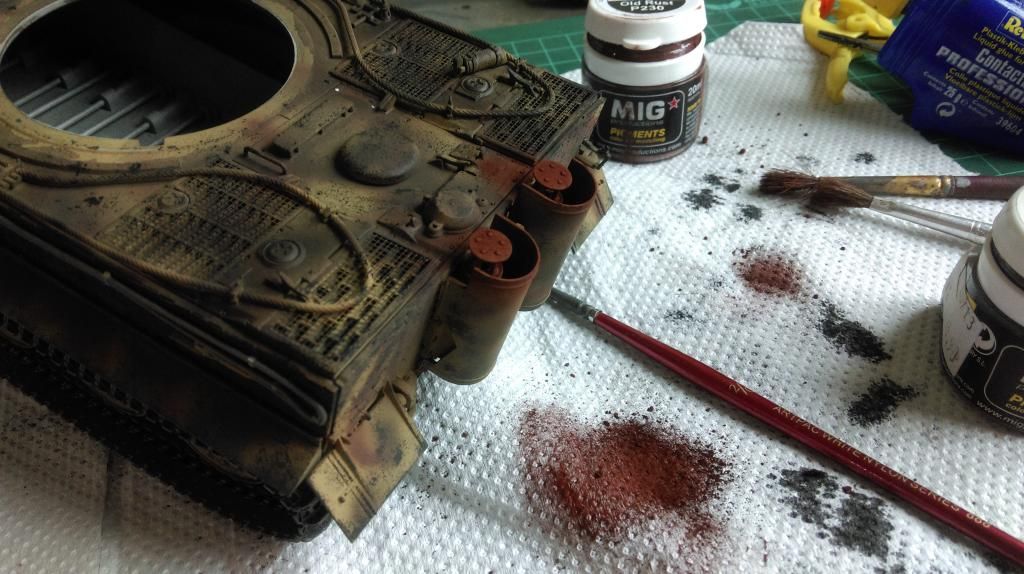
Here is the tank done waiting for some decals
night later........
I have finish decalling the tank. I did some weathering on the muzzle break too and all the tools are painted and assembled
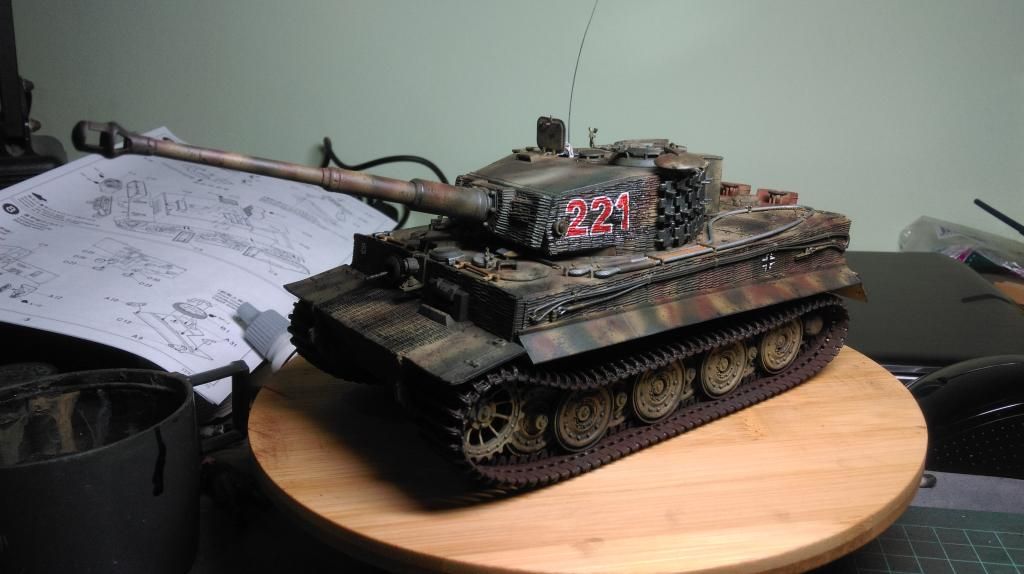
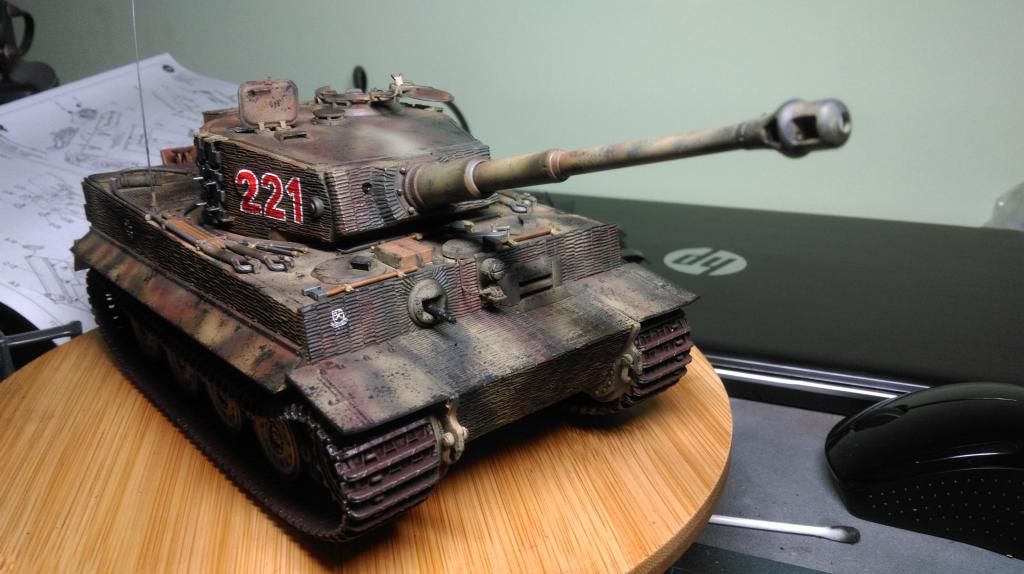
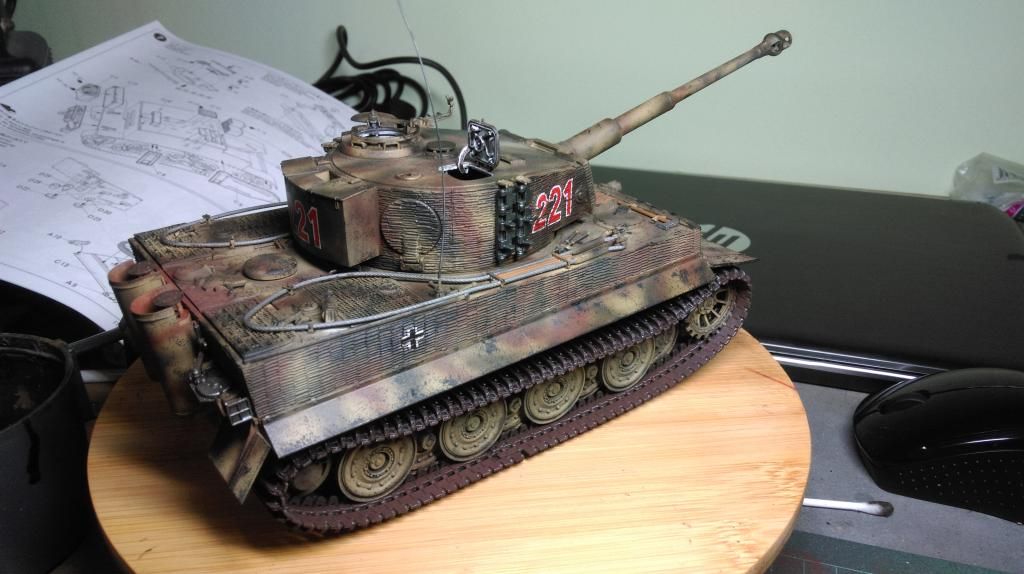
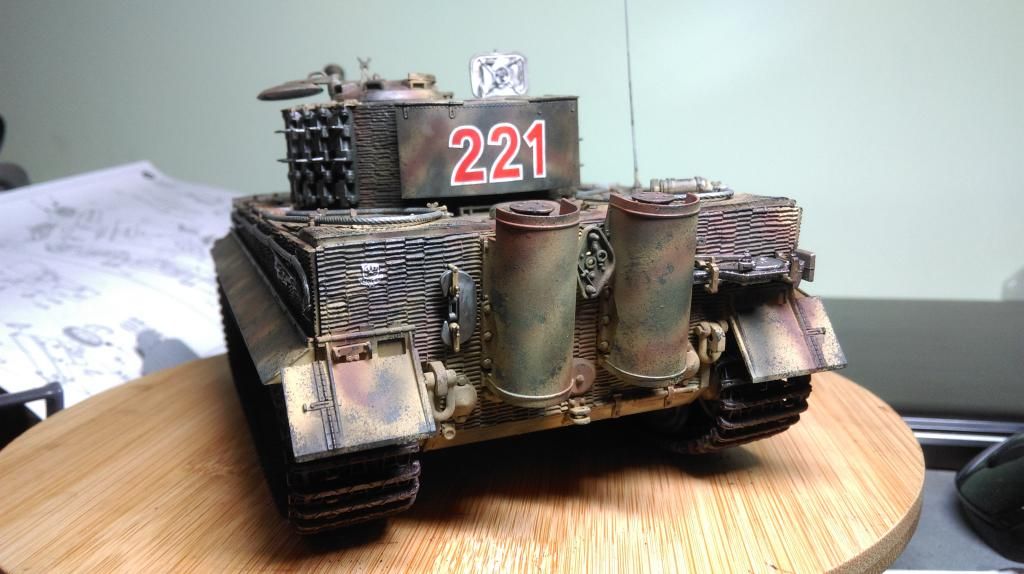
After some washes on the decals its
DONE!!! More photos in the reveal section the base I made was a disaster will have to make a new base

Again I would like to thank the organizers for having this GB and thank you Coen fro the vid's and inspiration that you always give may you always have a wonderful life and always keep yer stick on the ice
Re: Tiger 221
Posted: Tue Jan 27, 2015 4:36 pm
by Coen
Totally awesome Matthew!!! She's well done buddy. Lots of cool choices there bud.
I'm off to the reveal thread now