Page 1 of 1

Thumboy's Stringbag

Posted: Tue Mar 31, 2015 10:03 am
by Thumboy
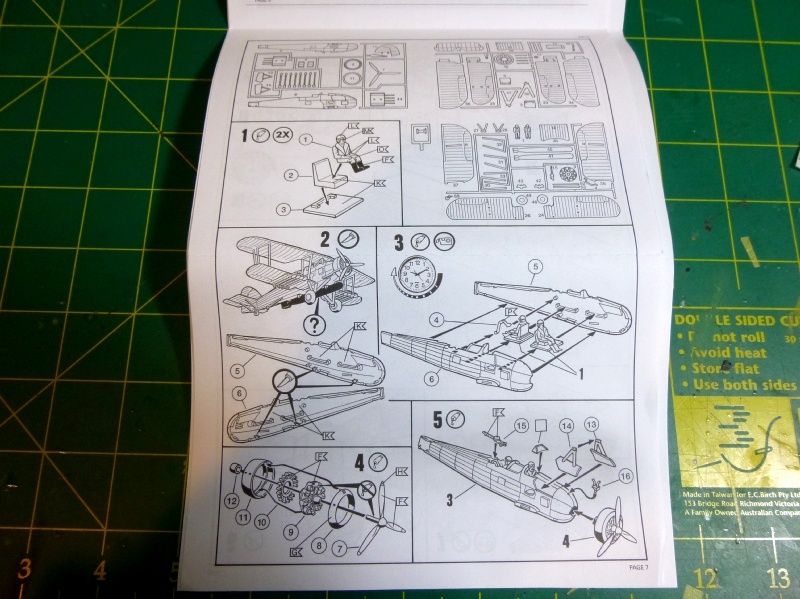
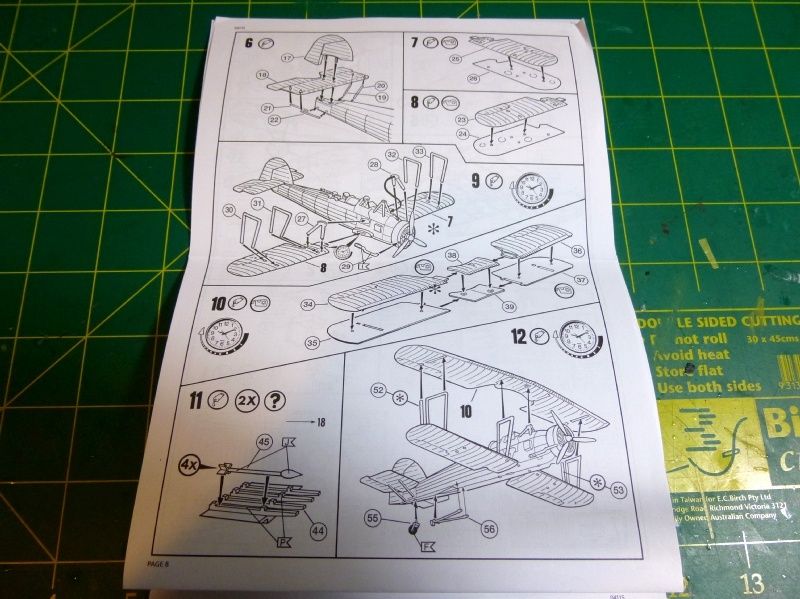
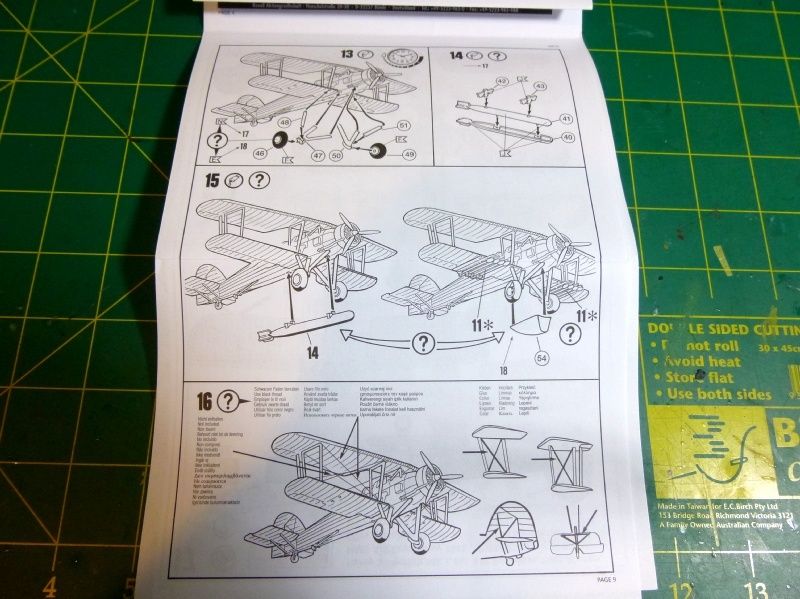
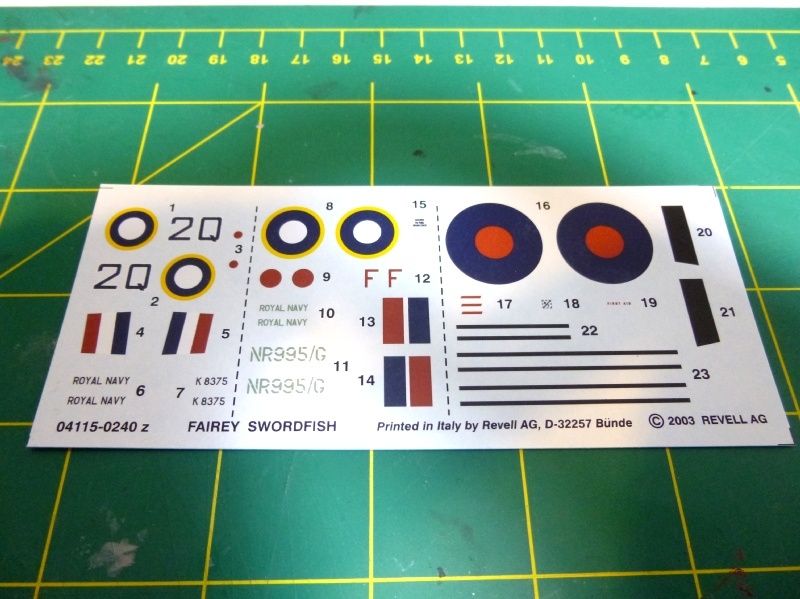
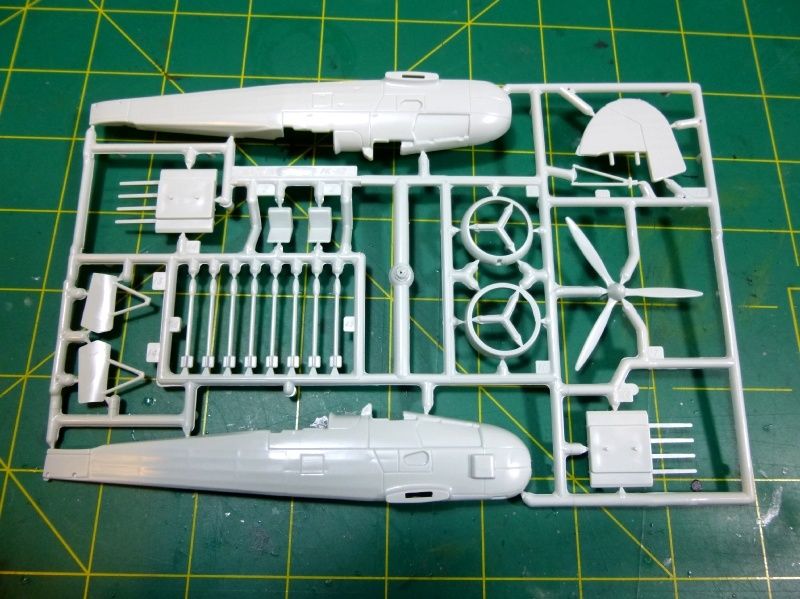
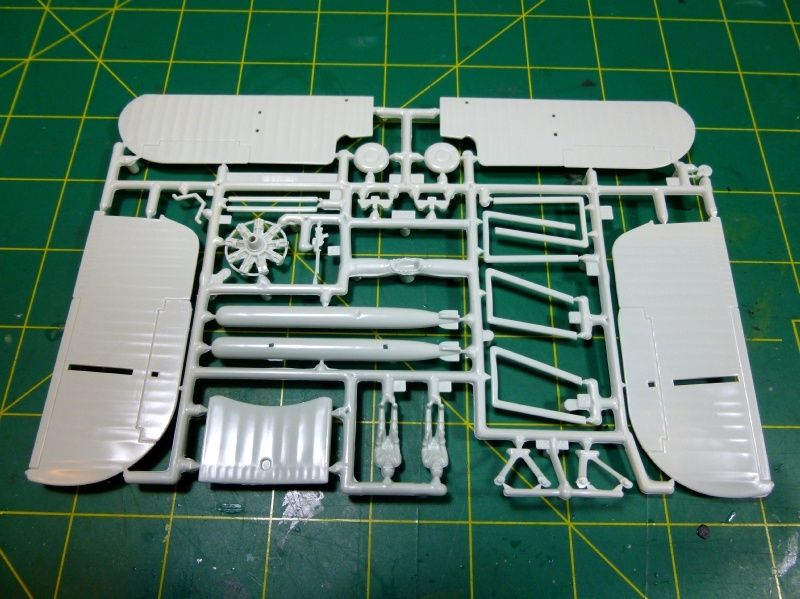
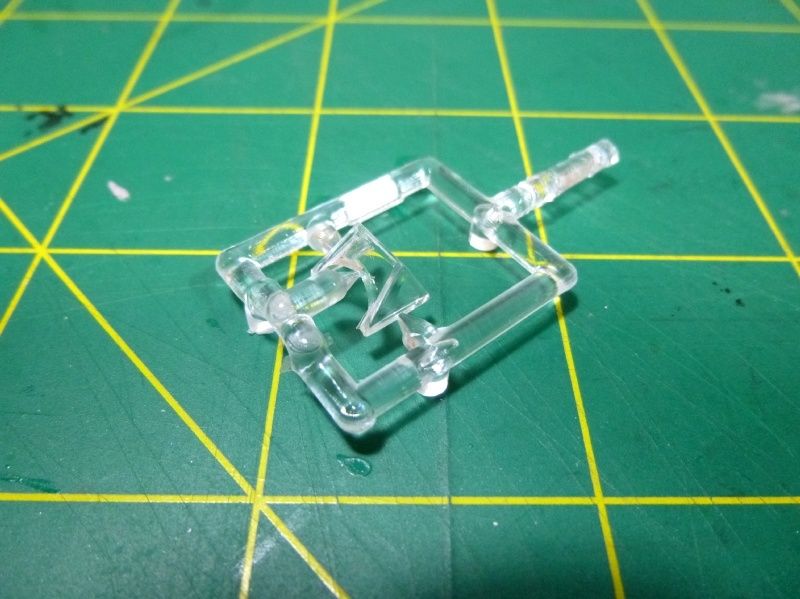
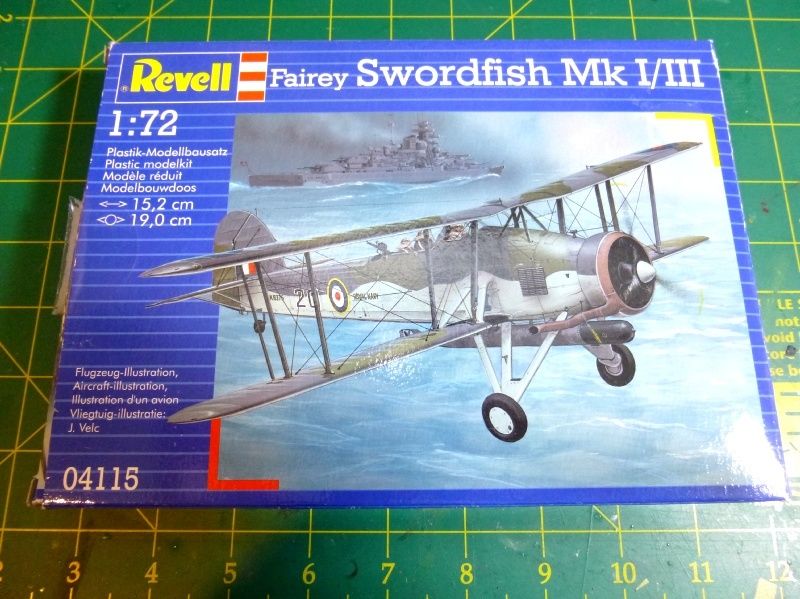
For this SIG I will be building Revell's 1/72 Fairey Swordfish. It is a re-box of a Matchbox kit from 1974, the moulding is soft and lacking the crisp details of a modern kit and there is a bit of flash around but nothing too bad. the kit comes with the typically bad top folding instructions and two options - the first is for a Mk1 from 1941 based on HMS Ark Royal that took part in the attack on the Bismarck and the second is a Mk3 from 1944 that was used for rocket assisted take off experiments.

I will be building the Mk1 out of box (mostly because I couldn't find any aftermarket). Ever since I watched the James Cameron documentary about the sinking of the Bismarck I have wanted to build a swordfish, a highly underrated aircraft that served the entire length of the war in Europe.

The Kit
Image

Image

Image

Image

Image

Image

Image

Image

Image

Image

Image

Image

Image

Looking forward to this one but it will probably be a slow start as I will be working on my eggplane first.

Thanks for looking, history and details to follow soon :cheers2:

Re: Thumboy's Stringbag

Posted: Sat Apr 04, 2015 9:53 am
by Thumboy
Some Info & History

The Fairey Swordfish was a torpedo bomber biplane designed by the Fairey Aviation Company and W.S. Hunt used by the Fleet Air Arm of the Royal Navy during the Second World War. Originating in the 1930s, the Swordfish, nicknamed "Stringbag", was an outdated design by the start of the war in 1939, but remained in front-line service until VE Day, outliving several types intended to replace it. It was initially operated primarily as a fleet attack aircraft; during its later years it was used as an anti-submarine and training aircraft.

Image

Achievements
The Swordfish achieved some spectacular successes, notably the sinking of one and damaging two battleships of the Italian Navy in the Battle of Taranto and the famous crippling of the Bismarck.
On the 26th May 1941, two Swordfish strikes were launched against Bismarck from Ark Royal. The first failed to find the battleship. On the second, the Swordfish aircraft scored two hits; one did little damage, but the other jammed Bismarck 's rudders, making the warship unmaneuvrable; it sank after intense Royal Navy attack. The low speed of the attacking aircraft may have acted in their favour, as the planes were too slow for the fire-control predictors of the German gunners, whose shells exploded so far in front of the aircraft that the threat of shrapnel damage was greatly diminished. At least some of the Swordfish flew so low that most of the Bismarck's flak weapons were unable to depress enough to hit them.

Image

Nickname
The Swordfish was nicknamed the Stringbag not because of its biplane struts, spars and braces, but because of the seemingly endless variety of stores and equipment that the aircraft was cleared to carry. Crews likened the aircraft to a housewife's string shopping bag, common at the time and which could accommodate contents of any shape. The crews felt that the Swordfish, like the shopping bag, could carry anything.

Image

General characteristics
Crew: Three (pilot, observer, and radio operator/rear gunner)
Length: 35 ft 8 in (10.87 m)
Wingspan: 45 ft 6 in[22] (13.87 m)
Height: 12 ft 4 in (3.76 m)
Empty weight: 4,195 lb (1,900 kg)
Loaded weight: 7,580 lb [23] (3,450 kg)
Powerplant: 1 × Bristol Pegasus IIIM.3 radial engine, 690 hp (510 kW)

Image

Performance

Maximum speed: 143 mph with torpedo at 7,580 lb at 5,000 ft
Range: 522 miles normal fuel carrying torpedo
Endurance: 5.5 hr
Service ceiling: 16,500 ft at 7,580 lb[
Rate of climb: 870 ft/min (4.42 m/s) at sea level at 7,580 lb.

Image

Armament
1 × fixed, forward-firing .303 in (7.7 mm) Vickers machine gun in engine cowling
1 × .303 in (7.7 mm) Lewis or Vickers K machine gun in rear cockpit
Rockets: 8 × "60 lb" RP-3 rocket projectiles (Mk.II and later)
Bombs: 1 × 1,670 lb (760 kg) torpedo or 1,500 lb (700 kg) mine under fuselage or 1,500 lb bombs under fuselage and wings.

Image

Re: Thumboy's Stringbag

Posted: Sat Apr 04, 2015 10:36 am
by Dunhill2005
You picked a very nice kit :th:
I find it remarkable that a biplane was in service so Long during WW II :wtf:

Re: Thumboy's Stringbag

Posted: Sat Apr 04, 2015 5:19 pm
by martin57
good choice, a navy build would not be the same without a swordfish , like the info ,
good luck with it :th:

Re: Thumboy's Stringbag

Posted: Sun Apr 05, 2015 10:26 am
by FabianAUT
Got this one in my stash too, cant wait too see what can be done with this kit!

good luck with it!

Re: Thumboy's Stringbag

Posted: Mon Apr 06, 2015 8:37 am
by Nige201980
Great choice mate good luck with the build.

Re: Thumboy's Stringbag

Posted: Thu Apr 30, 2015 11:49 am
by Thumboy
thanks for the vote of confidence guys but I'm not so sure this is a great kit, its and old matchbox kit and as such it is lacking in some of the fine details you get in a modern tooling such as the new airfix Swordfish.

told you it would be a slow start, but returning to this build now that my eggplane build is finished and looking forward to getting stuck into this SIG.

Update #1

first thing was to address the lack of detail in the cockpit. I could have got a resin upgrade but decided to keep the old revel/matchbox feel of the kit. 1mm masking tape was used to add some ribbing to the cockpit side walls. I used some 0.4 styrene as a floor, bulkhead and instrument panel.

Image

Image

Image

I used the kit seats and added simple seatbelts made from masking tape cut down to about 0.5mm

Image

Image

Image

Image

Image

Image

base coat of cockpit green

Image

Image

engine parts cleaned up

Image

Image

fortunately the canopy masking was not a big job :thumb1:

Image

a bit of filling required but not as much as I thought there might be :dance: the tool you can see in this photo comes highly recommended it has a latex tip and is perfect for putting filler onto models. the name on the handle is 'Colour Shaper - Cup Chisel Firm' they are available at any art shop. so much better than a stiff blade :thumb1:

Image

started assembly, you cant really see it from any of these angles but the cockpit has had an oil wash and dry bush to pick out the details - I will try to get better photos for the next update.

Image

Image

Dry fit of the top wing - they will be painted separately

Image

thanks for looking guys and any comments. I think I will enjoy this simple build, hard to explain but I get a nice feeling from the kit when I am working on it :tongue:

:cheers2:

Re: Thumboy's Stringbag

Posted: Thu Apr 30, 2015 1:10 pm
by DaveTheMinion
Stop showing off with your masking tape skills :nena:

Superb build mate, watching with great enthusiasm.

all the best
Dave

Re: Thumboy's Stringbag

Posted: Thu Apr 30, 2015 8:49 pm
by martin57
Great job so far going to look great when your finished :th:

Re: Thumboy's Stringbag

Posted: Fri May 08, 2015 10:13 am
by Thumboy
DaveTheMinion wrote:Stop showing off with your masking tape skills :nena:

Superb build mate, watching with great enthusiasm.

all the best
Dave
martin57 wrote:Great job so far going to look great when your finished :th:

Cheers guys, thanks for the encouragement :cheers2:

Re: Thumboy's Stringbag

Posted: Fri May 08, 2015 10:26 am
by Thumboy
Update #2

first up this week I found some good reference material at the library, lots of weathering ideas and good colour photos.

Image

cockpit shots - not my best work but in keeping with the kit I think :?

Image

Image

a bit of filler required here and there

Image

Image

Primer on and left for a day to harden

Image

Image

then some pre-shading

Image

Image

tonight I have just painted the sky colour on the bottom using Tamiya xf-21 with a dash of xf-19 sky grey to dull it a little

Image

Image

thanks for looking :cheers2:

Re: Thumboy's Stringbag

Posted: Fri May 08, 2015 12:13 pm
by heel
Very nice work on this old bag.

Re: Thumboy's Stringbag

Posted: Wed May 13, 2015 10:50 am
by Thumboy
heel wrote:Very nice work on this old bag.

cheers mate :cheers2:

Re: Thumboy's Stringbag

Posted: Wed May 13, 2015 11:36 am
by Thumboy
Update #3

hi chaps time for another update and the swordfish has been progressing quite nicely. in the last update I had just painted the underside sky. next up masking - white tac and lots of tamiya tape :crazy:

Image

Image

Image

the next step after painting the dark RAF green xf-81 is more masking, again white tac for a soft edge.

Image

this is what it looks like when all that masking is taken off

Image

next up ...more masking :pistols:

Image

Image

Image

wow that was a lot of masking. decals on using humbrol decal fix (good strong decal solution but need to be very careful as it can damage Tamiya paint quite easily. but not had any silvering since I started using it)

Image

Image

now the fun can begin and after another gloss coat to protect the decals I can start to weather the swordfish

first up is a filter of oil paint. small spots of different coloured oil paint are streaked back in the direction of air flow with a wide brush wetted with odourless solvent. it is quite hard to see when it is all blended in but what little that remains on the model breaks up the solid blocks of colour and adds fading and changes in tone although quite subtle

Image

Image

Image

Image

homemade pin wash made from oil paint black and burnt umber into the panel lines. then leave to dry for an hour before taking the excess off with a cotton bud again wetted with odourless solvent.

Image

and finally for this update the canopy goes on after a matt coat (you can also see the pin wash and dirty streaking on the wings and fuselage)

Image

thanks for looking and any comments :cheers2:

Re: Thumboy's Stringbag

Posted: Wed May 13, 2015 5:55 pm
by heel
1st class work going on here Andrew. Paint came up perfect.

Re: Thumboy's Stringbag

Posted: Wed May 13, 2015 6:11 pm
by Nige201980
Cracking paint work Andrew looking good.

Re: Thumboy's Stringbag

Posted: Fri May 15, 2015 5:10 am
by Thumboy
Nige201980 wrote:Cracking paint work Andrew looking good.
heel wrote:1st class work going on here Andrew. Paint came up perfect.
thanks guys :oops: :cheers2:

Re: Thumboy's Stringbag

Posted: Fri May 15, 2015 5:36 am
by Thumboy
Update #4

update time :th:

now that I have got the matt coat on I can apply some panel fading with pastels. the chalk pastels are scraped with the back of a blade to make a powder then applied to the model with a dry paint brush. sand colour for highlights to the middle of the panels and black on the panel lines. I used a large soft brush to brush away the excess in the direction of the air flow.

Image

Image

next up one of the hardest parts of any biplane build attaching the top wing :eeek: only done this once before and it was only my second ever build done over a year ago.

Image

Image

Image

the top wing went on ok, its not a perfect fit - some of the pylons don't seem long enough but it is close enough for me. now time for one of my favourite parts - rigging :banana: I know some people hate this part but I love it :geek:

one evening and one wing is rigged - zen for 2 hours 8-)

Image

Image

Image

nearly done now - finishing off the rigging should take one good session at the modelling desk then final touches and the stringbag will be ready. thanks for following and any comments :cheers2:

Re: Thumboy's Stringbag

Posted: Fri May 15, 2015 7:12 am
by Willem
That's a beautiful Swordfish mate. Lovely job.

:bow::

:cheers2:

Re: Thumboy's Stringbag

Posted: Sat May 16, 2015 3:04 am
by Thumboy
Willem wrote:That's a beautiful Swordfish mate. Lovely job.

:bow::

:cheers2:
cheers Willem :cheers2:

Re: Thumboy's Stringbag

Posted: Sat May 16, 2015 3:20 am
by Thumboy
Update #5

final update - more rigging. EZ line is the best stuff ever

Image

Image

Image

Image

Image

antenna wire posts added with .3mm brass tube

Image

after a few final touch ups to the paint and weathering I'm calling her done. when I first started this build I was a bit worried about the age and quality of the kit but it has been one of the most enjoyable builds I have had.

Image

Image

thanks to everyone that has followed and taken the time to comment on my build, much appreciated. I'm off to post my final reveal photos :cheers2:

Re: Thumboy's Stringbag

Posted: Sat May 16, 2015 2:59 pm
by Nige201980
You've done a cracking job mate