Page 1 of 1
Revell 1/72 f4u-5 Korean War diorama
Posted: Wed Apr 01, 2015 8:00 am
by Joemodelling14
This is my first sig so hope it goes well...
These are the kits I will be building
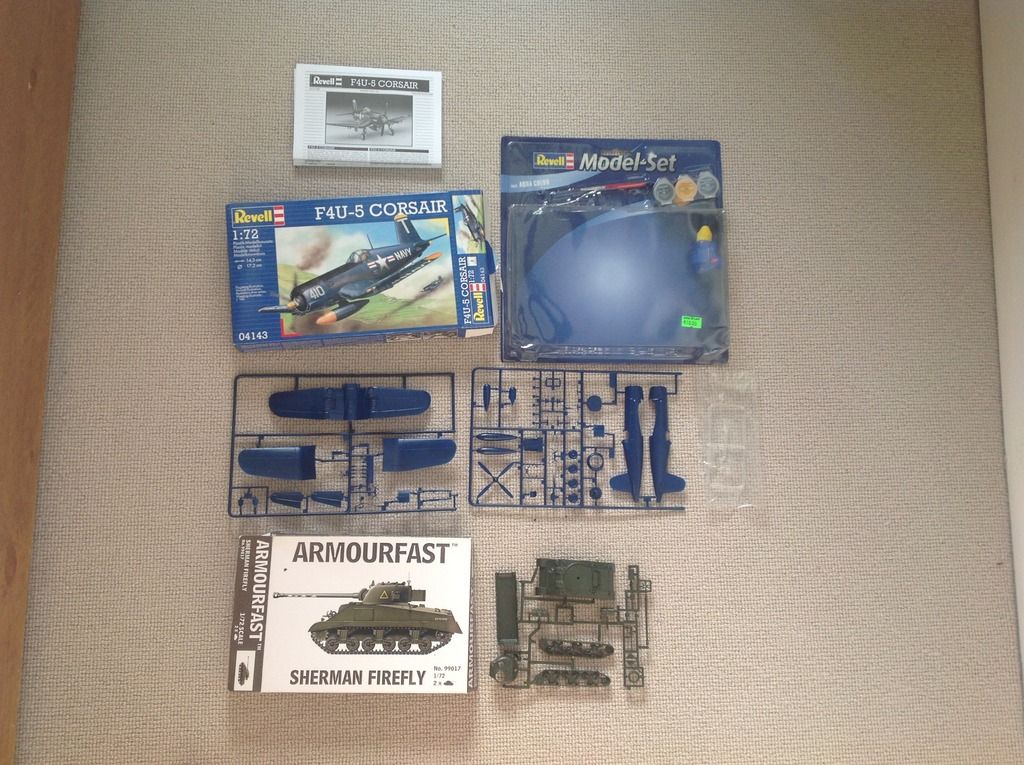
I will convert the Sherman into an American one with a bull dozer blade which will be posed as if removing the snow( I'm doing a marines version so it's on the ground(and the colour scheme says its in December 1950). The corsair is nice with engraved panel lines and a decent cockpit (but I will be scratch building detail). I will be doing 2 entries for this sig, the other is going to be a Vietnam "aerial bombardment"
I will give you some history of the aircraft and its service in the Korean wa along with some pictures and reference photos

Re: Revell 1/72 f4u-5 Korean War diorama
Posted: Wed Apr 01, 2015 9:57 am
by Joemodelling14
Here is some history of the corsair in Korea, I didn't want to bore you too much because I'm aware many other members are making corsairs
During the Korean War, the Corsair was used mostly in the close-support role. The AU-1 Corsair was developed from the F4U-5 and was a ground-attack version which normally operated at low altitudes: as a consequence the Pratt & Whitney R-2800-83W engine used a single-stage, manually controlled supercharger, rather than the two-stage automatic supercharger of the -5.The versions of the Corsair used in Korea from 1950 to 1953 were the AU-1, F4U-4B, -4C, -4P and -5N and 5-NL. There were dogfights between F4Us and Soviet-built Yakovlev Yak-9 fighters early in the war, but when the enemy introduced the Mikoyan-Gurevich MiG-15, the Corsair was outmatched: however, on 10 September 1952, a MiG-15 made the mistake of getting into a turning contest with a Corsair piloted by Marine pilot Captain Jesse G. Folmar, with Folmar shooting the MiG down with his four 20 millimetre (0.79 in) cannon. In turn, four MiG-15s shot down Folmar just minutes later, though Folmar bailed out and was quickly rescued with little injury.
Re: Revell 1/72 f4u-5 Korean War diorama
Posted: Wed Apr 01, 2015 12:23 pm
by Joemodelling14
Let the build commence! The work began on the cockpit, it seem quite good at start, but after looking at some pictures of the real thing I realised that there is a lot of room for improvement. I started with the seat belts...
1
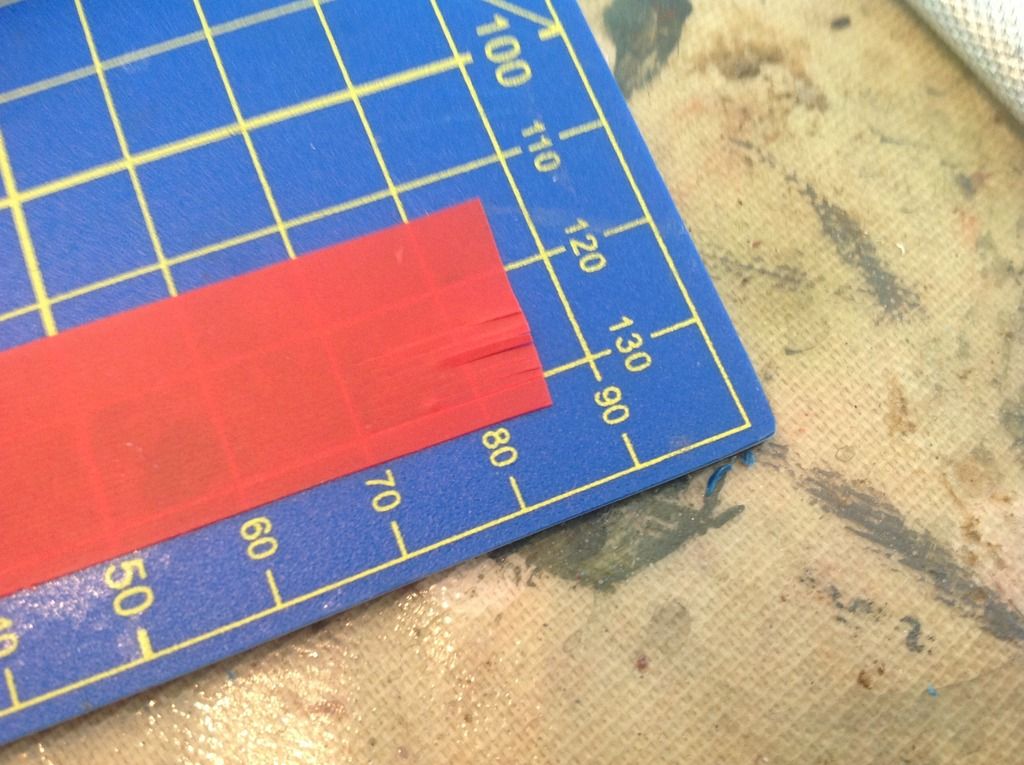
I first started by cutting some masking tape into roughly equal strips,
2
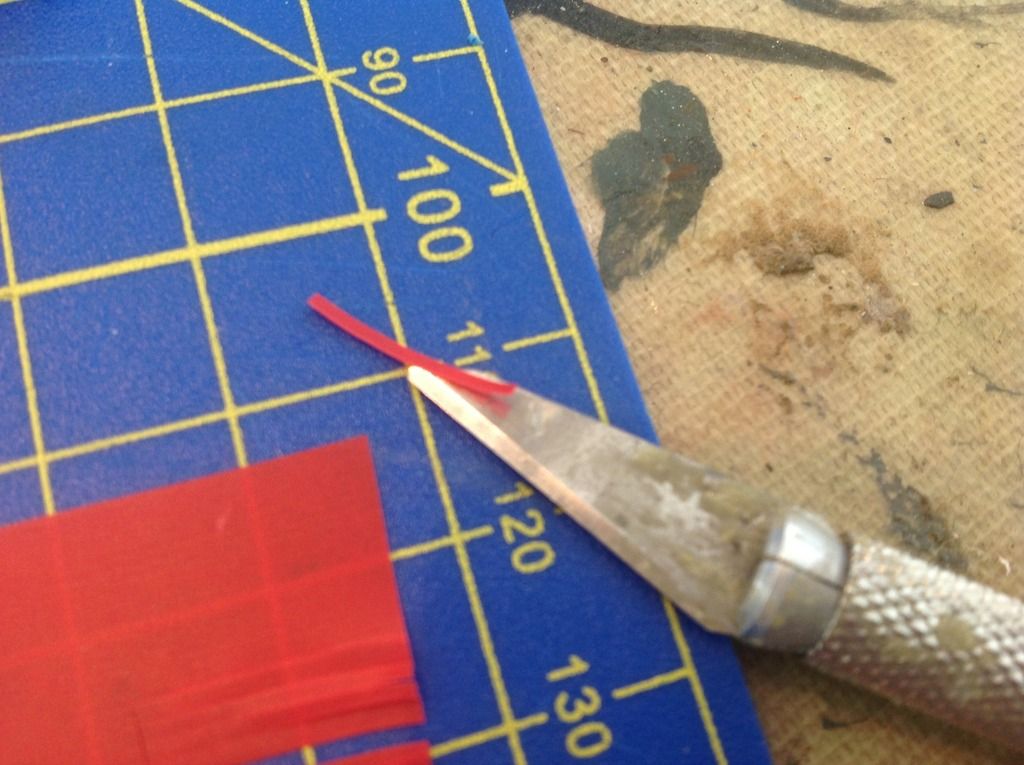
Then I worked out the right size for a seatbelt ad cut the strip off the cutting mat
3
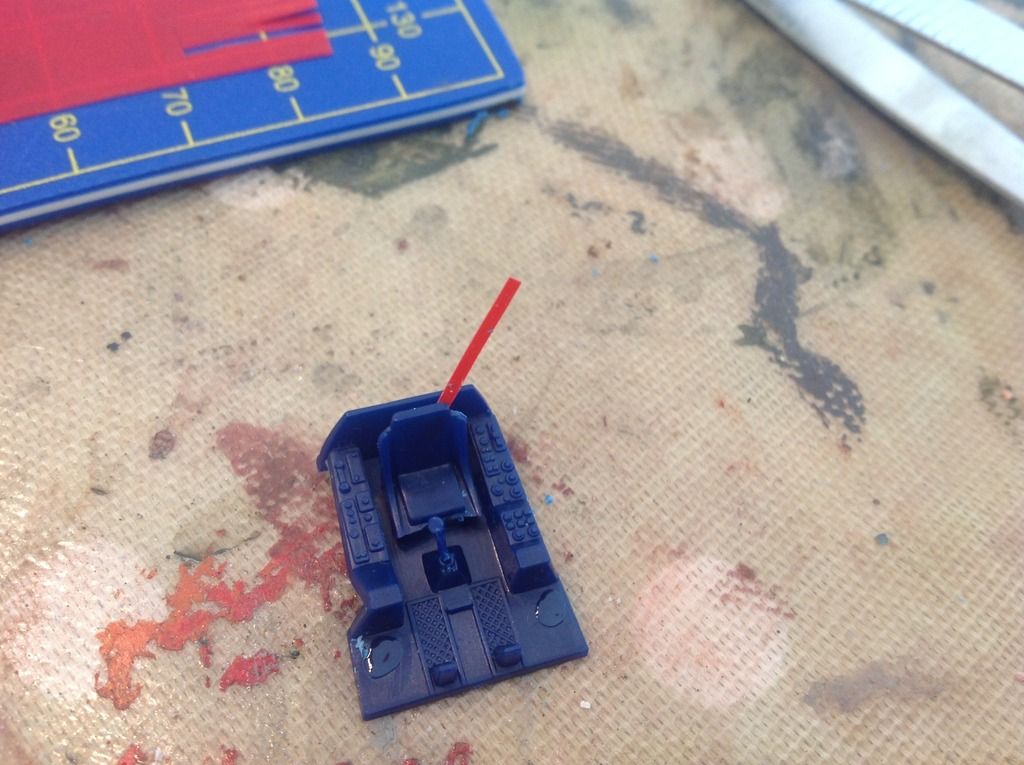
Then I glued the end of the belt to the back of the seat (you must use glue because the stick will eventually wear off
4
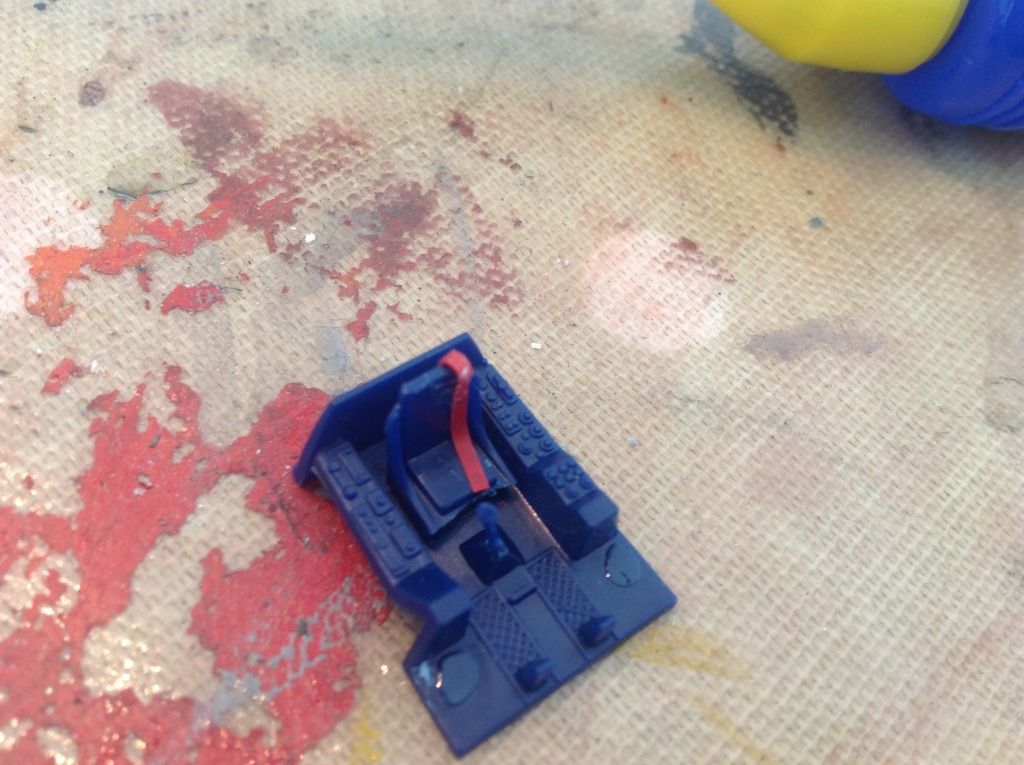
Then pull the belt down trying to keep the shape as natural as possible
5

Finally I added all the seat belts and I then decided to add small strips of masking tape to bulk up the belts as well as adding straps to them
Re: Revell 1/72 f4u-5 Korean War diorama
Posted: Thu Apr 02, 2015 5:33 pm
by Joemodelling14
Painting the cockpit
This stage was quick
1
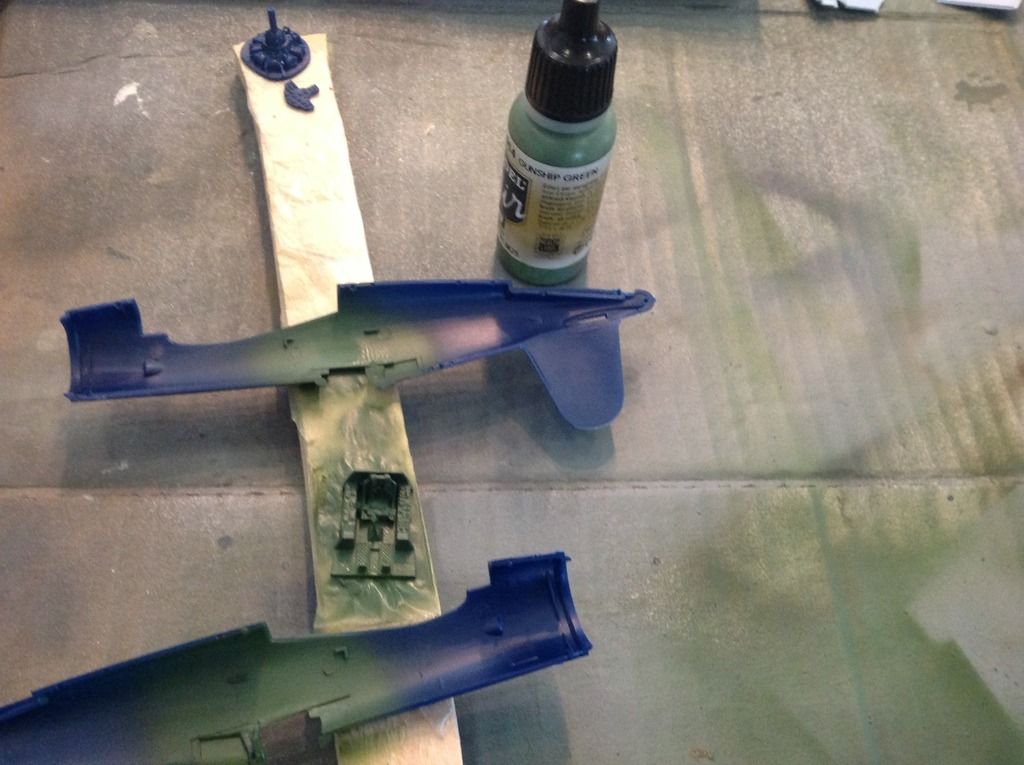
I first airbrushed the capital and side walls in vallejo model air gunship green and the dash and engine were airbrushed vma german grey
2
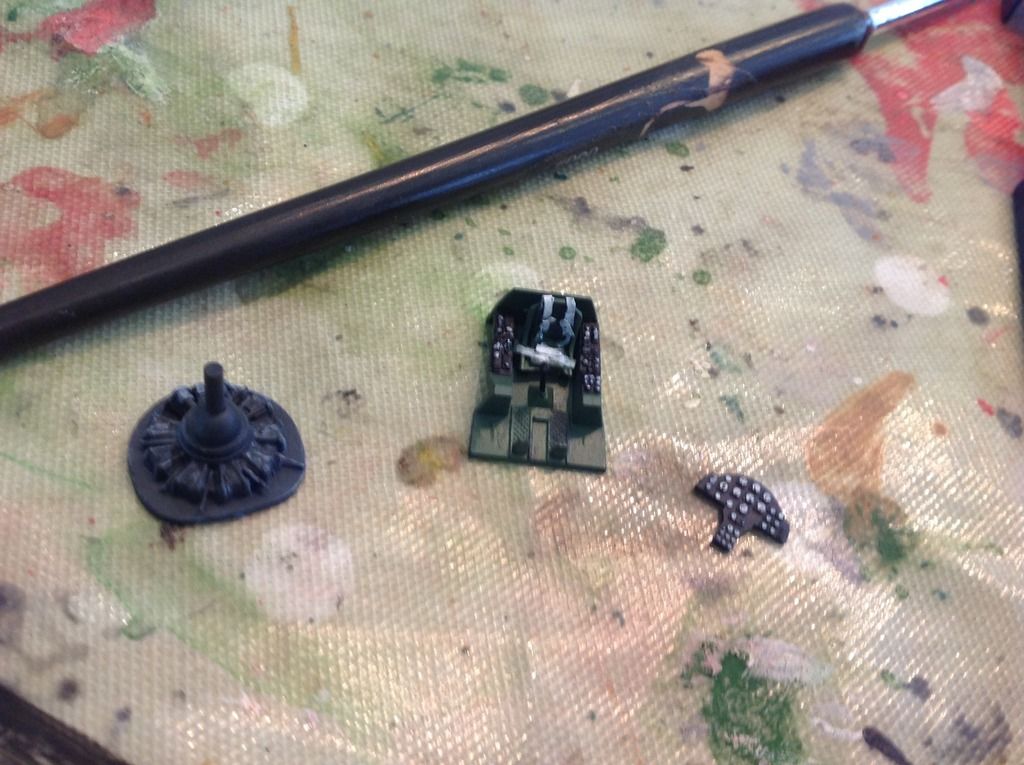
I then painted the details and added pigments to the floor (unfortunately I don't have any pics of this)
Re: Revell 1/72 f4u-5 Korean War diorama
Posted: Sun Apr 12, 2015 3:46 pm
by Joemodelling14
Sorry, I have been away in Paris for a week but I'm back now.
The build went on very quickly from this point. I started by completing the corsair, it was quite simple and the fit was generally good but there was a large and prominent line that was down the fuselage, but I didn't do too much because it would be covered in snow anyway. One thing that helped the construction was a new tool in my arsenal, a Dremel. This allowed me to polish the surfaces of the wings and remove any areas that had fingerprint marks
The rest of the build went smoothly. This time I decided to stick the landing gear on, normally I would paint it separately but the join wasn't brilliant so I stuck it now rather than later.
Just the painting to go now.
Re: Revell 1/72 f4u-5 Korean War diorama
Posted: Sun Apr 12, 2015 3:49 pm
by Joemodelling14
Re: Revell 1/72 f4u-5 Korean War diorama
Posted: Sun Apr 12, 2015 4:31 pm
by Joemodelling14
Now for the Sherman
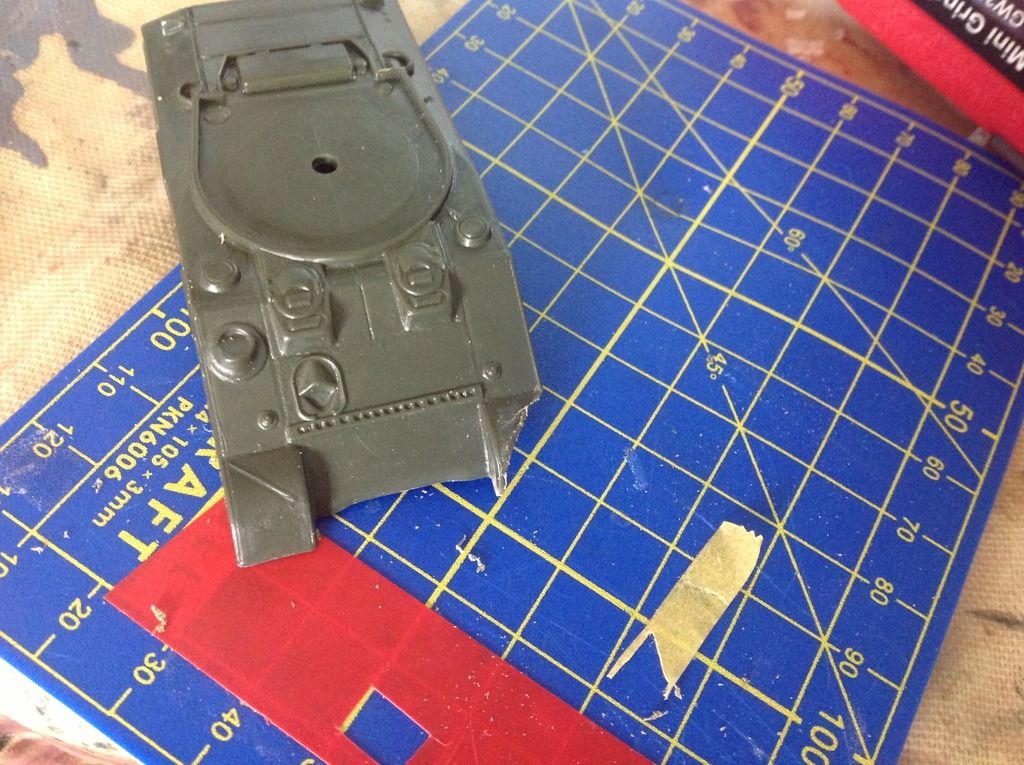
The first thing that needed removing was the mud guard that was not seen on Korean War shermans,(mine was a firefly)
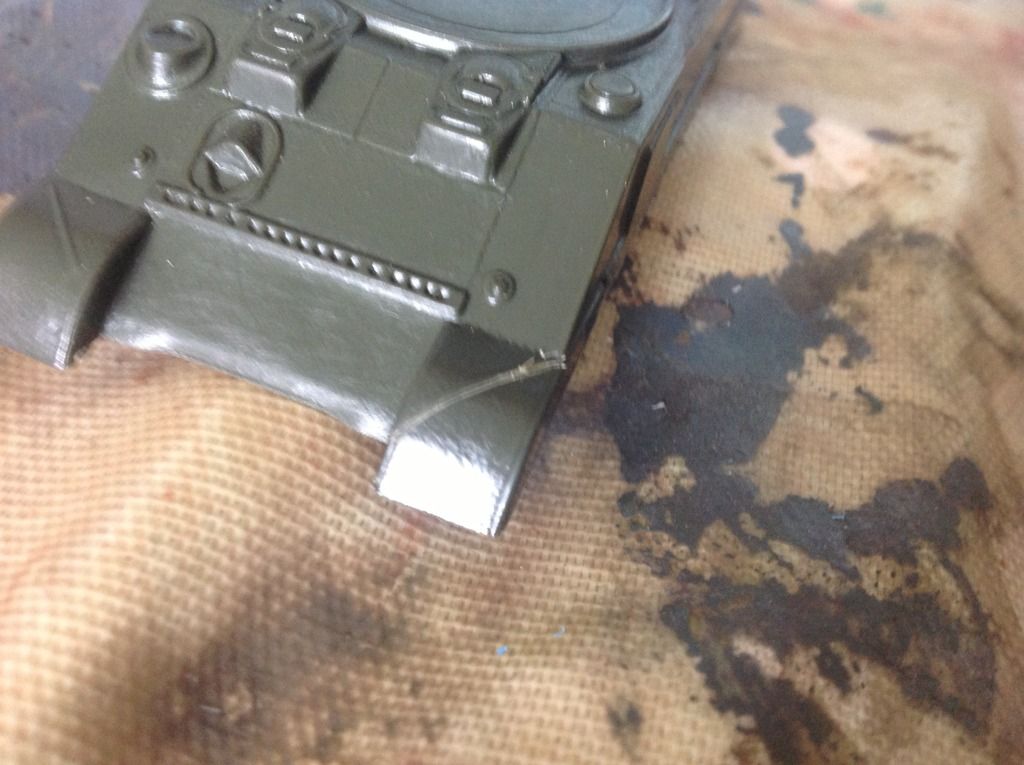
I marked out the area with a hobby knife and the used a set of plastic covers to chop the majority of the area out. Then using the Dremel mentioned earlier I smooth off the cut
Re: Revell 1/72 f4u-5 Korean War diorama
Posted: Sun Apr 12, 2015 4:36 pm
by Joemodelling14
This was also done to the to the rear and outer mud guards as well

And this stage was done

Re: Revell 1/72 f4u-5 Korean War diorama
Posted: Sun Apr 12, 2015 8:35 pm
by martin57
GOOD start going to be intresting good luck

Re: Revell 1/72 f4u-5 Korean War diorama
Posted: Mon Apr 13, 2015 8:16 am
by Joemodelling14
The next thing that needed doing was the side skirting and dozer blade, the skirting was made by cutting a coffee stirrer to the right size and the simply inserting it into the correct position.
Using reference I started the dozer blade. I started by cutting coffee stirrers again to be the supports, then I crafted the blade out cardboard from a box (tamiya panzer 4) to the rough size of the blade.
When i cut then out I stuck them together with Pva, but this was problematic and wouldn't stick so I used resin glue (yellow glue) this was a bonus because it was thick and acted like weld seams
Re: Revell 1/72 f4u-5 Korean War diorama
Posted: Mon Apr 13, 2015 8:19 am
by Joemodelling14
Re: Revell 1/72 f4u-5 Korean War diorama
Posted: Mon Apr 13, 2015 11:47 am
by Joemodelling14
Re: Revell 1/72 f4u-5 Korean War diorama
Posted: Tue Apr 14, 2015 8:51 pm
by Joemodelling14
Diorama time!
I started by marking out the area that I would cut and then removed it, I used heat insulation foam from wickes
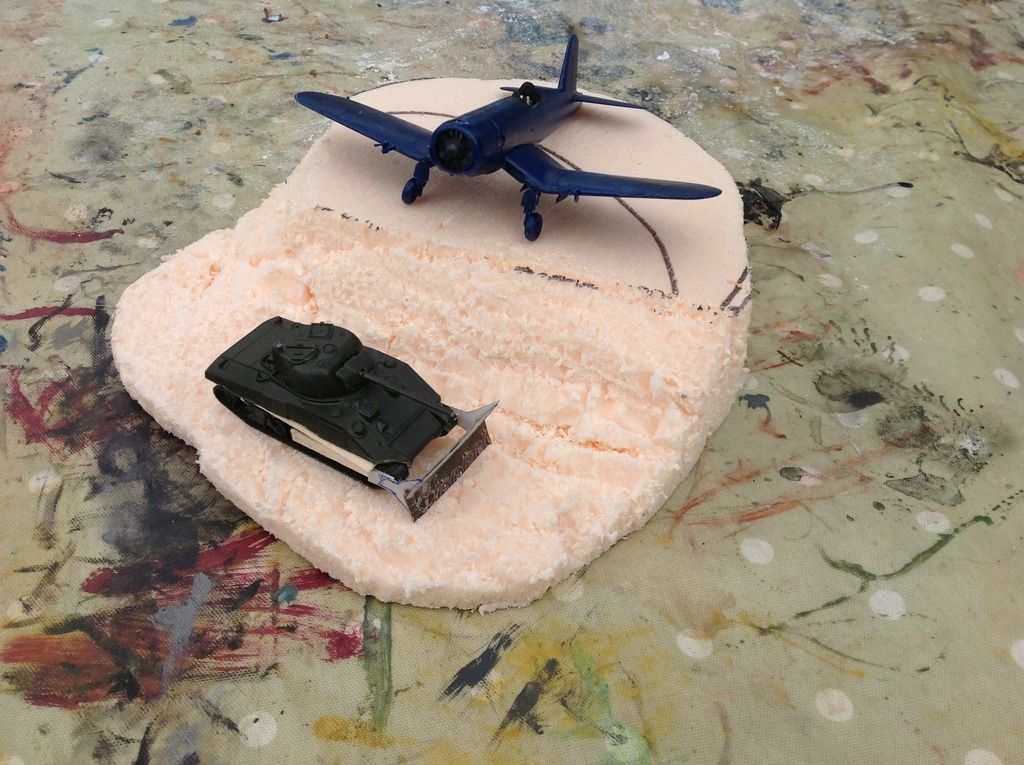
I then covered it in wood filer, remembering to keep the airfield relatively flat and build up the area that the dozer is pushing

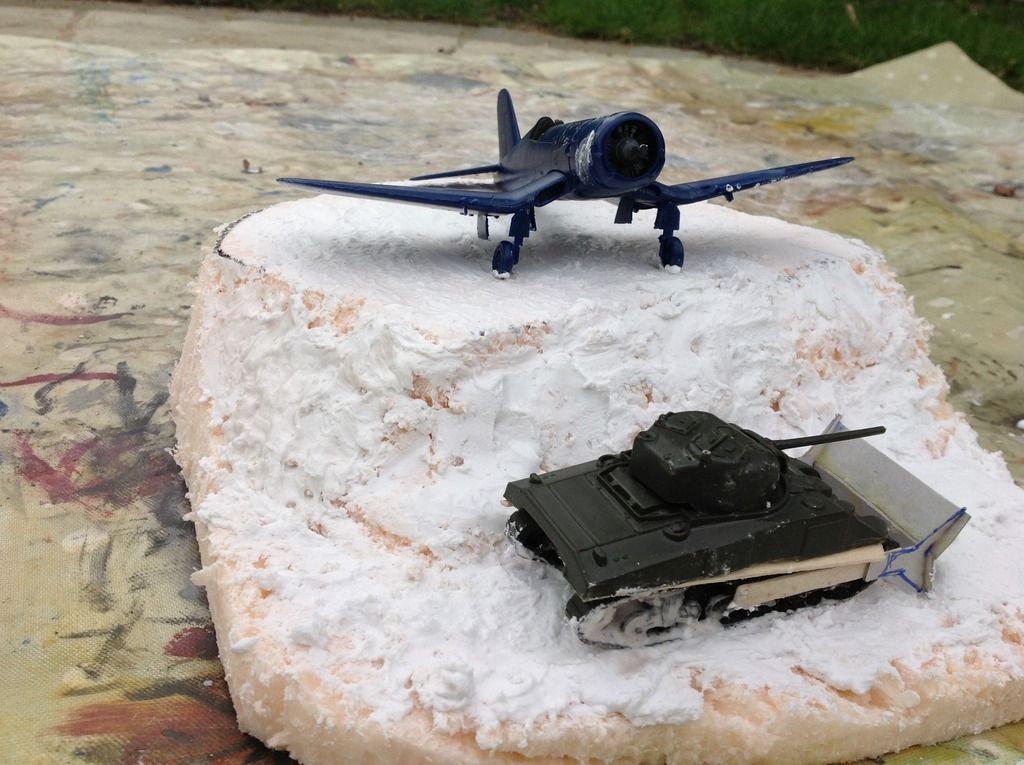
I posed the models on the base and added some filler to the tracks and wheels to represent mud
Re: Revell 1/72 f4u-5 Korean War diorama
Posted: Sat Apr 25, 2015 9:05 pm
by Joemodelling14
Time to get muddy!

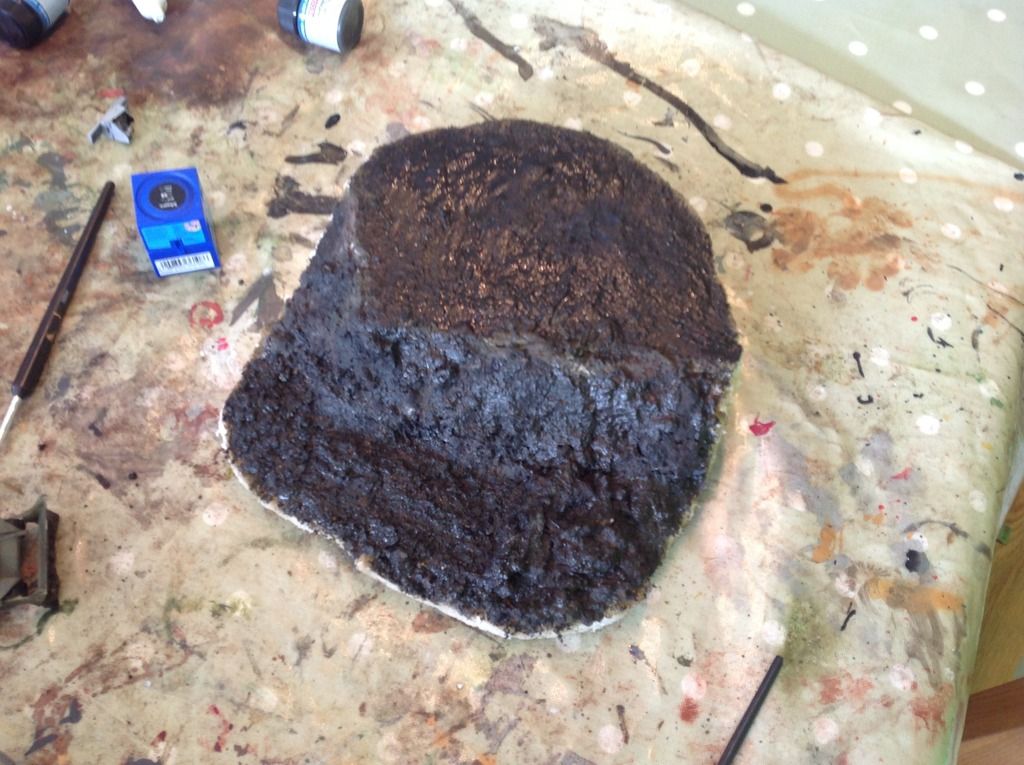
1. To make the thick, wet mud, I decided to use top soil brought from a garden centre. This is better than mud from your garden(if you live in the uk then it's probably to dusty) because it give the effect of wet mud much better due to its colour (it's almost black). To make the mix I added water, Pva glue and a small amount of baking soda in a ratio of 30:60:10.
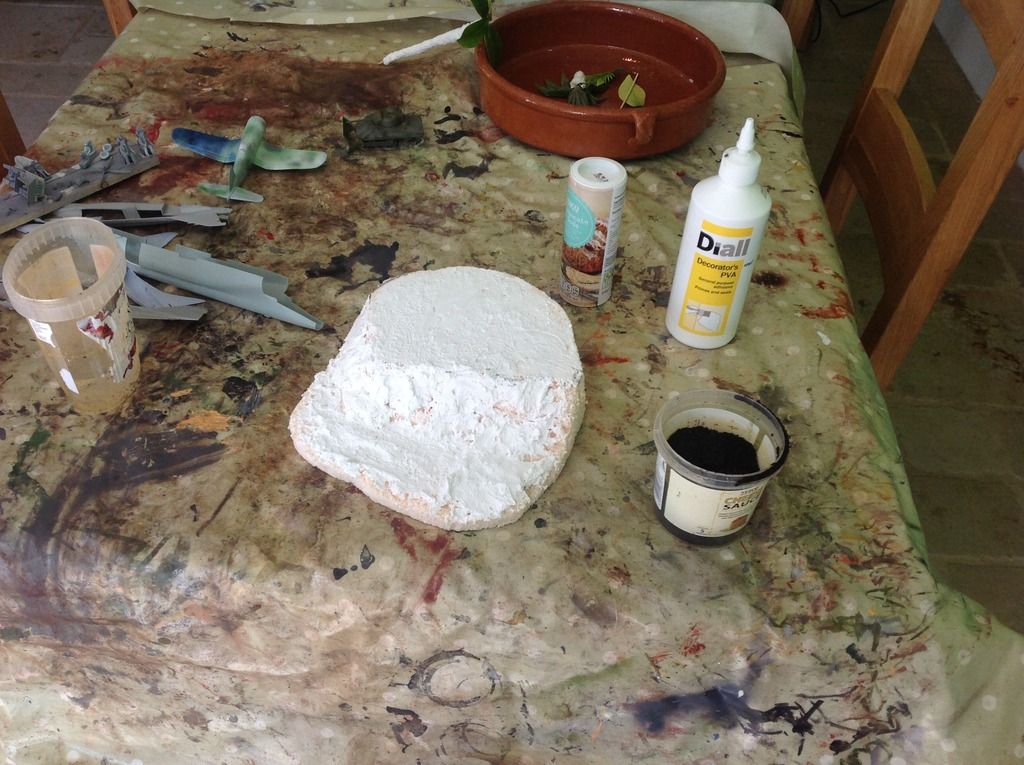
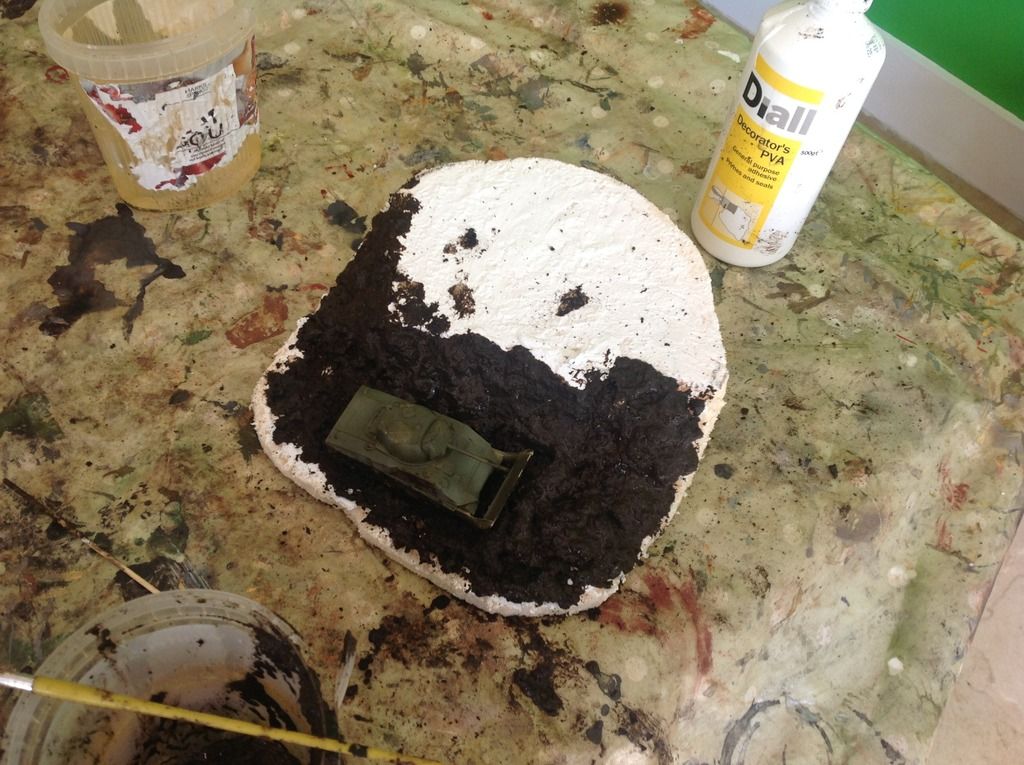
2. I added the mud generously to areas that needed it, I left it of the airfield. I also tried to build up the areas that the dozer was pushing.
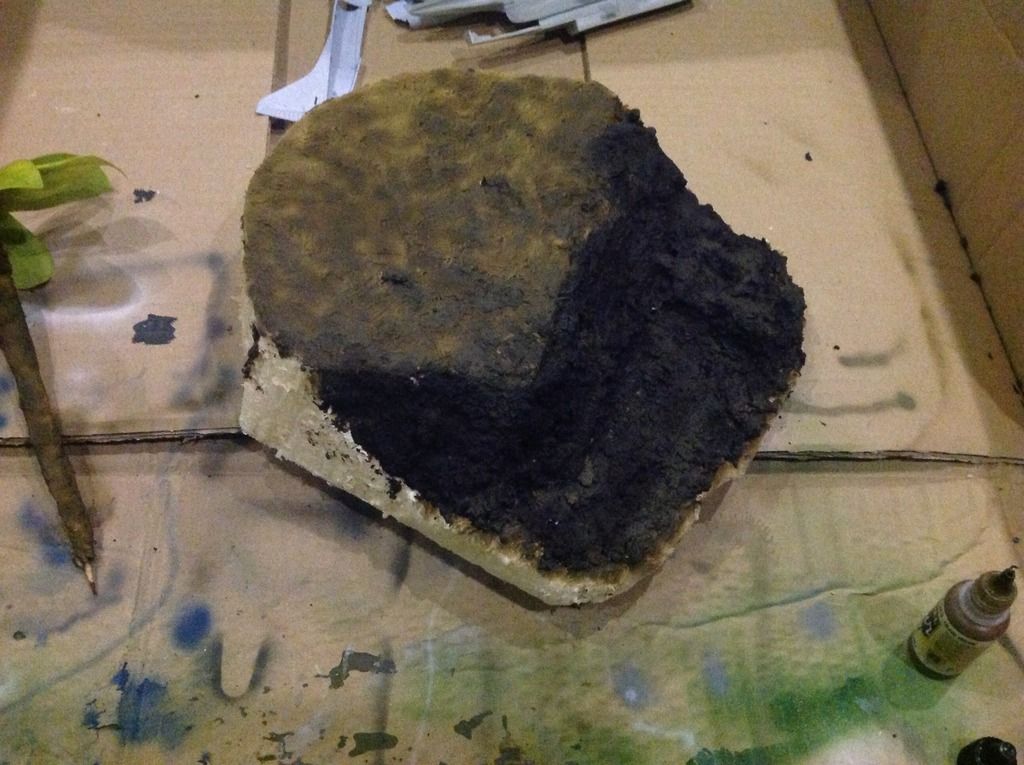
3.To finnish it off, I airbrushed vma (vallejo model air) olive drab on the plain areas to blend the mud to the airfield
Re: Revell 1/72 f4u-5 Korean War diorama
Posted: Sun May 03, 2015 4:01 pm
by Joemodelling14
I decided to emphasise the mud more because it looked out of place, so I mixed dark earth mud and smoke from humbrol. I then decided to add gloss varnish to the area and then matt varnish to the areas that have not been run over by a 55 ton tank.
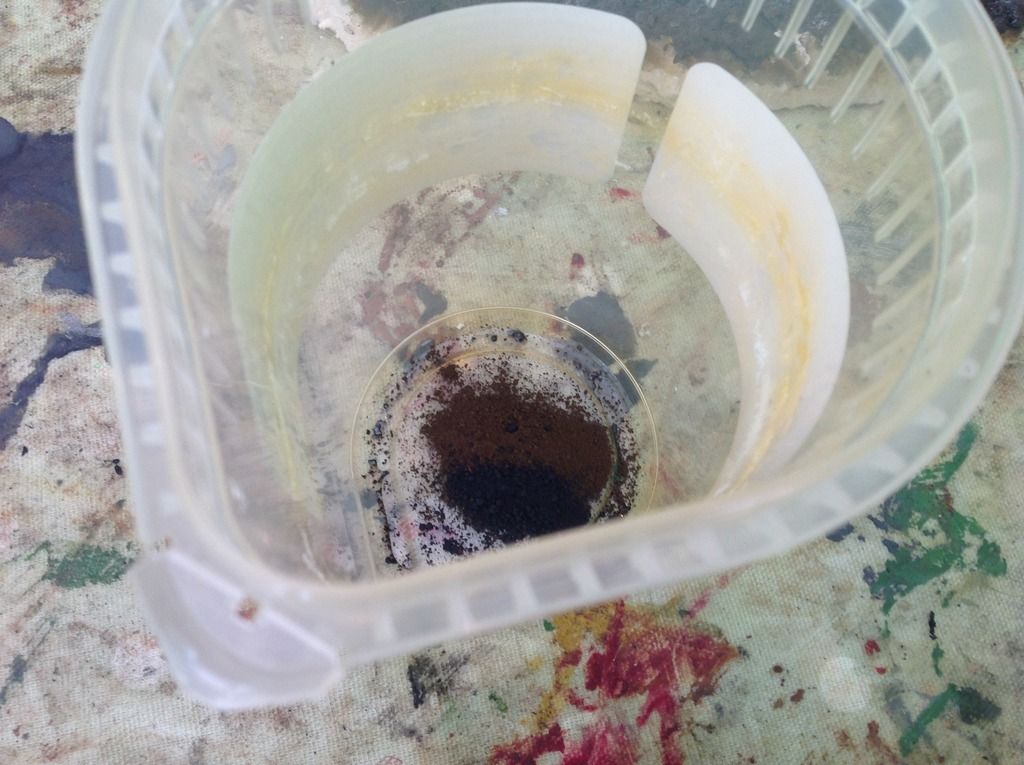
I then applied the mix to blend in the mud to the rest of the dio
Re: Revell 1/72 f4u-5 Korean War diorama
Posted: Sun May 03, 2015 4:18 pm
by Joemodelling14
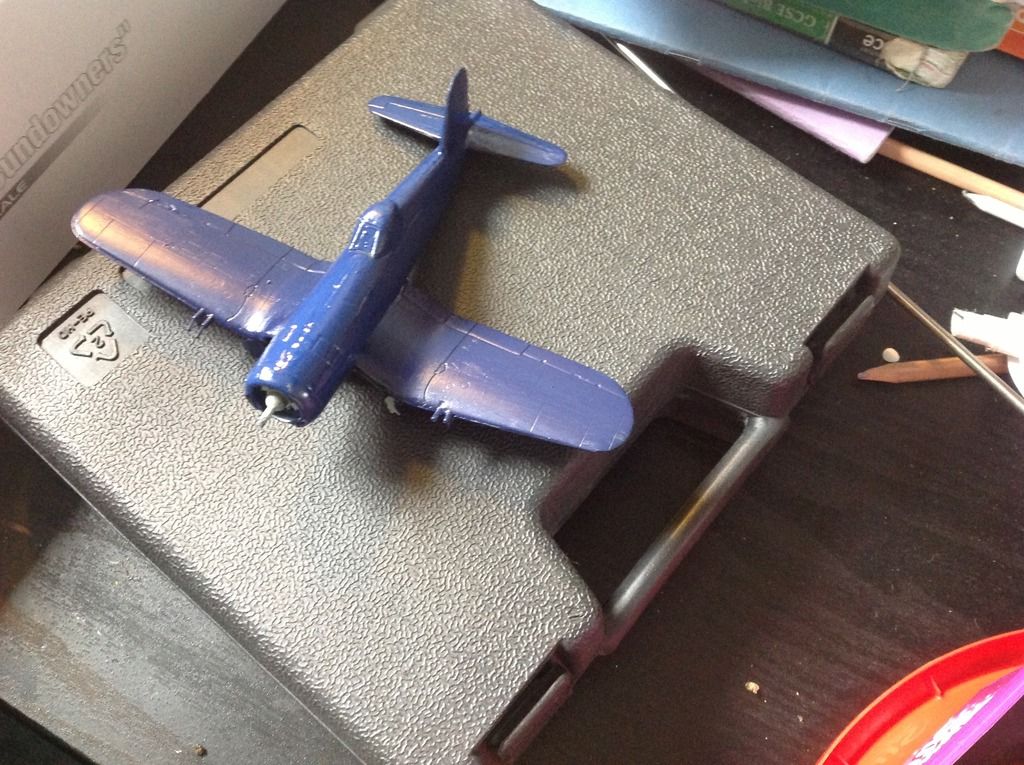
I decided to paint the corsair by brush because it would not be seen as it was covered by snow. I used revell Lufthansa blue and humbrol cockpit green for the wheel wells and life colour tire black for the the landing gear and tires
For the tank I used vma us dark green that was highlighted with a mix of the base and white.
I made a wash by putting black in the gaps and then dissolving it with thinner

I then removed most of it with a cloth to create an effect
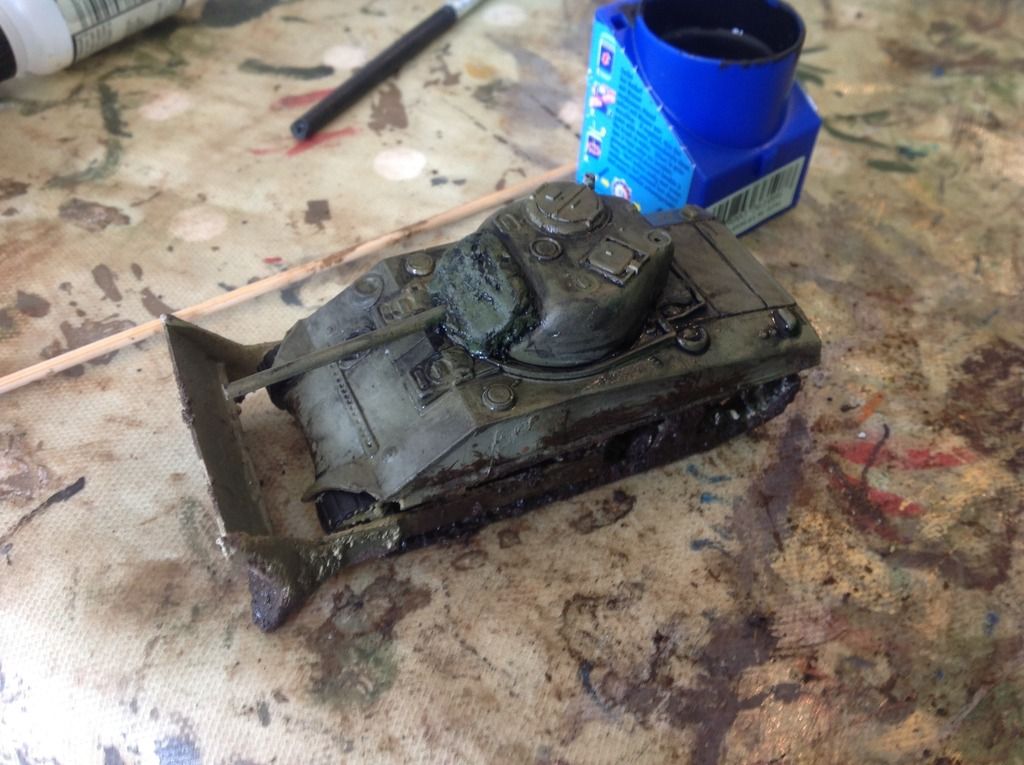
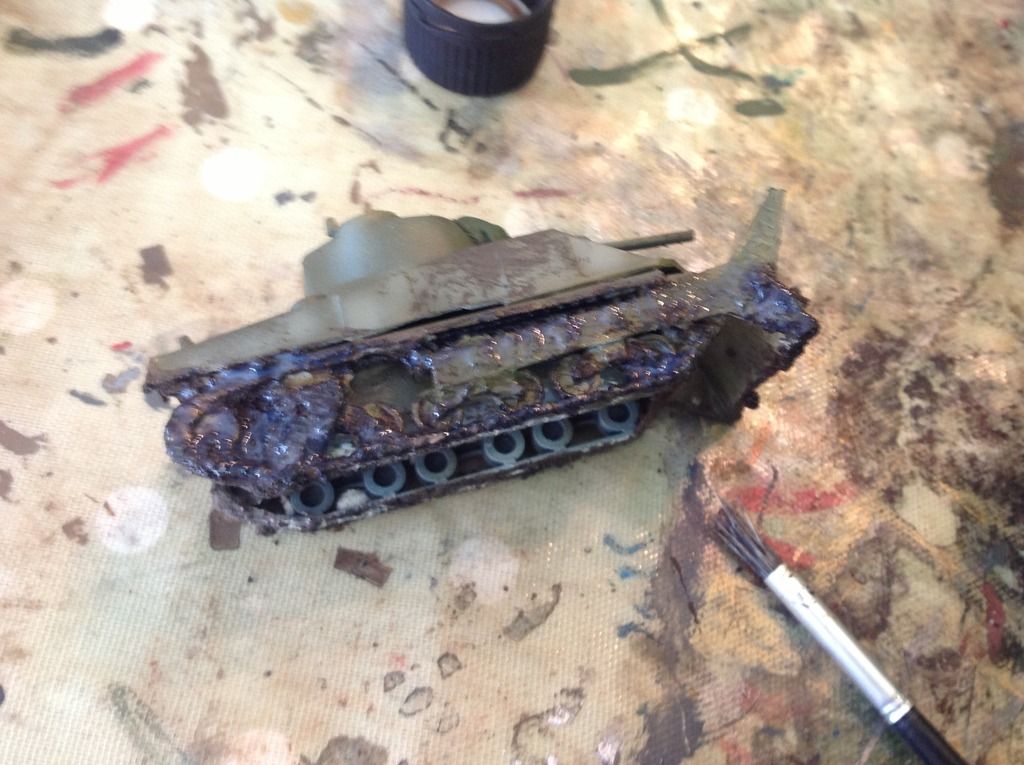
I then added gloss varnish and pigments as well as the original mix mixture to the tracks and dozer
Re: Revell 1/72 f4u-5 Korean War diorama
Posted: Sun May 03, 2015 4:28 pm
by Joemodelling14
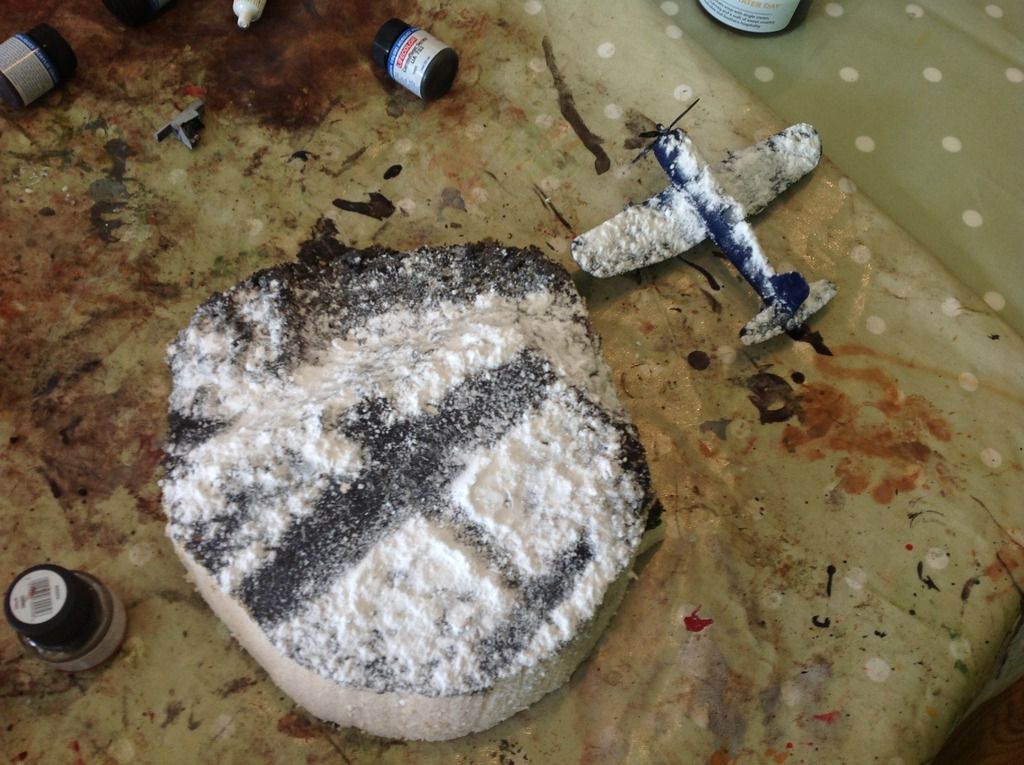
I positioned the corsair where i wanted it and then sprayed from 90 degrees halfords clear laquer and the sprinkled bicarbonate of soda over the top

I then sprayed a top coat, to seal it, because I put the corsair there, it looks like there is little snow underneath it