Page 1 of 1
Supermarine Spitfire Mk1b
Posted: Wed May 27, 2015 7:59 pm
by newpapajack
Hi guys,
Haven't done a build thread before so thought I try one. Few weeks ago I bought this:
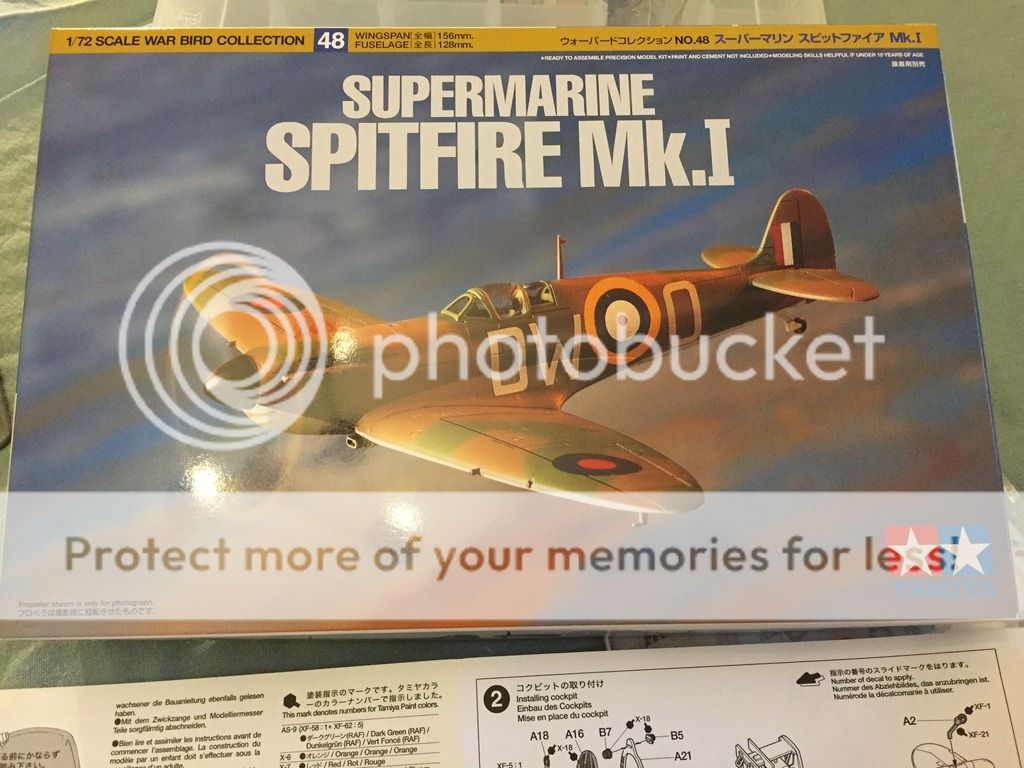
Going to do the alternate scheme of 'QJ-B' in 92 Squadron, 1940.
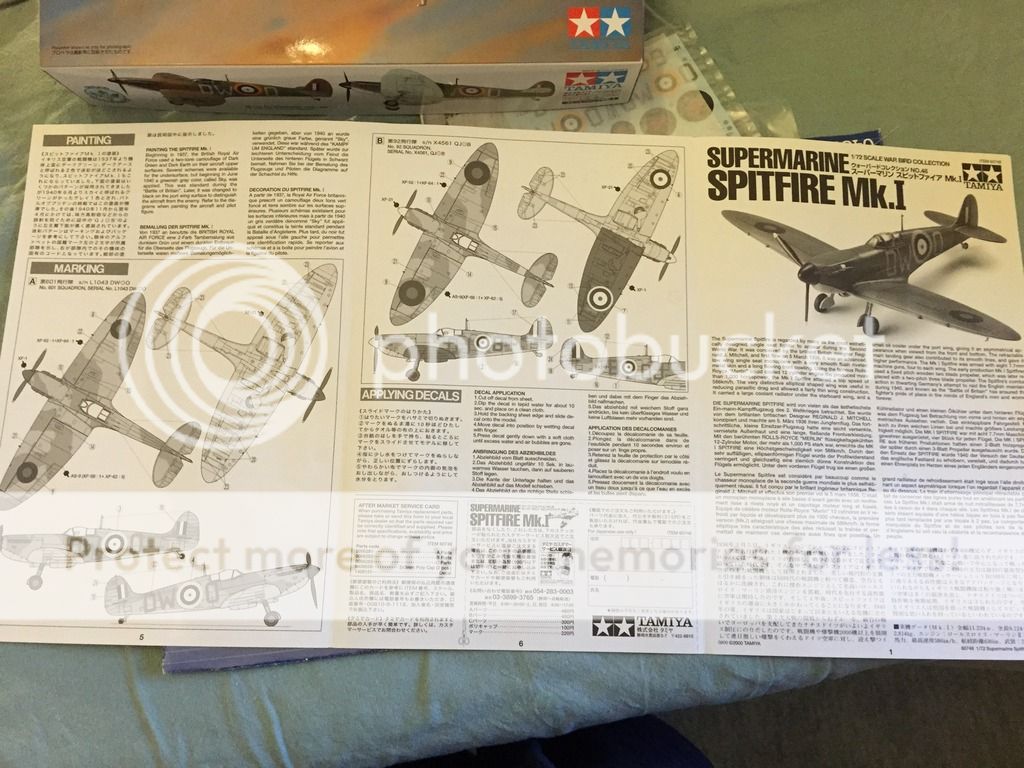
Also bought an Eduard Zoom photoetch set as not tried it before. Will see how it goes.
Re: Supermarine Spitfire Mk.1
Posted: Wed May 27, 2015 8:13 pm
by newpapajack
Re: Supermarine Spitfire Mk.1
Posted: Wed May 27, 2015 9:50 pm
by ManCupboardModels
Looking gooood!
Re: Supermarine Spitfire Mk.1
Posted: Wed May 27, 2015 10:00 pm
by newpapajack
Re: Supermarine Spitfire Mk.1
Posted: Wed May 27, 2015 10:07 pm
by Willem
Looking very tasty. Lovely details for that scale.

Re: Supermarine Spitfire Mk.1
Posted: Thu May 28, 2015 8:36 am
by e4rly1982
Looks good, I'll be following along.
Re: Supermarine Spitfire Mk.1
Posted: Wed Jun 03, 2015 5:37 pm
by Nige201980
Great work on the cockpit mate love the detail in there.
Re: Supermarine Spitfire Mk.1
Posted: Wed Jun 03, 2015 9:16 pm
by trekfanj
Great work so far, Jack!

Re: Supermarine Spitfire Mk.1
Posted: Thu Jun 04, 2015 10:50 pm
by newpapajack
Re: Supermarine Spitfire Mk.1
Posted: Sun Jun 07, 2015 6:50 pm
by patrickroos
Fantastic work on the cockpit, hard to believe its 1/72!!!

Re: Supermarine Spitfire Mk.1
Posted: Sun Jun 07, 2015 8:54 pm
by Joesdad
Lovely work Jack

I did this kit a couple of years back, it's a lovely kit.
That cockpit's great btw....
Re: Supermarine Spitfire Mk.1
Posted: Wed Dec 16, 2015 7:41 pm
by newpapajack
Thought i'd do another update on the spitfire and run through to the finish seeing as its now finished.
Finished the building part ages ago - i replaced the guns with brass rod, fitted the exterior photo etch bits, cut off the centre section of the main canopy section so i could display it open, and built up the under carriage, prop etc. Unfortunately i don't have many pictures of this bit.
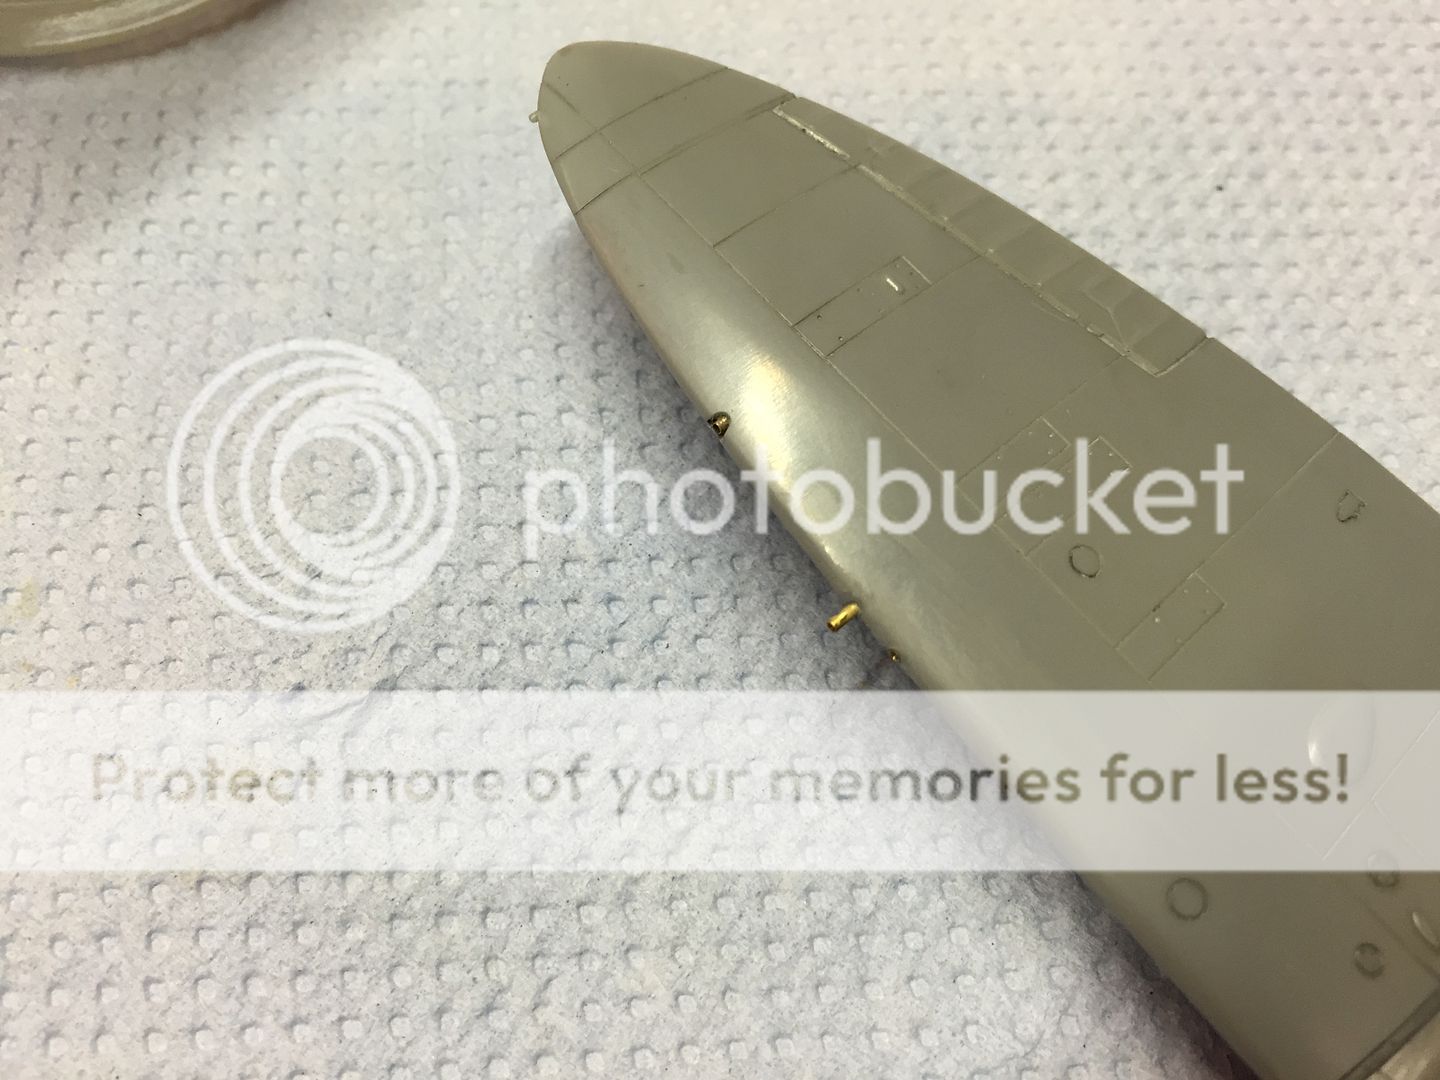
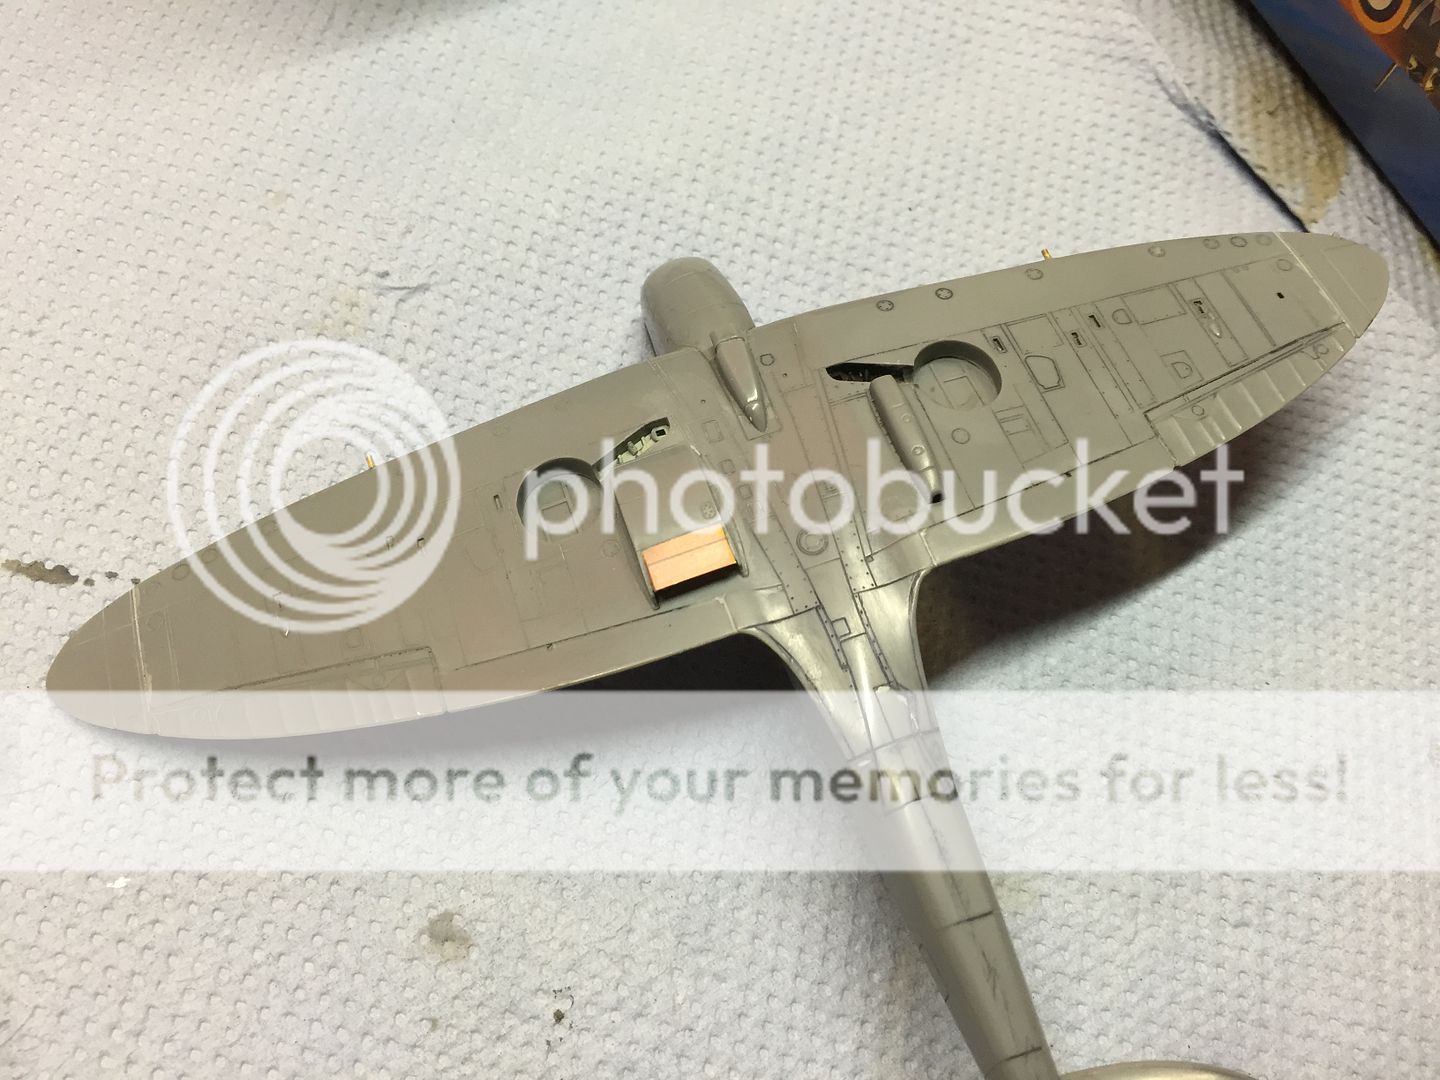
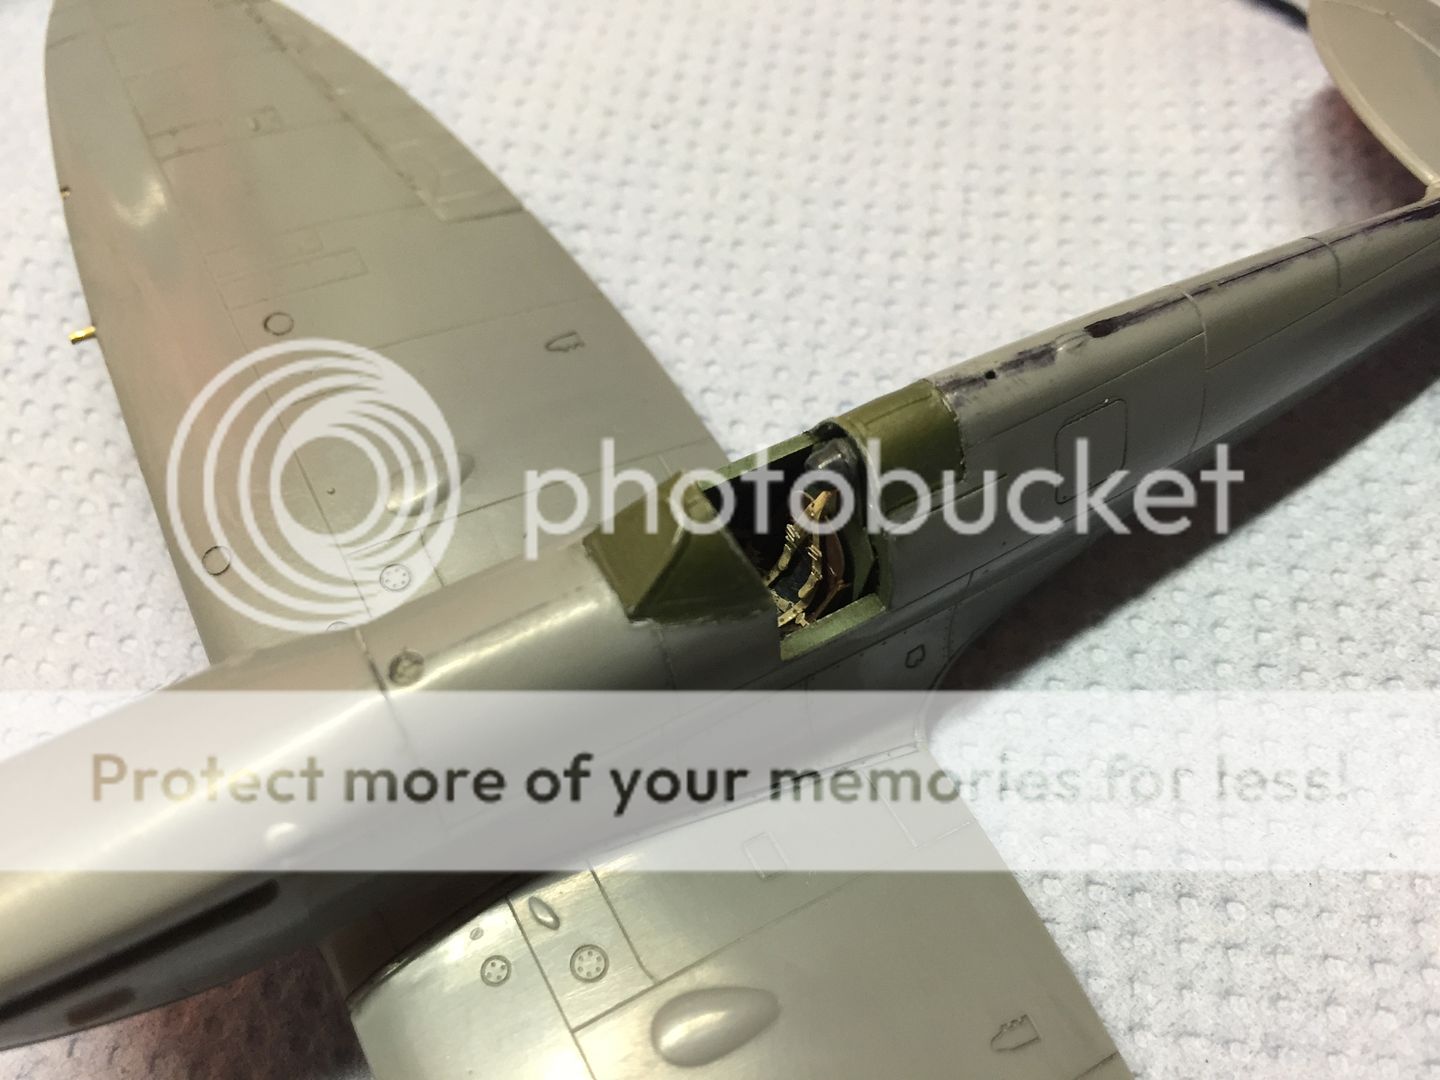
Did a little fine tuning with Mr.Surfacer, primed and started painting. This is where it all went wrong...

Re: Supermarine Spitfire Mk.1
Posted: Wed Dec 16, 2015 8:10 pm
by newpapajack
First try - primed beautifully and pre-shading all great. I decided to use vallejo model air's for this one and their recommend RAF colours. Painted the underside no problems, lovely. Laid down the green, went waay too heavy and lost the pre-shading. Nevermind, masked off anyway, i even made my own tape masks.
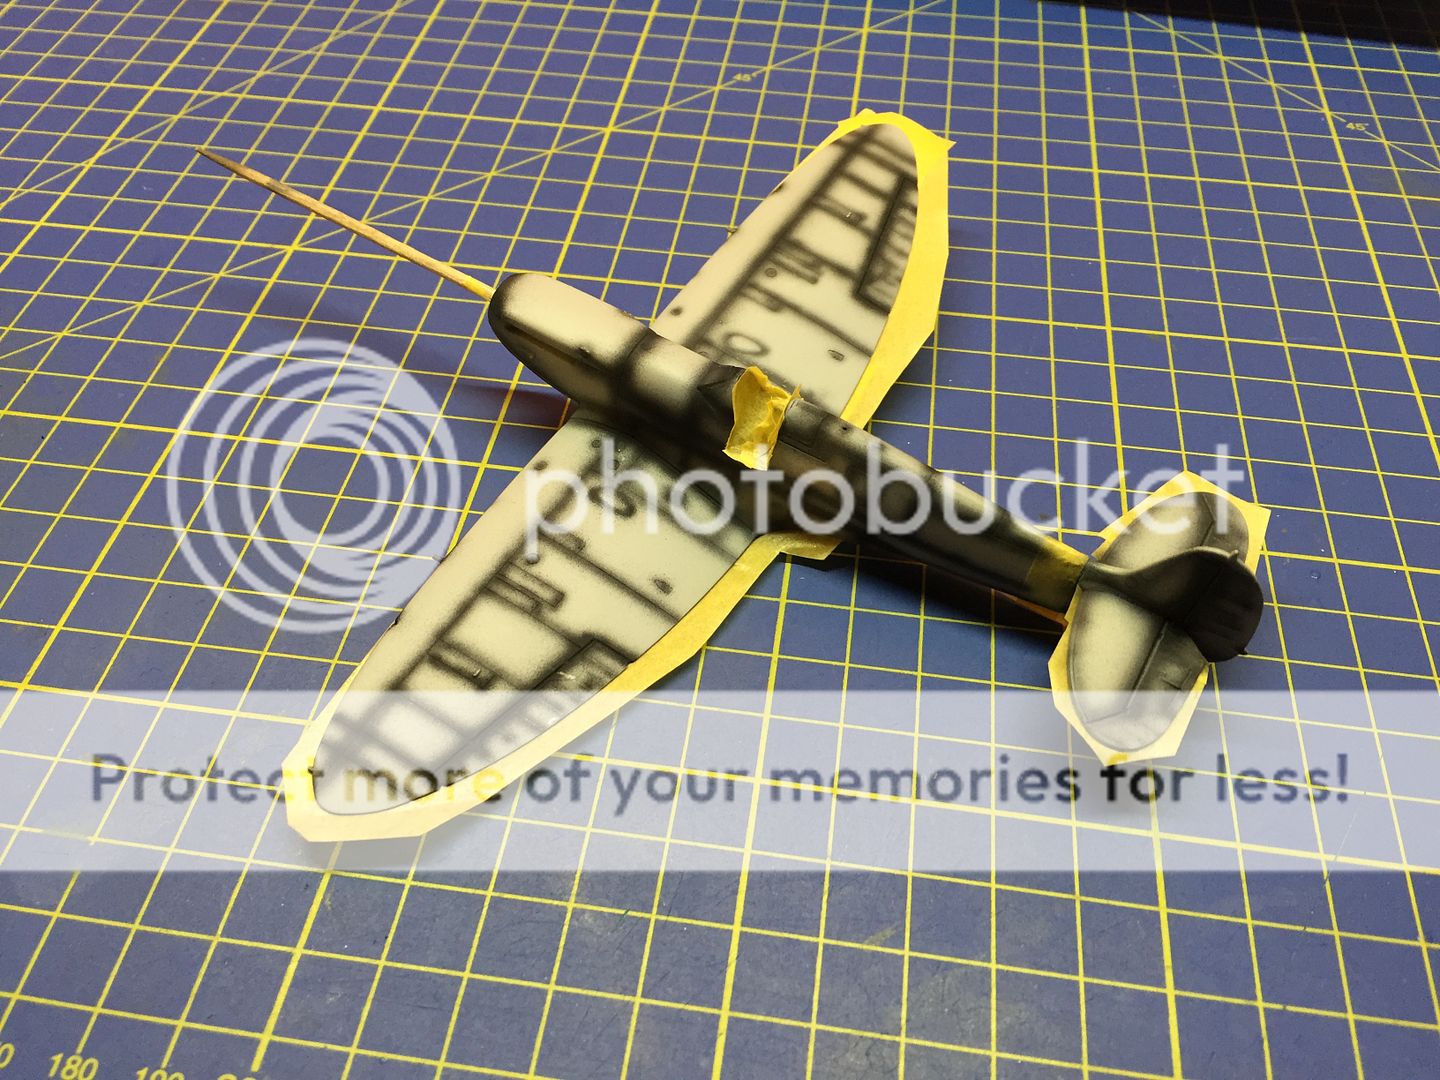
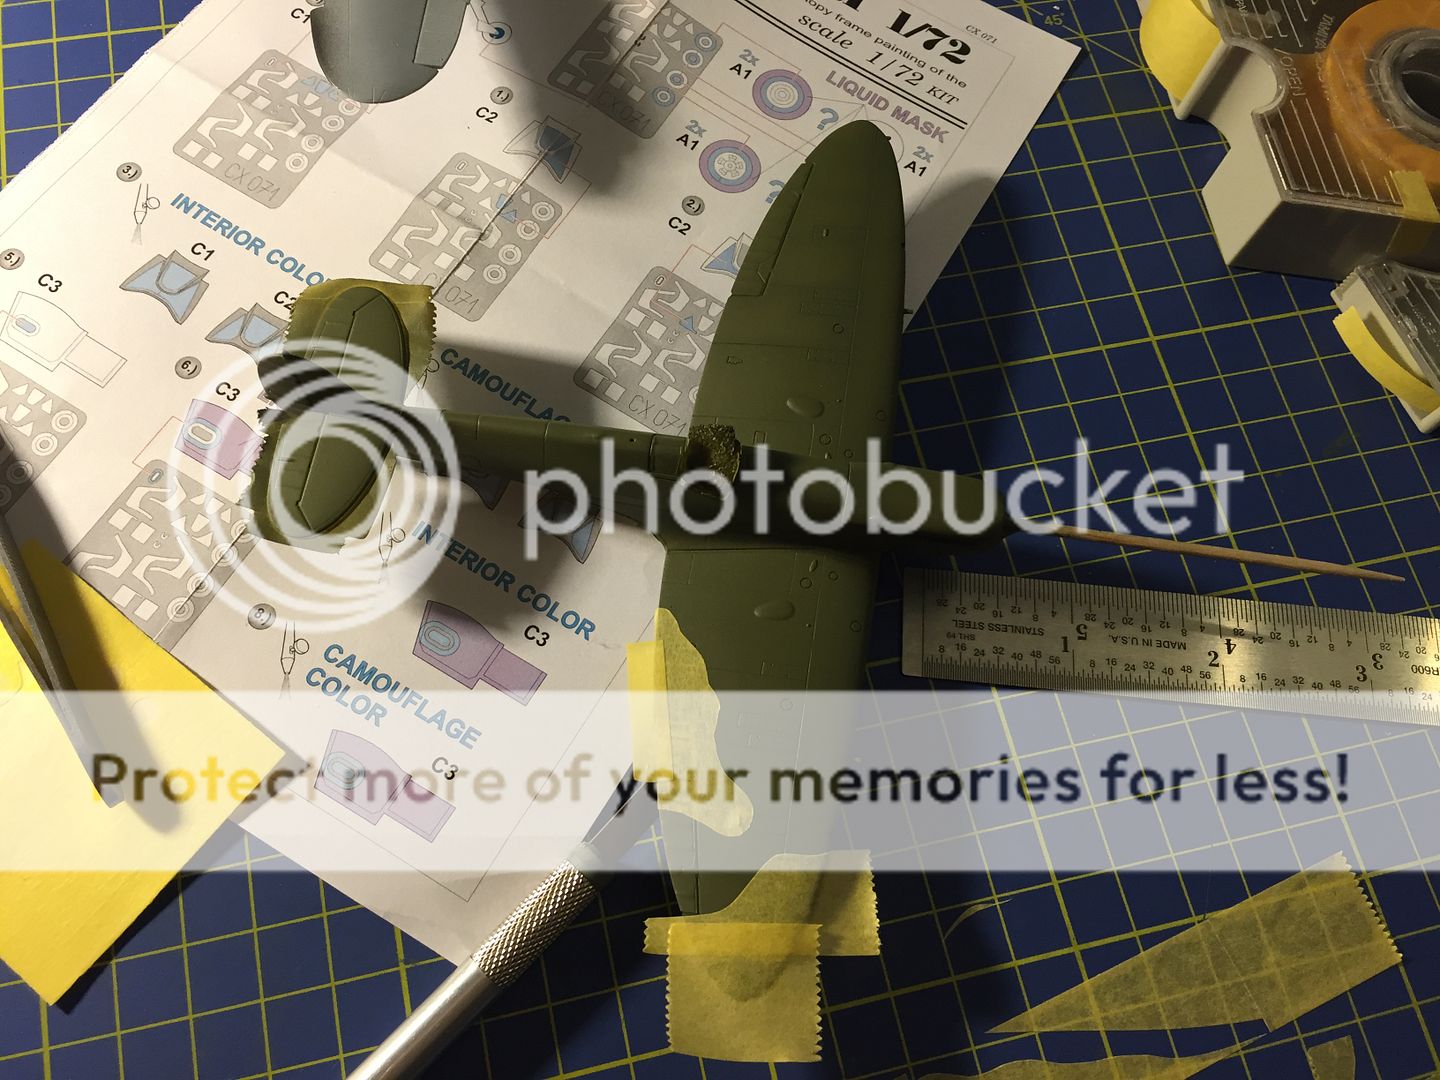
No more pics from then on but basically the brown went down waay to thick also and i had a massive step where the masking was. Also i have to say the recommended Vallejo colours were miles off mark, i even had to go back and double check the numbers. So i had a bad paint job with bad colours.
Experimented taking the paint off and ended up using Mr.Color Levelling thinner. Rubbed away gently with cotton buds and paper towels and took it back to plastic very nicely.
Second try i splurged the primer and scratched it purely from not being careful enough, stripped it back again. Undeterred i tried again, again.
Third try - took more time and sprayed a light coat of primer, pre-shaded roughly and sorted the underside again using vallejo's 'Sky', as i liked it before. However for the camo i reverted back to humbrol's classic dark earth and green, i think these colours are pretty good. also reverted back to the white worm camo masking technique. easy.
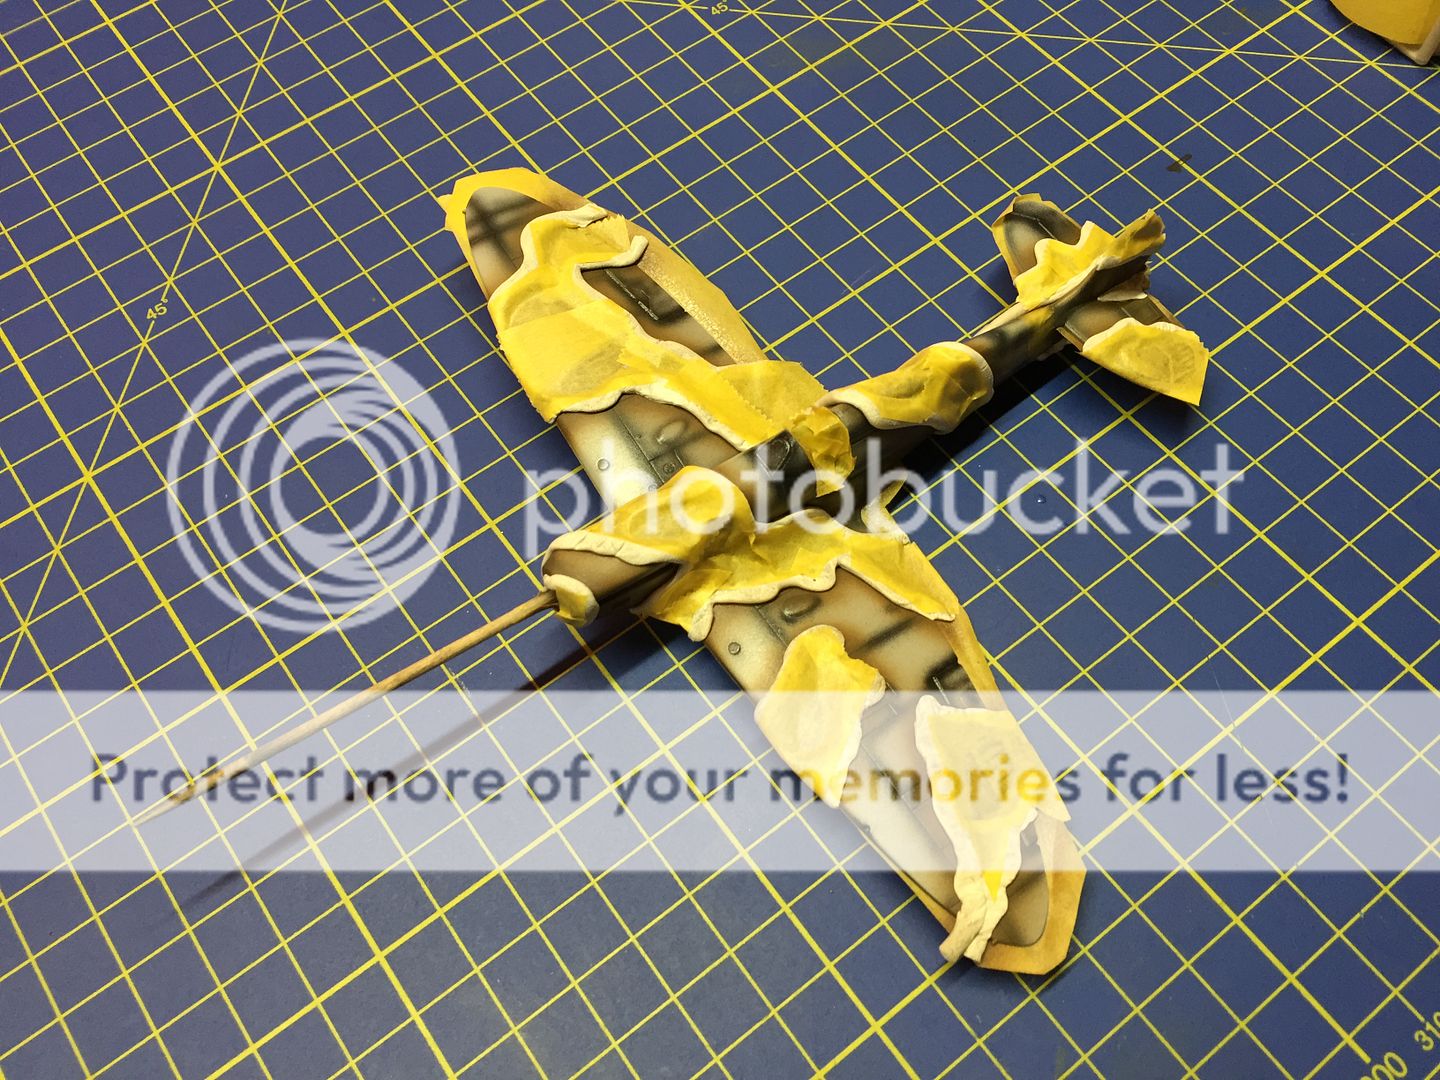
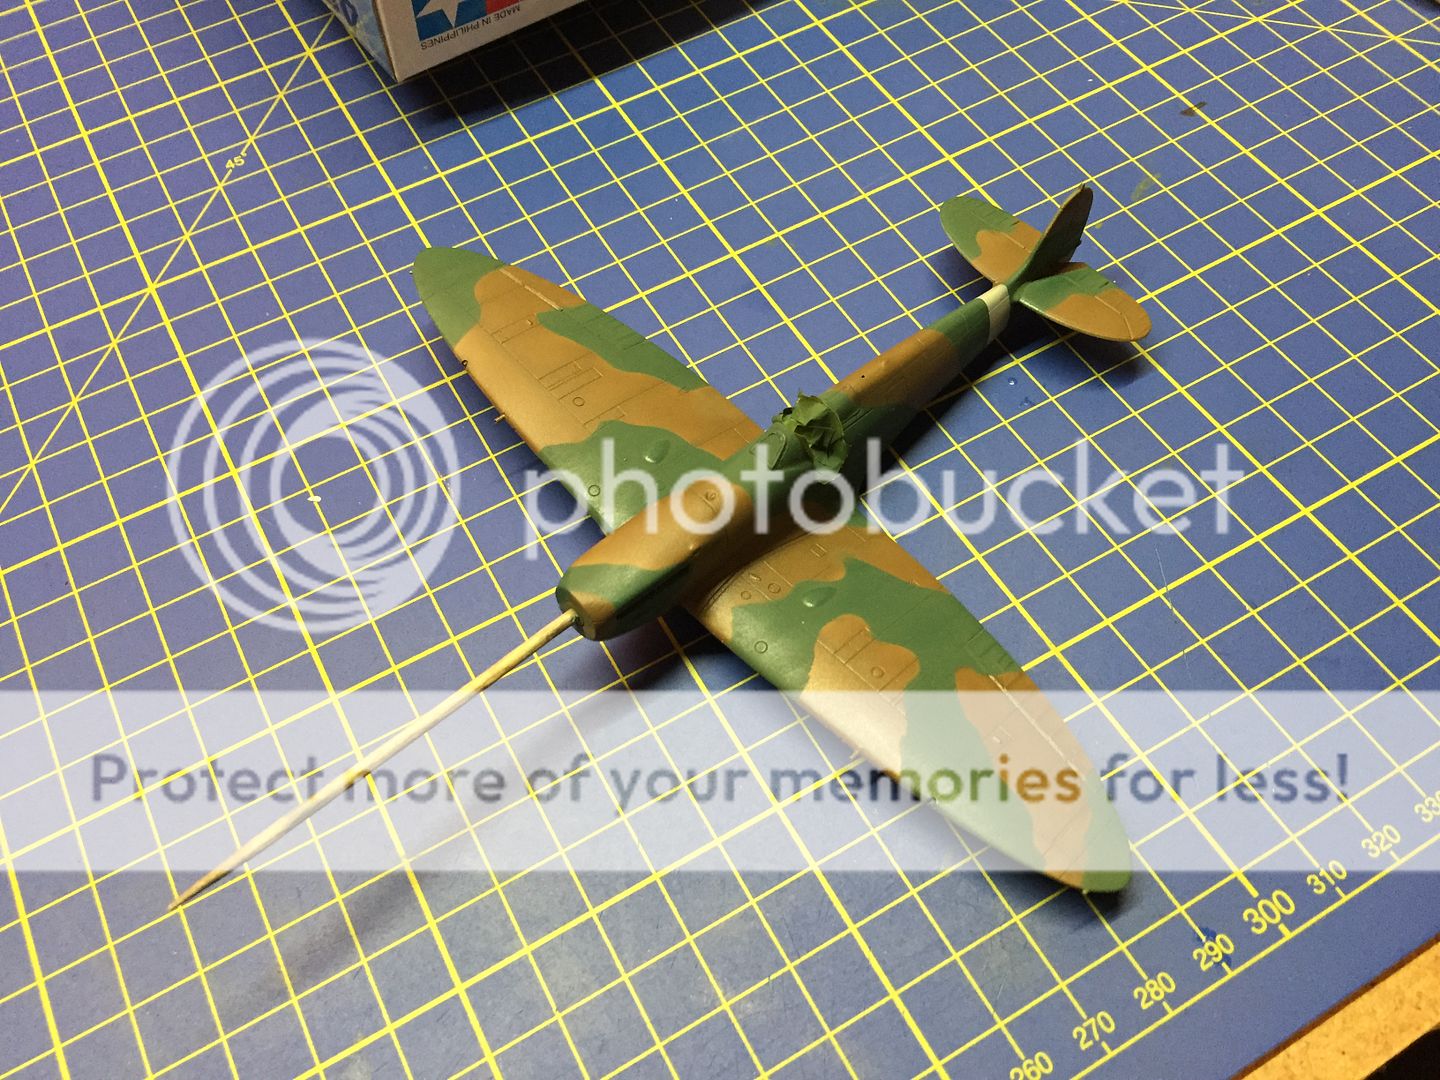
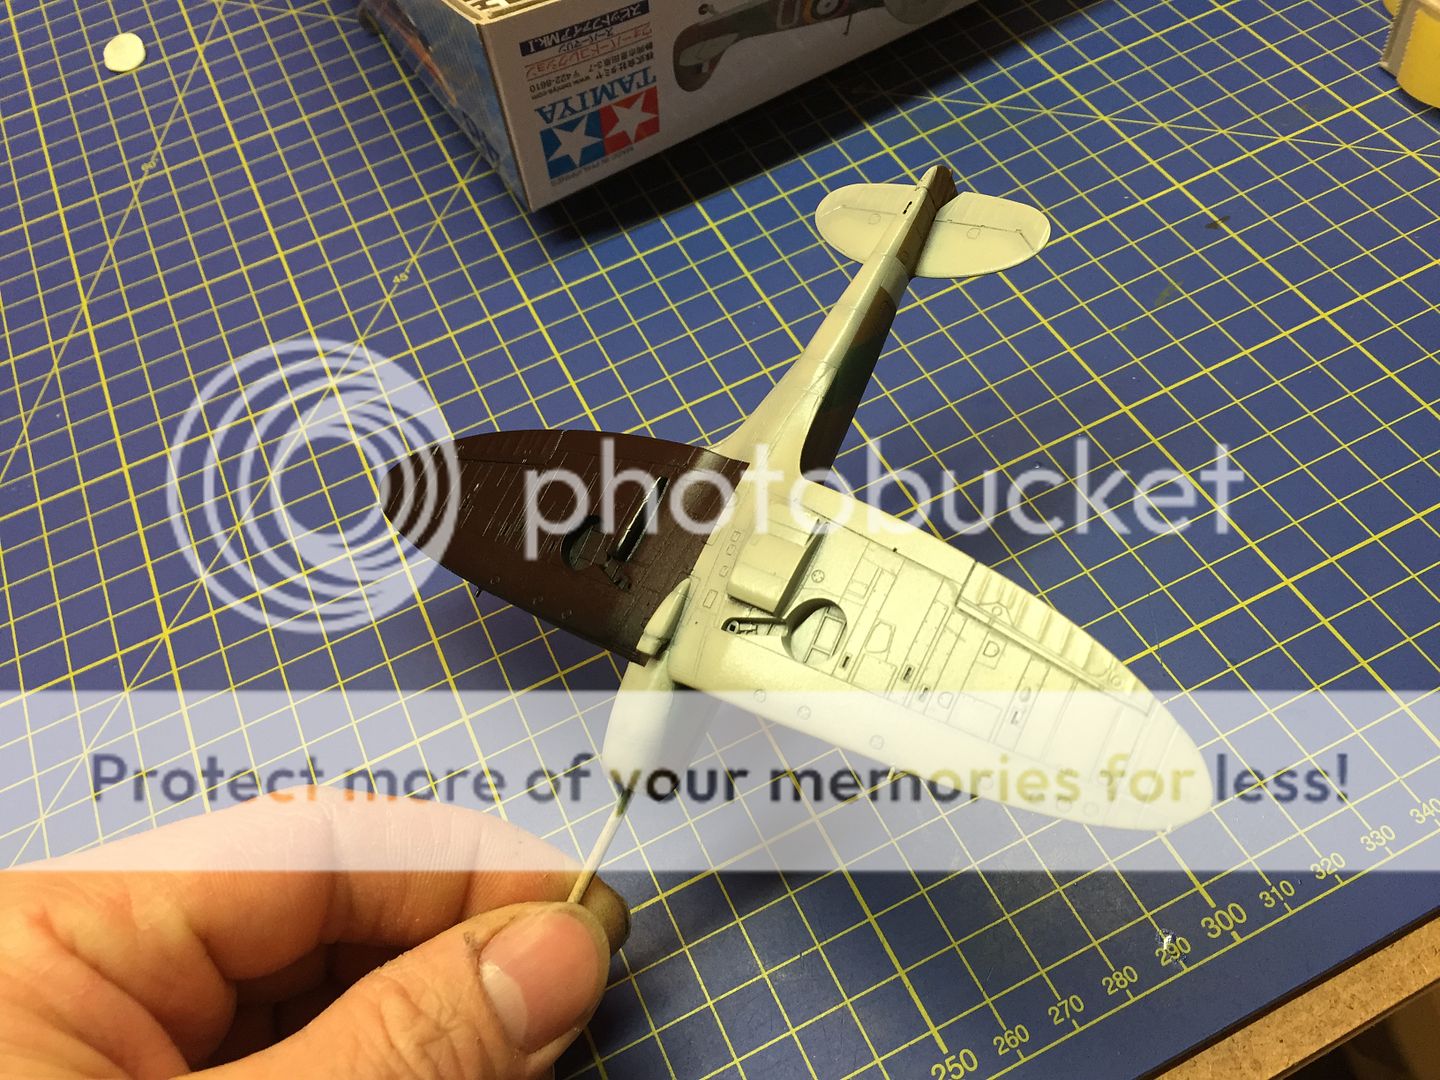
after a couple of little touch-ups and rub over the enamels to knock them back a bit and thin it all out, i Klear'd it to seal it all in. third time lucky

learned a LOT though through these mistakes so i wasn't completely mojo-less afterwards.
Re: Supermarine Spitfire Mk.1
Posted: Wed Dec 16, 2015 9:17 pm
by newpapajack
Gloss coated and decal'd. I ended up rubbing down the gloss coat and applying another few coats to get a super smooth finish.
Decided in the end to not use the Tamiya decals as they looked very thick. I bought a Techmod decal sheet with another aircraft of 92 squadron, QJ-F, so would have flown alongside my original idea of QJ-B. These decals from Techmod were difficult to apply to say the least, incredibly thin and very easily folded up, after they'd folded they were impossible to separate. Fortunately the ones that went bad were replaceable so no worries. Didn't even need Microsol at all and to be honest probably didn't need even Microset. Lovely clarity, great colours and nicely opaque though.
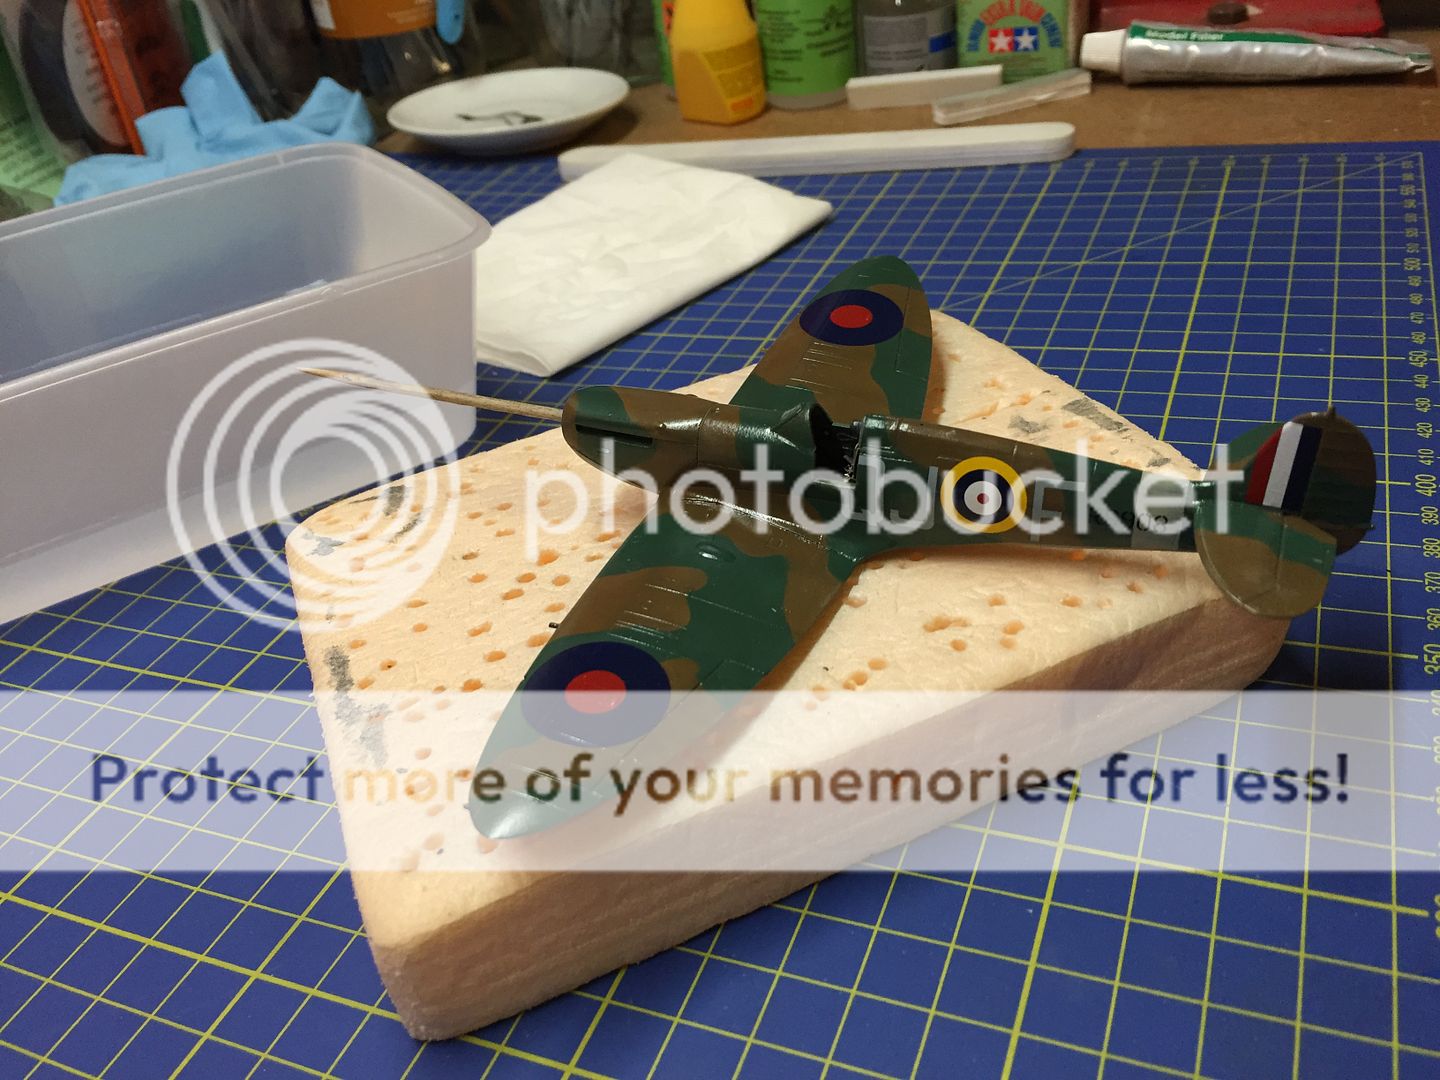
Sealed all in with a good 2 coats of Humbrol's Satin Cote. This stuff is superb. Perfectly smooth finish and great to apply. Nicer than Alclad's Matte Kote in my opinion.
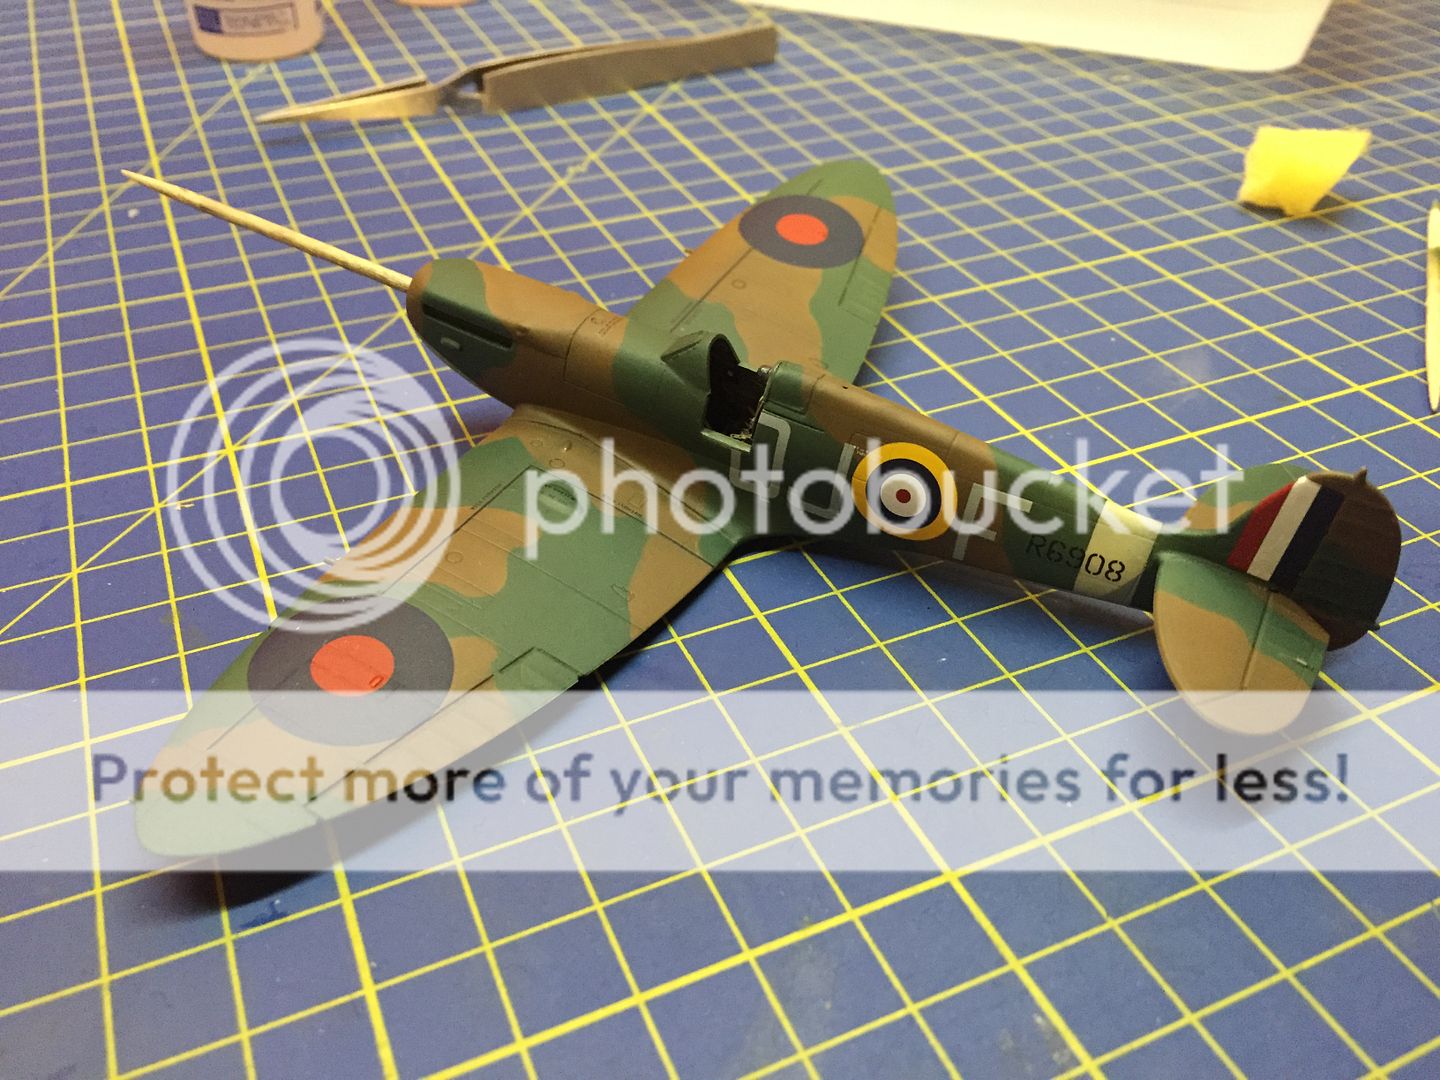
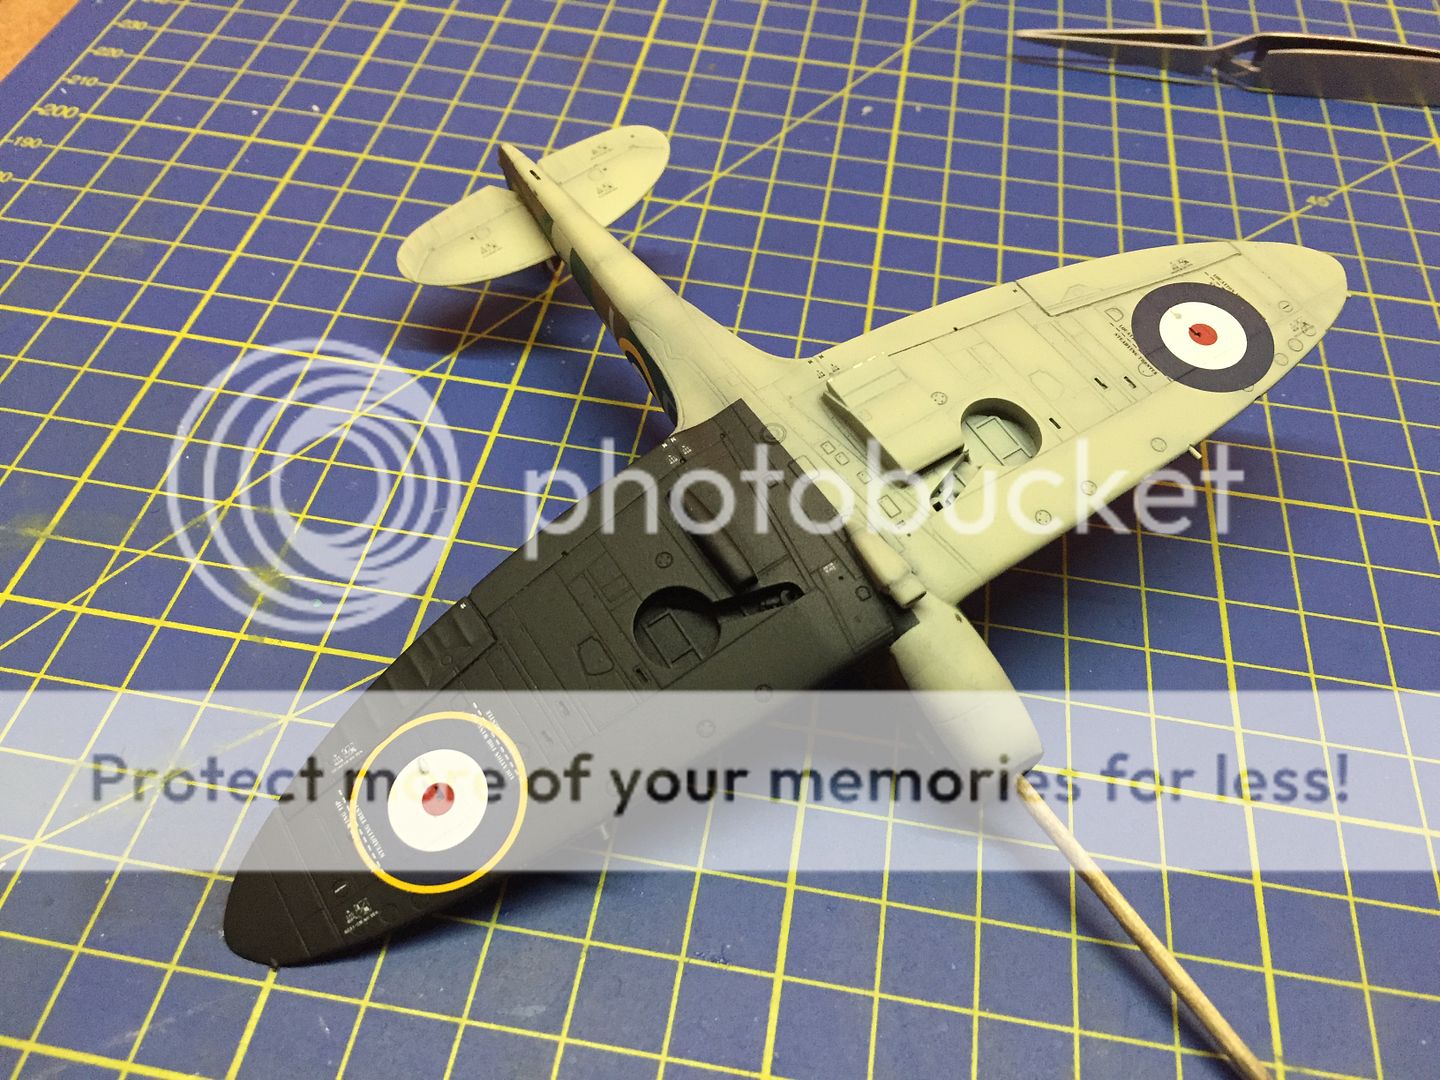
Then onto the first stage of weathering -
Dark dirt wash on top and light dirt mixed with concrete for the black underside.
Next a selection of Ultimate washes left out to dry up completely, what remains is a superfine powder i use as pigments - a tip picked up from Making Models Again man Gary. Thanks Gary
Using a chopped brush i gently rubbed the pigments into the panels, highlighting centres and darkening along the lines. Its a very subtle effect built up with a few passes. The effect change is almost invisible until you compare the before and after.
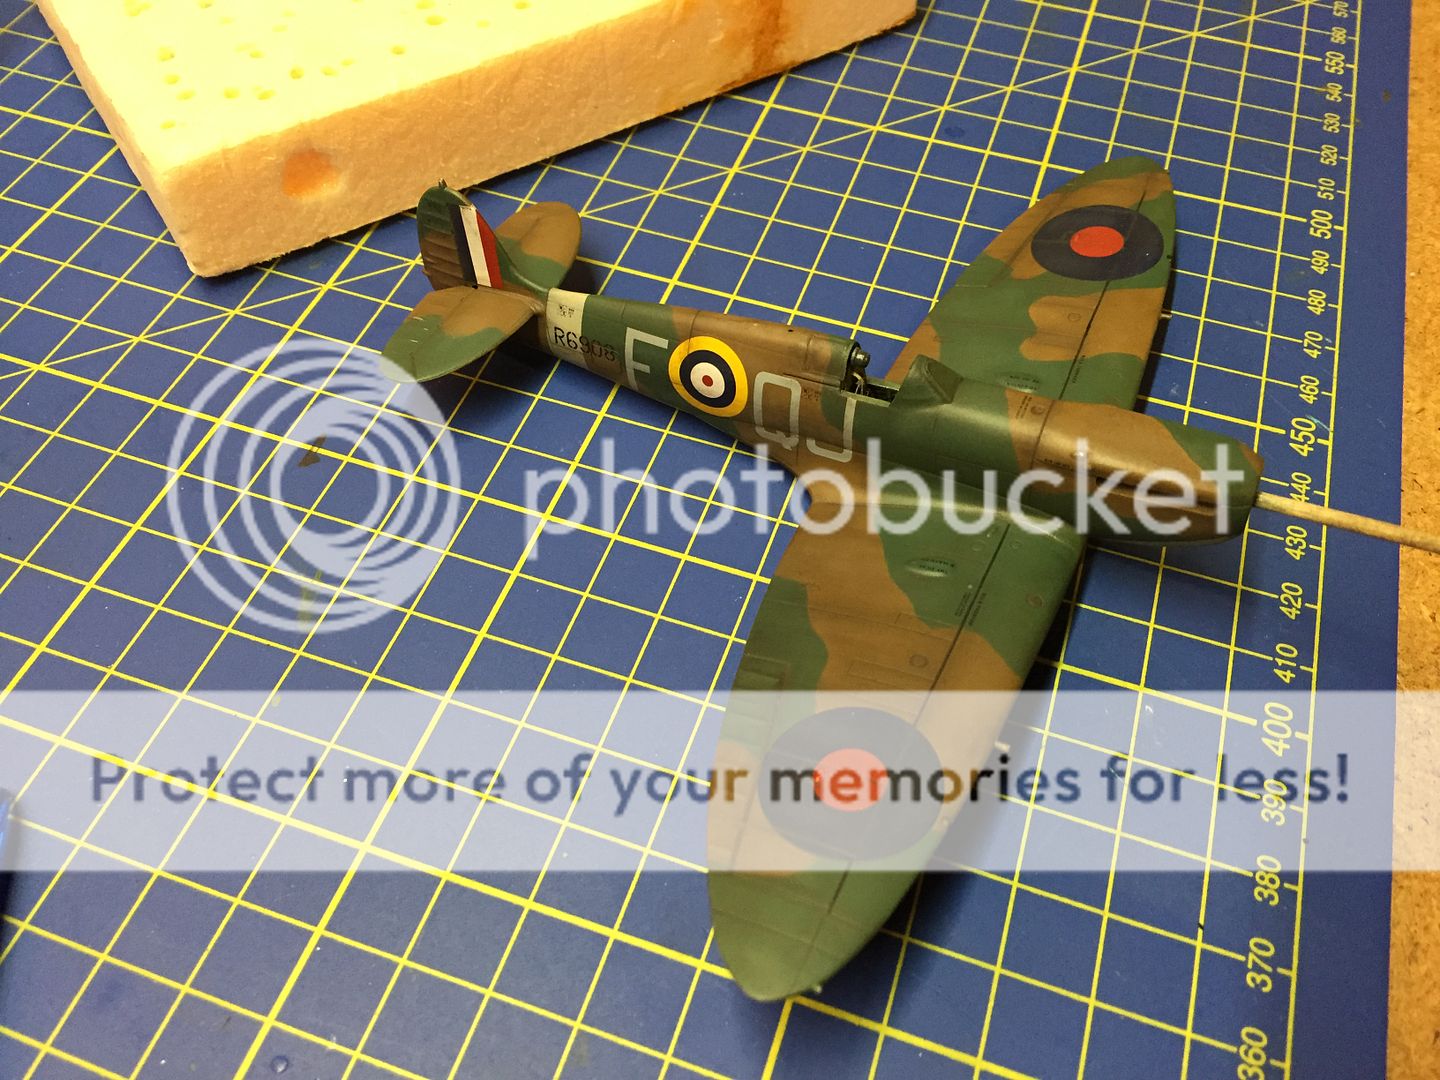
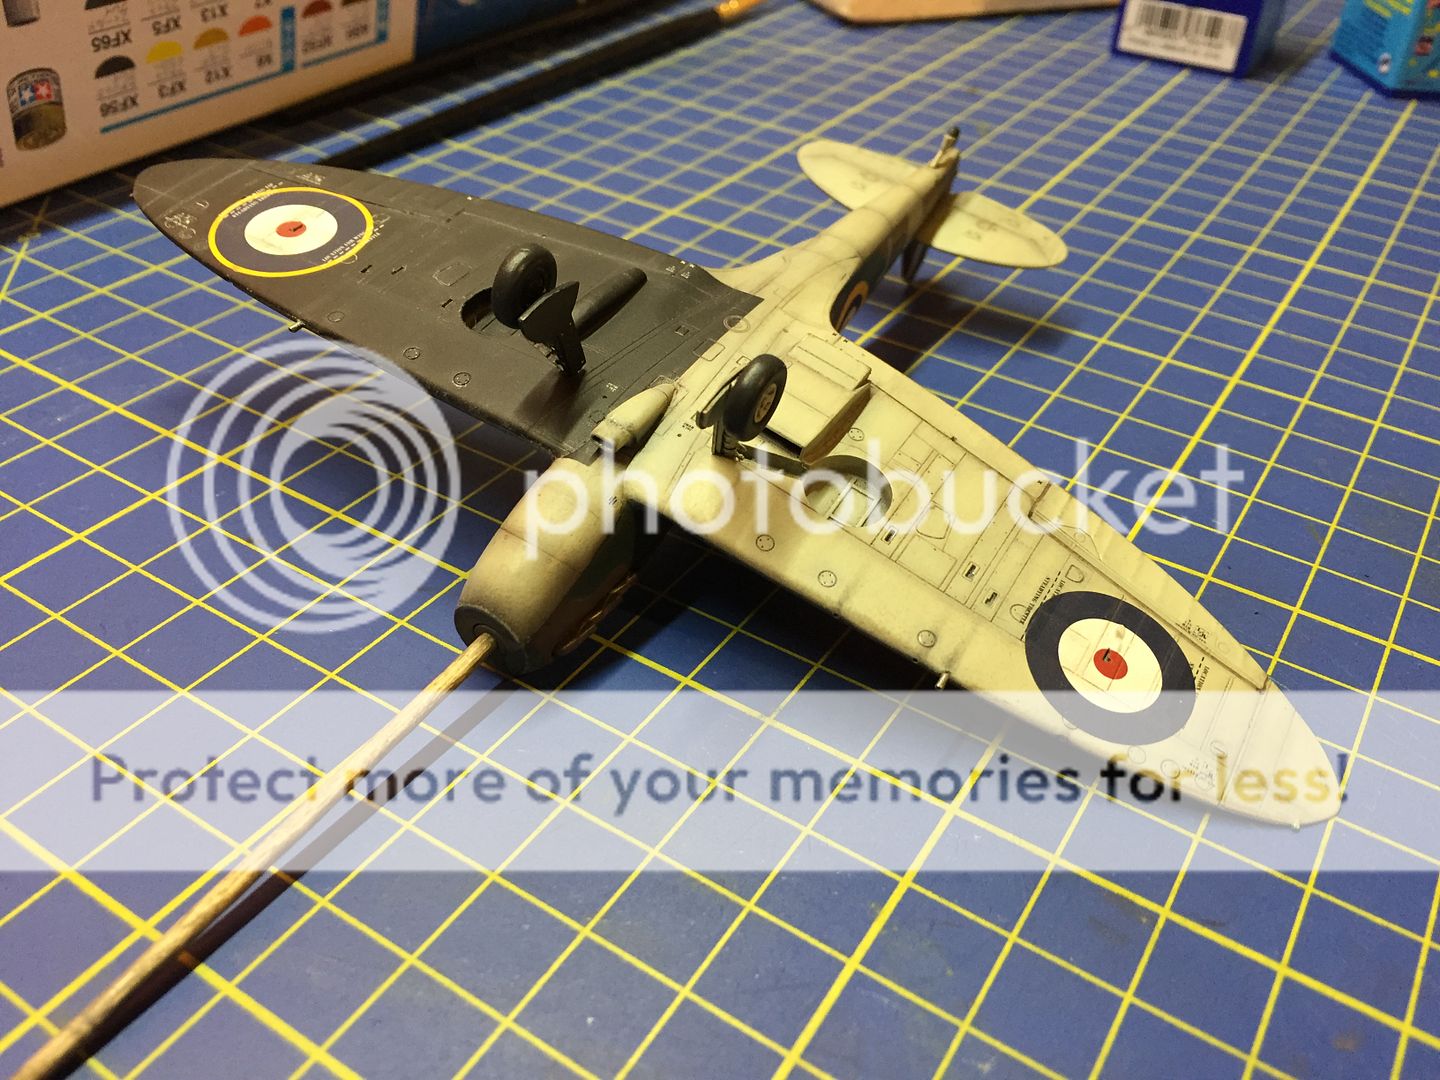
Tweaked around a bit more, added light staining around fuel caps, radiator, hatches etc, bit of light chipping, gun and exhaust stains, unmasked the canopy , added the antenna wire, fitted all the other bits n whatnot, and i'm done!
Finished article here:
http://intscalemodeller.com/viewtopic.php?f=45&t=15717
Re: Supermarine Spitfire Mk1b
Posted: Thu Dec 17, 2015 12:31 am
by Twokidsnosleep
Looking very good indeed
I had to look up the black underside wing paint scheme as not seen that before
It is at the top of this page, apparently for antiaircraft recognition
http://freespace.virgin.net/john.dell/spitmark.htm
Re: Supermarine Spitfire Mk1b
Posted: Thu Dec 17, 2015 9:31 pm
by newpapajack
Interesting, thanks for that Scott


 and sorted the cockpit door/hatch.


