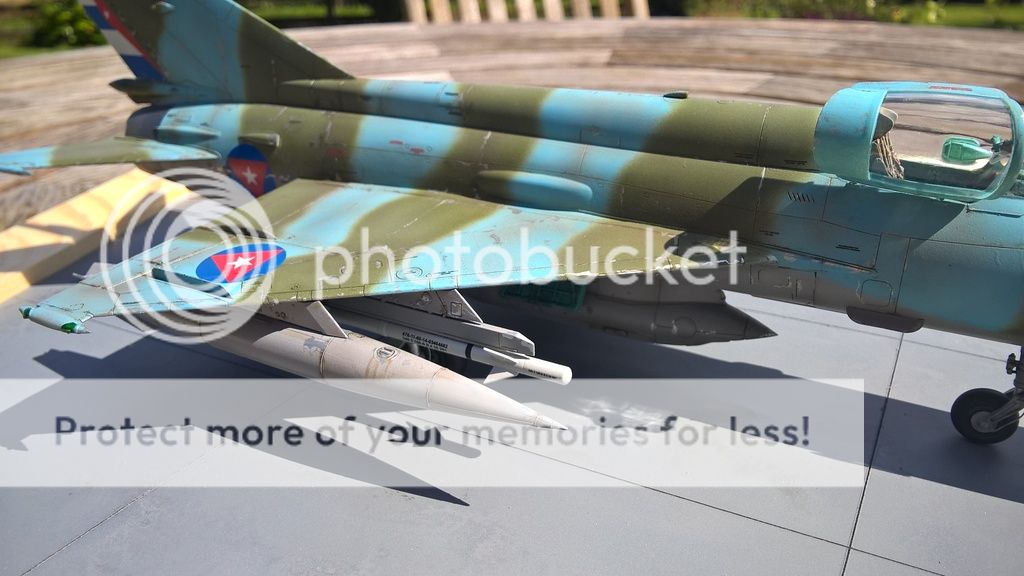
Page 1 of 1
Eduard 1/48 MiG-21R
Posted: Sun Jul 05, 2015 3:59 pm
by Ads24
Hi guys, been looking forward to this sig as it gives me a chance to build Eduard's MiG 21 kit. I've done the PFM variant before and the kit was fantastic, so things should be similar with the R (reconnaissance) version, especially when I picked it up for around just £20!
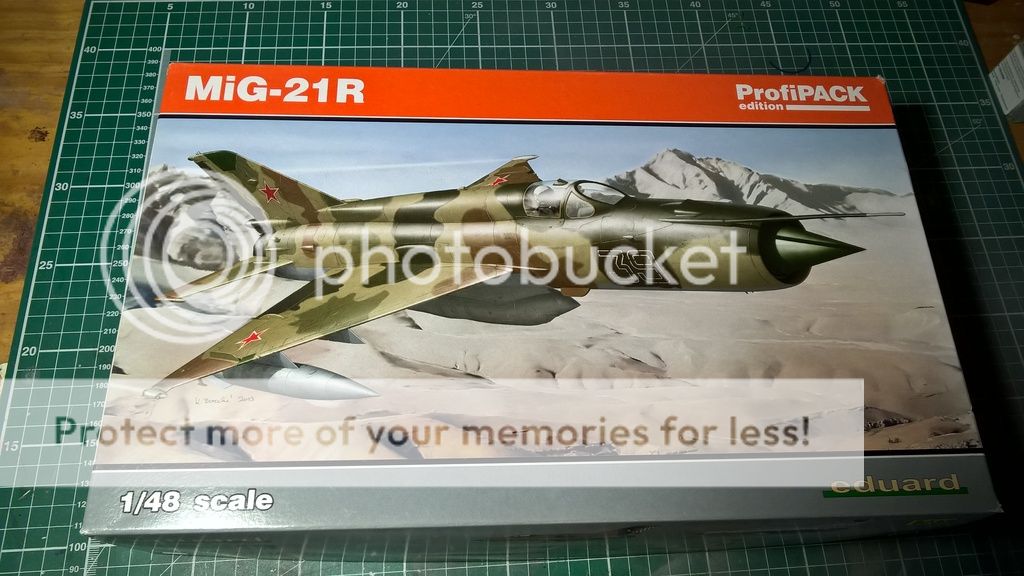
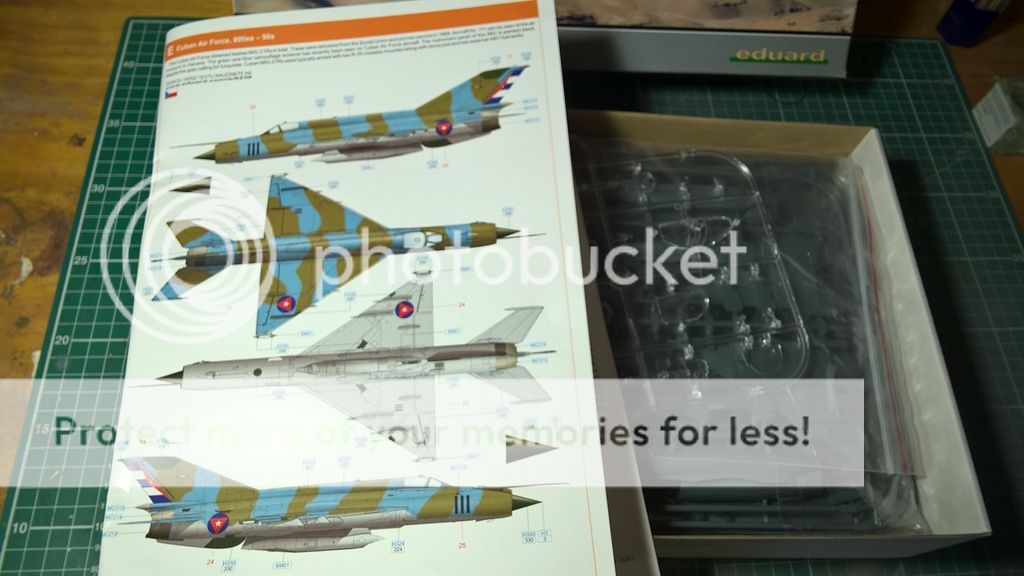
You're really spoiled for choice with markings on the MiG, but I've decided on this Cuban scheme.
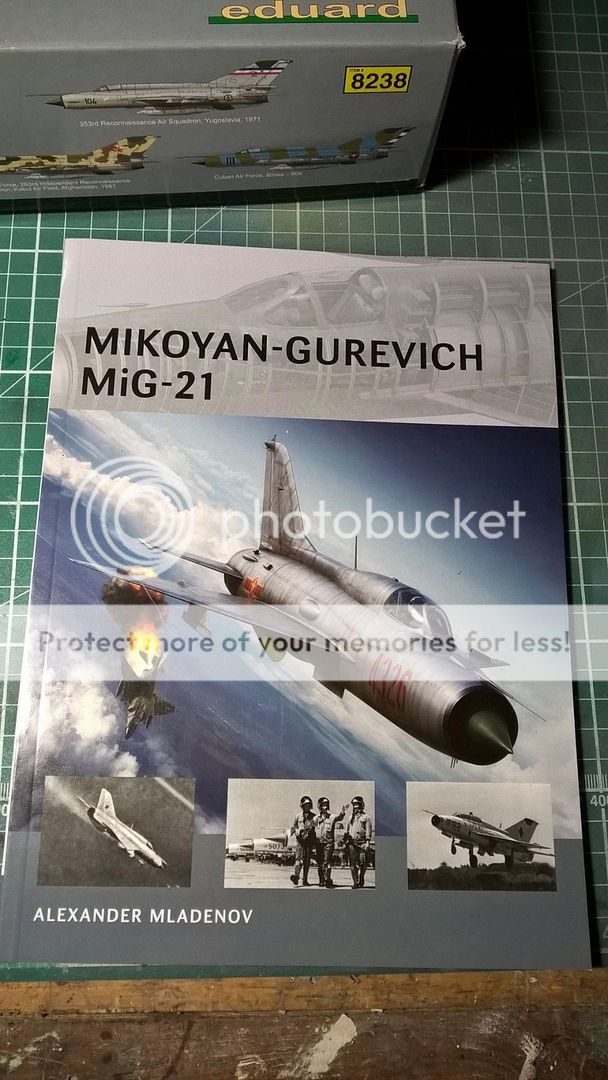
While internet references are great, I think it's sometimes nice to have a book to really explore the subject. I'll be using this really excellent one by Alexander Mladenov.
Looking forward to getting started and updating you all soon...
Re: Eduard 1/48 MiG 21-R
Posted: Sun Jul 05, 2015 8:12 pm
by martin57
NICE subject hope it goes ok for you .

Re: Eduard 1/48 MiG 21-R
Posted: Tue Jul 07, 2015 12:07 am
by Ads24
martin57 wrote:NICE subject hope it goes ok for you .
Thanks
I really like the look of this sig - so many really cool and varied subjects.
Re: Eduard 1/48 MiG-21R
Posted: Tue Jul 07, 2015 8:25 am
by Goose
I'll follow you on this one, I've got exactly the same project ...for in hem...two years
Enjoy
goose
Re: Eduard 1/48 MiG-21R
Posted: Tue Jul 07, 2015 10:52 am
by Ads24
Goose wrote:I'll follow you on this one, I've got exactly the same project ...for in hem...two years
Two years! That's quite a backlog of projects!
Re: Eduard 1/48 MiG-21R
Posted: Tue Jul 07, 2015 11:01 am
by Ads24
I won't post to much history about the MiG-21 (you know where Wikipedia is!) but it is an amazing aircraft - almost 12,000 built, first flight in 1956 and still in service today having been used by 60 air forces.
What I would recommend is this documentary from the series 'Wings of the Red Star'. It's a bit dated, but I still really like it, and is narrated by Peter Ustinov who has the most fantastic voice!
[youtube]WedlI91iZG8[/youtube]
Re: Eduard 1/48 MiG-21R
Posted: Tue Jul 07, 2015 12:18 pm
by Willem
Really like the look of the colour scheme you've picked.
Good luck with your build mate.

Re: Eduard 1/48 MiG-21R
Posted: Tue Jul 07, 2015 1:59 pm
by Ads24
Willem wrote:Really like the look of the colour scheme you've picked.
Thanks
This is one of the worst things about Eduard kits - the ProfiPACK editions come with about 5 different markings, and I usually want to do all of them! As problems go, though, I can probably cope especially as the best solution is simple - buy more kits!
Re: Eduard 1/48 MiG-21R
Posted: Tue Jul 07, 2015 2:10 pm
by Ads24
Just a quick update here as I've made a start on some of the various sub-assemblies.
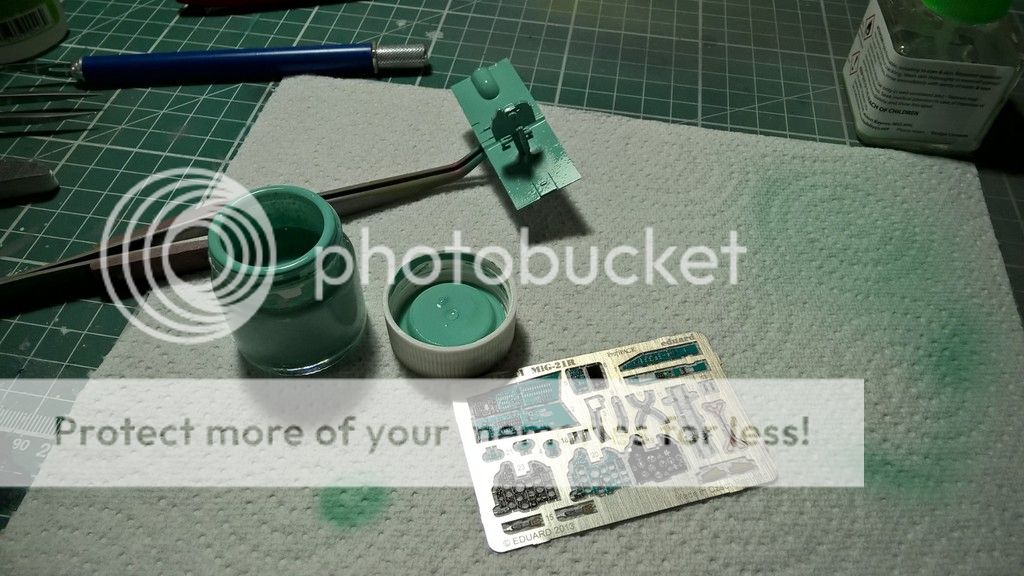
I started to paint the cockpit in the Soviet green-blue colour. This is one I have made myself using Vallejo model colour thinned down with Ultimate thinners so it's ready to spray. This is a really hard colour to match, and you can see it's not identical to the photo-etch colour. Apparently Hataka do this colour, but on eModels it is only part of a set, and the most accurate match is Akan, which I'd love to try but they seem hard to get hold of.
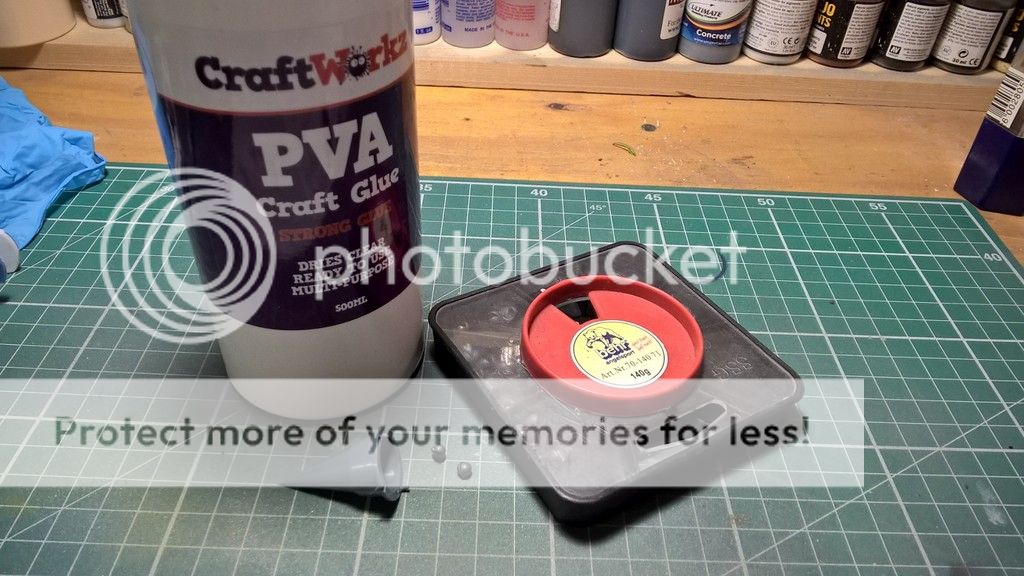
I weighted the nose with lead shot used for fishing and set with PVA glue to stop it being a tail sitter.
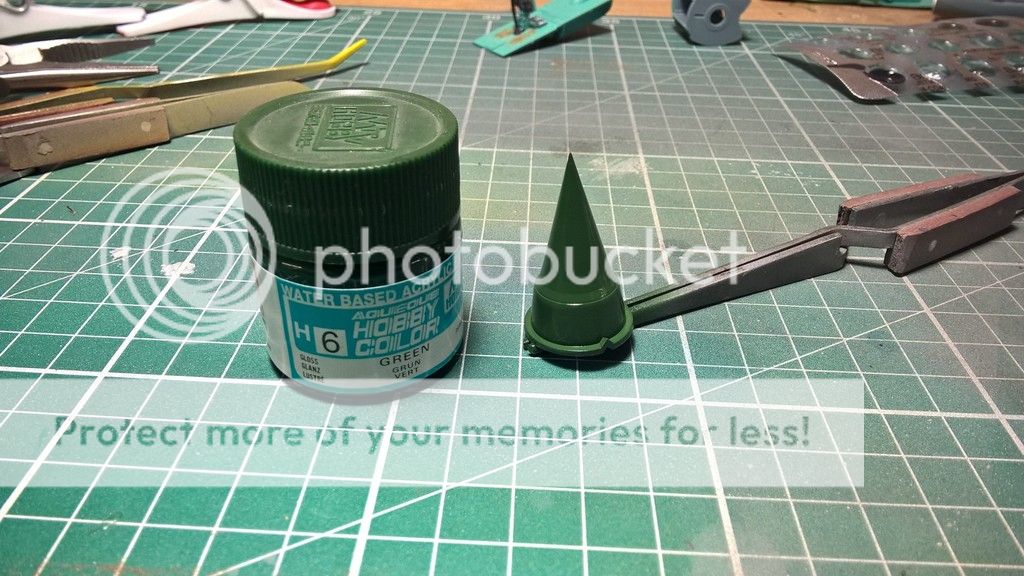
This was then painted up ready to be installed and masked before the rest of the painting.
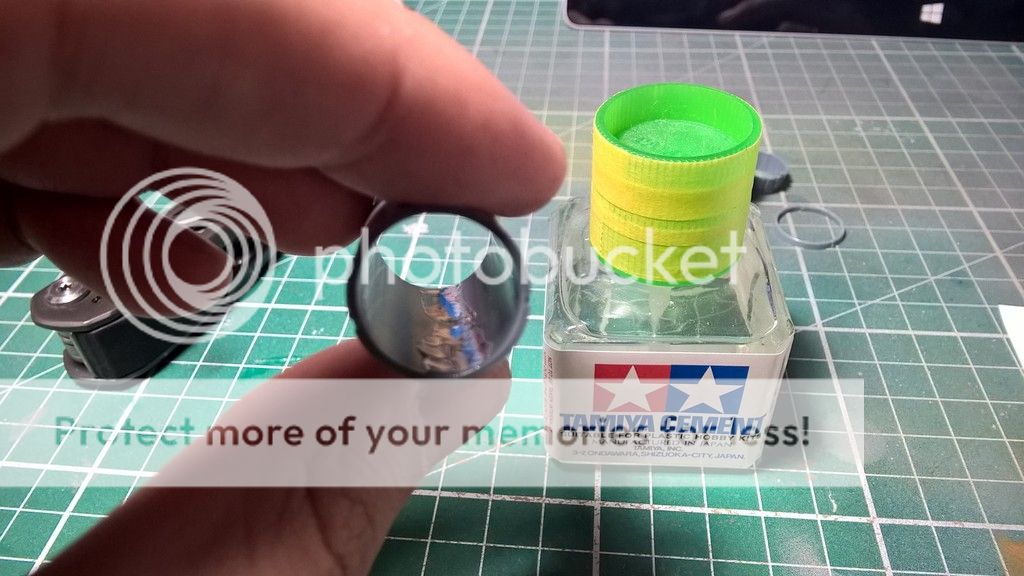
I have also put the engine together. To get seamless joins I have used Mr Surfacer in the past, but here I've just put down two liberal coats of the thicker Tamiya cement which comes in the white bottle. This melts everything together nicely, and just requires sanding back to give a really smooth finish.
I'm aiming to crack on with the fuselage, so hopefully I'll be able to update you on more progress soon. Thanks for checking out my build
Re: Eduard 1/48 MiG-21R
Posted: Wed Jul 08, 2015 5:10 pm
by Ads24
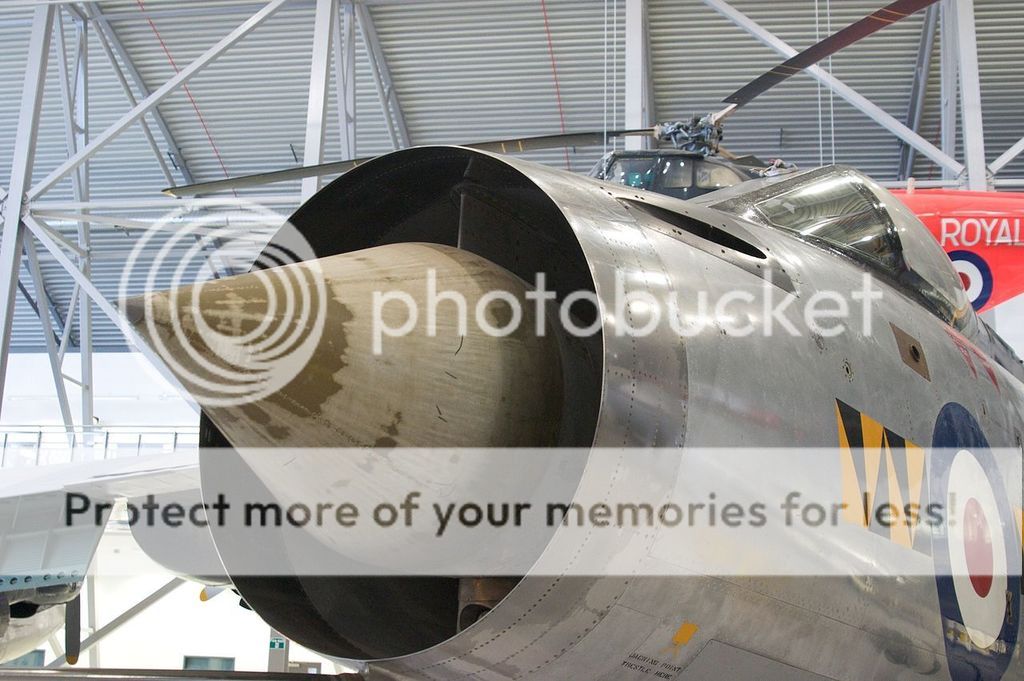
Having just finished what I'd been calling the 'nose cone' I found out that it is more accurately called an 'inlet cone' and forms an important and interesting feature of the MiG-21 and other supersonic jets of its generation.
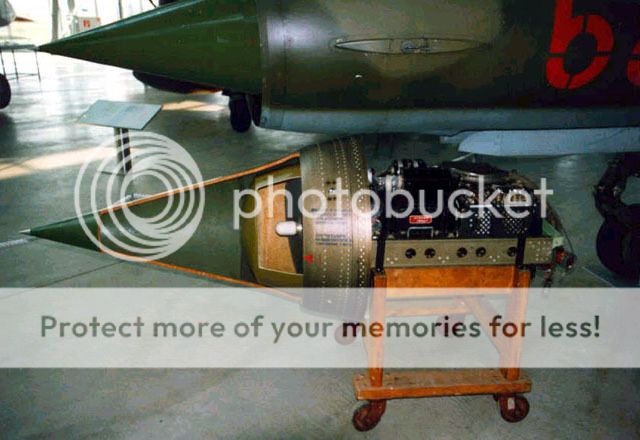
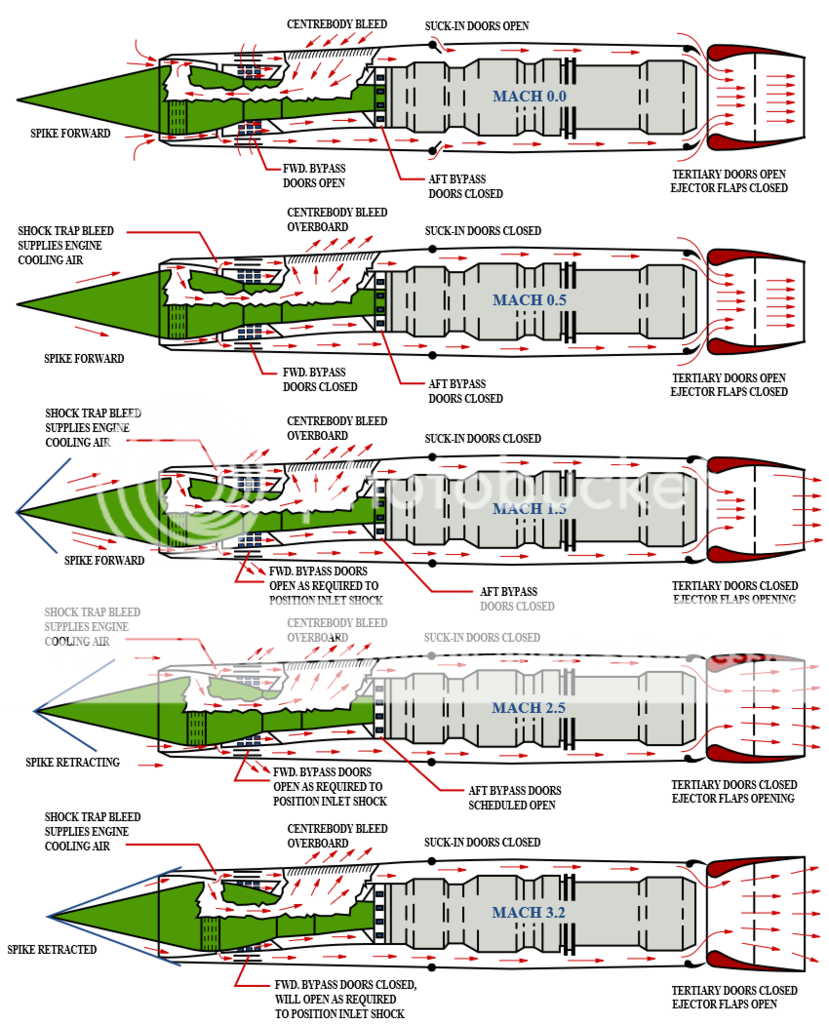
Rather than being fixed, the inlet cone is retractable which allows it to moderate the rate of air flow into the engine. By retracting the inlet cone during supersonic flight, the air flowing over it is slowed to subsonic speeds before entering the engine - something essential for the engine to work properly. As well as being featured in the MiG, it's also a component of perhaps the most iconic of spy planes - the SR-71 Blackbird. (someone else is building this for the sig, you can find the thread here:
http://www.intscalemodeller.com/viewtop ... 04&t=13504 )
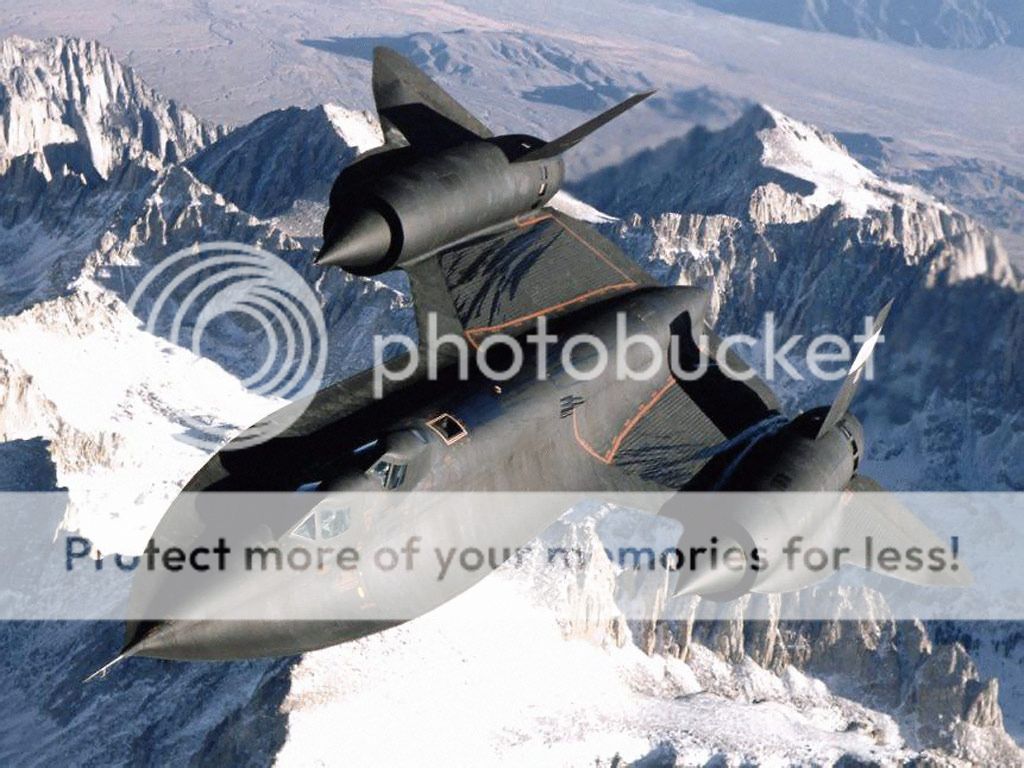
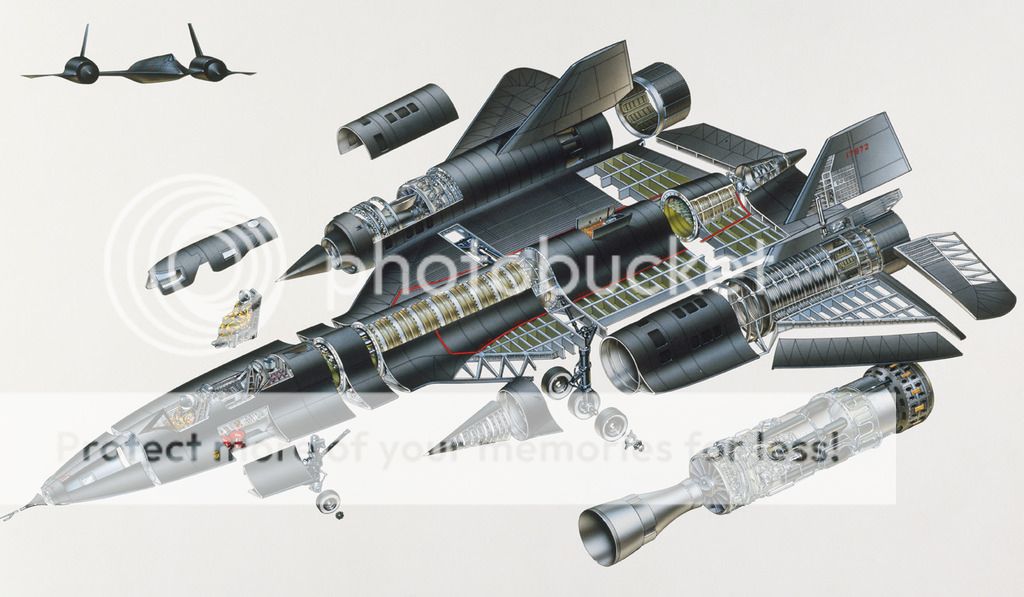
The diagram below shows how the position of the inlet cone and subsequent air flow changes on the SR-71 as its speed increases to over Mach 3.
One final example comes from the classic British Cold War jet - the English Electric Lightning.
Re: Eduard 1/48 MiG-21R
Posted: Wed Jul 08, 2015 5:51 pm
by Avgas
Looking forward to this one!
Re: Eduard 1/48 MiG-21R
Posted: Thu Jul 09, 2015 2:51 pm
by robertw
That cockpit color is a pain to get right. I just got this kit today and was thinking of entering it myself. Look forward to seeing the end result.
Re: Eduard 1/48 MiG-21R
Posted: Thu Jul 09, 2015 3:46 pm
by Ads24
robertw wrote:I just got this kit today and was thinking of entering it myself. Look forward to seeing the end result.
I would definitely give it a go - it's a great kit and it's going together quickly.
Re: Eduard 1/48 MiG-21R
Posted: Sun Jul 19, 2015 5:05 pm
by Ads24
After a very enjoyable week away walking the Peddars Way and Norfolk Coast Path in East Anglia, it's good to be back at the bench. Pressing on with construction, I've put the cockpit together. An unusual feature of the Cuban aircraft I'm making it the black instrument display panel which is usually the green interior colour. Eduard include this in photo-etch as well so you have the option.
Weathering was done with some basic chipping with grime from a couple of different shades of pigment which were laid down with pigment binder, and then worn away with a dry cotton bud when dry until I was happy with the look. Everything was then darkened with a Vallejo acrylic wash. You can thin this with water, but I find it works better with Ultimate thinner which leaves it less grainy and with better flow properties.
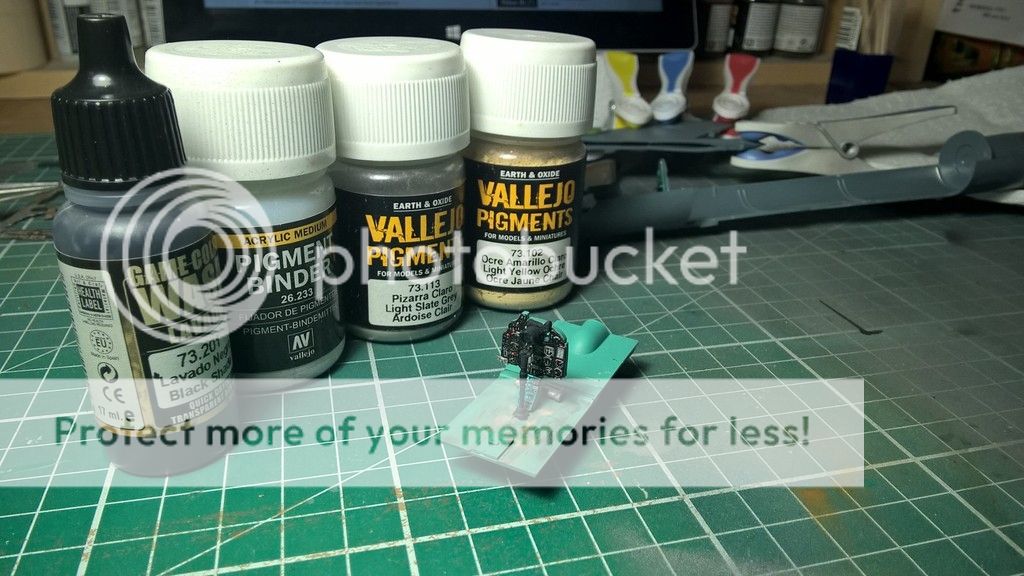
It's not a million miles off...
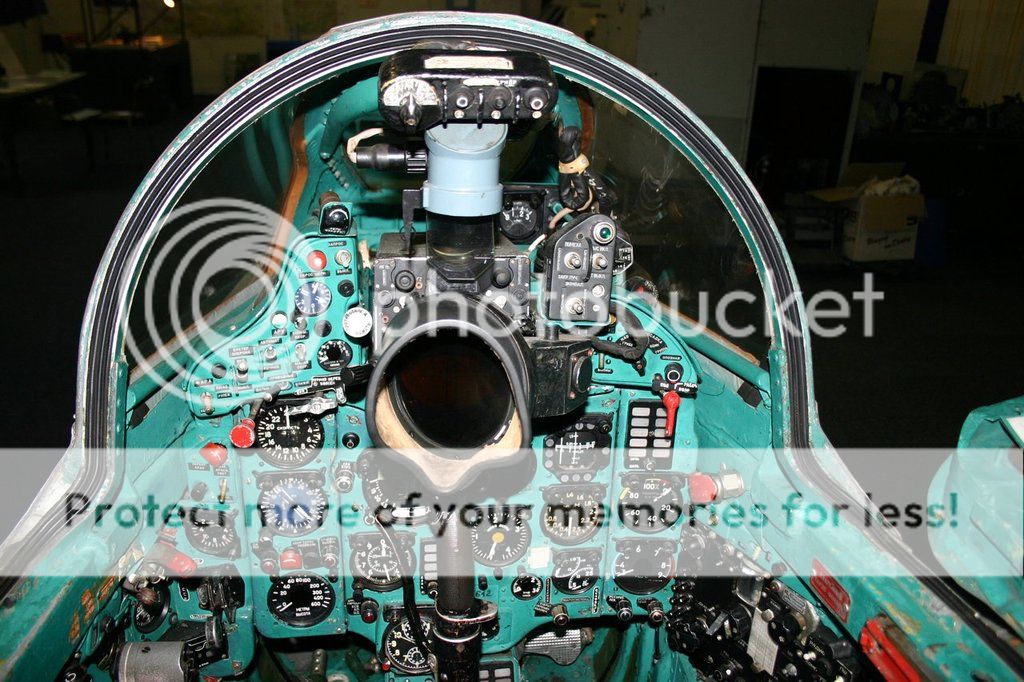
When installed in the fuselage, the value of Eduard's photo-etch is clear.
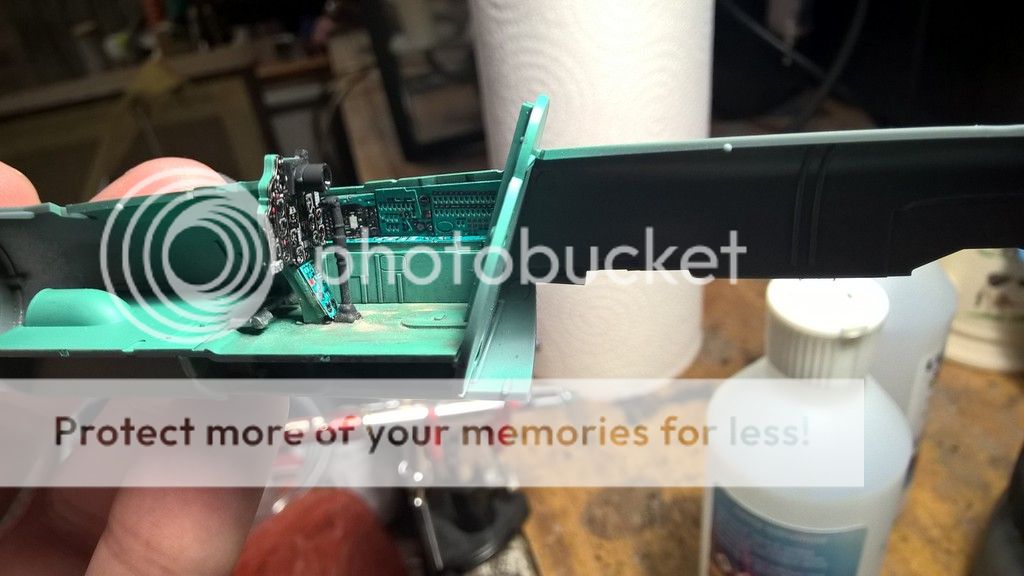
When joining the two halves of the tail together I was left with a bit of a gap along the edge. This was filled with styrene dissolved in some old Tamiya extra thin. When this is dry, it behaves just like the rest of the plastic around it, so can be sanded flush and polished to give a perfect finish.
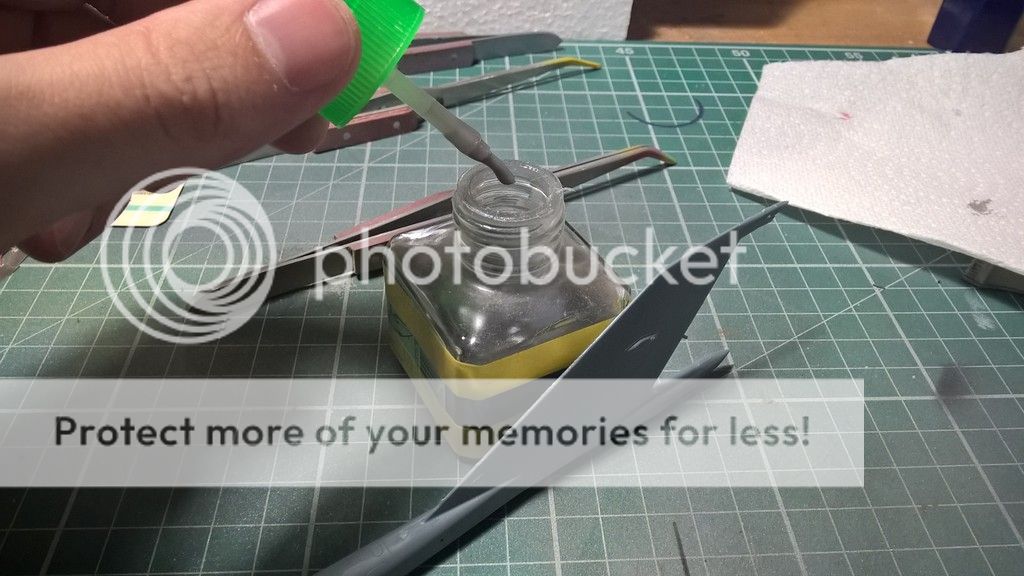
The fuselage halves were then joined together, held in place with some rubber-tipped pegs which give good grip.
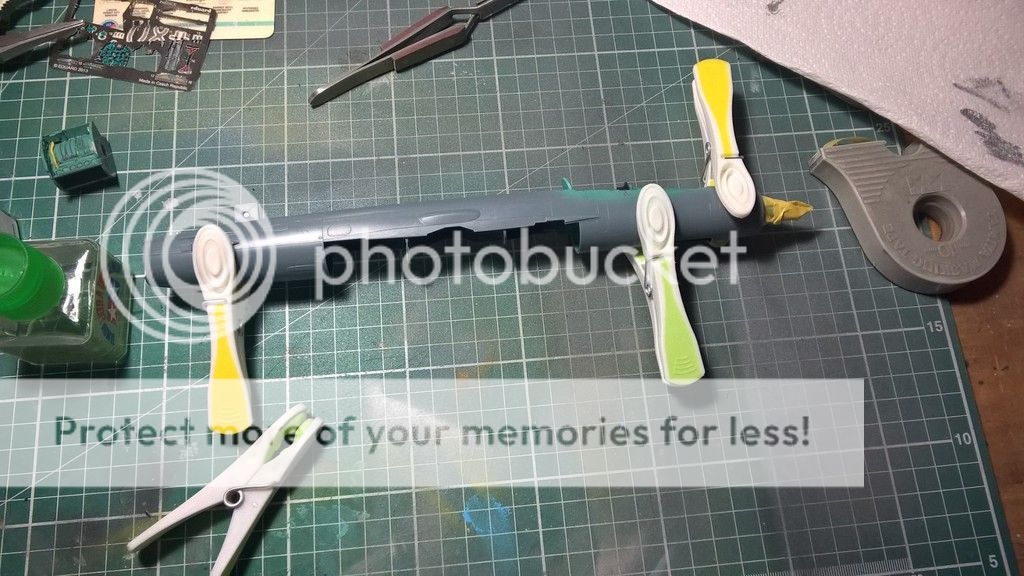
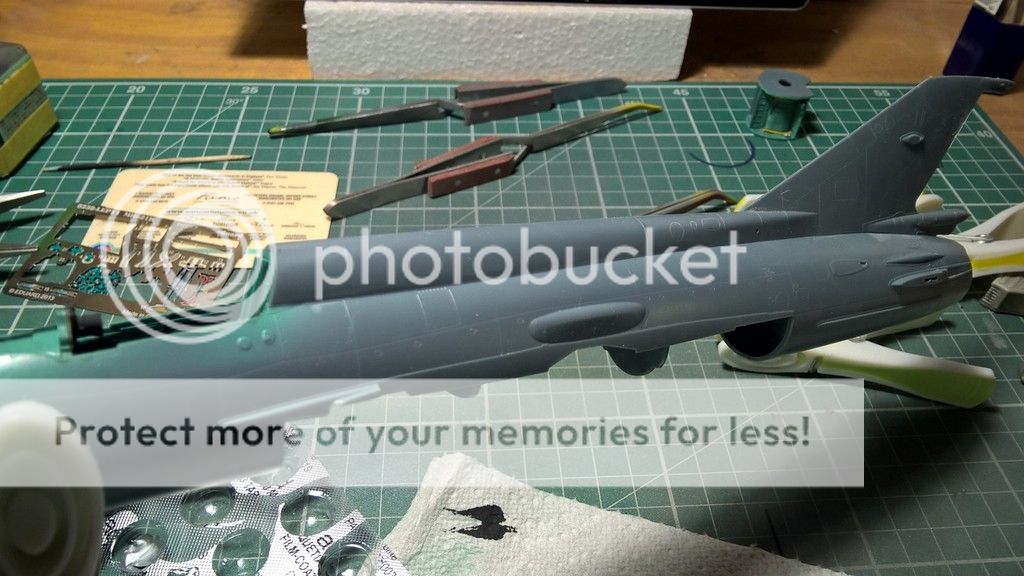
The spine of the aircraft was then added as a single piece, removing the need to sand any joins along the centre which is always welcome.
Re: Eduard 1/48 MiG-21R
Posted: Tue Jul 21, 2015 6:51 pm
by Ads24
Been pressing on with all those little final bits and bobs which mark the end of the building stage.
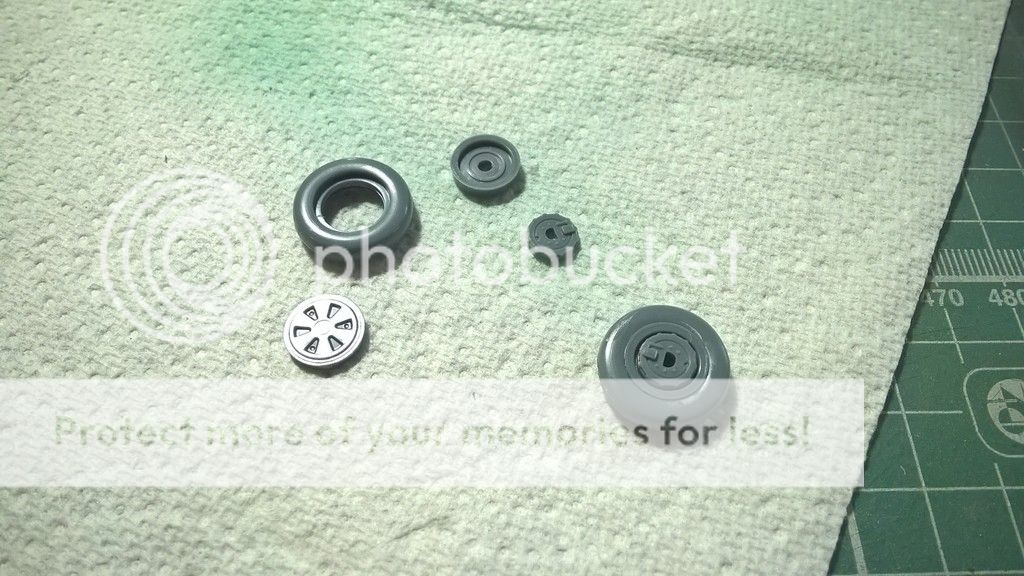
The wheels were sadly multi-part styrene rather than Eduard's resin, but they built up ok and will work. I will create a flat spot on them, but since they attach to the gear in a specific way, I'll wait until then to avoid putting it in the wrong place (learnt that one the hard way on previous builds!)
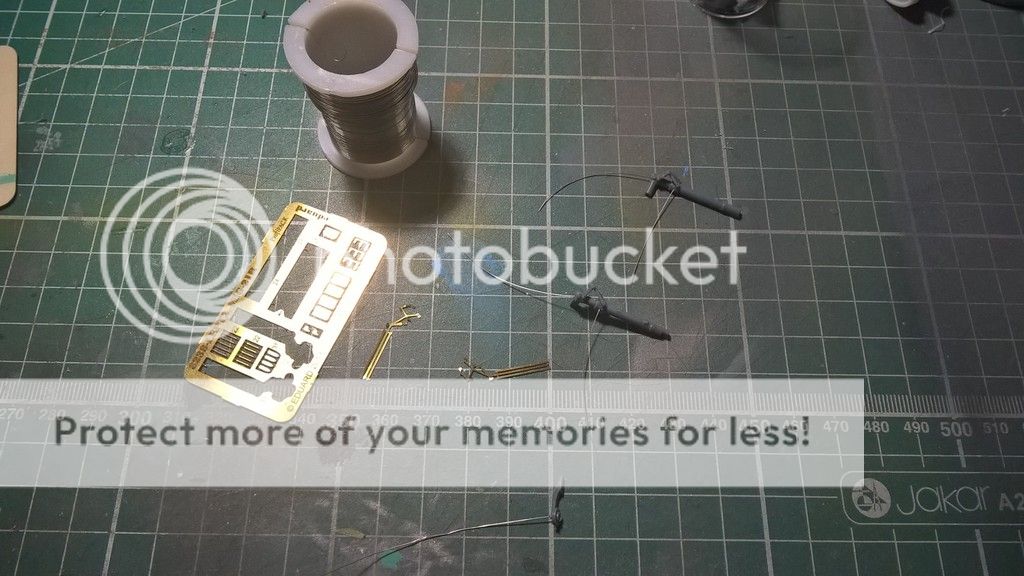
To add detail to the landing gear, I decided to add some brake lines. I used wire which I got from a local craft store - its actually designed for making jewellery, but works well for this kind of thing. I used a pin vice and very small drill bit to make some small holes and then stuck the wire in with superglue. You could just skip the hole-drilling and use superglue straight onto the plastic, but I find this looks better and is much more secure.
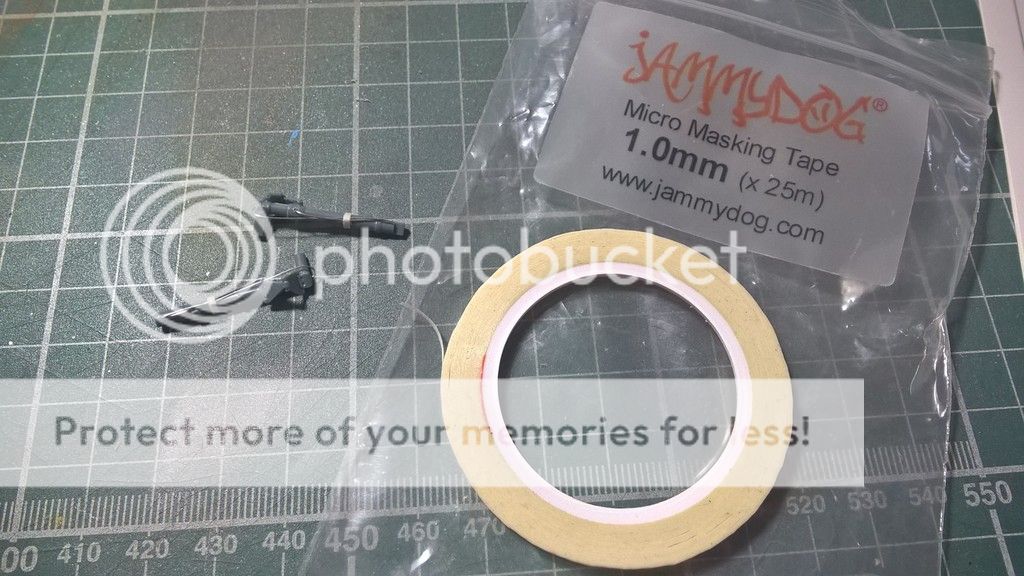
I then used 1mm jammy dog tape to secure the wire towards the top of the gear.
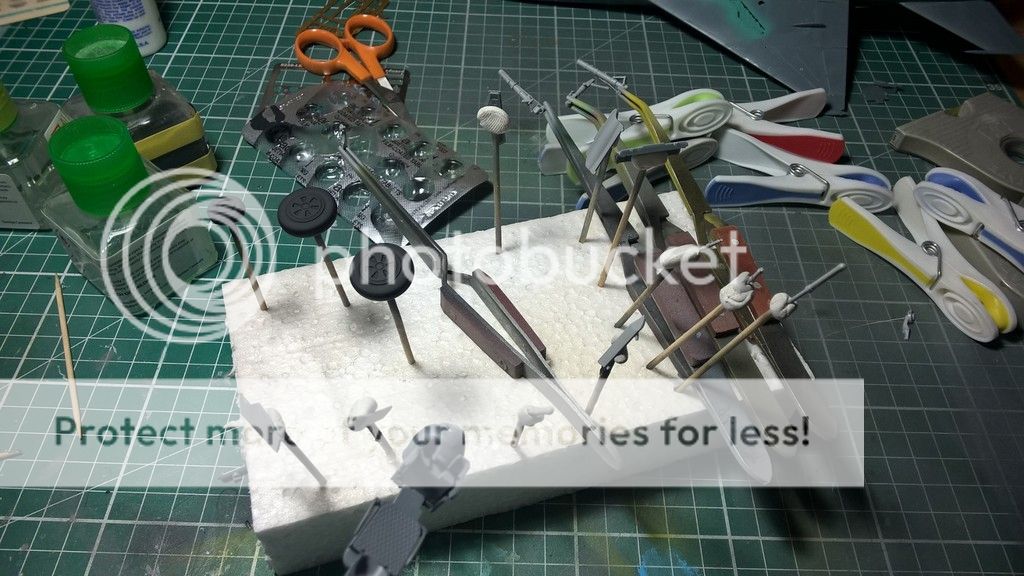
The ever useful polystyrene part holder...
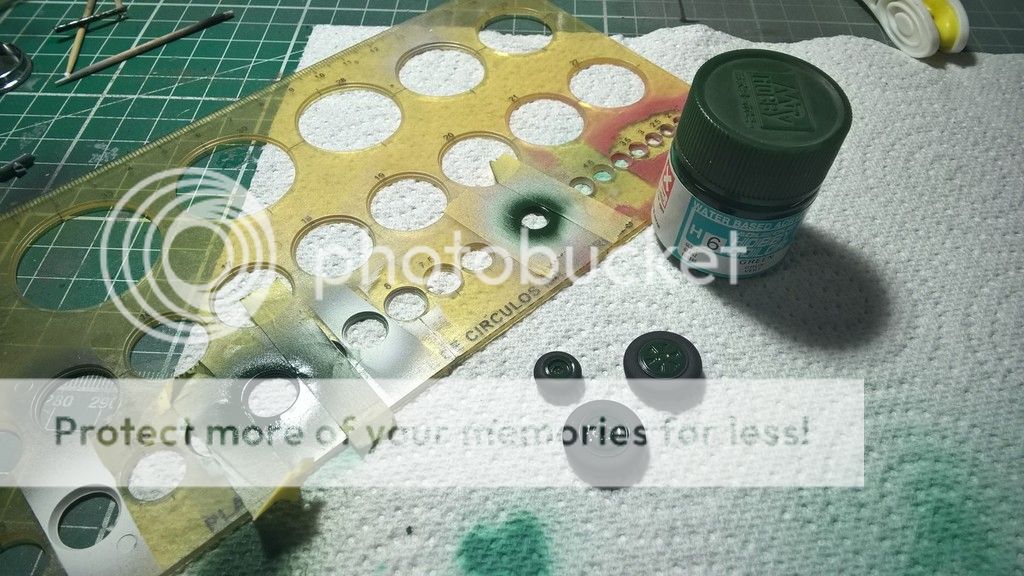
I used a circle template (super cheap from eBay) to spray the centres of the wheels.
The ejection seat is very bare...
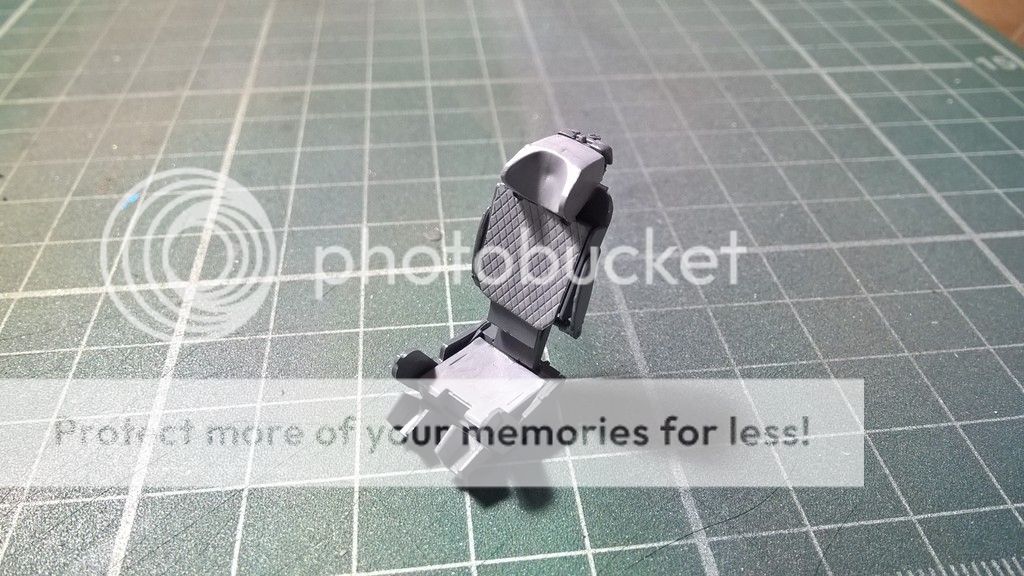
...but infinitely livened up with the photo-etch included with the kit.
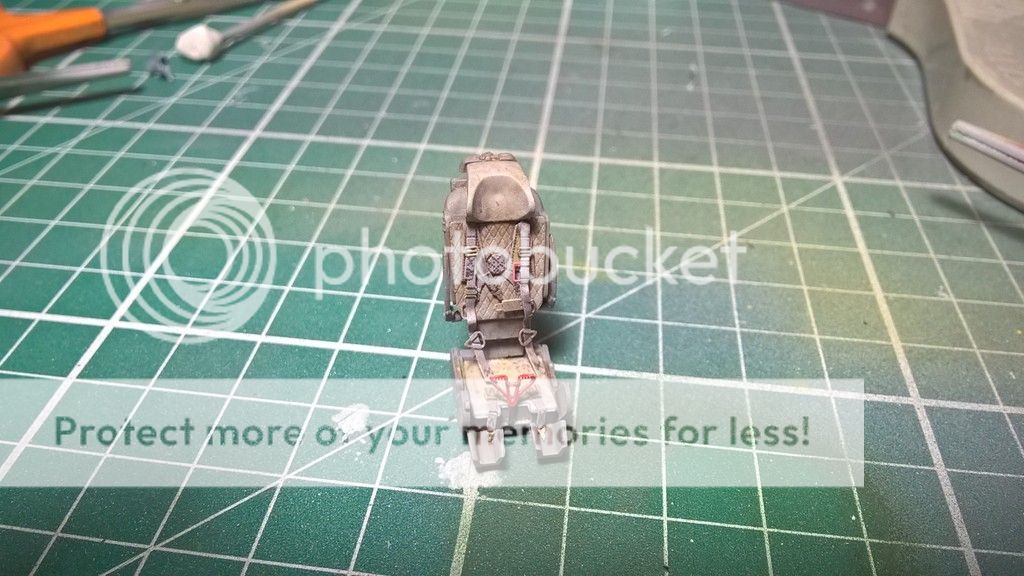
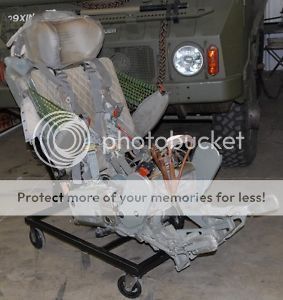
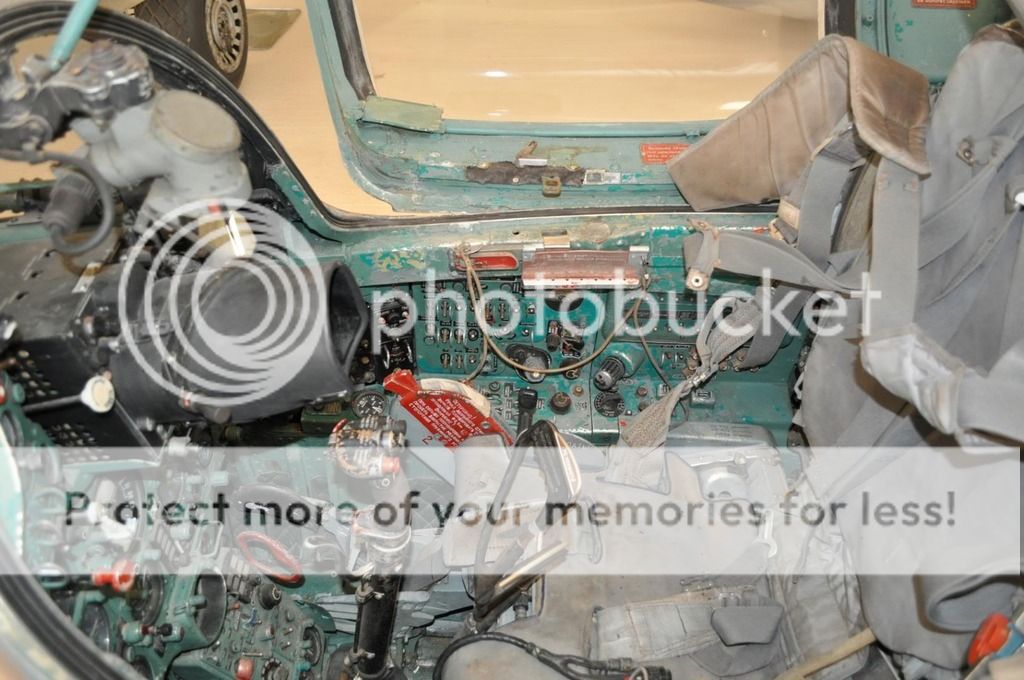
I weathered the seat with a brown wash, but looking at references, they seemed to be more dusty and worn, rather than stained, so I sprayed on a heavy, dead flat coat and then when this was almost dry, worked some pigment into it.
Re: Eduard 1/48 MiG-21R
Posted: Fri Jul 24, 2015 12:21 pm
by Ads24
So, what makes the MiG21-R special?
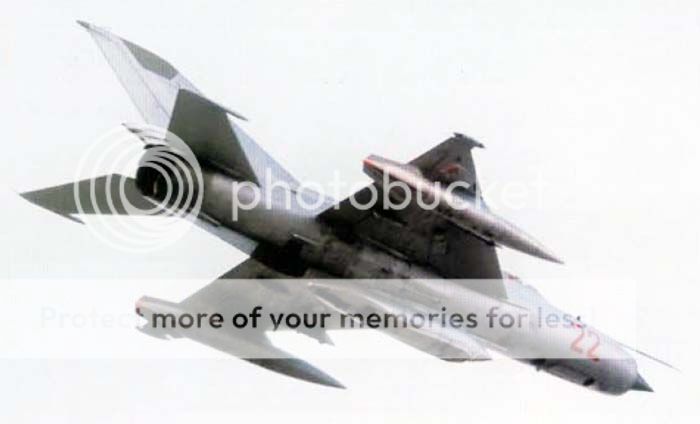
Well, the MiG-21R (NATO codename Fishbed-H) was a MiG-21PFM derivative tailored for tactical reconnaissance, while still retaining the full firepower of the MiG-21.
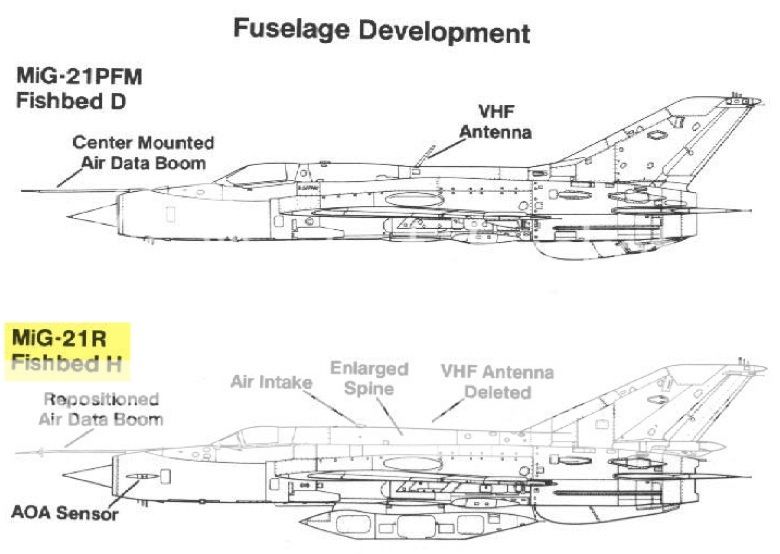
In fact, the MiG-21R was actually the first variant to boast four underwing pylons instead of two, allowing drop tanks to be carried, extending its range. The main feature of the MiG-21R, though, can be seen on the centreline pylon in the photo above - the recon pod.

The MiG-21R actually had four different versions of the reconnaissance pod, designated D (daylight reconnaissance) N (night reconnaissance) R (electronic signals intelligence (ELINT)) and T (TV-reconnaissance) which would work in conjunction with a truck-mounted ground receiver station for real-time reception of the video images.
The Eduard kit comes with two of these recon pods - the D and R versions.
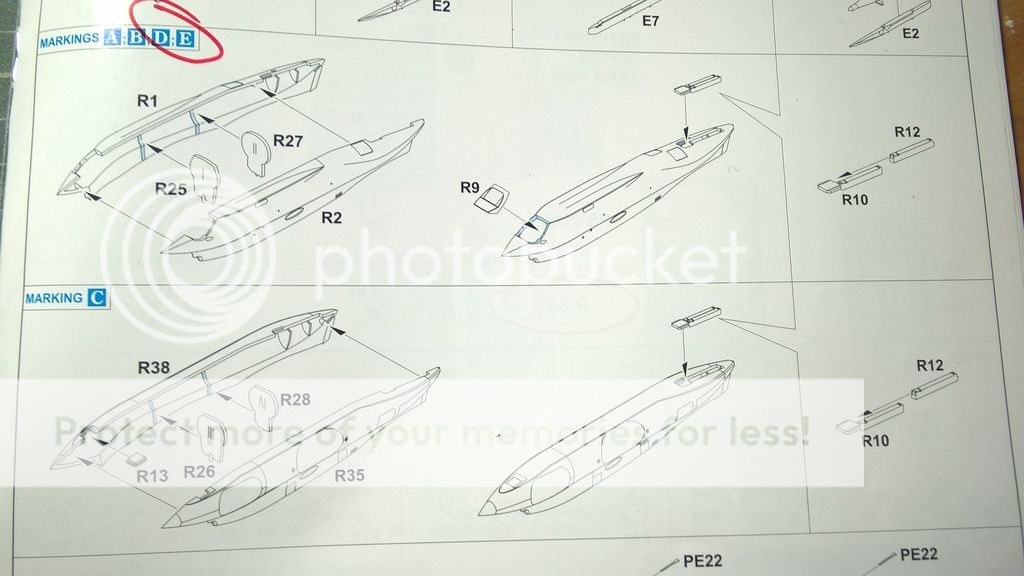
The D-series pod contained six AFA-39 cameras.
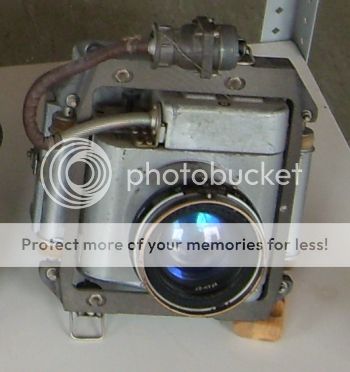
The R-series which is the one I'll be modelling only contained one of these, but also SRS or Romb ELINT systems. ELINT systems gather data pertinent to the electronics of an opponent's defence network, especially the electronic parts such as radars, surface-to-air missile systems, aircraft, etc. ELINT can be used to detect ships and aircraft by their radar and other electromagnetic radiation.
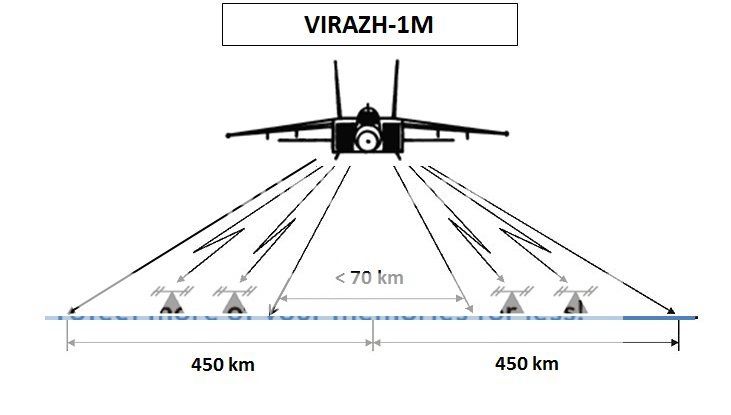
The kit parts went together nicely, just needing a little re-scribing, and add a distinctive shape to the belly of this MiG.
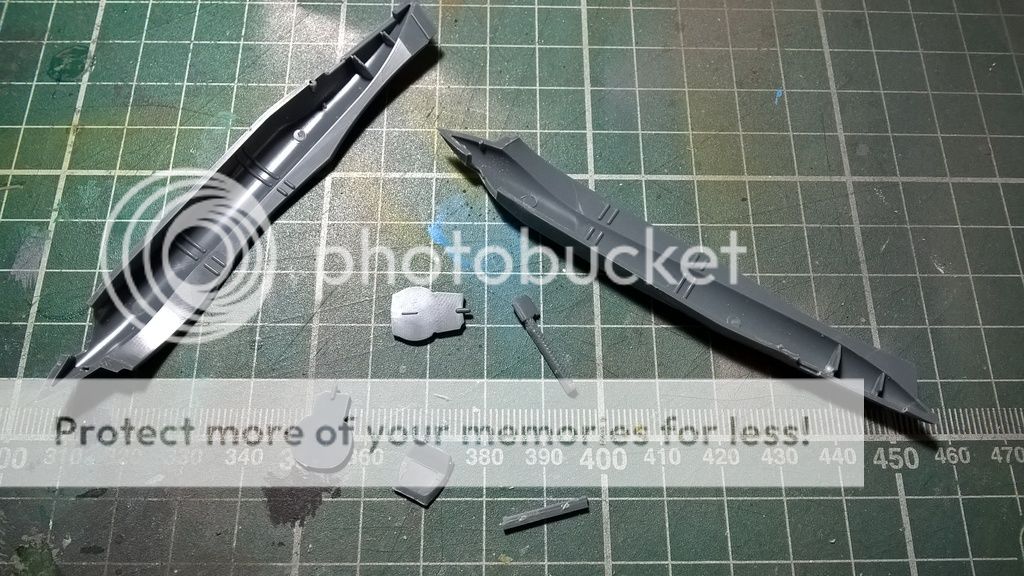
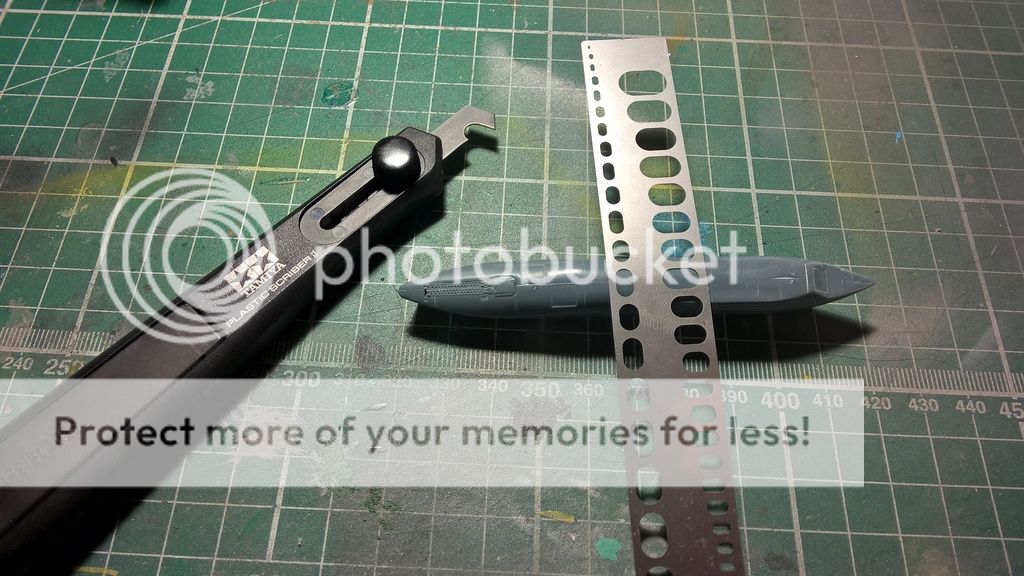
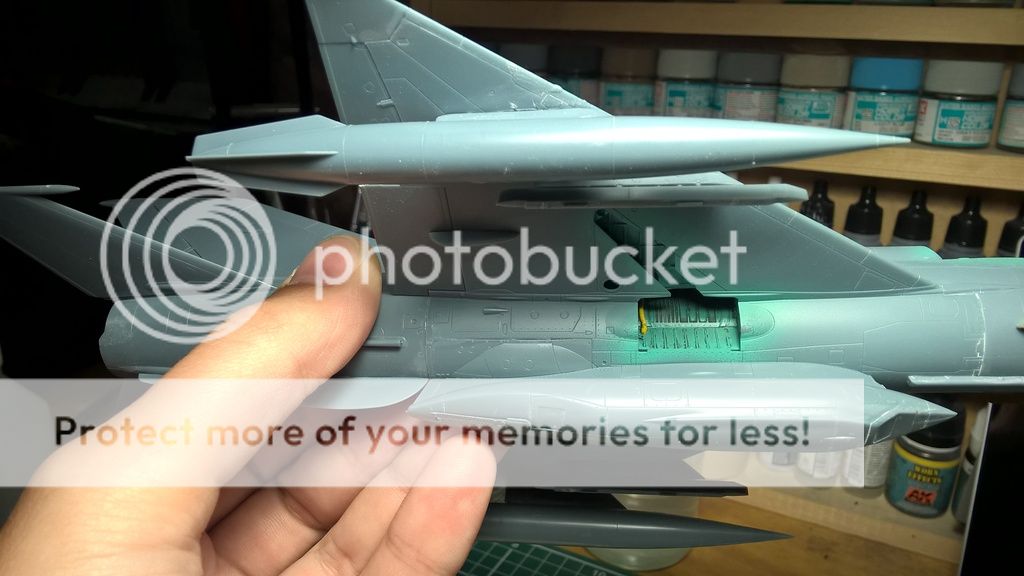
In addition to the recon pod, the MiG-21R also had a radiation monitoring pod (also modelled in the kit) which could take air samples and analyse them while flying through contaminated areas.
The only downside of all these recon features was a reduced manoeuvring limitation from 8.5 to 6G because of the four underwing pylons and their payloads and the sensitive electronic equipment. For similar reasons, the top speed was also reduced to March 1.6 and the MiG-21R had to take off in afterburner mode because of the additional weight.
Finally, here is a MiG-21R in action gathering evidence in the Sinai Desert.
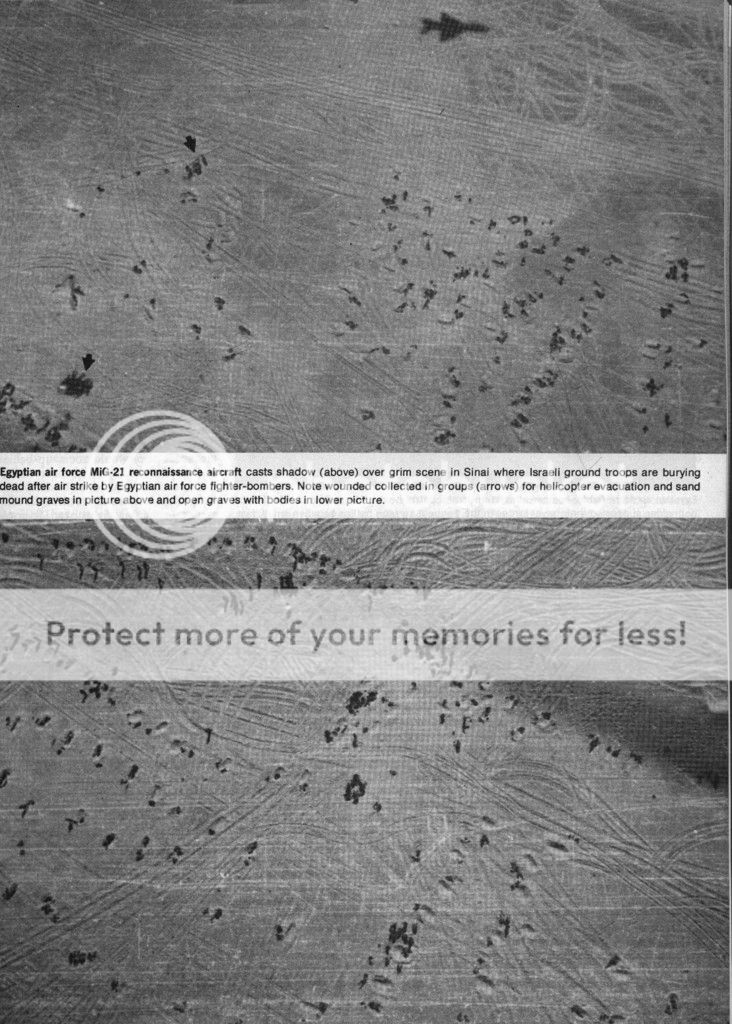
Actually, since this was taken by the Egyptian air force, it may well have been taken by yet another MiG-21R variant developed especially for them, the MiG-21RF. This lacked the recon pod, but instead had three internally mounted A-39 cameras located under the cockpit.
Re: Eduard 1/48 MiG-21R
Posted: Sat Jul 25, 2015 4:47 pm
by Ads24
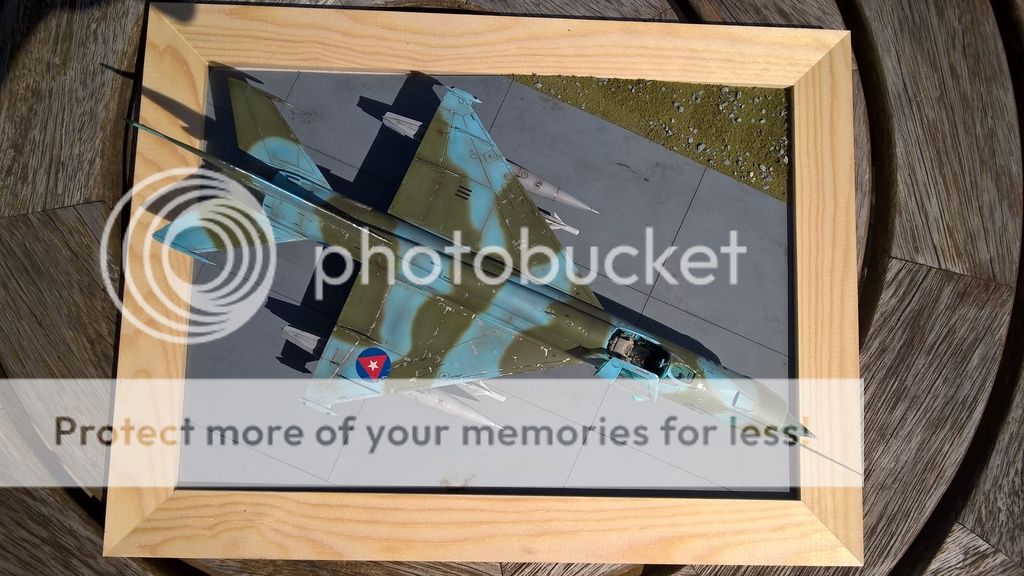
Got the painting done, and I'm pleased with the Cuban scheme I chose, but it has certainly tested my skills!
First up, something I fairly often forget to do - paint the outside of the clear parts with the interior colour so this shows through on the inside. Glad I remembered this time as the Russian cockpit interior colour is so striking, and I plan to have the cockpit open.
You get several canopies in the kit, so I've chosen to loosely tack one on for painting, and paint the actual one I'm going to use separately. The key difference between versions of the canopy is whether they have a periscope on top. This was a standard feature on all MiG-21 planes from 1969.
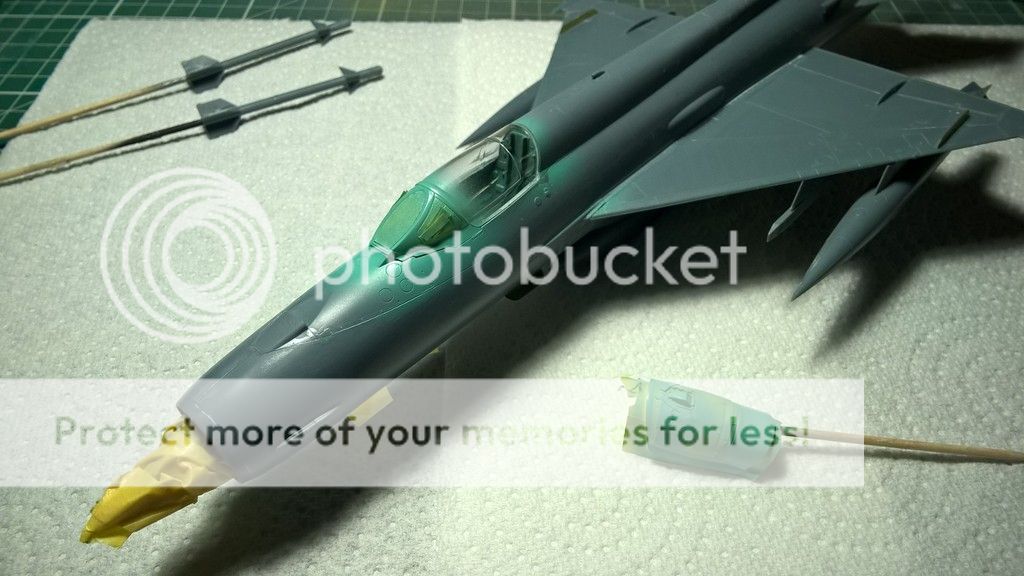
Next everything was primed with Ammo primer. This stuff is quite hard to use I find, as you have to be really careful to build it up in incredibly thin coats, otherwise it pools and gives a horrible uneven finish. I have Badger's new primer on order, so expect that will supersede Ammo as my primer of choice. Having said this, though, as long as you take your time, the Ammo stuff can give a lovely smooth finish.
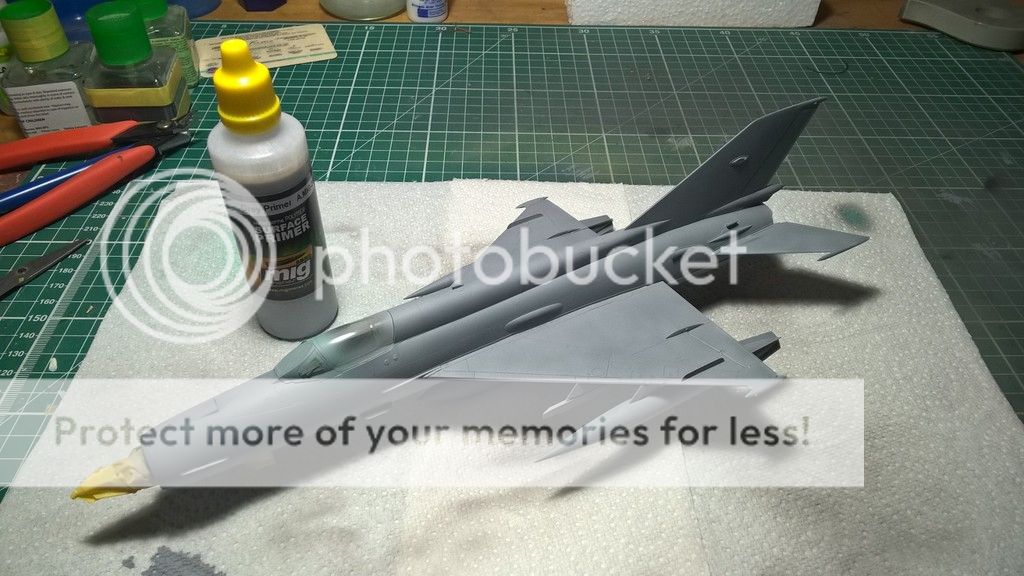
The panel lines were pre-shaded black.
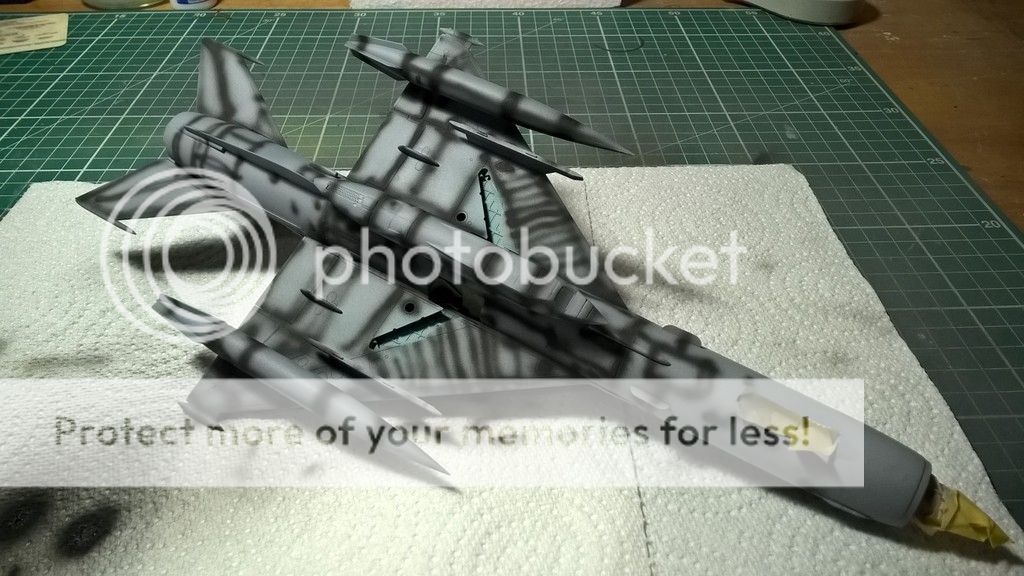
The underside was painted with Tamiya XF-19 Sky Grey. This was lightened with some white to bleach the centres of panels to give some tonal variation. I'm not worried about over-spray in the wheel-wells, that can be easily touched in later.
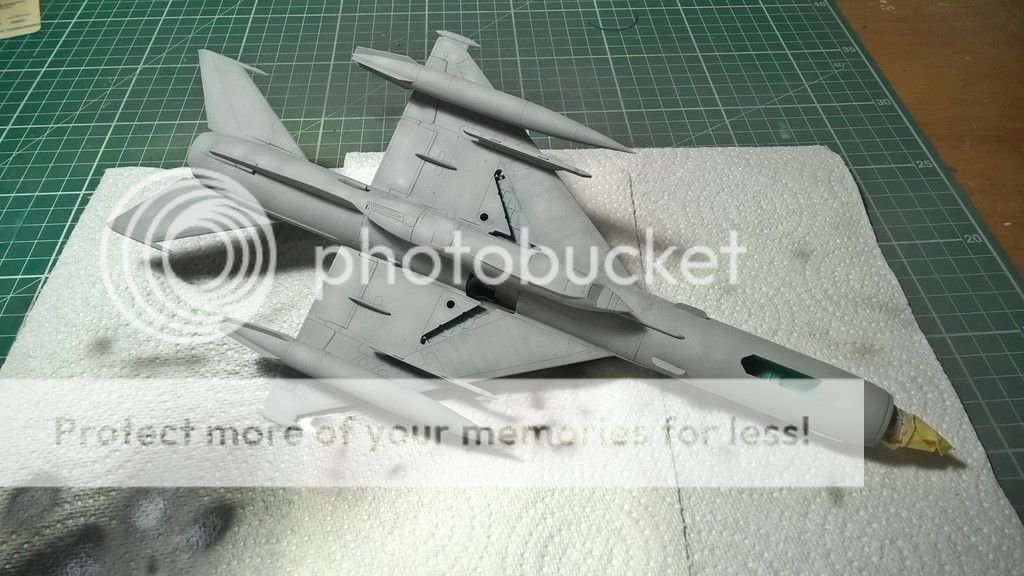
The underside was protected with clever putty. This is identical to Panzer putty, but much cheaper on eBay.
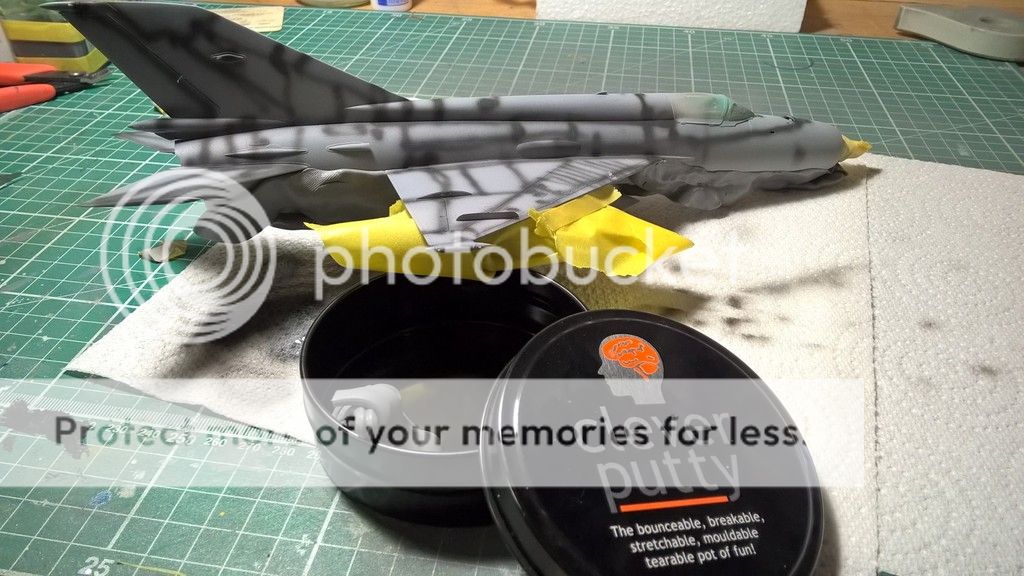
For the top side camo, I used Mr Hobby aqueous, starting with the lighter blue colour.
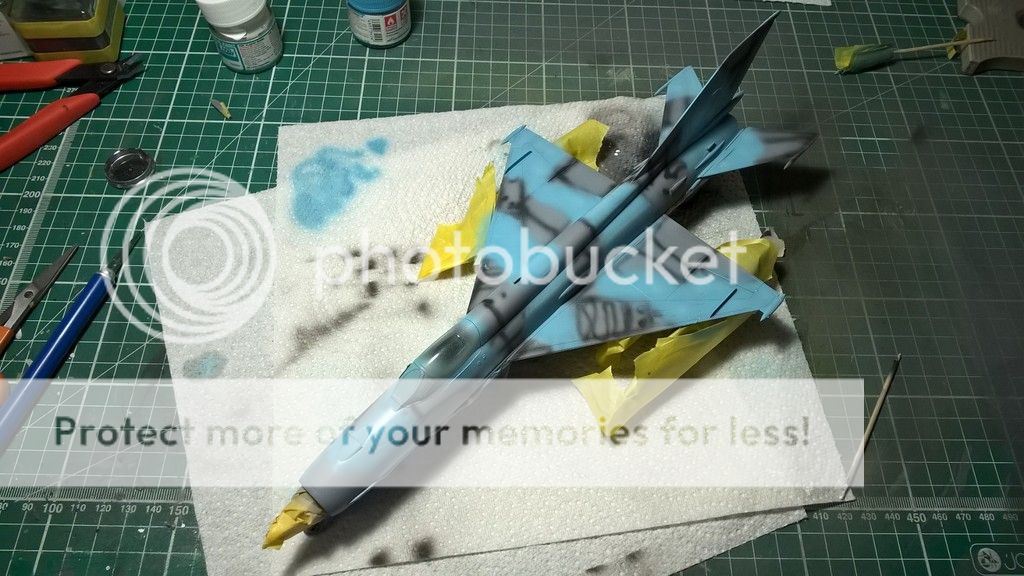
Removing the putty revealed a nasty line, showing this clearly wasn't such a great idea! I tried to paint over it, but still wasn't happy, so sanded it back and started again.
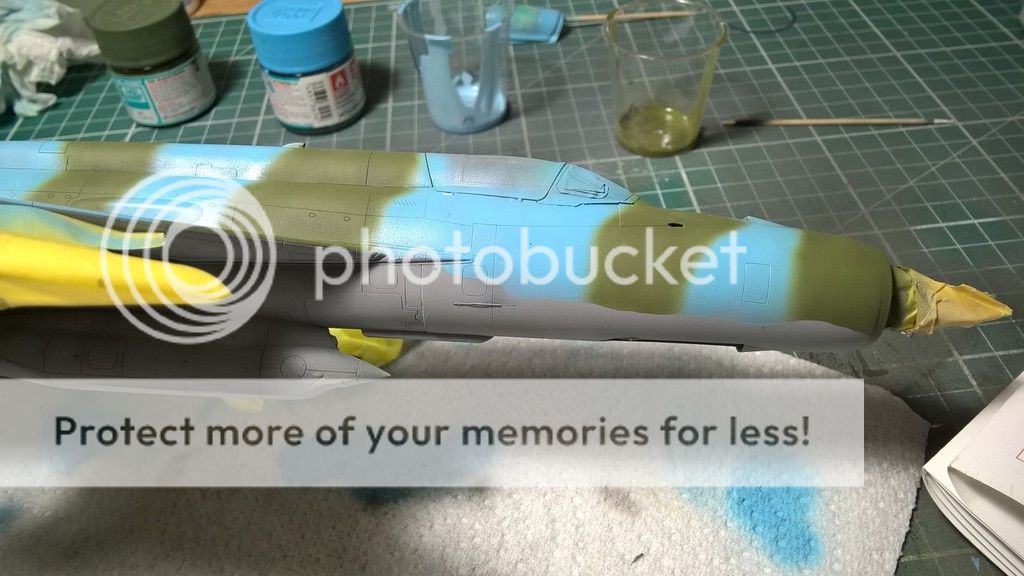
This is the first time I've tried to do the camo freehand, and it took several attempts as I just couldn't get a clear enough line and struggled with spitting and over-spray. What I should have done is check ISM first, as there is some great advice. The key things I found were:
- Use a low air pressure - for me I found around 15psi worked
Thin paint at least 50/50
Get in as close as possible with the airbrush
Be super gentle on the trigger, and if you have one, make use of the quick fix function to set how far back the needle will go.
Anyway, here is where I'm up to. I could keep going over the lines endlessly to keep sharpening them up, but eventually I decided to call it a day.
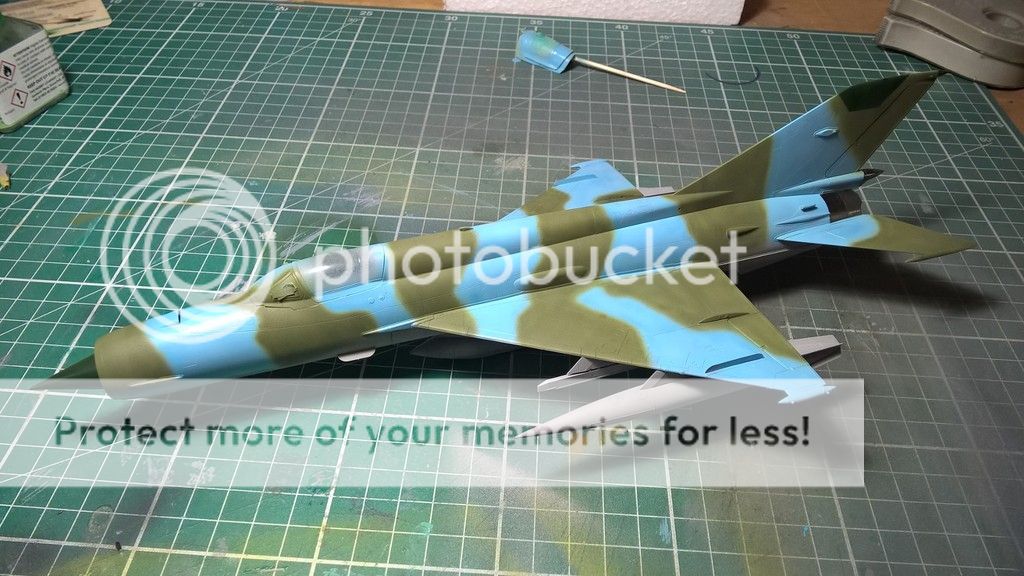
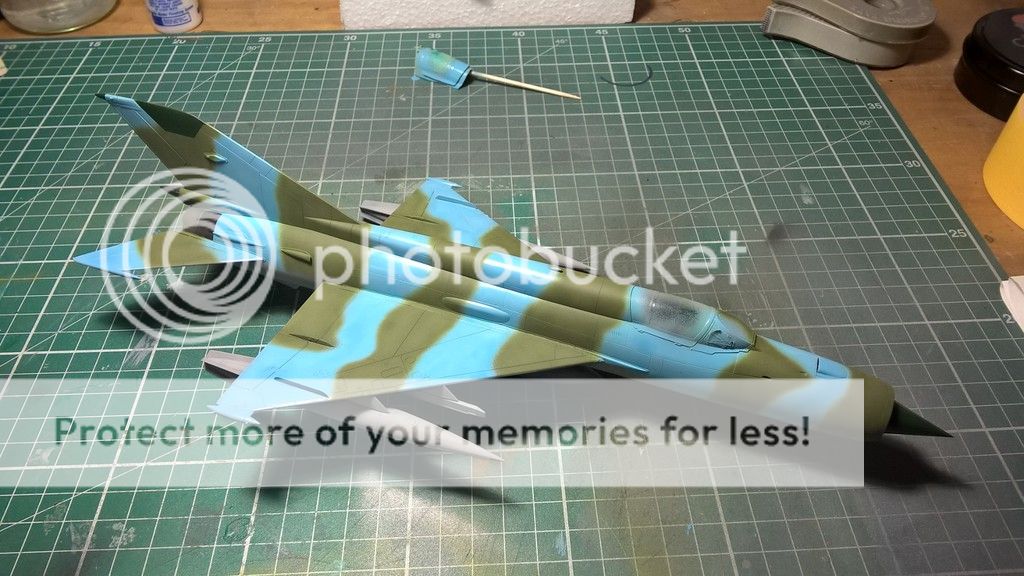
Next I'll clear coat it ready for decaling. As ever, thanks for checking out my progress

Re: Eduard 1/48 MiG-21R
Posted: Sat Jul 25, 2015 5:03 pm
by Goose
Love it so far.
go on dude
Goose
Re: Eduard 1/48 MiG-21R
Posted: Mon Jul 27, 2015 10:53 am
by Ads24
Goose wrote:Love it so far.
go on dude
Thanks!
Re: Eduard 1/48 MiG-21R
Posted: Mon Jul 27, 2015 11:06 am
by Ads24
So, while waiting for the clear coat to cure, I thought I'd knock up a quick display base using a cheap picture frame and some plasticard.
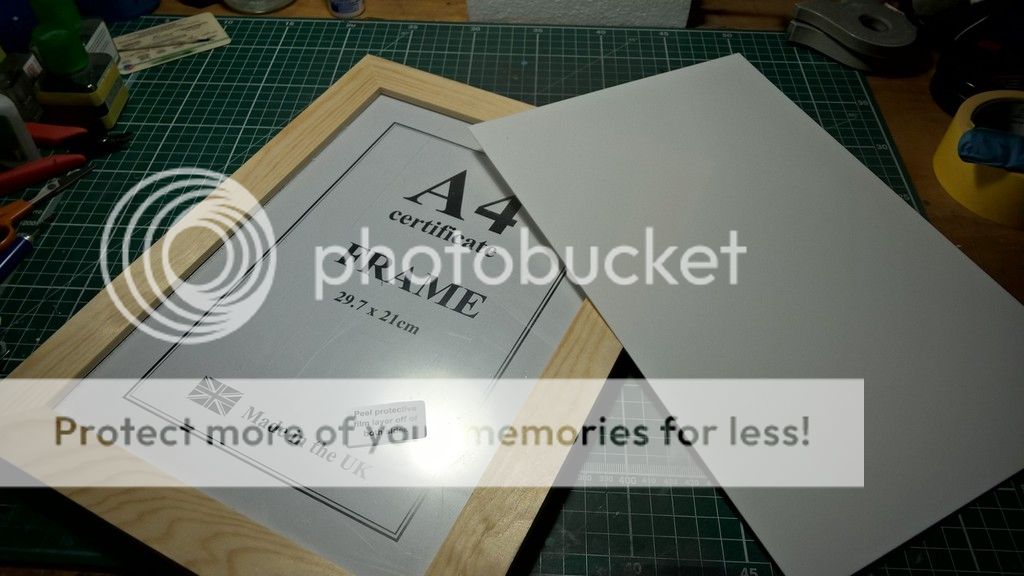
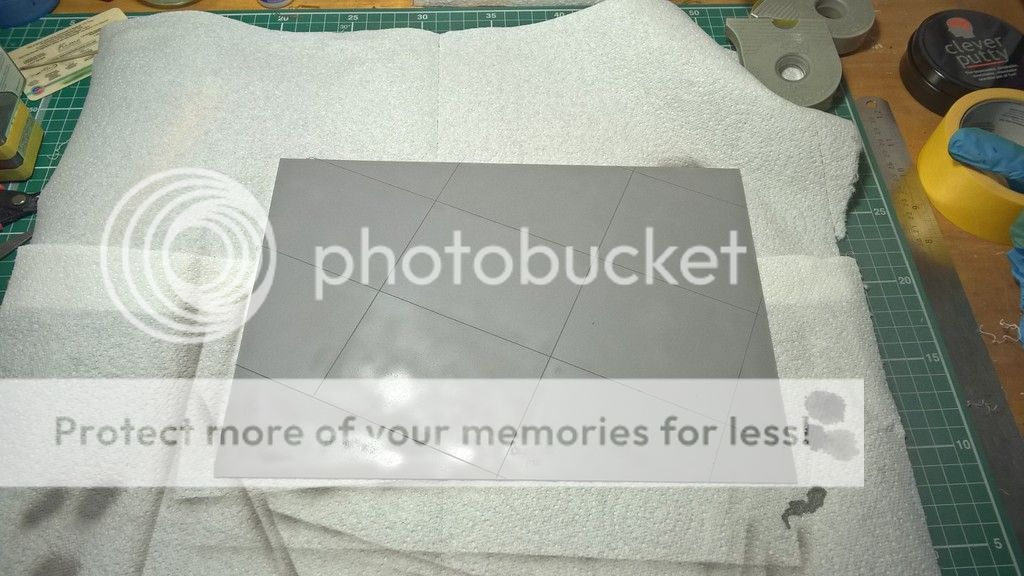
Firstly, I marked out the pattern of the concrete slabs and then gave them a heavy scoring with a re-scribing tool.
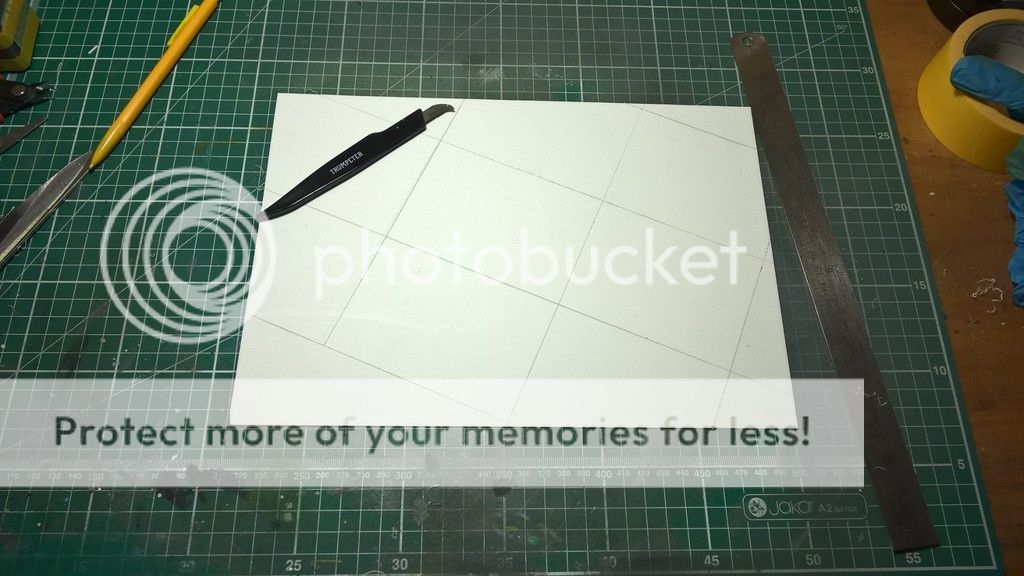
This was then given a coat of grey primer.
Next up was a purposefully very rough and messy coat of dark dirt clay wash.
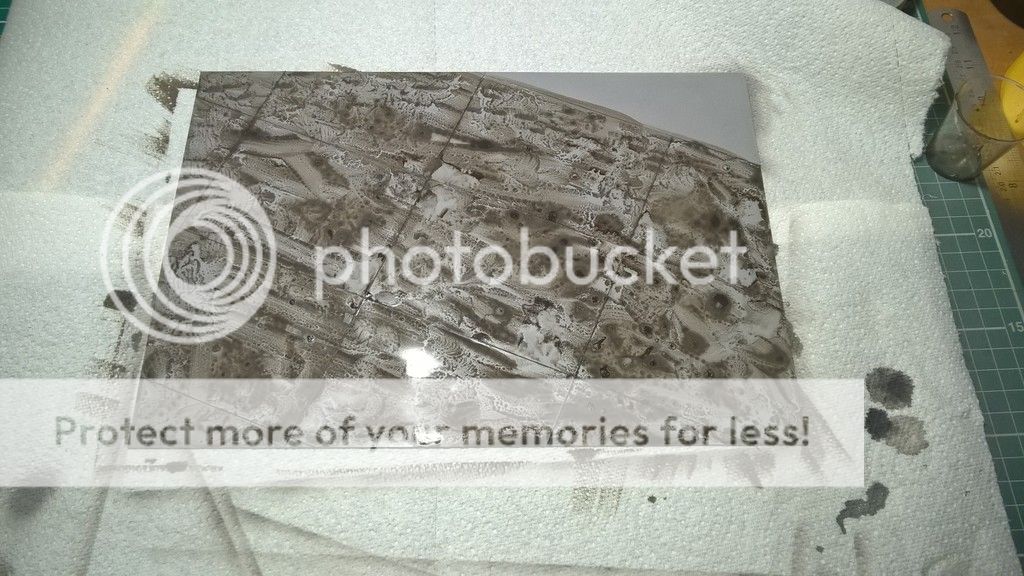
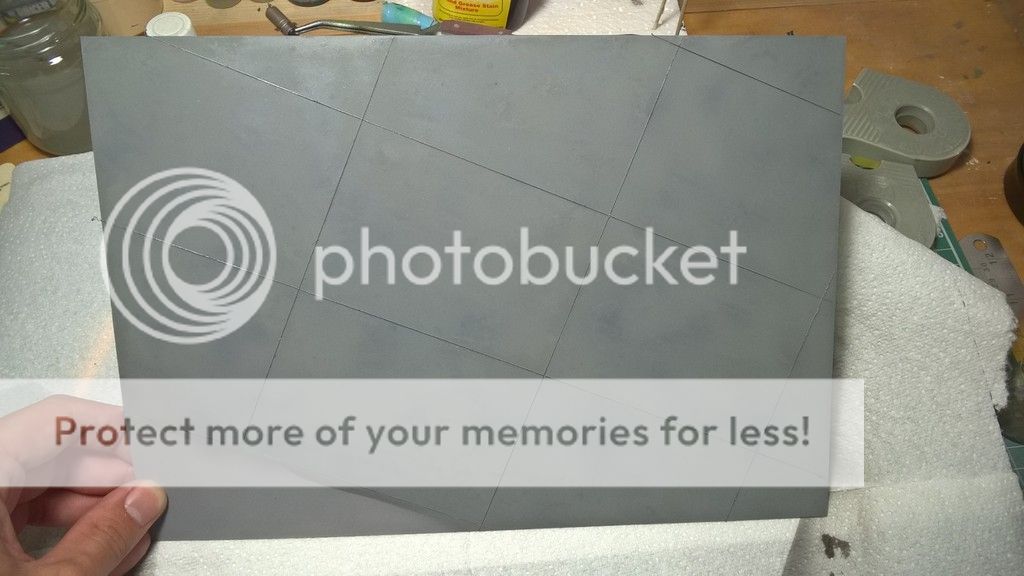
Slightly unusually, I don't wipe any of this off at all, but instead paint over it. This is a technique I discovered quite by accident when experimenting with one of Vallejo's acrylic washes. I was really unhappy with the effect I got, so decided to paint over it, but this actually ended up leaving a cool, randomly worn look, so I stuck with it! Hopefully this gives the look of rough, ageing concrete.
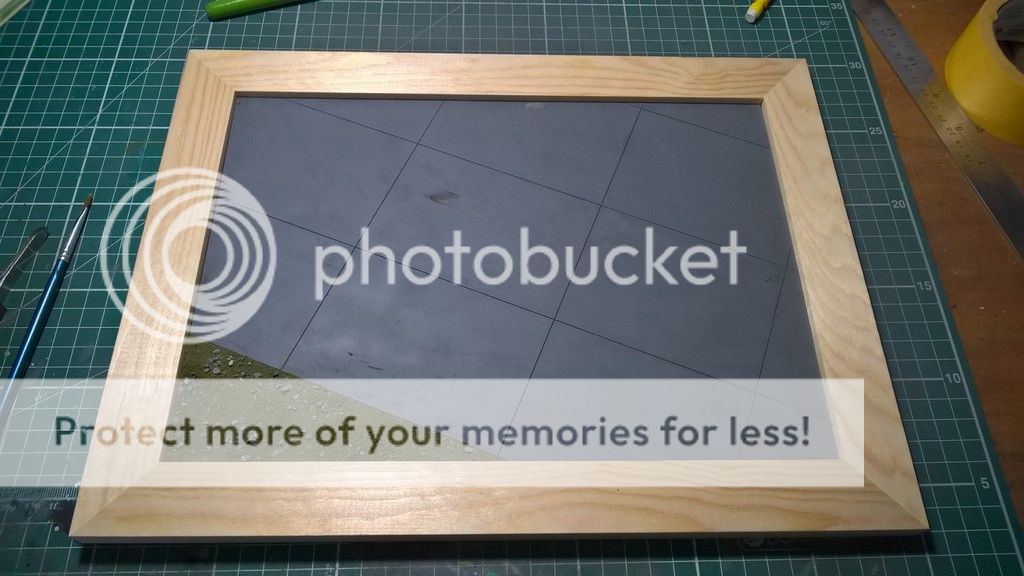
Finally, I finished the base of with some flock with some little bits of gravel thrown in. I'm quite happy with the finished result, and it was ridiculously quick and easy to do!
Re: Eduard 1/48 MiG-21R
Posted: Tue Jul 28, 2015 10:17 am
by timtamtung
Thanks for that inlet nose diagram. I only briefly knew if went back and forth on the Sr.... Not the mig. And I didn't know those levels at different machs. Cheers and a good build so far mate
Re: Eduard 1/48 MiG-21R
Posted: Wed Jul 29, 2015 3:26 pm
by Ads24
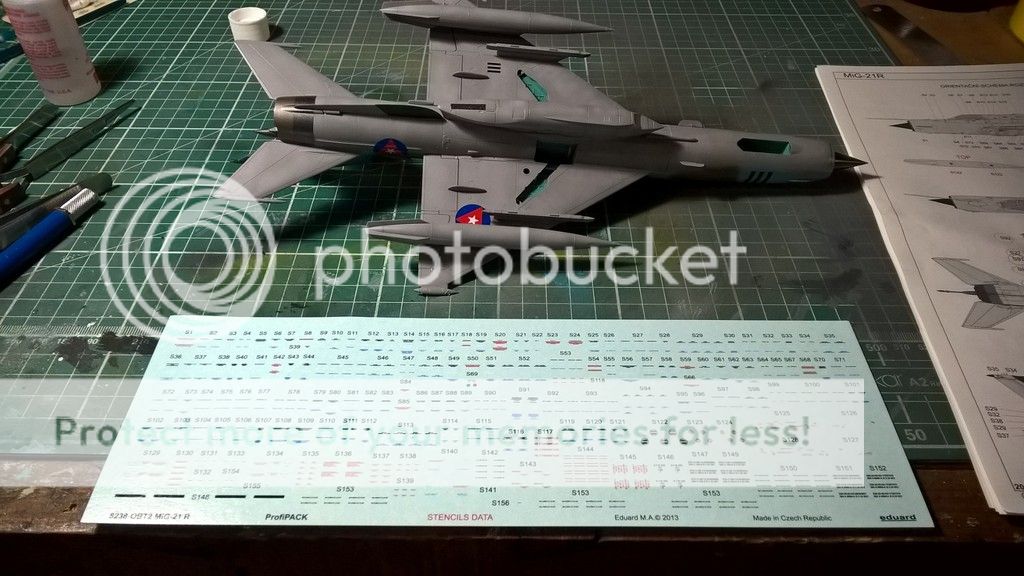
Approaching the conclusion of this build now. Decaling done - there were many stencils, but worth putting down as they contribute to the overall look.
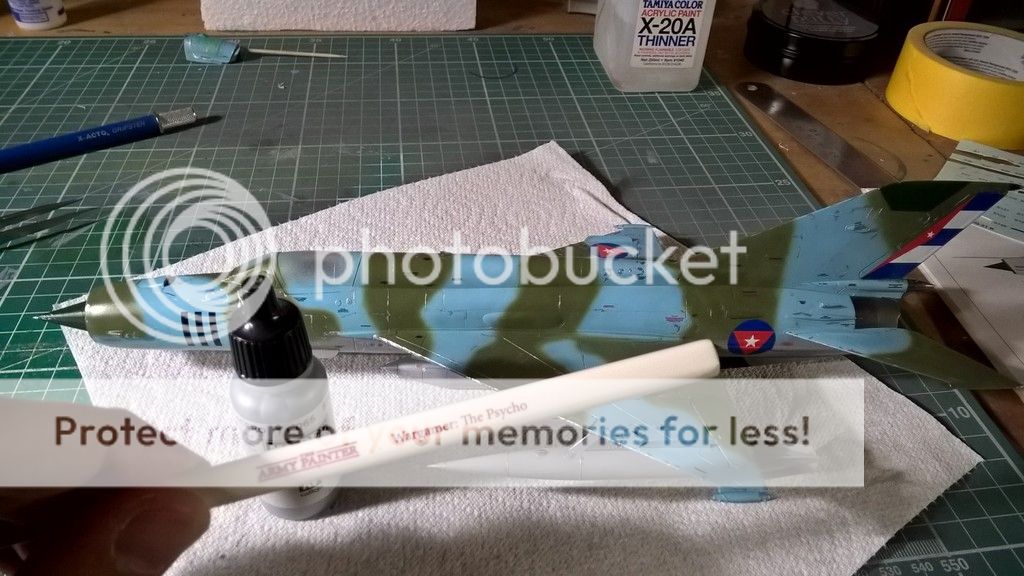
To start the weathering I added some chipping with silver paint and a tiny brush. I use a brush called 'the psycho' by the Army Painter. I hate the name of this as I feel it's a pejorative use of an unacceptable colloquialism for mental health problems, but that aside, I love this brush and is great for this kind of thing.
Next up was a wash. I would usually use a Ultimate clay wash, but I have been experimenting with the enamel panel line washes from Ammo, and quite like them because they give good control. The excess is washed off with odourless enamel thinners.
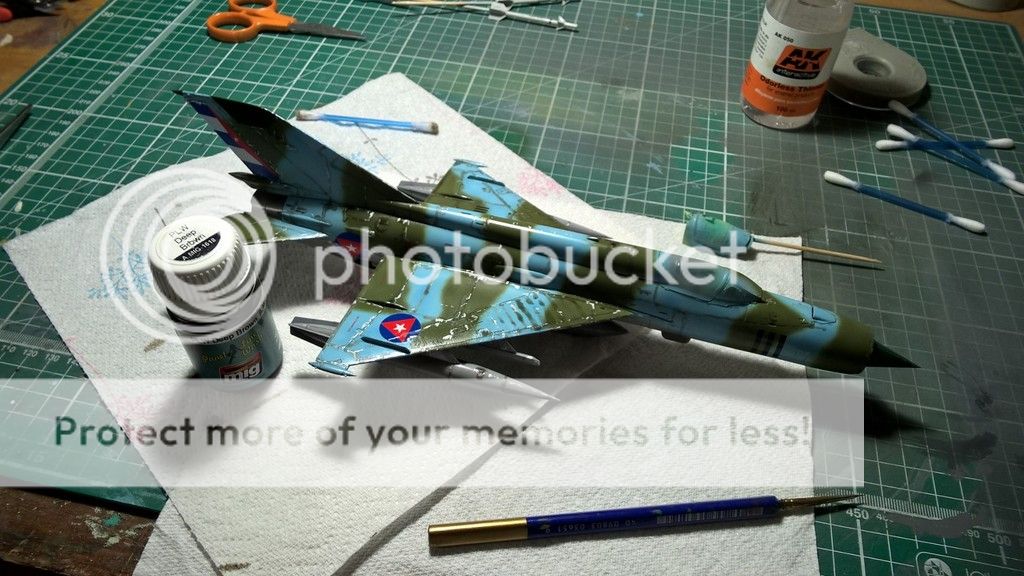
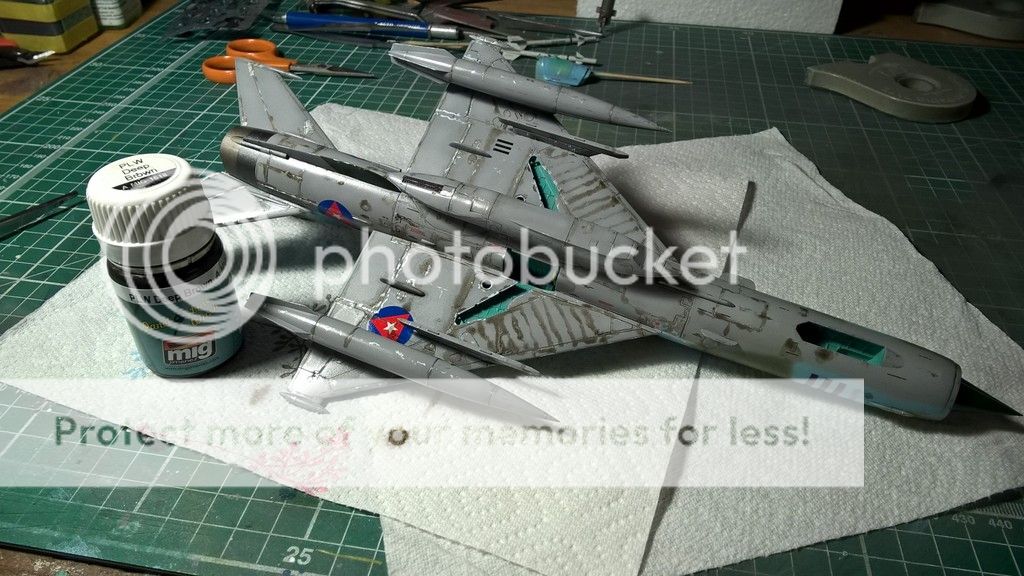
There is a really good tutorial on how to use this wash from Genesis Models.
[youtube]qC2_0IUUom4[/youtube]
A little bit of streaking with oils. I put a dot of oil at the point of origin, and then drag it back with a soft brush dampened with thinners which are then removed as you would if you were dry brushing.
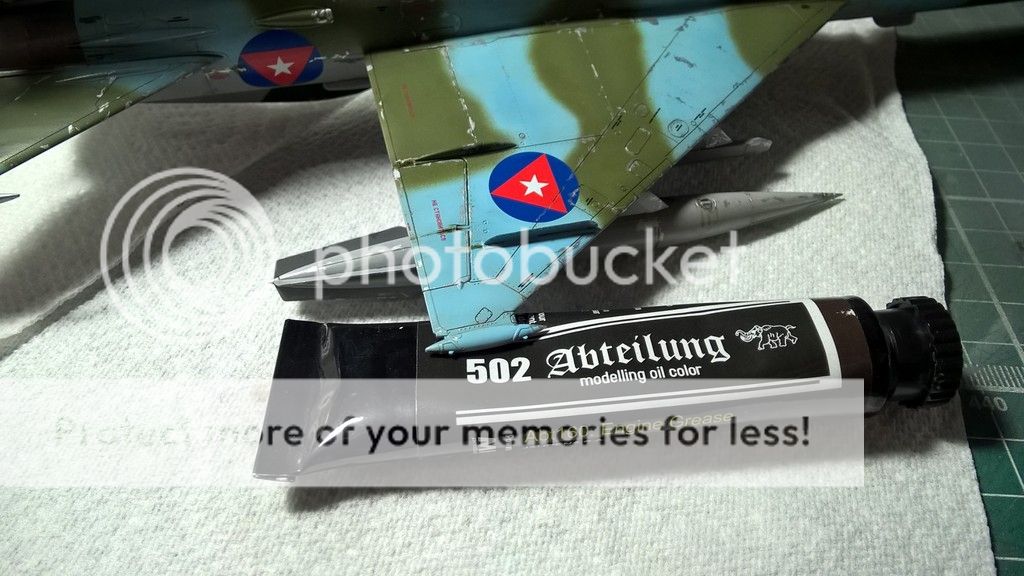
I wanted to get quite a grubby look on this MiG, so I dirtied things up using Tamiya X-19 smoke. This works well with grey, but for the unusual camo on the upper surfaces, I wanted to add a little more texture, so I used XF-10 brown thinned about 80% as well.
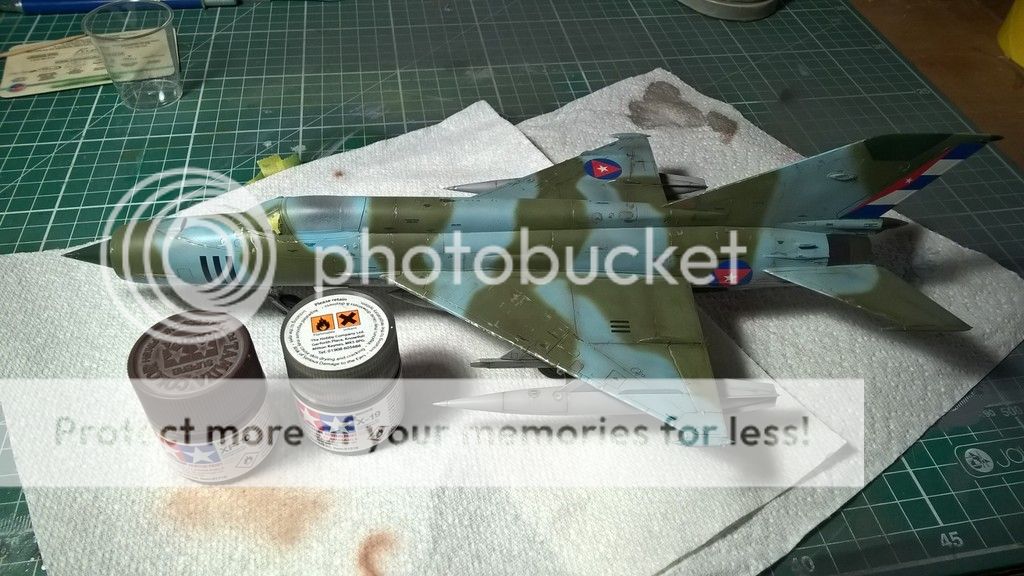
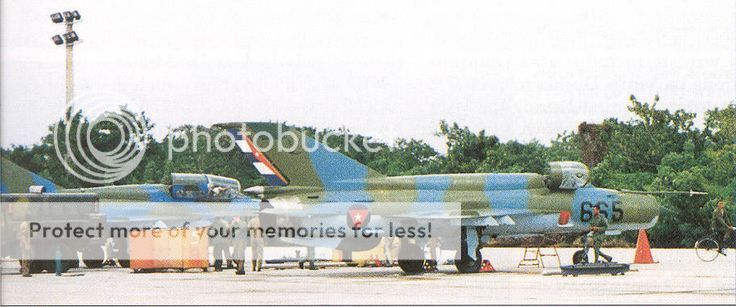
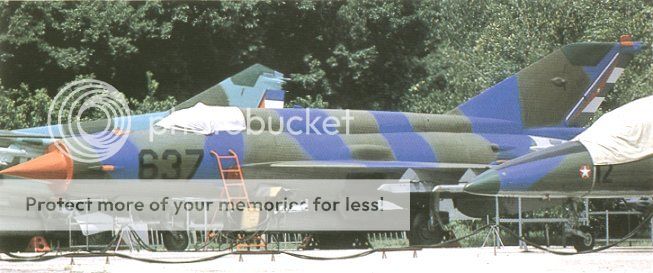
The few images I found of the real Cuban jets with this scheme actually look quite clean, so let's just call it artistic license!
Re: Eduard 1/48 MiG-21R
Posted: Sat Aug 01, 2015 11:23 am
by Ads24
The MiG-21R is complete. Really enjoyed this build - what a great kit from Eduard. Thanks to ISM for hosting this really cool SIG, and to everyone for checking in and commenting. Final reveal can be found here:
http://i971.photobucket.com/albums/ae19 ... 34_Pro.jpg
Cheers
Re: Eduard 1/48 MiG-21R
Posted: Sun Aug 02, 2015 1:56 am
by Homerlovesbeer
A lovely build, thanks for sharing
Re: Eduard 1/48 MiG-21R
Posted: Sun Aug 02, 2015 6:49 pm
by Pacheco
Really nice.

Re: Eduard 1/48 MiG-21R
Posted: Mon Aug 03, 2015 1:41 am
by Danta2er
This looks terrific and love the Cuban angle!
Re: Eduard 1/48 MiG-21R
Posted: Wed Sep 09, 2015 10:19 am
by gaz45
very nice work there mate