Revell 1/32 Supermarine Spitfire Mk.IIa "Final Reveal" (9.11.15)
Posted: Wed Jul 15, 2015 4:32 am
Hello Guys,
This will be my third entry into the "1/32 Big Bird Buddy Build" - the Revell 1/32 Supermarine Spitfire Mk.IIa
Introduction to the kit:
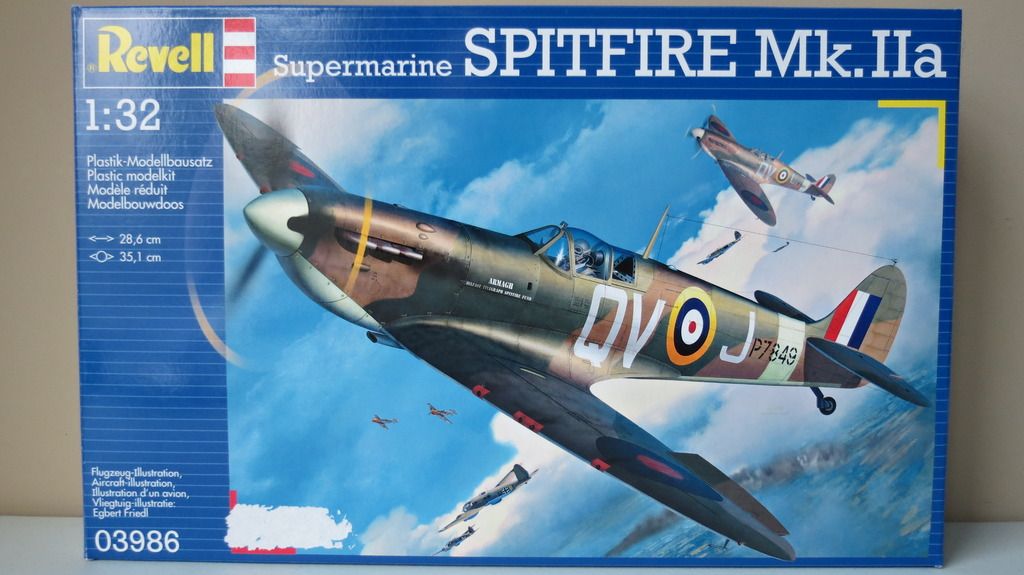
The Box Art:
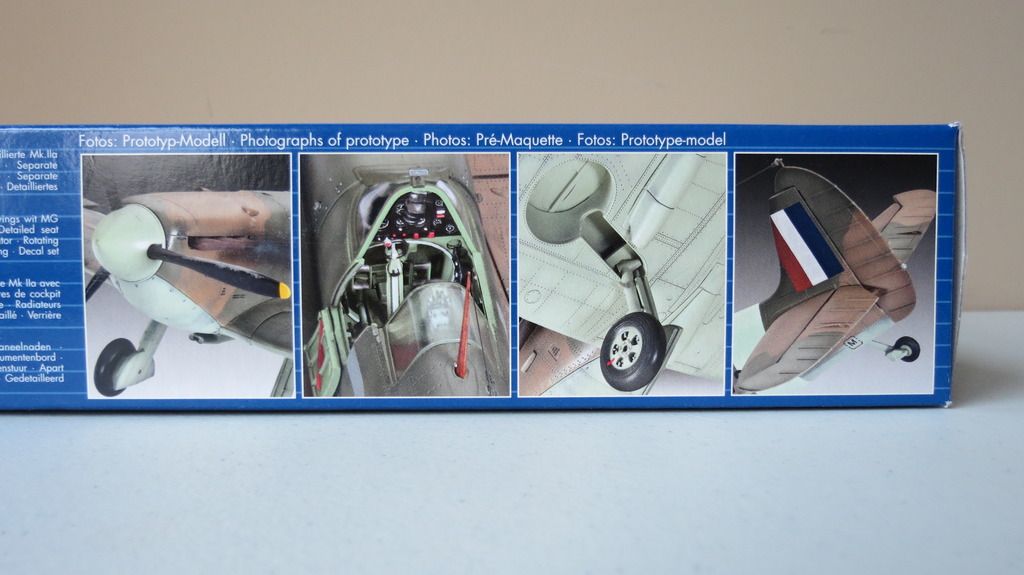
The Box Contents
The Box Contains 3 clear bags of light grey sprues; 5 in one bag, and 4 in each of the two other bags making a total of 13 light grey sprues. There is another small clear bag containing 3 small clear sprues. There is a 12 page black and white assembly/painting and decaling instruction booklet that includes two options of paint scheme and squadron markings, and lastly, a sheet of cartograf decals;
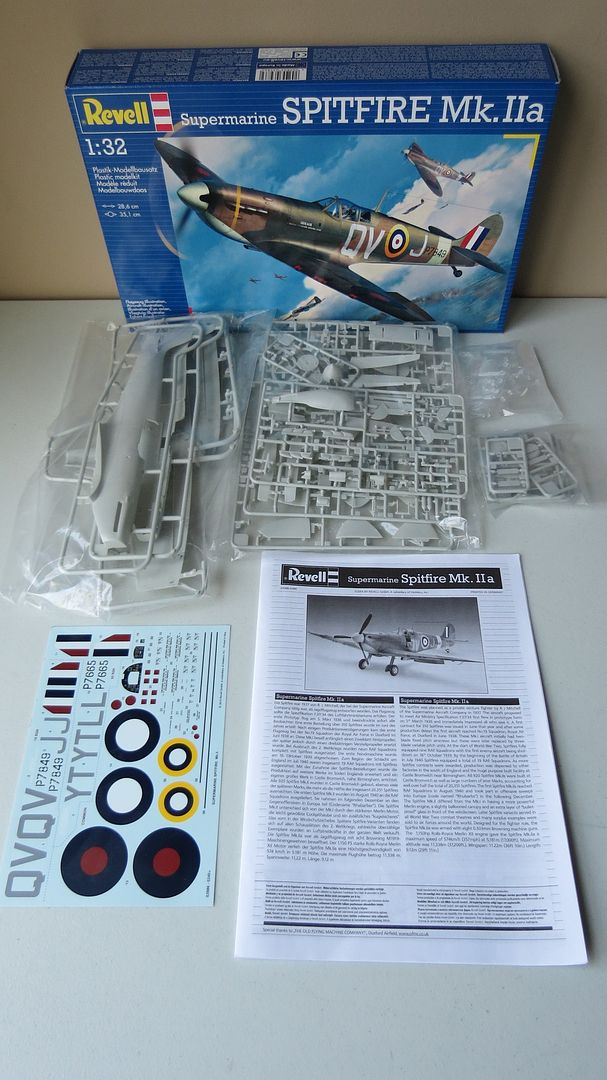
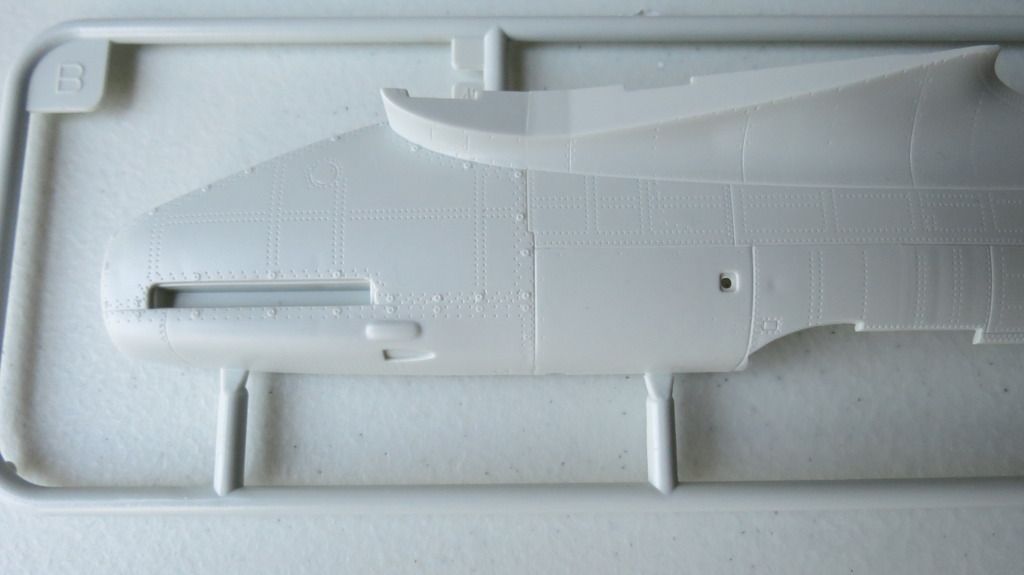
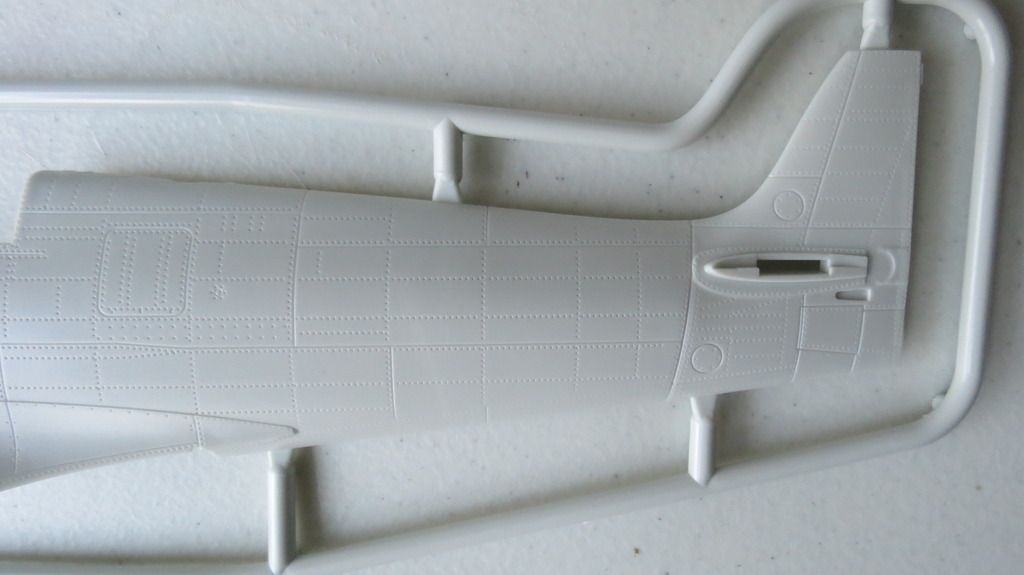
Sprues A + B:
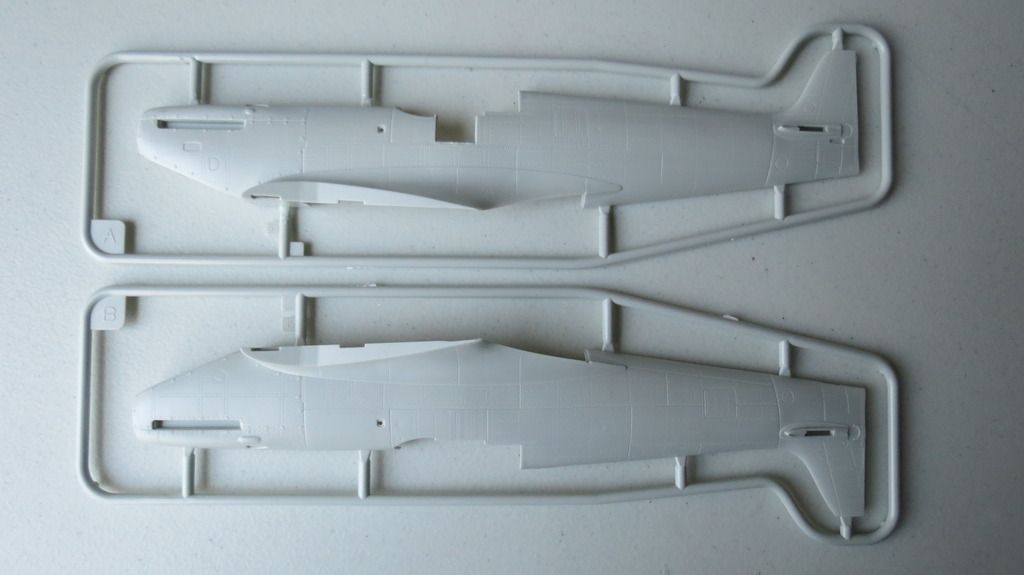
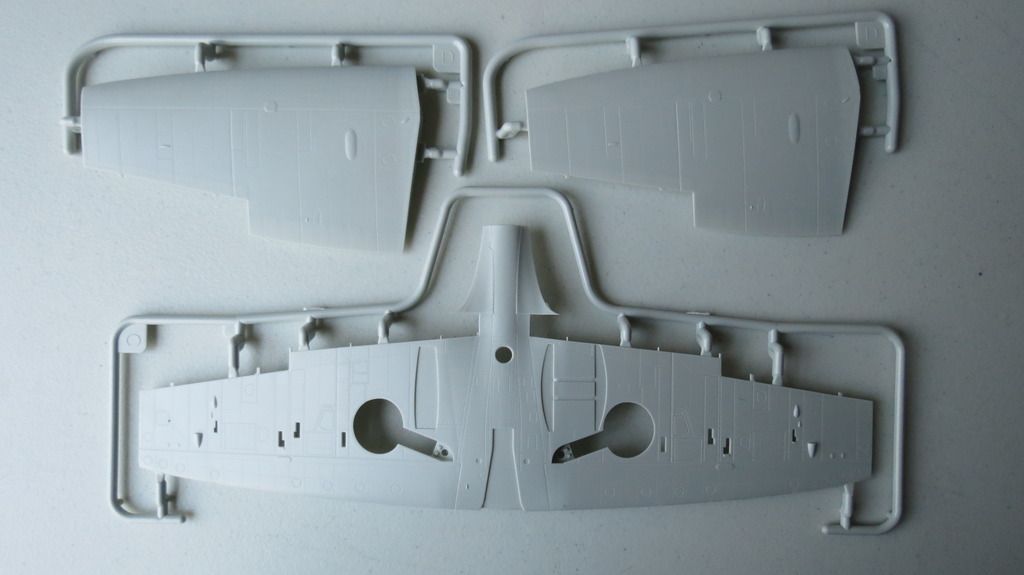
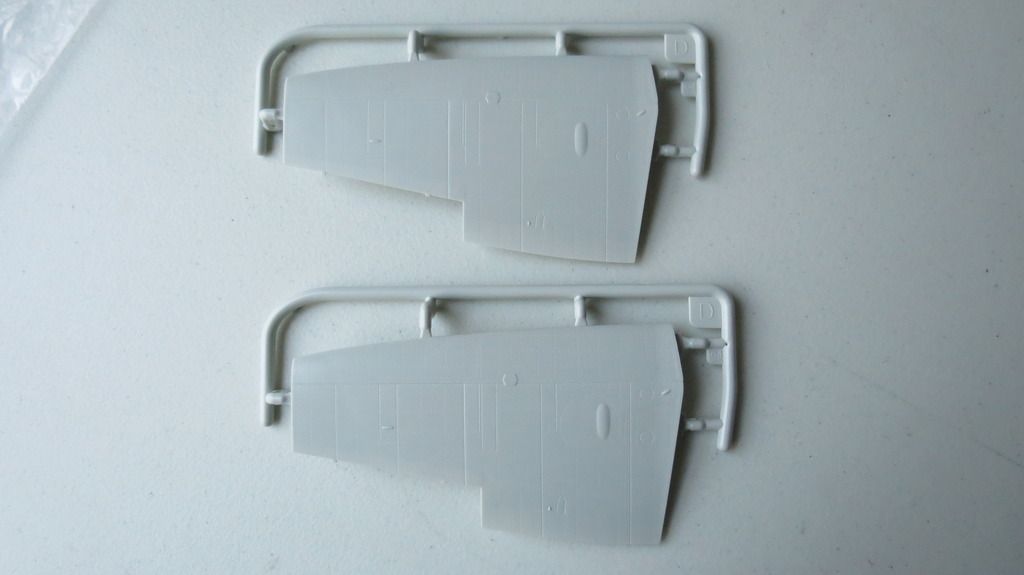
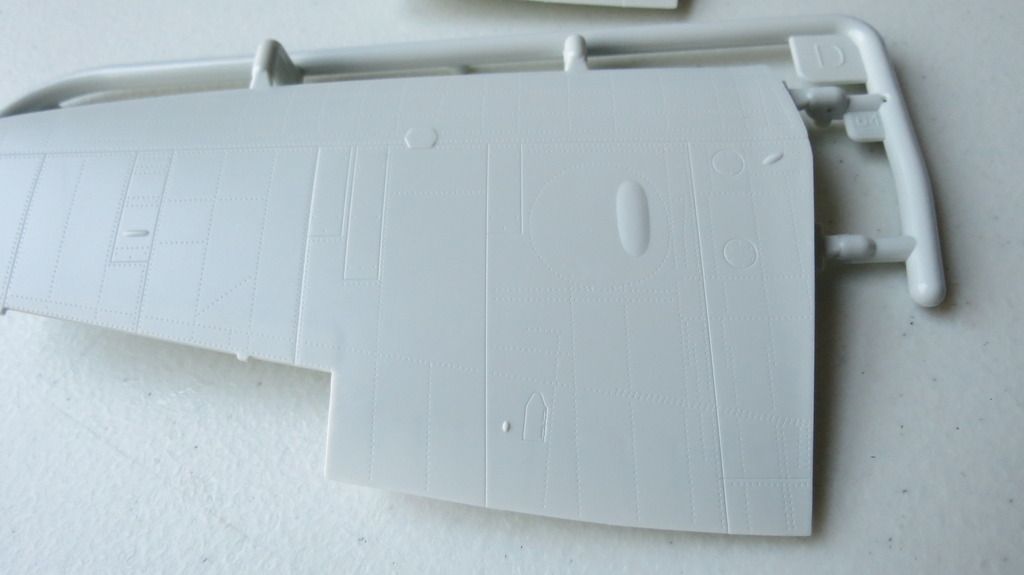
Sprues C + D + D- NO, that's not a mistake, but it is one by Revell of Germany!! I have two sprue D's which are the portside upper wing sections and no Sprue E which is the starboard side upper wing section! Aaaarrrrrggggghhhh!!! I went to Revell's website to order the missing sprue E and it can take up to 8 weeks to be delivered from Germany!!!!!????!!!! Bloody hell!!
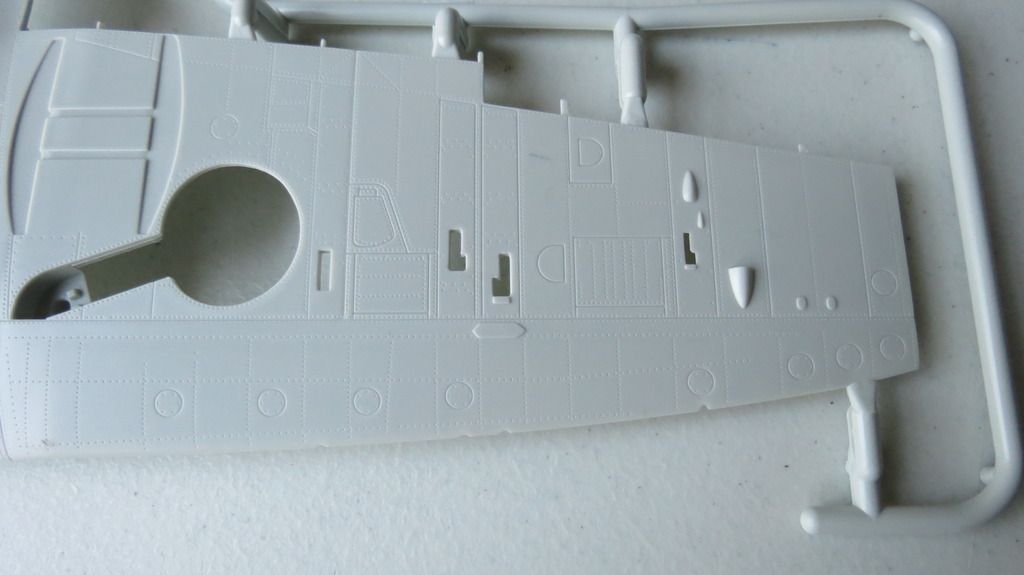
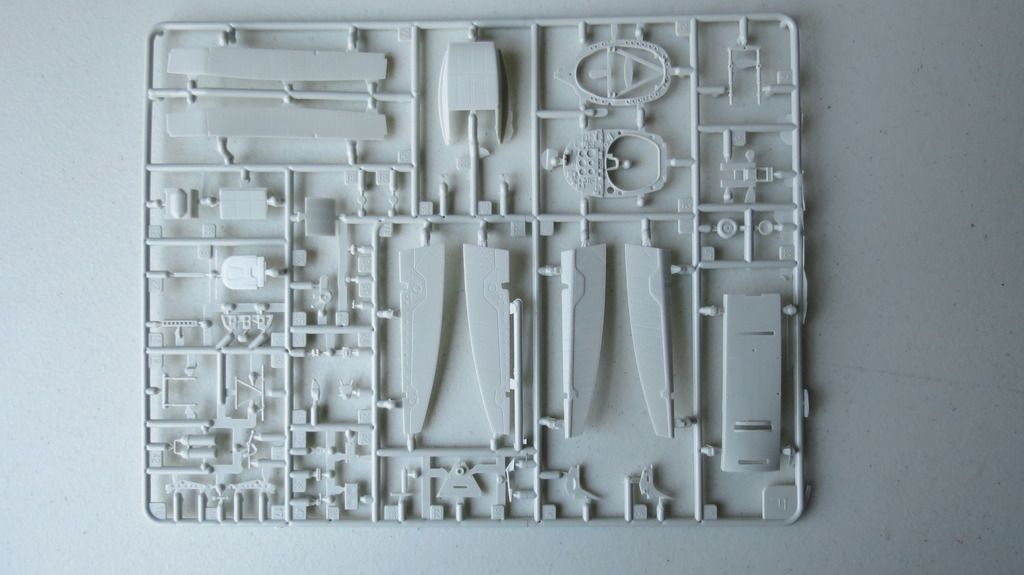
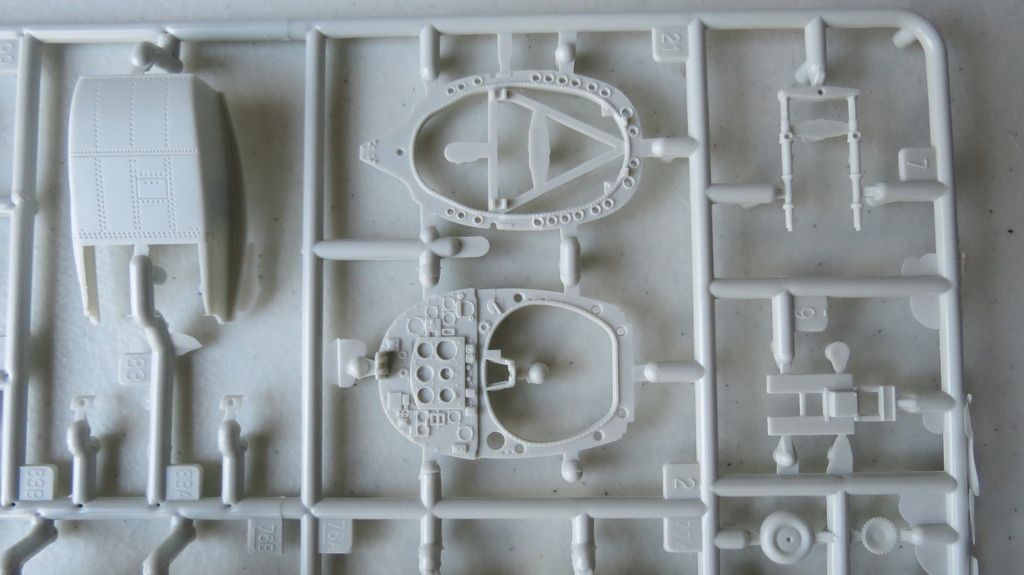
Sprue F
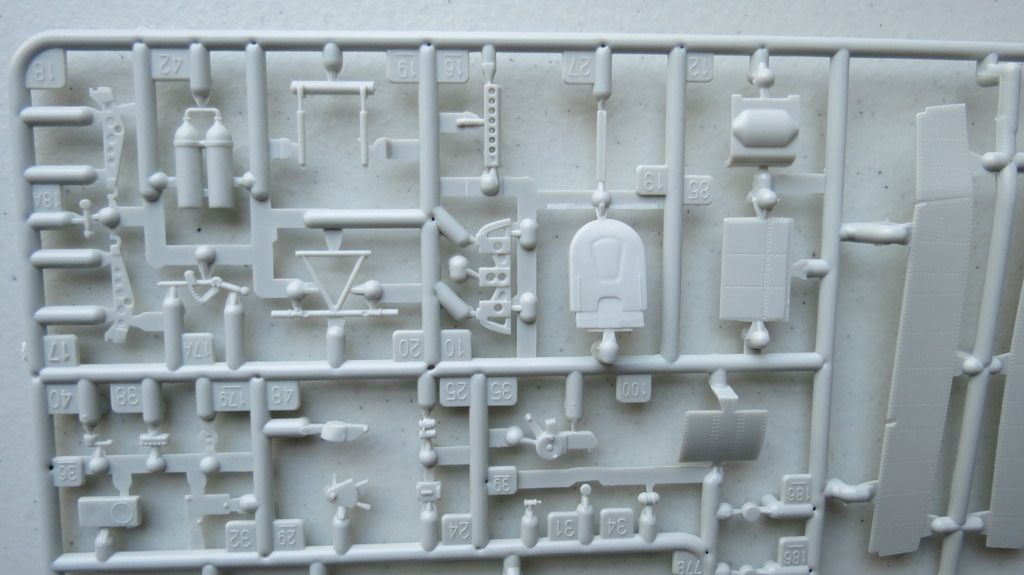
Sprue G
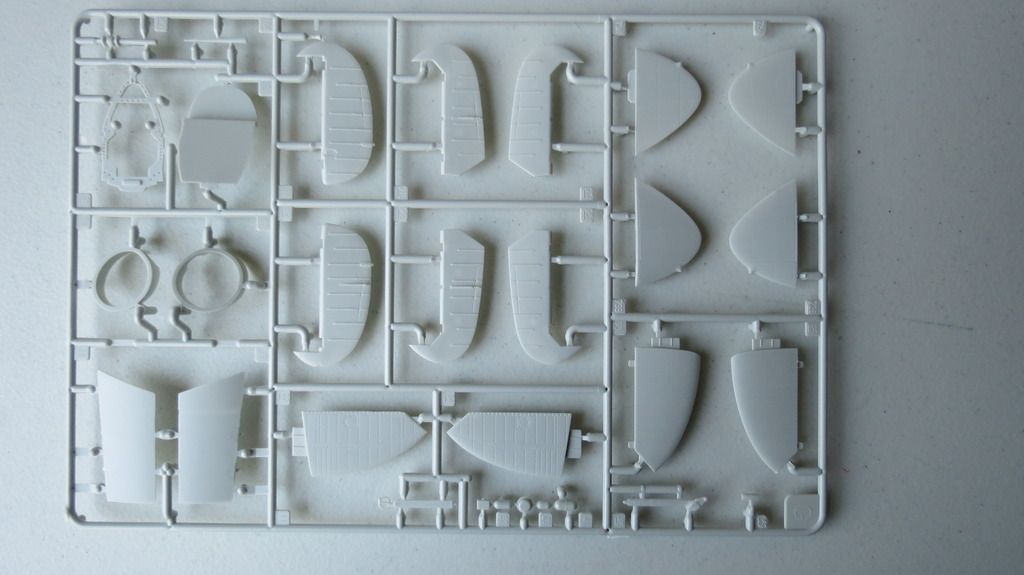
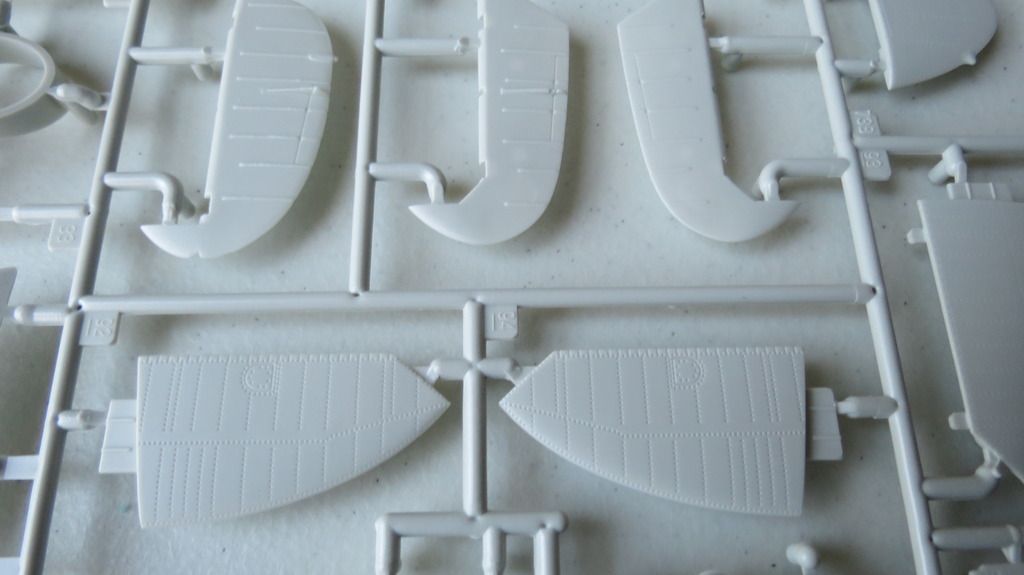
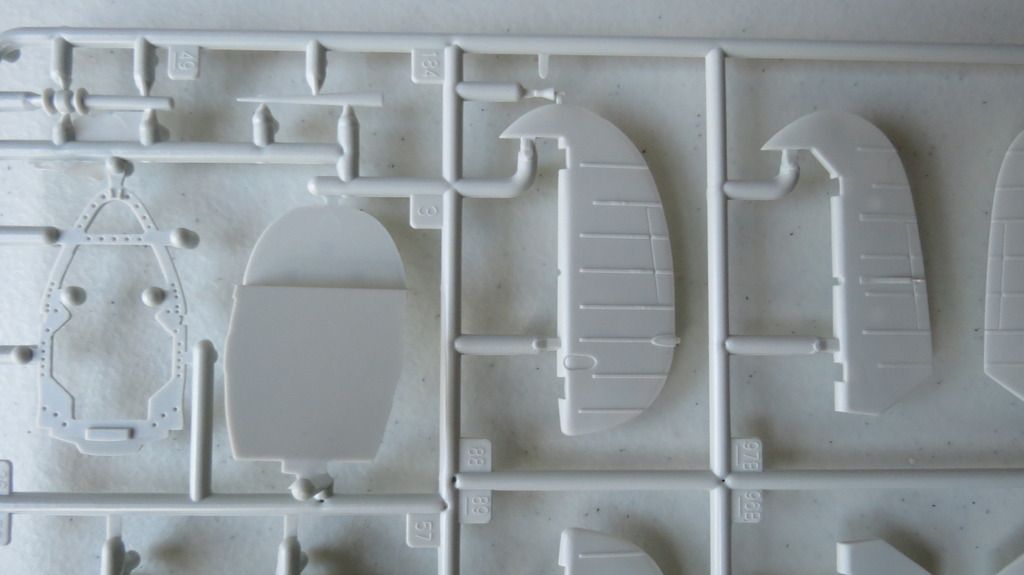
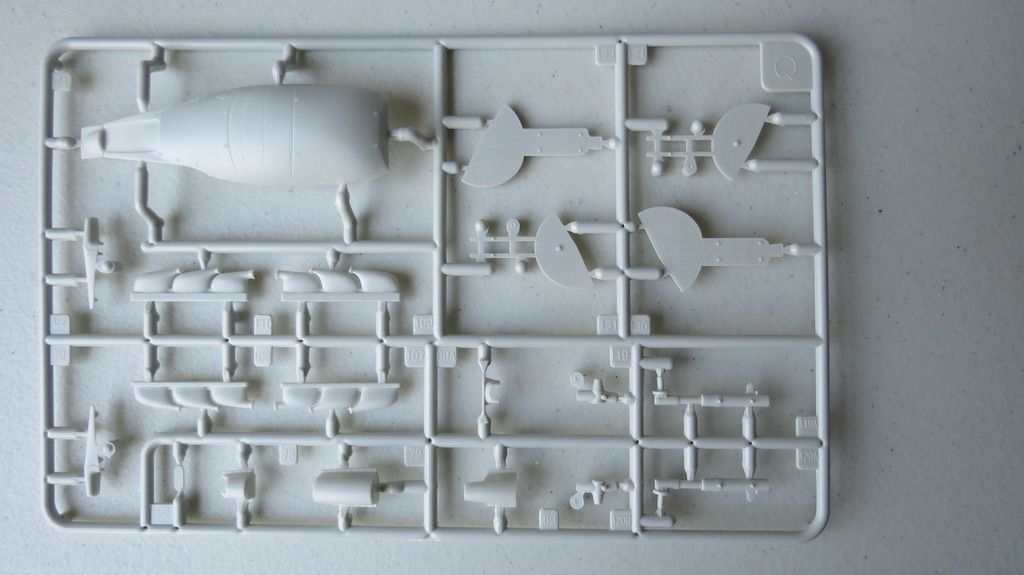
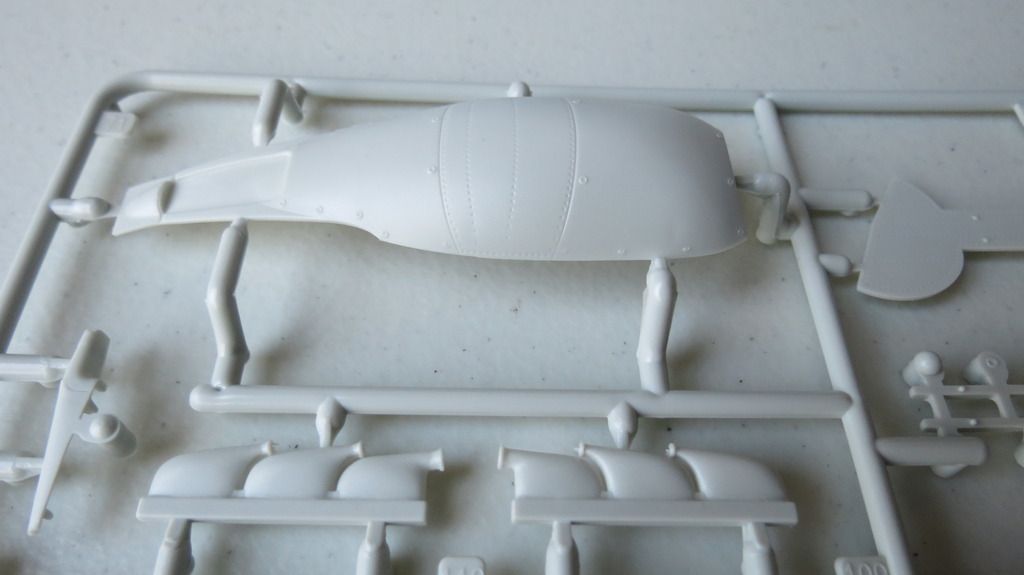
Sprue Q
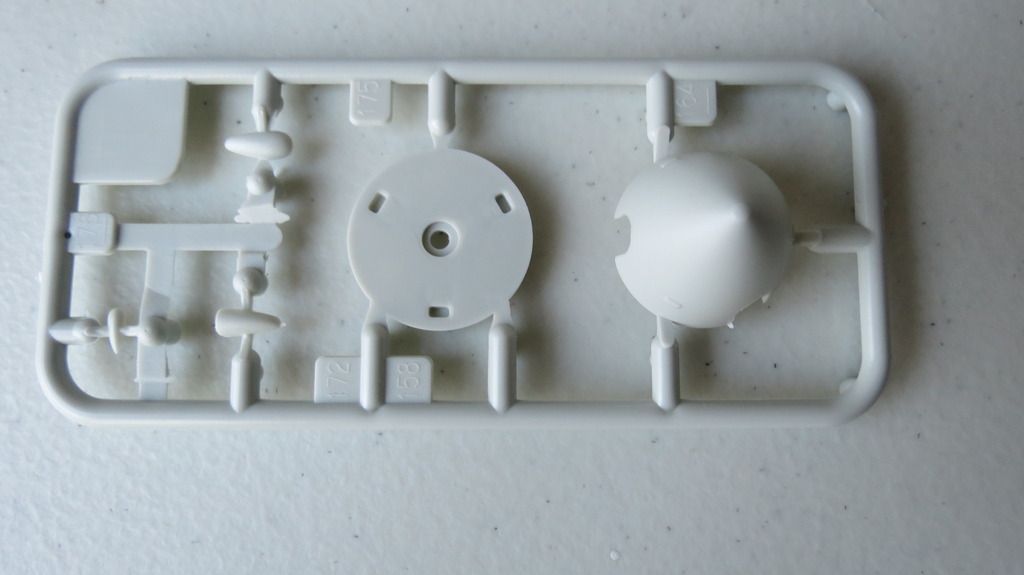
Sprue T
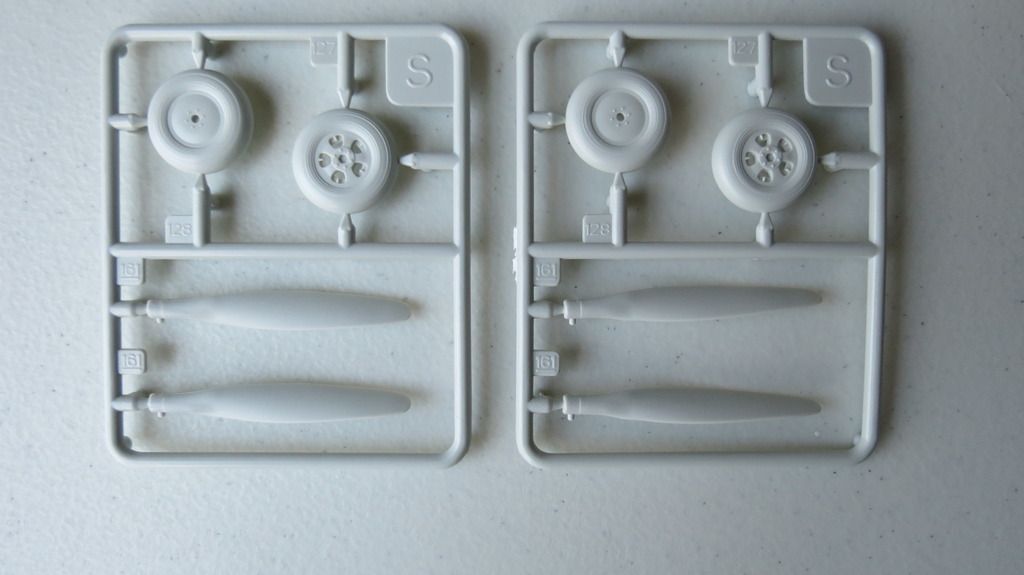
Sprue S (x2)
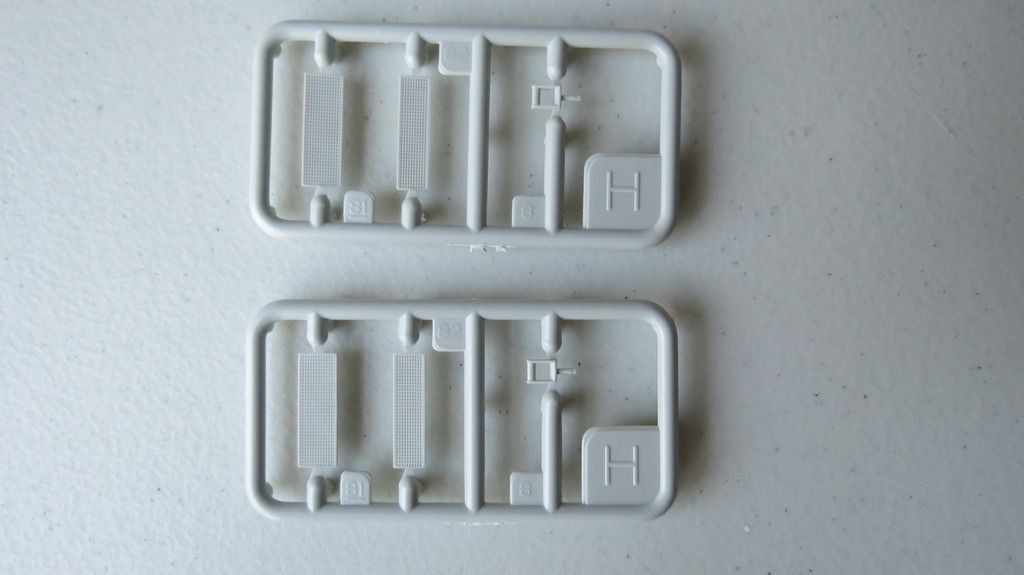
Sprue H (x2)
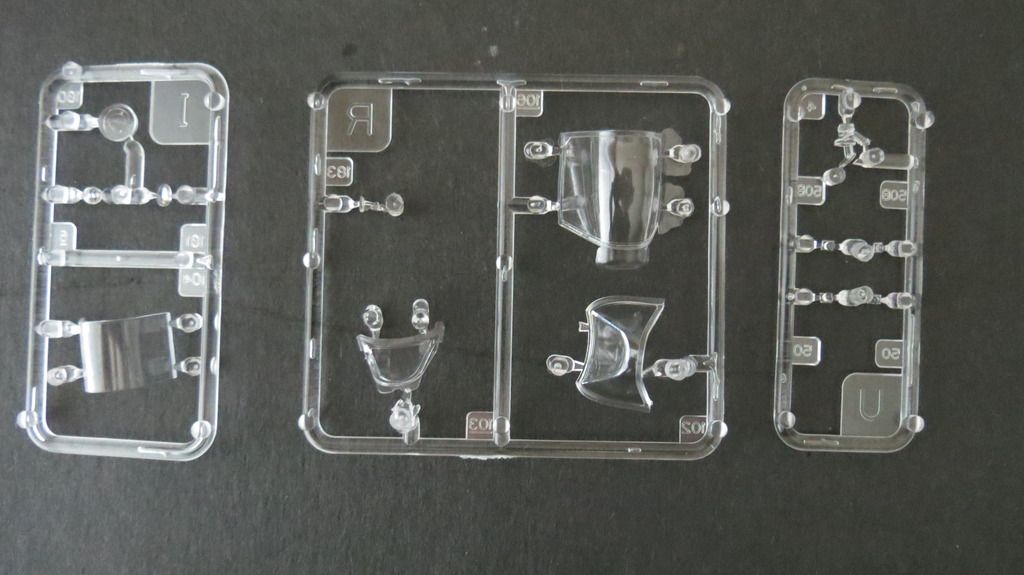
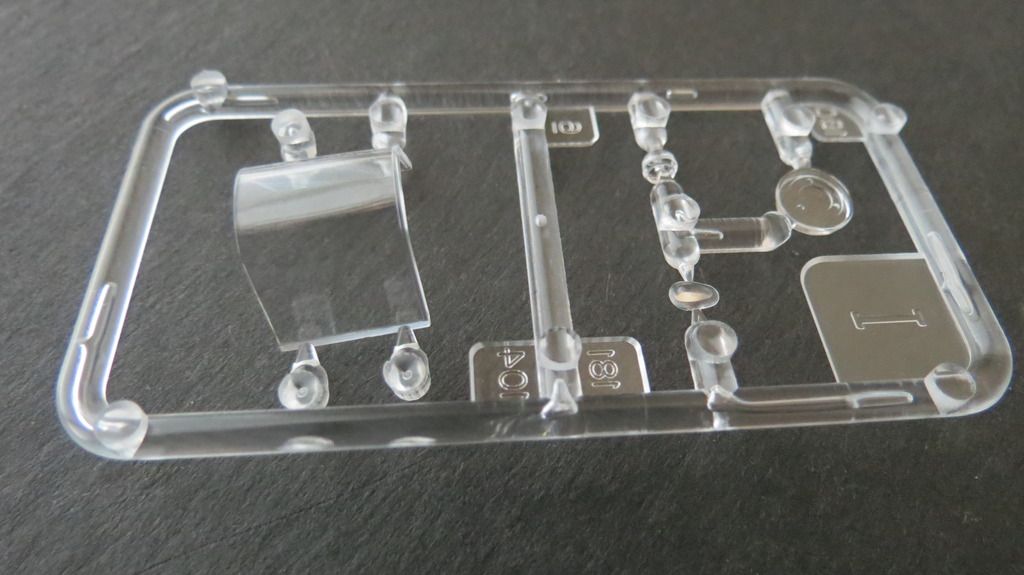
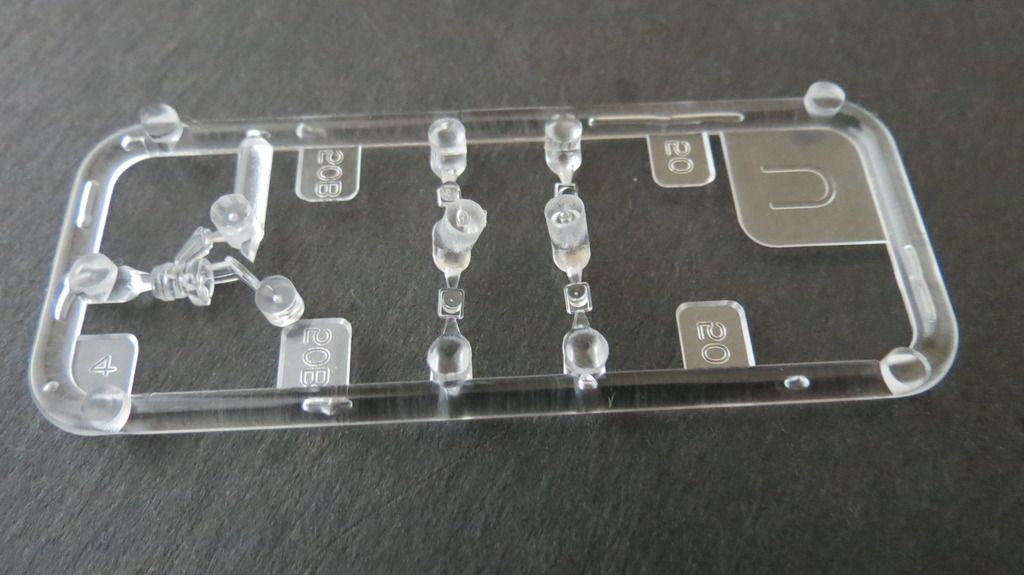
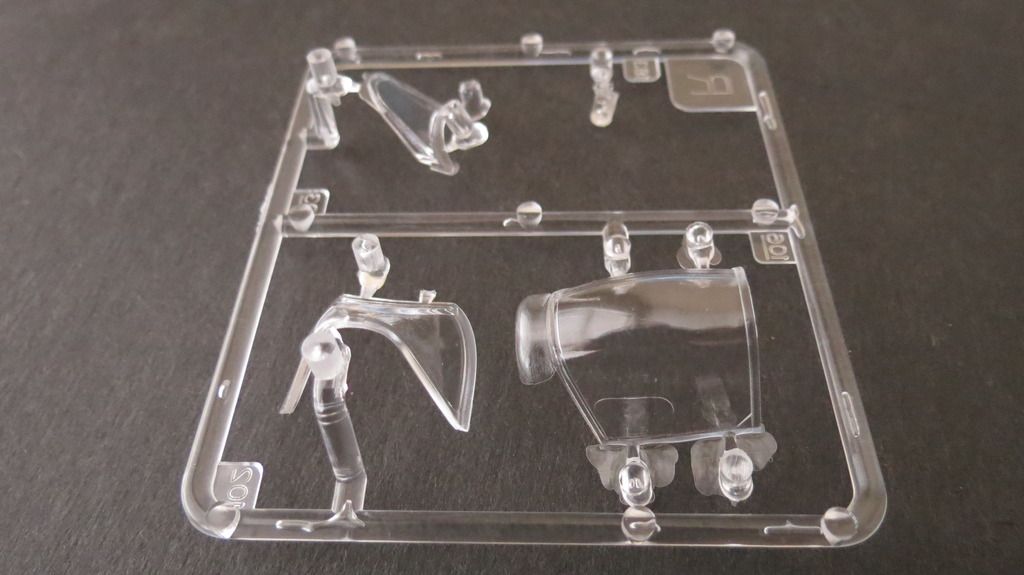
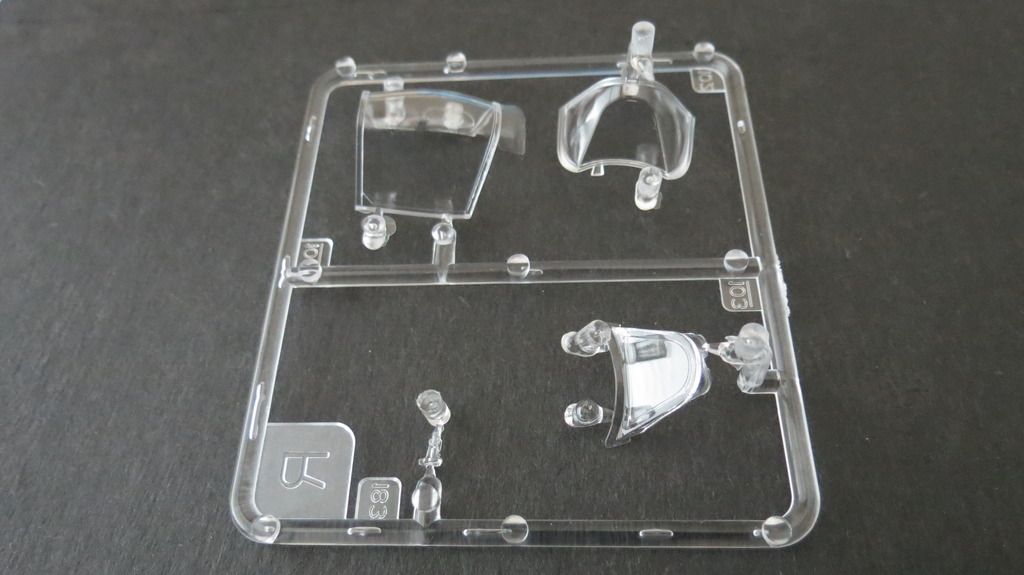
Clear Sprues I, R + U
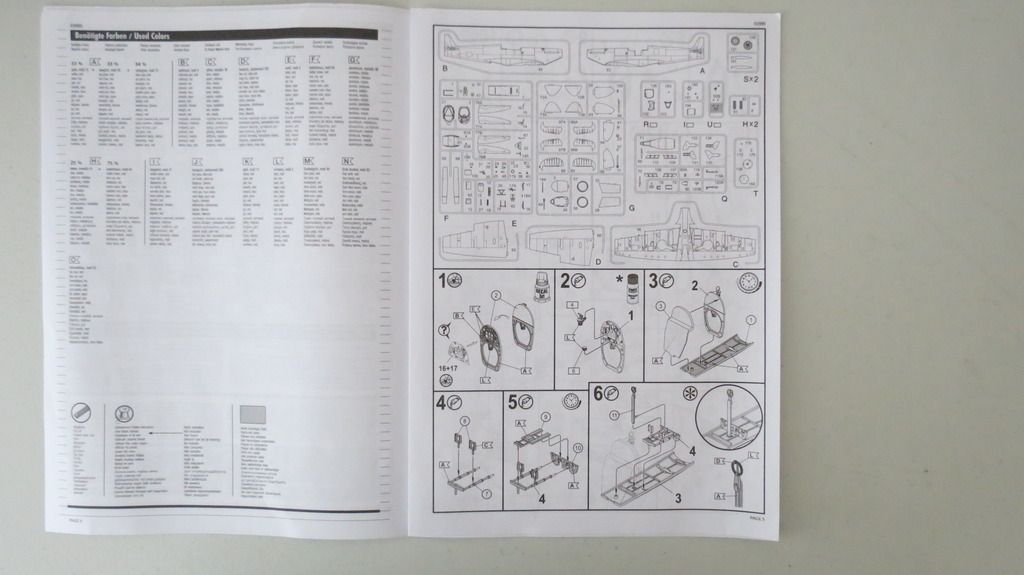
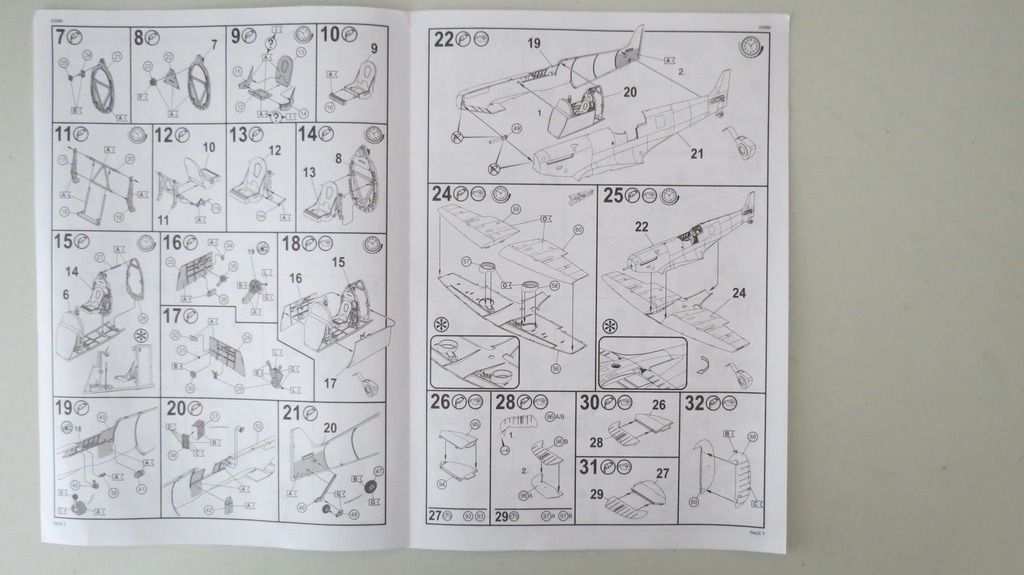
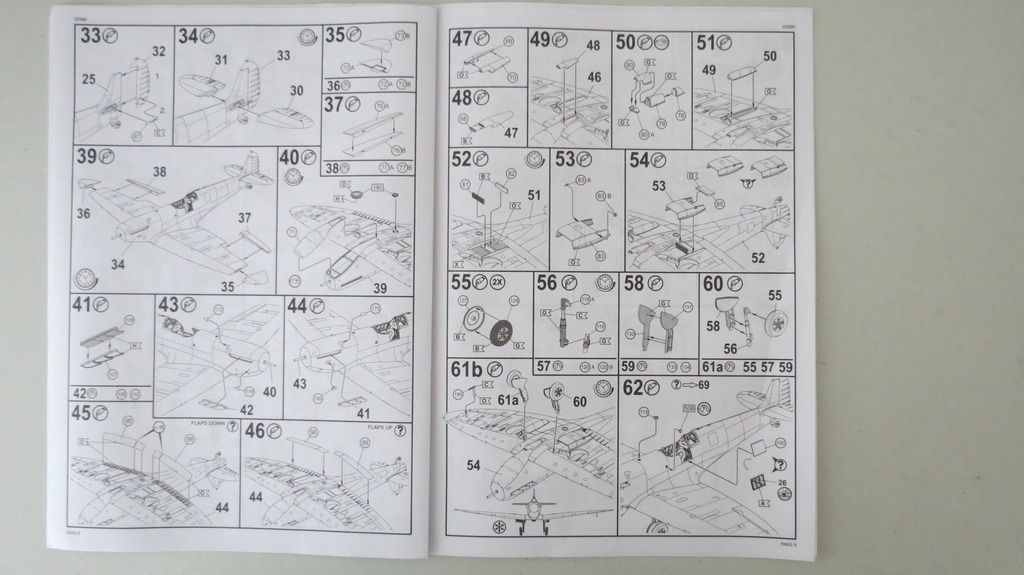
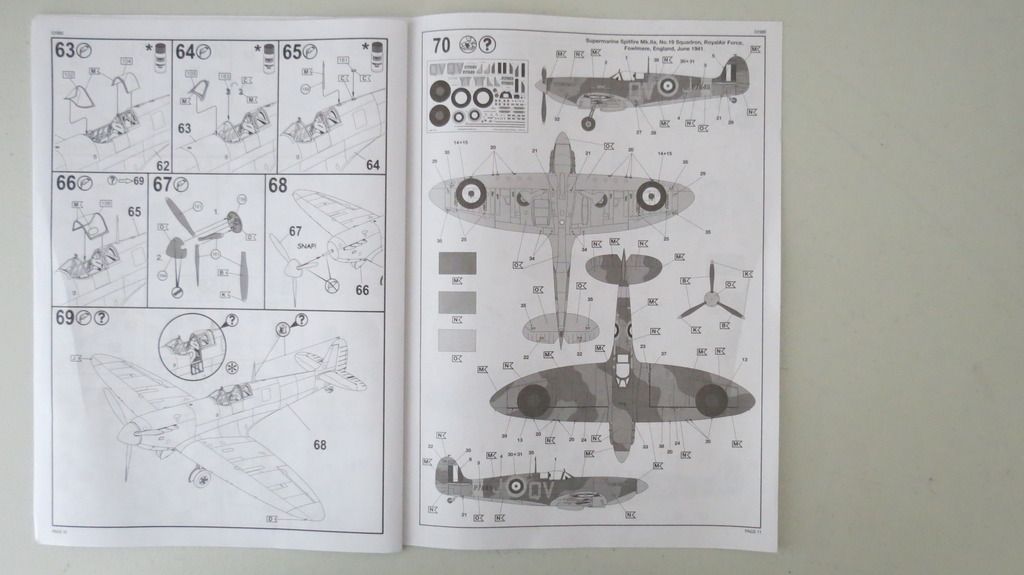
A 12 page black and white Assembly/Painting and Decaling Instruction Booklet
Front Page 1 and Back Page 12
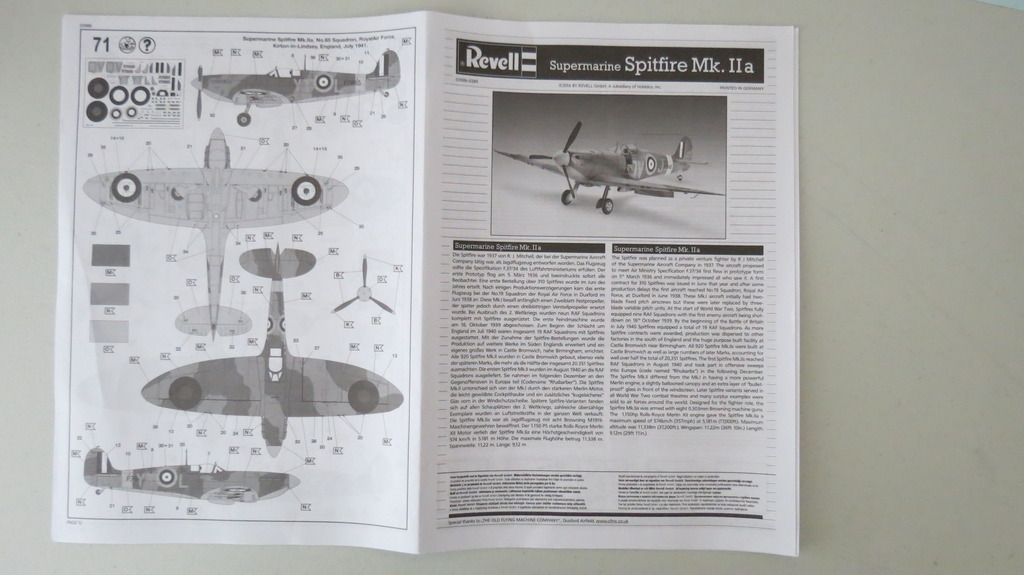
Pages 2 + 3
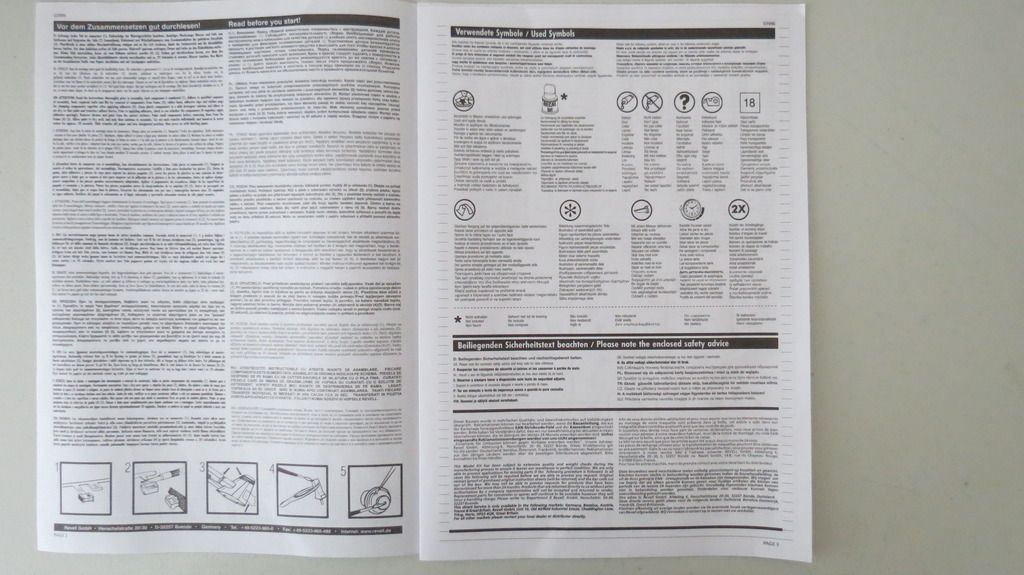
Pages 4 + 5
Page 6 + 7
Pages 8 + 9
Pages 10 + 11
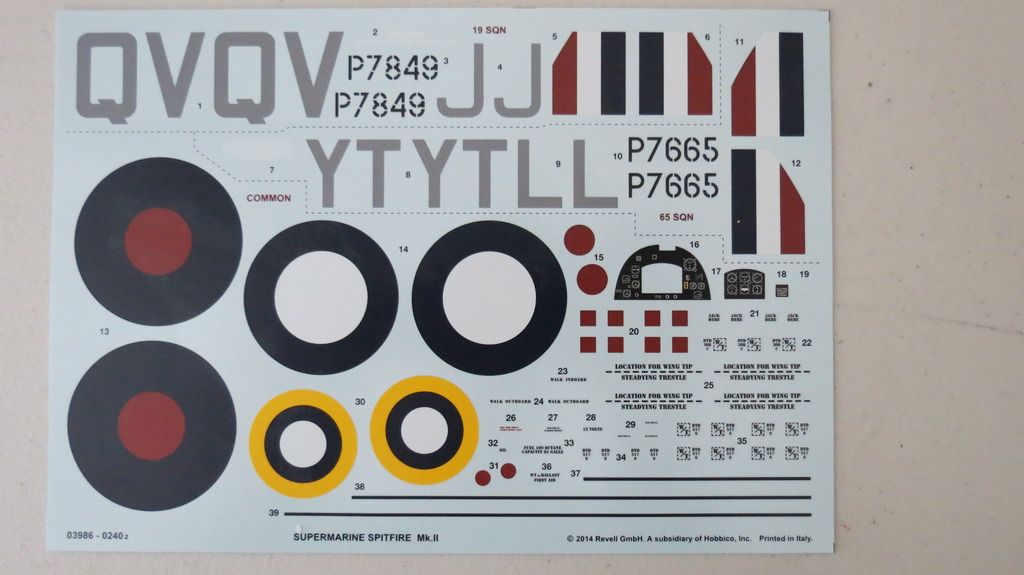
The Decal Sheet
The molded parts are very crisp and clean with zero flash apart from a couple of little areas. The parts have nice fine recessed panel lines and lots of rivet details. The clear molded parts are very clear with zero aberrations except for one side of the sliding canopy which is slightly "glazed".
The decals are excellent looking with zero carrier film beyond the decal edges.
The black and white instruction booklet appears to be clear and concise, but the two paint and decal options would be better in color. The color call outs are in Revell colors only.
I will make a final report when the build is complete indicating any issues that I come across. In the meantime, thanks for taking a look and I hope you enjoy following along with my build.
In the meantime, if you'd like to see my "in-Box-Review" video for this kit, here is the link:
[youtube]SWiiFXlU6zA[/youtube]
Let the build begin!!
Cheers
Martin
This will be my third entry into the "1/32 Big Bird Buddy Build" - the Revell 1/32 Supermarine Spitfire Mk.IIa
Introduction to the kit:
The Box Art:


The Box Contents
The Box Contains 3 clear bags of light grey sprues; 5 in one bag, and 4 in each of the two other bags making a total of 13 light grey sprues. There is another small clear bag containing 3 small clear sprues. There is a 12 page black and white assembly/painting and decaling instruction booklet that includes two options of paint scheme and squadron markings, and lastly, a sheet of cartograf decals;

Sprues A + B:


Sprues C + D + D- NO, that's not a mistake, but it is one by Revell of Germany!! I have two sprue D's which are the portside upper wing sections and no Sprue E which is the starboard side upper wing section! Aaaarrrrrggggghhhh!!! I went to Revell's website to order the missing sprue E and it can take up to 8 weeks to be delivered from Germany!!!!!????!!!! Bloody hell!!


Sprue F


Sprue G


Sprue Q


Sprue T

Sprue S (x2)

Sprue H (x2)

Clear Sprues I, R + U


A 12 page black and white Assembly/Painting and Decaling Instruction Booklet
Front Page 1 and Back Page 12

Pages 2 + 3

Pages 4 + 5

Page 6 + 7

Pages 8 + 9

Pages 10 + 11

The Decal Sheet

The molded parts are very crisp and clean with zero flash apart from a couple of little areas. The parts have nice fine recessed panel lines and lots of rivet details. The clear molded parts are very clear with zero aberrations except for one side of the sliding canopy which is slightly "glazed".
The decals are excellent looking with zero carrier film beyond the decal edges.
The black and white instruction booklet appears to be clear and concise, but the two paint and decal options would be better in color. The color call outs are in Revell colors only.
I will make a final report when the build is complete indicating any issues that I come across. In the meantime, thanks for taking a look and I hope you enjoy following along with my build.
In the meantime, if you'd like to see my "in-Box-Review" video for this kit, here is the link:
[youtube]SWiiFXlU6zA[/youtube]
Let the build begin!!
Cheers
Martin


