Tamiya 1/72 F84G Thunderjet resurrection
Posted: Wed May 29, 2013 9:33 am
I started this ages ago but the decals fell to bits so it was shelved, I got some aftermarket decals so think its time to finish it off.
Another NMF aircraft but a jet this time. Looks a nice kit with some nice riveting detail on the body and the cockpit has some great detail on it. (I'll get some pics when I get it together)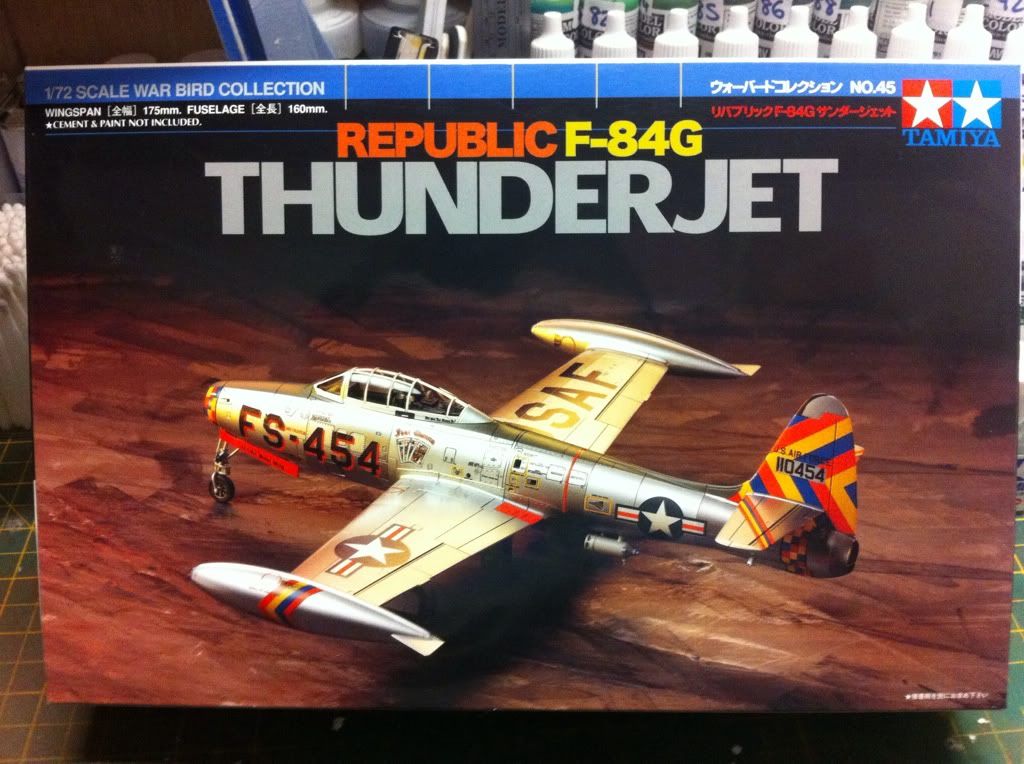


Well I got the cockpit together after which fuselage was then glued together and is awaiting sanding and filling as we speak. The fit of this kit is great and like I've said before it has a lot of detail, I m going to have to invest in a riveting tool as when I sand the seams it's going the take seem detail with it. I also believe this kit won best 1/72 kit of 1999 so it should be a nice build


 I think I'm going to display this is flight so I was going to add a pilot, I bought some ww2 US resin pilots would they still be the same in the 1950's ie same type of clothing and same colours? I was going to use the one wearing the mask on the left.
Well its all together sanded and polished. The canopy was a it of a buggerr to mask but went on with no problems. I primed it with alclad grey micro primer and then gloss black base. Sadly I sprayed the primer with to high a pressure (30psi) and that resulted in a grainy finish which when I sprayed the polished aluminium it showed through as a grainy finish in places. So to make the best of a bad situation I will heavily weather the f84 and see what it looks like. It can be seen in these pics.

I managed to find some 2500 grade wet and dry i used on gunstocks when oiling them so twenty minutes of sanding and another coat of gloss black and it looks like its gonna be ok After sanding. After a coat of alclad gloss black
Well I sanded it back again this morning then gave it another coat of black gloss, after allowing this to dry for a few hours I then gave it a couple of coat of alclad dura aluminium, the finish is much better this time and in future ill be sanding all my finshes back with 2500 wet and dry. Ive,just given it a coat f alclad klear and tomorrow I'll crack on with decalling.
Well not a good star t to today's modelling, thought I would crack on with this and get it out of the way. Sprayed the olive drab anti reflection paint. Then cracked on with the decalling as can see they just fell to bits after being i the water, so I tried the other decal scheme and the same they just disintegrate. So I'll have to buy some after market decals when I can So I thought I'll get the hurricane done, but a cloe look shows they the decals are really poor out of register and merging colours so I'll have to buy a set for this too.
Another NMF aircraft but a jet this time. Looks a nice kit with some nice riveting detail on the body and the cockpit has some great detail on it. (I'll get some pics when I get it together)
Well I got the cockpit together after which fuselage was then glued together and is awaiting sanding and filling as we speak. The fit of this kit is great and like I've said before it has a lot of detail, I m going to have to invest in a riveting tool as when I sand the seams it's going the take seem detail with it. I also believe this kit won best 1/72 kit of 1999 so it should be a nice build
I think I'm going to display this is flight so I was going to add a pilot, I bought some ww2 US resin pilots would they still be the same in the 1950's ie same type of clothing and same colours? I was going to use the one wearing the mask on the left. Well its all together sanded and polished. The canopy was a it of a buggerr to mask but went on with no problems.
I primed it with alclad grey micro primer and then gloss black base. Sadly I sprayed the primer with to high a pressure (30psi) and that resulted in a grainy finish which when I sprayed the polished aluminium it showed through as a grainy finish in places. So to make the best of a bad situation I will heavily weather the f84 and see what it looks like. It can be seen in these pics. I managed to find some 2500 grade wet and dry i used on gunstocks when oiling them so twenty minutes of sanding and another coat of gloss black and it looks like its gonna be ok After sanding.
After a coat of alclad gloss black Well I sanded it back again this morning then gave it another coat of black gloss, after allowing this to dry for a few hours I then gave it a couple of coat of alclad dura aluminium, the finish is much better this time and in future ill be sanding all my finshes back with 2500 wet and dry. Ive,just given it a coat f alclad klear and tomorrow I'll crack on with decalling.
Well not a good star t to today's modelling, thought I would crack on with this and get it out of the way. Sprayed the olive drab anti reflection paint.
Then cracked on with the decalling as can see they just fell to bits after being i the water, so I tried the other decal scheme and the same they just disintegrate. So I'll have to buy some after market decals when I can So I thought I'll get the hurricane done, but a cloe look shows they the decals are really poor out of register and merging colours so I'll have to buy a set for this too. 


 . I'm sure you're going do build another masterpiece Paul. Can't wait to see this one finished mate...


