Page 1 of 1
STUG IV "STUG Life" GB
Posted: Sun Sep 27, 2015 4:22 pm
by felisbarcinonensis
"Stug Life" GB Entry
[youtube]_D3cTOqNykk[/youtube]
Sturmgeschütz IV Tamiya 1/35


Re: STUG IV "STUG Life" GB
Posted: Sun Sep 27, 2015 4:37 pm
by felisbarcinonensis
"Stug Life" GB Update 1
[youtube]9g7wNjZtq1s[/youtube]
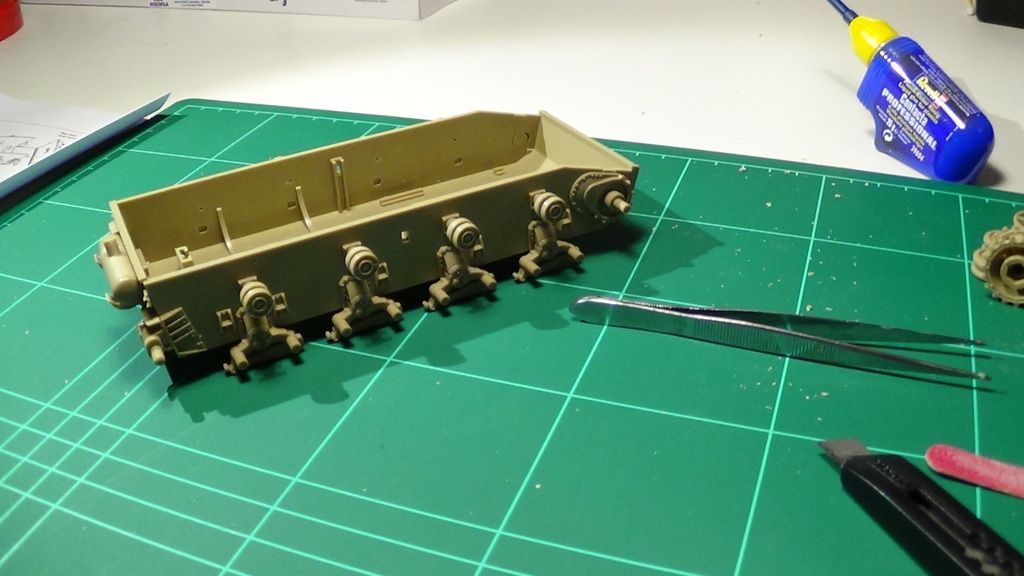
STUG Life Basics....
A new kit!
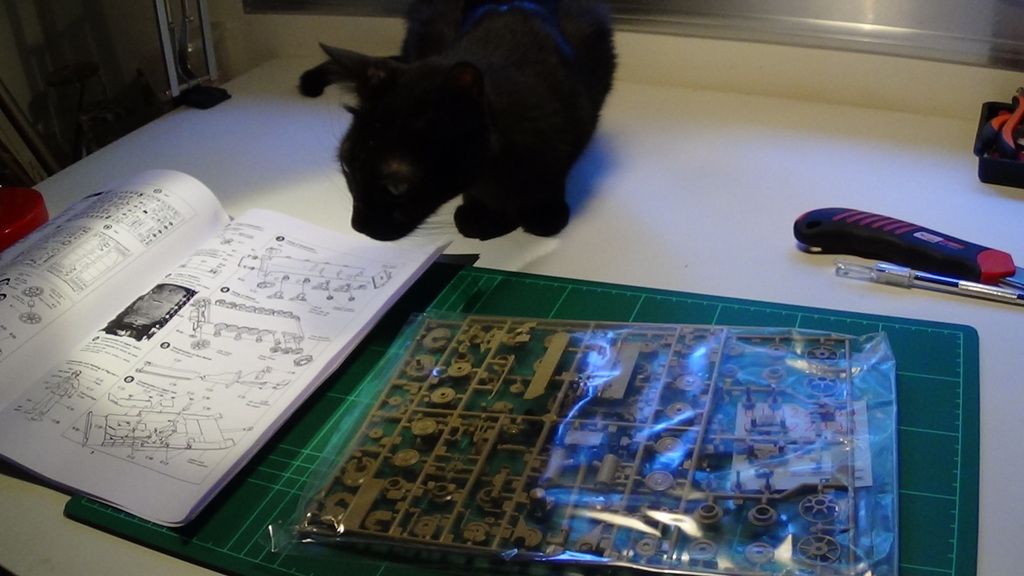
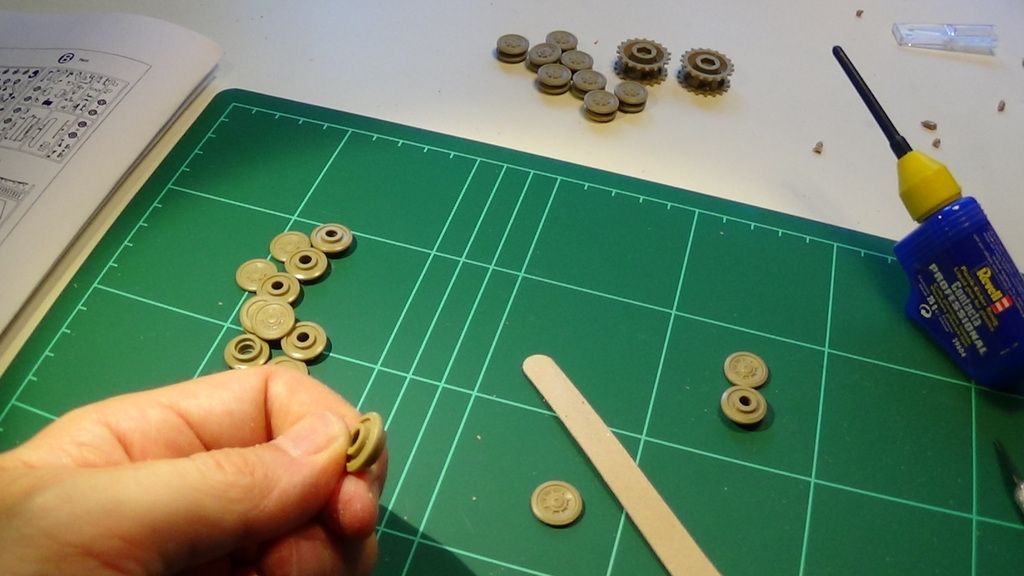
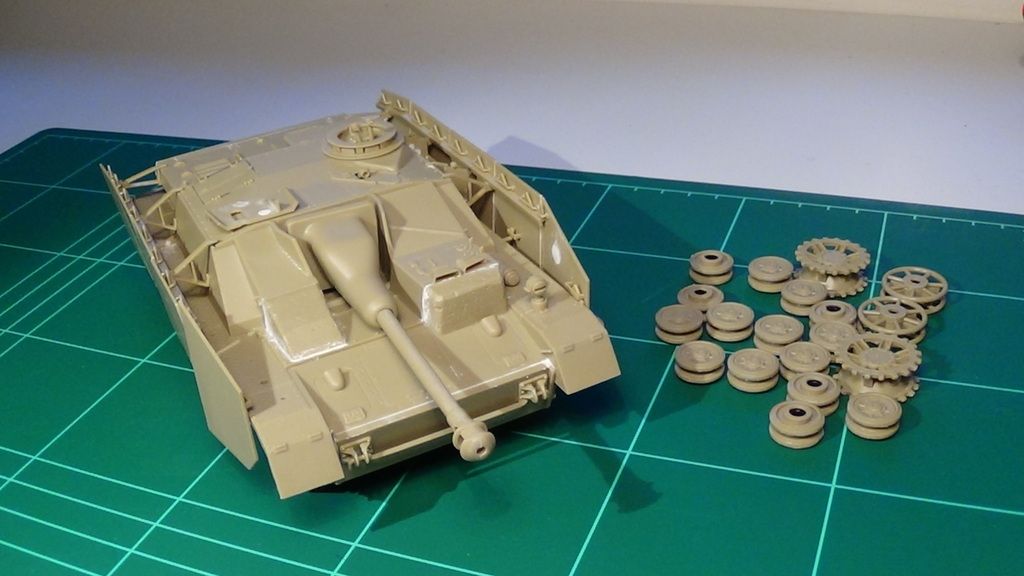
Sanding marathon
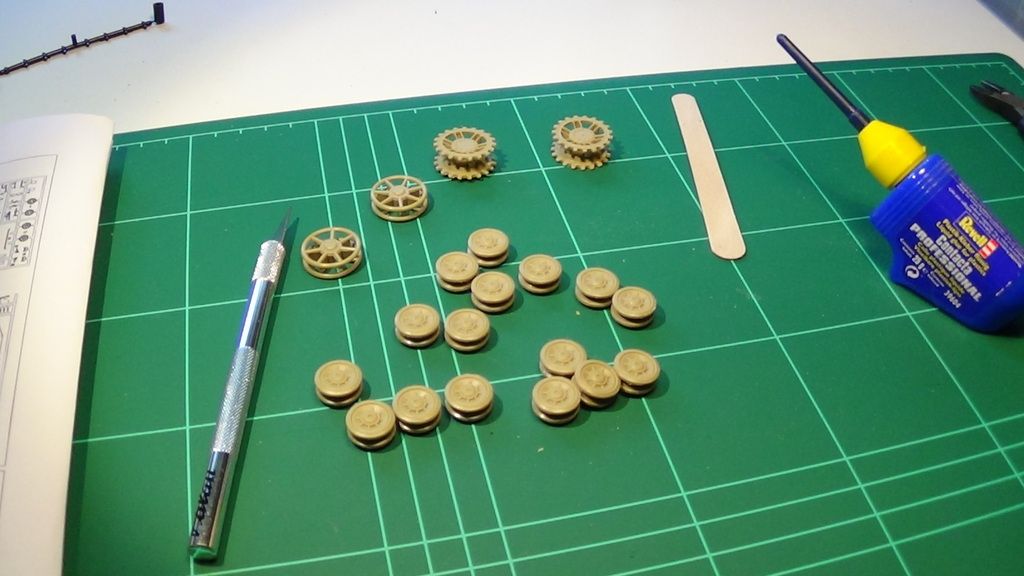
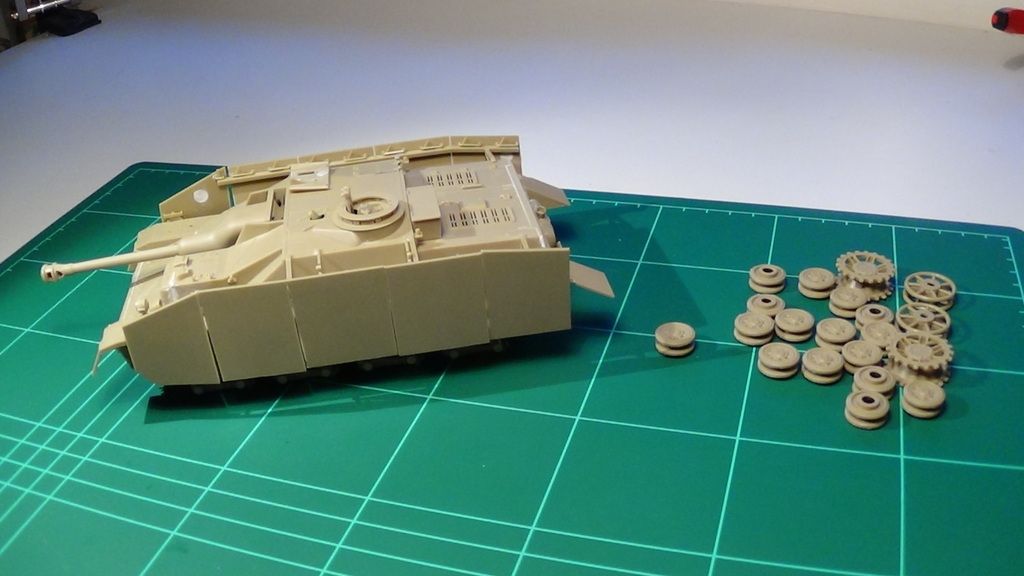
Done with them wheels!
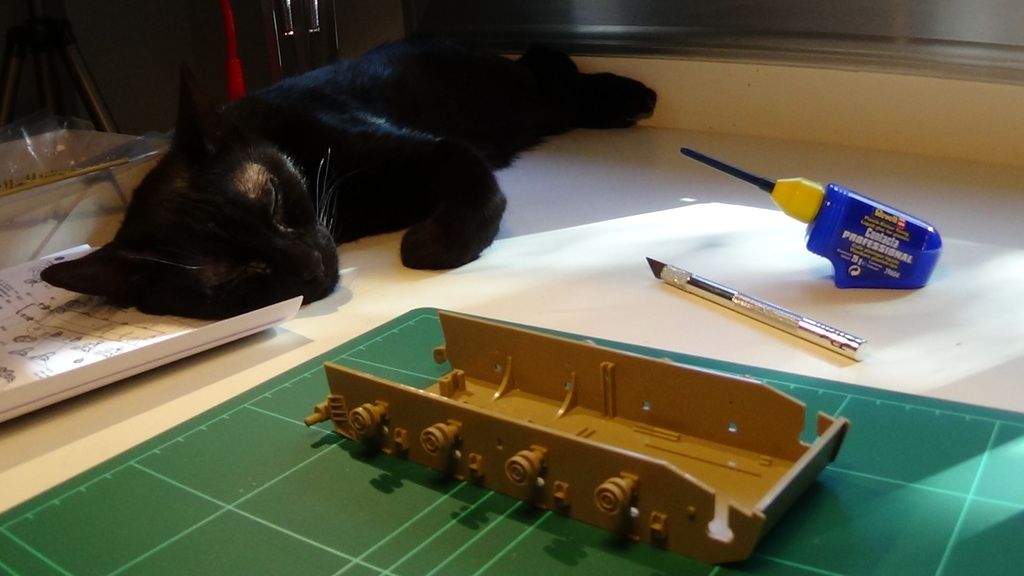
Good suspension = Sweet dreams
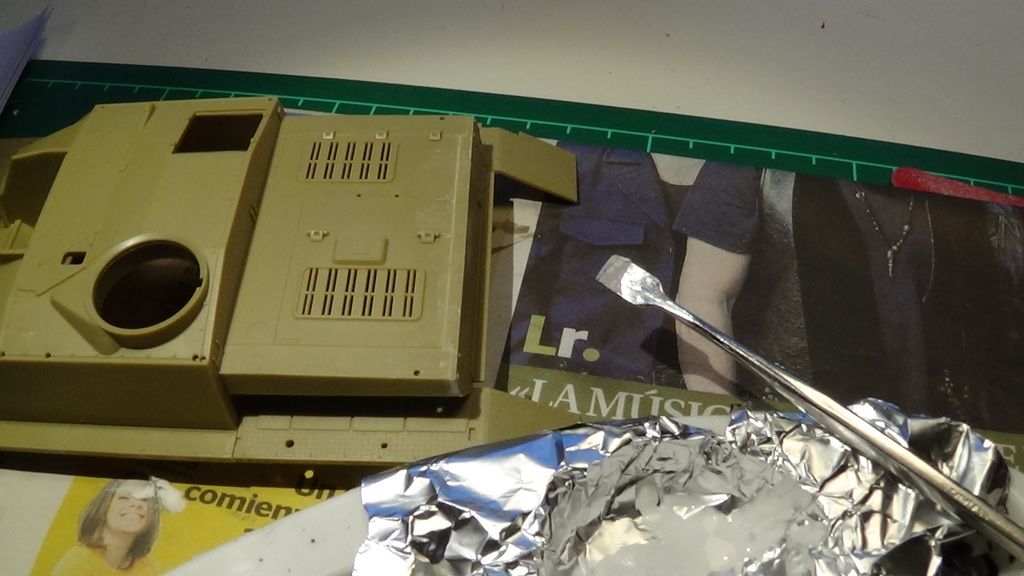
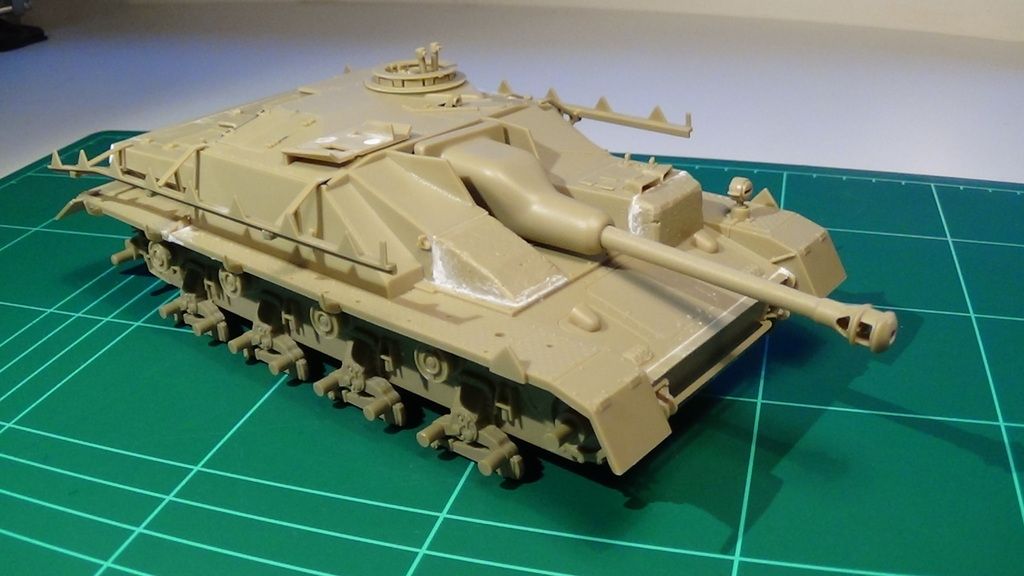
Watery filler
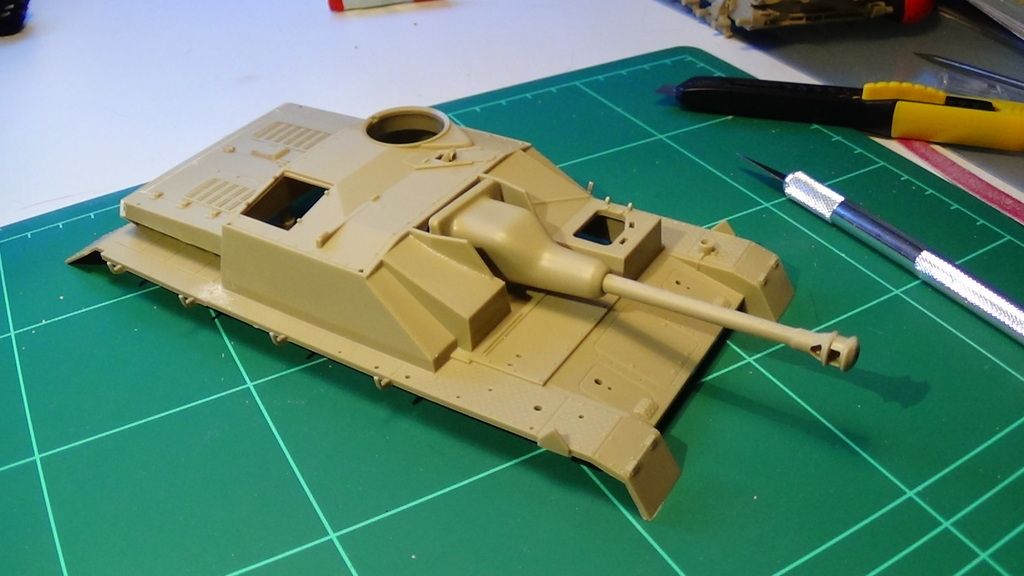
Barrel fitted
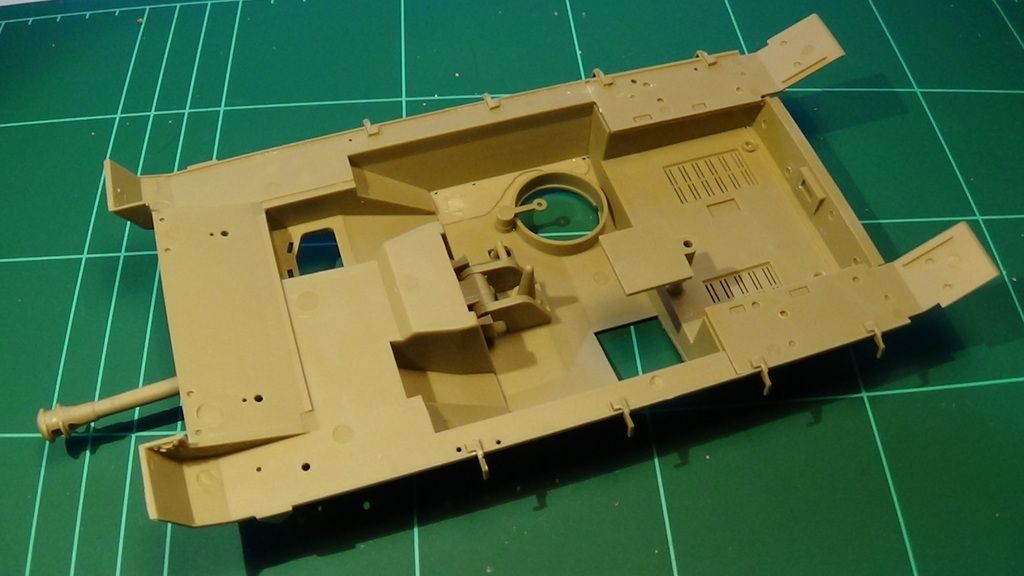
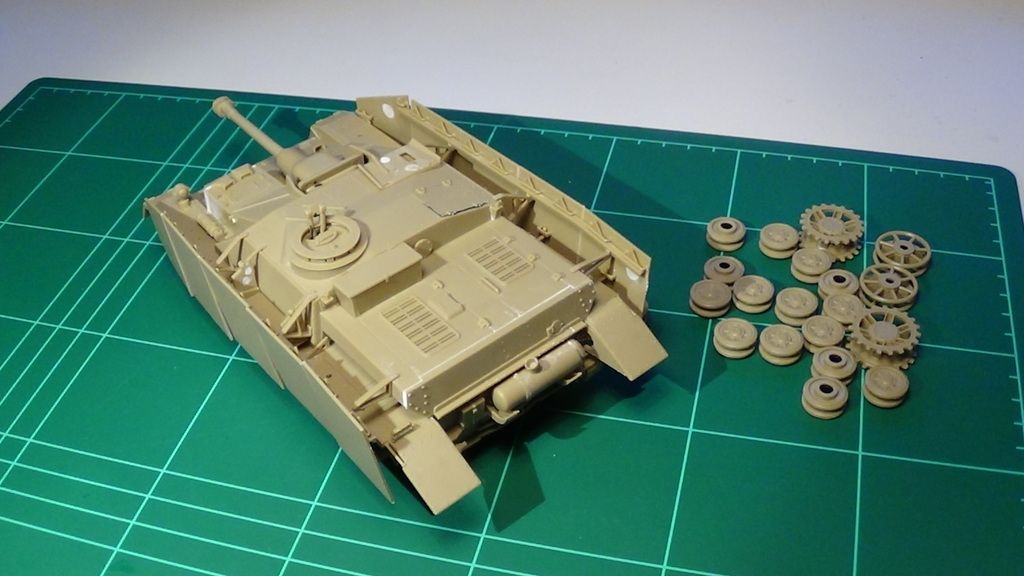
Basic interior; it's going to be locked
Niiice

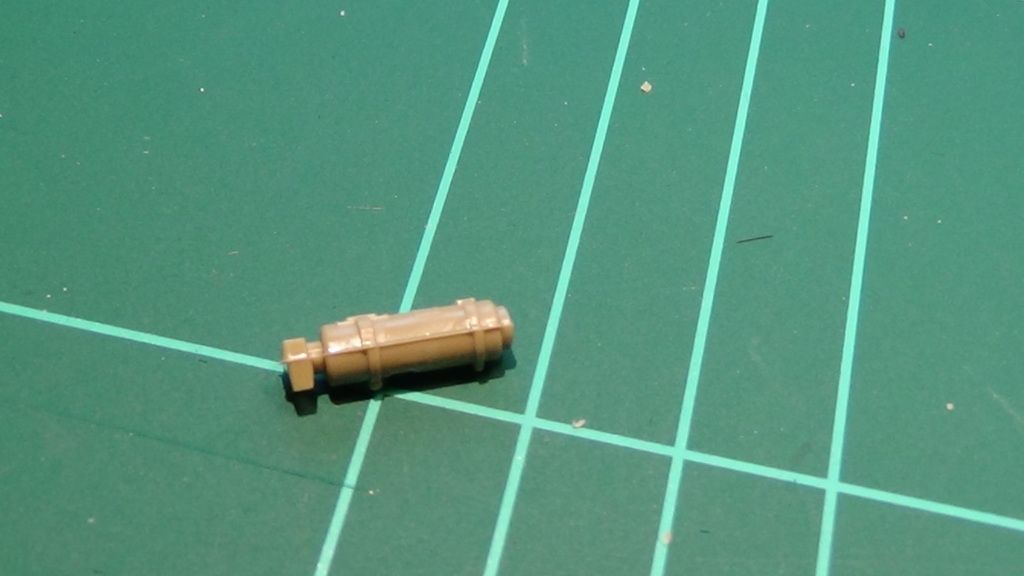
Nicer
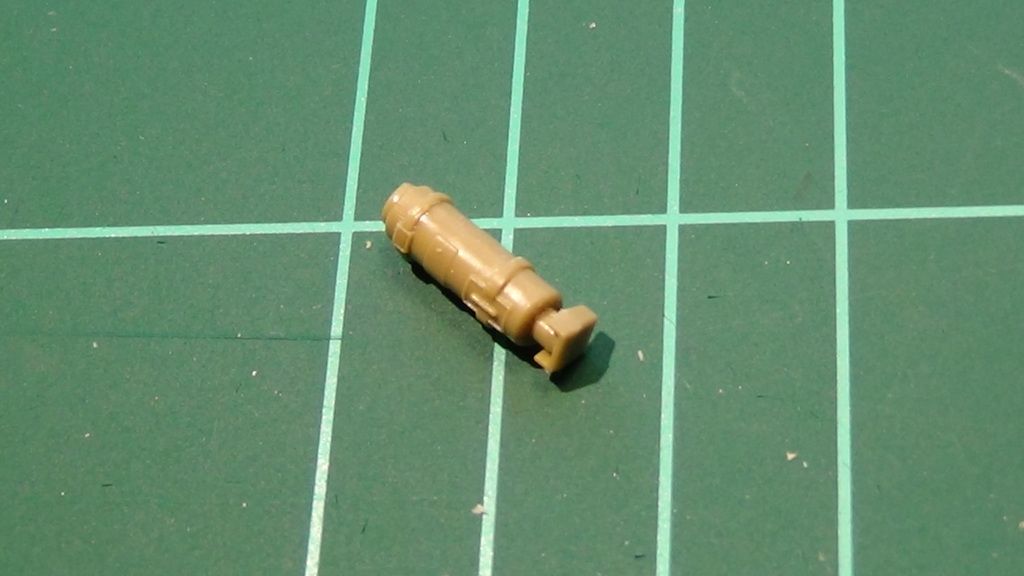
More fun
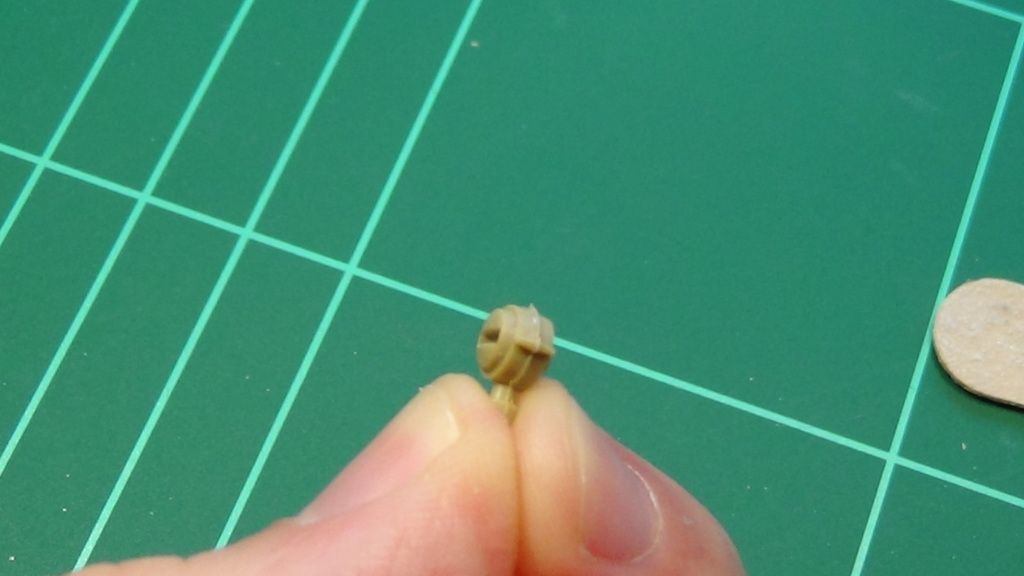
That's better
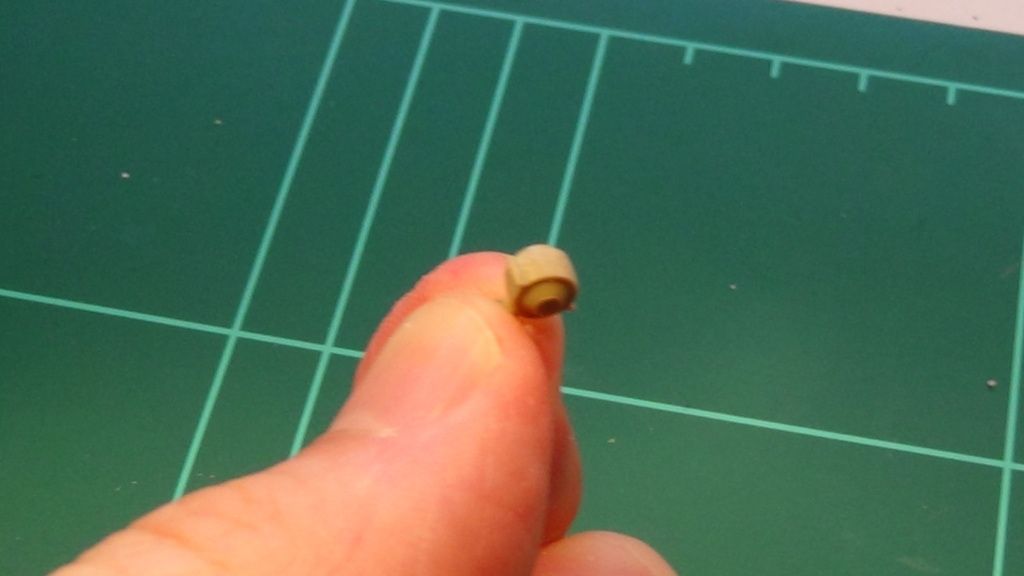
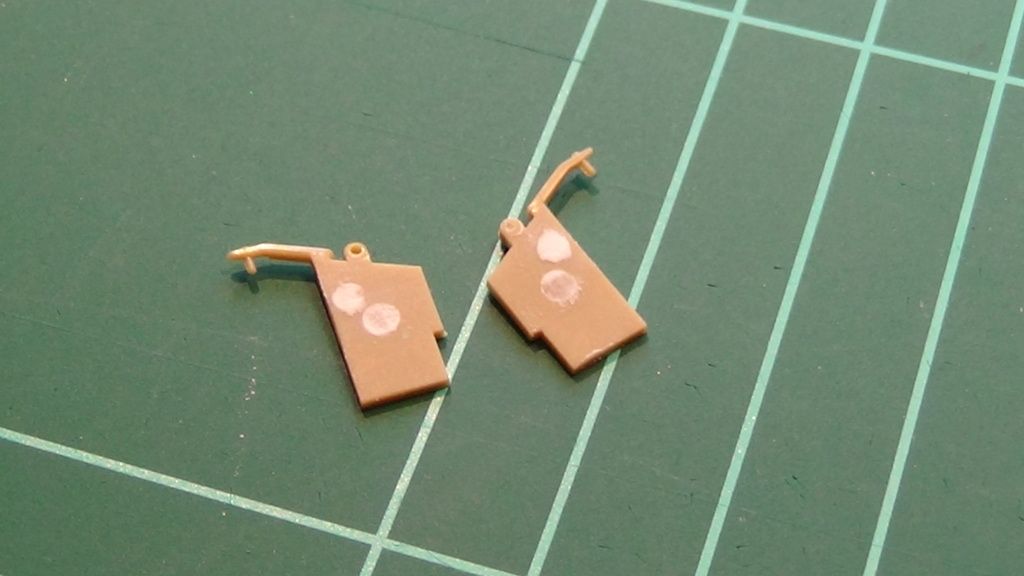
Adorable injection pin marks...
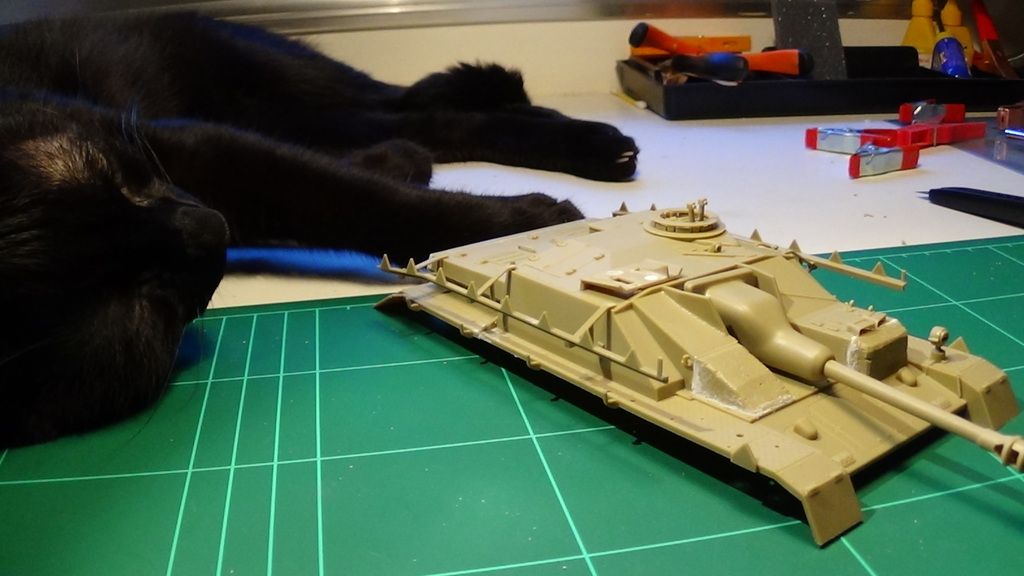
Have you noticed? ...Cats love sleeping
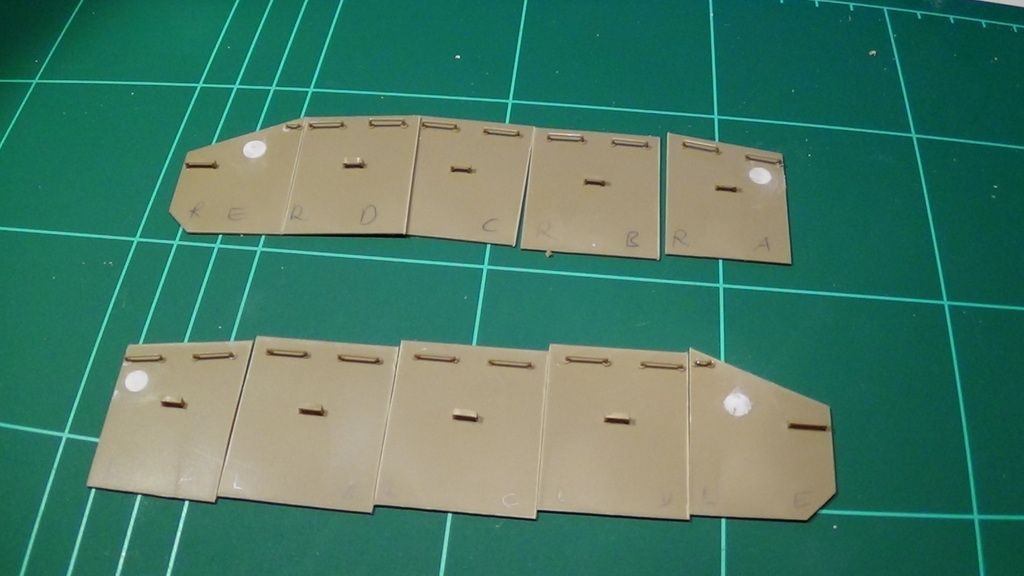
Zutzen? sutsën? Well..those damn plates need a cut
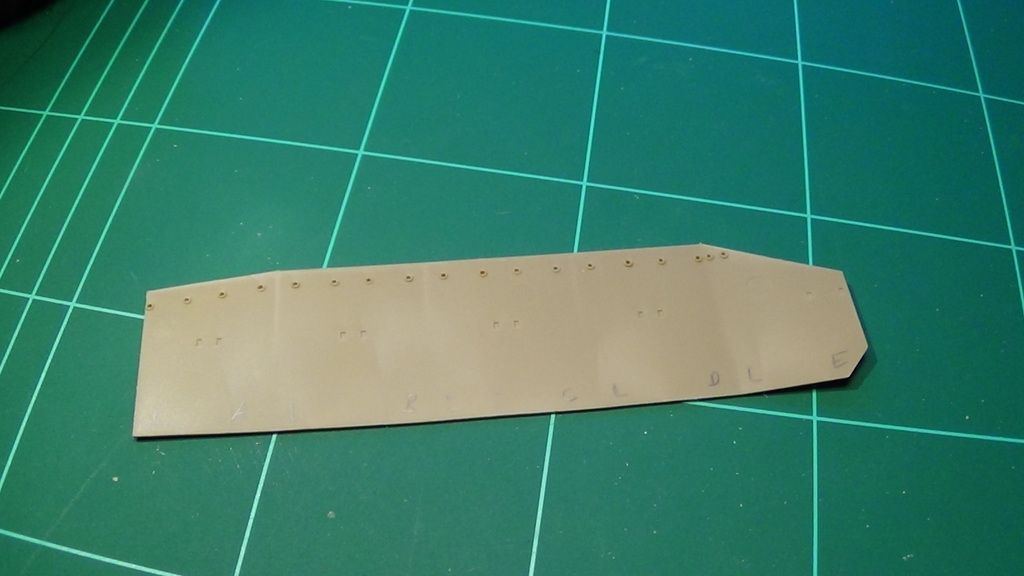
Love pin marks
Enough...
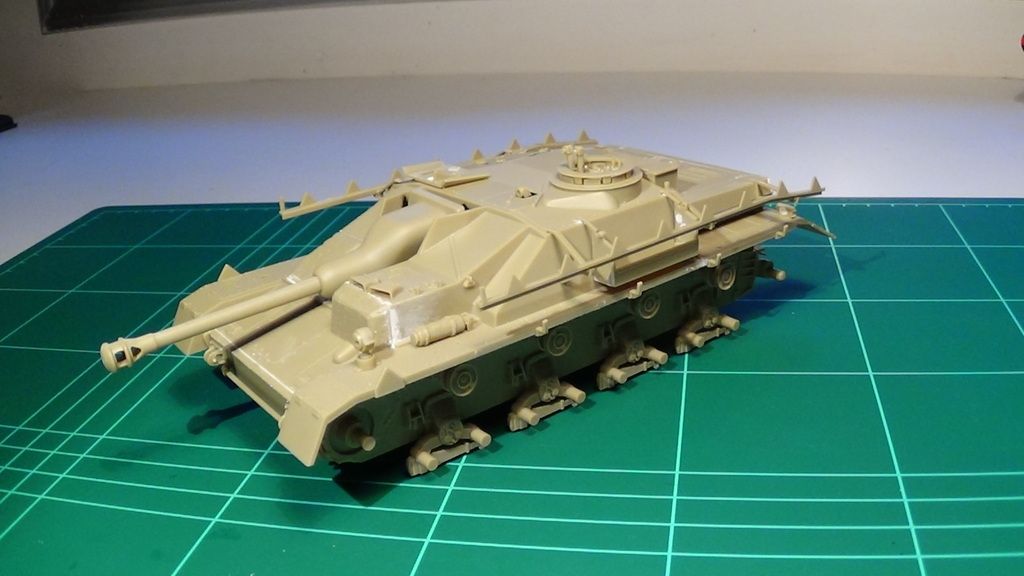
More silly comments on the next update

Re: STUG IV "STUG Life" GB
Posted: Mon Sep 28, 2015 1:04 am
by mincemeat
Awesome! I'm working the exact same kit at the moment. I'll be posting my building shortly....at least just to the forum. I've just completed the assembly today, but won't get to painting it until next month. I'll be watching your progress! Great work so far, looks like you've filled the same EPM's and cut up the same armor plates as I have. It will be my first tank, so we'll see how it turns out!
Re: STUG IV "STUG Life" GB
Posted: Mon Sep 28, 2015 3:44 am
by Demaclies
Have you looked at Tamyia's new Jagdpanzer kit? it recently came out , I think it would look good next this one. Jagdpanzer IV L/70 I believe was the kit name.
Re: STUG IV "STUG Life" GB
Posted: Mon Sep 28, 2015 3:54 am
by mannloon
Awesome Felis.
Re: STUG IV "STUG Life" GB
Posted: Fri Oct 09, 2015 3:23 pm
by felisbarcinonensis
mincemeat wrote:Awesome! I'm working the exact same kit at the moment. I'll be posting my building shortly....at least just to the forum. I've just completed the assembly today, but won't get to painting it until next month. I'll be watching your progress! Great work so far, looks like you've filled the same EPM's and cut up the same armor plates as I have. It will be my first tank, so we'll see how it turns out!
Thank you mate
Can't find your Stug link!
mannloon wrote:Awesome Felis.
Thank you mate!
 "Stug Life" GB: StuG IV Update 2
[youtube]AbOZlE5BL-I[/youtube]
Poor bug...
Nature's best design: A black cat
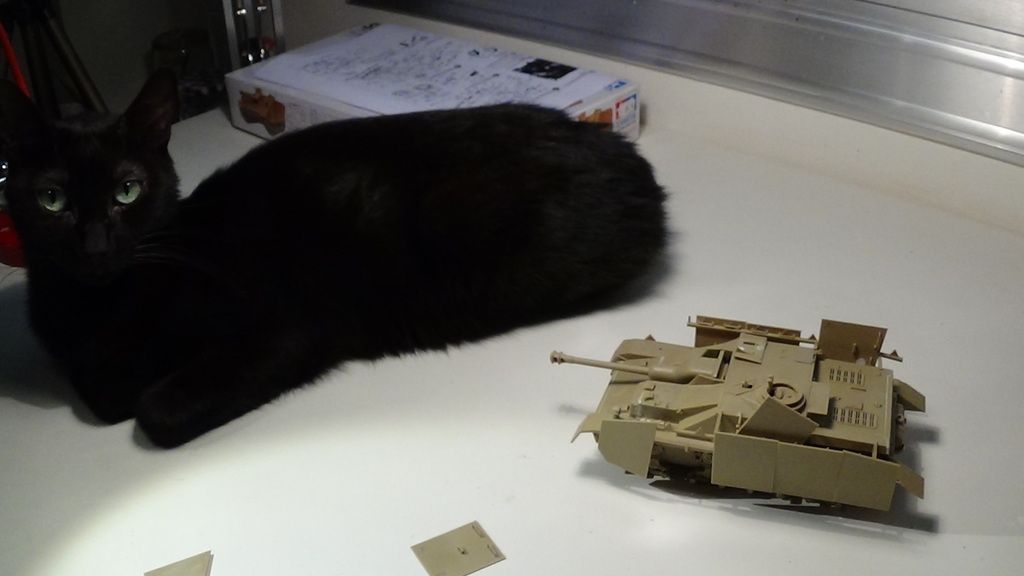
I added putty and prepared the Stug for the priming phase
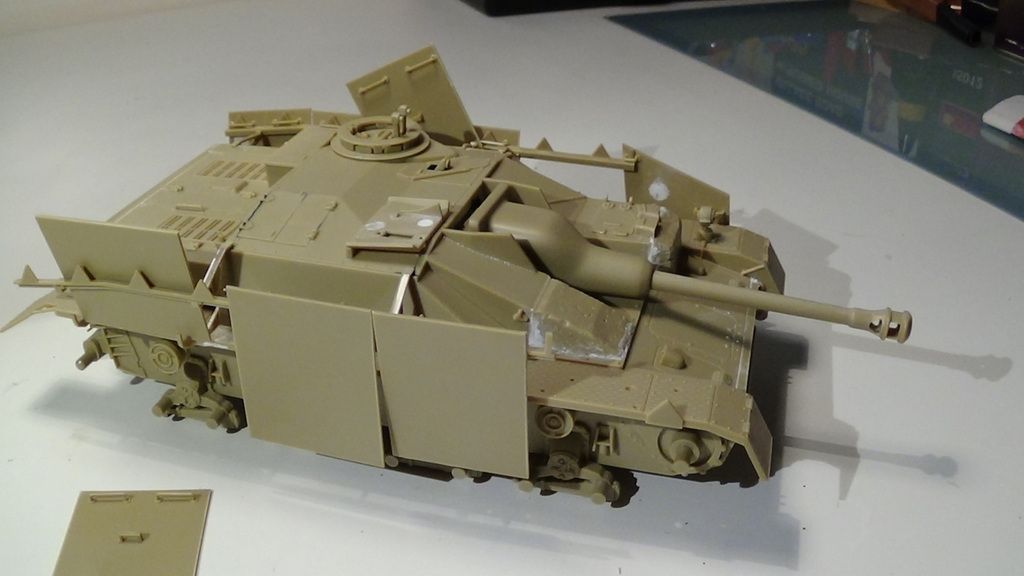
Keep that away from me!!
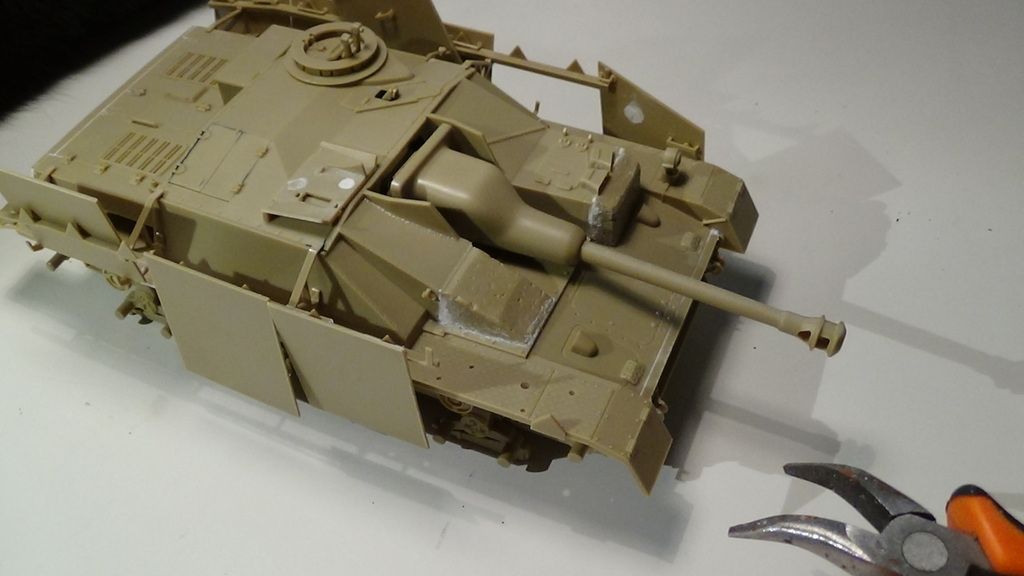
Ok... that hurt
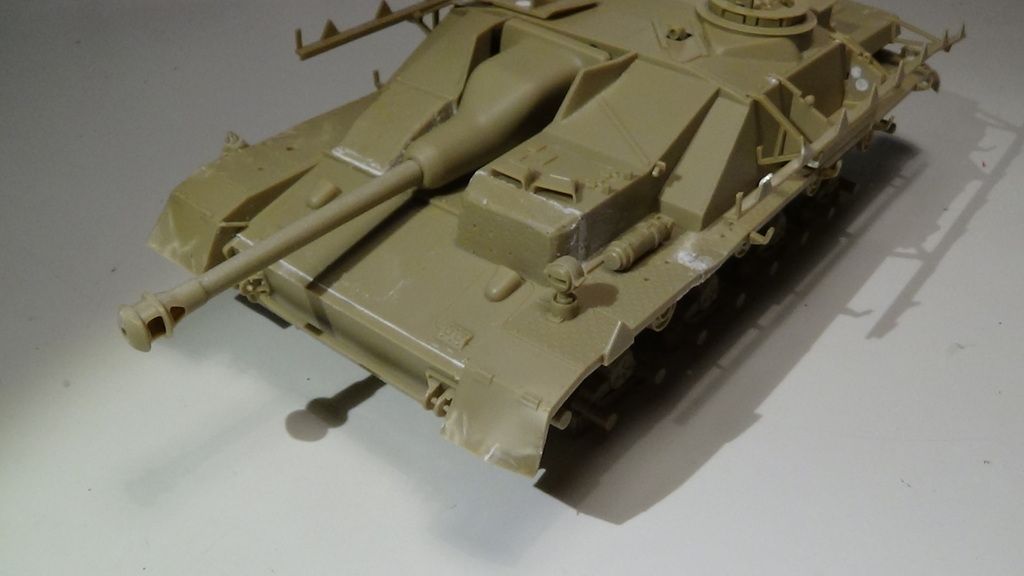
No comments...
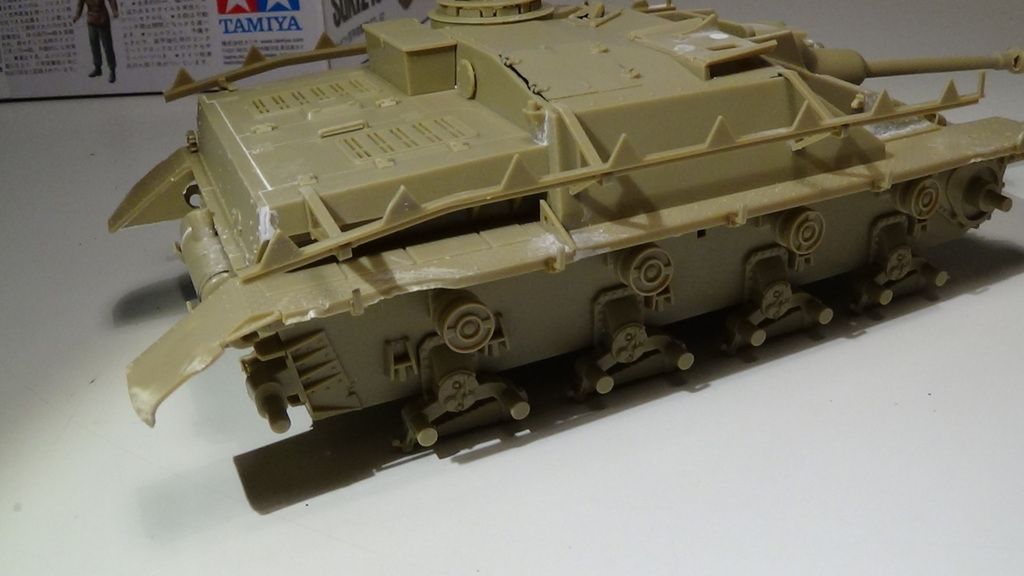
B*****d
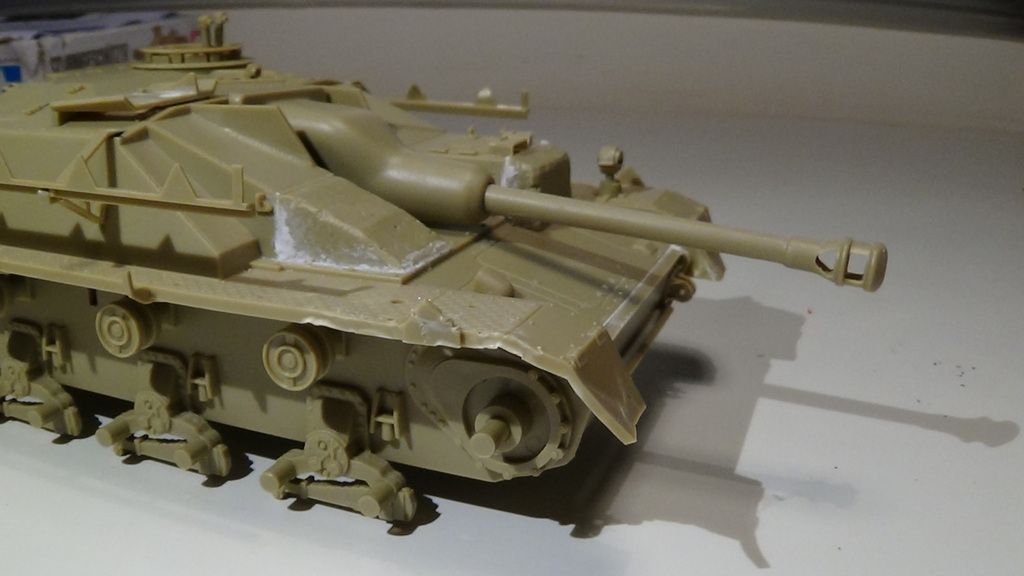
:O
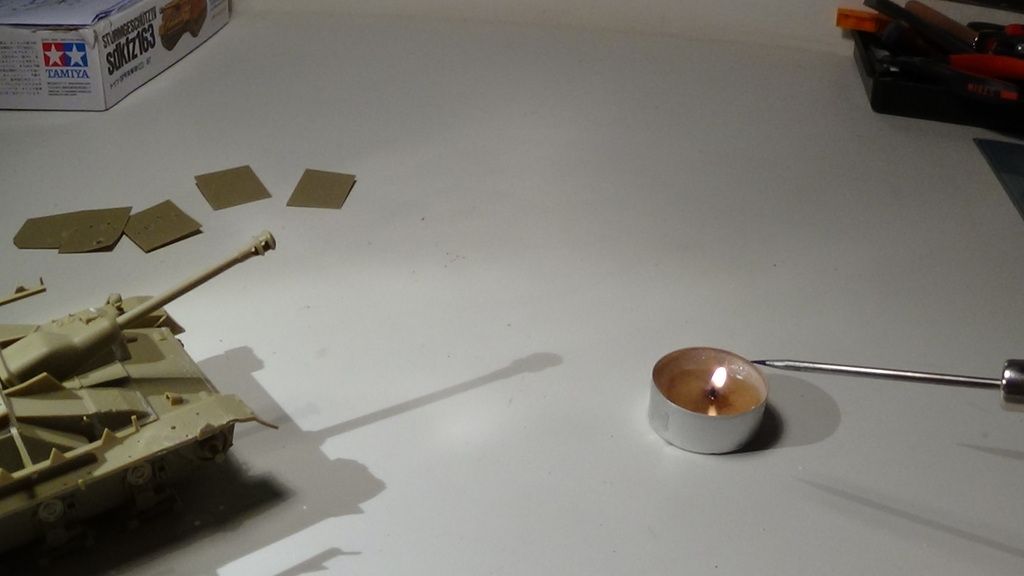
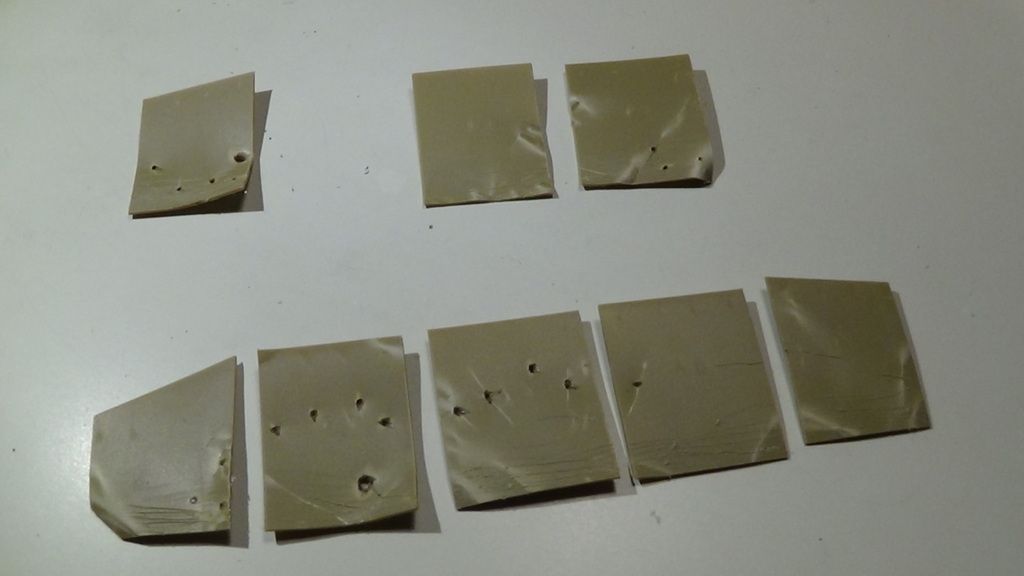
Those plates had it worse
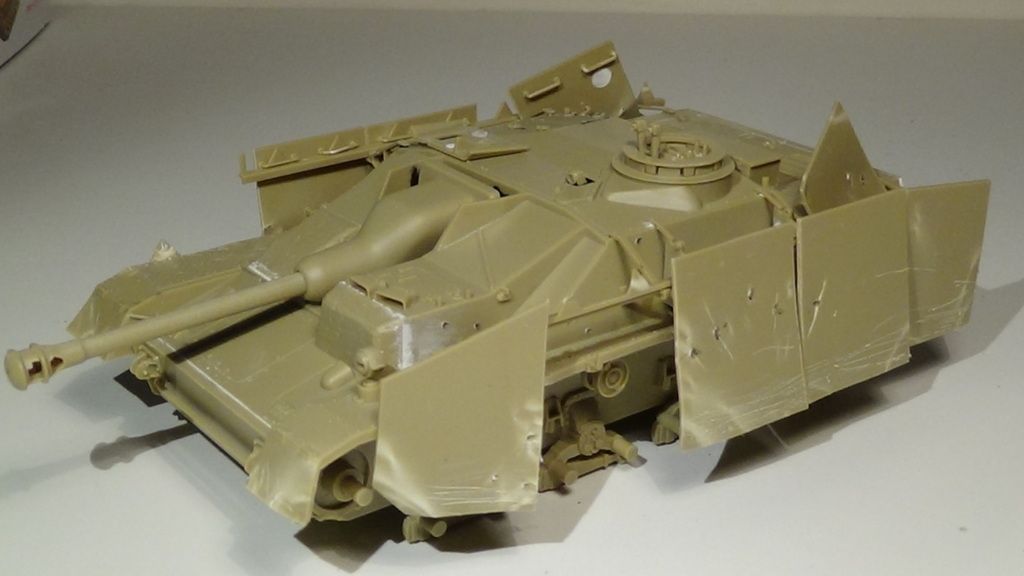
I'm afraid that a Stug was harmed in the making of this thread
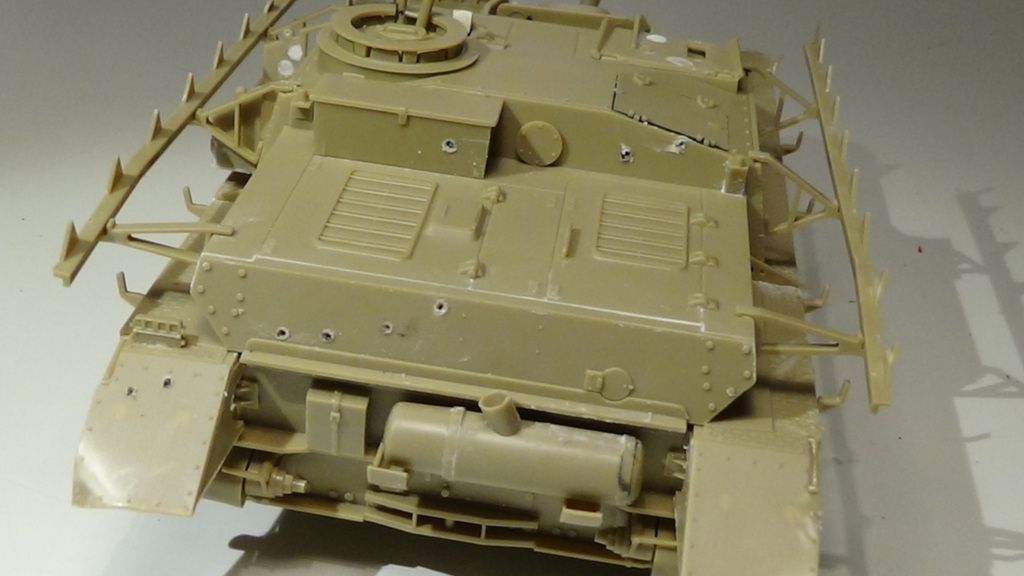
Ok. That's how the poor guy is gonna look
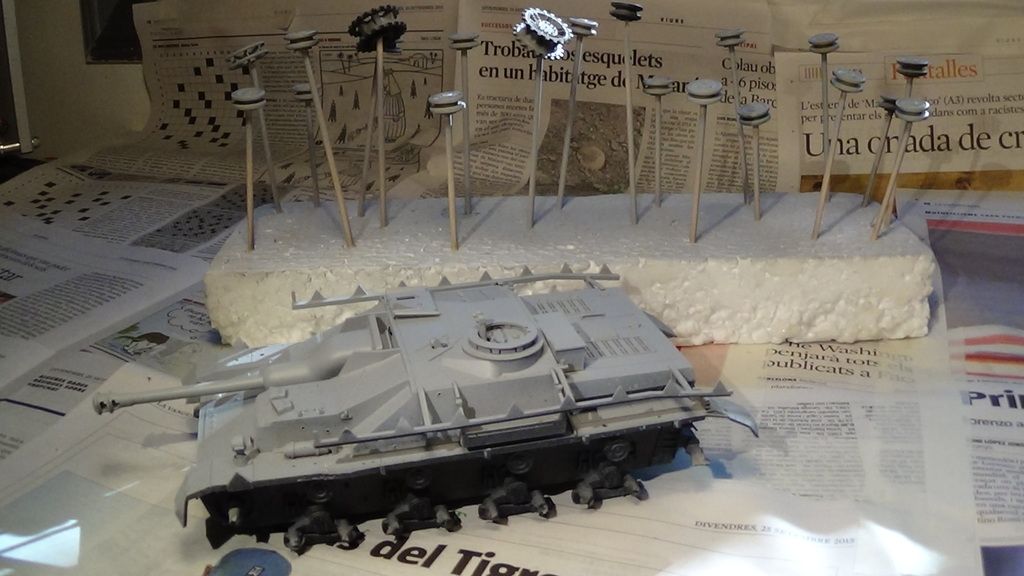
Everything was primed with Tamiya grey primer
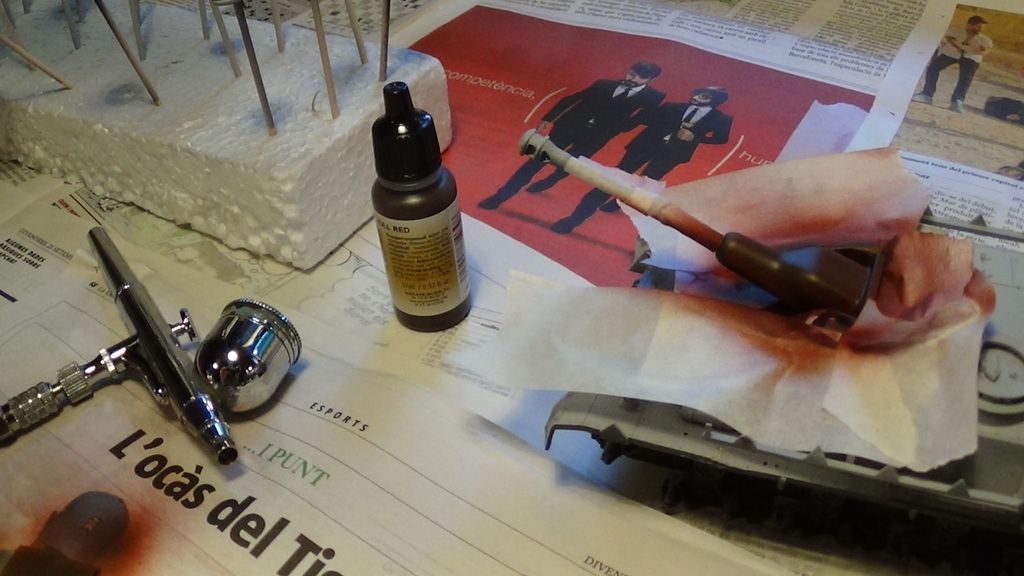
The saukopf was painted with hull red
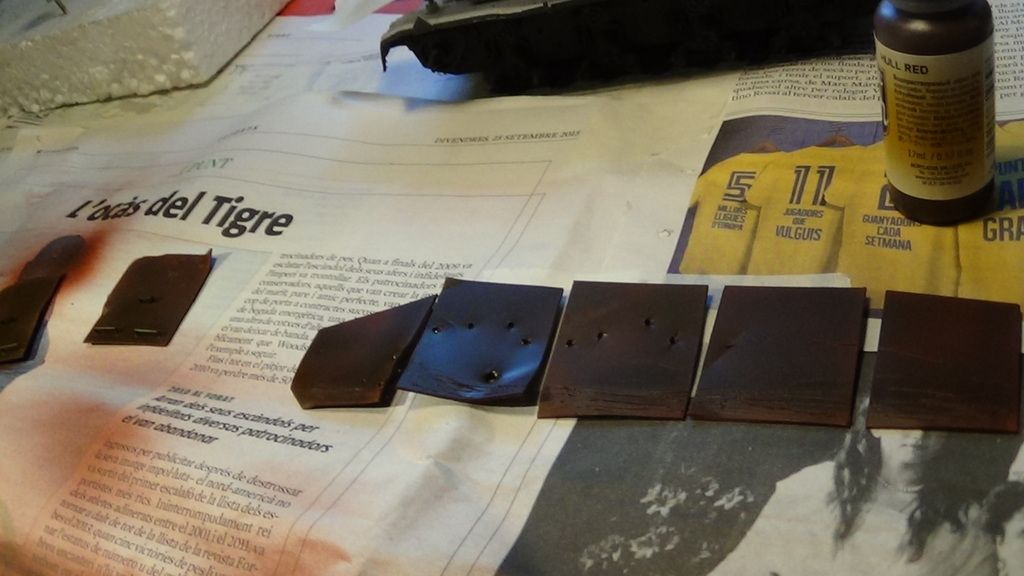
and the plates were painted as well
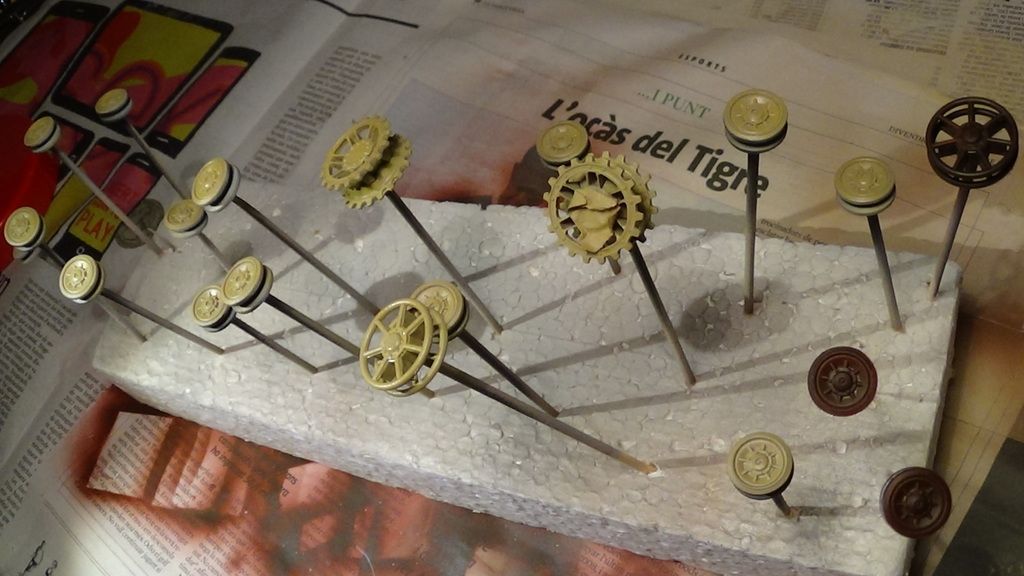
Some wheels have been replaced on the field and are also painted in hull red
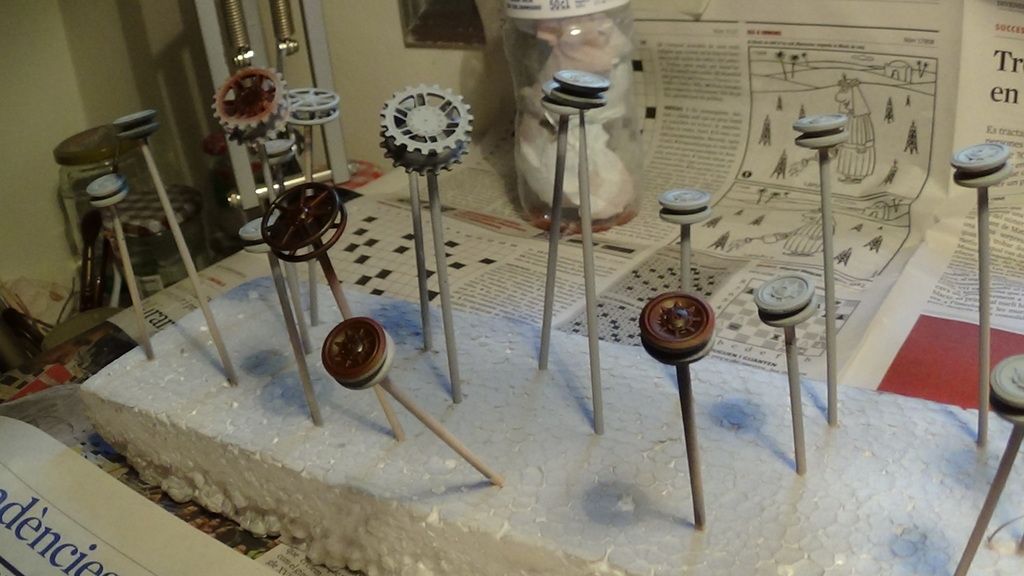
There's a slight modulation with darker colours on the lower parts
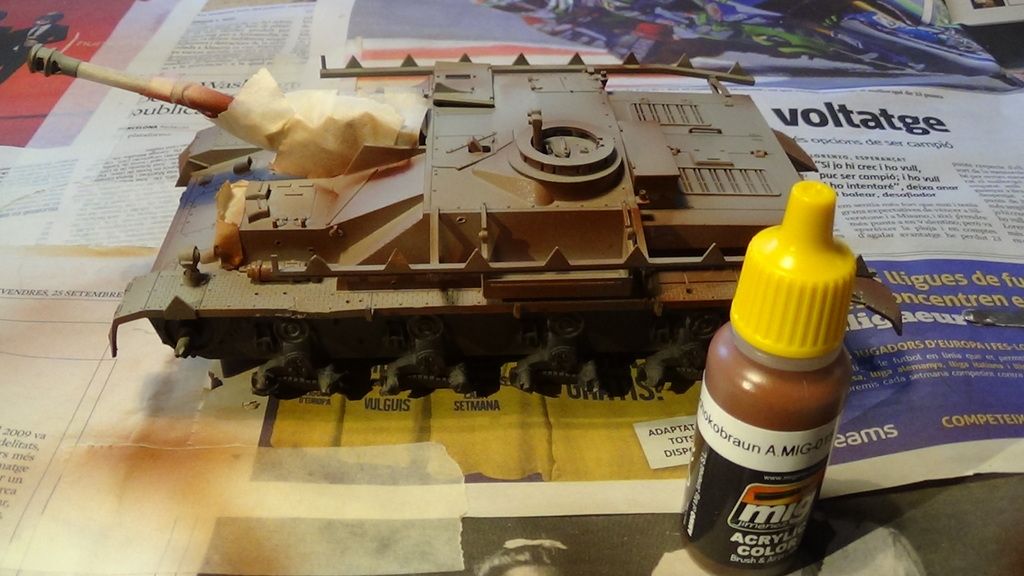
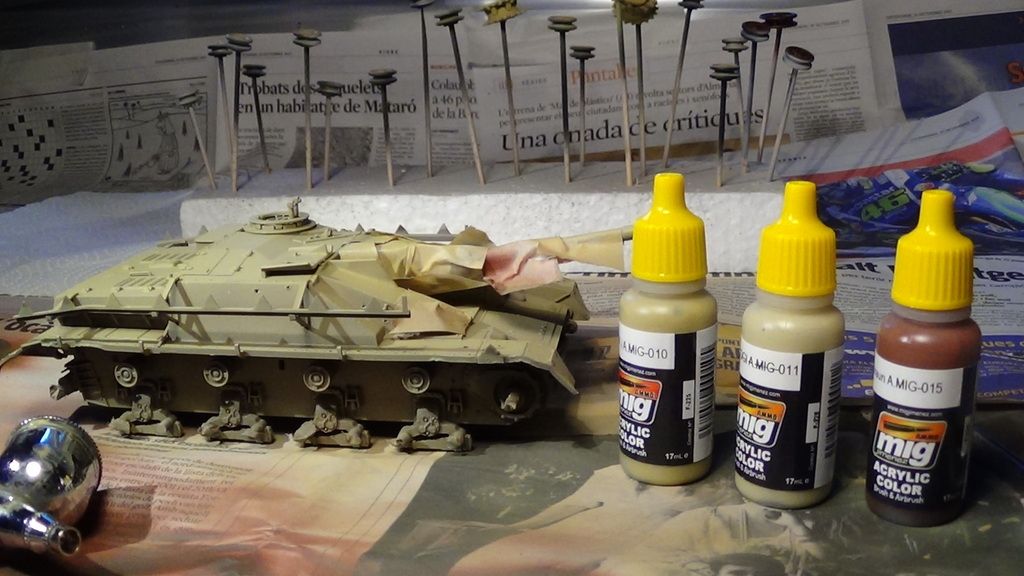
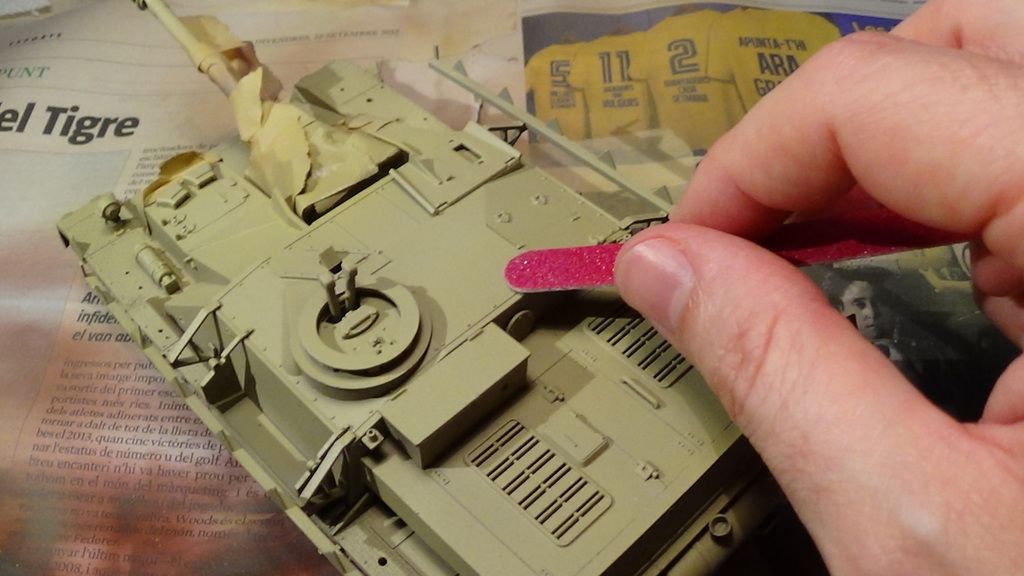
A few paint splotches were carefully sanded
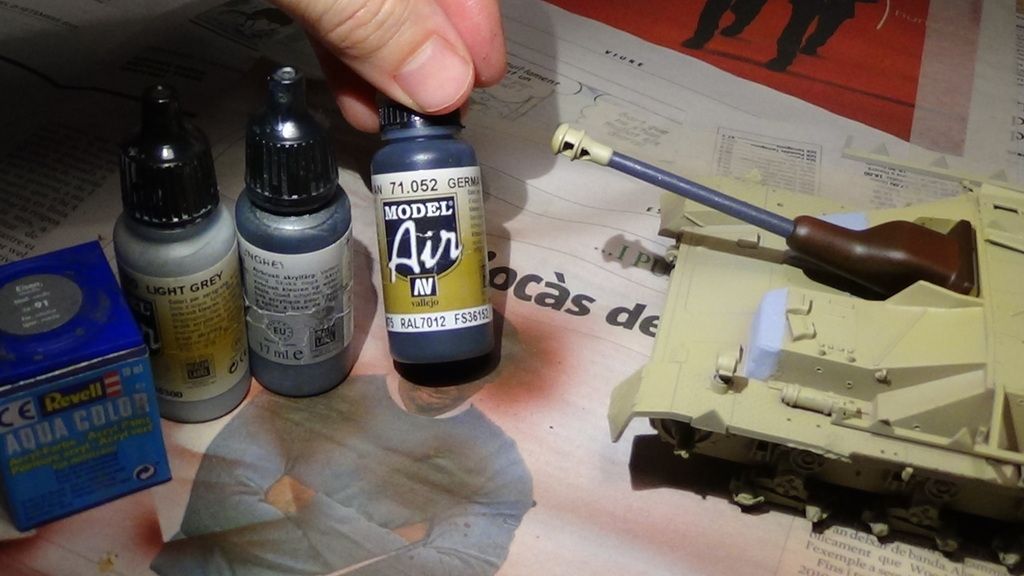
I used several grey tones and a little bit of iron to recreate the barrel factory primer
I added different grey tones on that concrete
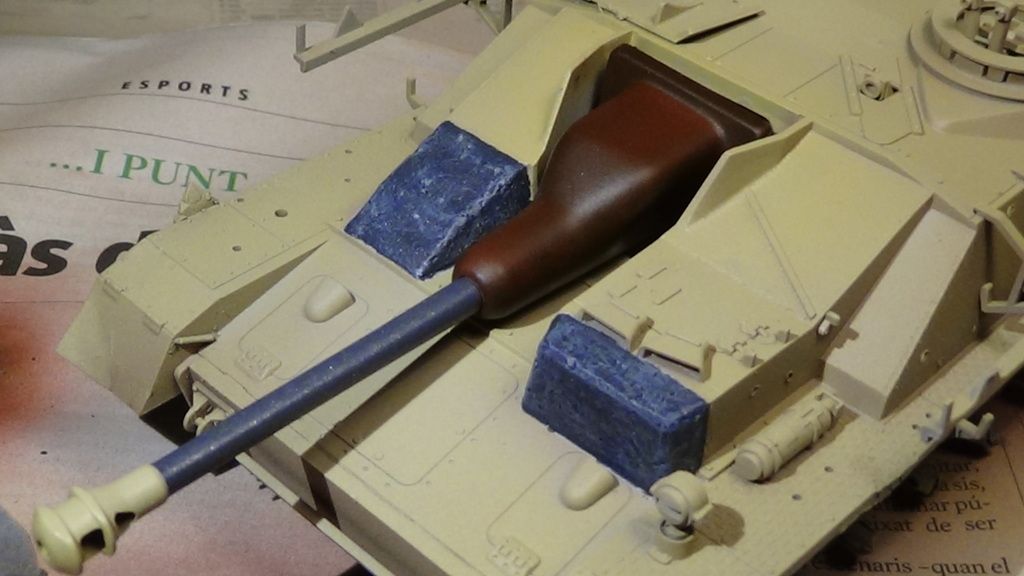
Looking good...
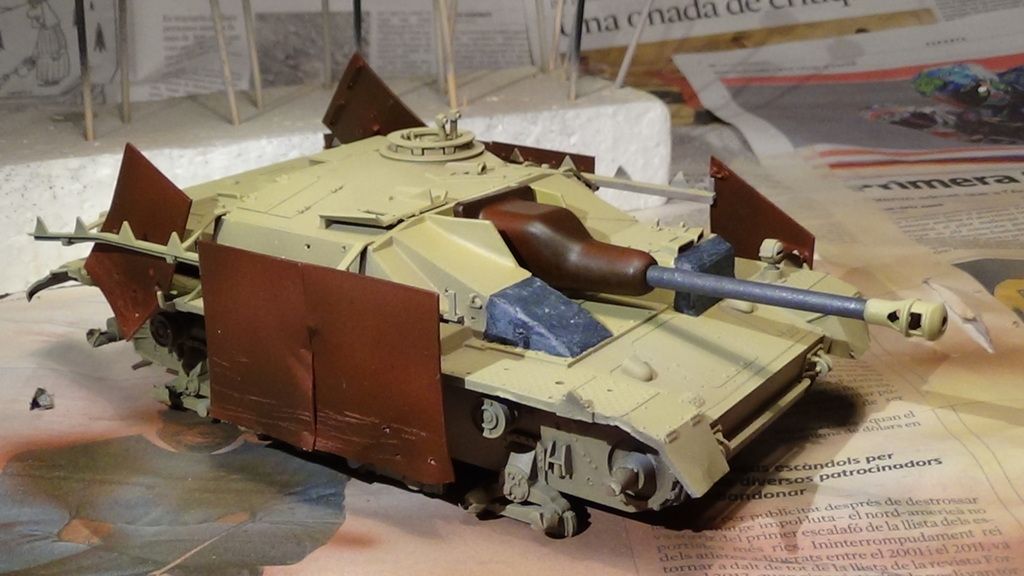
I added sand yellow on those wheels
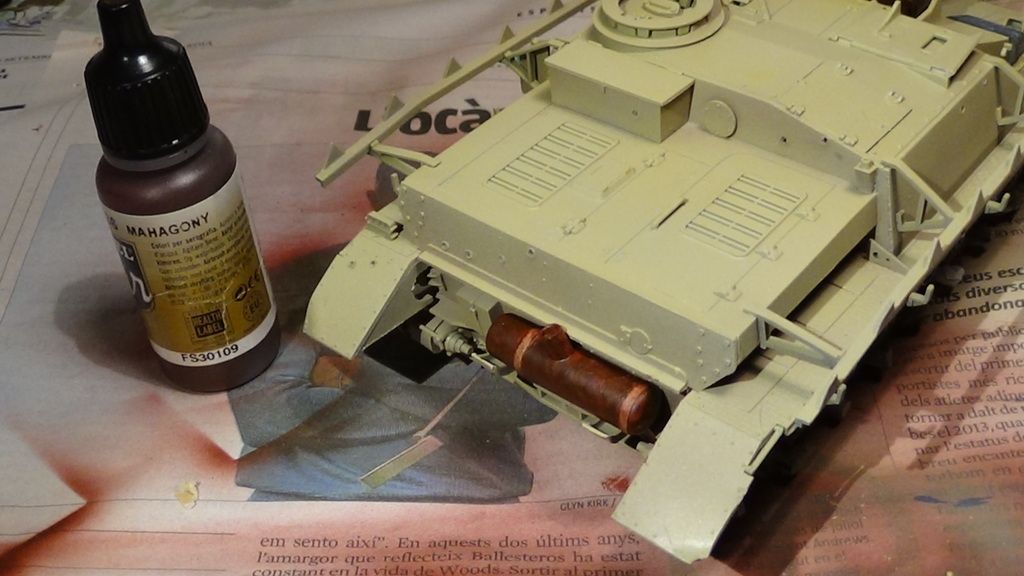
Exhaust was painted with mahagony
I added salt on the main plates
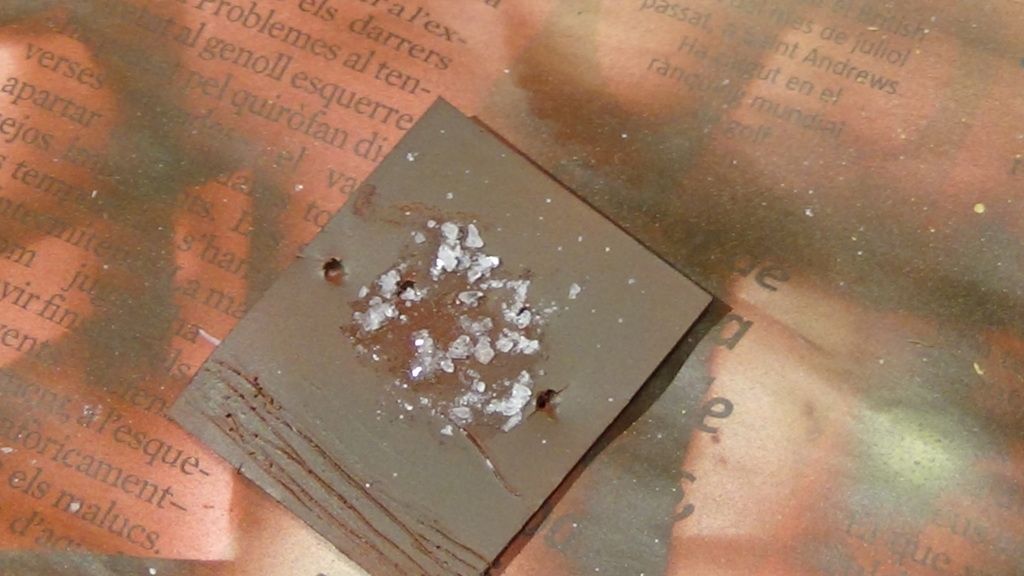
...and painted those crosses with a small brush
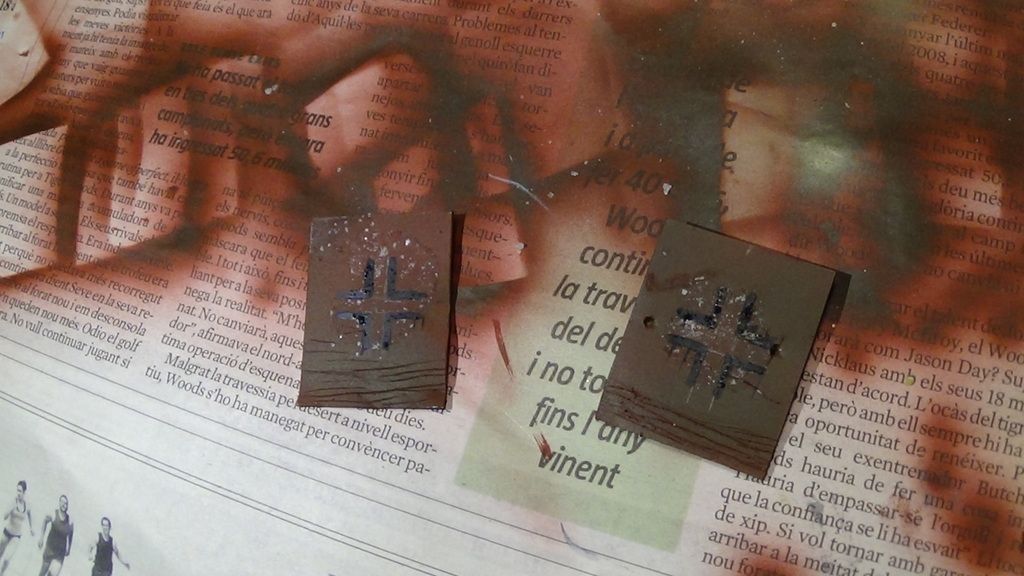
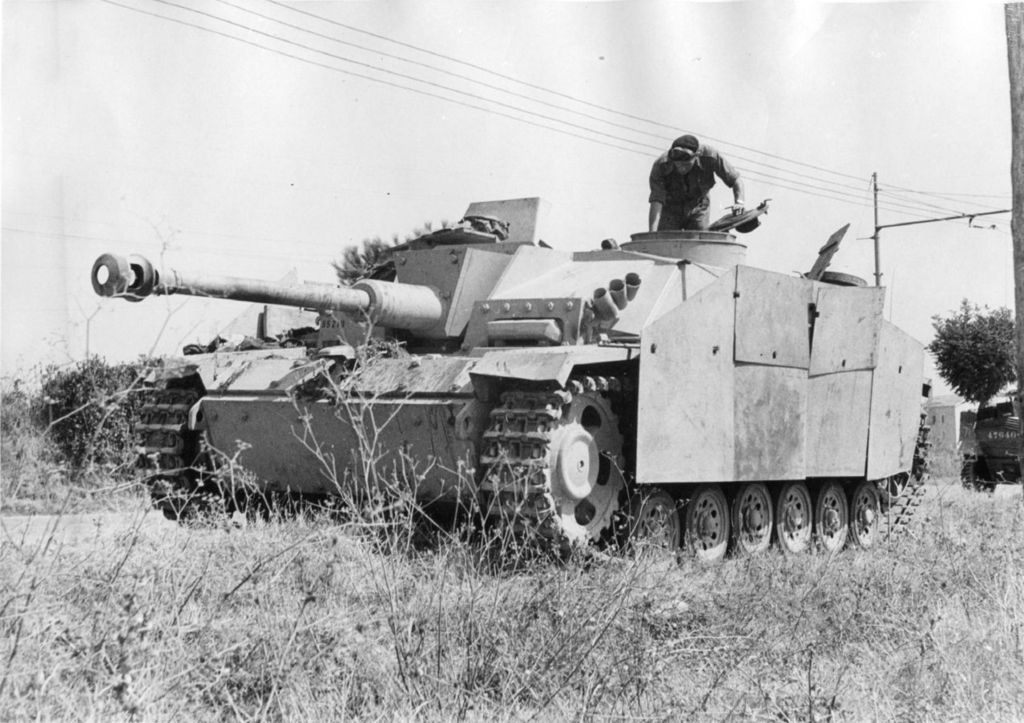
I took this pic as a model (Eastern Front Mig)

I removed salt with water and lightened scratched areas
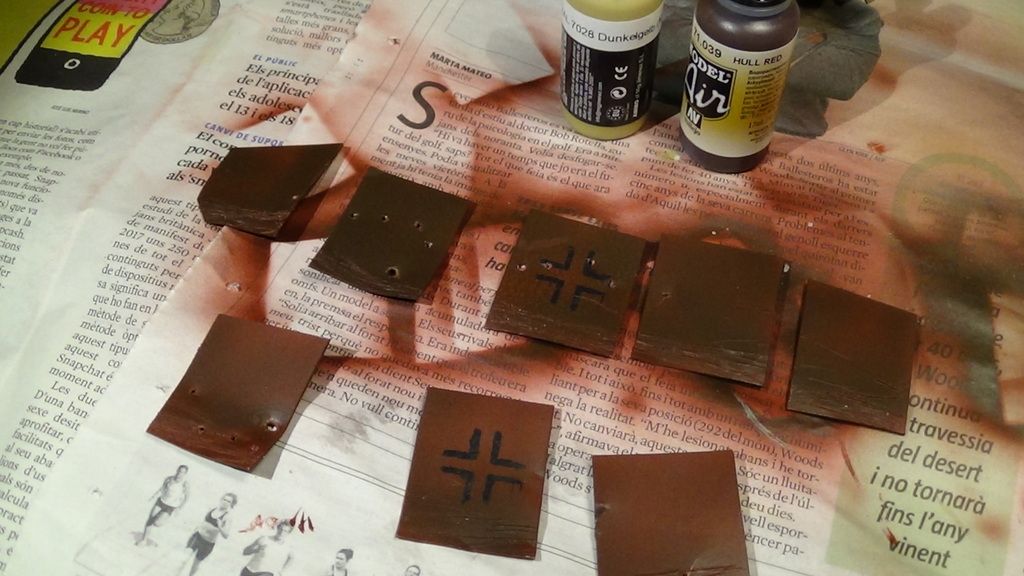
I'm quite happy with it
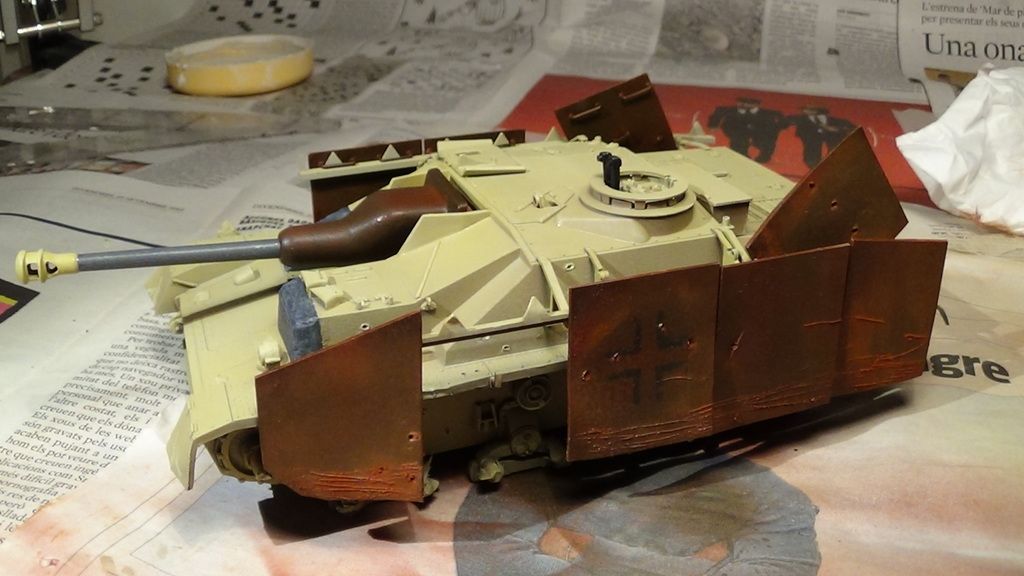
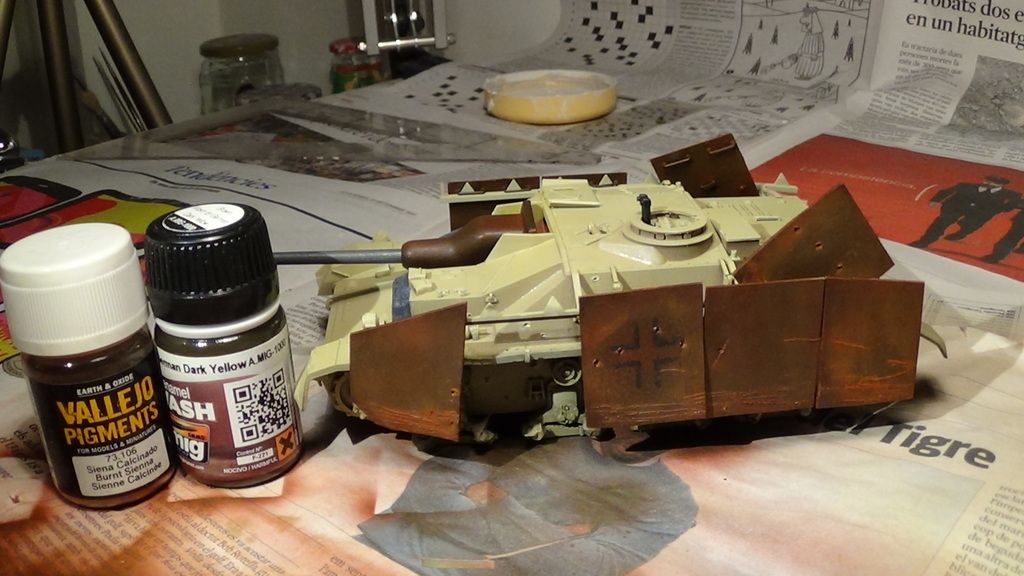
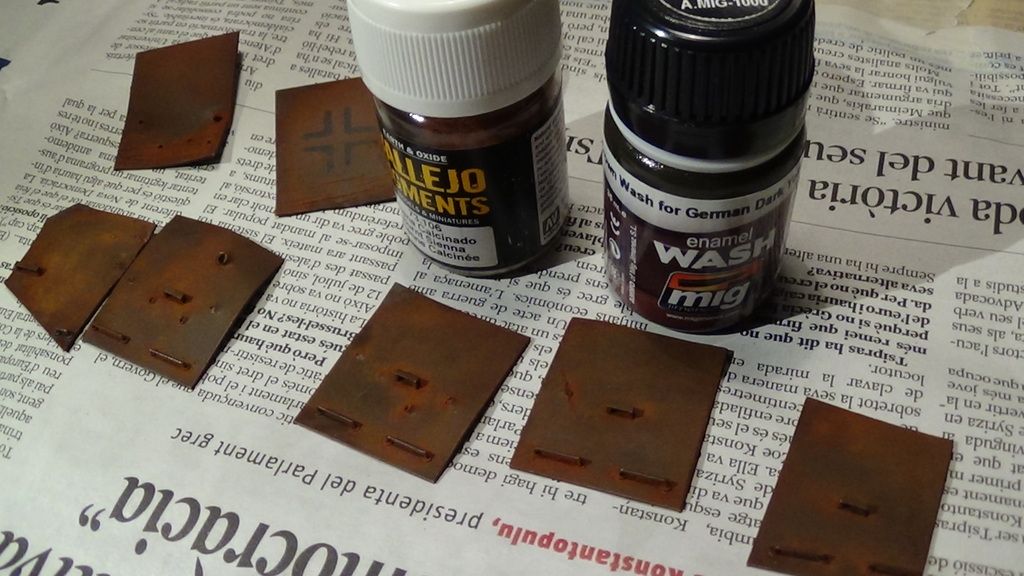
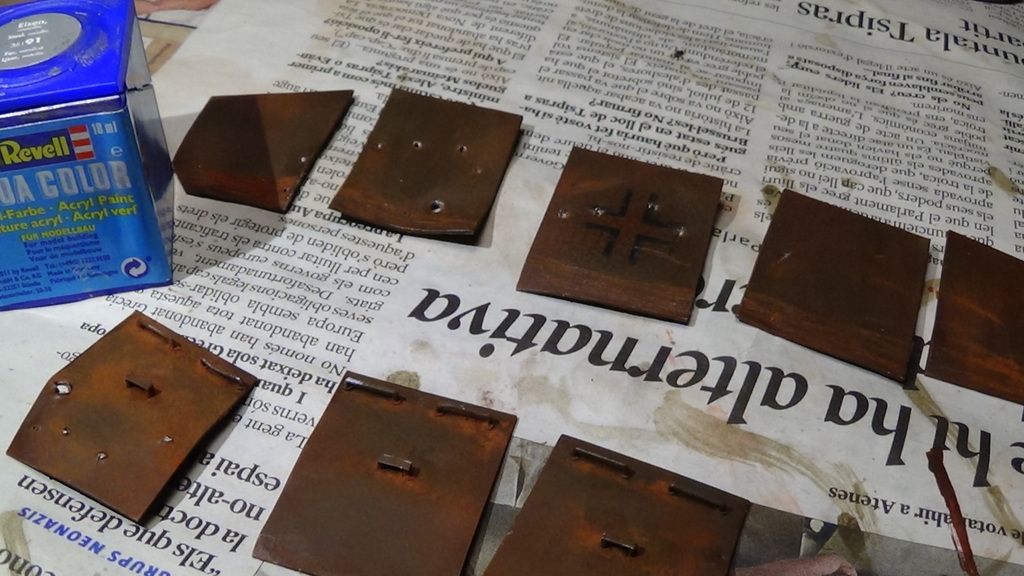
I washed those plates with enamel and before they dried I added rust pigments
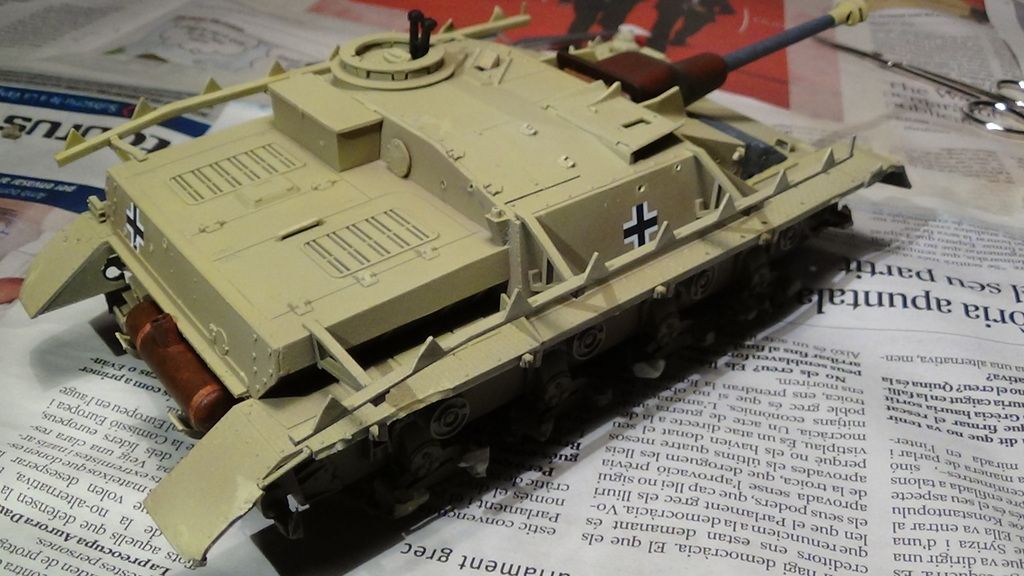
Decals!
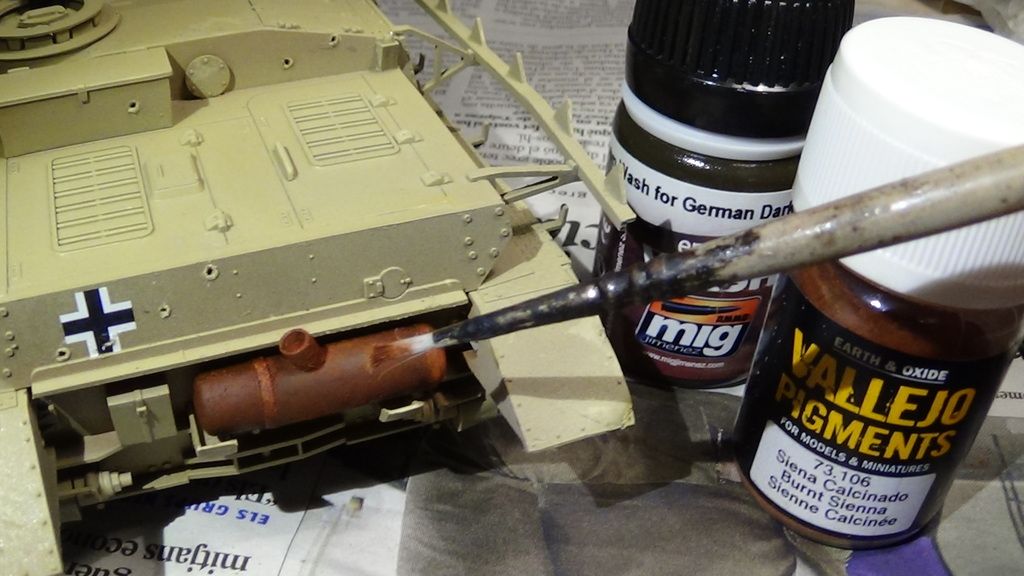
I rusted the exhaust too
Finally the Stug was washed with the same enamel concoction
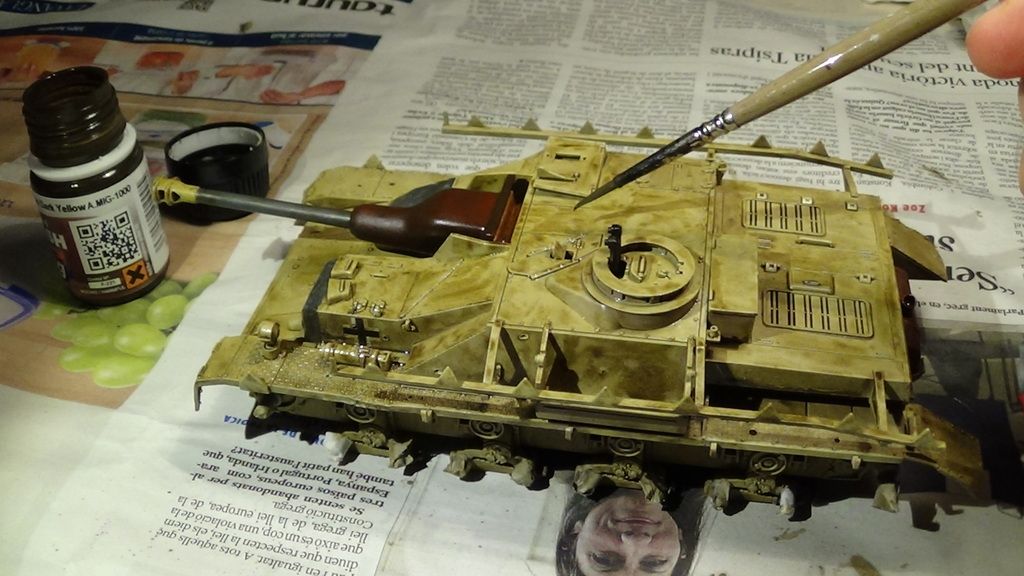
I cleaned surfaces carefully with good quality cotton fabric
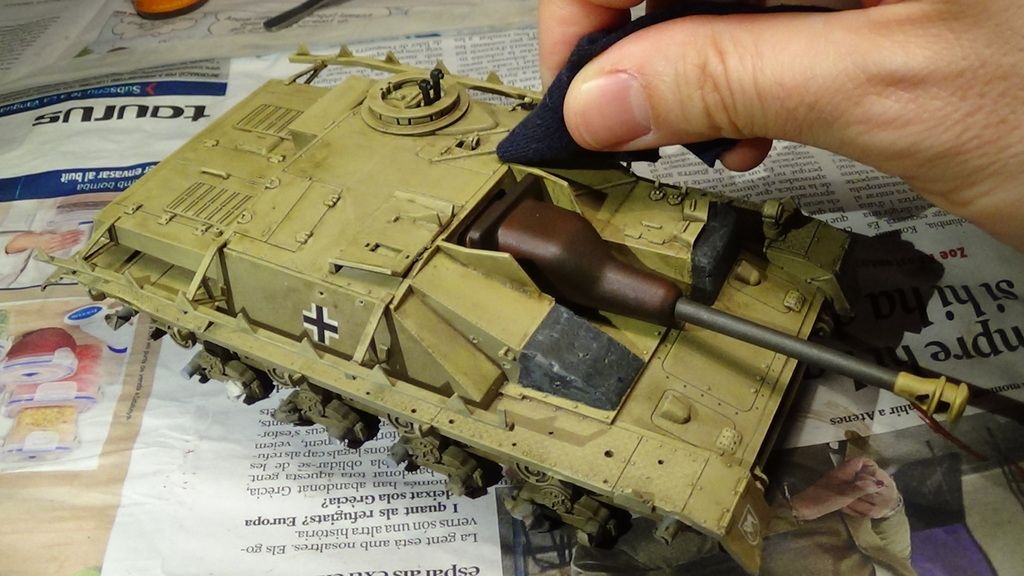
Looks cool
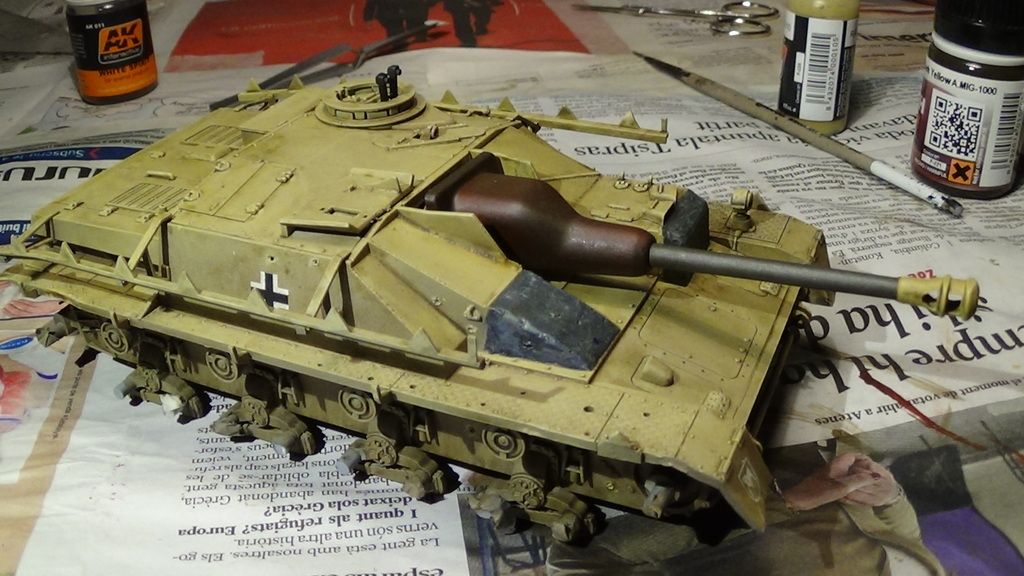
Darker rust pigments were added
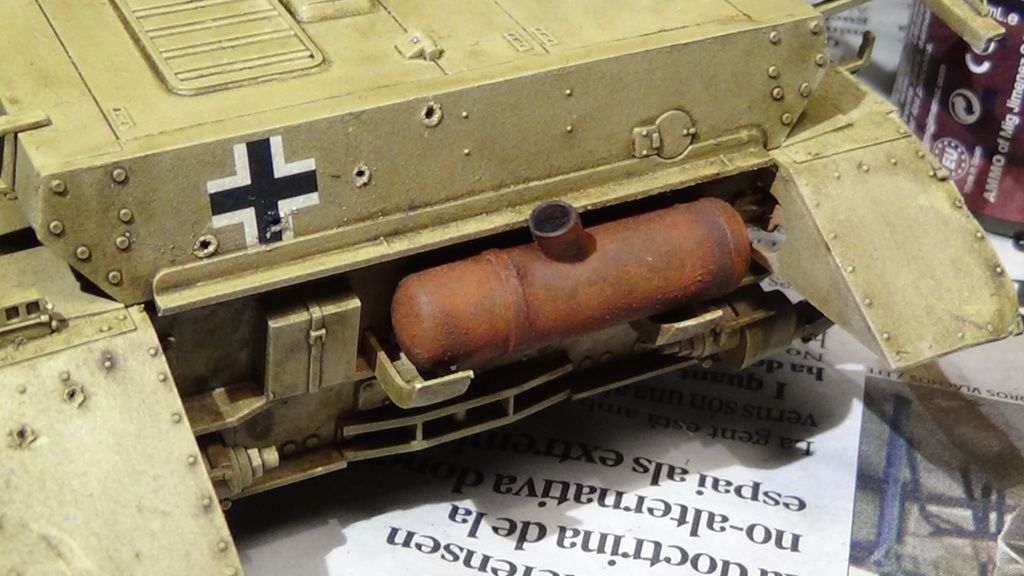
I went on with an oil dot filter on the barrel and the concrete parts
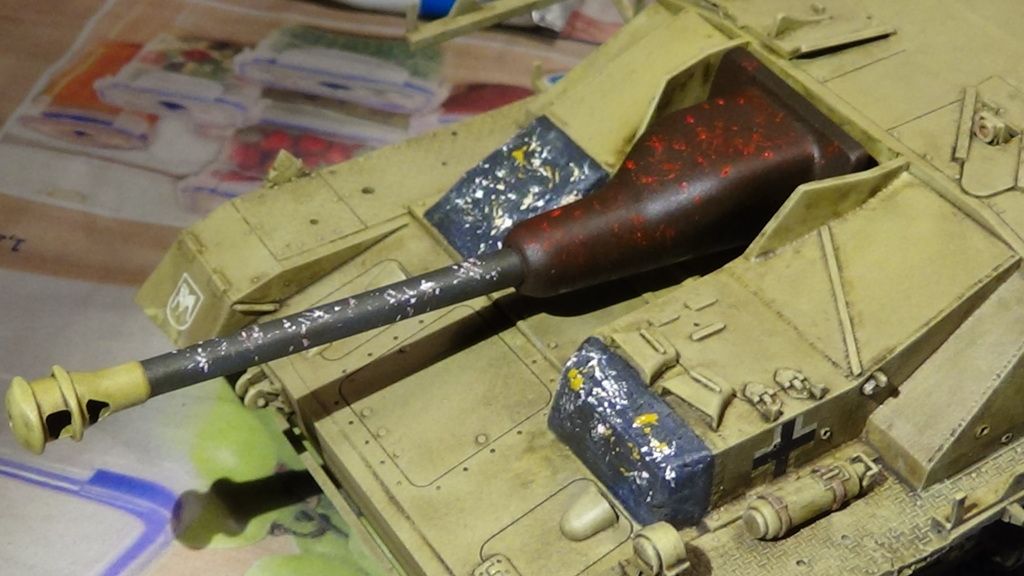
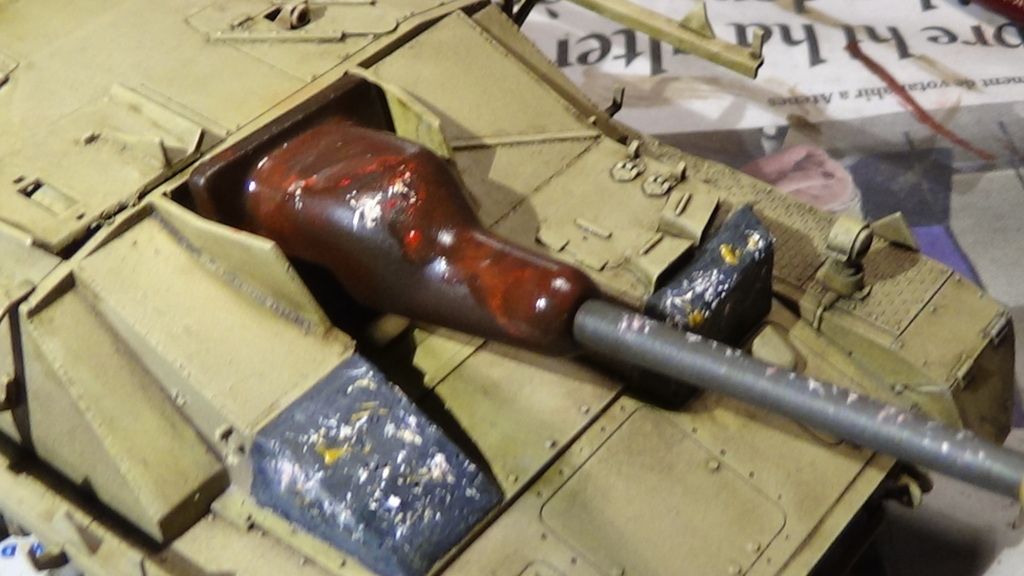
That's how it looks after washing it with white spirit
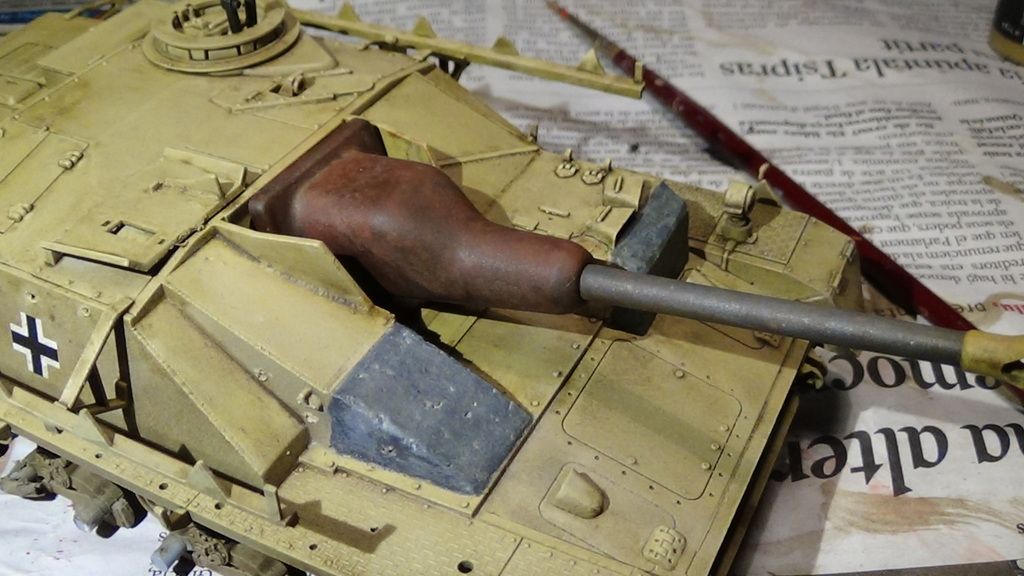
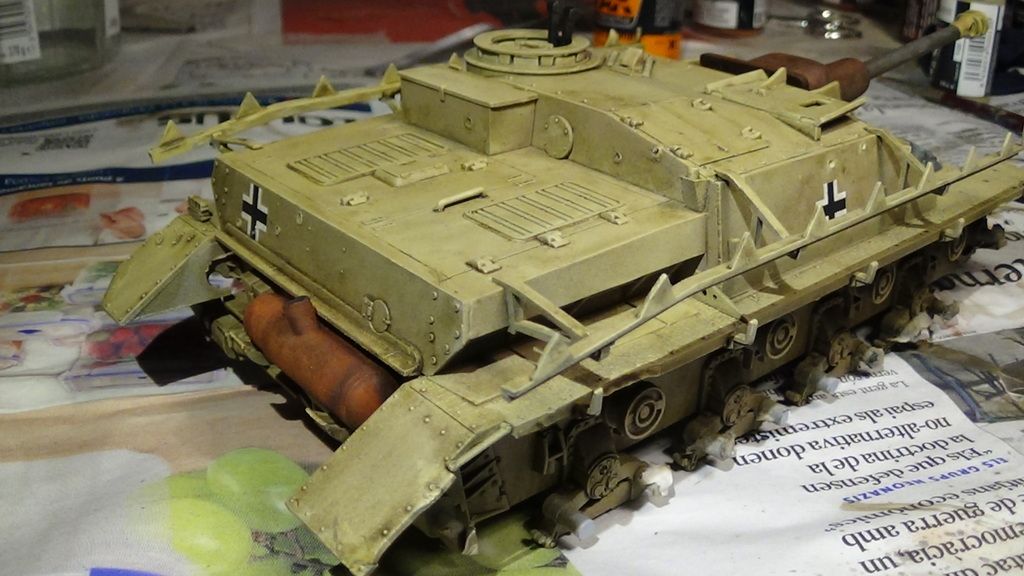
I added iron on those bullet holes
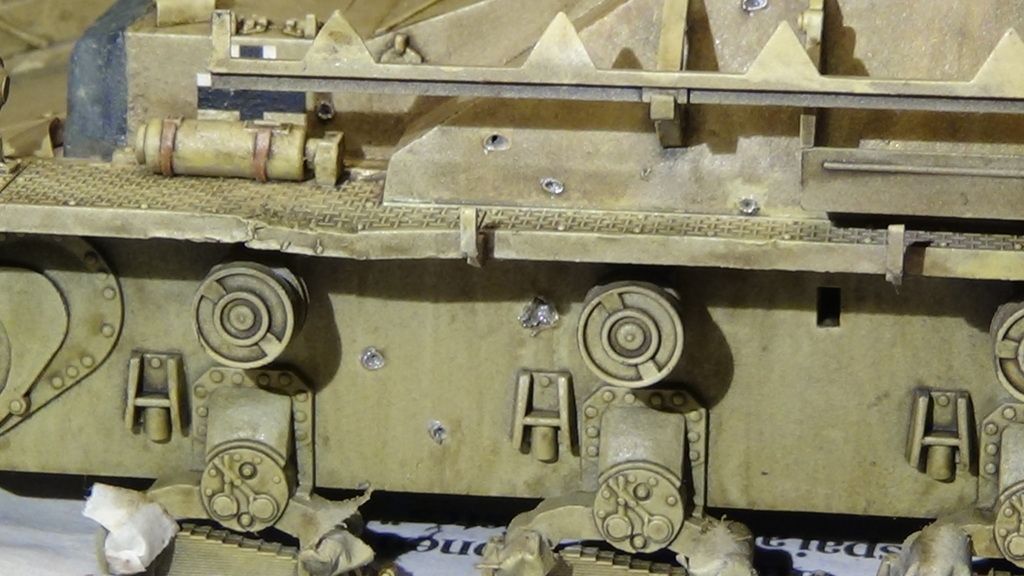
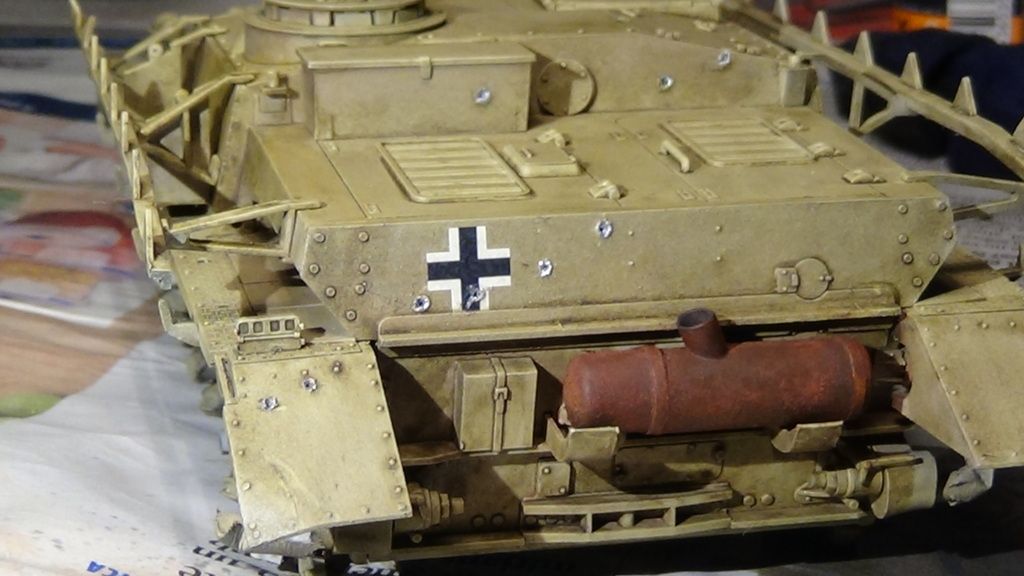
The poor bug is riddled with bullets
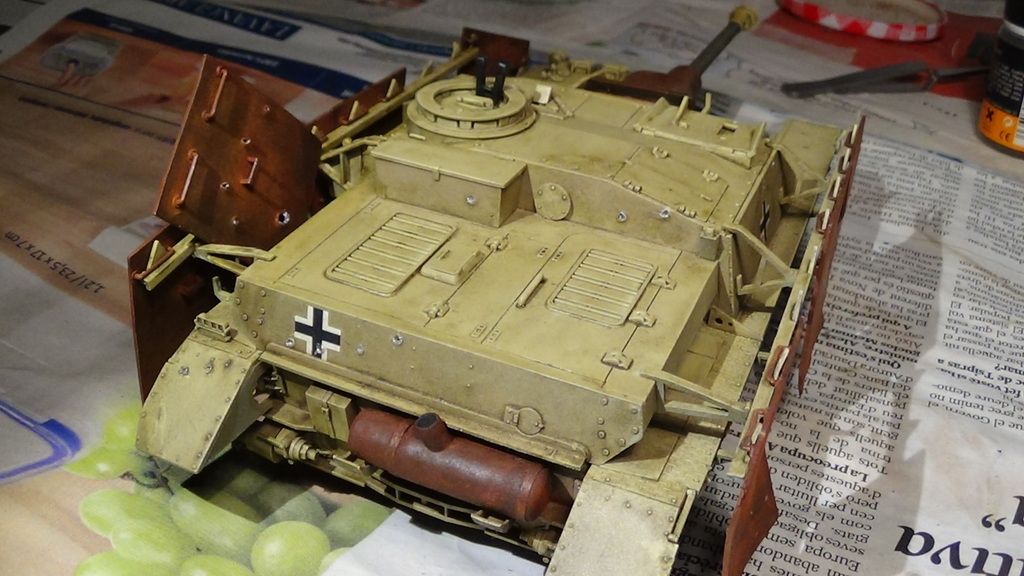
I lightened exposed parts to prepare them for chipping
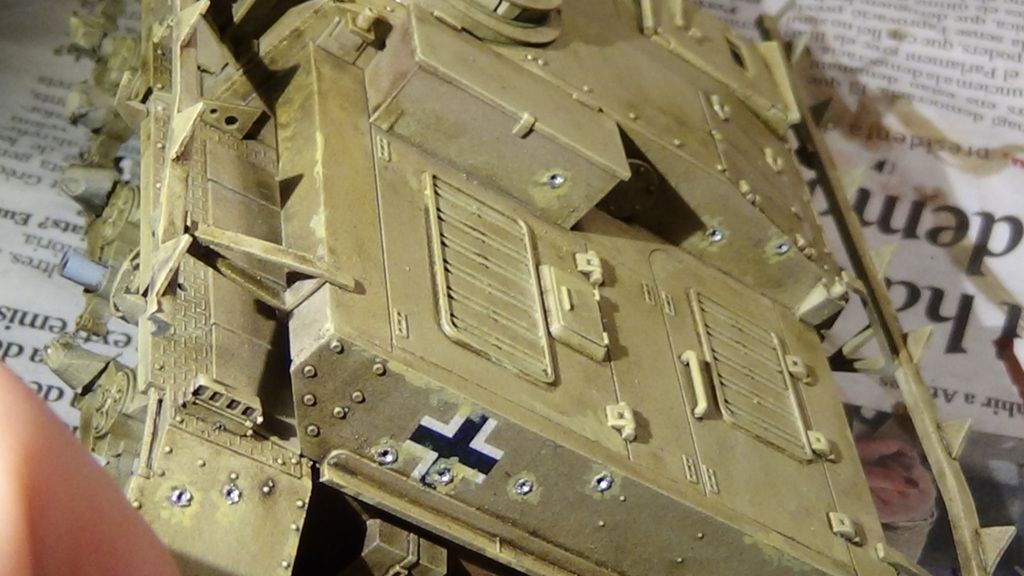
There it is... I used Mig's 044; awesome stuff
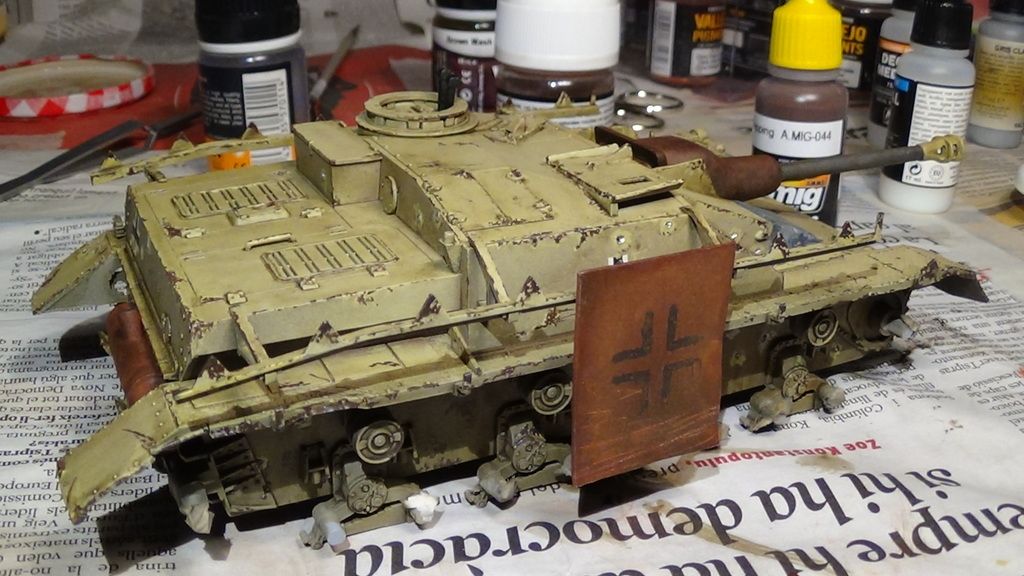
I added a little bit of iron in key areas
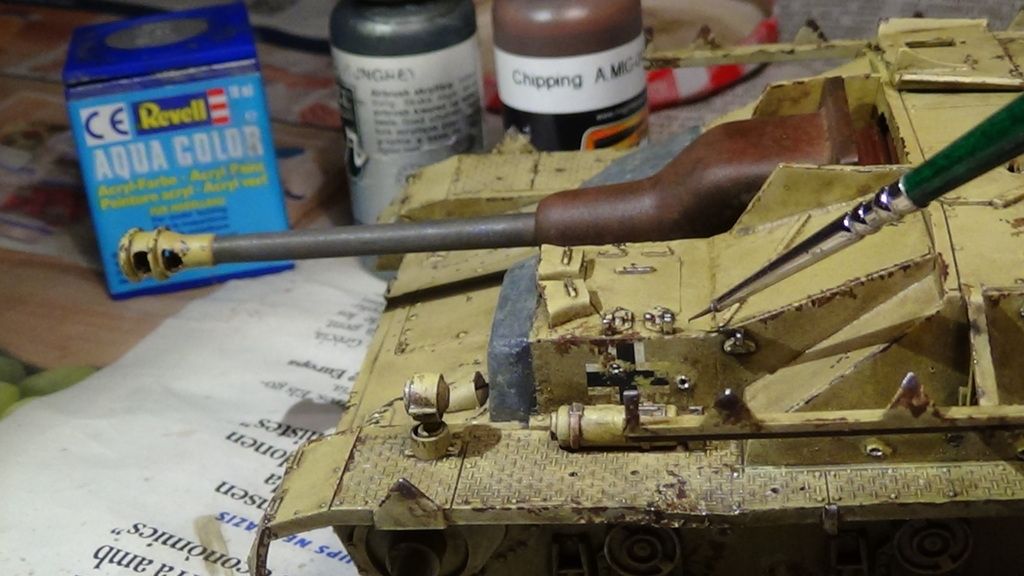
And that's it! Ready for winter seasoning
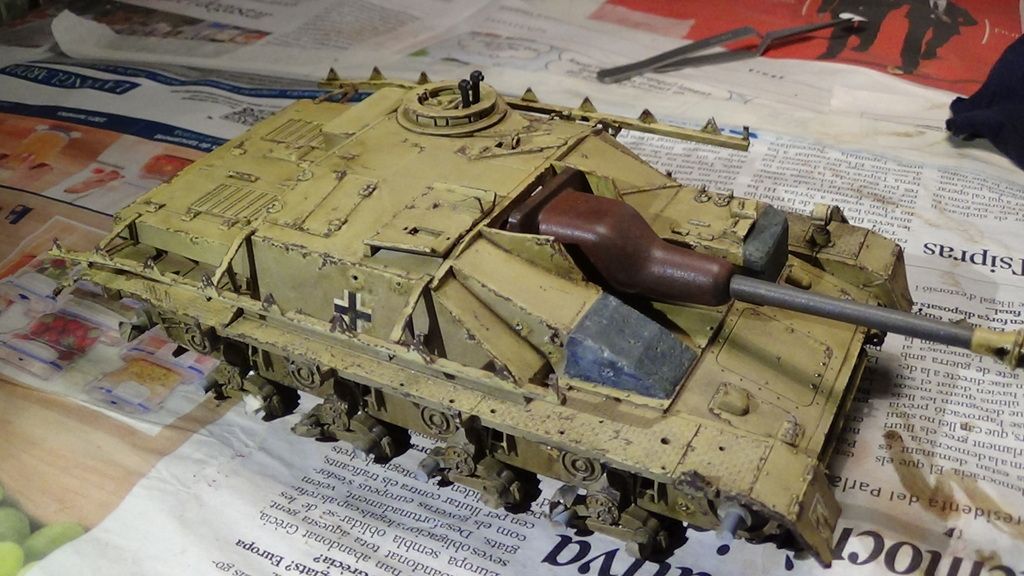
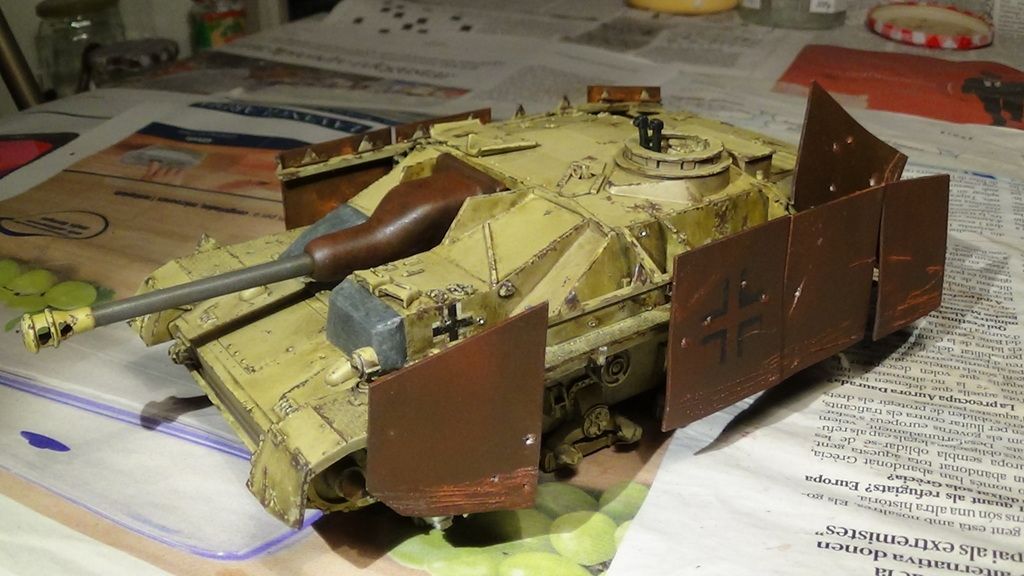
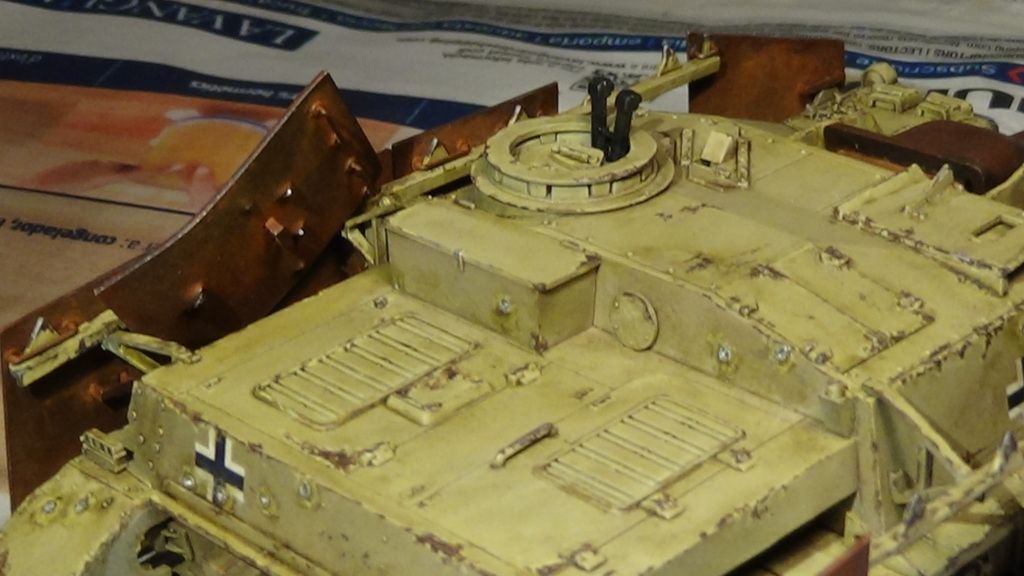
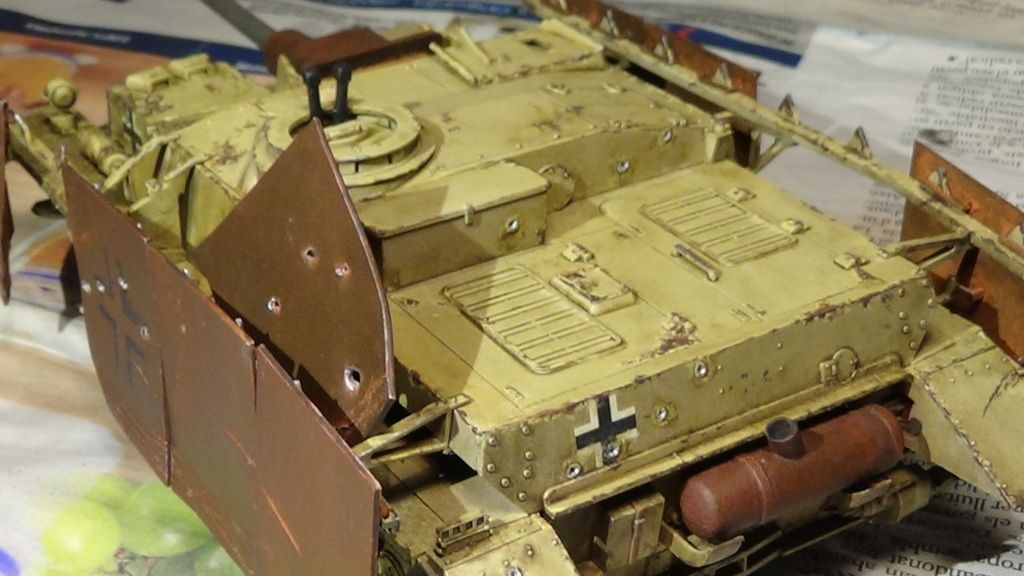
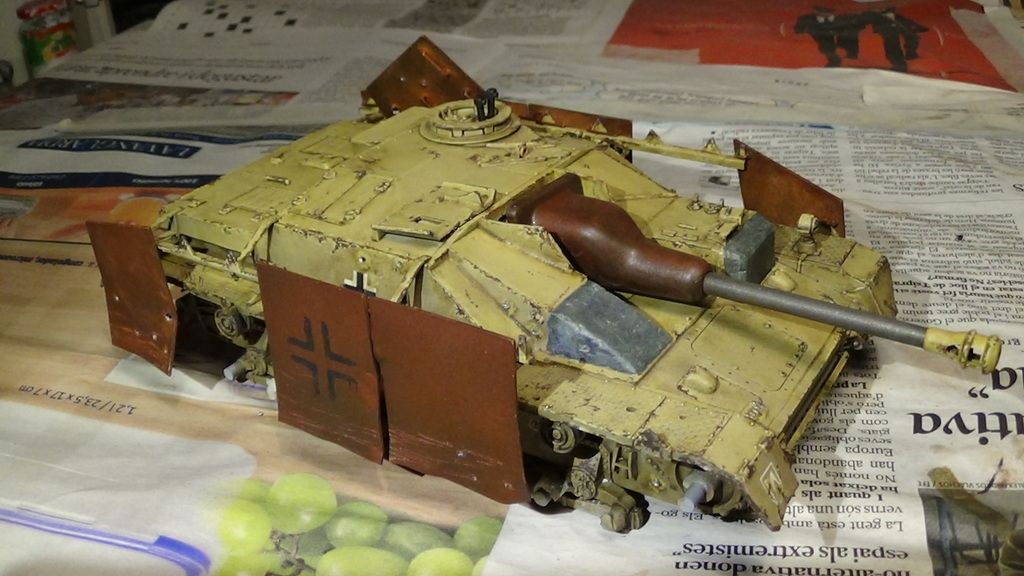
Thanks for watching!
Re: STUG IV "STUG Life" GB
Posted: Sat Oct 10, 2015 9:29 am
by razzie43
Good job on that poor Stug.
Re: STUG IV "STUG Life" GB
Posted: Sat Oct 10, 2015 2:15 pm
by felisbarcinonensis
razzie43 wrote:Good job on that poor Stug.
Thank you Razzie!
Re: STUG IV "STUG Life" GB
Posted: Sat Oct 10, 2015 2:41 pm
by rodrant
Wonderfull job Felis ! Like a lot the way you explain all the techniques , really good thread !
And the Stug is really great ! Excellent !
Re: STUG IV "STUG Life" GB
Posted: Sun Oct 11, 2015 12:15 am
by mincemeat
She's looking spectacular! Hopefully mine can be half as good.

You couldn't find my thread because I haven't posted one yet! I'll get to it....eventually. This whole adult thing really gets in the way!

Re: STUG IV "STUG Life" GB
Posted: Sun Oct 11, 2015 9:09 am
by felisbarcinonensis
Thank you guys!
Sorry, I had to share this winter + rust porn session... I don't smoke but now I need a cigarette...


Re: STUG IV "STUG Life" GB
Posted: Sun Oct 11, 2015 12:39 pm
by mincemeat
Fap, fap, fap....
Re: STUG IV "STUG Life" GB
Posted: Sun Oct 11, 2015 4:42 pm
by felisbarcinonensis
Re: STUG IV "STUG Life" GB
Posted: Sun Oct 11, 2015 8:58 pm
by Stokesy44
Jaw droppingly good - just friggin awesome work mate!!
Re: STUG IV "STUG Life" GB
Posted: Tue Oct 13, 2015 6:21 pm
by Razorben
Wow man! Epic build!!!
Re: STUG IV "STUG Life" GB
Posted: Tue Oct 13, 2015 9:27 pm
by felisbarcinonensis
Thank you guys
Right now I'm working with wheels and tracks
Cheers!
Re: STUG IV "STUG Life" GB
Posted: Sat Oct 17, 2015 11:53 am
by felisbarcinonensis
Re: STUG IV "STUG Life" GB
Posted: Sat Oct 17, 2015 1:06 pm
by Coen
Absolutely superior work Felis.
Excellently done.

Re: STUG IV "STUG Life" GB
Posted: Sat Oct 17, 2015 7:41 pm
by felisbarcinonensis
Re: STUG IV "STUG Life" GB
Posted: Mon Oct 19, 2015 1:00 am
by mincemeat
Stunning work Felis! Mine will pale in comparison I'm sure.
Re: STUG IV "STUG Life" GB
Posted: Wed Oct 21, 2015 6:13 am
by PaulAyrey
Great stuff Felis!
Really like the contrast between the side skirts and the Stug!
Re: STUG IV "STUG Life" GB
Posted: Wed Oct 21, 2015 6:45 am
by JudgeDredd
Absolutely superb. Weathering is genius!
Re: STUG IV "STUG Life" GB
Posted: Wed Oct 21, 2015 7:15 pm
by Nach70
Amazing, fantastic and AWESOME build¡¡¡¡¡¡
Brilliantly explained too
Congratulation on your work
Re: STUG IV "STUG Life" GB
Posted: Wed Oct 28, 2015 6:18 pm
by felisbarcinonensis
Thank you for your nice comments guys!!!
Winter has come.
The Final Reveal is coming... soon...
[youtube]bW56F6vZECY[/youtube]
Re: STUG IV "STUG Life" GB
Posted: Thu Oct 29, 2015 2:28 am
by TheTroyster
What's the name of that sleepy boy? I had a black cat for 18 years, he went to the cat house in the spectrum realm back in January - he look just like yours so I had to ask. Such a great pet to have.
Re: STUG IV "STUG Life" GB
Posted: Thu Oct 29, 2015 3:03 pm
by felisbarcinonensis
His name is Sam
A black cat... Nature's best design
Re: STUG IV "STUG Life" GB
Posted: Thu Oct 29, 2015 6:26 pm
by TheTroyster
nice- that's a good name - mine was Max, and my son informed me that the next cat we get "will be black and his name will be Max"
Re: STUG IV "STUG Life" GB
Posted: Mon Nov 02, 2015 3:18 pm
by felisbarcinonensis
Re: STUG IV "STUG Life" GB
Posted: Tue Nov 03, 2015 4:30 pm
by Coen
Magnificent Felis!
A thousand kinds of awesome buddy.
The final is superb and the presentation of the build is first rate as always.
Wow dude!

Re: STUG IV "STUG Life" GB
Posted: Tue Nov 03, 2015 4:37 pm
by felisbarcinonensis
Coen wrote:Magnificent Felis!
A thousand kinds of awesome buddy.
The final is superb and the presentation of the build is first rate as always.
Wow dude!
Thank you Michael!!!
You da Masta!!!
Re: STUG IV "STUG Life" GB
Posted: Thu Nov 05, 2015 12:13 am
by mincemeat

Awesome final product! Great work on that base it's pretty spectacular.
Re: STUG IV "STUG Life" GB
Posted: Thu Nov 05, 2015 1:16 am
by Diverrob
I'm truly amazed.... I don't even know what else to say.

Re: STUG IV "STUG Life" GB
Posted: Thu Nov 05, 2015 7:56 pm
by Skullfish
well i cant find a superlative to do it justice!
J
Re: STUG IV "STUG Life" GB
Posted: Thu Nov 05, 2015 8:13 pm
by felisbarcinonensis


