Page 1 of 1
Allied treasure
Posted: Mon Nov 02, 2015 2:36 pm
by Mylightweight
So here is my entry into the HTH SIG, Tamiya's Jagdpanther in 1/35
Here's the box shot

Followed by the collection of sprues and bodywork


I'll be replacing the barrel with an RB models one and using Eduard's P/E to improve the detail

I am planning on building this as though it had been abandoned by its crew and subsequently captured and recovered by the yanks. To that end it will end up on the back of my Dragon Wagon (still a WIP)
Thanks for looking
Chris
Re: Allied treasure
Posted: Wed Nov 04, 2015 3:22 pm
by Mylightweight
quick update, got all the suspension on

I managed to get the rear hull plate cleaned up and all the P/E on,


Does anyone know if the piece indicated should be drilled through or not?

The story behind this build is that the crew have been over run and had to abandon the vehicle, possibly due to a shell striking the drive sprocket and damaging it.
This means the crew have jumped ship, leaving it to be won by the yanks, subsequently stripped of all on vehicle equipment excluding the jack (because I wanted a go at making the P/E steps

) and has been winched onto the Dragon Wagon without its tracks
Thanks for looking
Chris
Re: Allied treasure
Posted: Wed Jan 06, 2016 8:32 pm
by Mylightweight
Now that my NADR GB entry is complete and submitted I can carry on with this build.
Front fenders chopped off ready for the P/E ones

The main gun assembly with RB Models metal barrel


Great casting detail in the mantlet

Muzzle break


P/E detail on the main hull and engine deck, very enjoyable build so far.
I will not be building multiple kits once my bench is clear, it's too much for my tiny brain to concentrate on.
Thanks for your feedback, C&C welcome
Re: Allied treasure
Posted: Thu Jan 07, 2016 9:12 am
by Stokesy44
Loving the detail work. Looks really smart. Its a great kit to start with but the extras are really bringing it to life.
Great work
Re: Allied treasure
Posted: Thu Jan 07, 2016 10:43 am
by Mylightweight
The fit is fantastic, it really does fall to together.
Easily build-able in a weekend if not a day
Re: Allied treasure
Posted: Thu Jan 07, 2016 3:47 pm
by InitialProduction1
Really awesome build mylightweight, like your dio plan, really looking forward to it.
Re: Allied treasure
Posted: Tue Feb 02, 2016 9:14 pm
by Mylightweight
So I have been working away on the camo for the Jagdpanther, I've sprayed it in Badger black primer followed by Vallejo Model Air Dunkelgeld

Then it was on to the second colour of the tri-colour scheme, Vallejo Model Air Tank Green

Then straight on with the third colour, Vallejo Model Air Armour Brown


This was my first go at freehand camo, it was ok considering the paint kept clogging on the airbrush every couple of minutes. Once I have finished my current stock of Vallejo Model Air they will be replaced with Ammo colours I think.
Now I've just got to paint the rubber tyres on all the wheels

and pick out all the details (exhausts, tools, US helmet etc)
I am waiting for some eduard masks to come for the German Crosses and numbers and they will all be sprayed on, then it will be a filter over everything.
Thanks for looking, criticism always welcome, often requested

Re: Allied treasure
Posted: Tue Feb 02, 2016 11:11 pm
by InitialProduction1
A ture peace of art mylightweight, ya that can be drilled out, But not through the cover plate, it's for the crank, so you can start the thing manually. Again great build.
Re: Allied treasure
Posted: Wed Feb 03, 2016 1:07 pm
by spock1701
Did you use masking for the camo pattern? If so, what exactly?
Re: Allied treasure
Posted: Wed Feb 03, 2016 1:15 pm
by Mylightweight
spock1701 wrote:Did you use masking for the camo pattern? If so, what exactly?
No, all done freehand with my airbrush, thin paint (very thin) low pressure and in nice and close.
Re: Allied treasure
Posted: Wed Feb 03, 2016 1:22 pm
by spock1701
No, all done freehand with my airbrush, thin paint (very thin) low pressure and in nice and close.
Ok. Low pressure, thin paint. Thanks.
Re: Allied treasure
Posted: Wed Feb 03, 2016 1:24 pm
by Stokesy44
Beautiful freehand paint job. It looks so good you almost hesitate before carrying on! We all know the washes and filters and dirt have got to come but damn, that is one sweet looking machine right now. Bravo Sir, Bravo!
Re: Allied treasure
Posted: Wed Feb 03, 2016 5:37 pm
by Mylightweight
It's fair to say I am a little nervous about putting a filter over it, never used a filter before so we'll see how it goes.
Re: Allied treasure
Posted: Thu Feb 04, 2016 10:08 am
by ForTheWatch
Mylightweight wrote:It's fair to say I am a little nervous about putting a filter over it, never used a filter before so we'll see how it goes.
same boat as you are and if you see my signature there is a link to it. I think it works out well. I made sure to cover the model in gloss coat and wish id have done more of it, but even now, the layering is pretty sweet. without the filters its a toy tank. now it looks like an EXPENSIVE toy tank.
Re: Allied treasure
Posted: Thu May 19, 2016 9:32 pm
by Mylightweight
It would appear I have been a little bit slack with my updates and progress in general with the JP (I have committed the cardinal sin and started another build

)
Anyway, the markings have been masked and sprayed on, I try not to use decals on my armour if I can avoid it


Really annoyed that some paint and primer came away, damn you finger juice

Then it was on to the detail painting, there wasn't that much to be honest, there always seems more than there actually is

Gloss coat and then chipping


I got the idea of the US helmet above the driver's periscope from "Fury" with the german gas mask and helmet combo, I am thinking of putting 2 white stripes on it to denote a captured Lieutenant's helmet but we'll have to see.
Next up will be my first go with oil dot blending and then the overall filter, wish me luck guys.
Laters
Re: Allied treasure
Posted: Fri May 20, 2016 2:18 am
by digger303
really nice build and paint job.
The exhaust pipes would benefit from drilling to thin them, but don't listen to me your doing great things.


Re: Allied treasure
Posted: Sat Jun 04, 2016 10:09 pm
by Bissyboat
I concure. Excellent brush work!

Re: Allied treasure
Posted: Mon Jun 27, 2016 8:37 am
by Mylightweight
So its time for another update,
I had my first go with any kind of oil dot filtering/blending


I was initially using oil paints (cheap ones from "The Works", which is a discount book/art shop in UK) and Tamiya X-20a thinners but it started pull the gloss coat off so I switched to using a cheap brand of white spirit from the hardware store. It seems to be more than adequate for what I need. I only did the front glacis plate and right hand side of the hull before switching, so everything was ok.
It gave me these results


Thanks for checking in, I'll have to wait now for a while until the oil paint has gone off, then it will be a flat coat and a filter.
Thanks again
Chris
Re: Allied treasure
Posted: Mon Jun 27, 2016 11:01 am
by digger303
very crisp paint and build
Re: Allied treasure
Posted: Mon Jun 27, 2016 11:04 am
by Kevthemodeller
Looks great mate
Re: Allied treasure
Posted: Thu Feb 09, 2017 6:17 pm
by Topcat
Super modelling
Re: Allied treasure
Posted: Thu Feb 09, 2017 6:42 pm
by schweinhund227
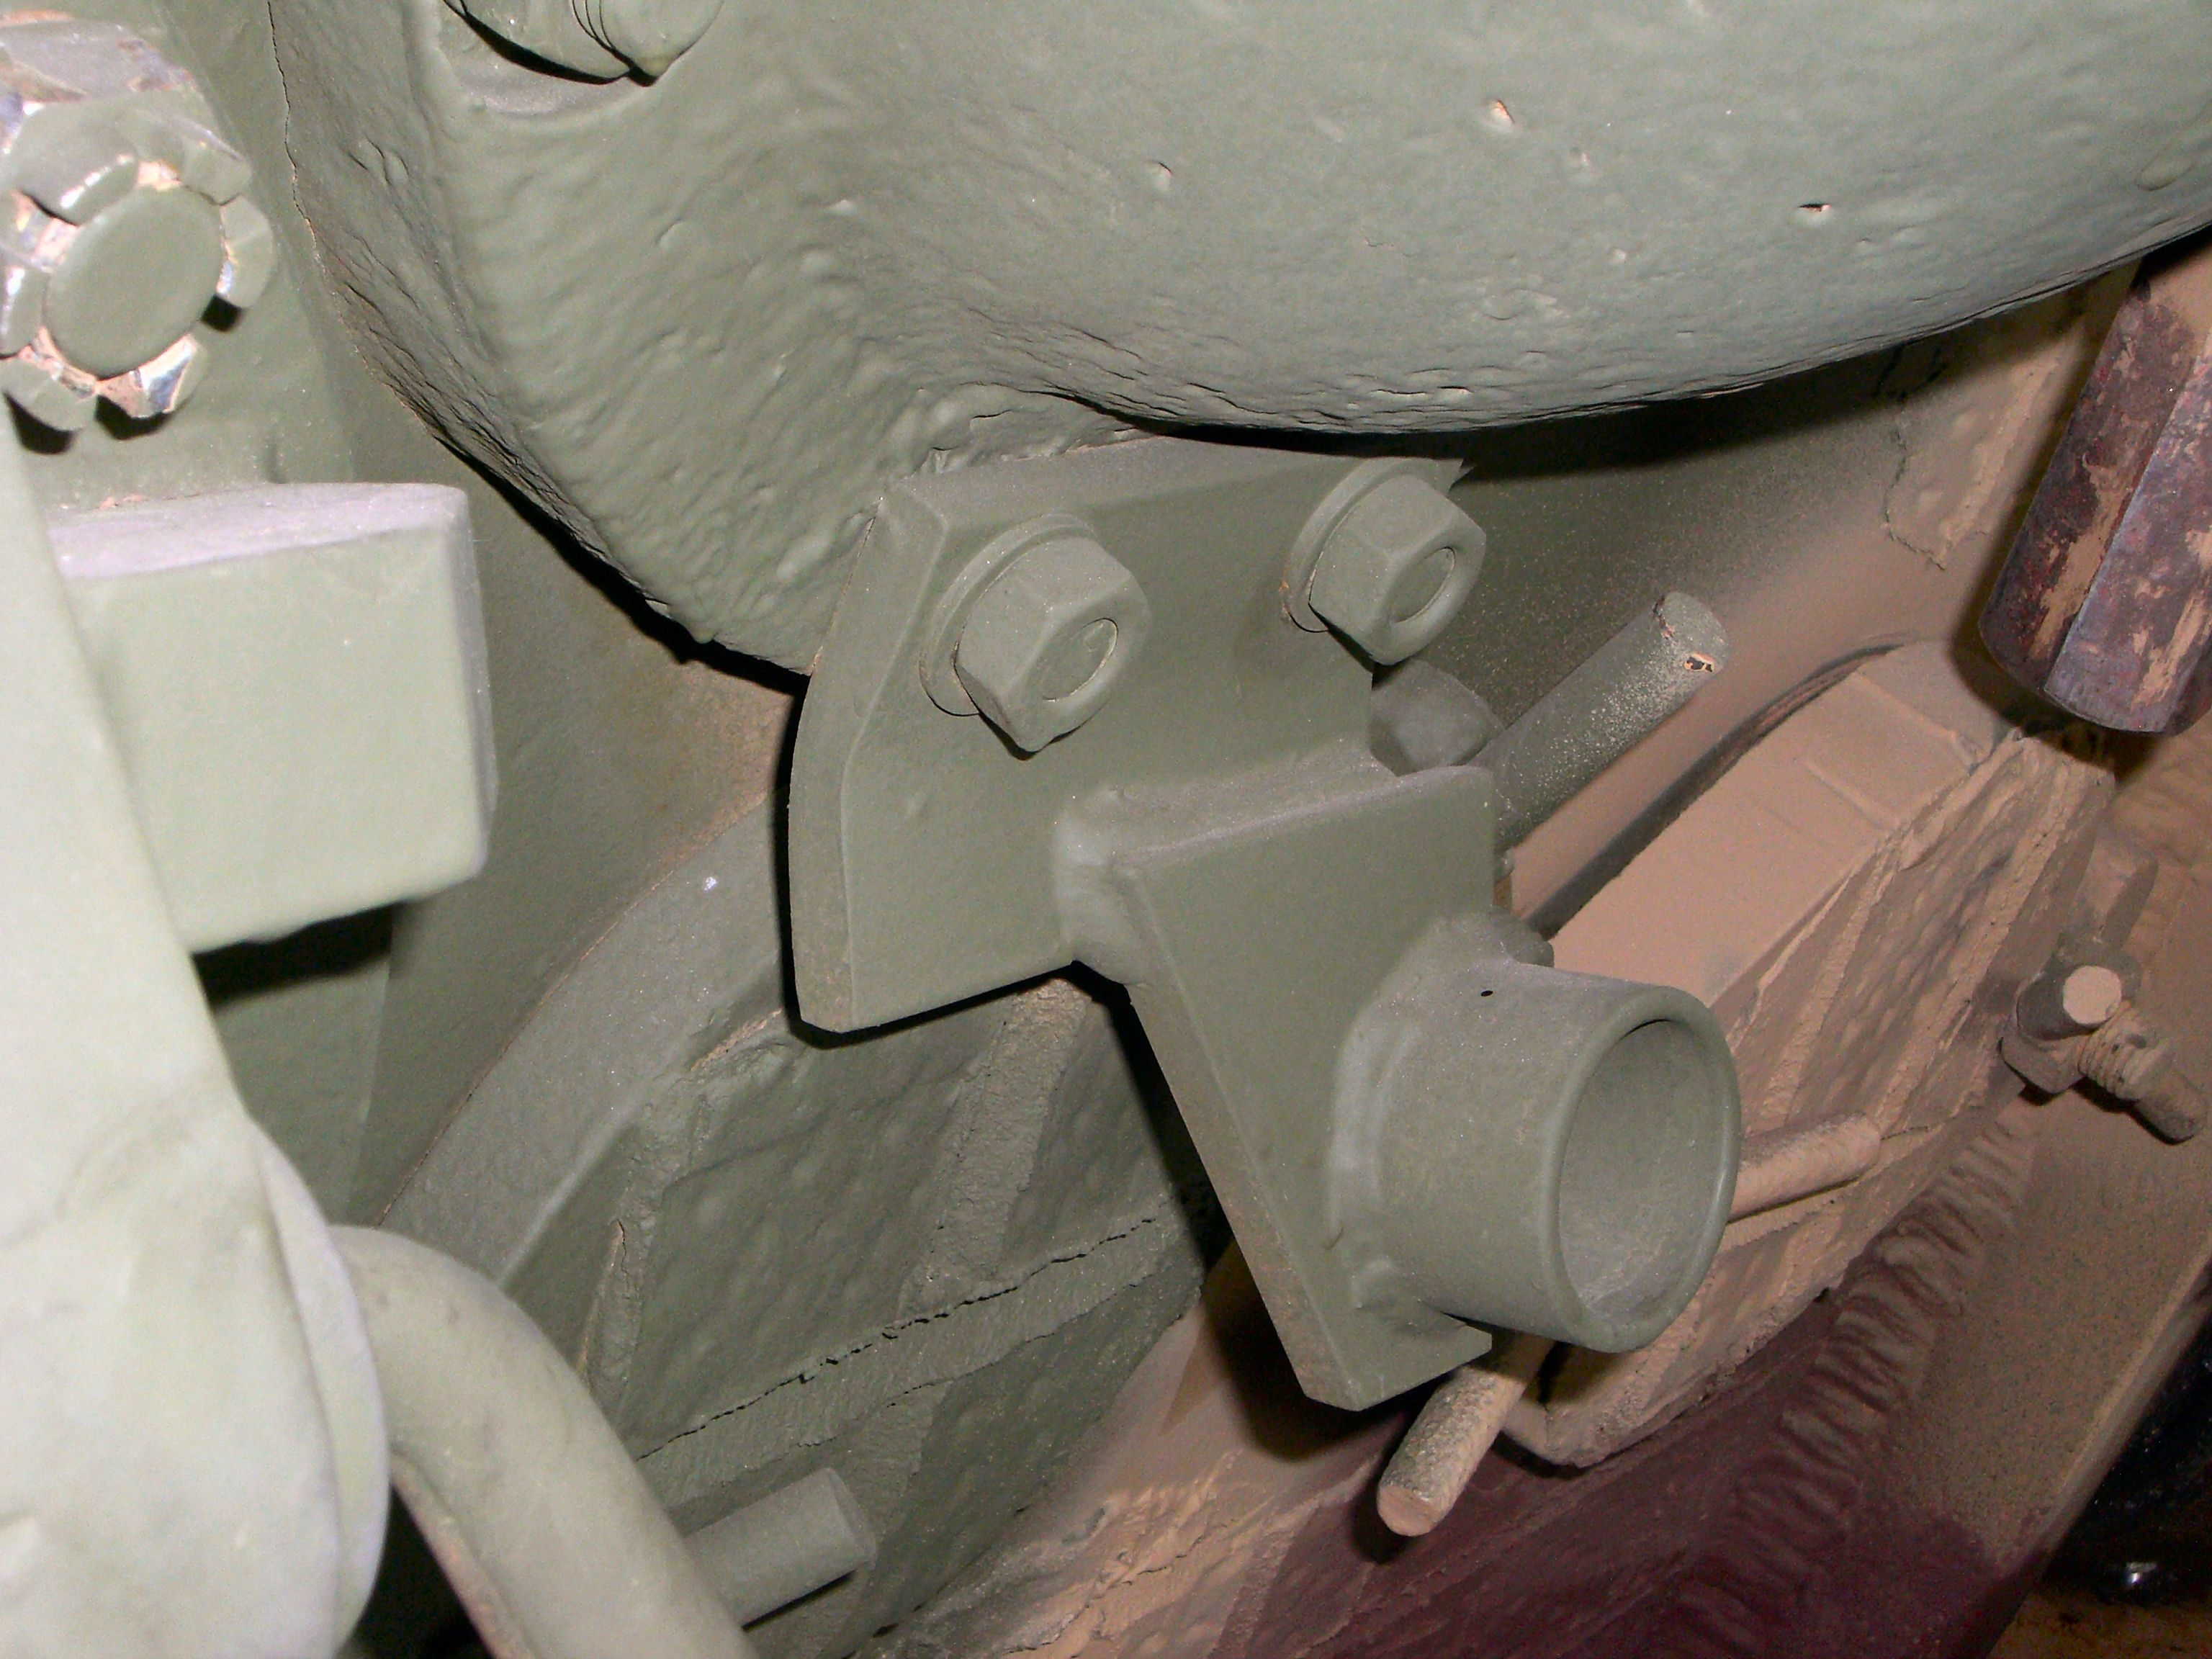
in ref. your Circled item.. it should be drilled out as it is a support for the Cold Crank engine start up but..... the way its moulded...
Don't bother....
http://data3.primeportal.net/tanks/thom ... _of_83.jpg
Re: Allied treasure
Posted: Thu Feb 09, 2017 7:13 pm
by Tiger213
Great progress, love the fading by oils, good job
One small thing to correct

- the 2 pipes next to left exhaust were NOT part of the exhaust system, so they will never rust. If I am right, they were heating outlets. If I were you, I would correct it /overpaint it/.

Re: Allied treasure
Posted: Mon Feb 13, 2017 3:14 pm
by Bissyboat
Proficient brush work on the camo.