Cockpit Ball
Ok, so back onto this build now.
Detail on this kit is good, the fit reasonable but the plastic and the way it's produced is bad.
Cheap feel to the plastic and absolutely covered in plastic dust out of the box.
But it's gonna get a paint job so onwards and upwards.
The inside of the cockpit was given an oil wash and cleaned up.
The chair was an awful brown colour so looking at the smaller version of this model by Revell (a far better kit), the chair is grey.
I glued the chair assembly together, cleaned up the seams and painted with a tamiya light grey. The rest of the cockpit parts were added and touched up where required.


The rest of the cockpit was assembled and the top hatch glass masked off and fitted into hatch.

Top hatch and rear window masked off. The hinge bar on the top hatch was on the wrong way in the photo but was fixed before fitting.

Inner cockpit assembly fitted into one half of the main body.

The front cockpit glass was masked off.

The pre-painted glass had runs and thick paint in some areas so it was sanded off.

Then the glass was fitted into the front half of the main body.

Then the main body assembly was glued and clamped together.

Due to some large gaps, styrene gloop was added all around the seams and left to cure for a couple of days. The seams were then sanded smooth.

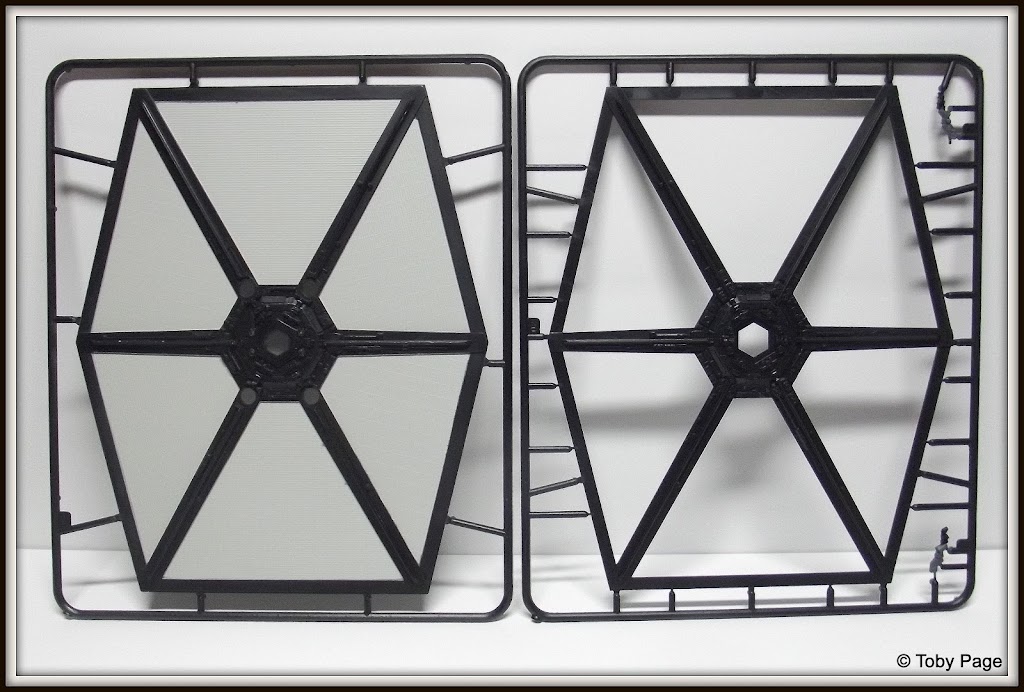
Onto the wing panels. These were cleaned up and assembled and the all the parts were washed thoroughly to remove all the dust etc.
Then the a wing panel was photocopied 1:1 4 times.

This was then marked inside the edge of the panels and then cut out to make a mask.

Then multiple panels were masked using the paper masks and tamiya masking tape.