Page 1 of 1
War team part 2
Posted: Thu May 19, 2016 11:31 pm
by lv2bf111
Re: War team part 2
Posted: Fri May 20, 2016 12:17 am
by Stokesy44
This is a superb kit. I made the same kit for this SIG a few weeks ago. Different box and decals but its the same little beauty.

Re: War team part 2
Posted: Fri May 20, 2016 12:23 am
by lv2bf111
Stokesy44 wrote:This is a superb kit. I made the same kit for this SIG a few weeks ago. Different box and decals but its the same little beauty.
I saw that, superb job on that by the way.
Re: War team part 2
Posted: Fri May 20, 2016 3:07 am
by Twokidsnosleep
Will follow along in this
Makes me add another kit to my wish list, love those figures

Re: War team part 2
Posted: Fri May 20, 2016 4:57 am
by lv2bf111
Everyone to the priming station

Re: War team part 2
Posted: Fri May 20, 2016 12:37 pm
by Kevthemodeller
Love these aircraft, I've been lucky enough to have visited the sqn site at Bodney about 6 years ago there's not a lot left probably even less now but the control tower and other building where still there. Even the odd bit of graffiti

Re: War team part 2
Posted: Sat May 21, 2016 1:58 am
by lv2bf111
I know what you mean, I am lucky enough to live close to one of the USAF's museums. They have a few parked there if I remember correctly, I don't know about this version but sure good enough.
Also

F-22 demo at the museum's air show this year.
Re: War team part 2
Posted: Sat May 21, 2016 3:37 pm
by lv2bf111
Alright that's enough playing in the primer time to start drying off.

Primed with Rustoleum 2X primer Gray (most things) and Flat black (some things).
Re: War team part 2
Posted: Sat May 21, 2016 9:59 pm
by demarcation
The Tamiya Mustangs are fantastic kits! Looking forward to follow your build.
Re: War team part 2
Posted: Wed May 25, 2016 2:11 am
by lv2bf111
Small update I did manage to find time to get the chromate green color down. Done in ammo of mig 220.

Went through the prime fill prime sand rotation on the drop tanks. As they will be getting an NMF finish I had to work on the seam a little. Right now the final coat of primer is on and waiting for gloss black. Done in Rustolium 2x black primer with the filler used was the Mr Surfacers

Re: War team part 2
Posted: Mon May 30, 2016 12:16 am
by lv2bf111
So I decided to work on the drop tanks in order to get some experiance with the metal finishes. After using Alclads gloss black base to make it nice and shinny it got the Alclad aluminum treatment. Then using Alclad polished brass added some detail.


Re: War team part 2
Posted: Mon May 30, 2016 2:23 am
by lv2bf111
Then just to add a little more, the bands were done using model master metalizer titanium.


Re: War team part 2
Posted: Thu Jun 09, 2016 4:17 pm
by lv2bf111
Re: War team part 2
Posted: Fri Jun 10, 2016 8:02 pm
by lv2bf111
Finished the exhaust pipes. Metalizer paints are awesome. This was done with Steel, Burnt iron and pale burnt metal.

Re: War team part 2
Posted: Wed Jun 15, 2016 2:48 pm
by lv2bf111
Re: War team part 2
Posted: Mon Jun 20, 2016 4:40 pm
by lv2bf111
Quick update as the wings and tail is on, I am working on preparing the surface for the NMF. There are a few places that need some attention.


I could not get the camera to focus on the wings leading edge, suddenly my sons head and youtube video about Jupiter provided the solution.

I hope to have it primed tonight with any luck
Re: War team part 2
Posted: Tue Jun 21, 2016 6:43 am
by lv2bf111
Primed, finally, in Rustolium flat black

Re: War team part 2
Posted: Fri Jun 24, 2016 3:59 pm
by lv2bf111
Time to add the finish.
After a few areas were fixed using Mr. Surfacer and Ultimate black primer.
Had a slight seam on the top. To remove it I covered it with Ultimate black primer in several layers shooting it as accurately as I could and then drying it back with the airbrush. I have heard people doing this with Mr. Surfacer but it works with the Ultimate stuff as well. You do have to let it dry 24 hours though.
Then it got the Alcald gloss black treatment.

Then after drying overnight, which left the gloss black just a little tacky so as to allow the Alclad to stick better but had to be careful of fingerprints, it got an Alclad finish. First with the Airframe aluminum color. Then lightly dusted over with Dark Aluminum for some tonal variation and overall effect.


Re: War team part 2
Posted: Fri Jul 15, 2016 6:18 am
by lv2bf111
Started putting the decals on and decided that the stripes at least should be painted on.
So I made a copy of the decal sheet and cut the stripes out and taped them on
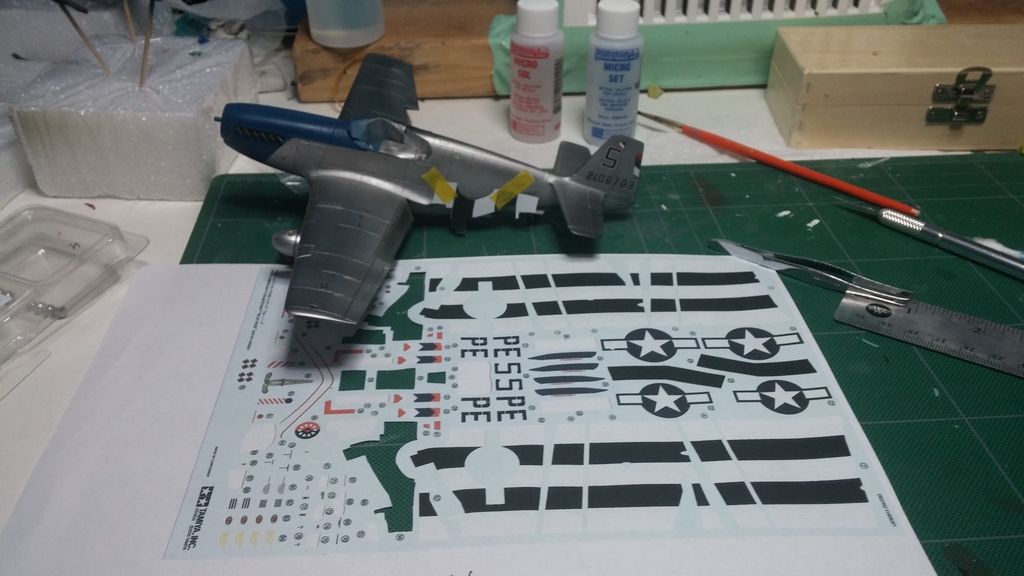
Then using the paper as a reference I masked up the needed area. Note 1 landing gear, I decided that it would be easier if I removed them but that little bugger is on good. I'm sure he will come off right when I am putting them back on.
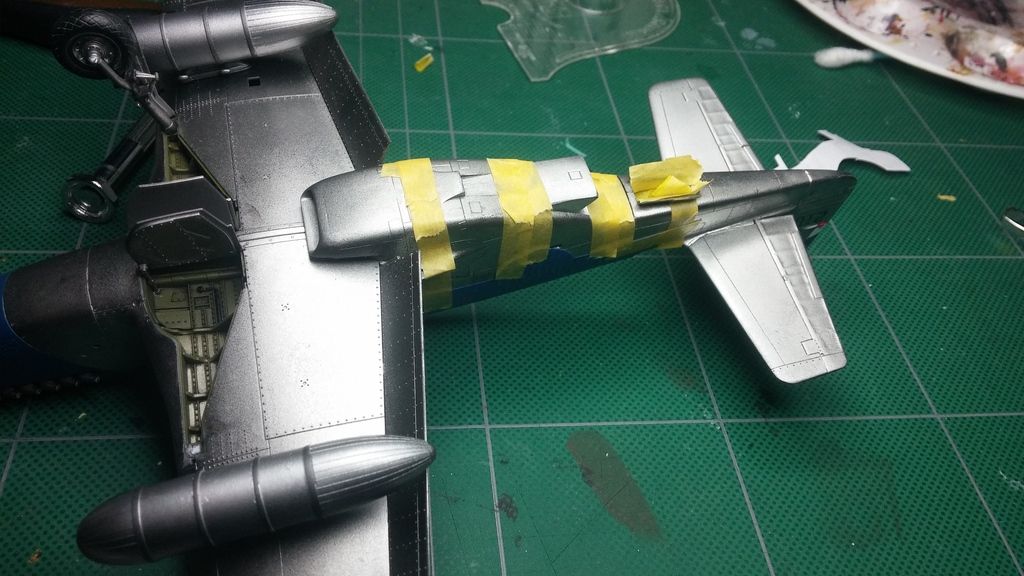
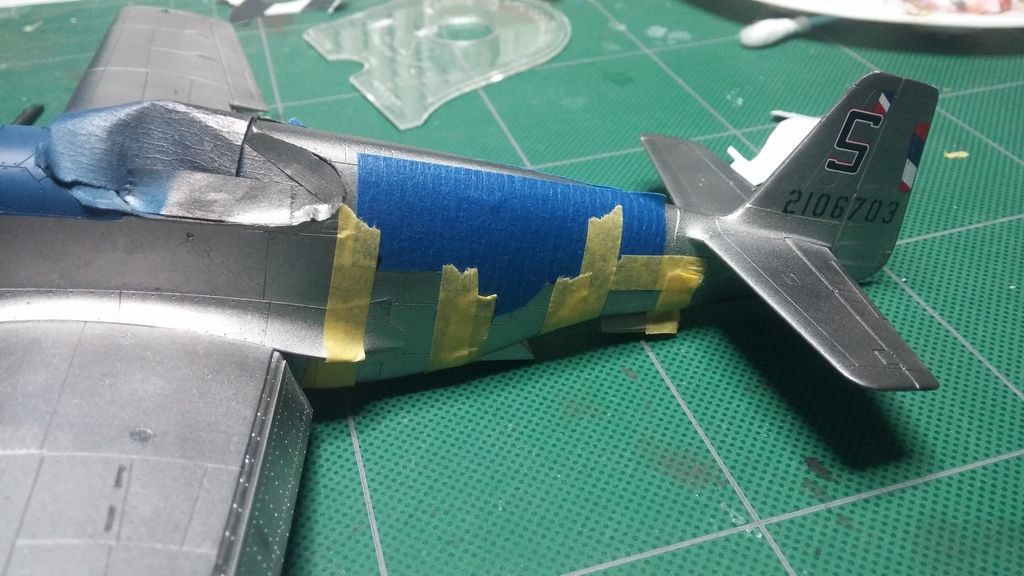
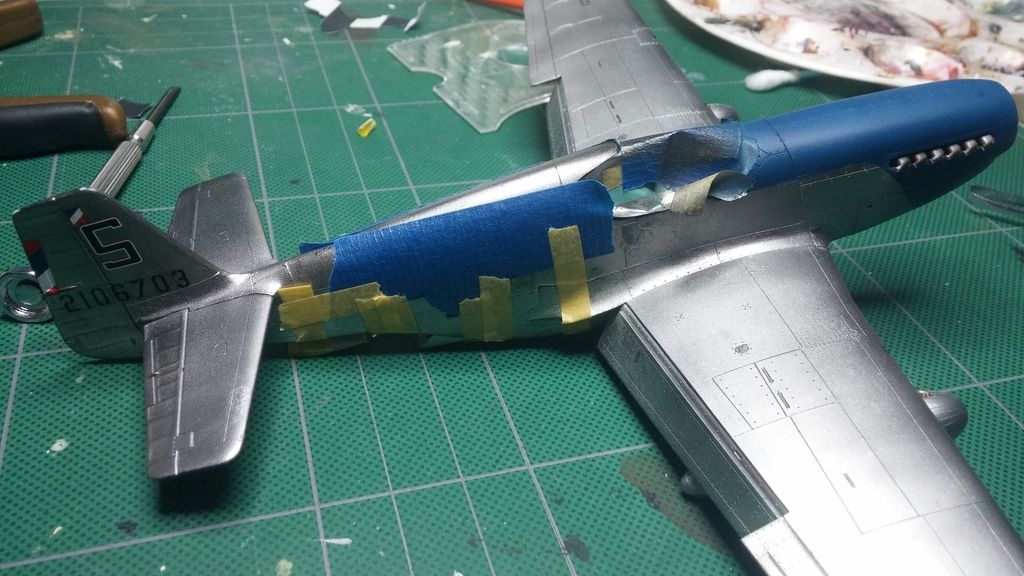
Sprayed the Ammo of Mig satin white directly onto the alclad. I was hoping this would not bite me. To help it I gave it an alclad gloss coat as well.
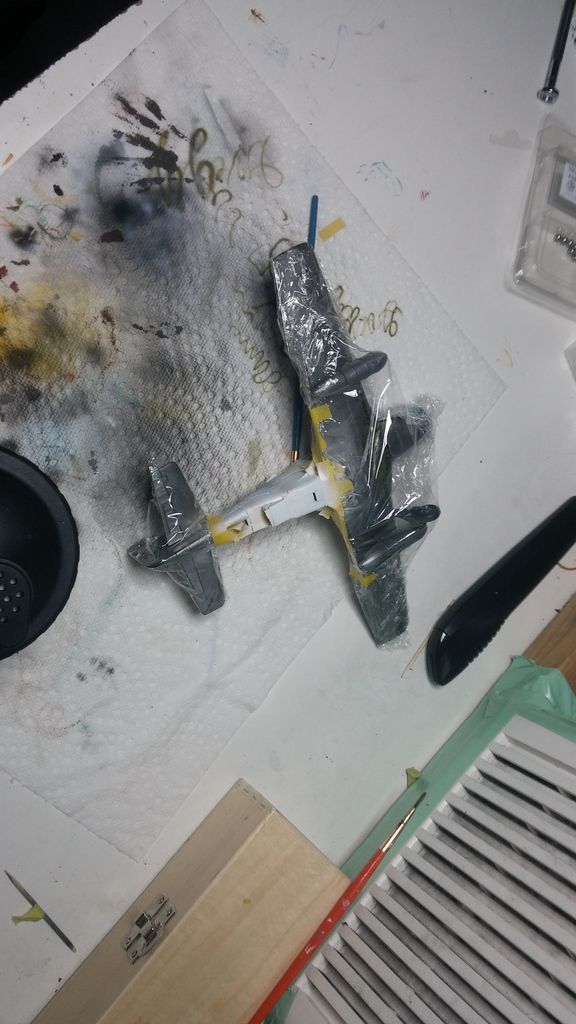
After switching the masks and spraying the black Tamiya XF-1 and giving it a gloss coat sure enough the Mig paint did not stick to the smooth sealed alclad. So I masked around and re-sprayed the white in the bad spot. Nope the remask took off more.
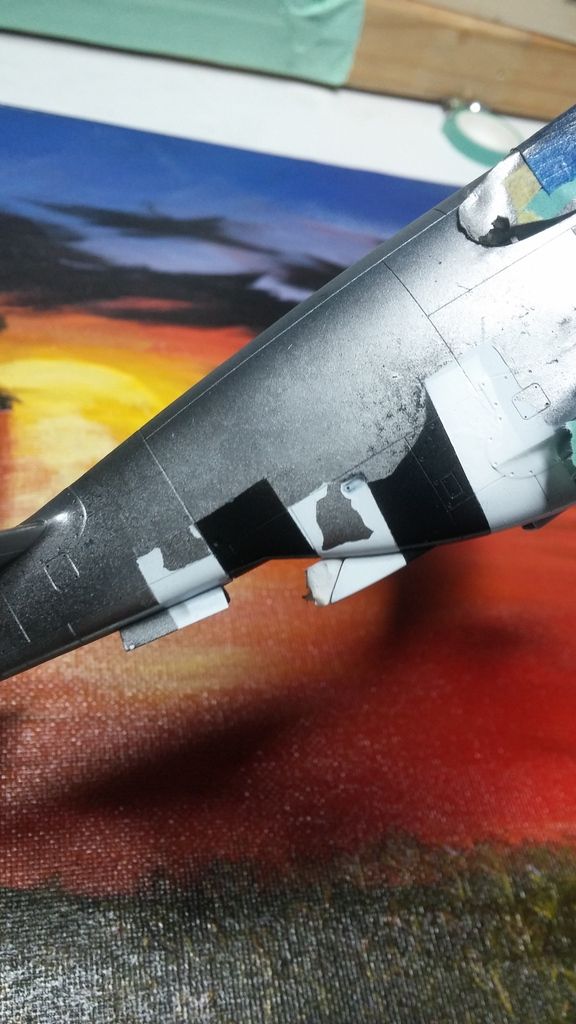
Interestingly enough it looks like the Tamiya is holding fine.
So I guess my course of action is to re-mask sand down to either plastic or primer whichever one happens and go through the whole process. I'm thinking, I should have know to do that in the first place.

Also because of handling some of the NMF will have to be touched up as well when I get the painting done.


