My setup
Posted: Sun May 22, 2016 8:47 pm
Hi. As a pretty experienced photographer I thought I'd share the very basic set-up I use to photograph my finished models.
I actually use this setup as both my Spray and Photo-booth.
It's just an MDF box, glued and screwed together with a 20"x20" fan attached to the back. I left a slot in the top, just in front of the fan to be able drop in the filter.
The internal lights are two fluorescent bulbs attached to the roof with a third clip-on to provide a bit if depth. Don't worry about white-balance. If your camera can't sort it out, then your post processing software will be able to.
The roof is lined with tin-foil to provide a bit of reflection, though this also protects the MDF from the heat of the light bulbs. I've never had a problem, but then I've never left the lights on for more than about an hour.
For the backdrop I use black card. I've experimented with different colours and have decided, for me, black is the way to go. I've discovered that running the fan actually holds the card in place very nicely.
So, here she is. Definitely more practical than pretty. But it turns out okay results for both spraying and photographs.


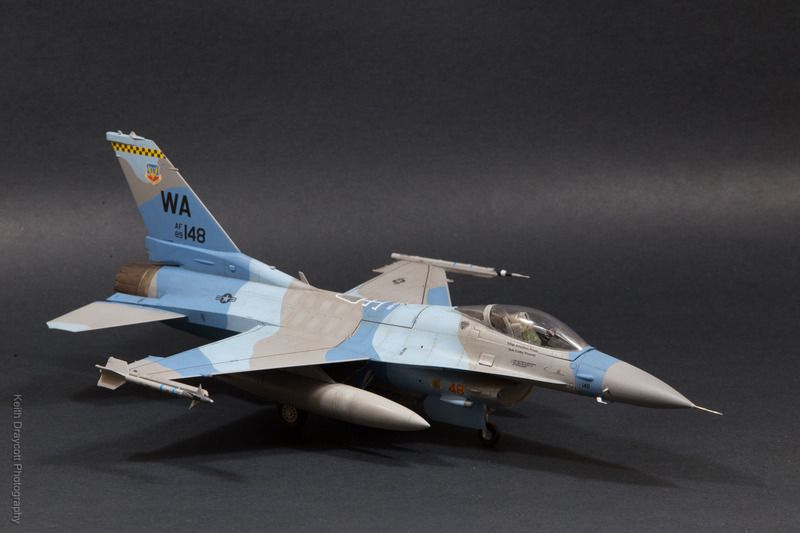
And here's a couple of results


I actually use this setup as both my Spray and Photo-booth.
It's just an MDF box, glued and screwed together with a 20"x20" fan attached to the back. I left a slot in the top, just in front of the fan to be able drop in the filter.
The internal lights are two fluorescent bulbs attached to the roof with a third clip-on to provide a bit if depth. Don't worry about white-balance. If your camera can't sort it out, then your post processing software will be able to.
The roof is lined with tin-foil to provide a bit of reflection, though this also protects the MDF from the heat of the light bulbs. I've never had a problem, but then I've never left the lights on for more than about an hour.
For the backdrop I use black card. I've experimented with different colours and have decided, for me, black is the way to go. I've discovered that running the fan actually holds the card in place very nicely.
So, here she is. Definitely more practical than pretty. But it turns out okay results for both spraying and photographs.


And here's a couple of results


 I have a 18-200mm lens, what's better using this and taking pictures far away and zooming in or getting a macro lens for model pictures? I just use my Samsung S4 usually for model photos, and it's the worst. What camera do you use, I'm guessing a Canon? Now you've brought it on yourself....all the questions.