Page 1 of 1
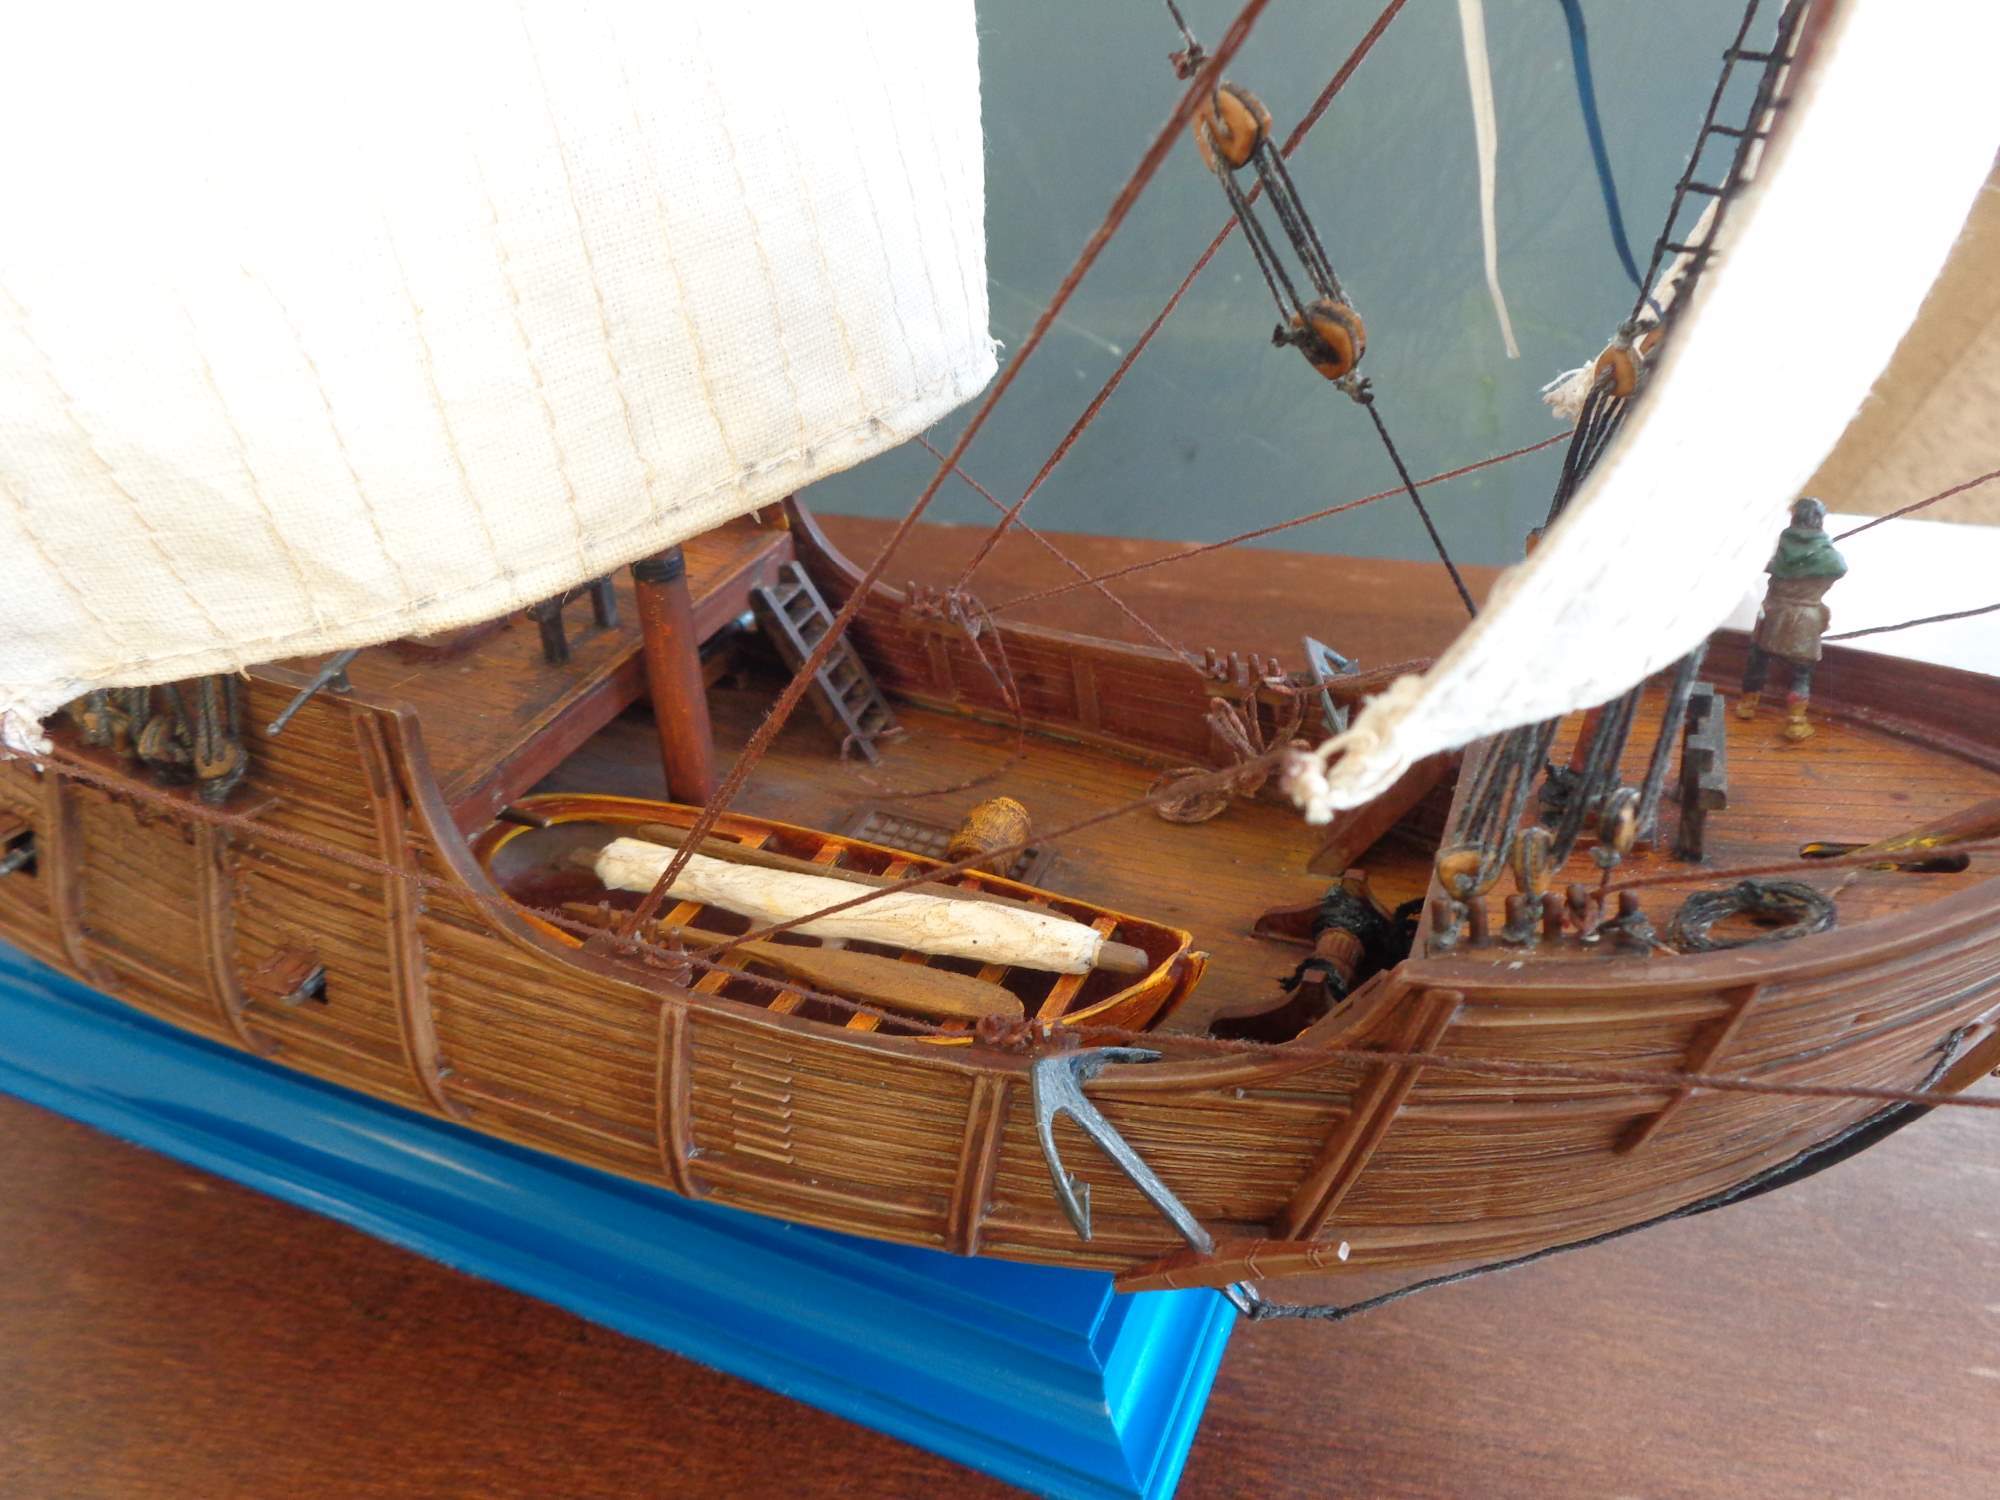
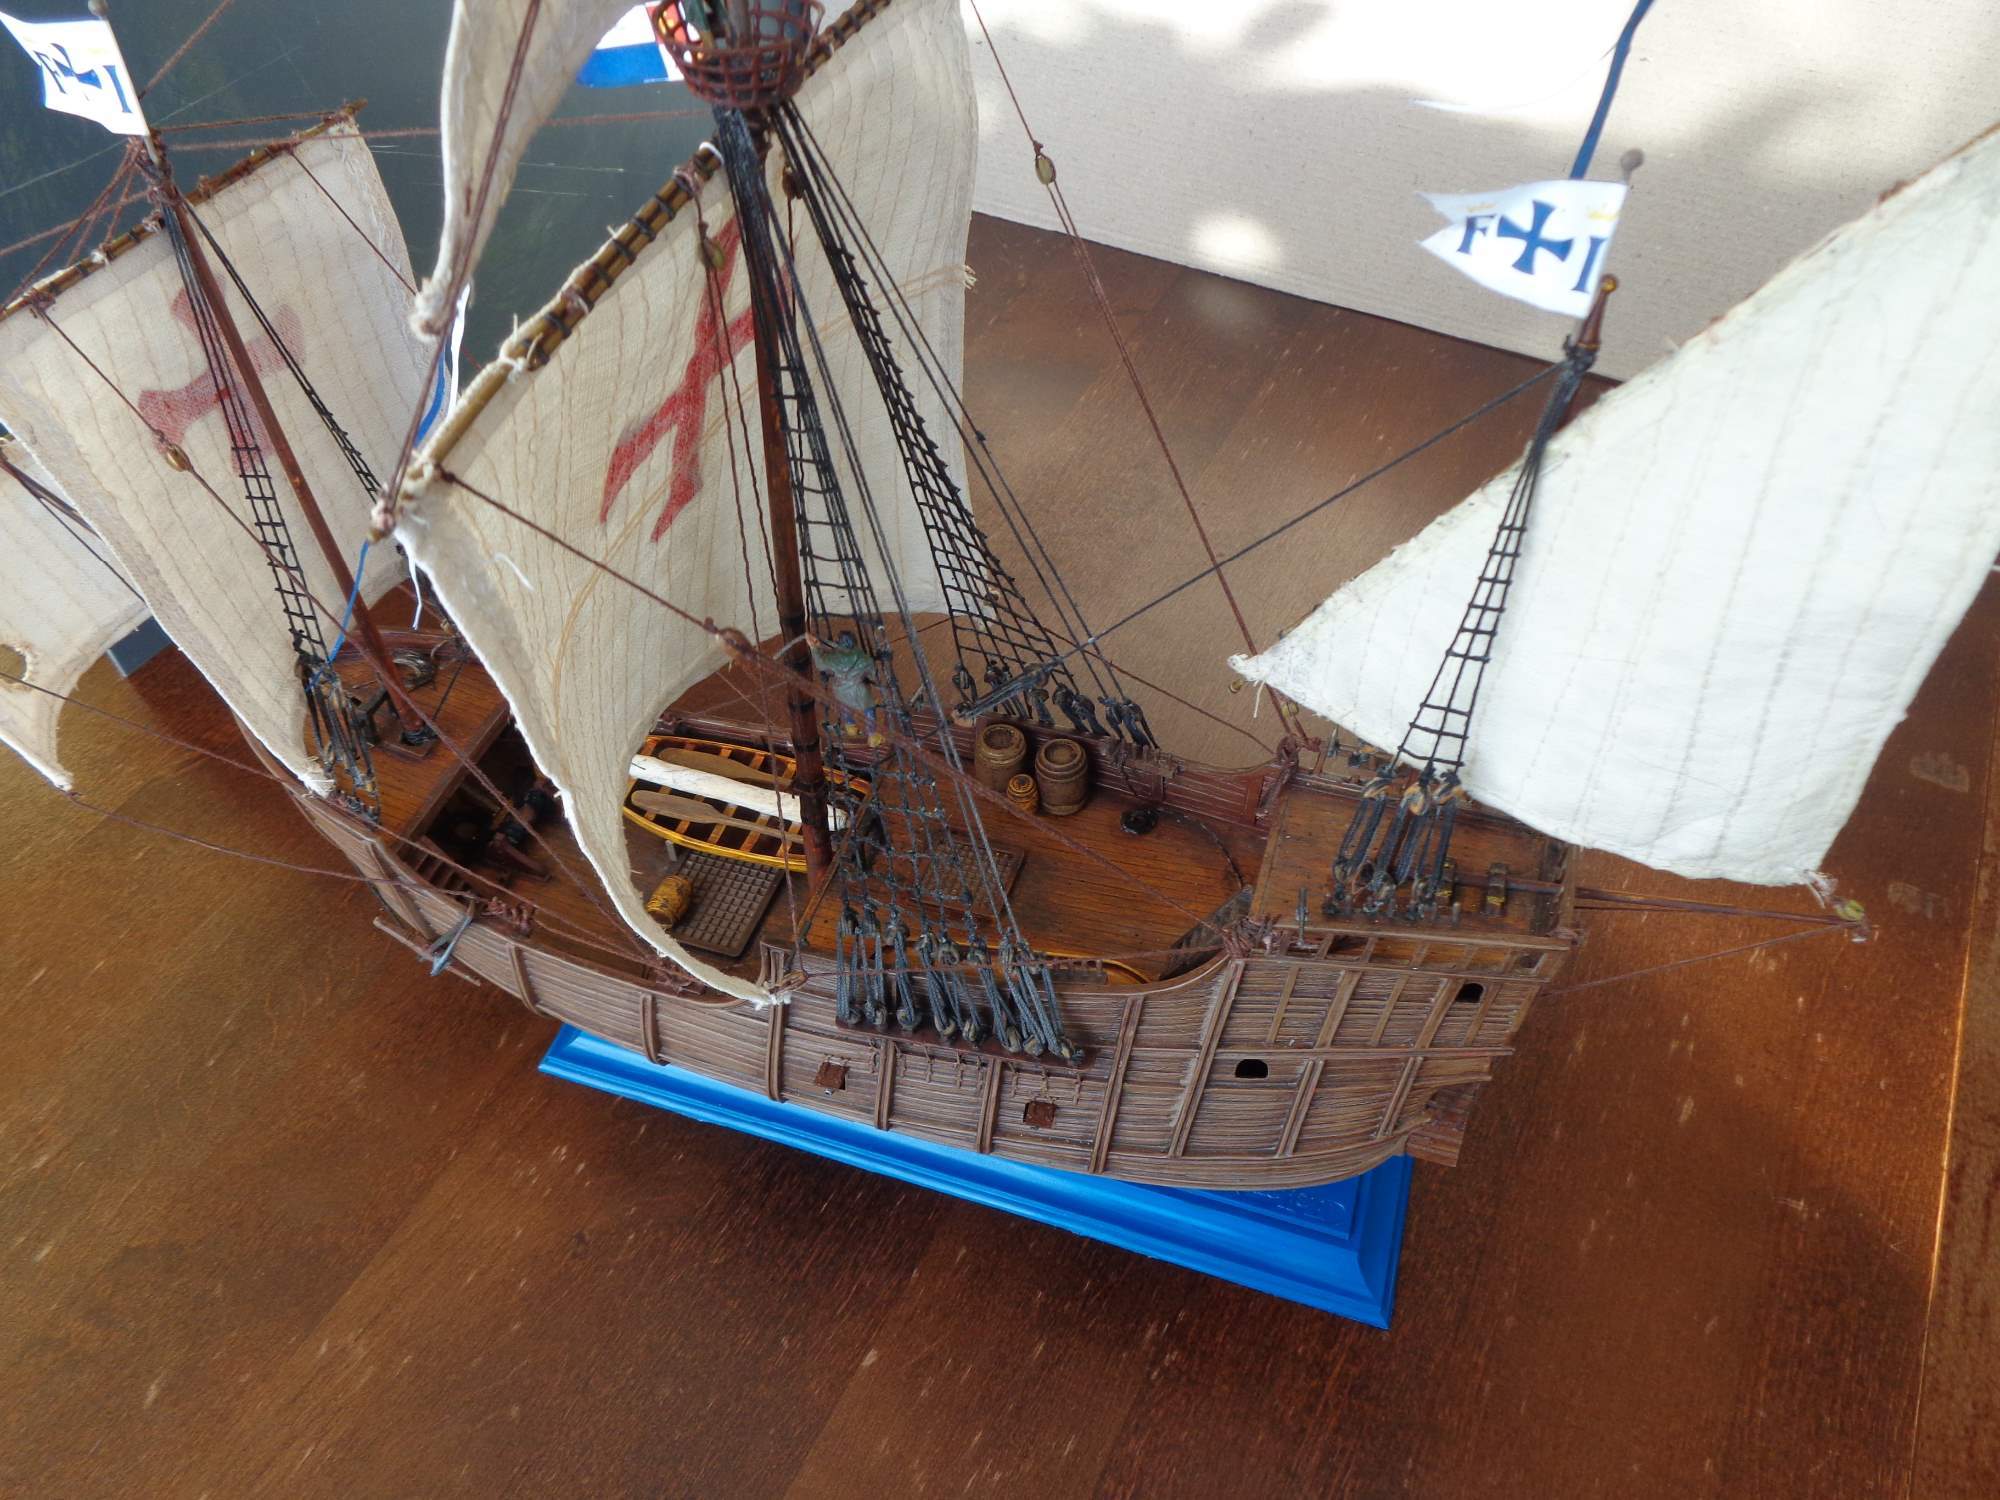
SANTA MARIA 1/75 Heller
Posted: Wed Nov 30, 2016 4:29 pm
by Džar
Re: SANTA MARIA 1/75 Heller
Posted: Wed Nov 30, 2016 6:24 pm
by Davethepitch
You have done an excellent job.
Re: SANTA MARIA 1/75 Heller
Posted: Thu Dec 01, 2016 8:41 am
by RobertK
Very nice! I know how much work involved to get these old kits to look good

Well done!
Re: SANTA MARIA 1/75 Heller
Posted: Fri Jun 09, 2017 10:27 am
by emilc78
Hi,
I'm kind of new here. Currently working on the same model, same kit etc. A few questions (sorry in advance if I'm being thick):
There are two launches in the kit - The one on the quarterdeck seems to be the bigger one?
Which colours have you used for the hull?
What sizes have you picked for the deadeyes and blocks?
Thanks - As soon as I figure out how, I'll post my results - got rid of the plastic deck and made my own wooden one.
Re: SANTA MARIA 1/75 Heller
Posted: Sun Jun 11, 2017 4:41 pm
by Džar
If I understand you well, you want to replace the original part of the deck for the wood. There is no need to change it, it is only necessary to install the original deck into the hull. Brush the base paint from a combination of Tamiya acrylic, XF - 3 and XF - 87 colors.
Patina get the oil colors of UMTON Siena Pálená Umbra. That means painting the deck on one shade and wiping clean, repeat this procedure until you are satisfied.
The hull of the ship is also painted with the color of Tamiya and XF-49. Then I used oil on the fuselage.
Re: SANTA MARIA 1/75 Heller
Posted: Mon Jun 12, 2017 9:36 pm
by emilc78
Great! Thanks for the help, but I've noticed your reply a bit too late.
It's been replaced and looking really good!! Currently waiting on the hull to settle and continue with other fixtures and details.
For weathering and callings - they're a bit there - To get the shades of boards I used different washes I made myself, and in the end I AK Interactive Navy kit washes.
Re: SANTA MARIA 1/75 Heller
Posted: Wed Jun 14, 2017 5:24 pm
by emilc78
I'm just asking...there's a part 9 on the grid somewhere...is it just me or is it not included in the set? I seem to be unable to find it - is that something I need to make on my own?
Re: SANTA MARIA 1/75 Heller
Posted: Fri Jun 16, 2017 11:48 am
by Džar
On the grill is a barrel with drinking water. Wooden barrels are added on board. It's not part of the kit. The riding pulleys are wooden. Accessories can be purchased at
www.hismodel.com and
www.radekshipmodel.com.
It offers all the accessories at Santa Maria. And sails. But I made you myself.
Re: SANTA MARIA 1/75 Heller
Posted: Fri Aug 25, 2017 9:44 am
by emilc78
IMG_0271.JPG
IMG_0271.JPG
IMG_0270.JPG
Here's what I have so far...
Re: SANTA MARIA 1/75 Heller
Posted: Fri Aug 25, 2017 4:15 pm
by Twokidsnosleep
This is really great work

I will follow along

Shipbuilding and rigging look like a real art
I have a couple Canadian tall ships I want to make
Re: SANTA MARIA 1/75 Heller
Posted: Fri Aug 25, 2017 4:21 pm
by emilc78
A bit on hold at the moment, but the works will resume soon. The only plastic elements in this model are the hull sides. All other elements are self-made. I'm in the midsts of preparing the canons and the stern - main and poop decks are ready for mounting.