Page 1 of 2
Anti aircraft diorama (bit of a long thread)
Posted: Thu May 30, 2013 7:25 pm
by Paul
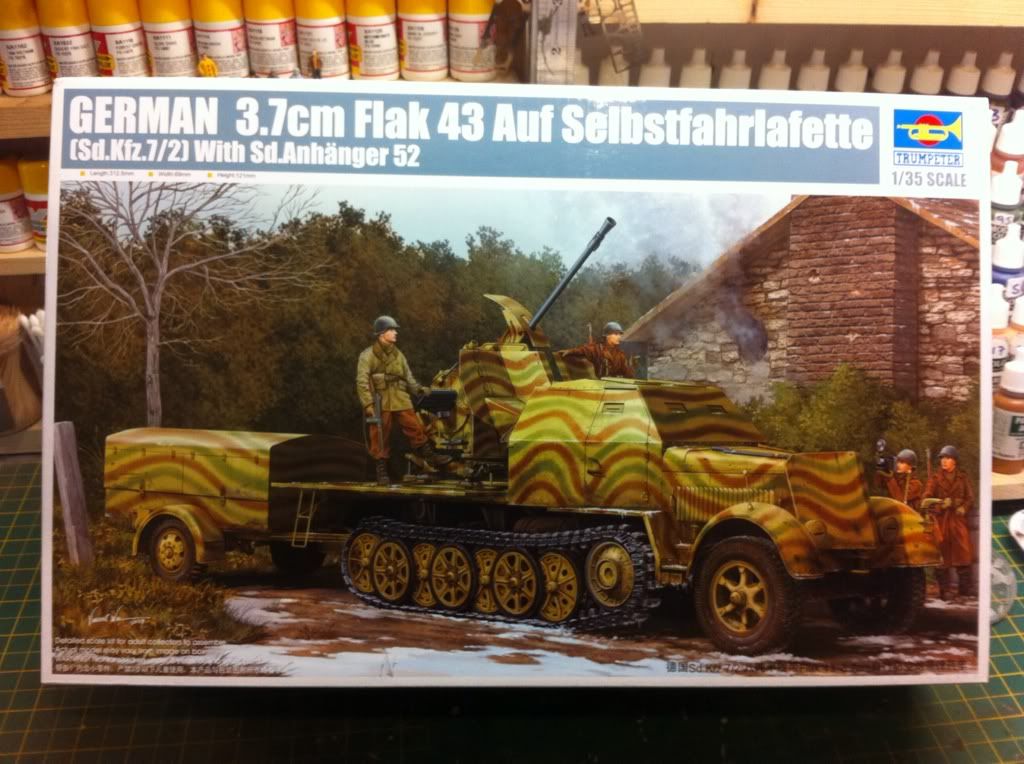
A ww2 german truck with a 37mm flak gun will form the main focus to my build, this will be incorporated into a diorama including a searchlight, a full crew for the flak at rest eating and drinking, I will have the flak hunin it ready to fire state with one guy searching the skies with binos while the rest are taking it a bit easier. I plan having a small led light n the searchlight powered by a battery which should hopefully look ok when lit. All this will be on a 18" x 10" mdf base. Seting wise I'm not 100% sure of yet, either inner city or countryside, more than likely,the latter using polystyrene shaped to give an undulating uneven surface. I've yet to get my flak gun I'm going to emodels on Wednesday and will post pics as and when i have it. .

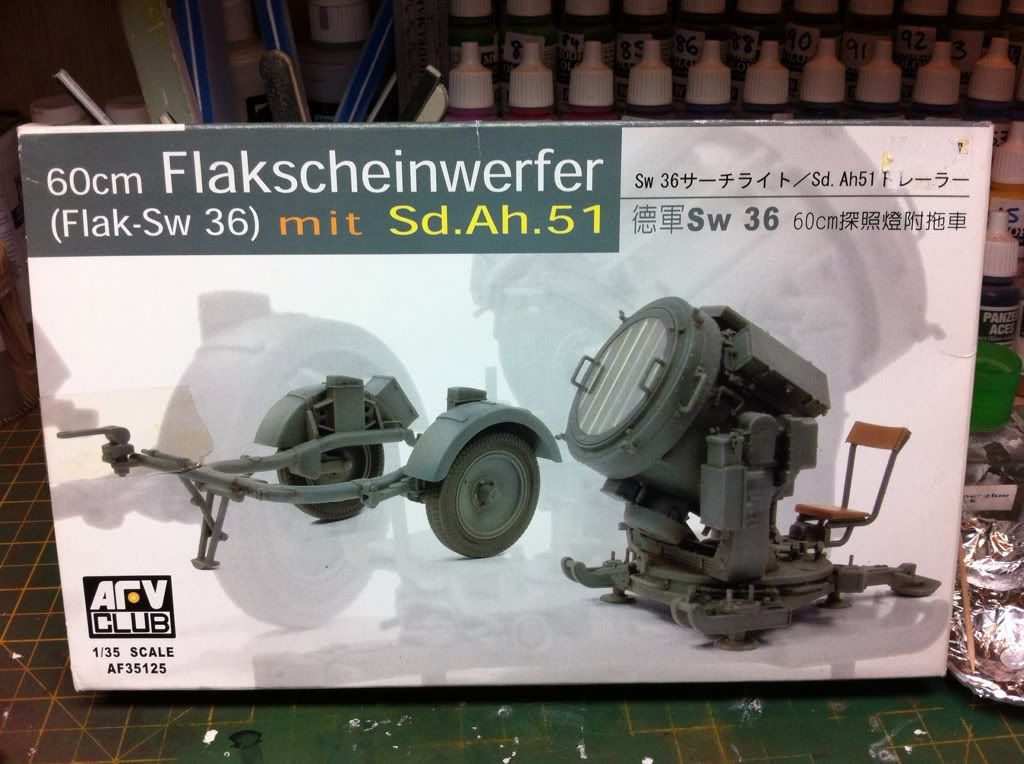
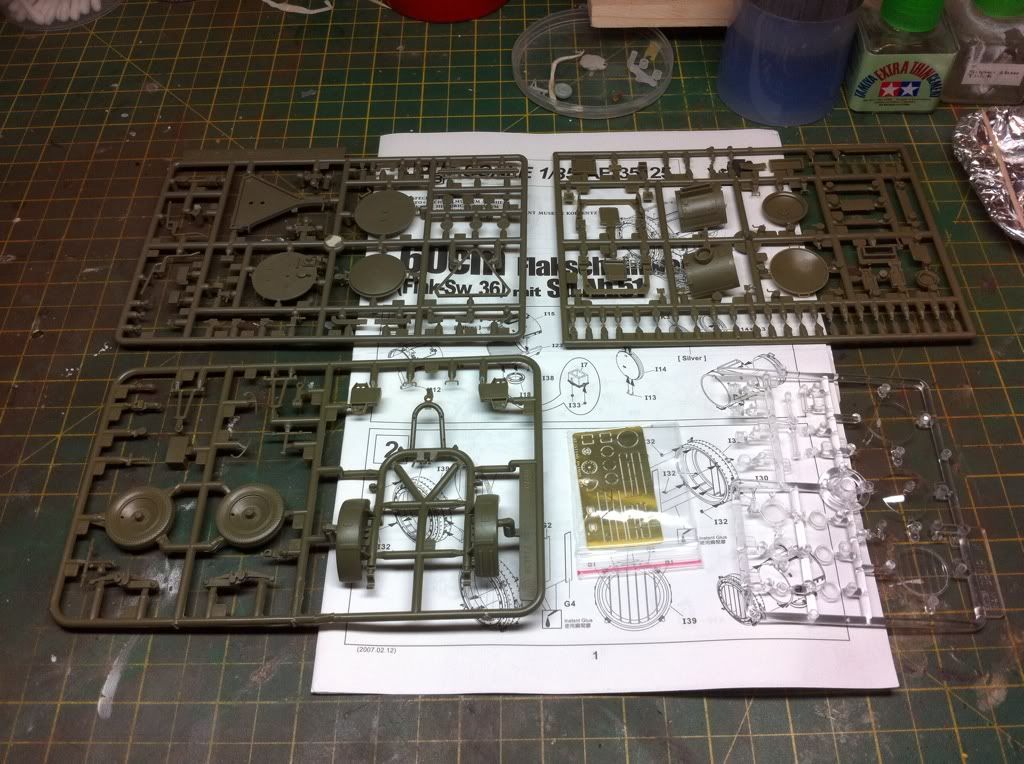
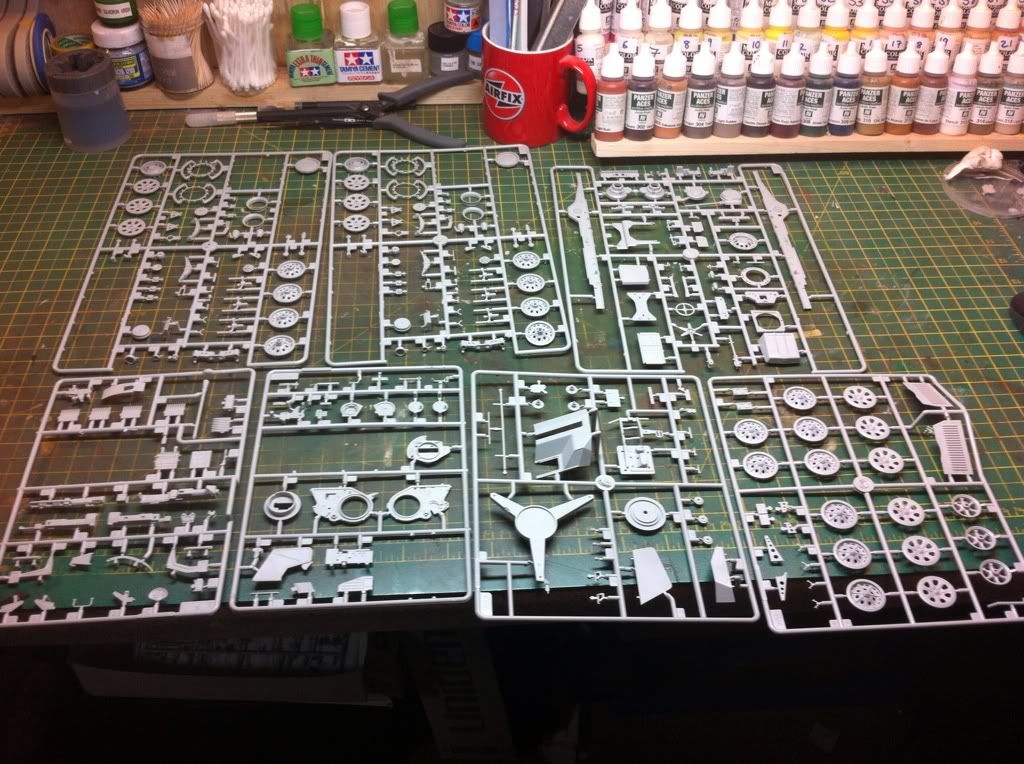
I started on the search light today. Box and spruce shots.
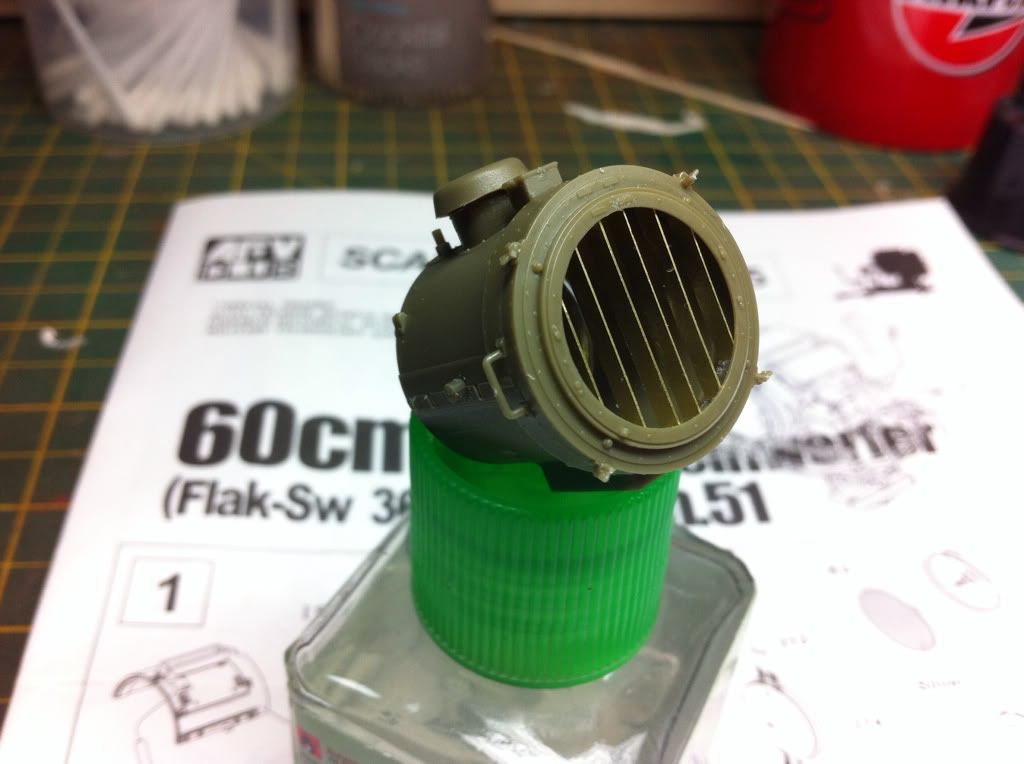
The search light itself with the pe louves attached.
The cradle and search light completed and with a mask covering the innards Of the search light i had sprayed with alclad polished aluminium.
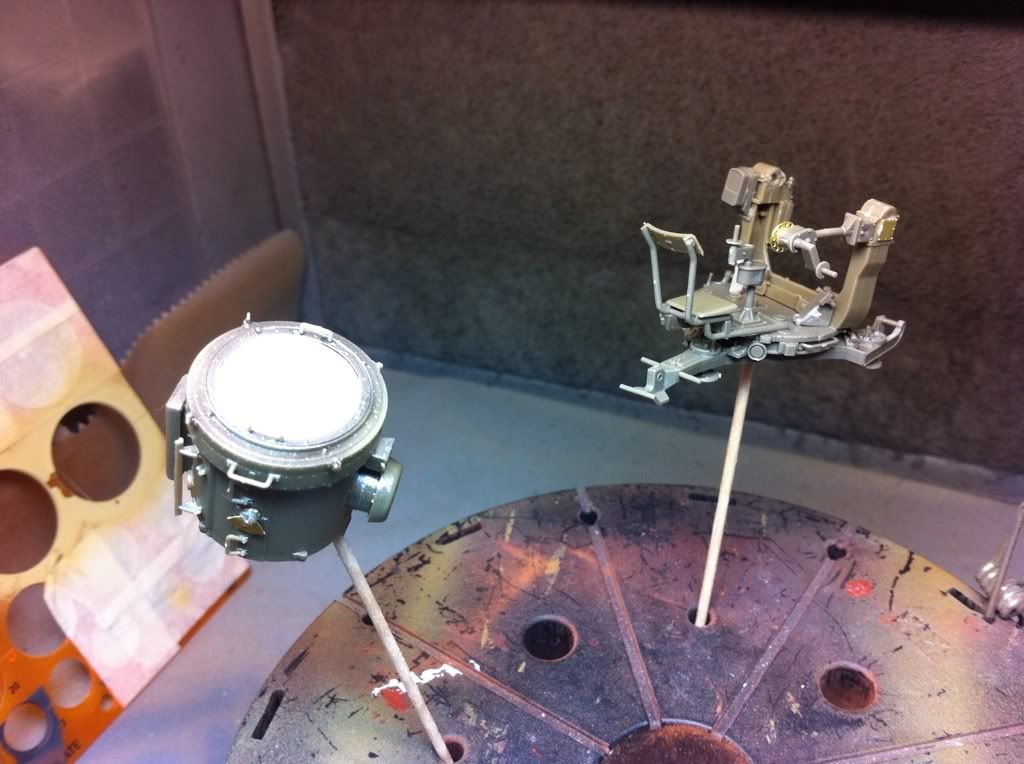

Primed in Vallejo dark yellow primer.
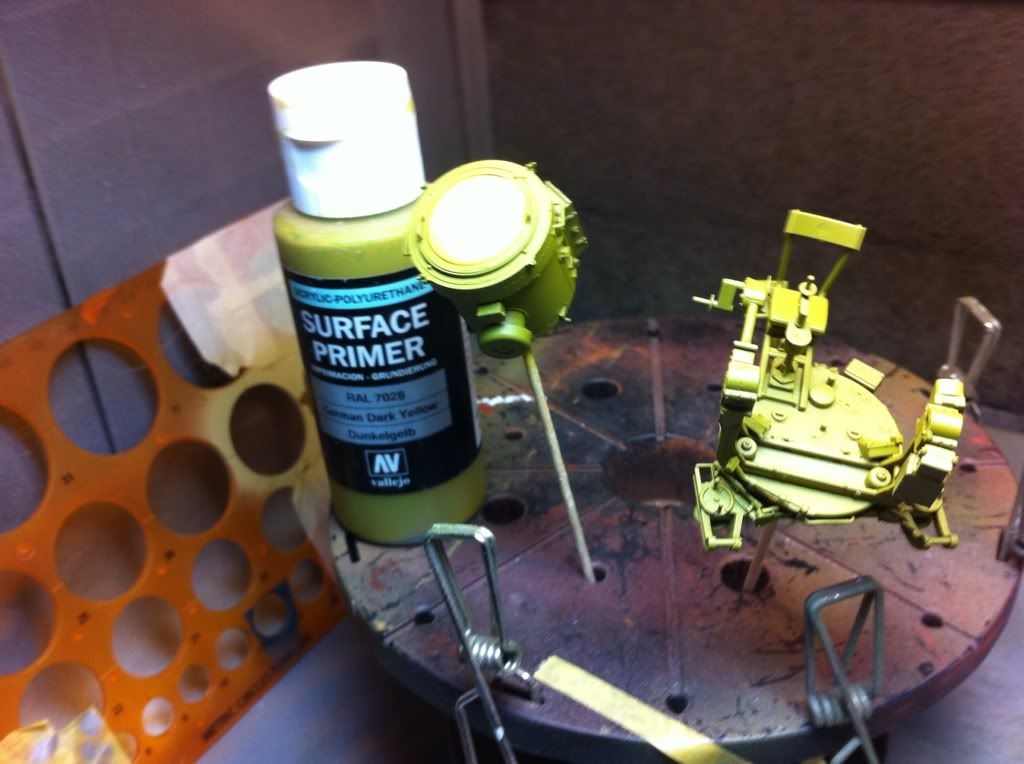
Then given light coat of tamiya xf60 dark yellow
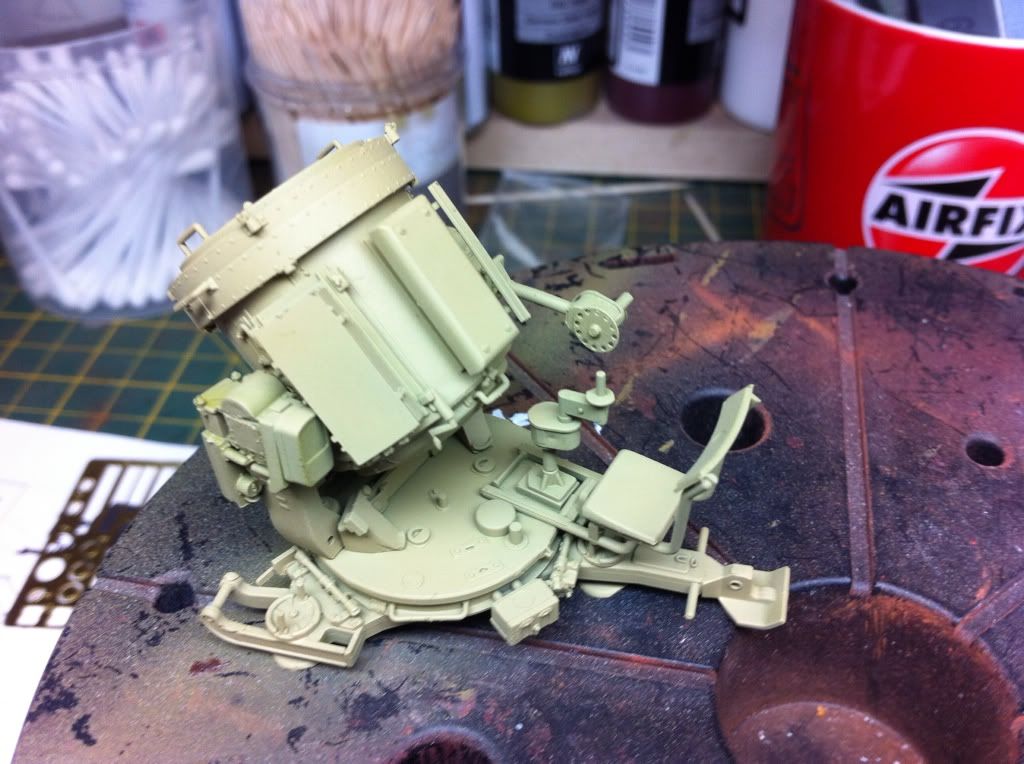
Took the mask off and everything,inside,is fine.
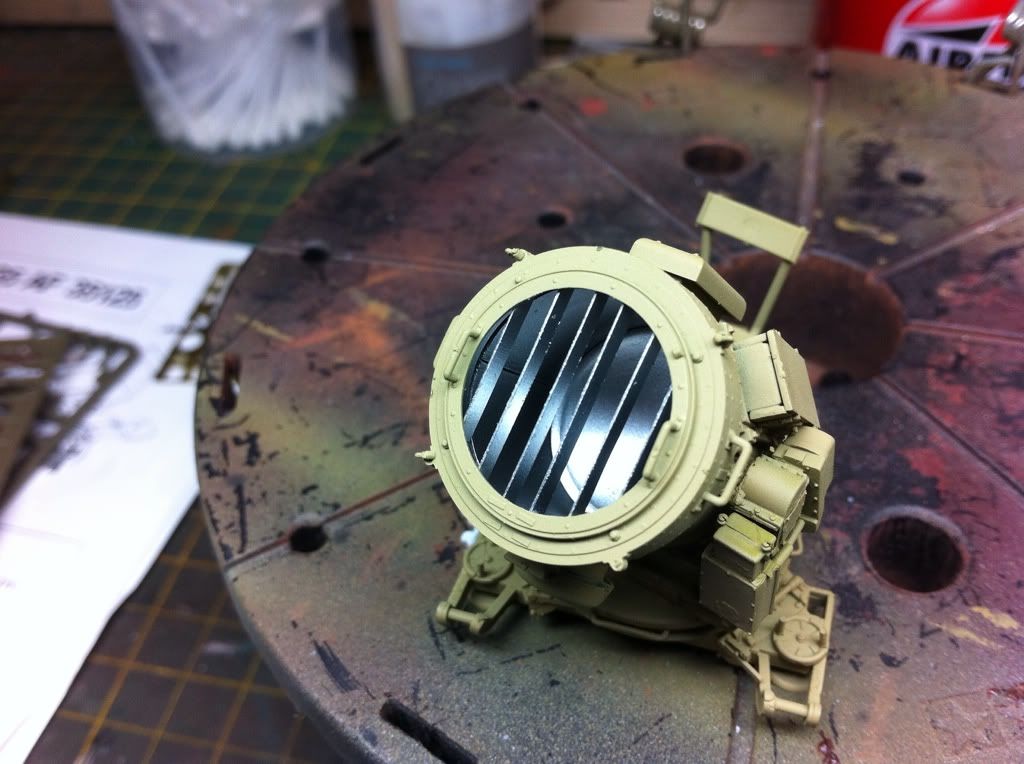
The trailer is is next then some green Camo
Re: Anti aircraft diorama
Posted: Thu May 30, 2013 7:27 pm
by Paul
Re: Anti aircraft diorama
Posted: Thu May 30, 2013 7:28 pm
by Paul
Re: Anti aircraft diorama
Posted: Thu May 30, 2013 7:28 pm
by Paul
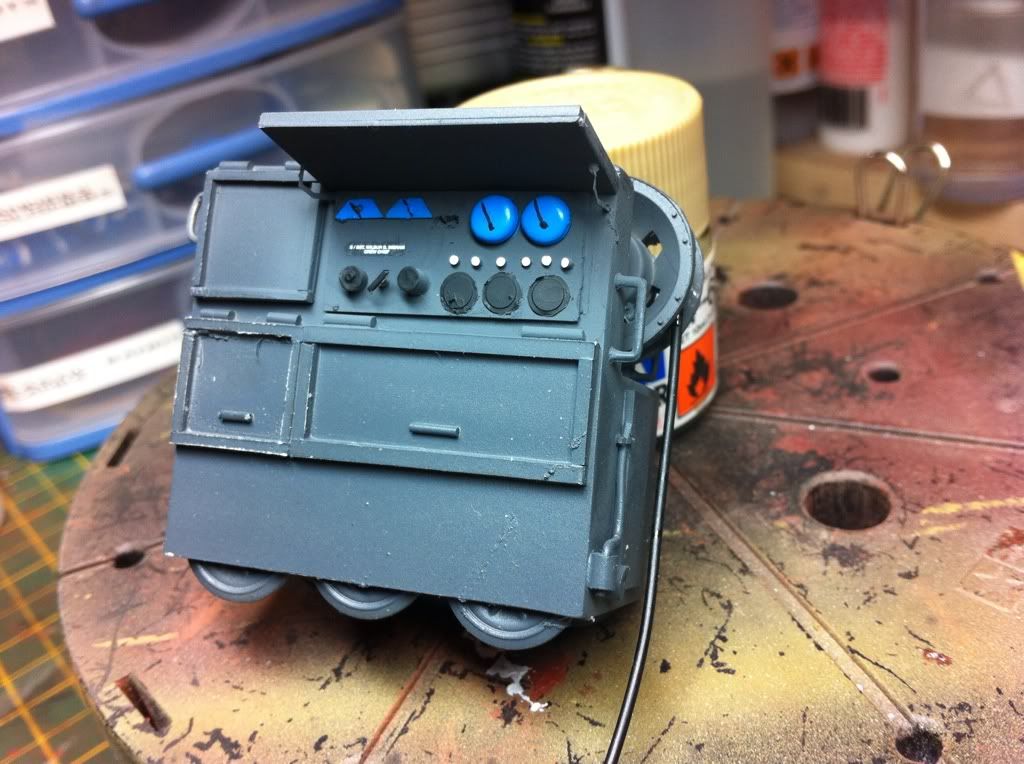
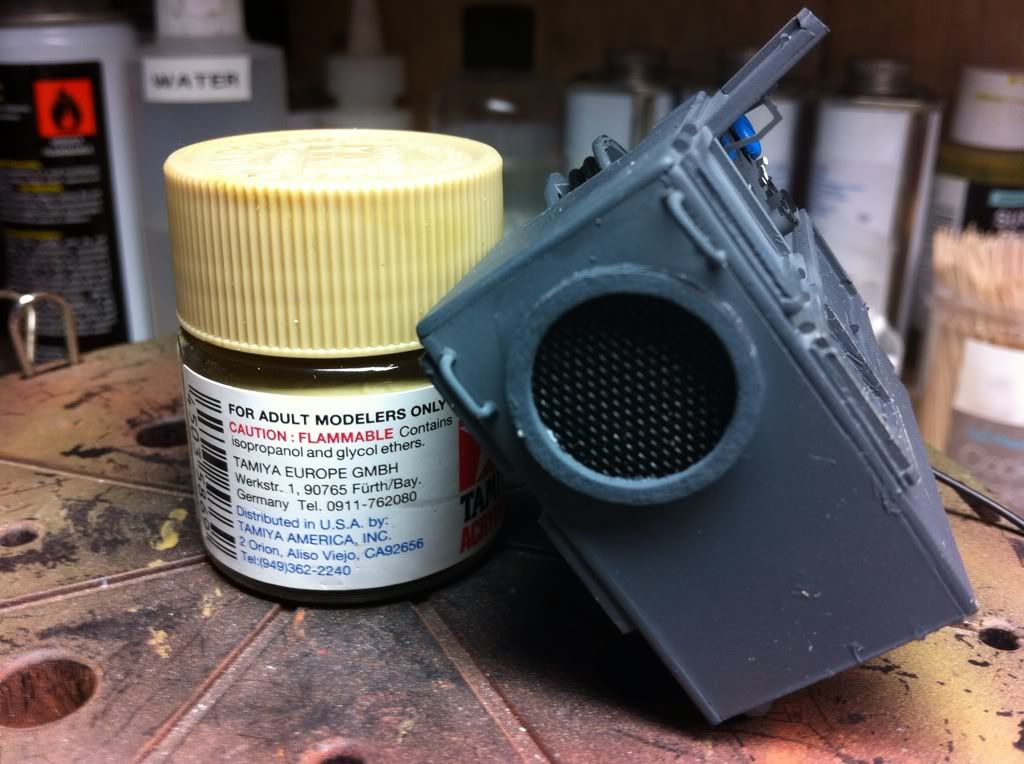
Cheers bob. Ok I built up to control panel using various odds and ends I found including some old pe, some brads and a few bits plastic pipe and fuse wire. I modelled it as I saw fit as I would never get the amount of dials and switches I there as the proper one shows i then painted it and later it'll get a wash to dull the colours, plus weathering and chipping. I found a couple of prices of pe that made excellent arms to hold up the control panel door I added the cable to the reel using the type of rubber hose you get in kits. Amusing some fine mesh and a 15mm fibre washer I added the vent to the other side.
Re: Anti aircraft diorama
Posted: Thu May 30, 2013 7:28 pm
by Paul
Re: Anti aircraft diorama
Posted: Thu May 30, 2013 7:29 pm
by Paul
Right I started of today by adding some highlights and shadows using lightend and darkened tamiya German grey. I then added A pin wash using Vallejo acrylic black wash
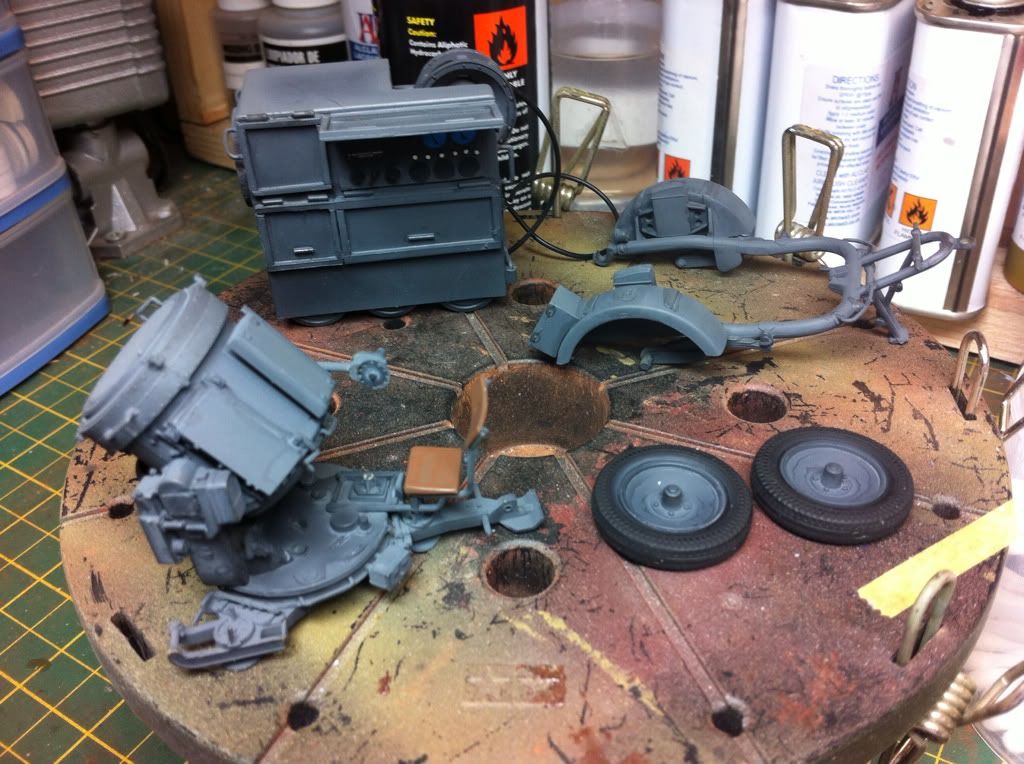
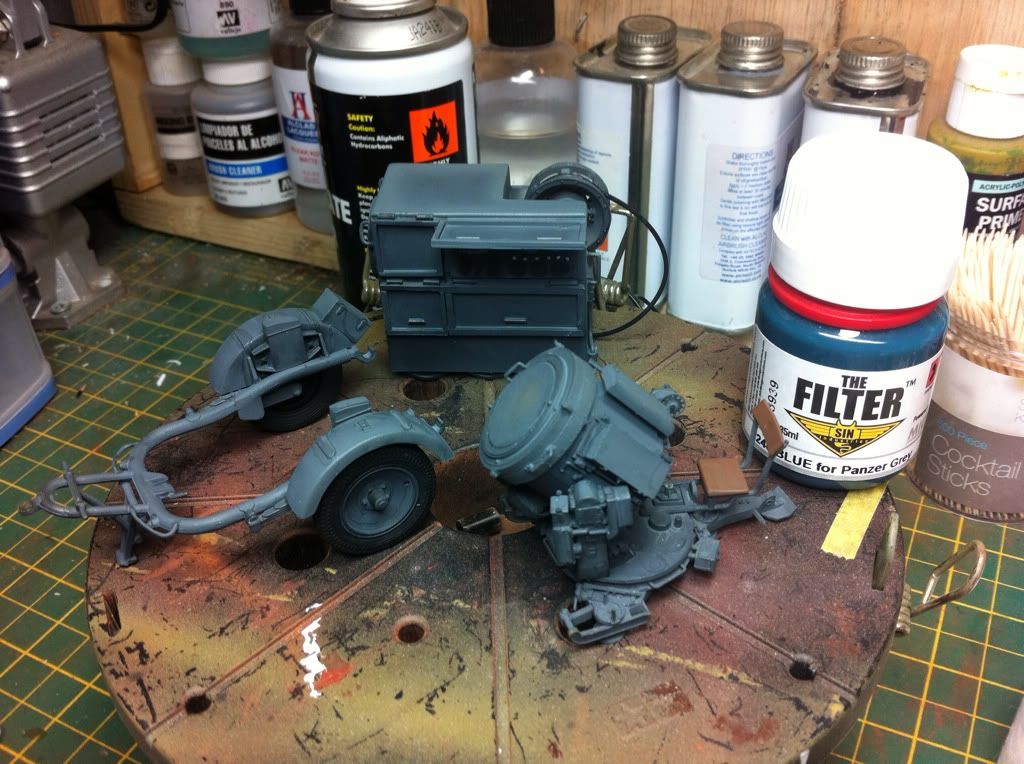
I then used a blue filter to blend it all together.
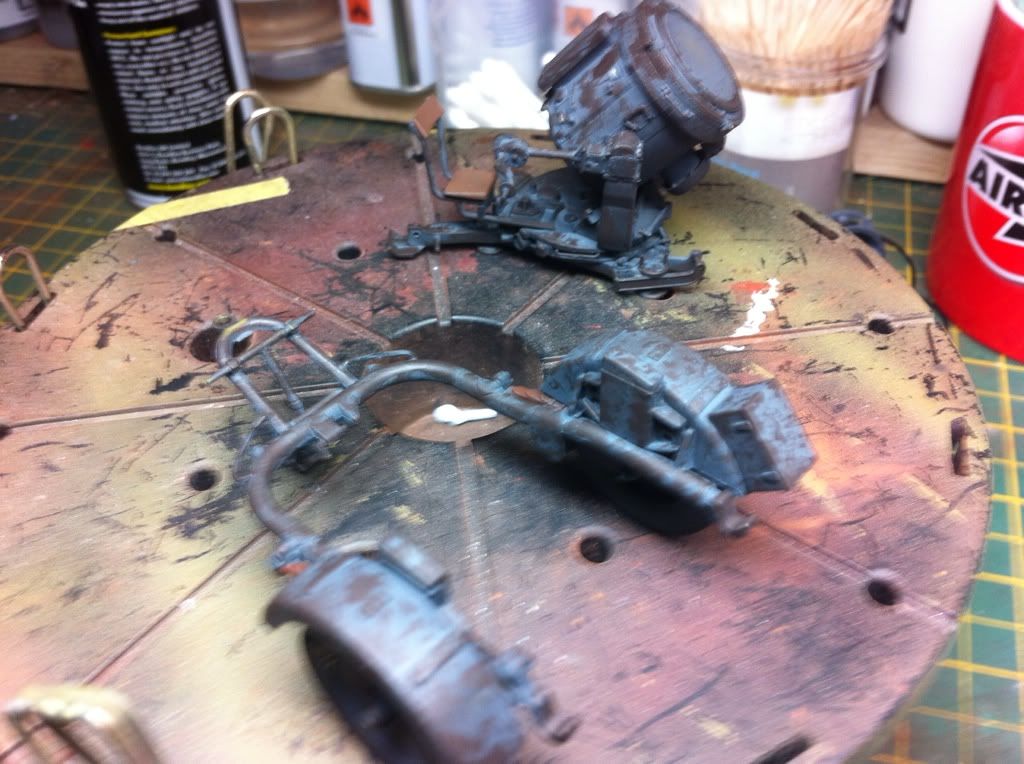
I then set to chipping the light and trailor I wanted to depict a well used look to the light and especially so the trailer as IMO I reckon they would have been battered. Honest opinions would be appreciated about the chipping.

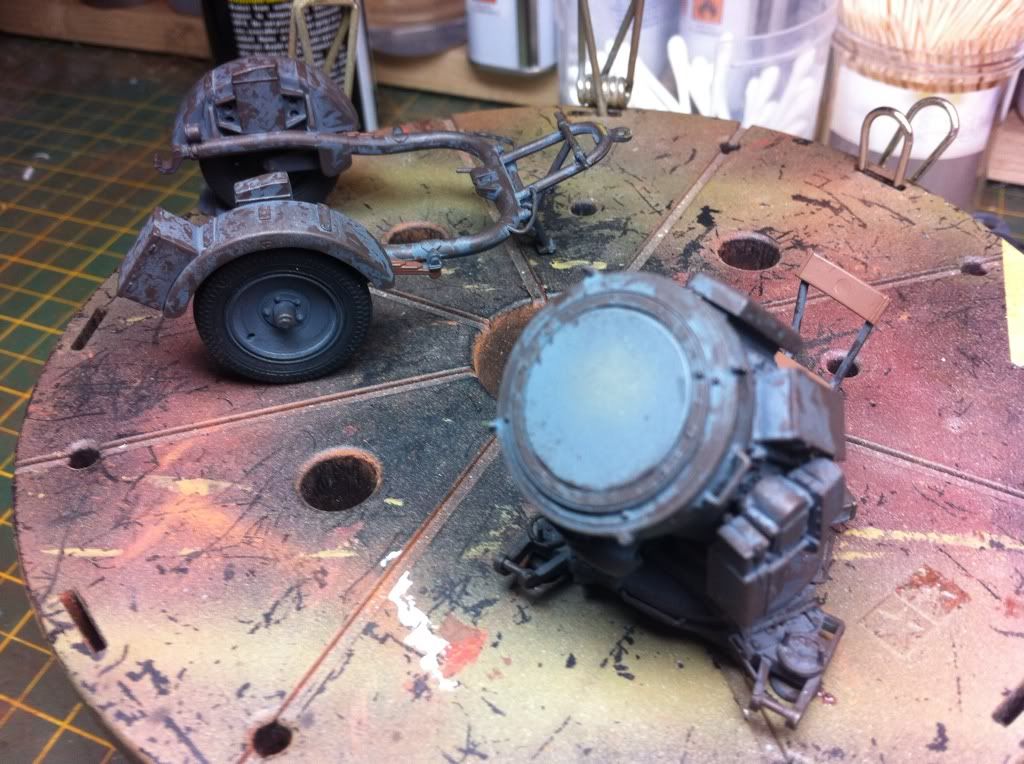
Next step will be pigments.
Re: Anti aircraft diorama
Posted: Thu May 30, 2013 7:29 pm
by Paul
Re: Anti aircraft diorama
Posted: Thu May 30, 2013 7:30 pm
by Paul
Re: Anti aircraft diorama
Posted: Thu May 30, 2013 7:31 pm
by Paul
Ok,i started today by adding white and black primer In the highlights and shadows, it was then given a coat of xf63 German grey allowing the highs and shadows to show through, I then lightened then xf63 and applied more highlights and again darkened the xf63 to allow the shadows to show more. After allowing it to dry I then gave it a filter coat using Sin industries blue for panzer grey this blended it all together.

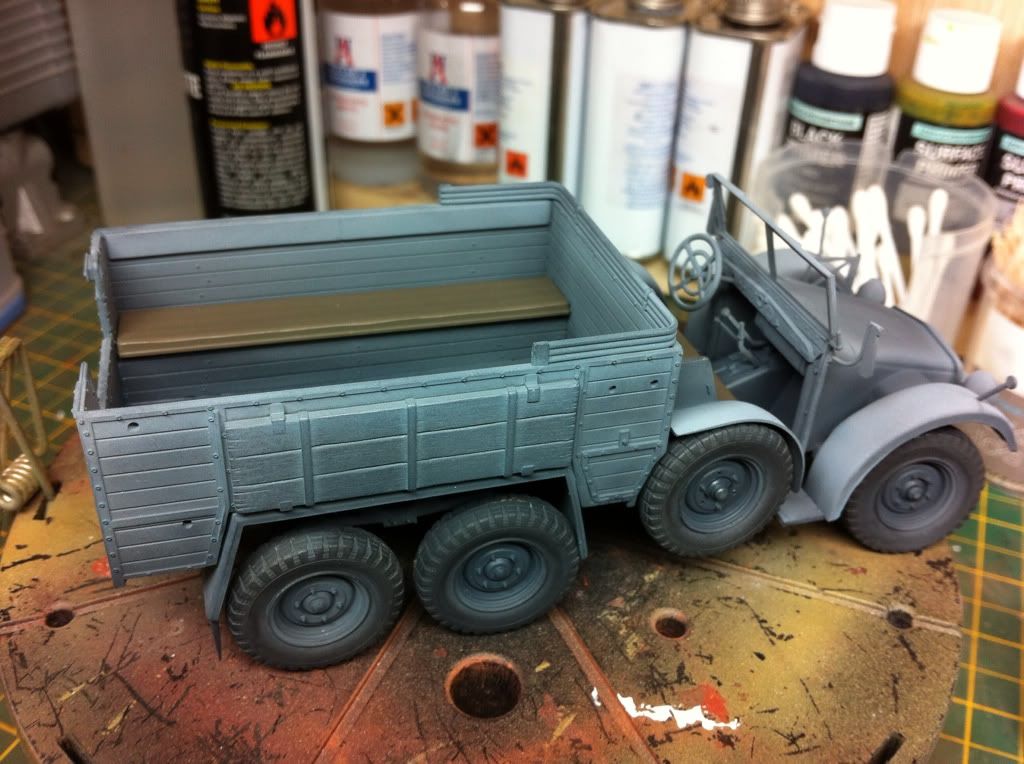
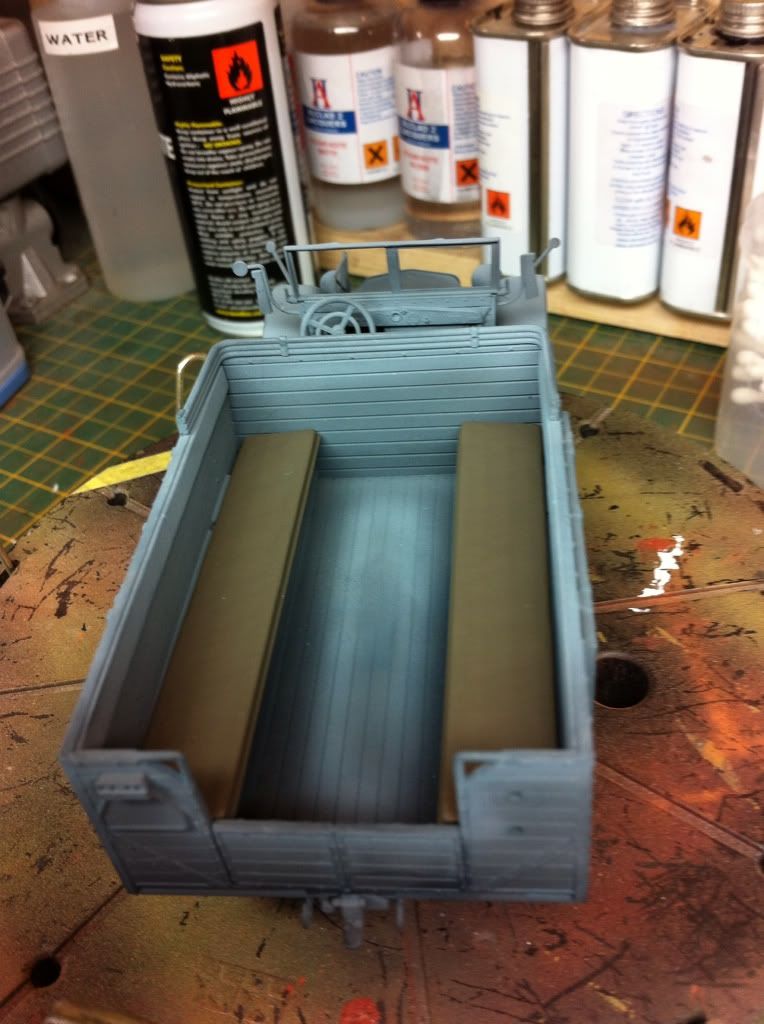
6
Re: Anti aircraft diorama
Posted: Thu May 30, 2013 7:32 pm
by Paul
Re: Anti aircraft diorama
Posted: Thu May 30, 2013 7:32 pm
by Paul
Re: Anti aircraft diorama
Posted: Thu May 30, 2013 7:33 pm
by Paul
Re: Anti aircraft diorama
Posted: Thu May 30, 2013 7:33 pm
by Paul
Re: Anti aircraft diorama
Posted: Thu May 30, 2013 7:34 pm
by Paul
Cheers guys. Got the trailor and searchlight weathered today using the same techniques I used on the Krupp, again I weathered this like it had been in muddy conditions at some point before coming into the inner city.


Re: Anti aircraft diorama
Posted: Thu May 30, 2013 7:36 pm
by Paul
Re: Anti aircraft diorama
Posted: Thu May 30, 2013 7:37 pm
by Paul
Re: Anti aircraft diorama
Posted: Thu May 30, 2013 7:37 pm
by Paul
Re: Anti aircraft diorama
Posted: Thu May 30, 2013 7:38 pm
by Paul
Re: Anti aircraft diorama
Posted: Thu May 30, 2013 7:39 pm
by Paul
Cheers guys I got a couple if things in the post today. The replacement aber barrel for the 37mm gun. And my set of friul tracks for the halftrack.
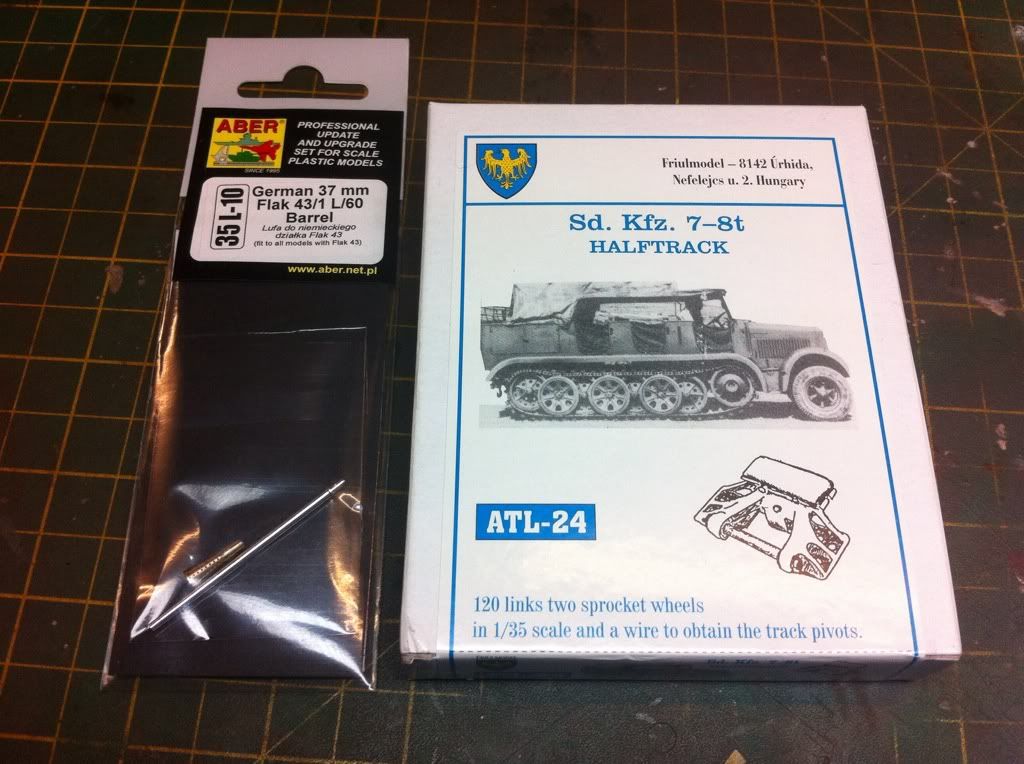
The aber barrel

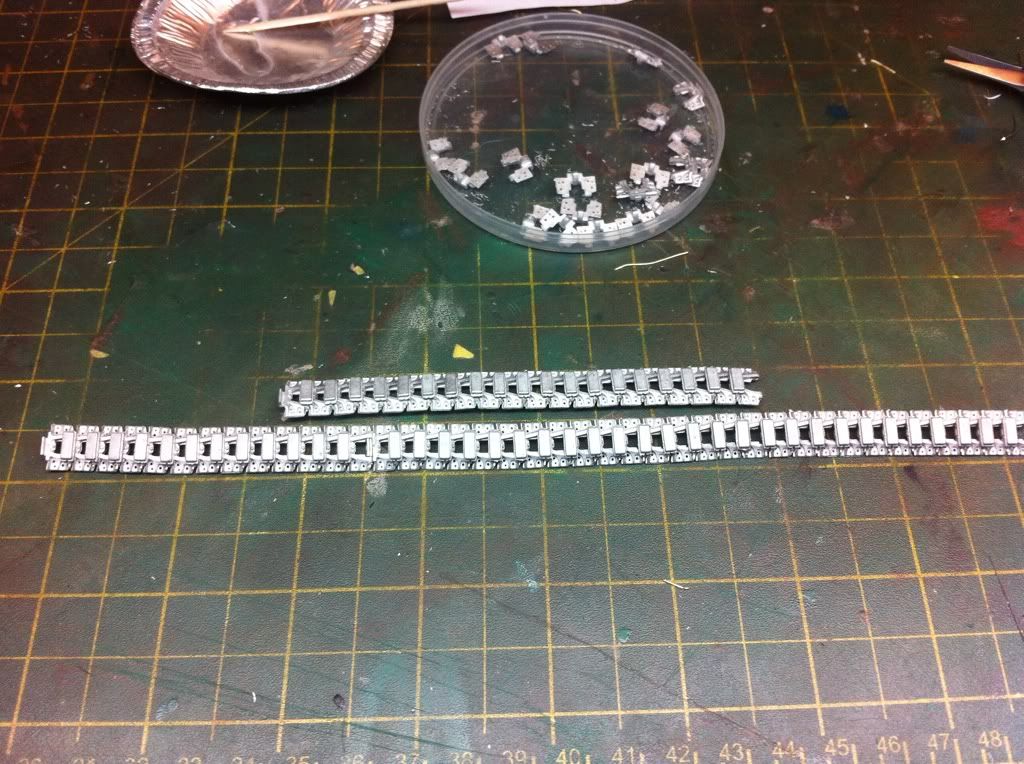
And I the set to work with the tracks. What you get for your £25 2 replacement sprocket wheels 120 links 120 track pads A length of brass wire And some instructions
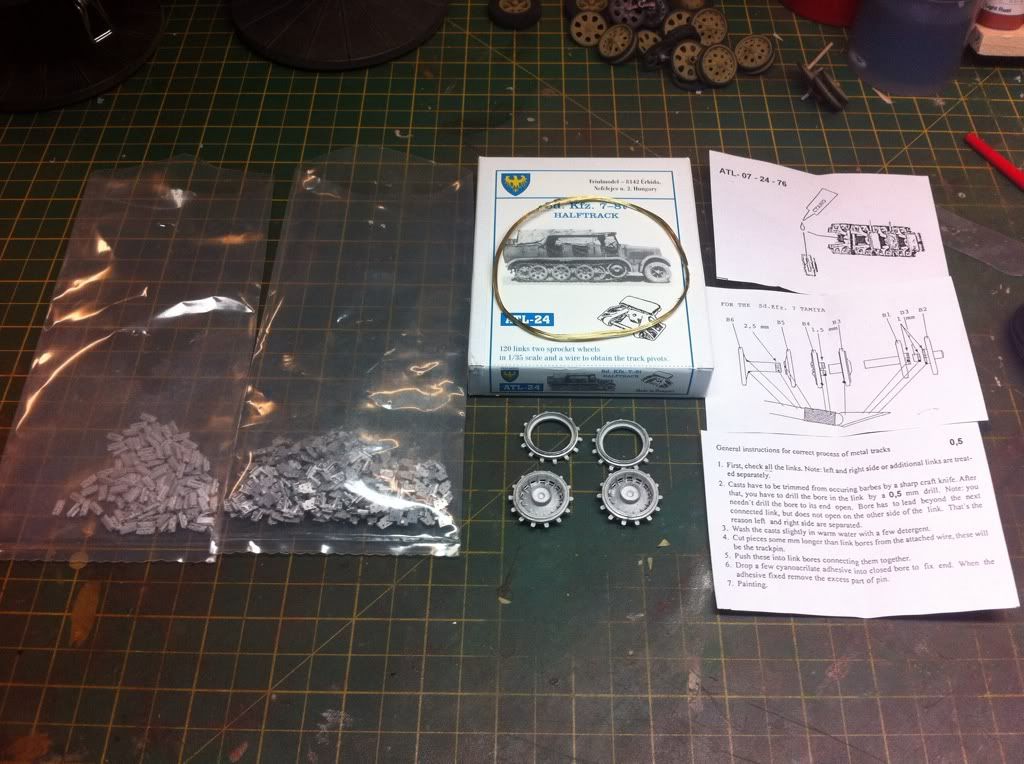
The three components of the tracks
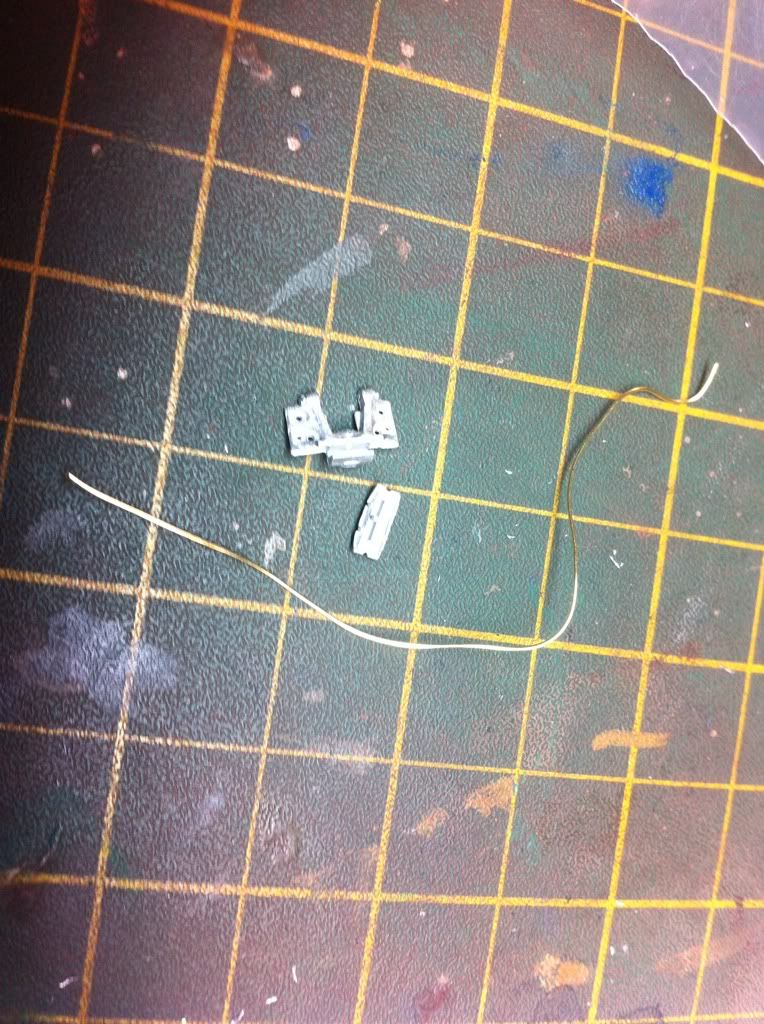
First off each link needs the hole for the wire opening with a 0.5mm drill bit. You don't go all the way through though as this gives the wire something to stick too.

The the brass wire is inserted into the hole through both parts of the track, I dipped the end of the wire in superglue to hold it in place.

This is then snipped off with wire snips.

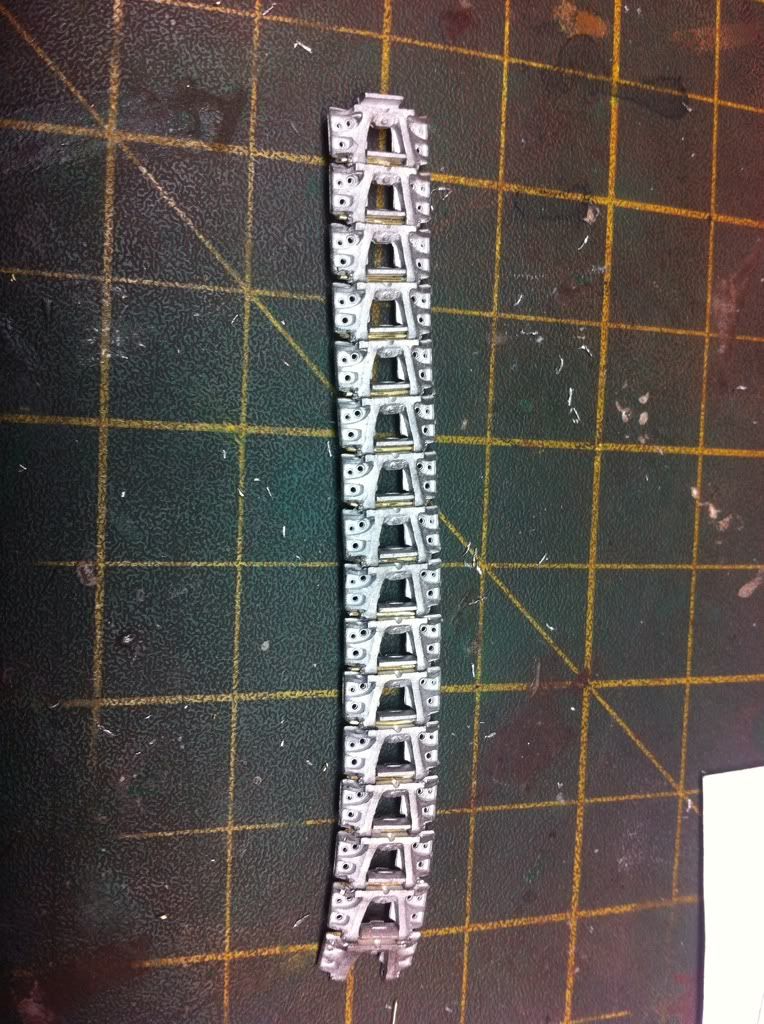
One completed section of 16 links
The pads then need gluing in place, they have a lug shown by the cocktail sticks which with some superglue locats in the hole on the track.
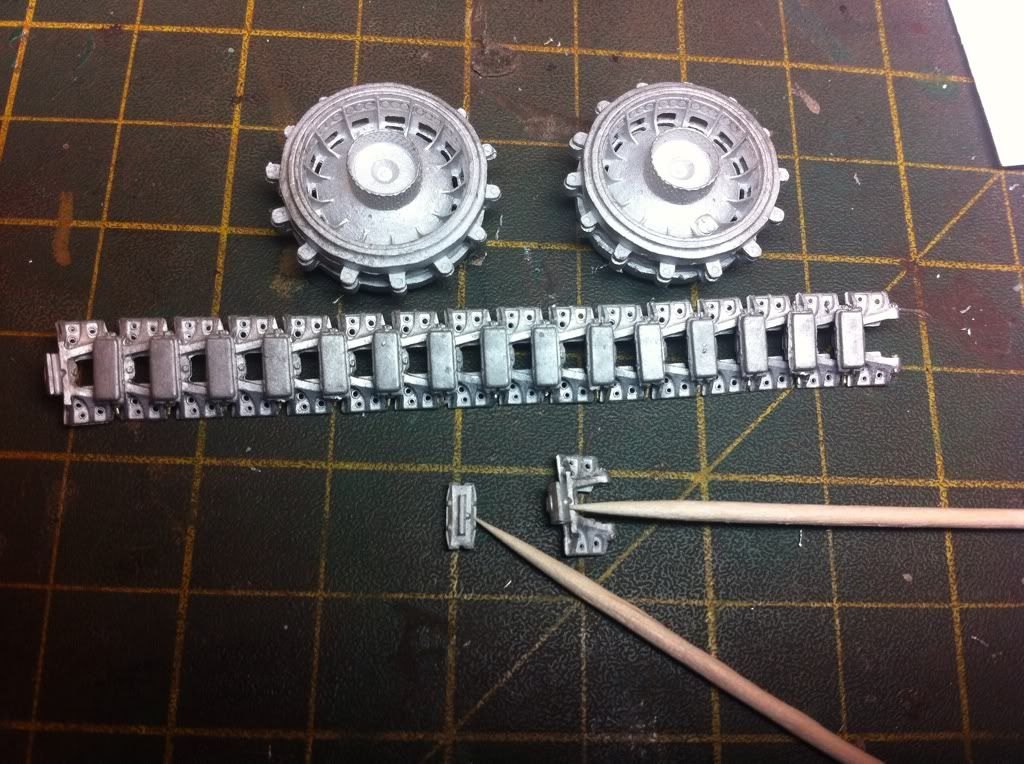
2 and a half hours later with a sore finger and half the tracks are done : I won't know the complete length of the tracks till I get the wheels done etc so I'm doing them in sections for now.
Re: Anti aircraft diorama
Posted: Thu May 30, 2013 7:39 pm
by Paul
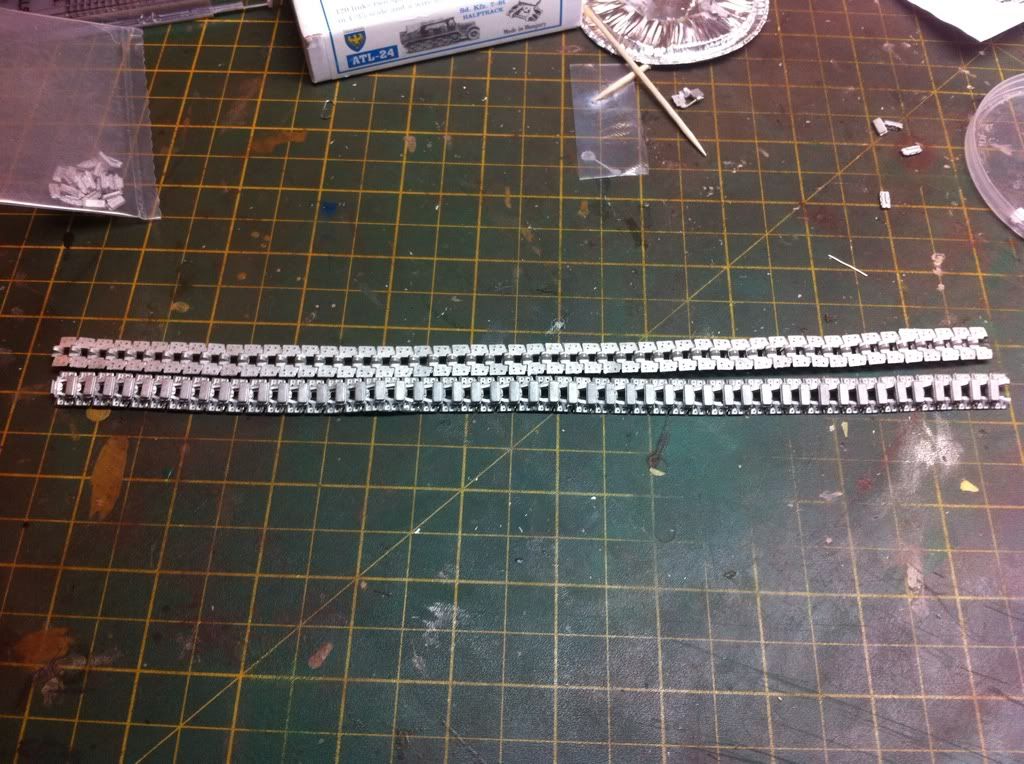
Cheers again guys. Got the little buggers done, 4.5 hours in total and my index finger is killing me. 53 links on each track leaving 25 spare some of which I'll put to use later.
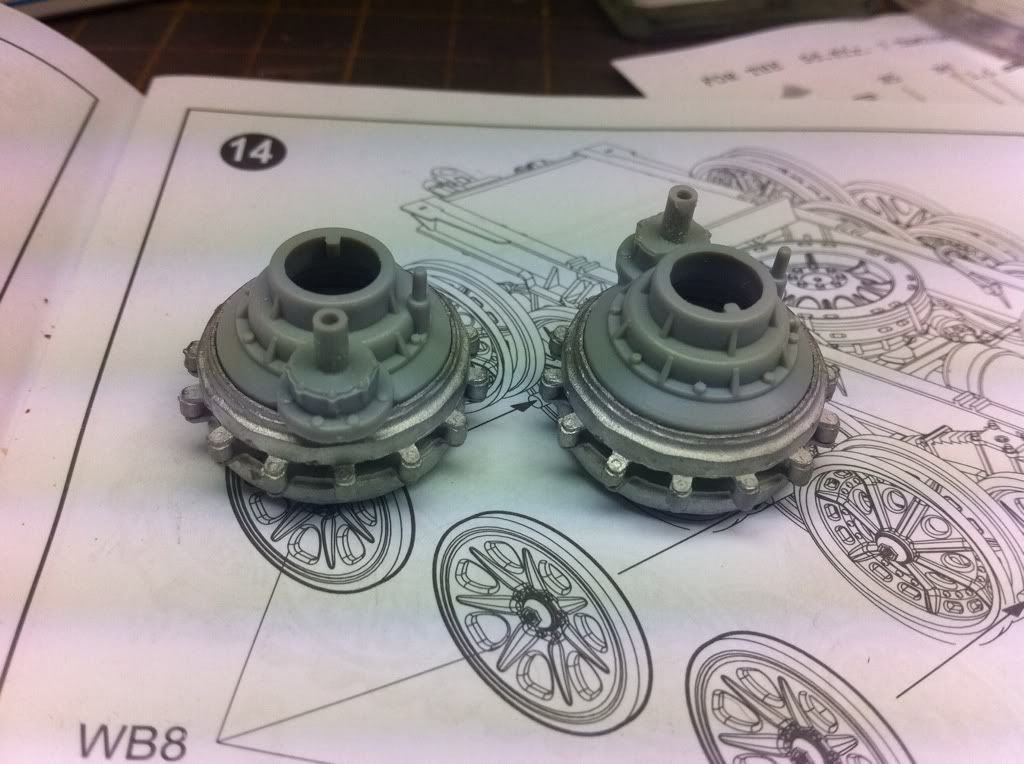
Sprockets where a fantastic fit on to the kit parts.
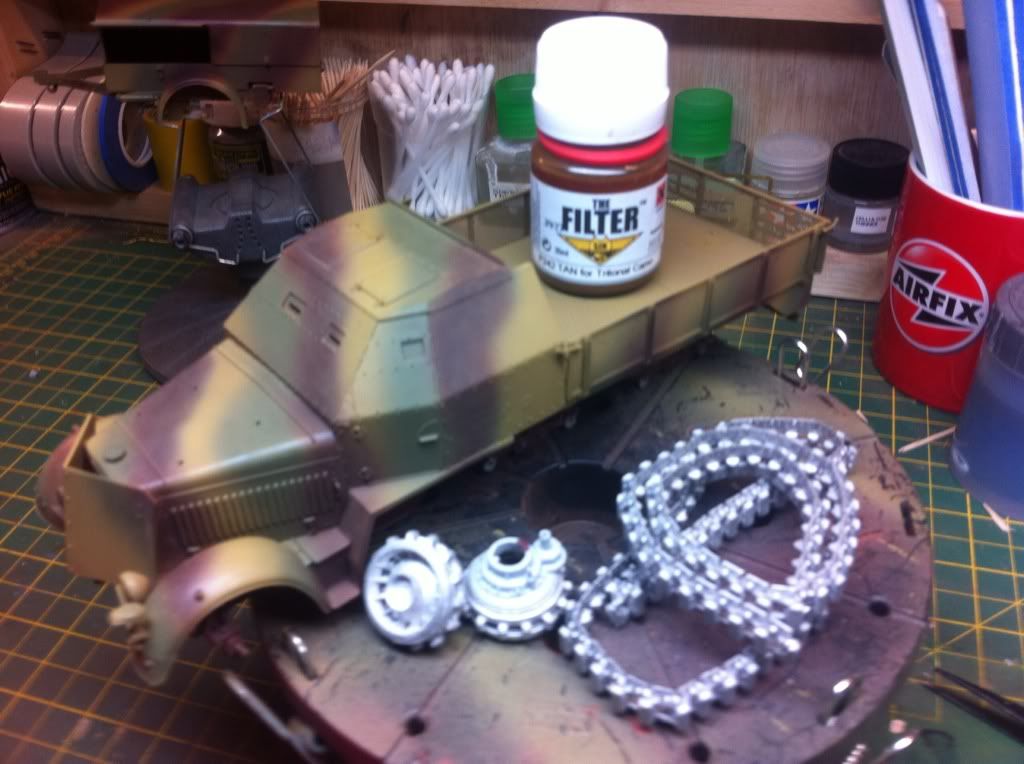
Also applied the tritone filter to the Camo, leaving a nice faded finish behind.
Re: Anti aircraft diorama
Posted: Thu May 30, 2013 7:40 pm
by Paul
Got some more bits for the build today.including some bricks, dust/rubble and some jerry cans, buckets and fuel drums, a tow chain and some 37mm ammo.

The set of lion roar brass turned ammo for the flak gun which gives a couple of mags of ammo,and some spent casings too.

And a verlinden tow chain too.

Ok on to the 37mm gun. I got my aber barrel installed a perfect fit once the factory hole was opened up a tad with a 0.5mm drill bit. A much better looking barrel than the supplied one.

This was then superglued on place and primed in aclad grey primer.

And then given several coats of alclad gunmetal. I've still. Got to dry brush it and apply some pigments.

The gun platform was then built, and i dry fitted it all.


Then primed in Vallejo grey primer.

I then gave it several coats of xtracrylix dunkelgelb, and then the olive grun and rot brown Camo applied.

Re: Anti aircraft diorama
Posted: Thu May 30, 2013 7:41 pm
by Paul
Re: Anti aircraft diorama
Posted: Thu May 30, 2013 7:41 pm
by Paul
Been busy this past work sorting though all the modelling stuff I bought on eBay and time that should have been spent modelling has been spent sorting that instead. Got back to it today, firstly by applying a couple more coats of the sin industries tritone Camo filter. I then set to work with another fading effect using oils, I did say I wanted a heavily used vehicle. I used Mig oils, buff, white, brown and navy blue. I did apply them a little too thick, but it doesn't matter.

Using the white spirit I then stampede oils until a very thin coat was left, once dry this left before a nice cloudy faded look.

Next up some streaks, using tamiya enamel flat brown I applied it in vertical streaks using a thin brush.

This was again stumped and dragged downwards with white spirit leaving a very faint colour of the paint leaving a rain marks effect.


Next up rust effects illmhave to use oils rather than paint as believe it or not with all the paint I have I don't have a rust enamel colour.
Re: Anti aircraft diorama
Posted: Thu May 30, 2013 7:42 pm
by Paul
Right on to the rust streaks, I only added about half a dozen using mig oils and some white spirit.

I dabbed the oil colours (dark and light rust) in the position I wanted then using a flat brush and some white spirit stumped the oils in a downwards motion thinning at the bottom as I went.


Since these pics were taken I did stump them a little more. I then sprayed the entire chassis in tamiya earth and using the same paint I sprayed a very light coat around the bottom edges of the vehicle giving a dust effect.

I then added dried mud the chassis using vallejo pigments and mig fixer.

I also added some Mig pigments (concrete, industrial dust and Europe dust) mixed together and applied with white spirit to the wheels, once dry I cleaned it to give a dusty effect. Then mixing plaster of Paris, water and Mig mud pigments I made a wet mixture and using a dollop on a brush blasted it on using an airbrush. Again giving the impression of dried mud. I also added a some oils stains using mig oils and grease stains to the centre of some of the wheels, some of them will be stumped back with white sprit tomorrow.

As I've said I'm trying to give the impression of vehicles that have been of road at some point but have been in the city for some time, so dried mud but dusty. I got the wheels on temporally and tried the friul tracks on and added the links as needed, I've got two pics one with a lot of sag and one without, I prefer the one with sag, but am worried its too much?


Opinions about the tracks would be appreciated. Edit after looking at various Images online it'll be the 2nd image with a lot of sag, but I need to adjust the angle of th road wheels to suit.
Re: Anti aircraft diorama
Posted: Thu May 30, 2013 7:42 pm
by Paul
Re: Anti aircraft diorama
Posted: Thu May 30, 2013 7:43 pm
by Paul
Re: Anti aircraft diorama
Posted: Thu May 30, 2013 7:44 pm
by Paul
I will get this diorama finished one day
Re: Anti aircraft diorama (bit of a long thread)
Posted: Thu May 30, 2013 8:01 pm
by Lee
Remember seeing this on FM. I thought it was awesome then and it's still awesome now. Can't wait to see it finished bud.....
Re: Anti aircraft diorama (bit of a long thread)
Posted: Thu May 30, 2013 8:05 pm
by Paul
Lee wrote:Remember seeing this on FM. I thought it was awesome then and it's still awesome now. Can't wait to see it finished bud.....
Cheers mate, it would have gotten finished if they hasn't screwed up the dates on the group build leaving too little time to get it finished, I threw my toys out the pram over it and shelved all.
It will get completed one day soon.
Re: Anti aircraft diorama (bit of a long thread)
Posted: Thu May 30, 2013 10:39 pm
by coladito1
Wow!! That is amazing Paul!!
Re: Anti aircraft diorama (bit of a long thread)
Posted: Fri May 31, 2013 3:52 am
by schweinhund227
I am at lost for words !
which doesn't happens often ! LOL
Wicked job on that... just mind blowing !
Re: Anti aircraft diorama (bit of a long thread)
Posted: Fri May 31, 2013 8:59 am
by UKscalemodeller
Crazy talent there.
I'd feel ashamed to post a build on here next to that thing!
Epic work.
Re: Anti aircraft diorama (bit of a long thread)
Posted: Fri May 31, 2013 1:09 pm
by Steve
Looks amazing Paul
Re: Anti aircraft diorama (bit of a long thread)
Posted: Fri May 31, 2013 1:14 pm
by Paul
Thanks guys your comments are appreciated.
Re: Anti aircraft diorama (bit of a long thread)
Posted: Tue Jun 04, 2013 4:58 pm
by gosselin2112
That's a mighty project. I'm already feeling overwhelmed. Have fun! Keep modelling!

Re: Anti aircraft diorama (bit of a long thread)
Posted: Tue Jun 04, 2013 6:19 pm
by HamilkarBarkas
this is a mighty project, keep us updated
the weathering on the halftrack looks amazing.
Re: Anti aircraft diorama (bit of a long thread)
Posted: Tue Jun 04, 2013 7:08 pm
by Paul
HamilkarBarkas wrote:this is a mighty project, keep us updated
the weathering on the halftrack looks amazing.
Thanks guys, yes Micheal I will get on with it some time this year, there's too much effort in it all to leave it as it is
Re: Anti aircraft diorama (bit of a long thread)
Posted: Tue Jun 04, 2013 8:37 pm
by HamilkarBarkas
I will get on with it some time this year, there's too much effort in it all to leave it as it is
i know how this feels
i tend to finish a project pretty much as soon as possible, there is always the danger of loosing interest and having plenty of unfinished stuff around the workbench.
Re: Anti aircraft diorama (bit of a long thread)
Posted: Wed Jun 05, 2013 5:39 pm
by Fredrik64
Superb work

Re: Anti aircraft diorama (bit of a long thread)
Posted: Thu Jun 06, 2013 11:29 am
by Modelpro72
 WOW
WOW
That is an amazing bit of work. Following this with extreme interest.
Well done fella
Lenny

Re: Anti aircraft diorama (bit of a long thread)
Posted: Thu Jun 06, 2013 1:31 pm
by ww2hispanomodels

it looks impressive!! All the work you've done is perfect!
Re: Anti aircraft diorama (bit of a long thread)
Posted: Thu Jun 06, 2013 2:08 pm
by Paul
ww2hispanomodels wrote: it looks impressive!! All the work you've done is perfect!
Cheers fellas
Re: Anti aircraft diorama (bit of a long thread)
Posted: Fri Jun 07, 2013 12:35 am
by JDMMODELS
Awesome, awesome, awesome!! Master builder at work there.
Re: Anti aircraft diorama (bit of a long thread)
Posted: Sat Jun 08, 2013 2:38 pm
by Nige99
These models look better in the flesh, so to speak!! Paul done a awesome job on all of them. Just waiting to see them in a Dio

so hurry up and get back into it mate.
Re: Anti aircraft diorama (bit of a long thread)
Posted: Fri Jun 14, 2013 4:59 am
by muskegman
That is really fantastic, an inspiration to all of us. Looking forward to seeing more of your work.
Re: Anti aircraft diorama (bit of a long thread)
Posted: Fri Jun 14, 2013 9:06 pm
by Nige201980
Wow making want to go out and get one of those tank thingys with a gun and stuff.
Re: Anti aircraft diorama (bit of a long thread)
Posted: Tue Jun 18, 2013 2:35 am
by Aaron
Wow, Fantastic work and top work with the scratch building.
I had to chuckle to myself because you thank an invisible guy called bob lol.
Re: Anti aircraft diorama (bit of a long thread)
Posted: Tue Jun 18, 2013 9:28 am
by T3hGuppy
Amazing skills nice to see this coming together.

Re: Anti aircraft diorama (bit of a long thread)
Posted: Fri Jun 21, 2013 7:52 pm
by hansolo
You are the GOD of weathering!
Awesome work on the scratch build!
and Awesome work on the better than life weathering!!
I still have so much to learn.

Great stuff!!
cheers
Re: Anti aircraft diorama (bit of a long thread)
Posted: Fri Jun 21, 2013 10:16 pm
by Paul
hansolo wrote:You are the GOD of weathering!
Awesome work on the scratch build!
and Awesome work on the better than life weathering!!
I still have so much to learn.
Great stuff!!
cheers
Cheers han
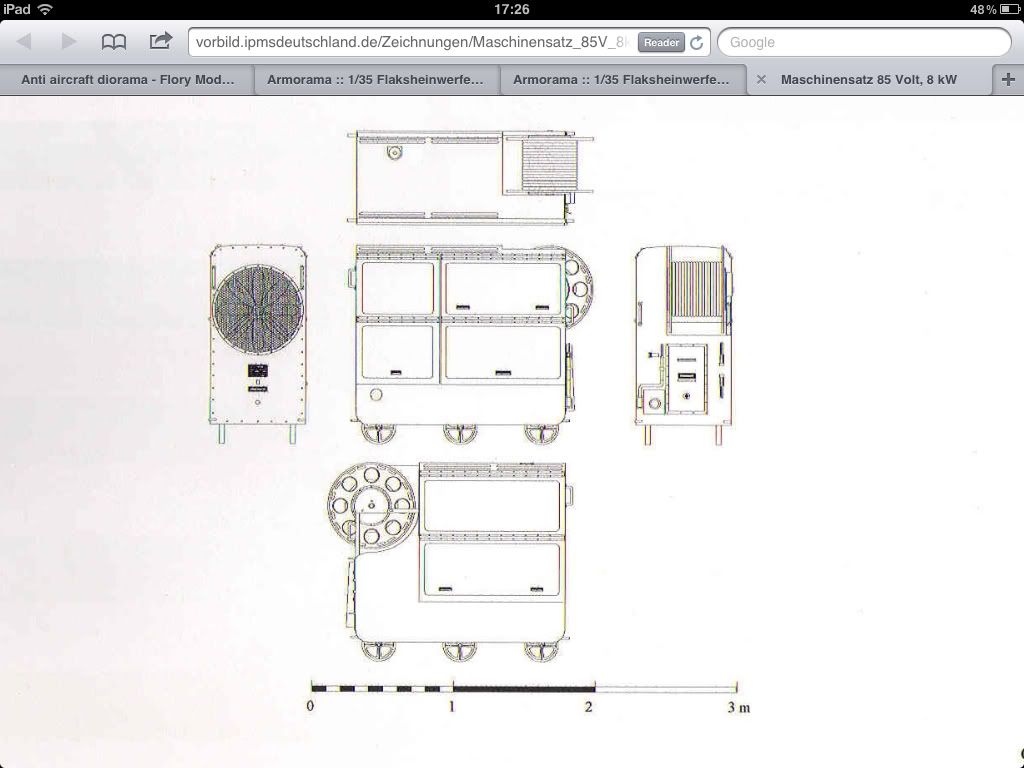
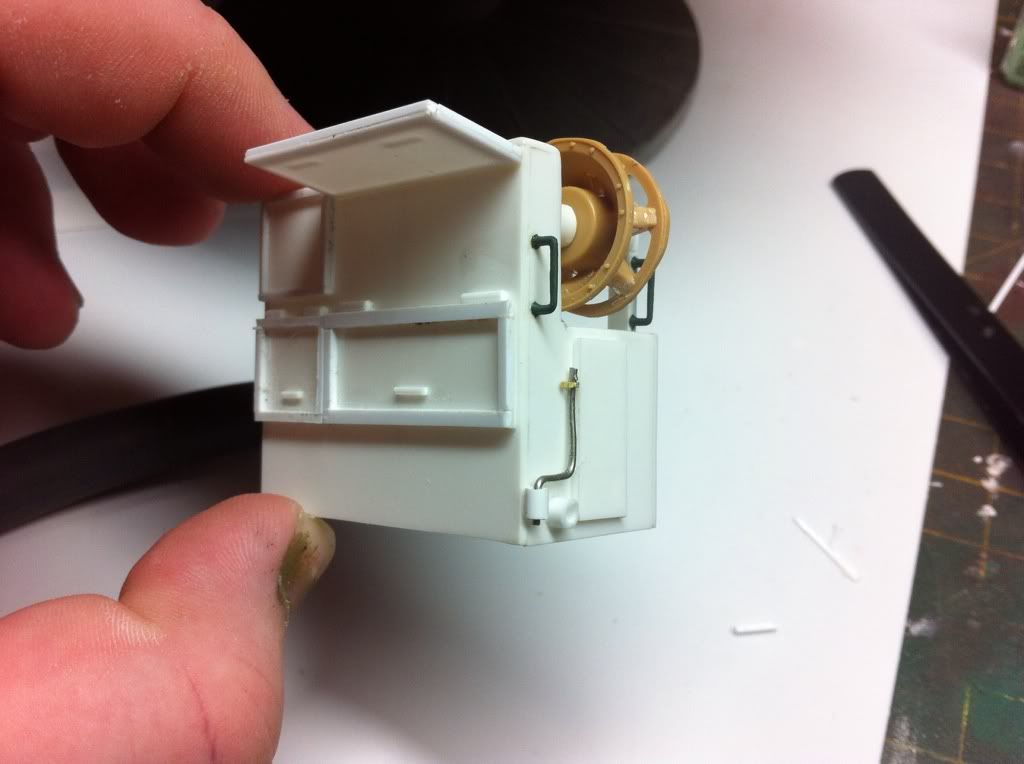
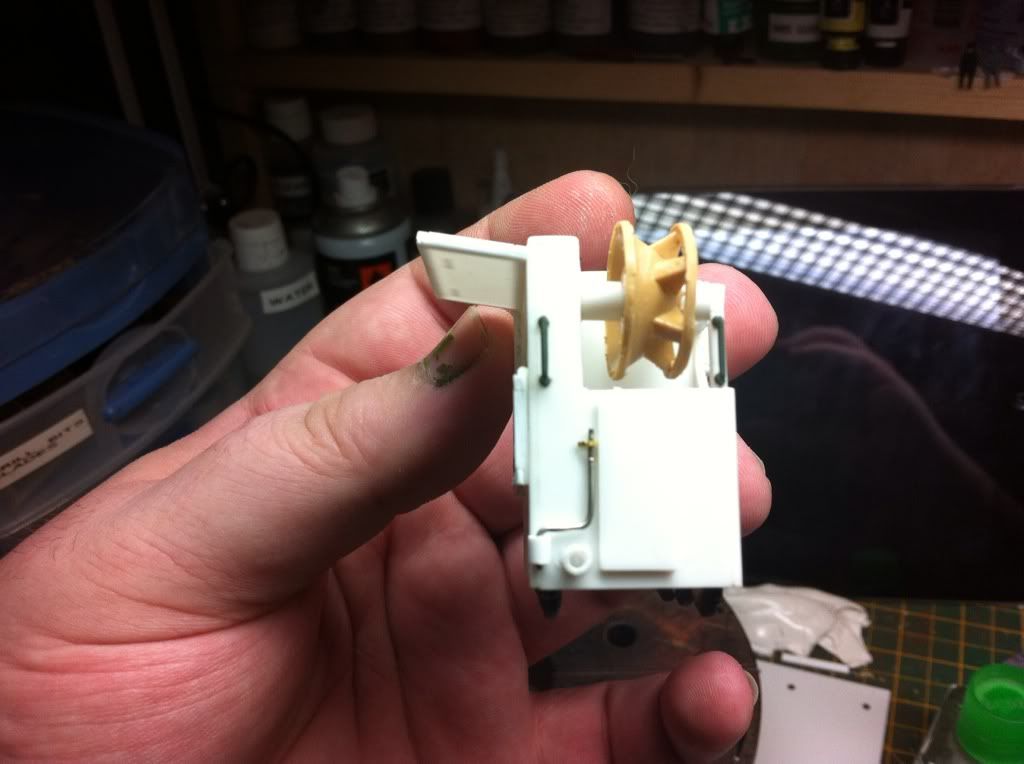
 A searchlight like this would have been powered by a maschinensatz 85volt generator, I found this source of pics of the generator used, and set to scratch building it.
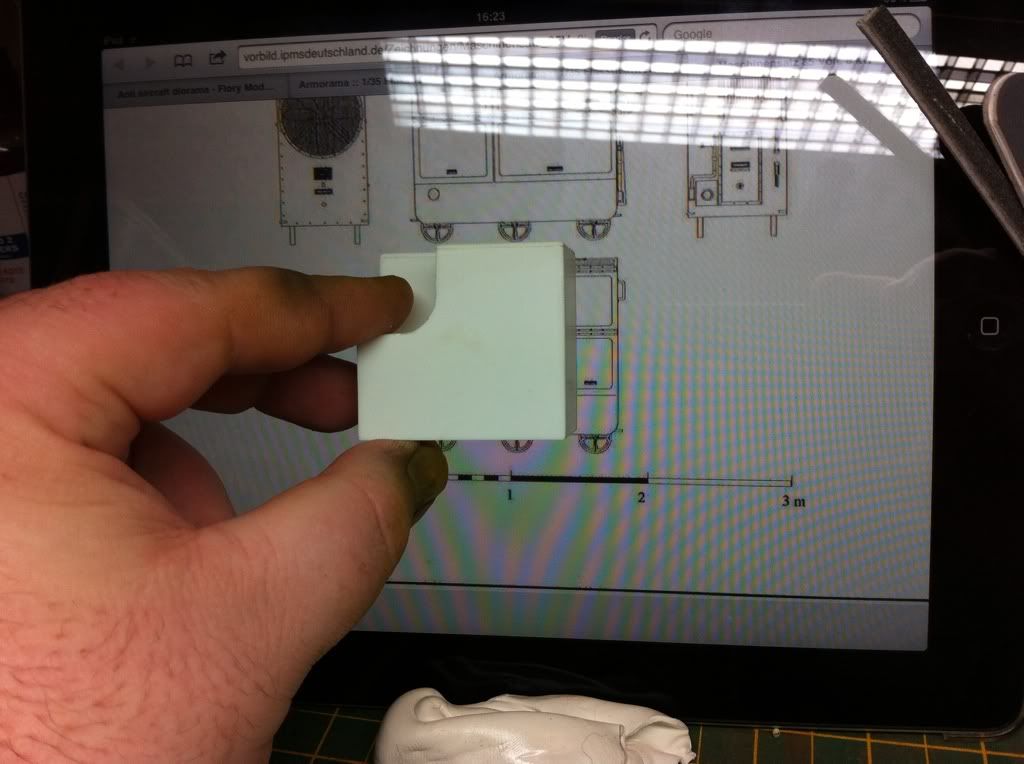
  And with my iPad in front of me I could enlarge it to life size which made it easier.
  Materials ready to get started
  I also got to use my new scale ruler, with marking for metres, cm , inches and ft it's a great tool.
 Progress so far.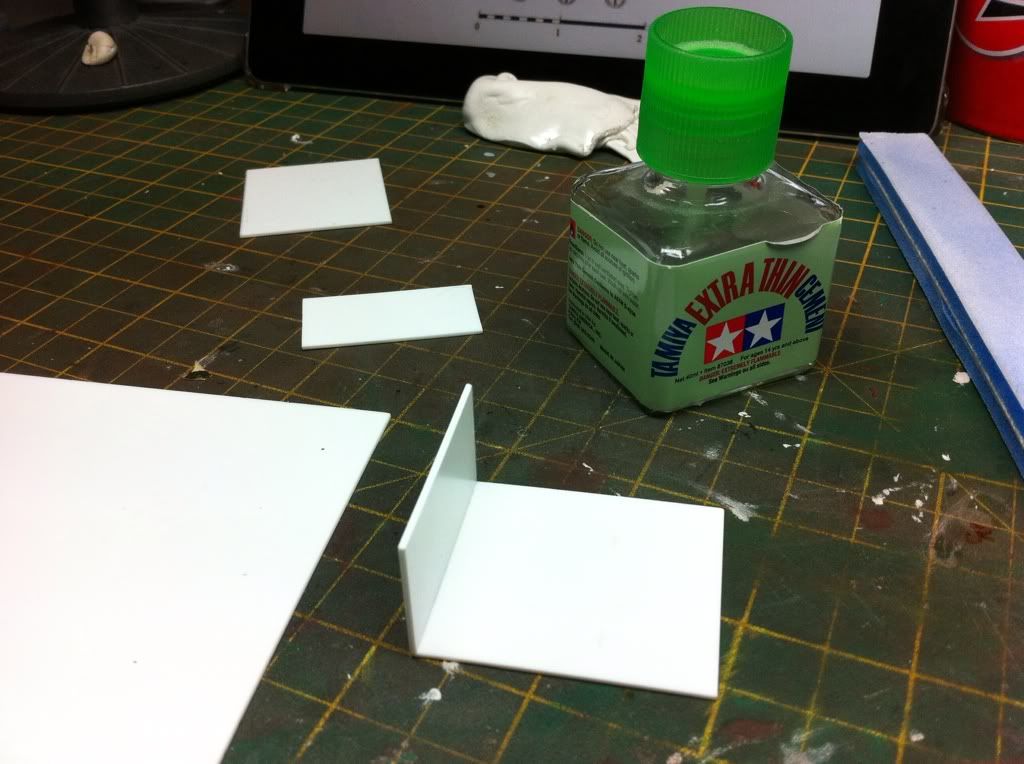
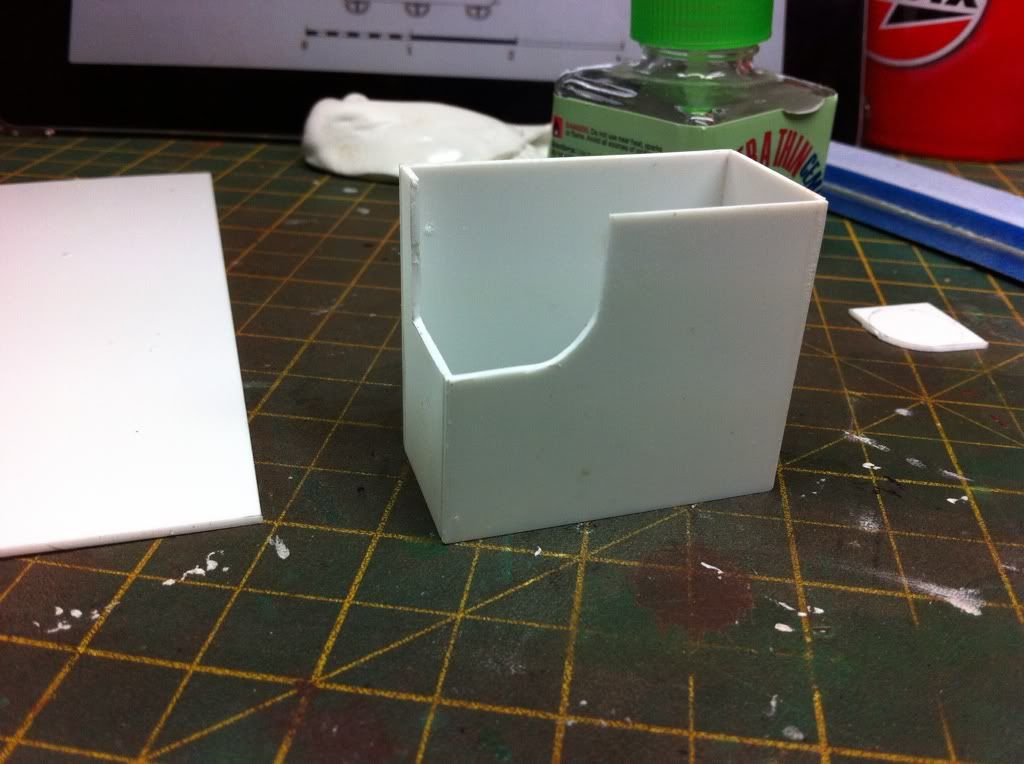

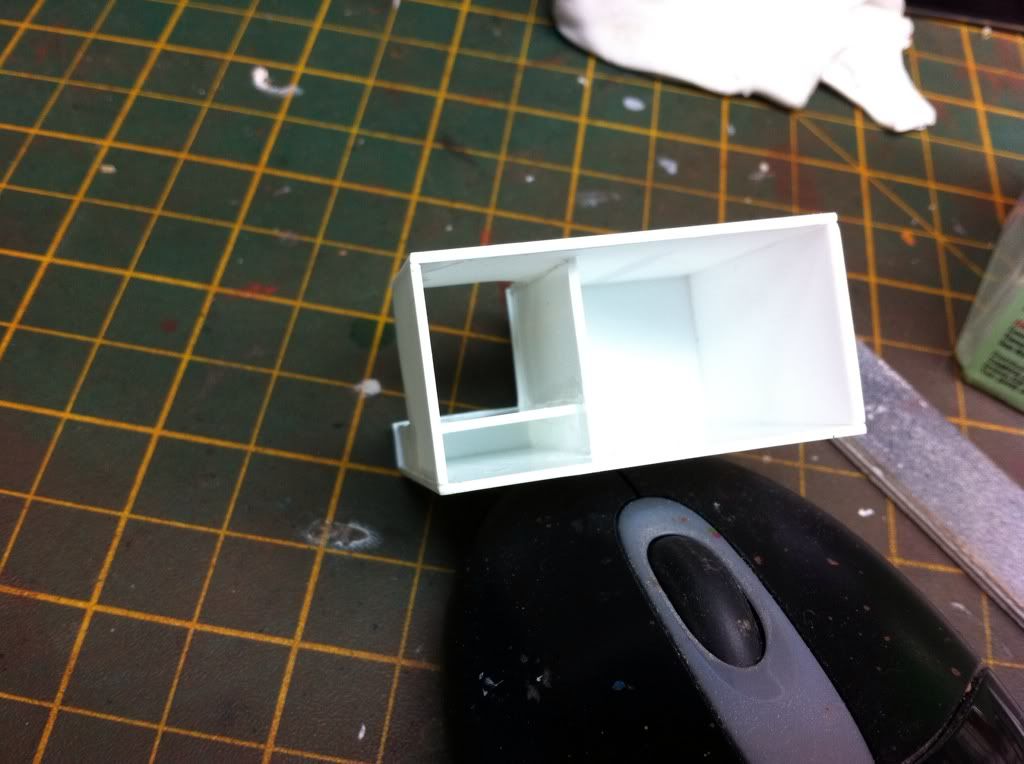
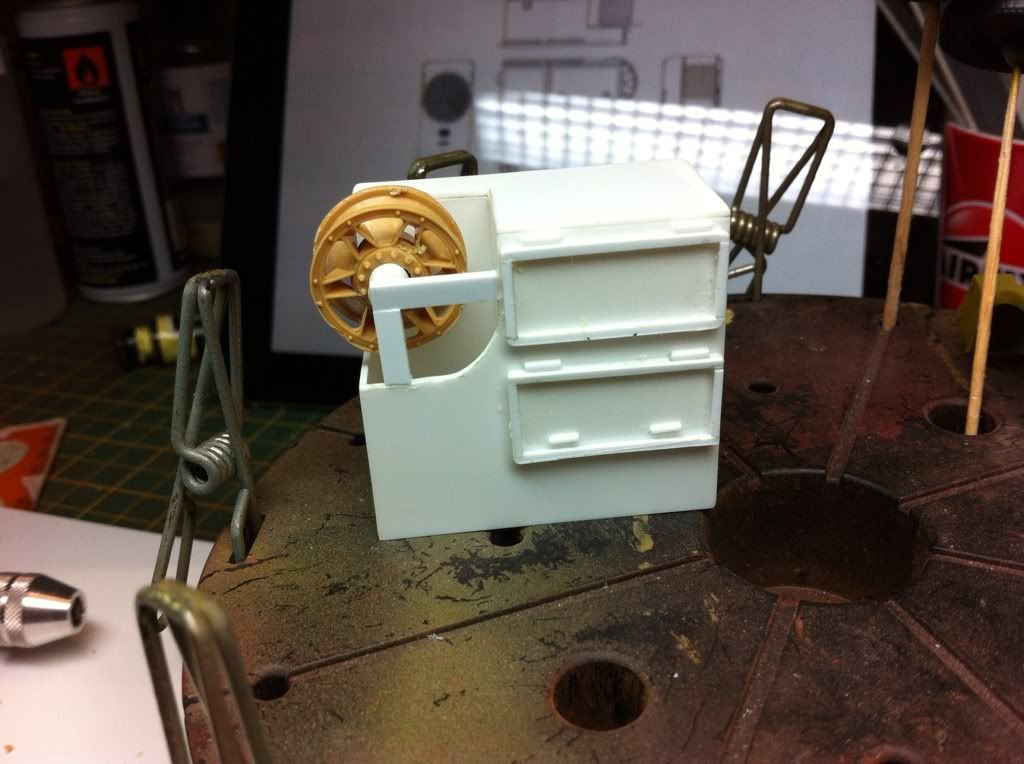
 Some wheels from my spares box were added.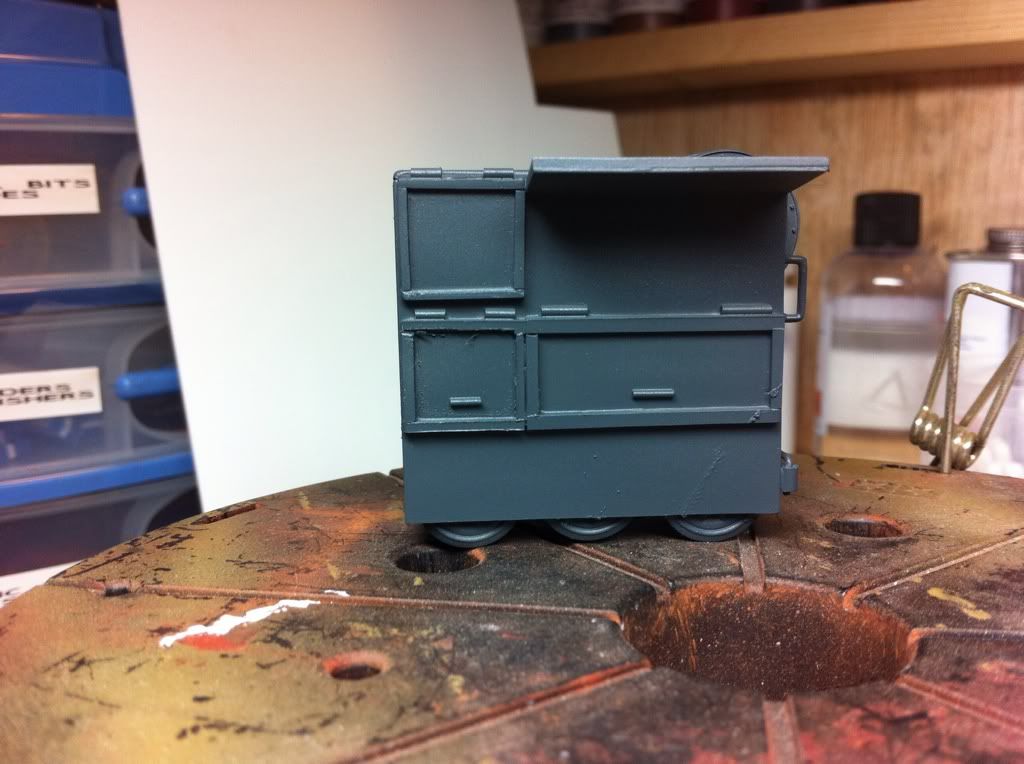
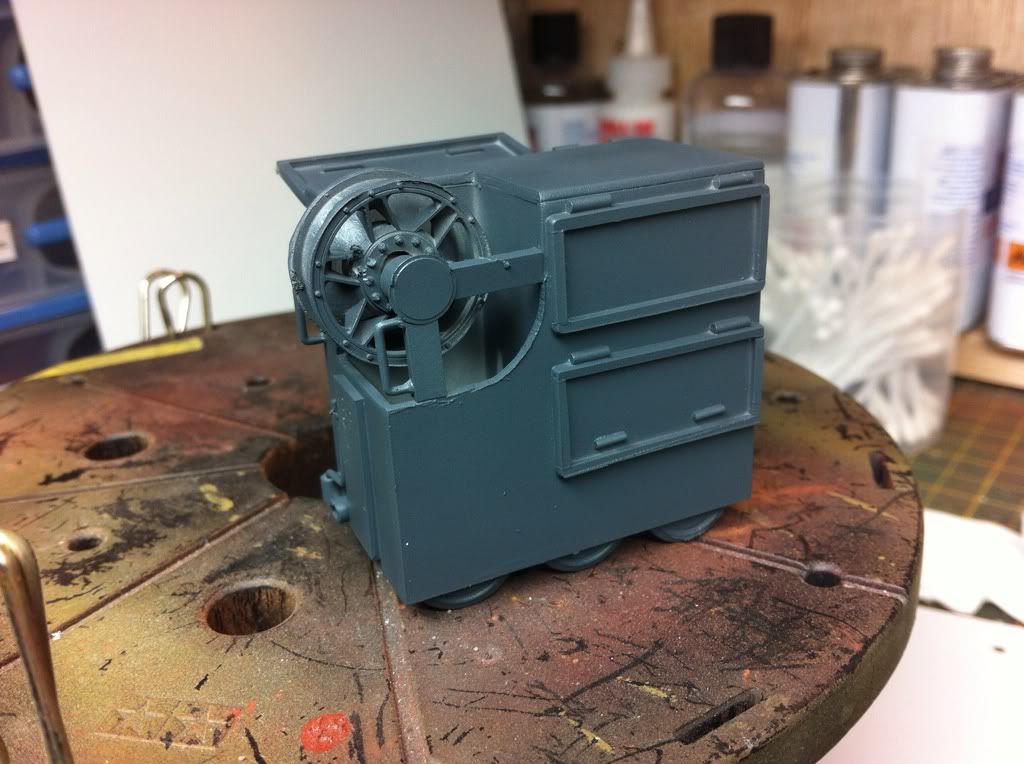
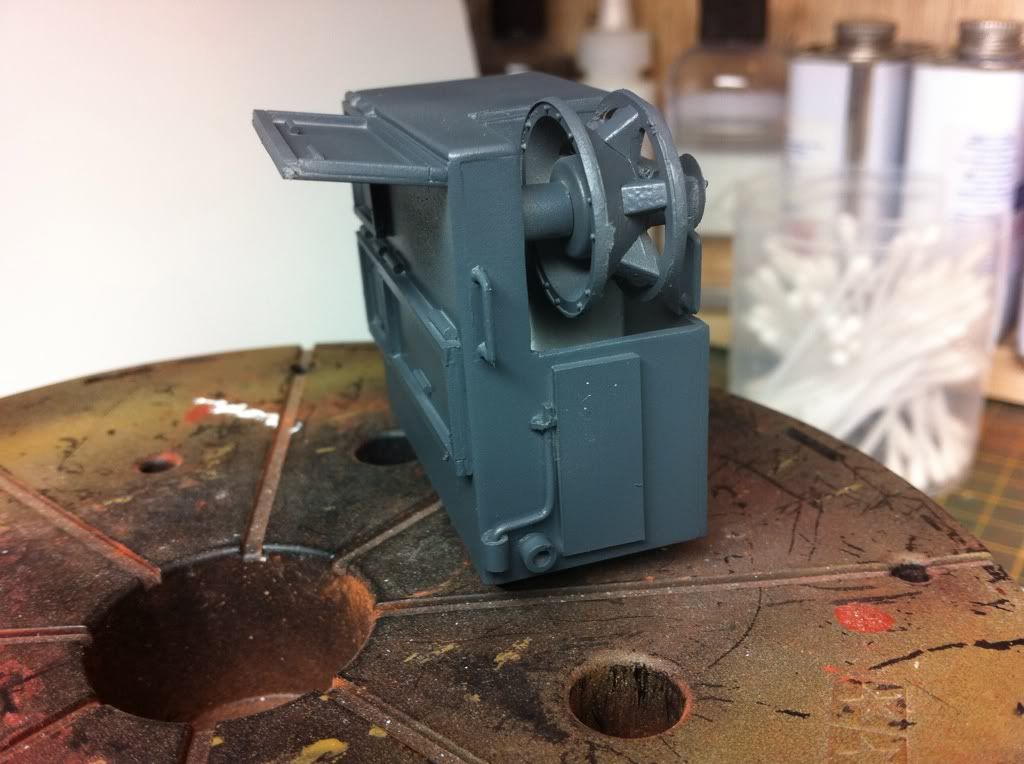 The trailor has been sprayed dark yellow and the bits I missed on the light have been filled and touched up. And here's a group shot of them together, still loads to do, wiring to add etc.

 I then set to lighting this baby up. I found and old novelty torch and stole the led and batteries. I drilled a 3mm hole in the base and then into the rear of the light, this positioned the light were I wantd it and also hit the wires. I have a switch for when it's in it's final position othe diorama.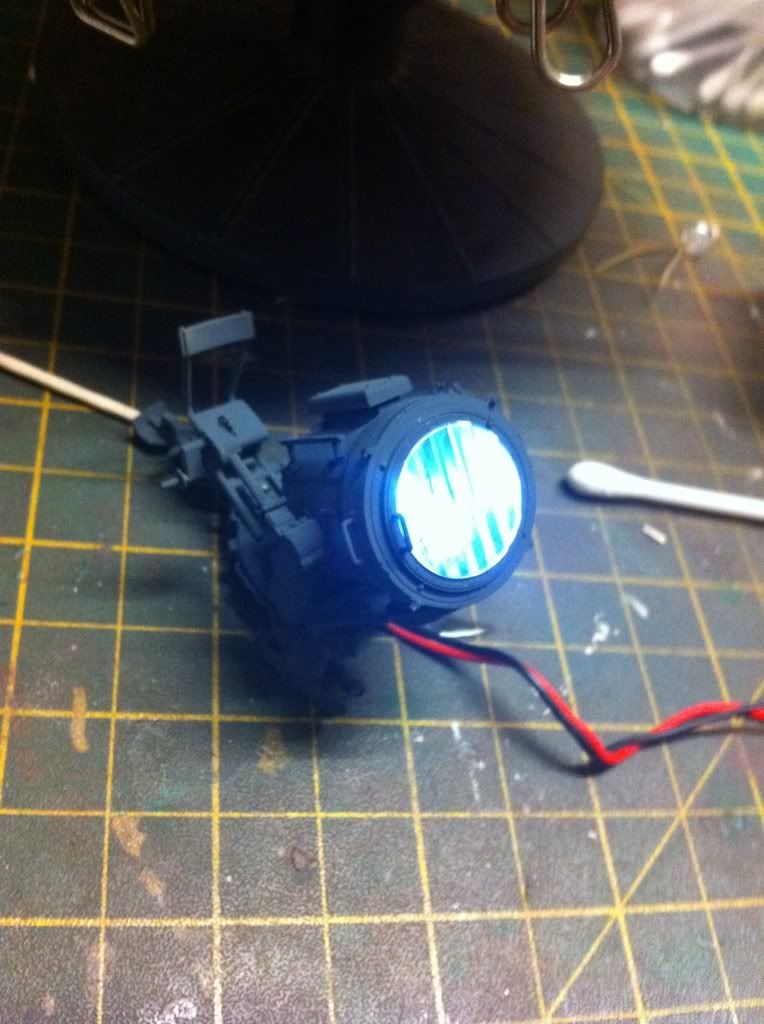
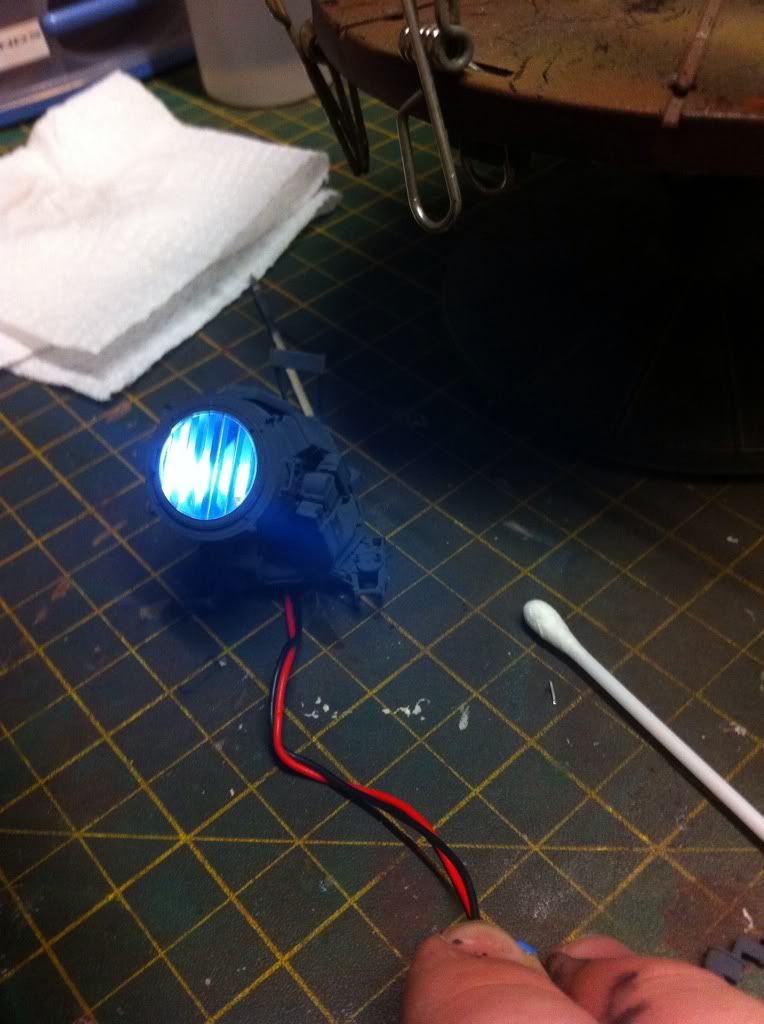
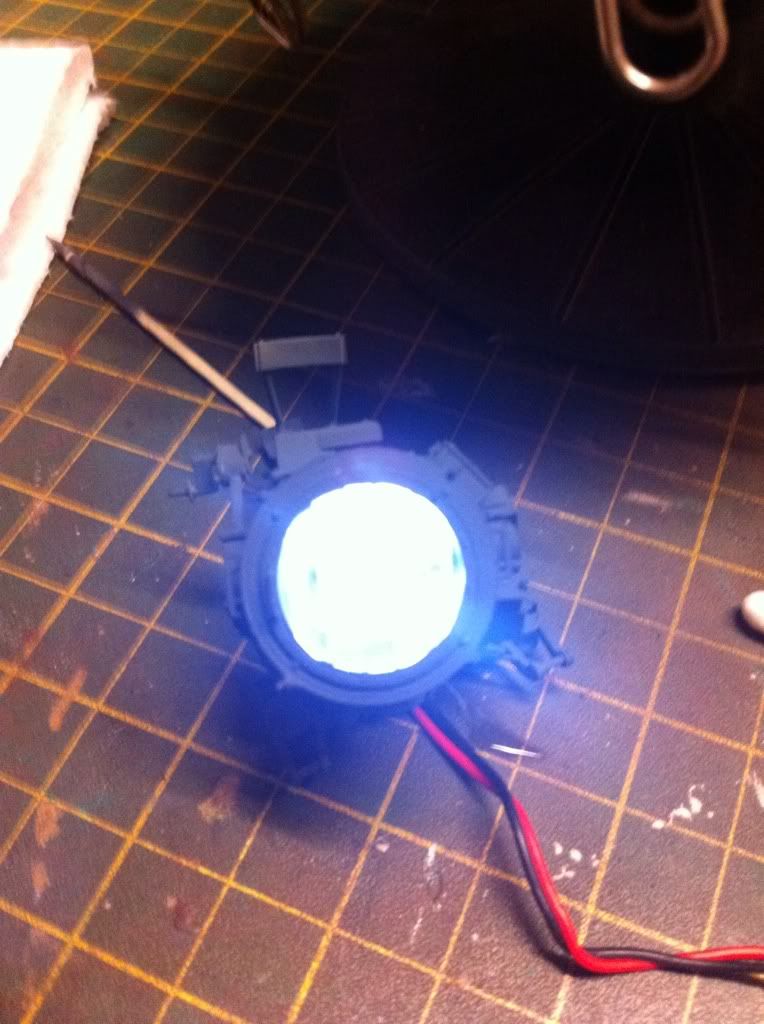
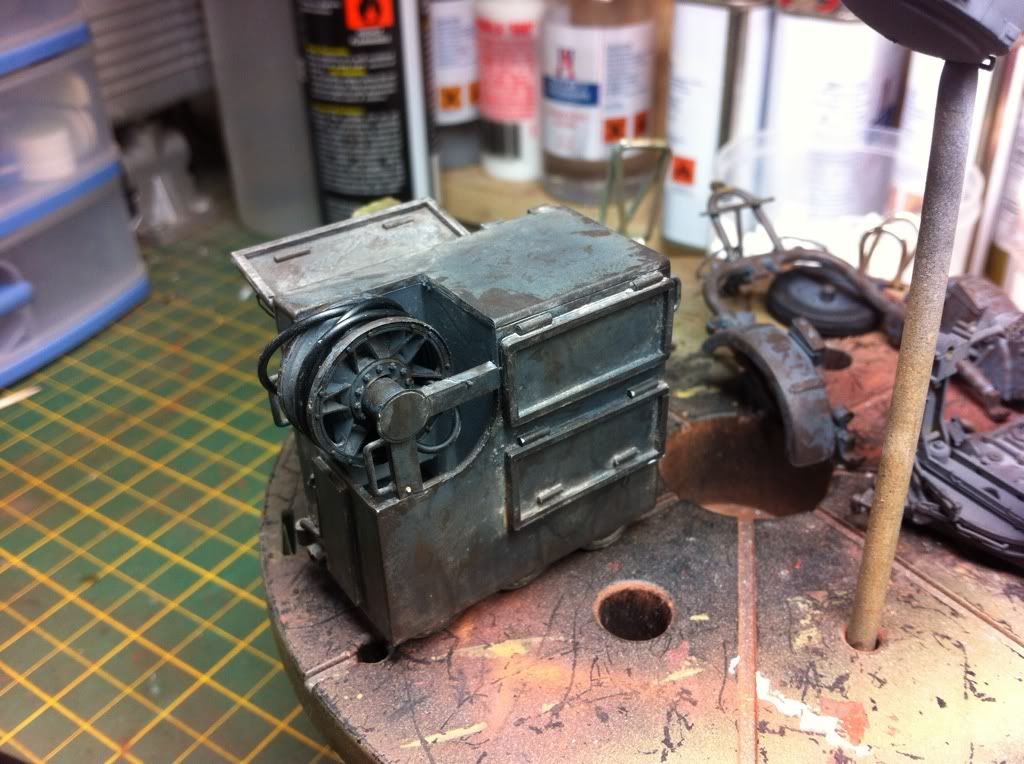
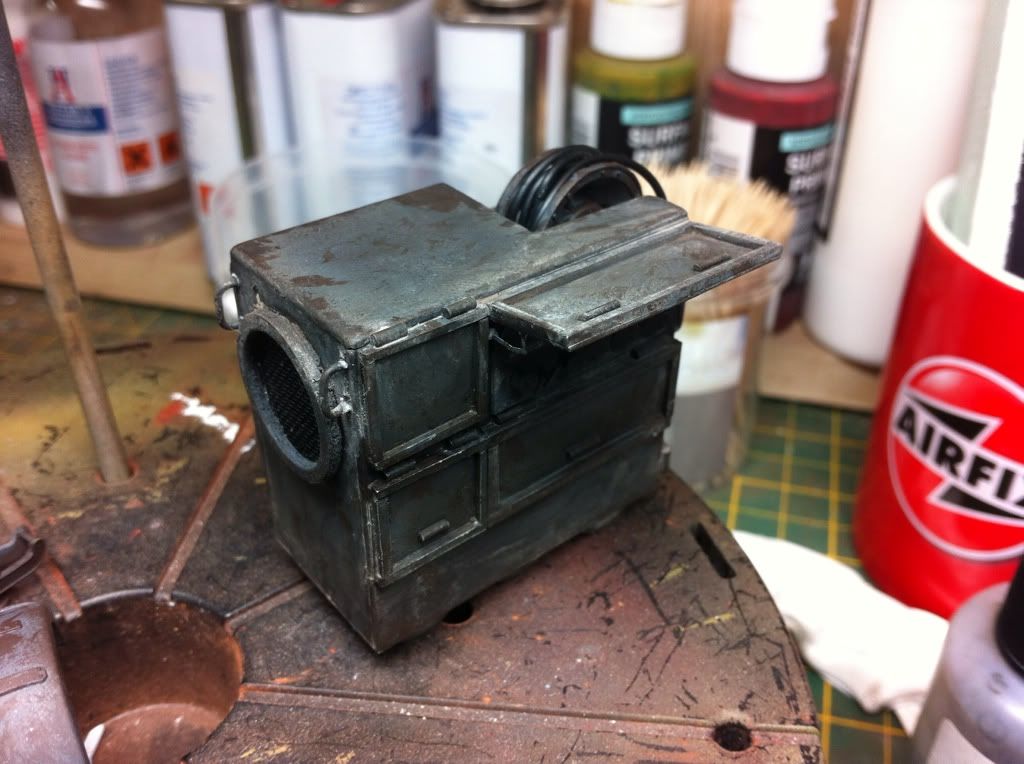 Gotta love the nail varnish.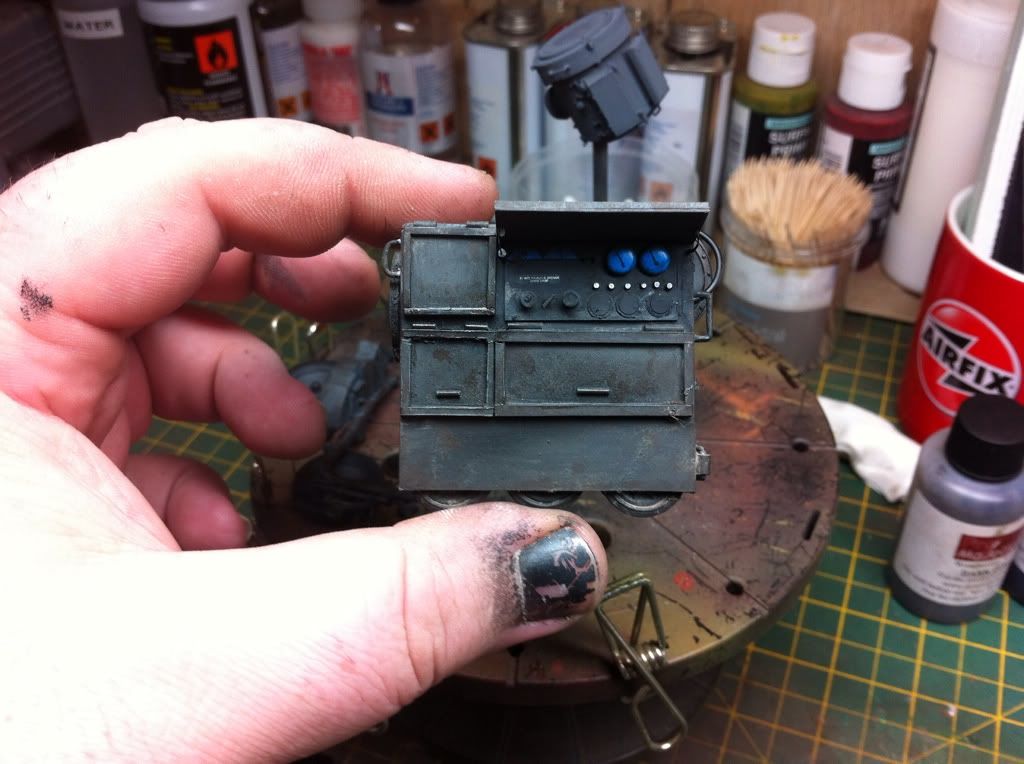
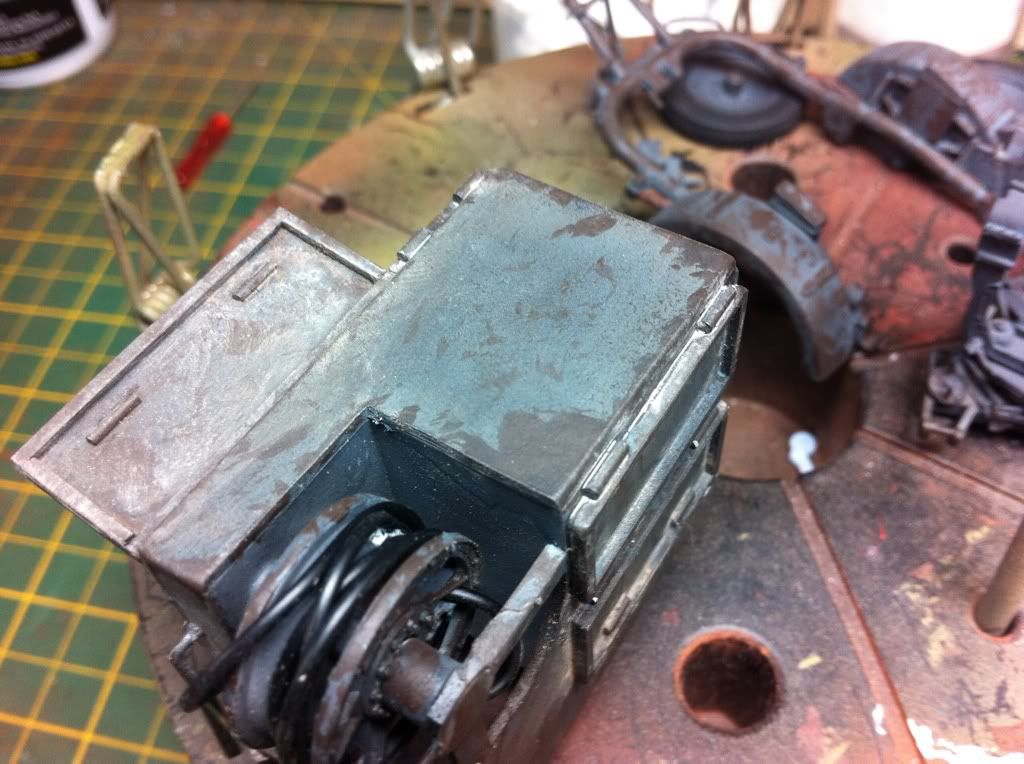 I've also resprayed the searchlight and top of the cradle, I'm going to chip it a bit lighter this time, but am leaving the trailor and base of the light cradle as is.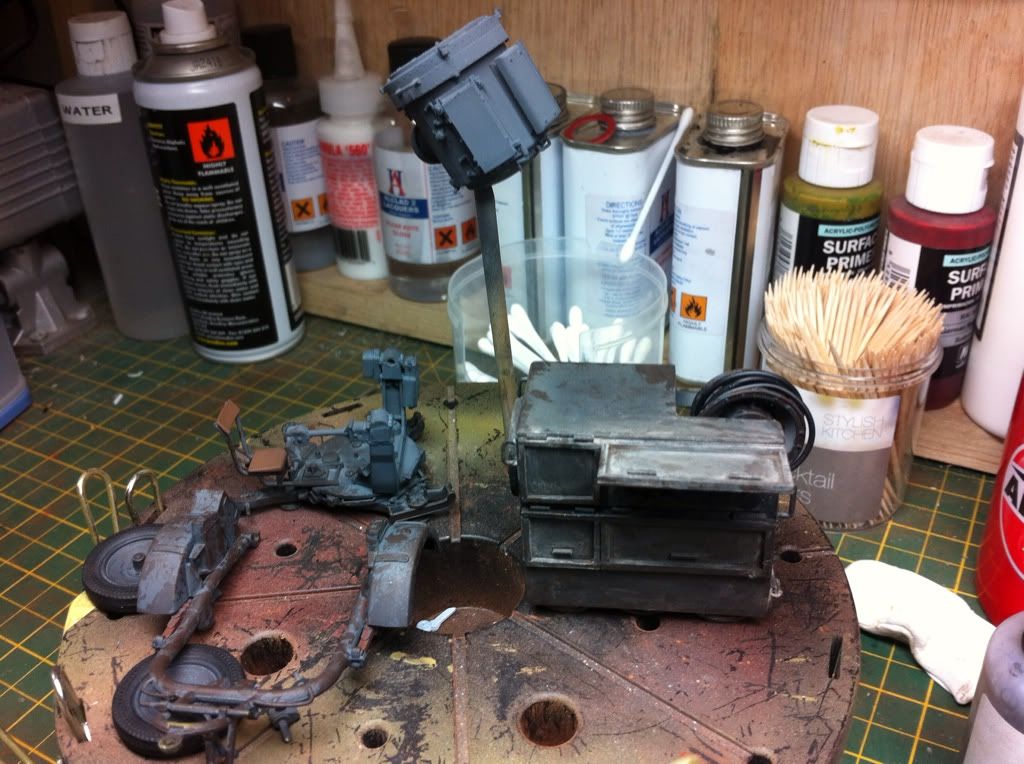


 It comes with a full sprue of weapons and accessories. As well as some figures which have good detail.

 Construction was easy all the parts are crisp and well made with no flash. Everything went together well, although you do have to make sure to read the instructions properly or some parts can end up in the wrong position.


 Everything attachd that I want attached for spraying, ive left offf all the tools for now.
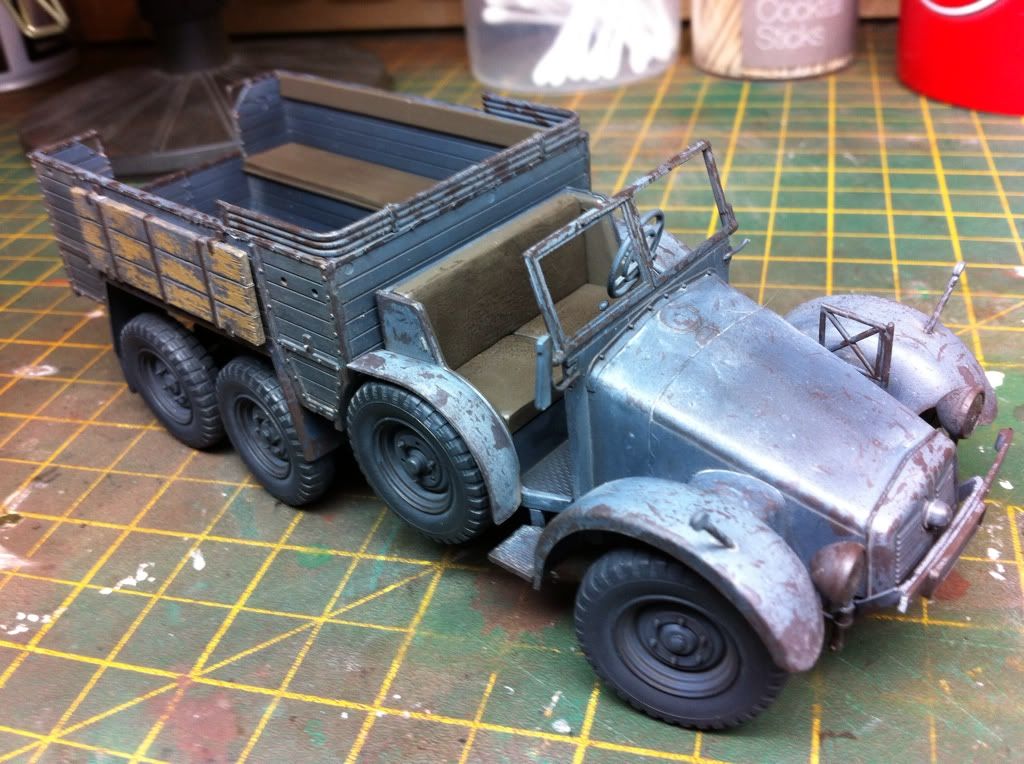
  Some good wood effects on the paneling on the rear.
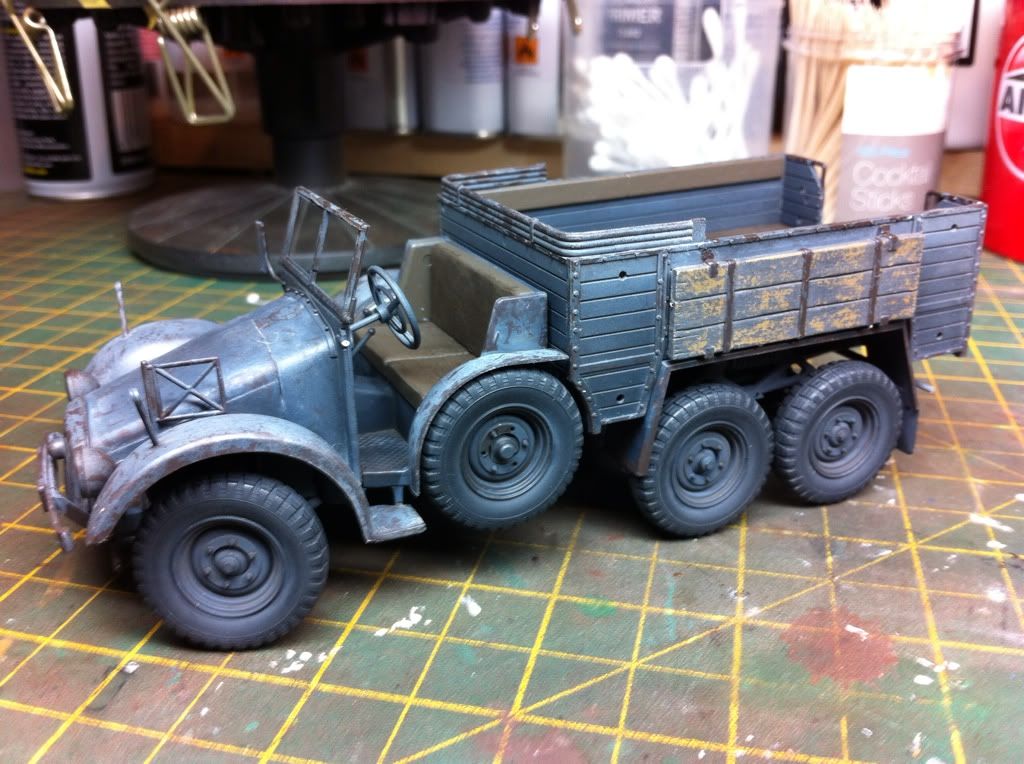
  And shown with trailor and generator is place, the genny is a tight fit, looks like I measured it well. On the diorama itself the trailor and genny won't be attached to the Krupp but I wanted to see them together.
  I didn't glue the cab and cargo bed to the chassis so I could remove it and spray it easier as well as weather the chassis later. It was given a coat of Vallejo grey primer
  And the tyres sprayed in tamiya xf85 dark rubber, gives a good effect for tyres. Just need to spray the centres German grey.


 Got some more bits and bobs for this build this morning. Although model hobbies missed out my 1/35 rats
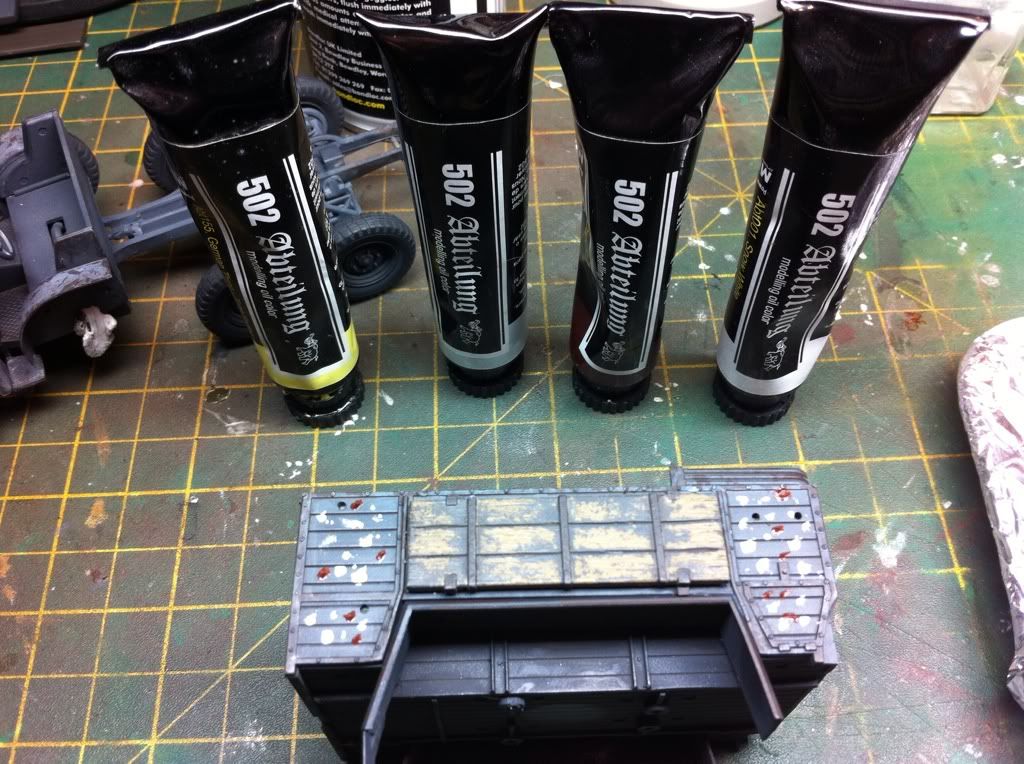
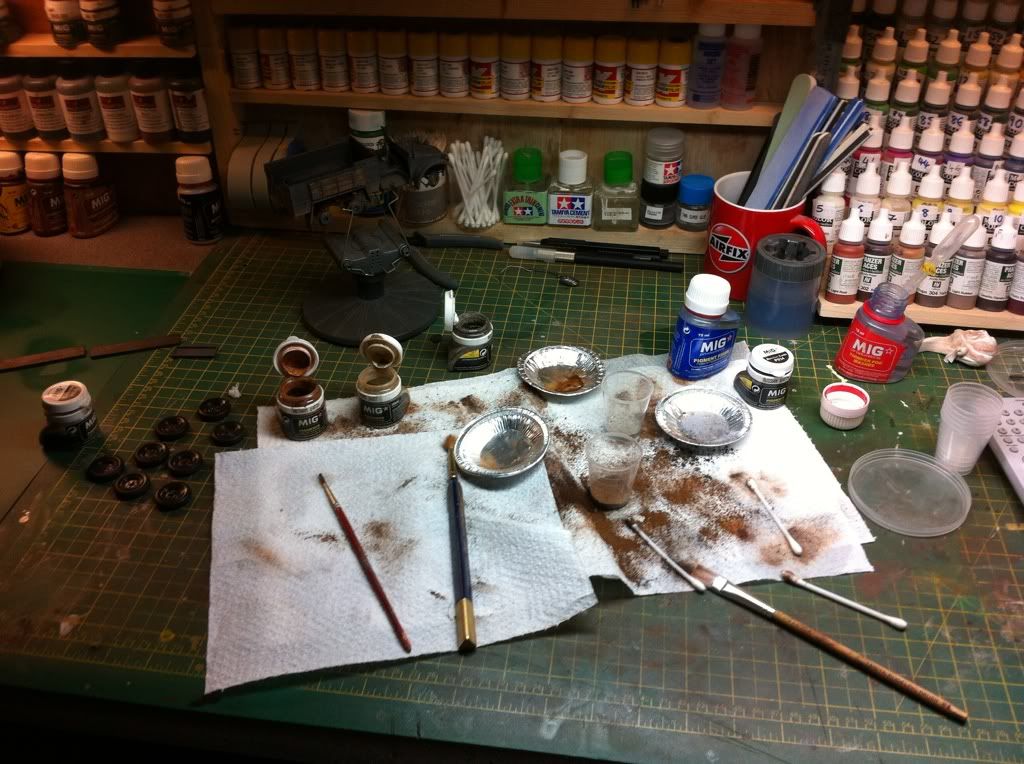 I then applied some industrial dirt to the lower section of the body and set them with thinner. The wheels were next, they were given a dusting of mig concrete and industrial dirt, this was then set with thinner and blended once dry, I then filled the treads of the tyres with flory concrete wash on the road wheels a d mud on the spare wheels. The spare wheels were designed to spin freely prevents the vehicle from bottoming out on harsh terrain so I guess they would have remnants of mud others treads. I'm not too sure about the Concrete wash tyes though I think I need to dull them a little.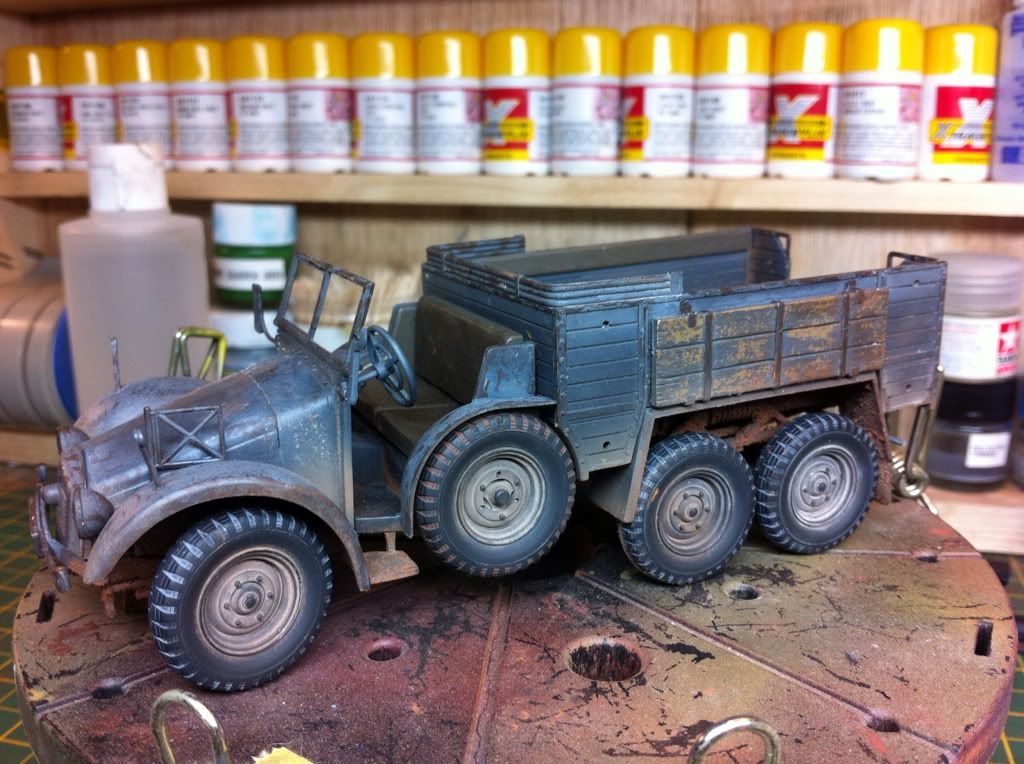

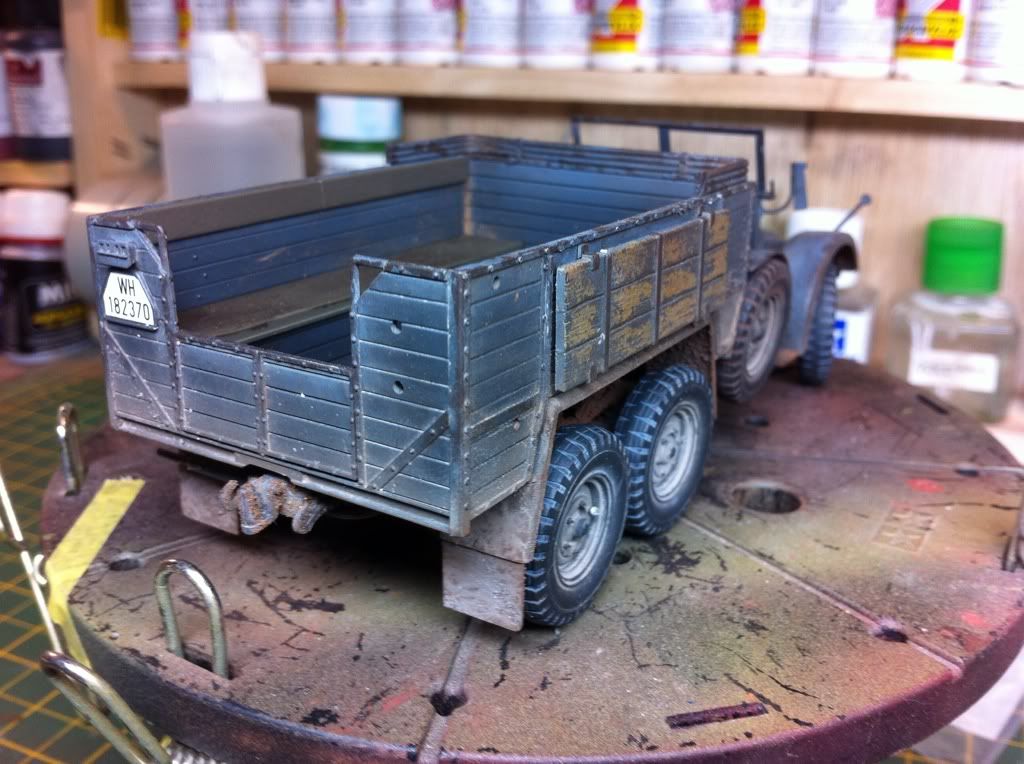
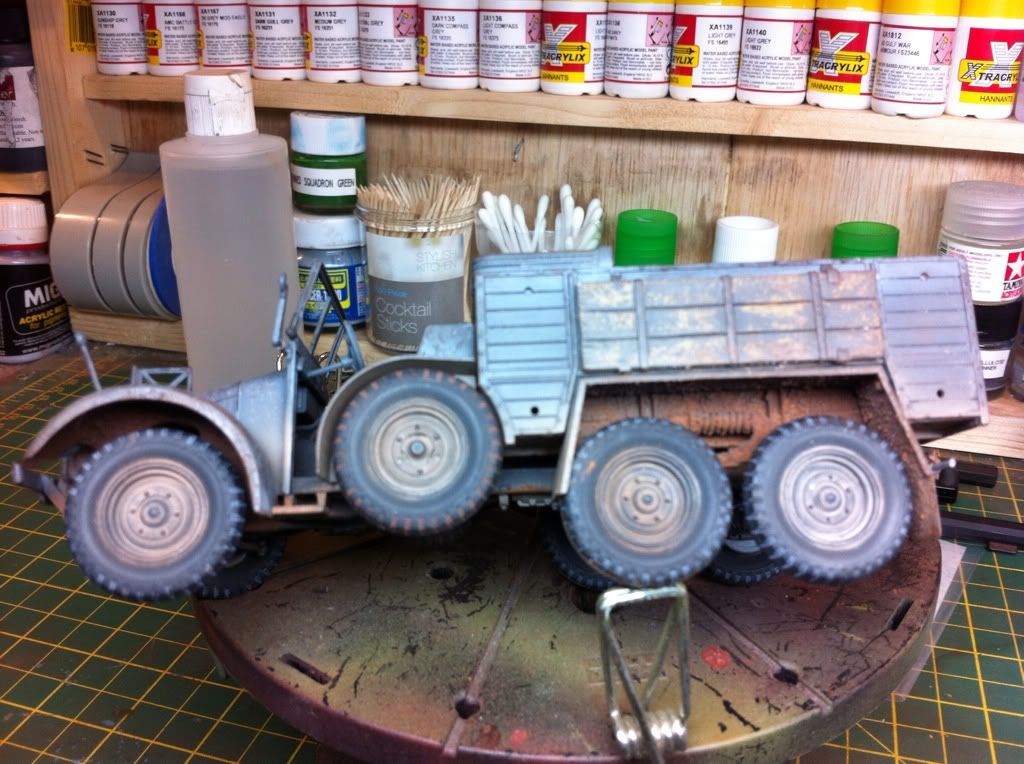
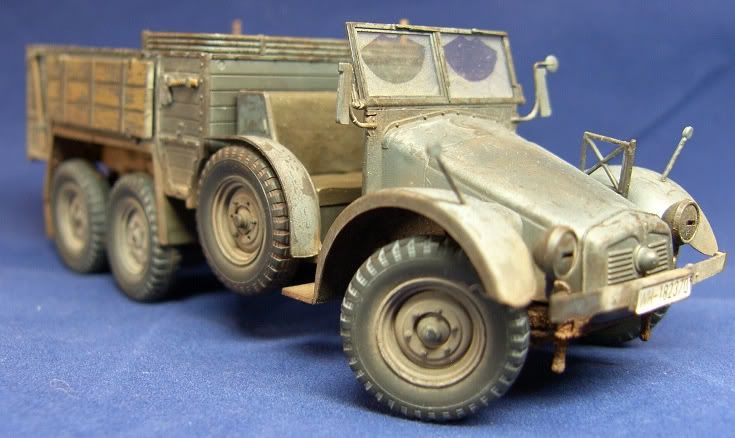
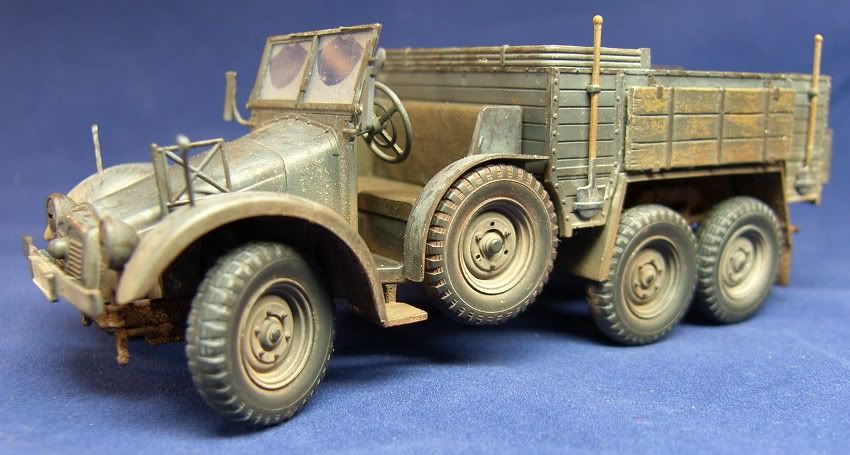
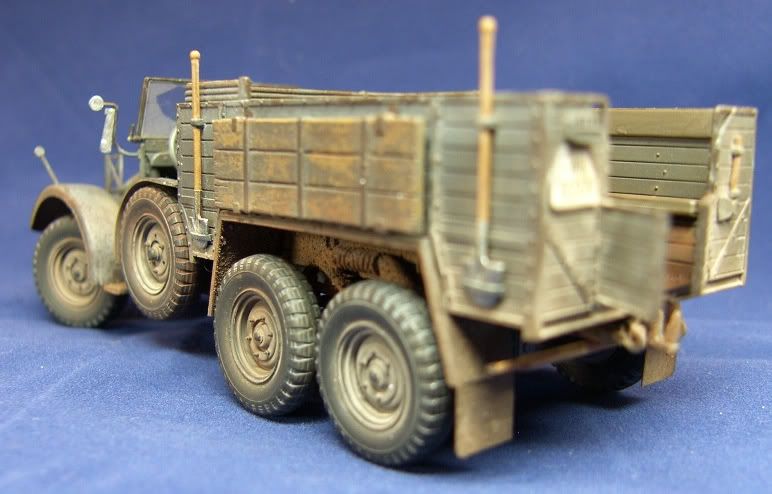
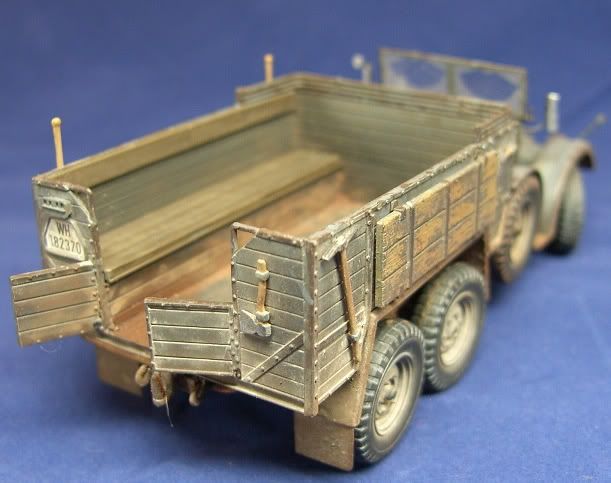





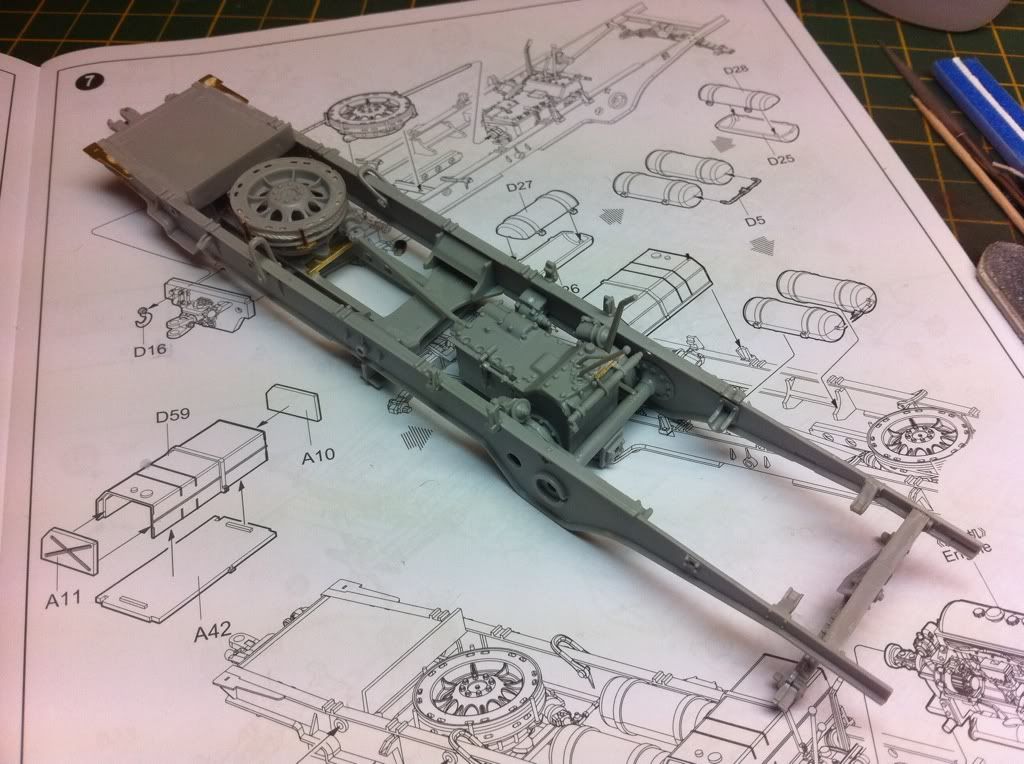
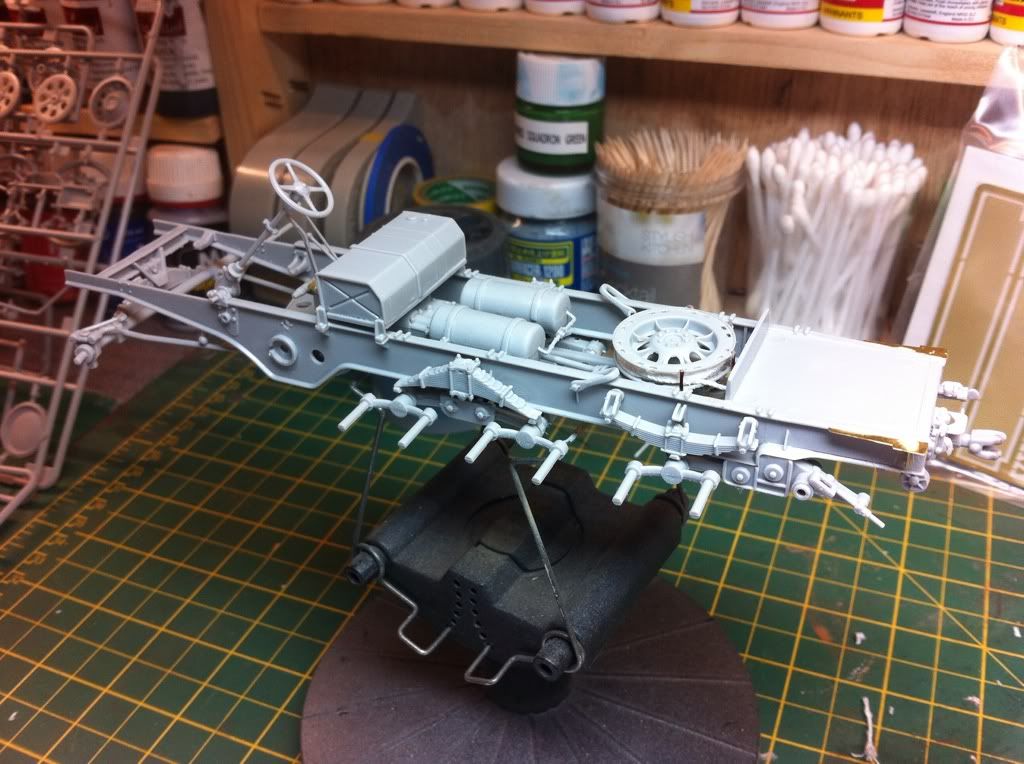
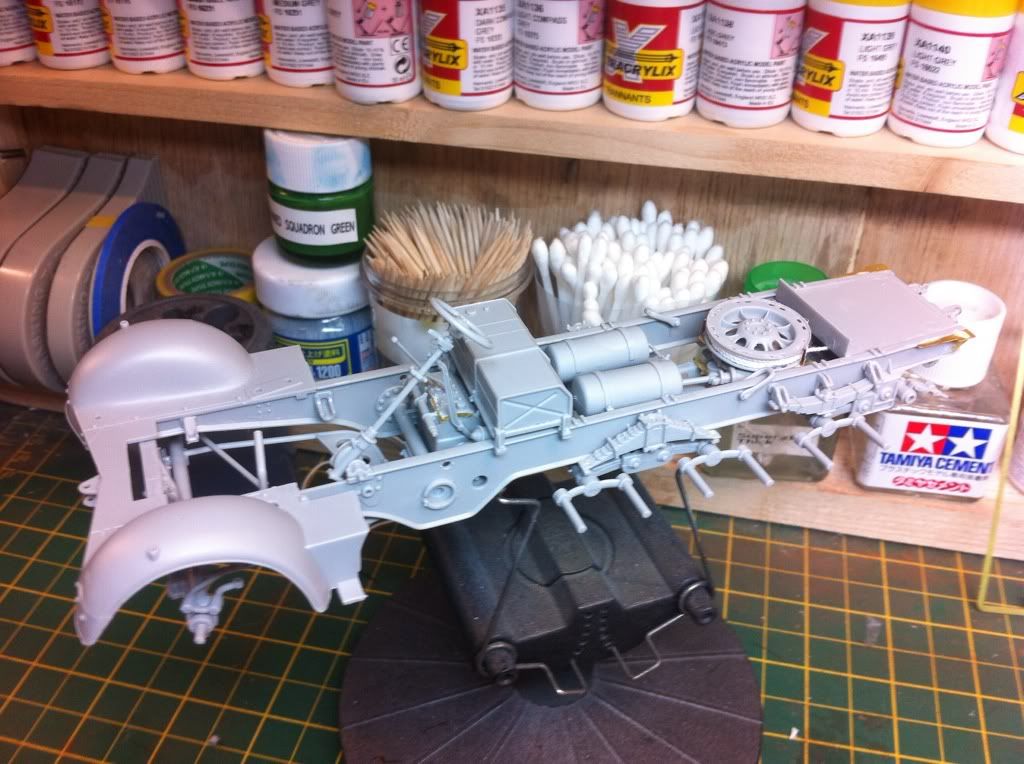

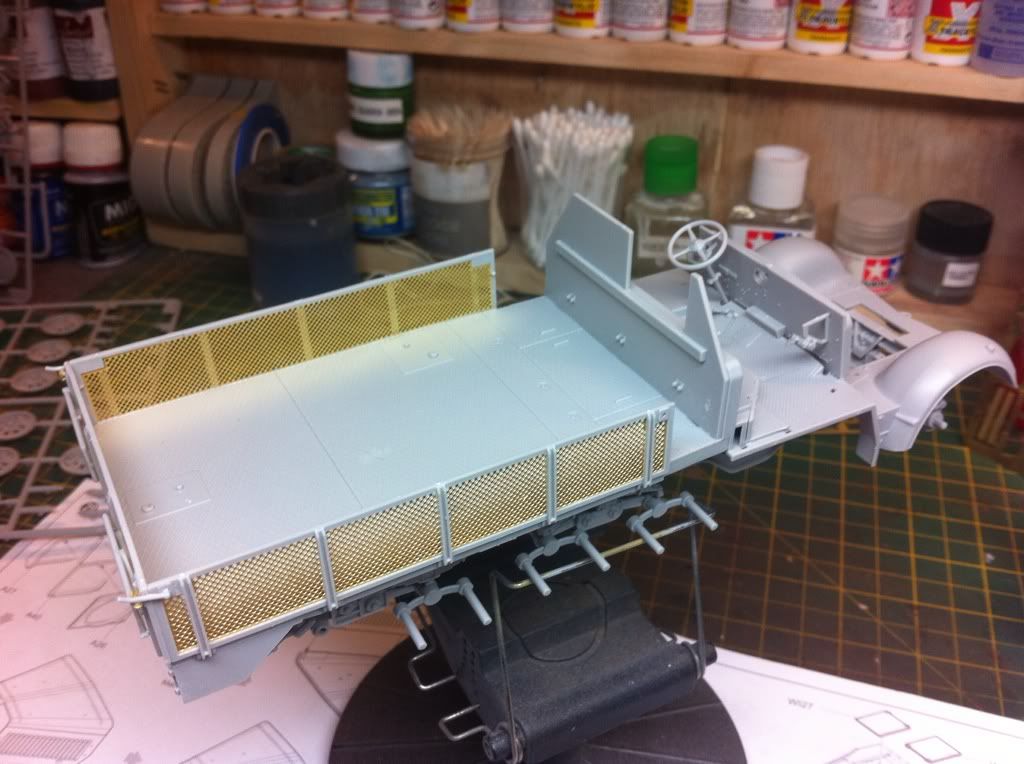
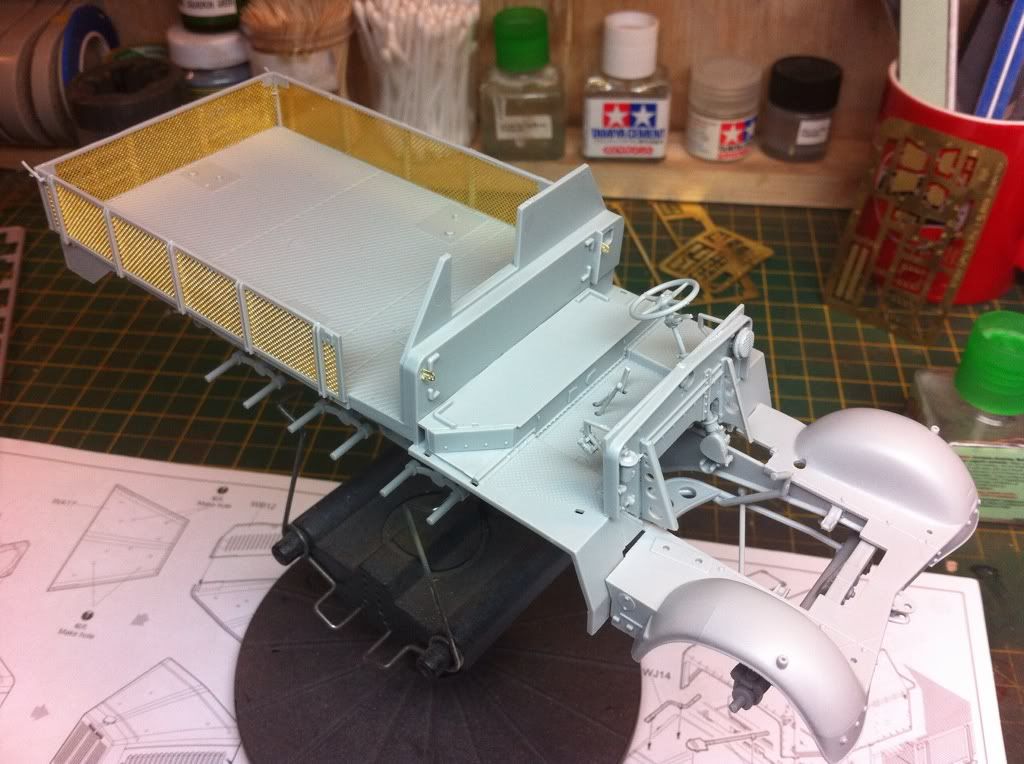
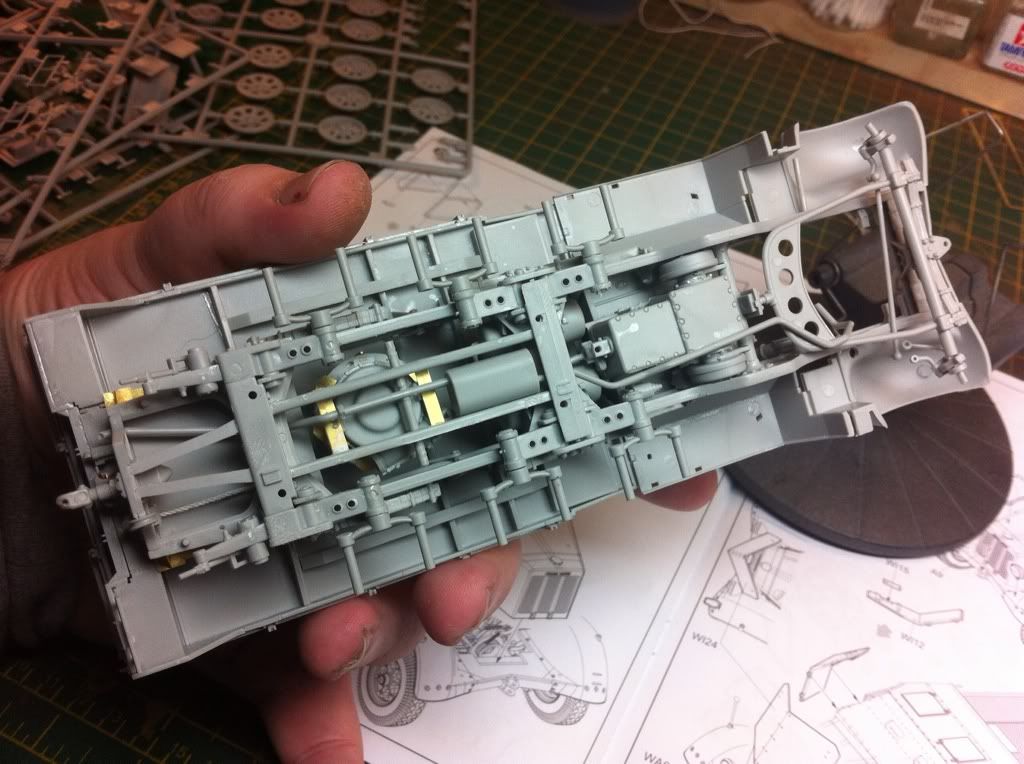
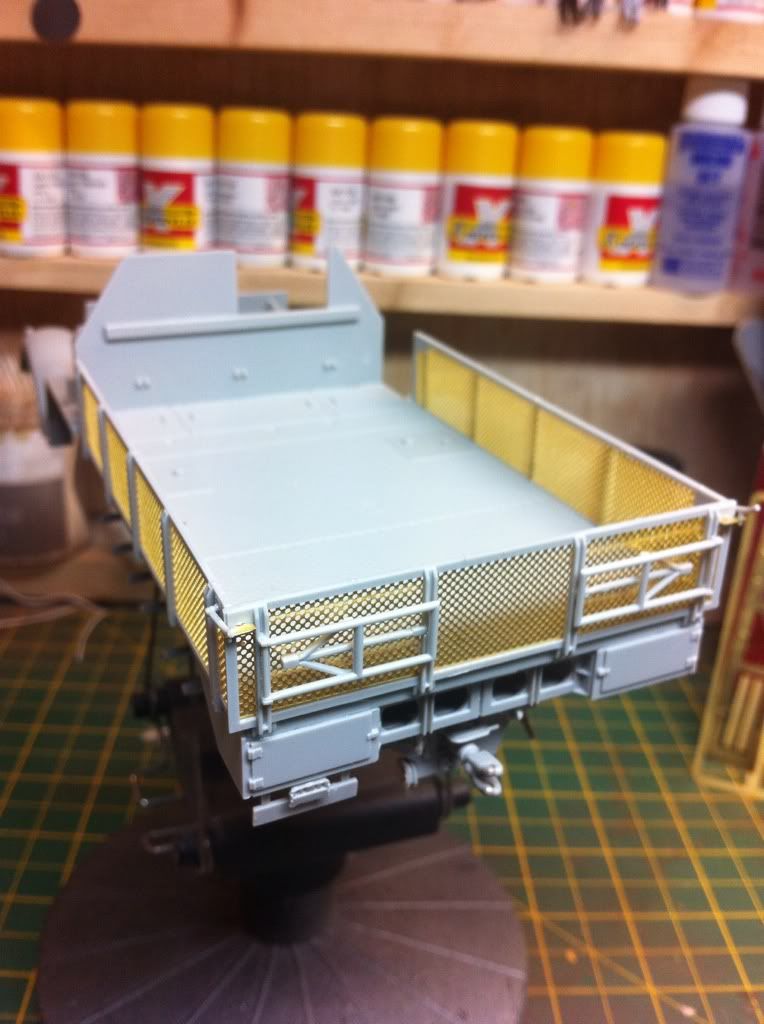 The cab armor was right pain in the ass to fit, requiring some filler plus the bottom of the door shuts had snapped off so I had t make new ones with plasticard strips.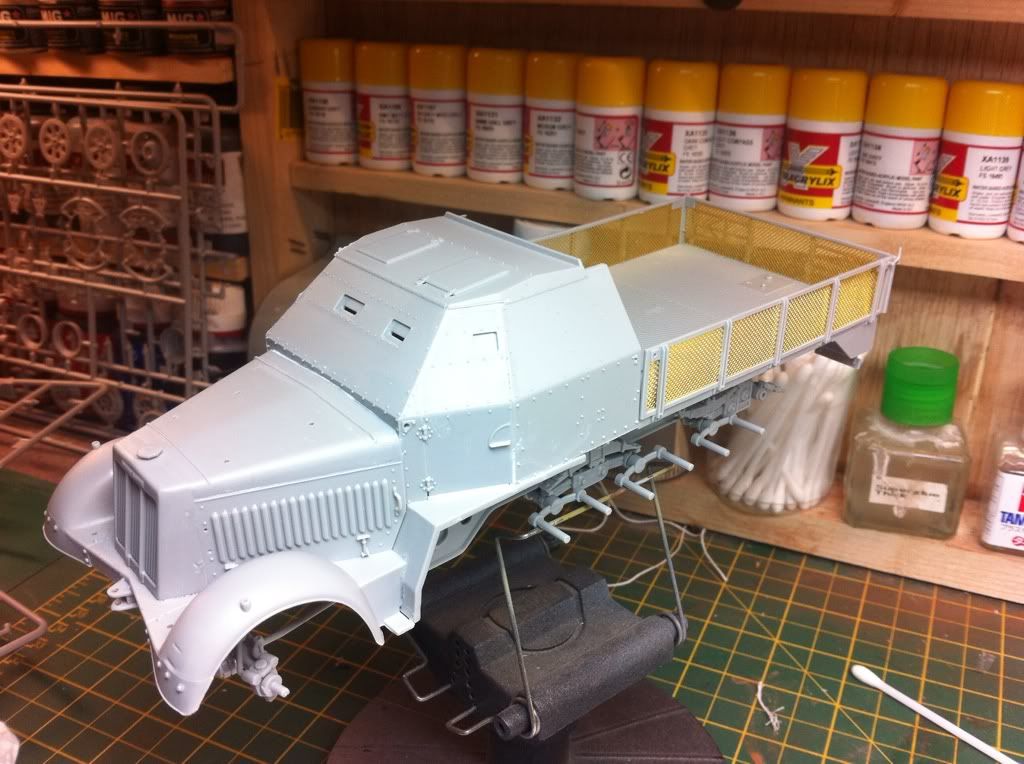


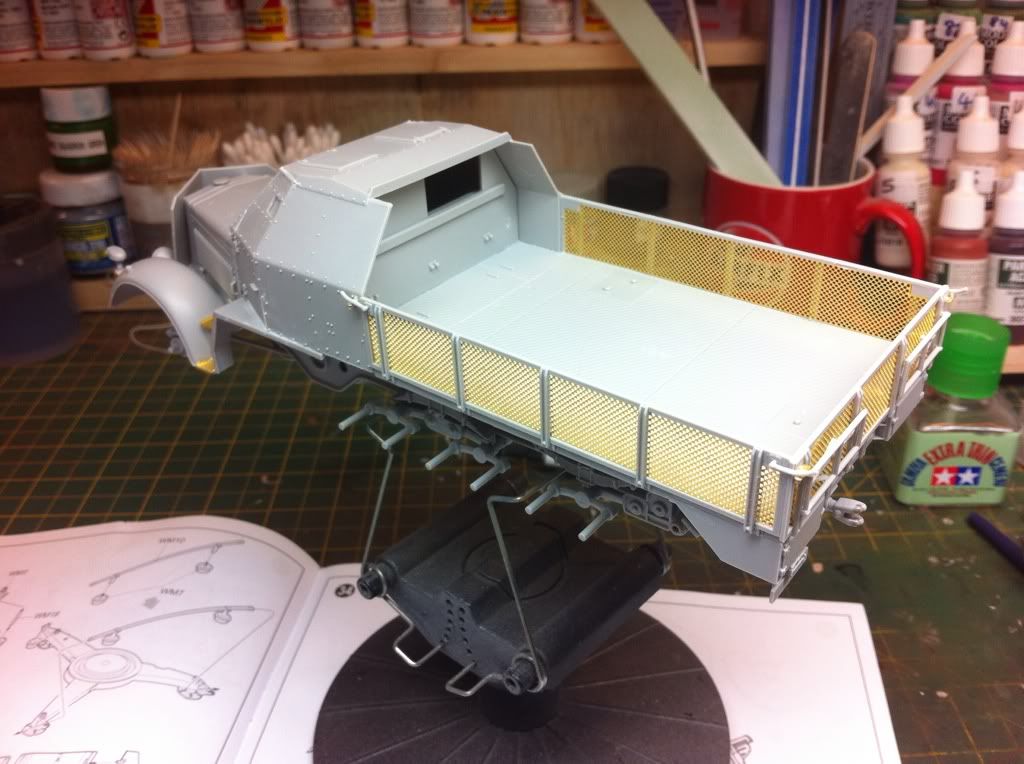 I've primed it in Vallejo red brown primer as with all the angles I thought it easier to see where I had and hadn't sprayed plus Its not a million miles away from the red oxide primer that would have been used on this.
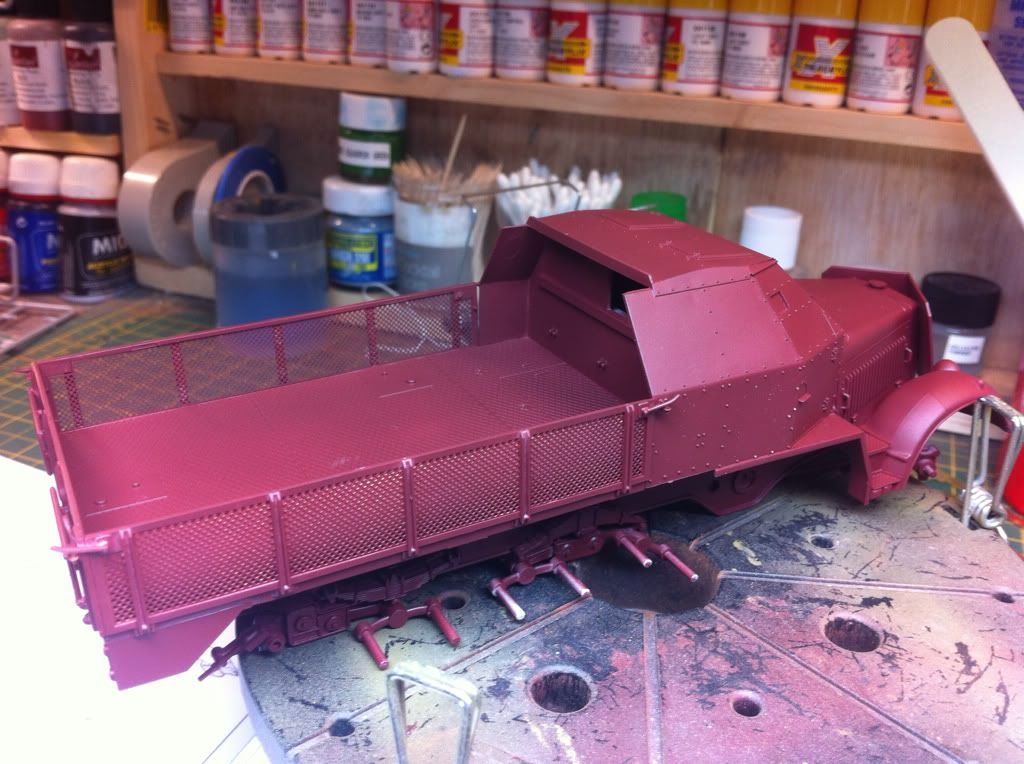
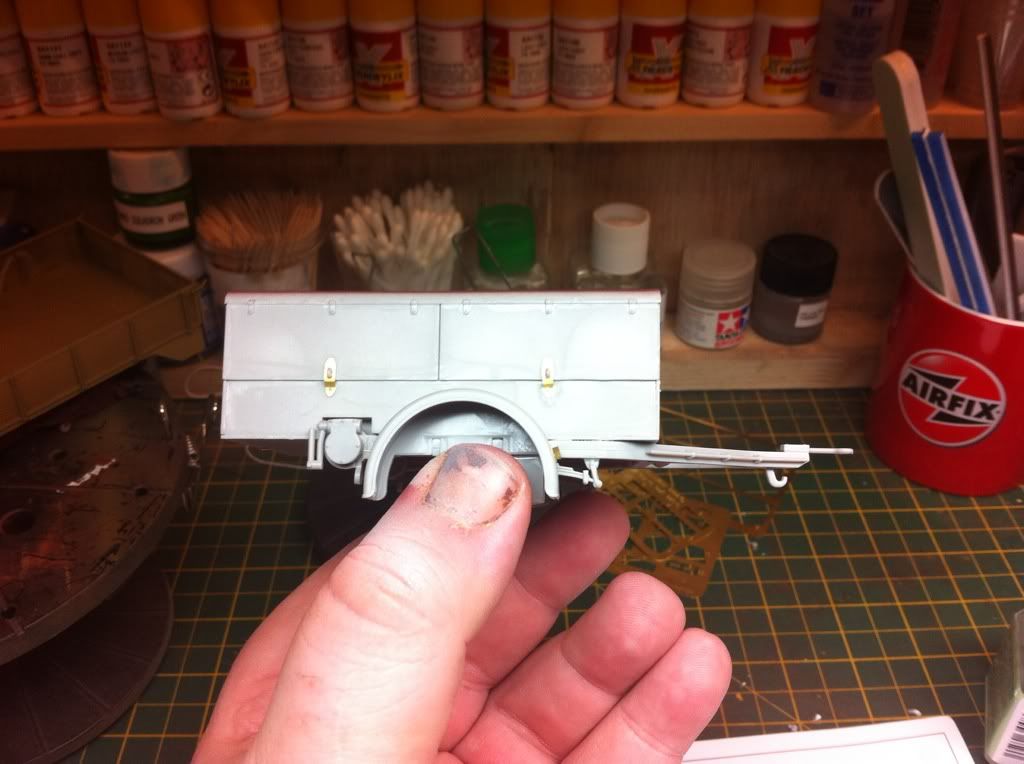
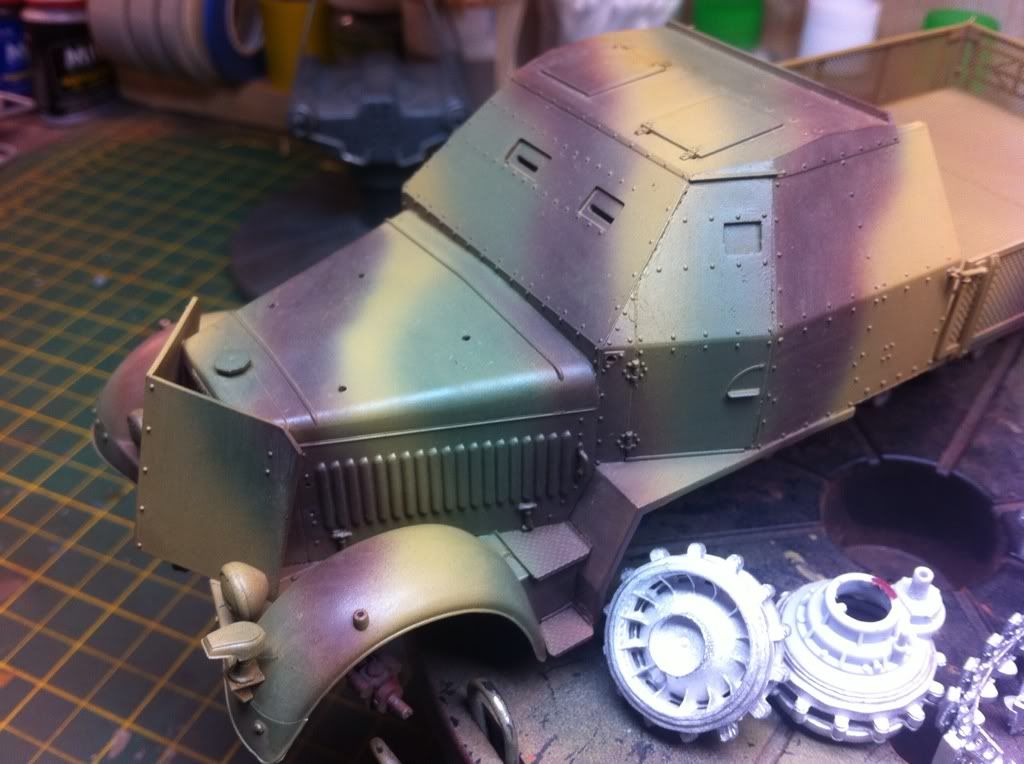
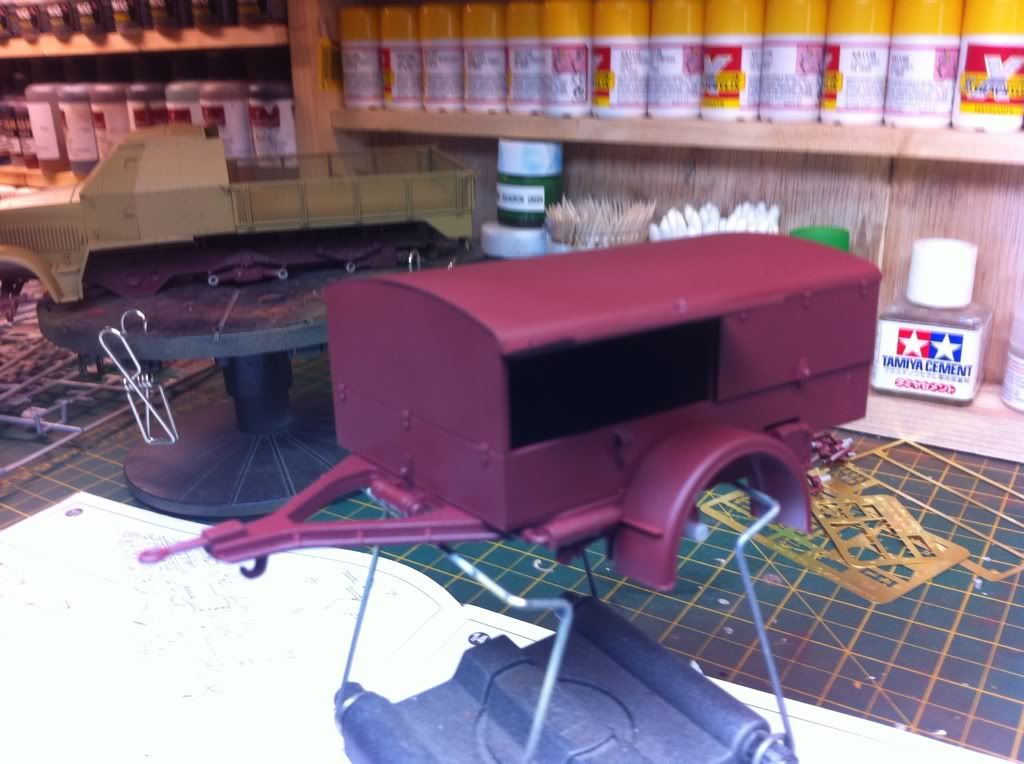 Got the halftrack sprayed in extracrylics dunkelgelb and I'm happy with the shade.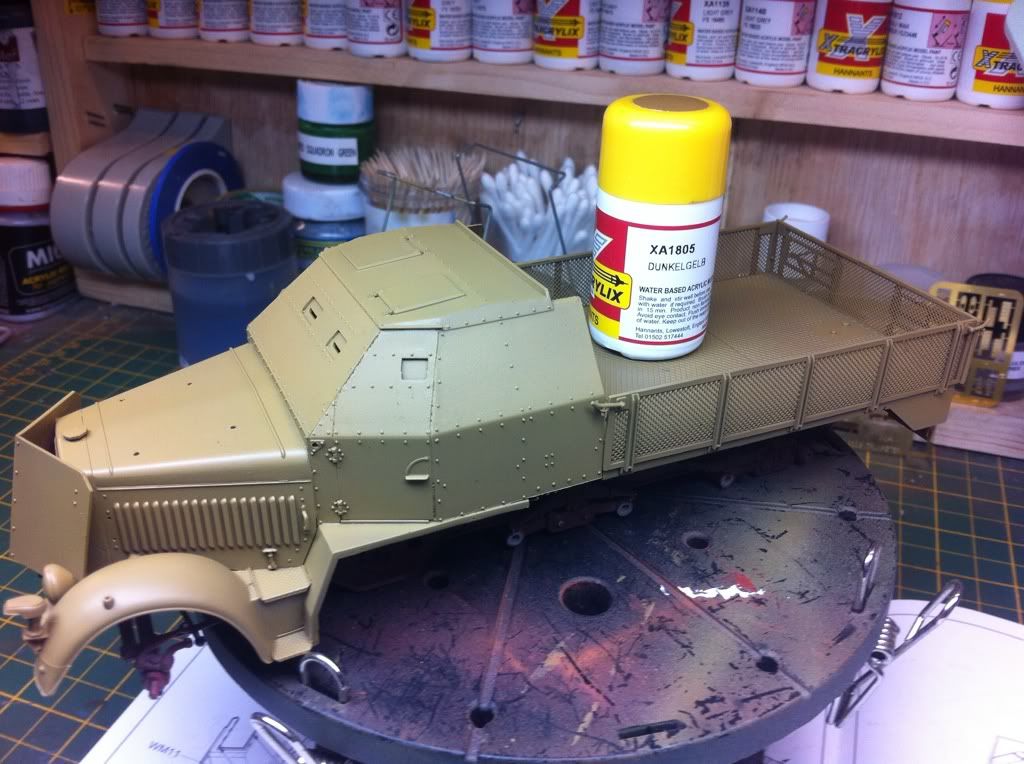
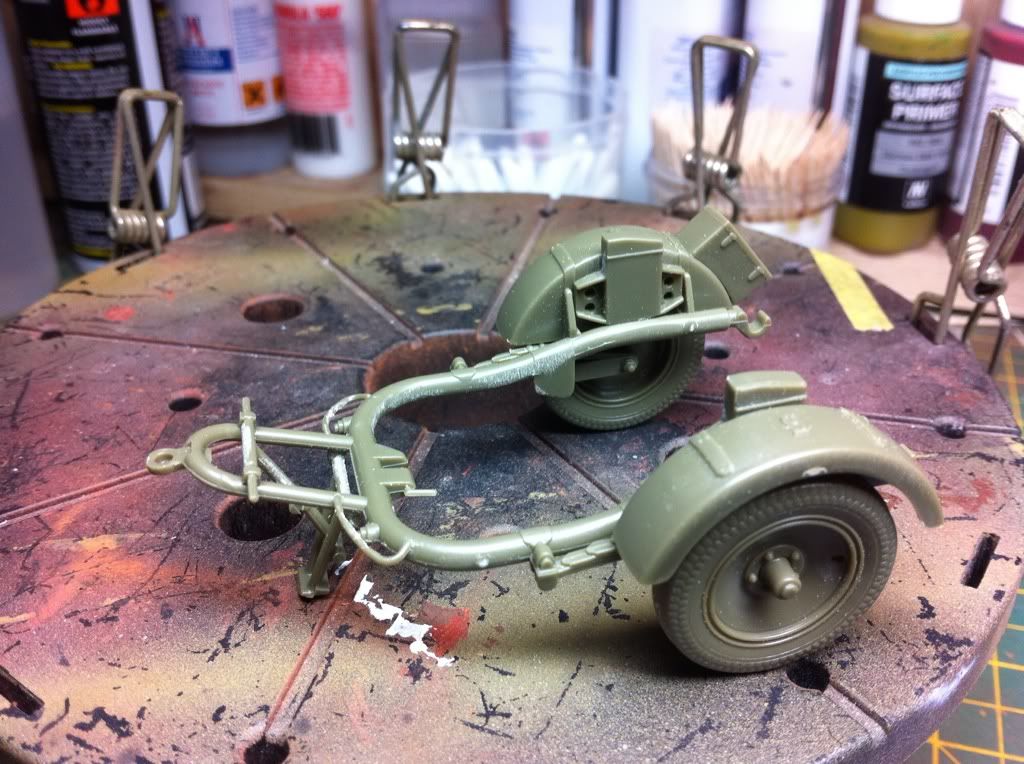
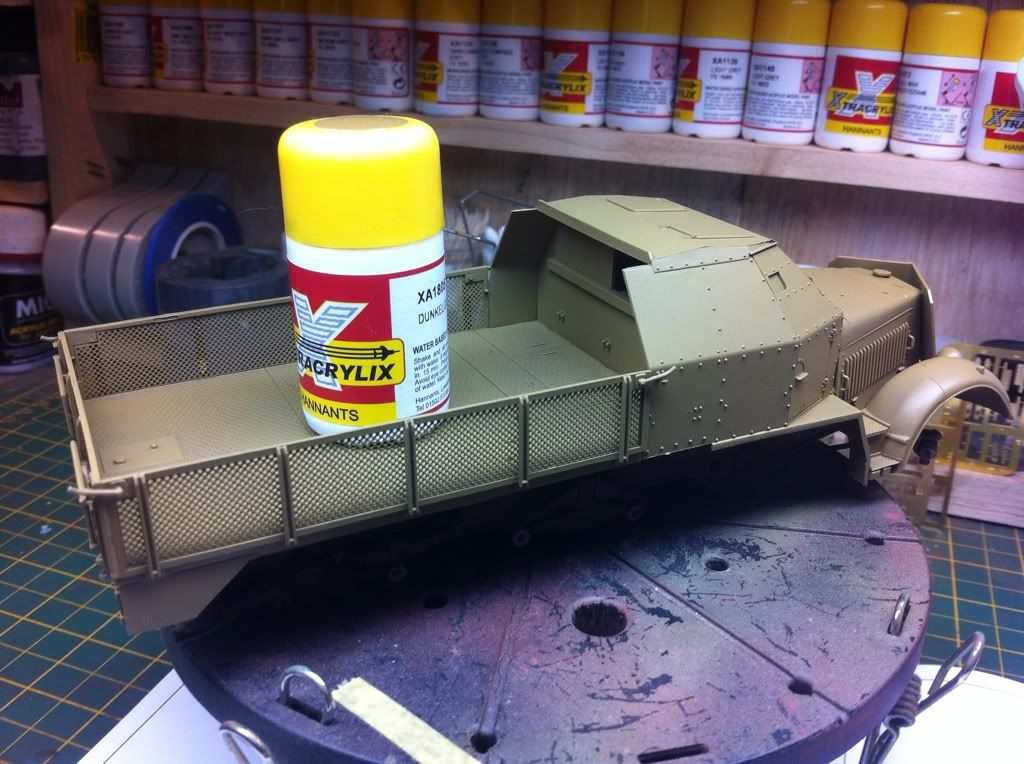 I assembled all the road wheels, all 32 of them and sprayed them in tamiya dark rubber and then using a circle template sprayed them in tamiya dark yellow (not as thin as xtracrylics and doesn't go under the template). I've left them removable for now for ease when weathering. I also got the trailor sprayed too. At the beginning of this thread I said I woul be using a base 18"x12" well seeing as this is 12" in length I think that's out the window.:
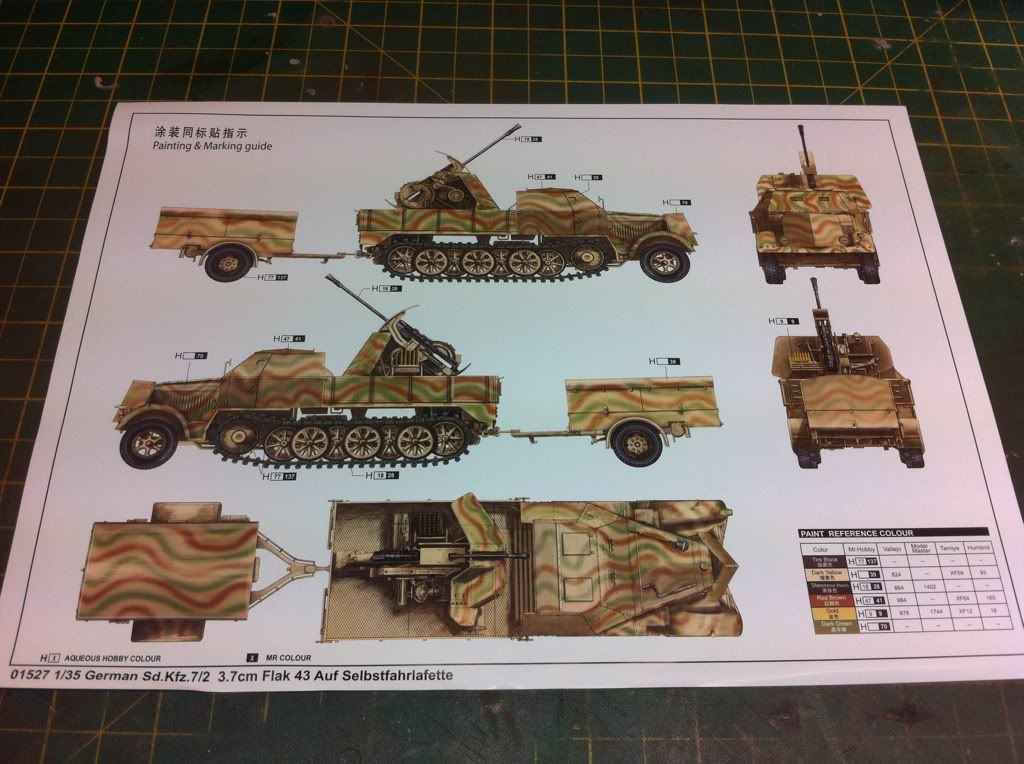
 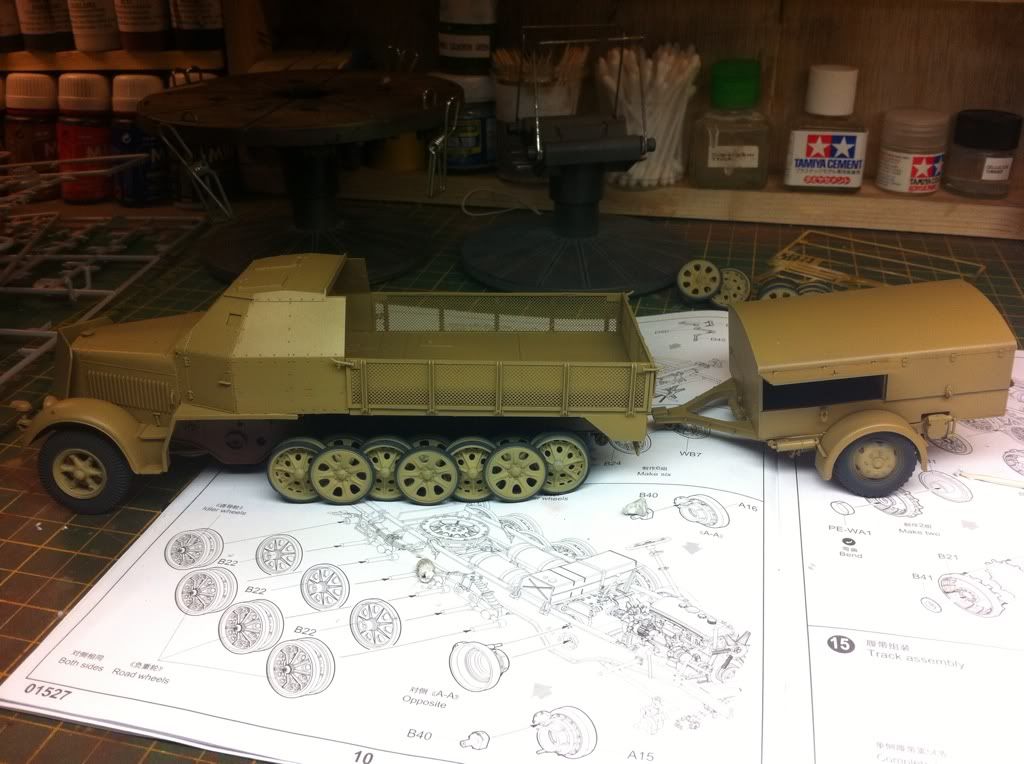 Next up wa the Camo pattern, I didn't like the one on the box art so just winged it and did my own. Using xtracrylics olive grin and rot brown again I'm happy with the colours.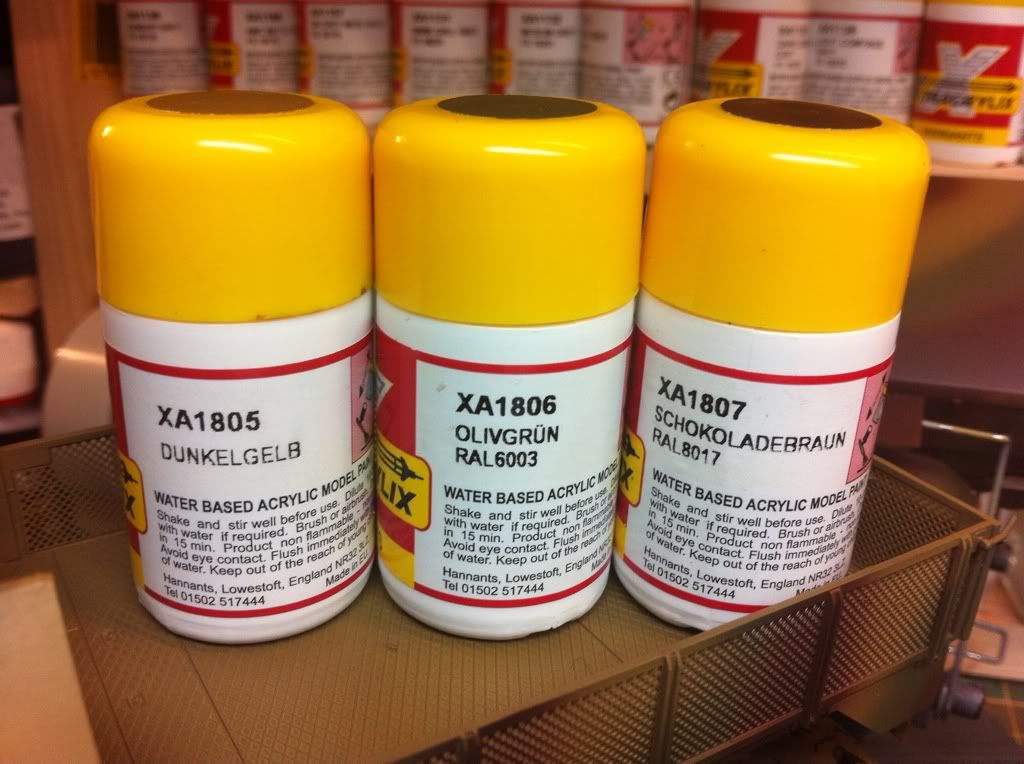

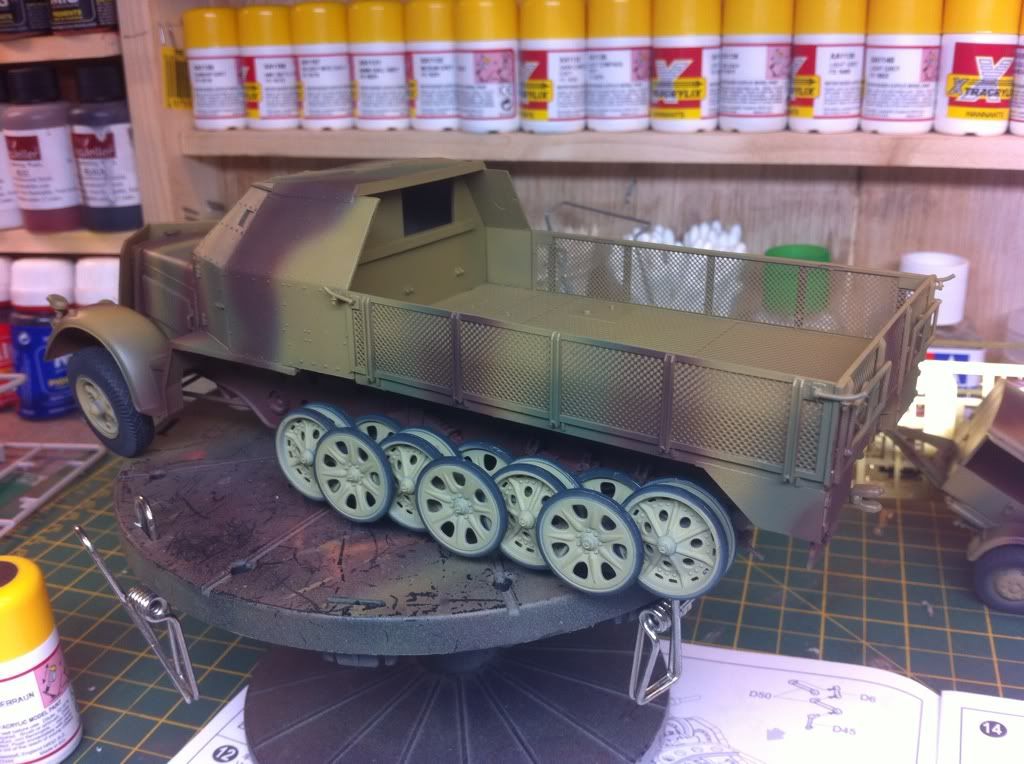
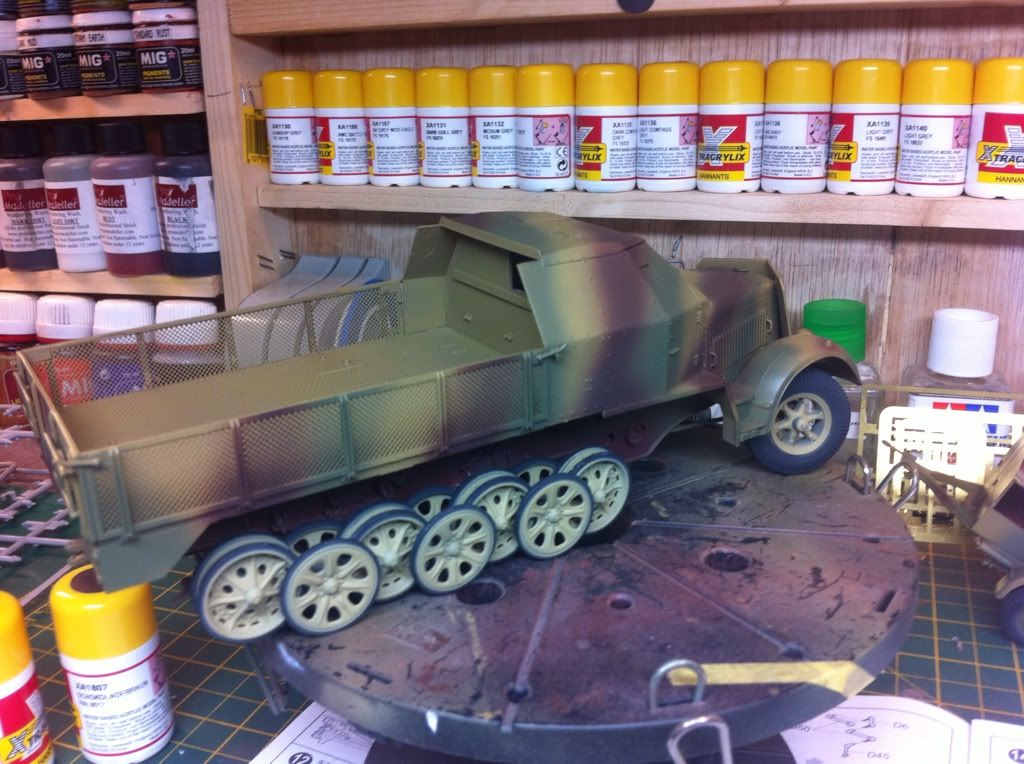
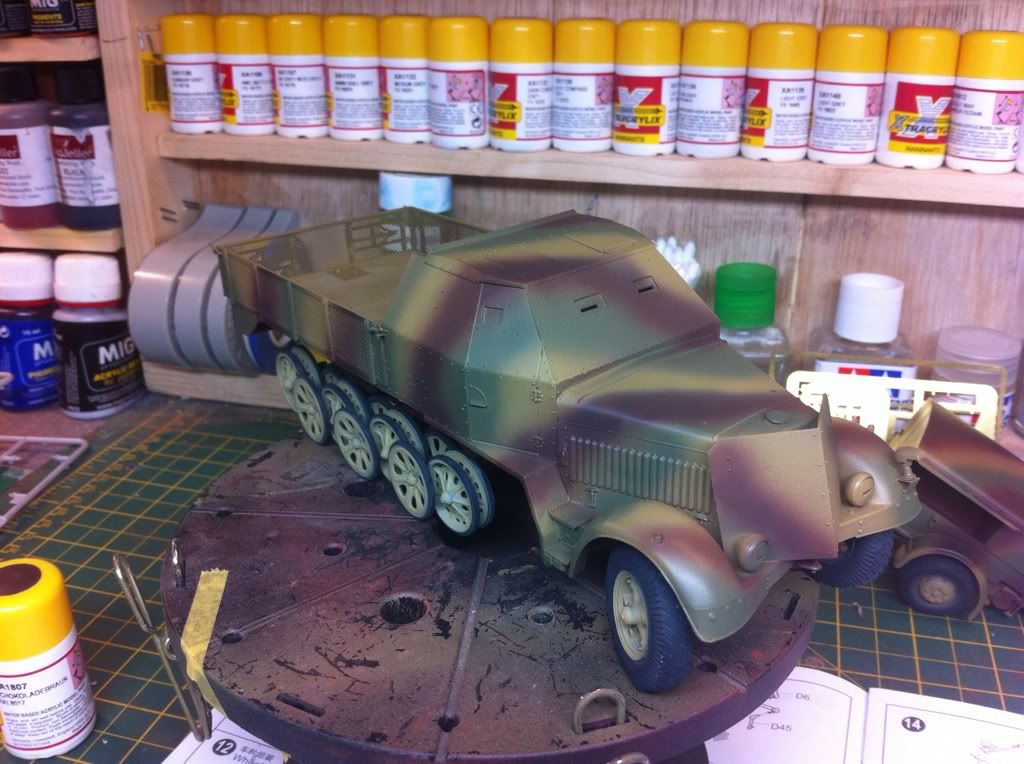
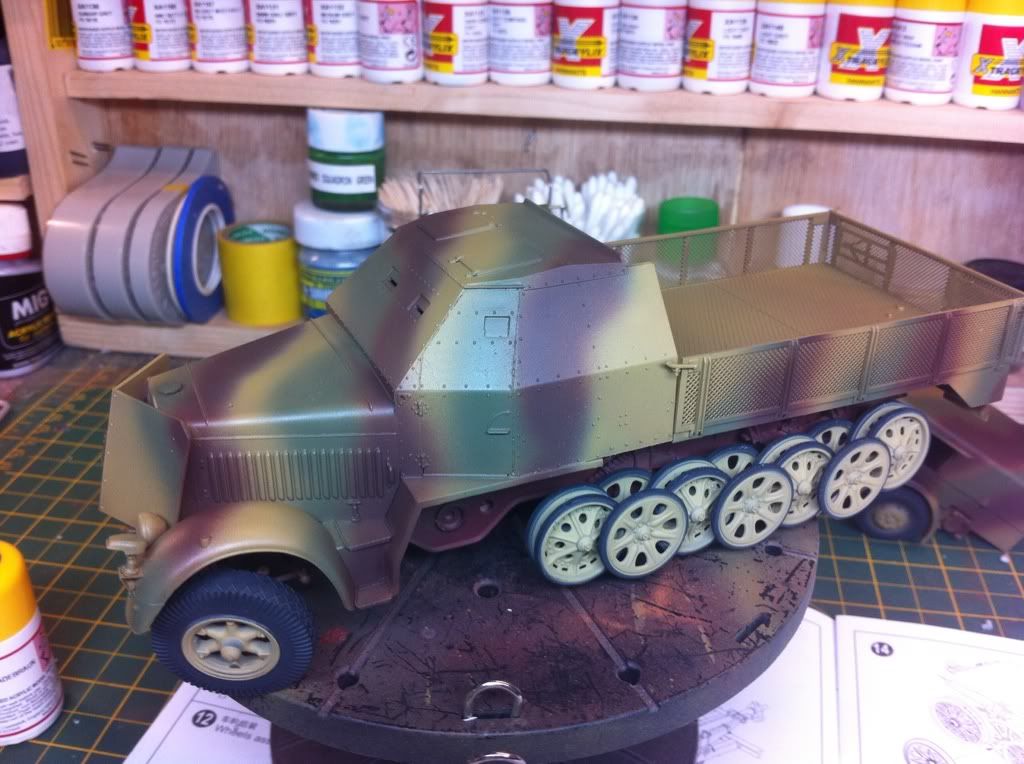


 I started on the chipping too, trying to give the halftrack the same look of heavy use as the krupp. Using a 000 brush and some sponge and Vallejo German cam black brown I got to work. It looks overdone but as with the Krupp a lot of it is lost in the washes and pigment weathering so it'll be fine. Only done a small section of it and there's a fair bit to do too so just a short update for now.


 I then sprayed them using tamiya earth.
  I believe the sponge material is a heat embossable so you can make your own stamps, but for me it's perfect as its nice and stiff, ideal for holding things on sticks and for spaying heavy tracks.
  After this had dried I mixed some mig track brown pigment with white spirit and covered the entire track with it.
 When this had dried I added some industrial dust pigment in the same way and later some rust pigments to give a few differing colours. Once dry I set to work with some wet and dry and a sanded the tracks to show the metal Finish through. I also painted the tracks pads in Vallejo panzer ace dark rubber. Sadly I didn't get any pics of is process, doh! I then had the tricky job of getting the tracks and drive sprockets on the halftrack in one go. I attached part of the track the sprocket and holding it all and using superglue stick it on I then fed the tracks through to the idler wheels and flipped it all over and connected the track pin. I also attached the front road wheels and added some grey dust to the lower half of the bodywork and to the wheels. Here they are, they move every time I lift the tank so won't be in final position till it's on the diorama, but you get the idea.


 I primed it using aclad grey primer and then sprayed it in alclad steel.
  I tried using mig rust wash but it wash too thin and just dripped straight off.
  So needing a thicker wash I used flory models rust wash and it worked perfect.
  I then applied 3 different tones of rust pigments and using thinner blended them on.
  Once the pigments were dry I sprayed a thinned coat of tamiya xf 1. Next I painted the rear bench in panzer aces new wood, then with two coats of AK heavy chipping fluid followed by panzer aces old wood I then removed some of the old wood oaint using water. Then adding various pigment this was then glued in place behind the cab. I put many different pigments on the rear cargo deck and again using thinner blended them, after which I dropped on some dark mud and European earth. I also painted the spade and crank handle as well as attaching the width indicators and wing mirror. I hung the tow chain over the front armor panel. Mixing some mud pigments with some plaster of Paris and water I used a brush and airbrush to flick mud up the rear of the halftrack and along the sides of the vehicle. I also added some earth tone pigments to the side steps leading into the cab.


 The pigment are still wet behind the cab and well need blending once dry
