Page 1 of 1
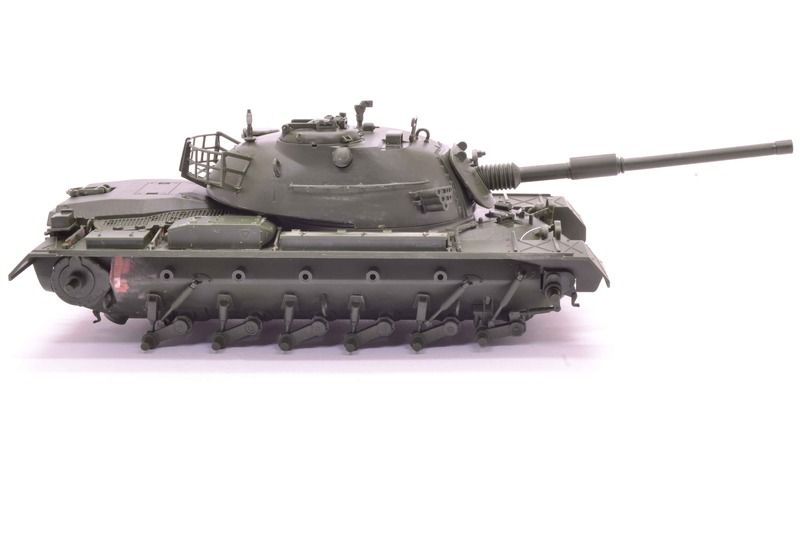
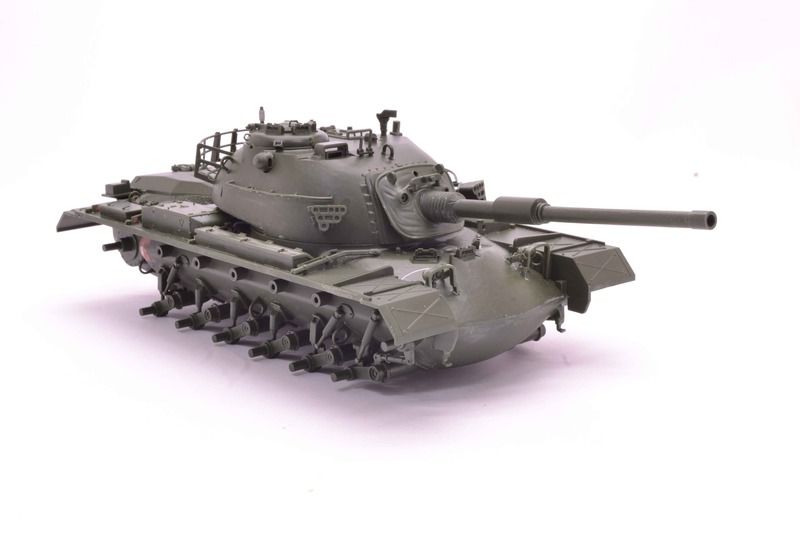
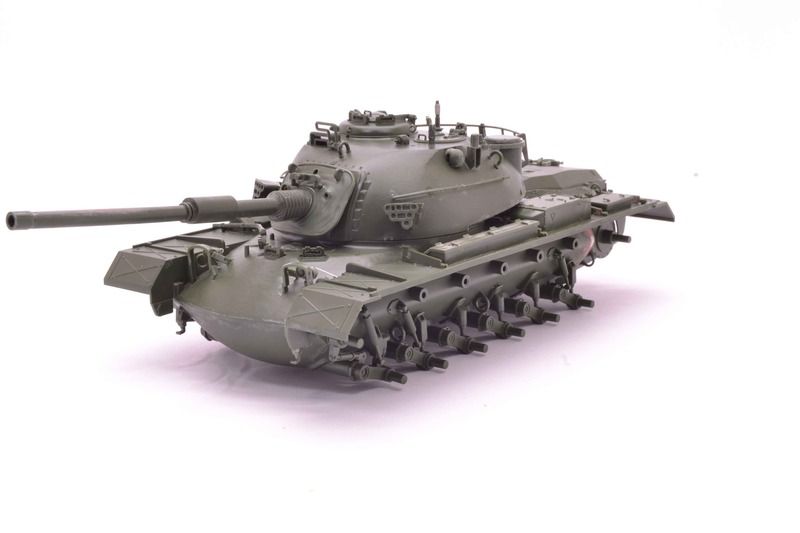
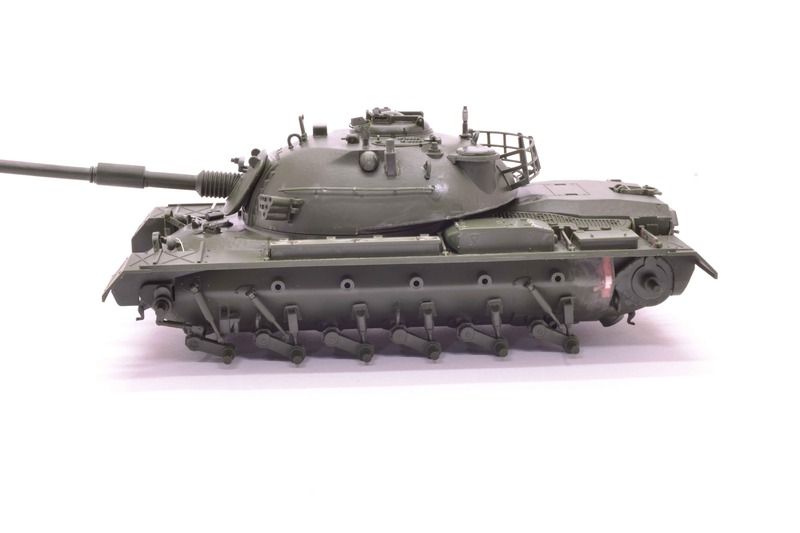
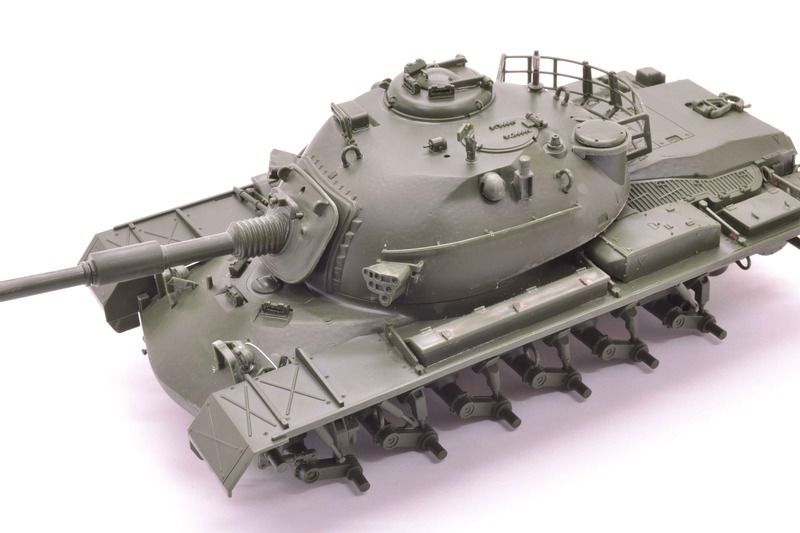
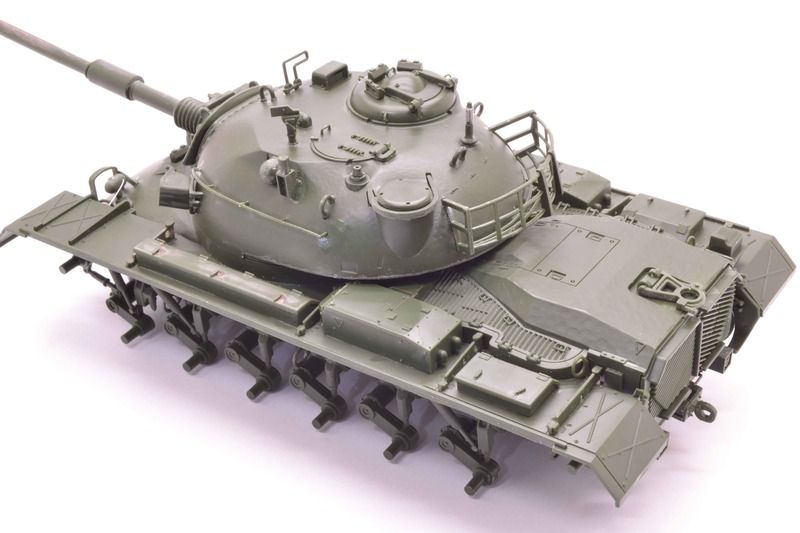
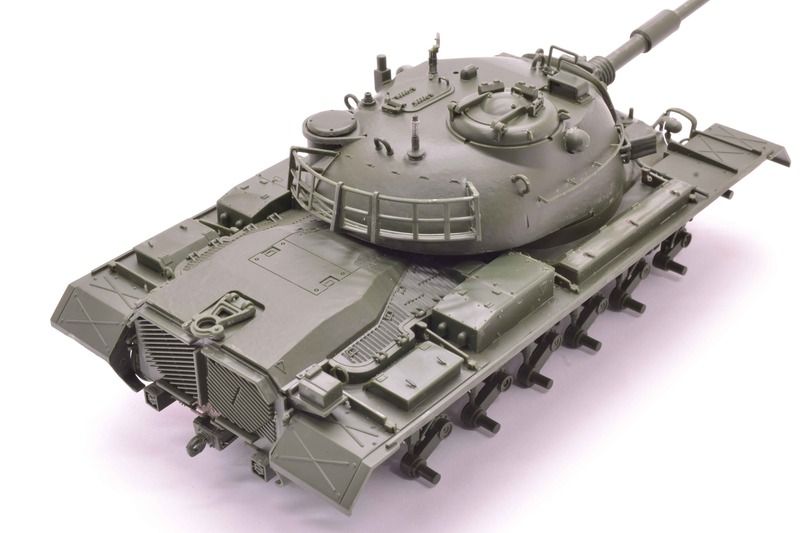
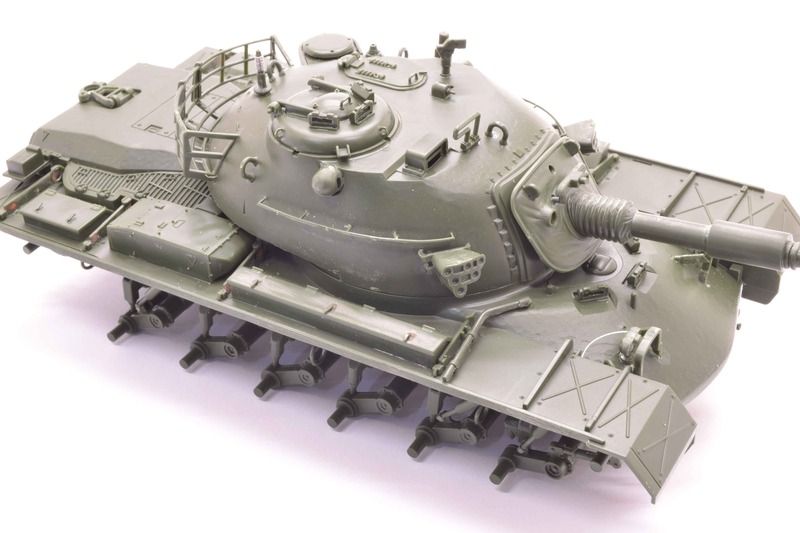
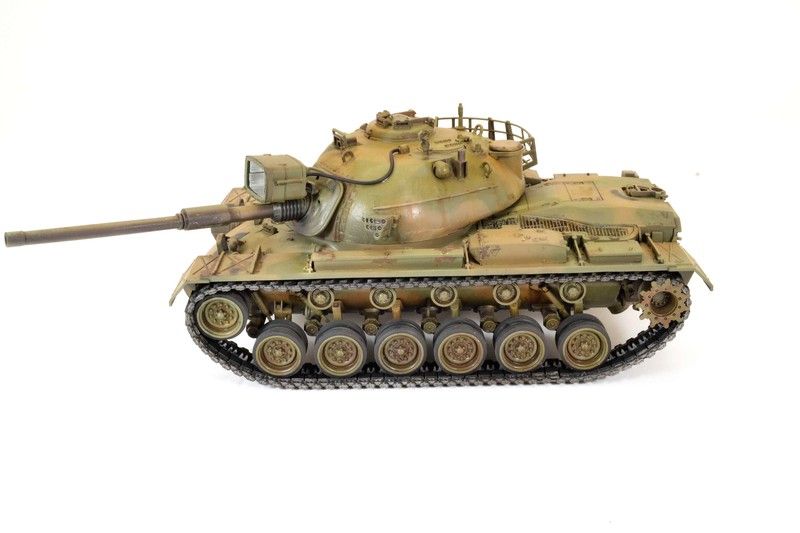
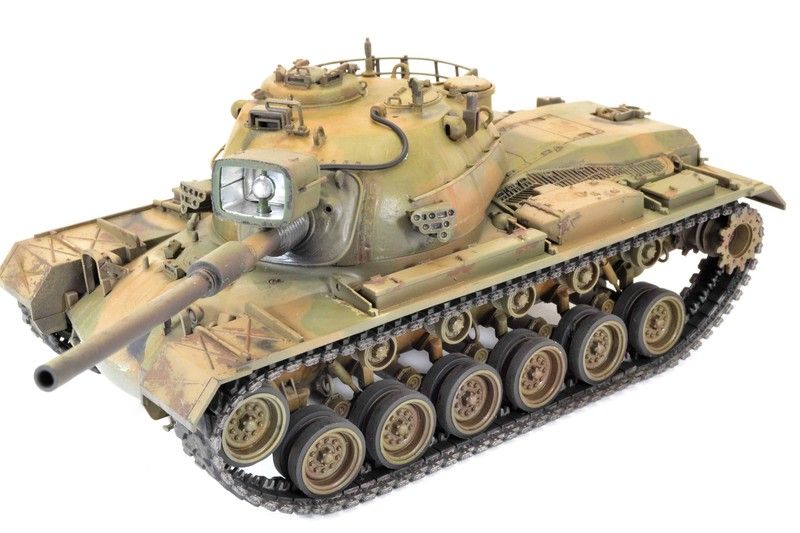
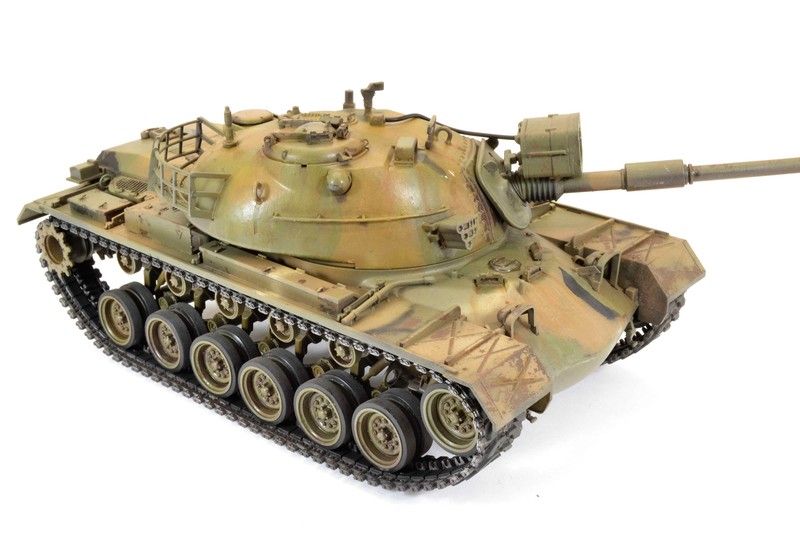
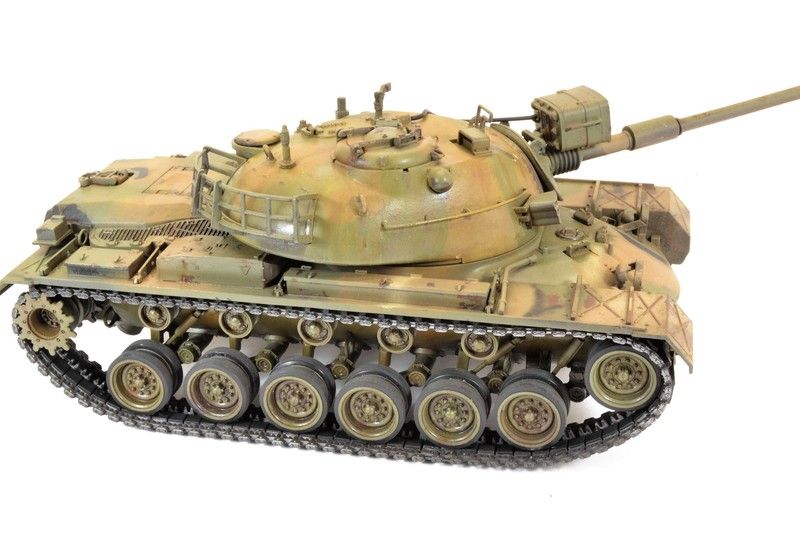
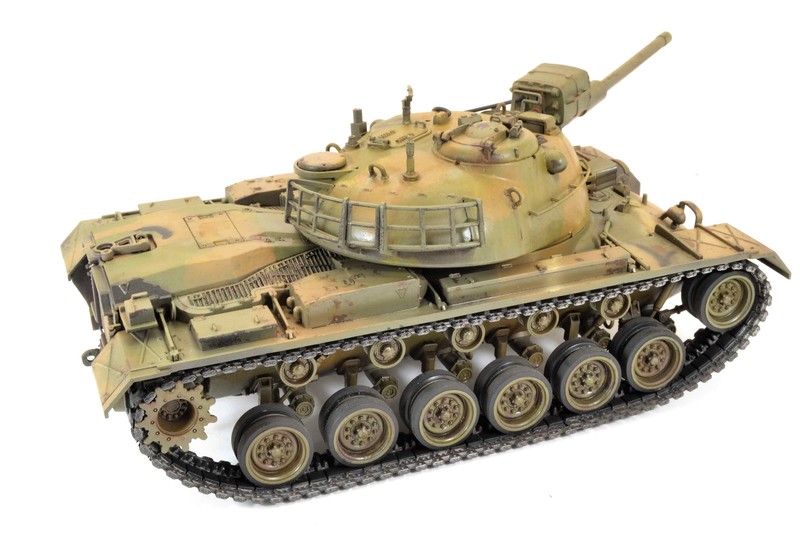
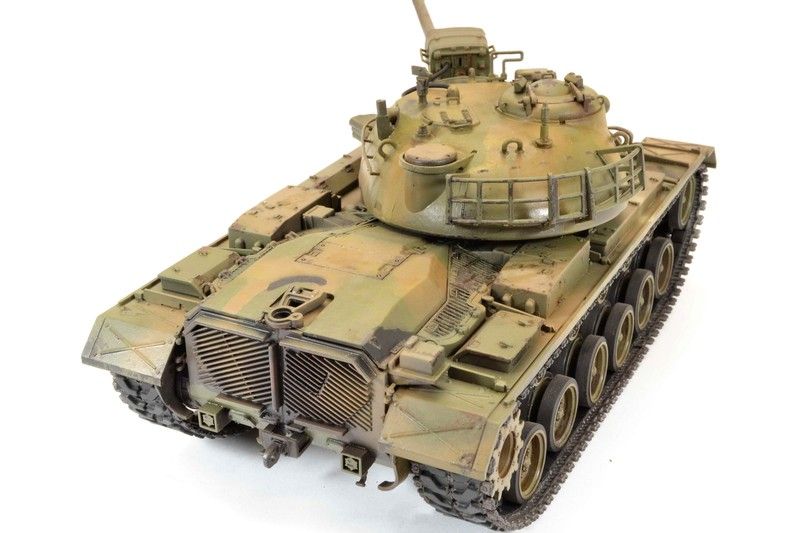
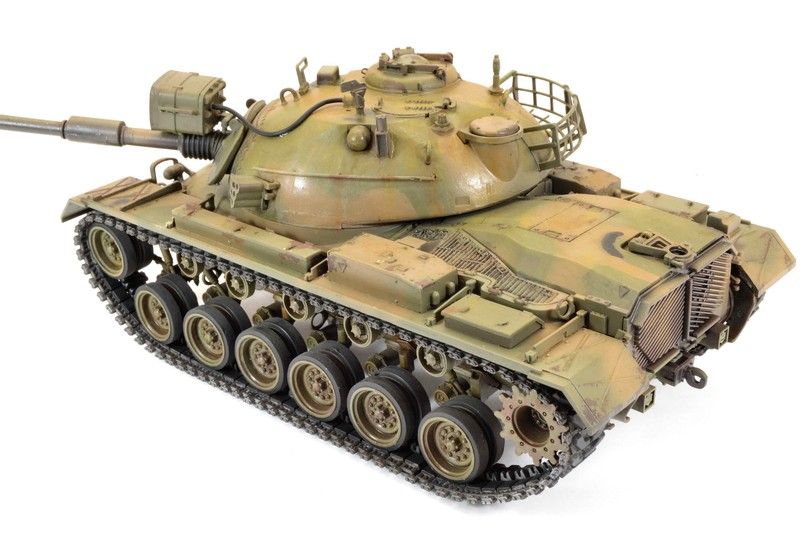
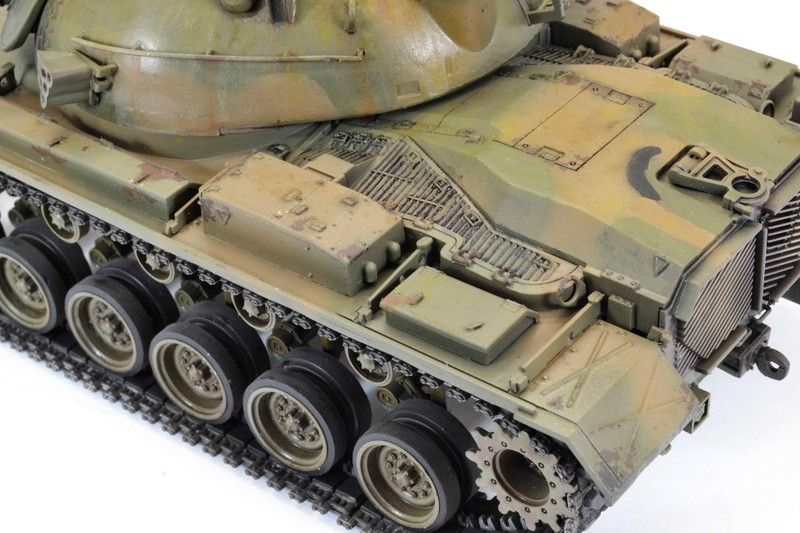
Academy Patton...Finished
Posted: Tue Mar 07, 2017 4:57 am
by fightnjoe
Well folks how about an aircraft guy changing direction just a tad and including armor in his build list.
I know I have built a few armor kits but I have been presented an opportunity and I am going to wander that way.
First up is this, The Panzer Page on Facebook is hosting The Dan Jayne Memorial Tribute Build 2017 edition. I have entered with this...
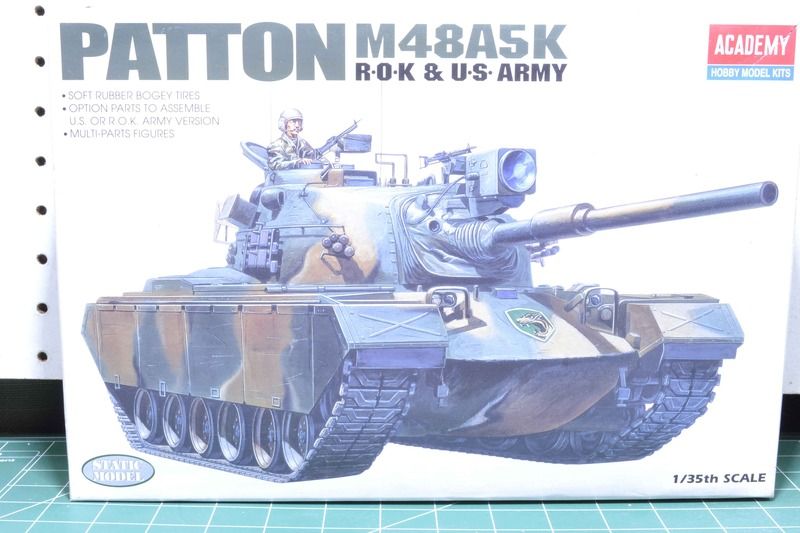
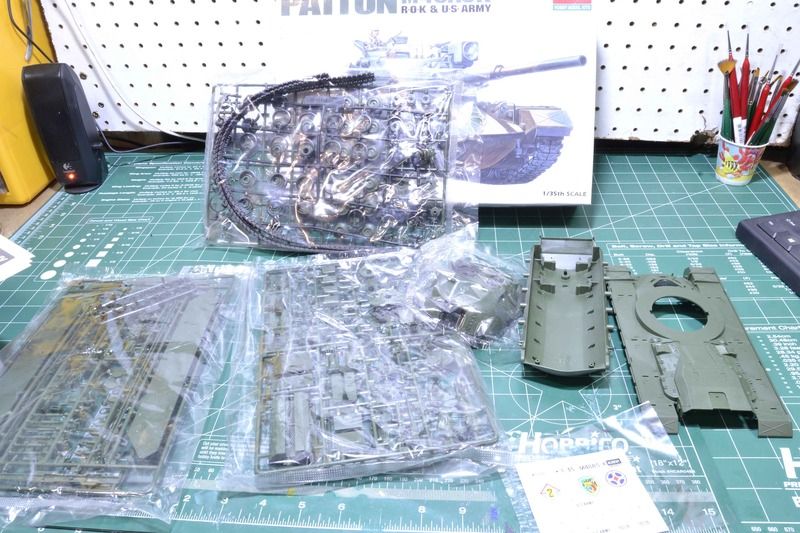
First up is a quick shot of whats in the box....
Didn't take long at all to start it up. First step, road wheels. Cleaned up and now done. Second step, begin to detail the lower hull.
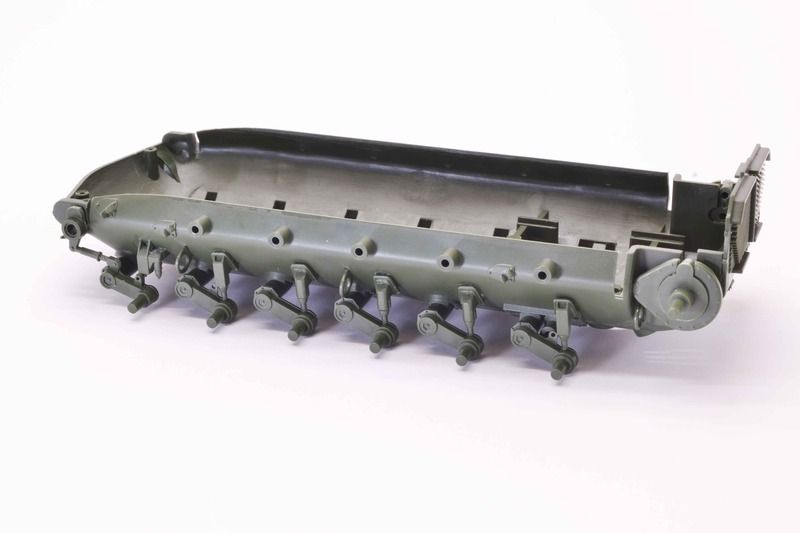
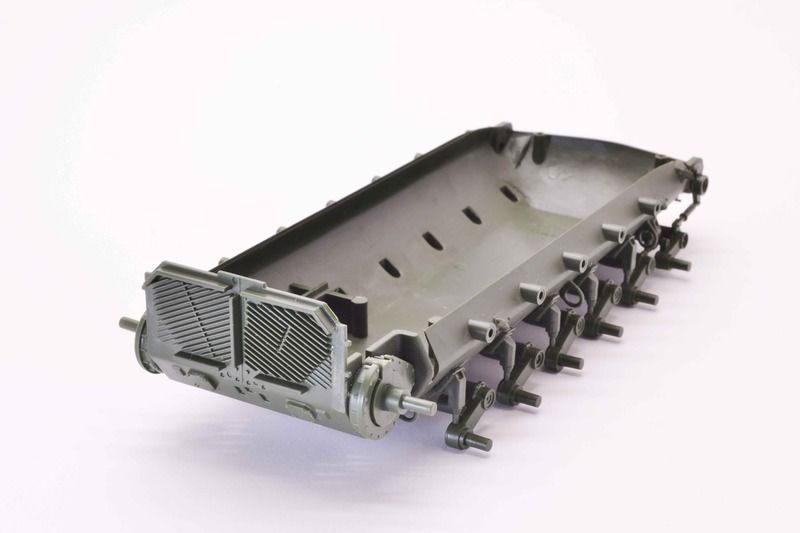
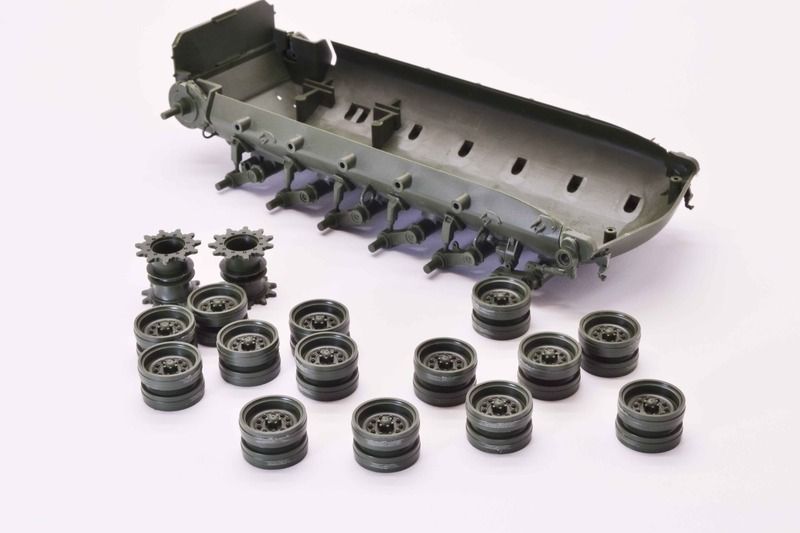
Next up is more for the lower hull and hopefully soon.
I have not given up on aircraft but cannot pass up an opportunity.
All comments, critique, and criticism are encouraged.
Joe
Re: Academy Patton...Lower Hull
Posted: Sat Mar 11, 2017 3:47 am
by fightnjoe
Time to update.
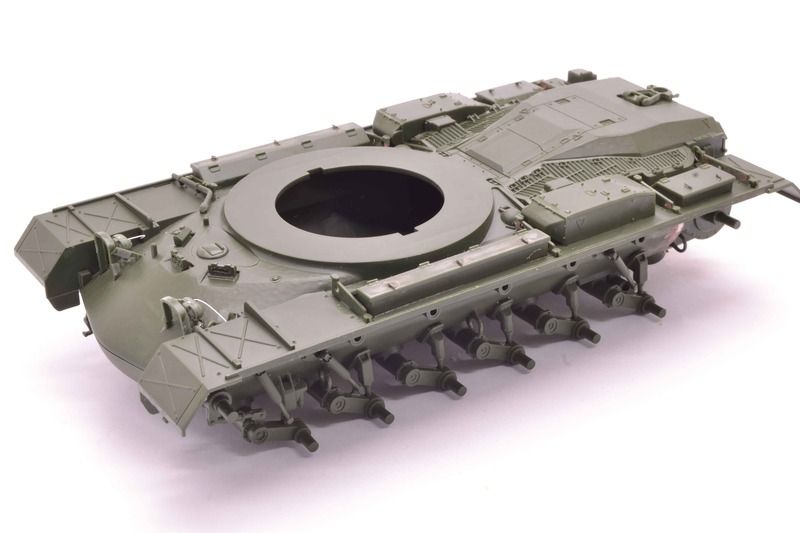
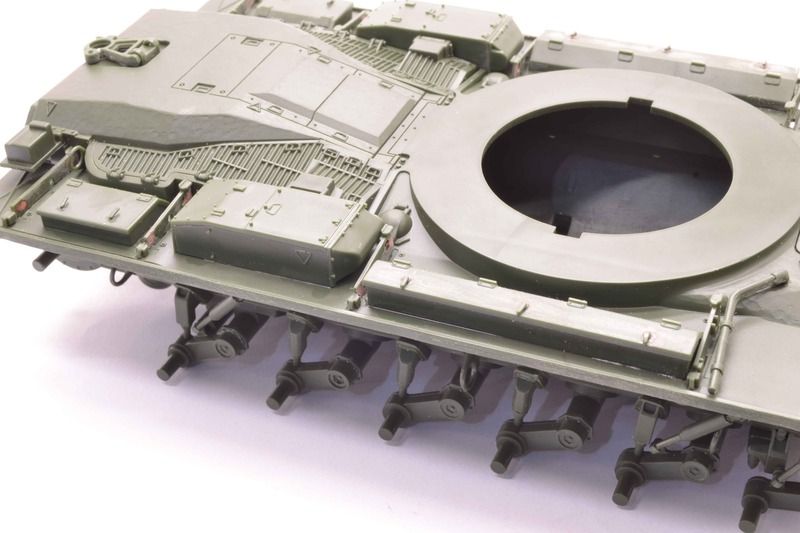
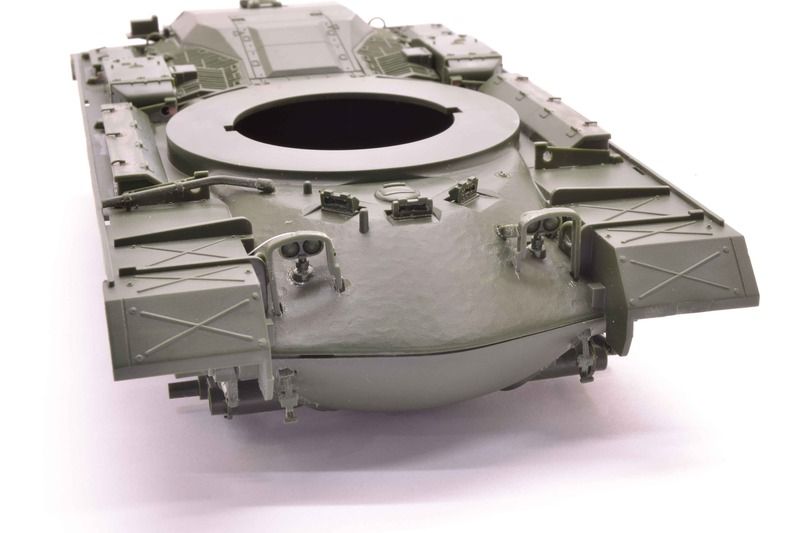
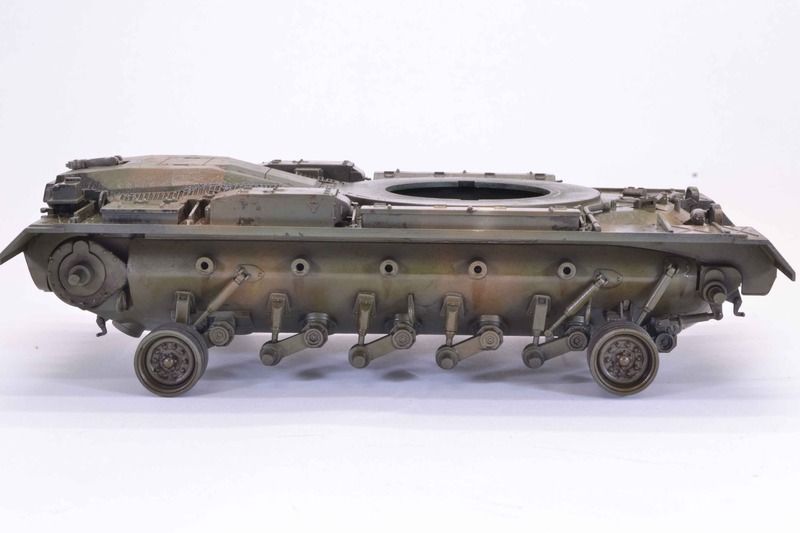
Time was spent working the details to the lower hull. So far so good. The wheels and the return rollers are ready to go but left off the hull to accommodate painting. This puts me through step four in the instructions.
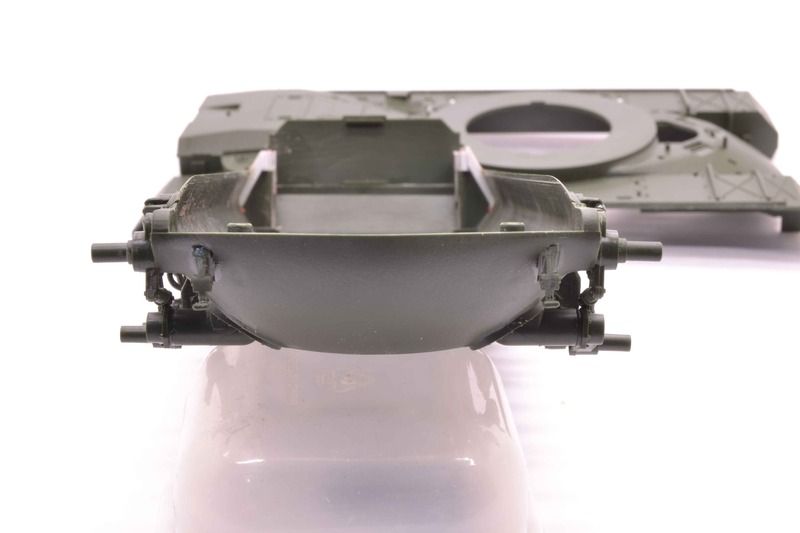
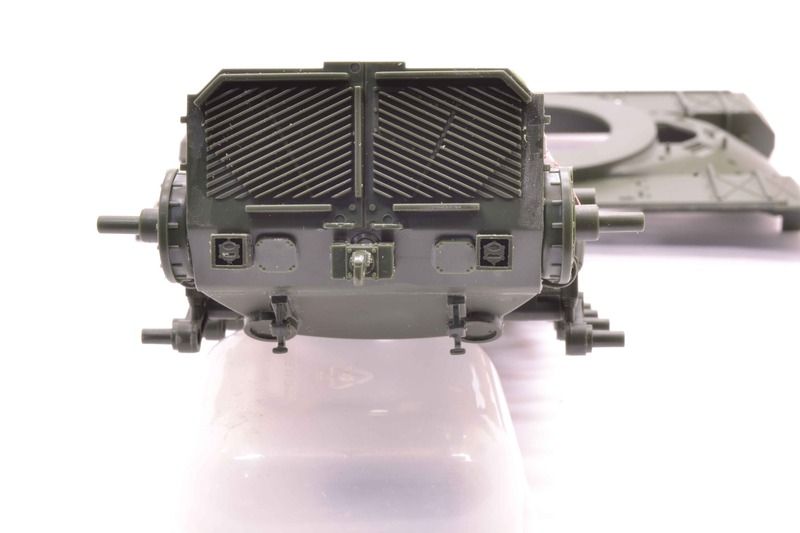
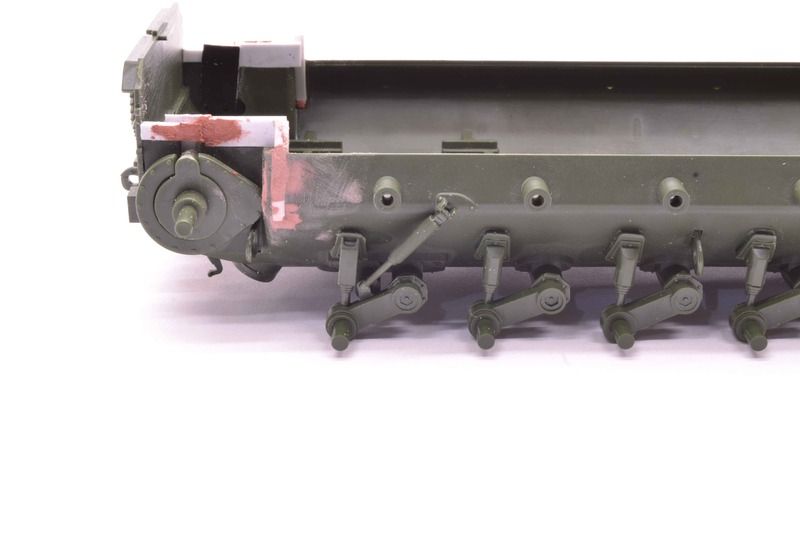
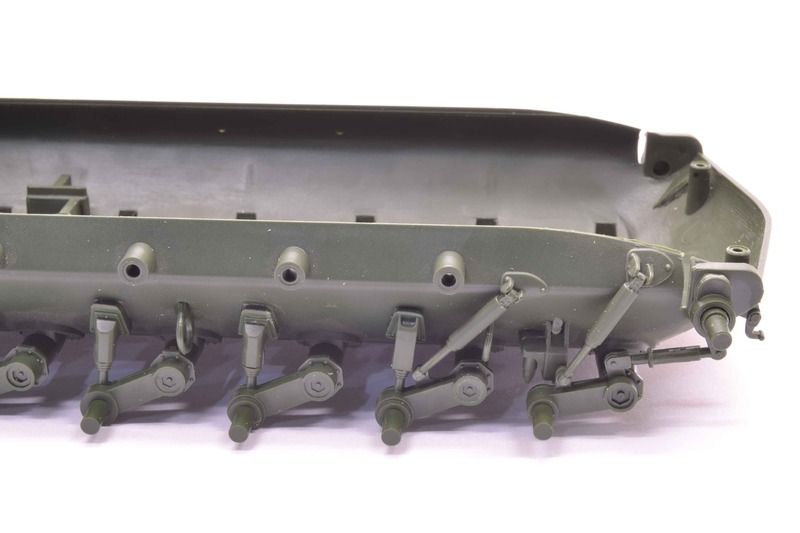
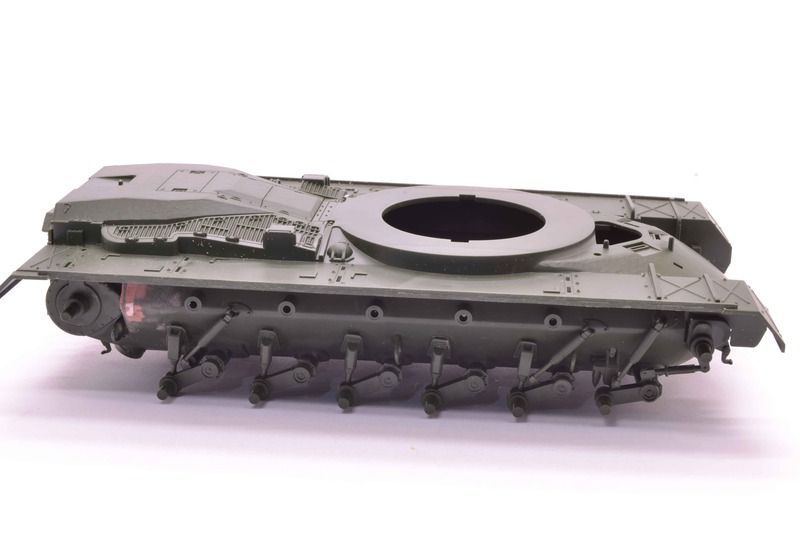
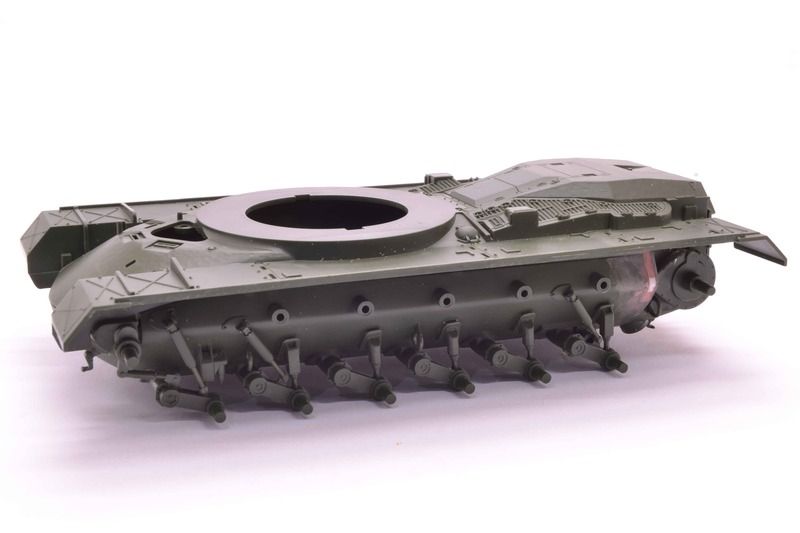
Next up is the upper hull.
All comments, critique, and criticism are encouraged.
Joe
Re: Academy Patton...Lower Hull
Posted: Sat Mar 11, 2017 7:19 am
by privatepete
Hi Joe nice clean start, good luck with your build

Re: Academy Patton...Lower Hull
Posted: Sat Mar 11, 2017 2:42 pm
by arkbuilder2012
Off to a great start. Will follow this one since I'm planning on doing one as well.
Re: Academy Patton...Lower Hull
Posted: Mon Mar 13, 2017 3:35 am
by fightnjoe
Many many thanks.
Joe
Re: Academy Patton...Upper Hull and Turret
Posted: Mon Mar 13, 2017 3:42 am
by fightnjoe
Re: Academy Patton...Paint and Chipping
Posted: Sat Mar 18, 2017 6:45 pm
by fightnjoe
Moving right along on this it is time for painting.
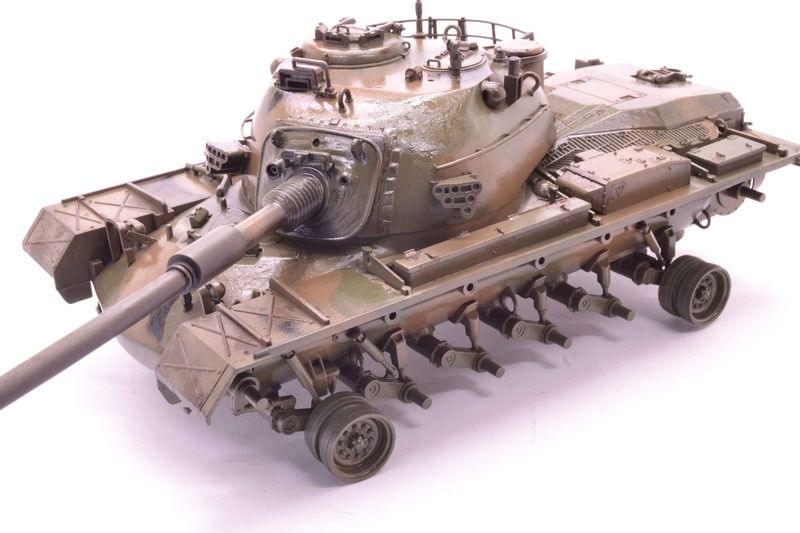
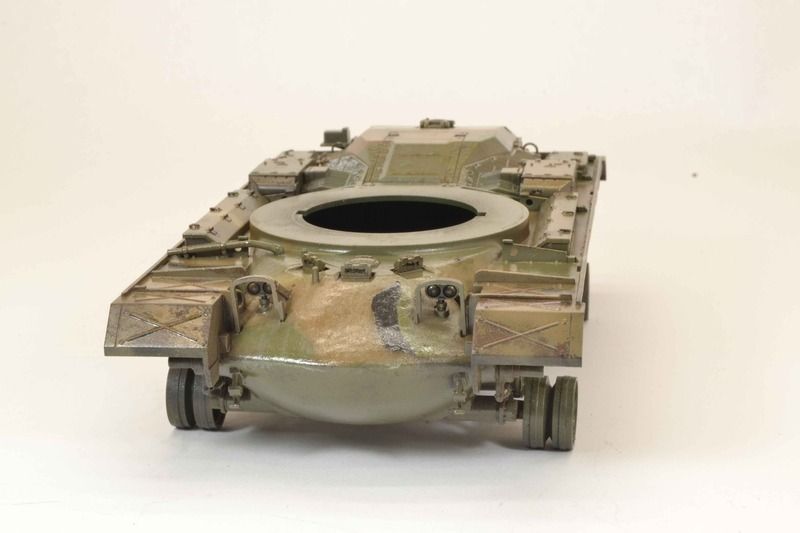
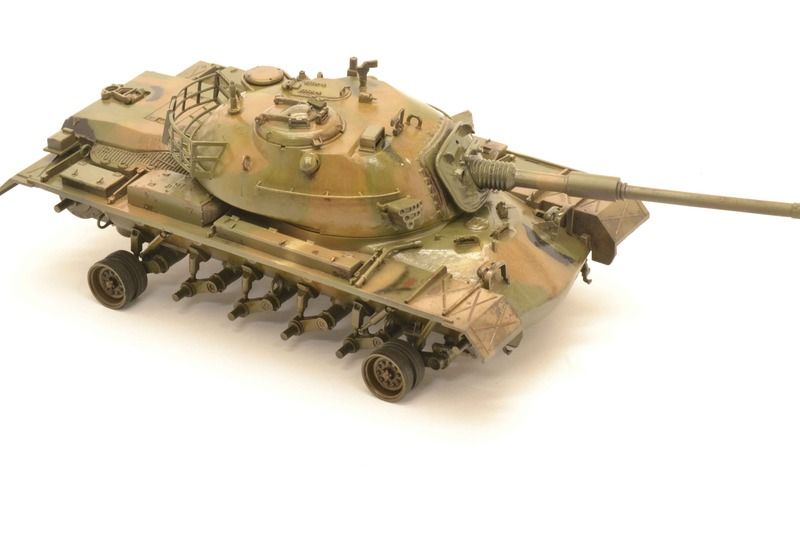
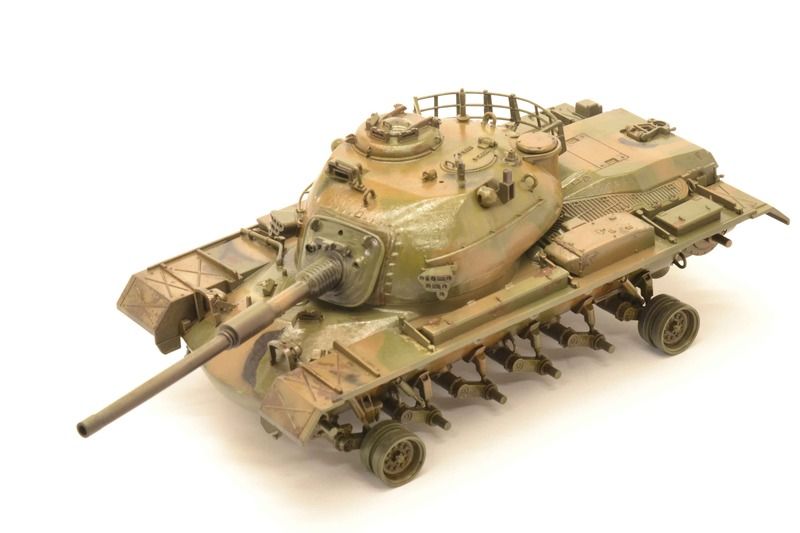
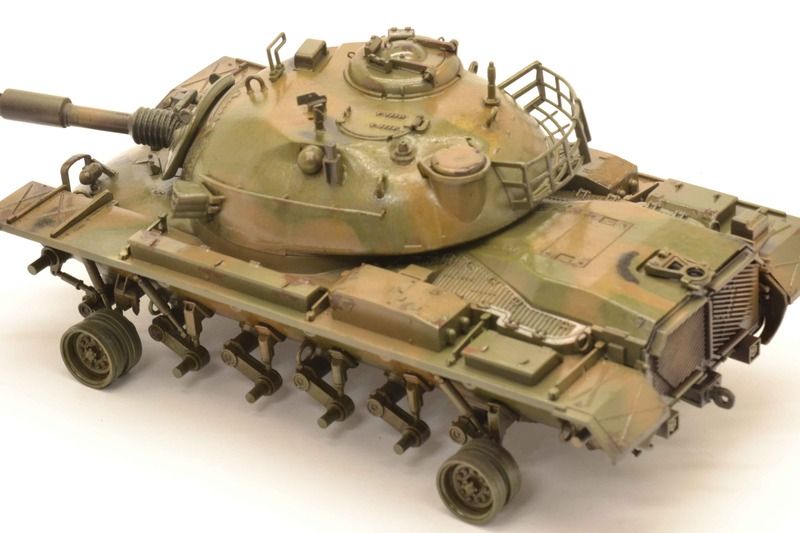
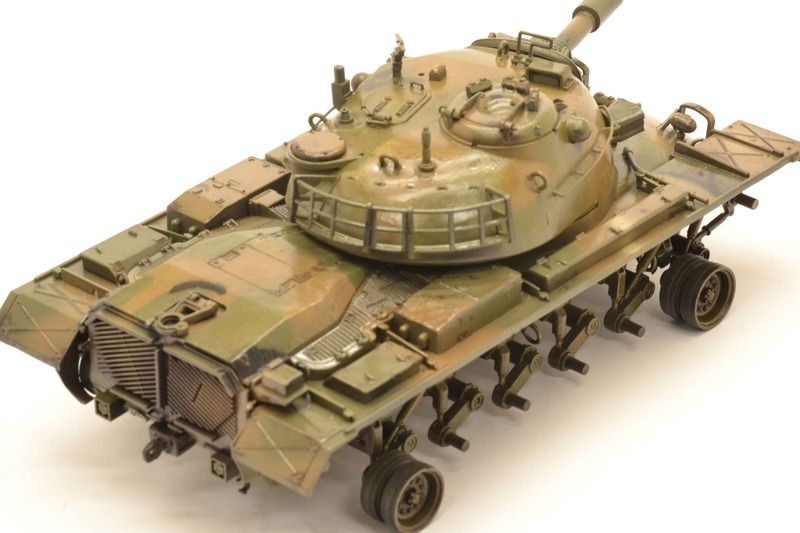
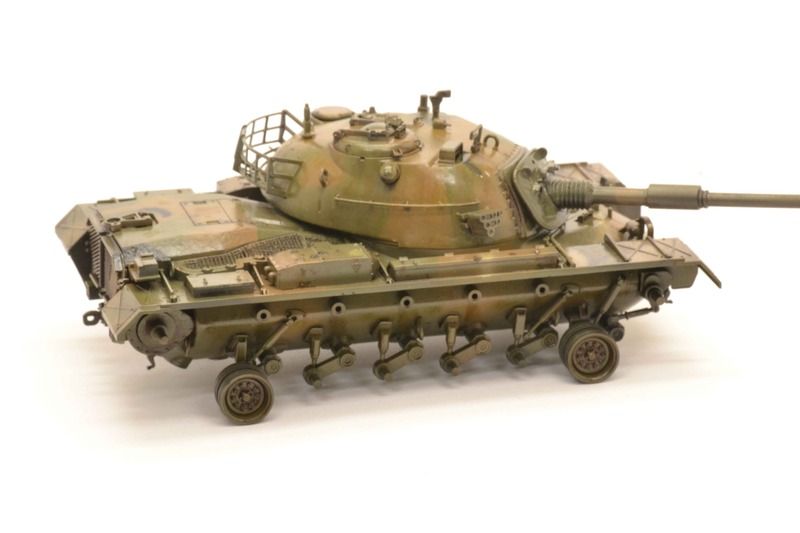
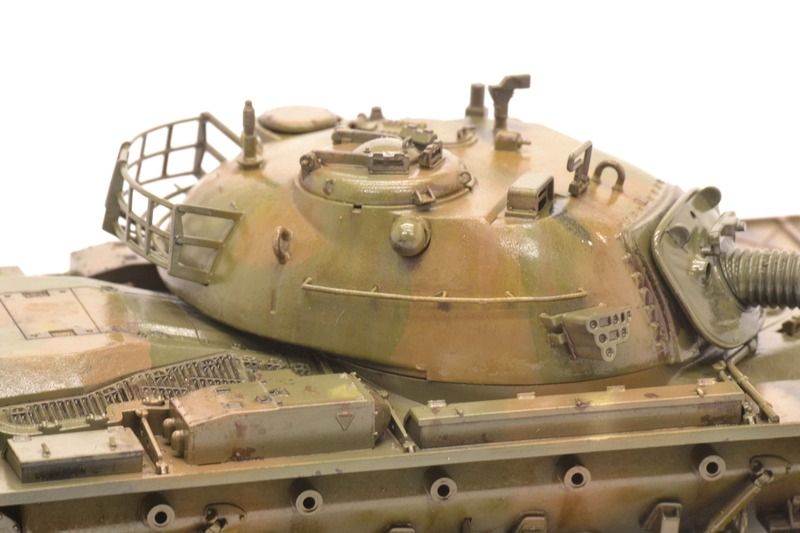
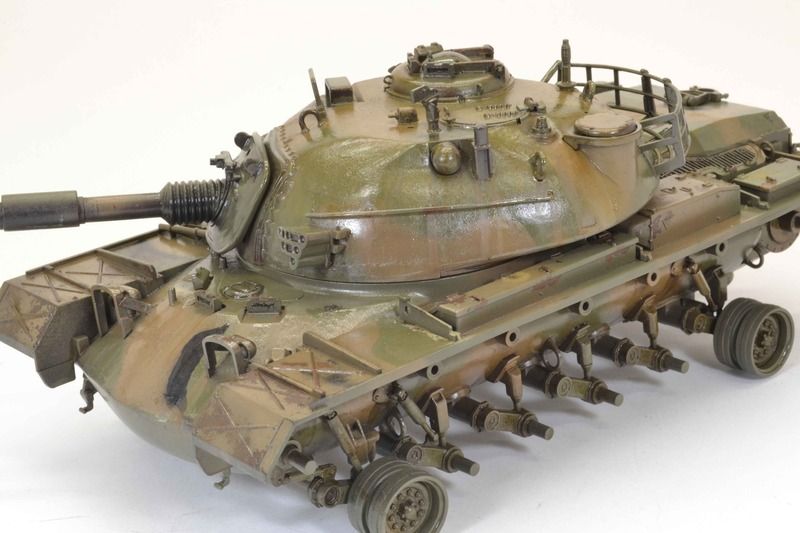
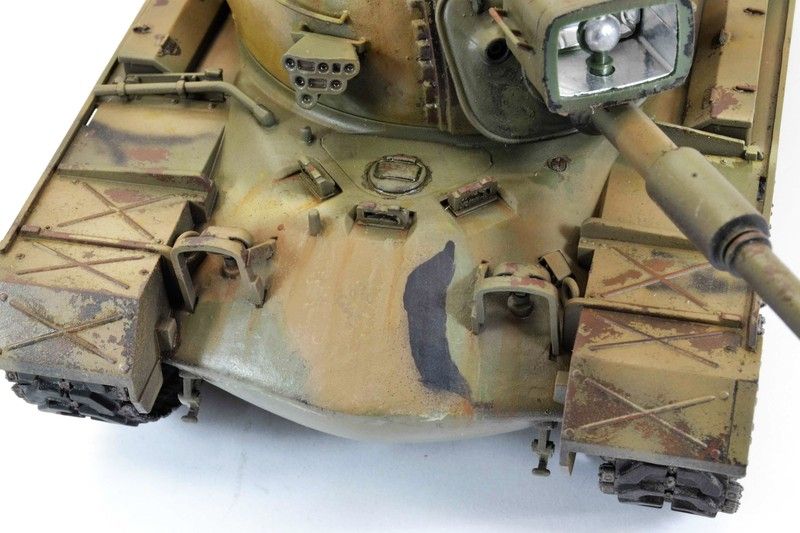
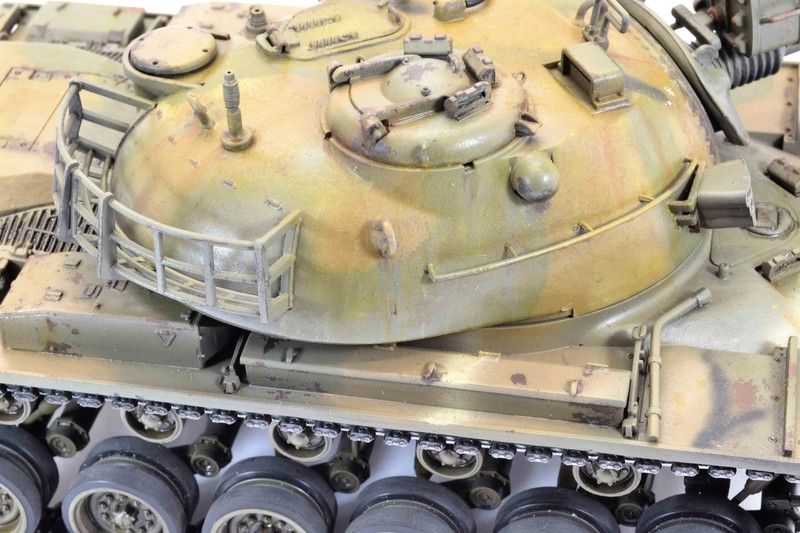
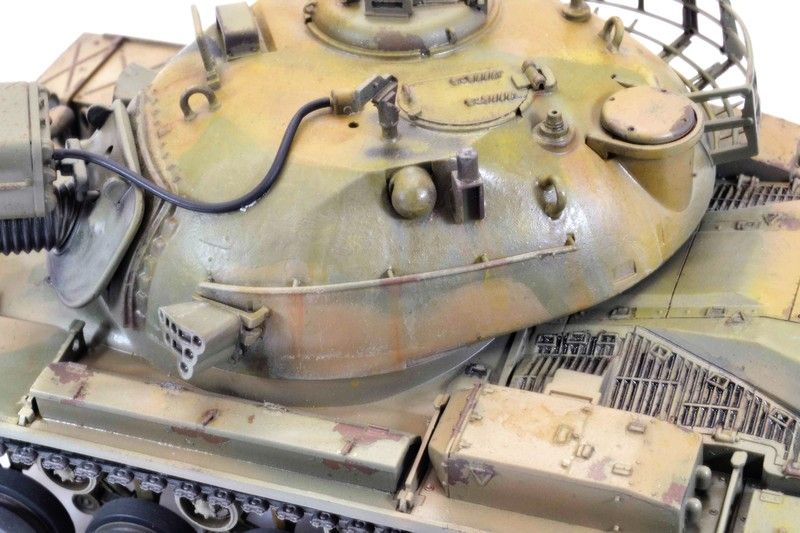
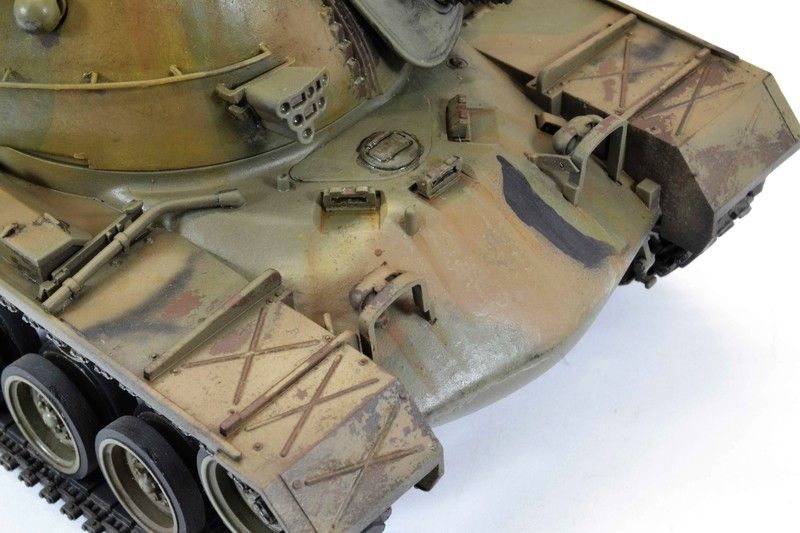
Up to this point not much was for sure on this build. I knew I wanted to build it so I could tackle the cammo. As I feel that is one of the major weaknesses I have in this hobby I wanted to challenge myself. Once the construction was finished some choices were needed. Just how did I want to portray this subject. It did not take long for the thought process to hone onto the choice. Something like a gate guard. Weathered but not too much. Still standing proudly as a reminder of its service.
I just had to go for it.
First was to present in that fashion I needed to try to get a handle on something I had failed with multiple times. Paint chipping. My other attempts ended with failure to get it right and substituting some other technique to get a worn look.
First is the rust, how? I sprayed Rustoleum Rusty Metal Primer and then mixed in Testor Light Tan to highlight.
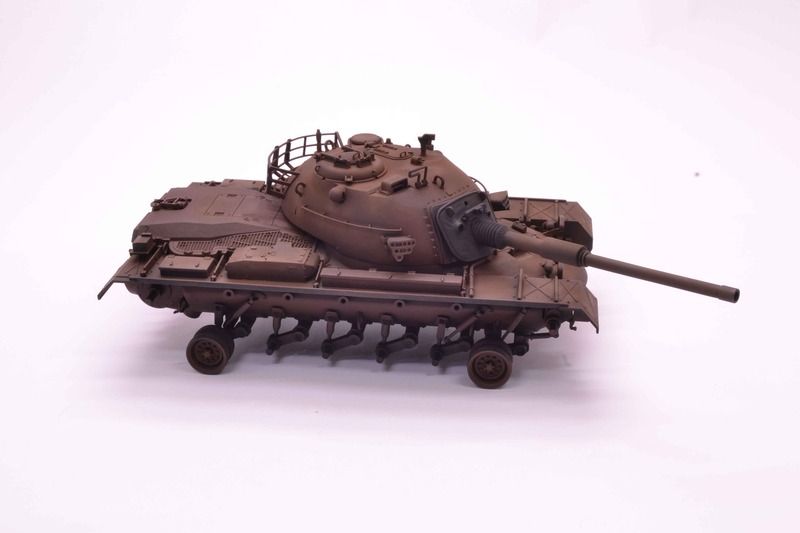
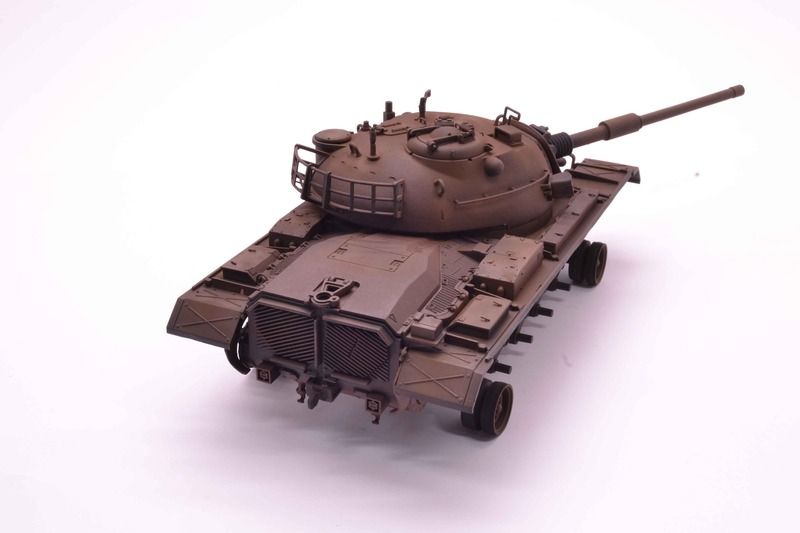
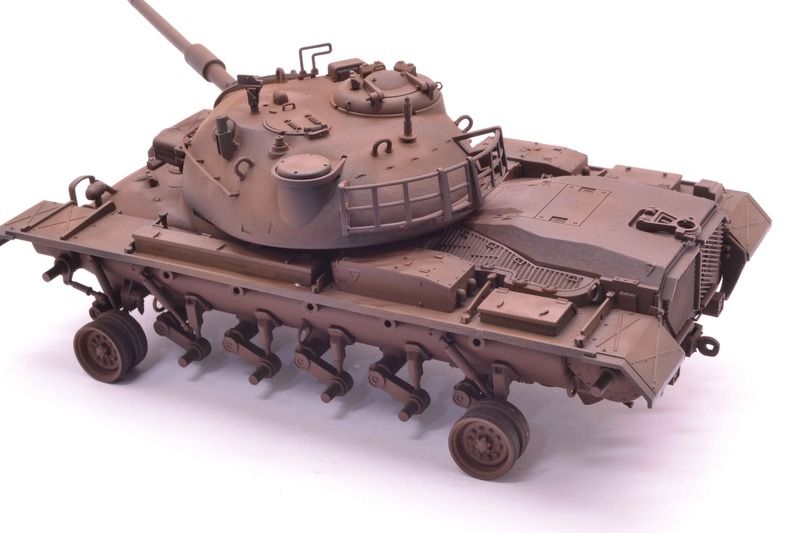
I let this dry overnight.
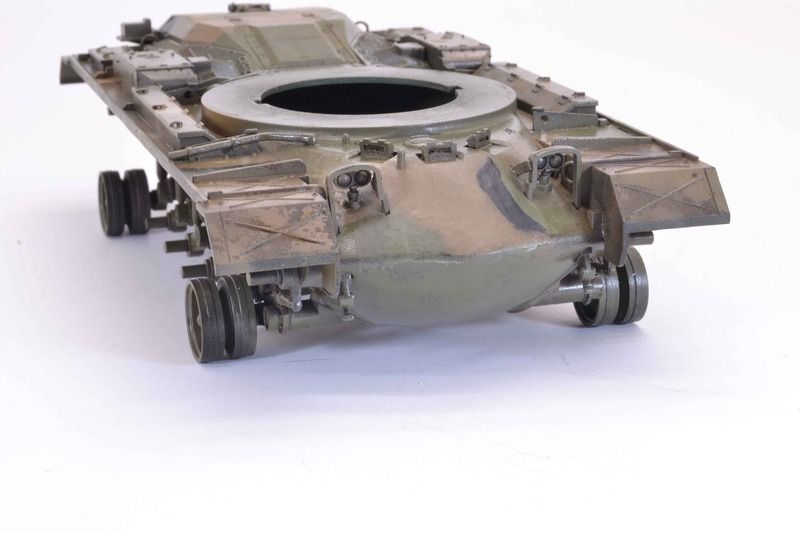
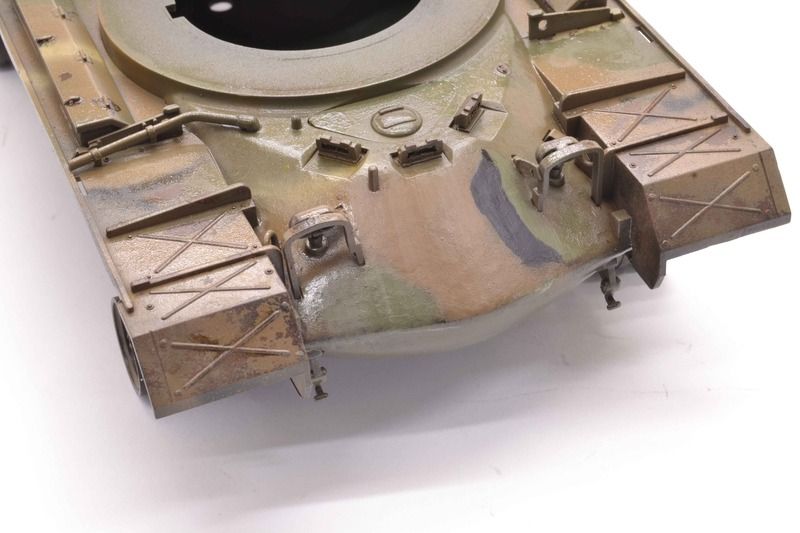
Now is the tricky part. This is where the failures of the past haunted me. I applied hairspray over the entire surface, or so I thought. I let this dry and then began the cammo pattern. The overall coat of Vallejo Olive Drab Primer was first. The instructions called for Khaki but the only one I had in the paint supply was badly neglected and had dried to a point of unusable. I went with the second choice. Gunze Sanyo Dark Earth provided the brown. Tamiya Buff and Apple Barrel (Walmart craft water based Acrylic) were used as well.
Once each dried to the touch I began the next. Everything I had seen on this method said to work on the chipping before the paint fully cured. With that in mind I waited until all the paints were dry to the touch and then out came the water and brushes for the chipping.
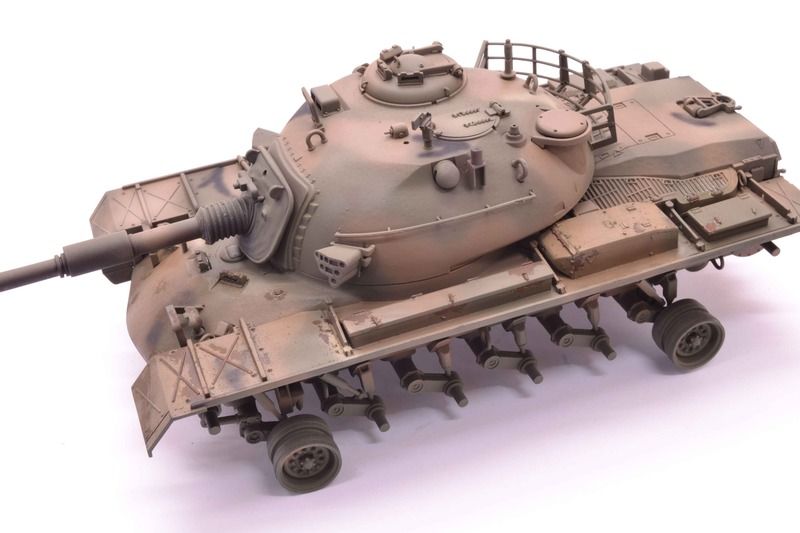
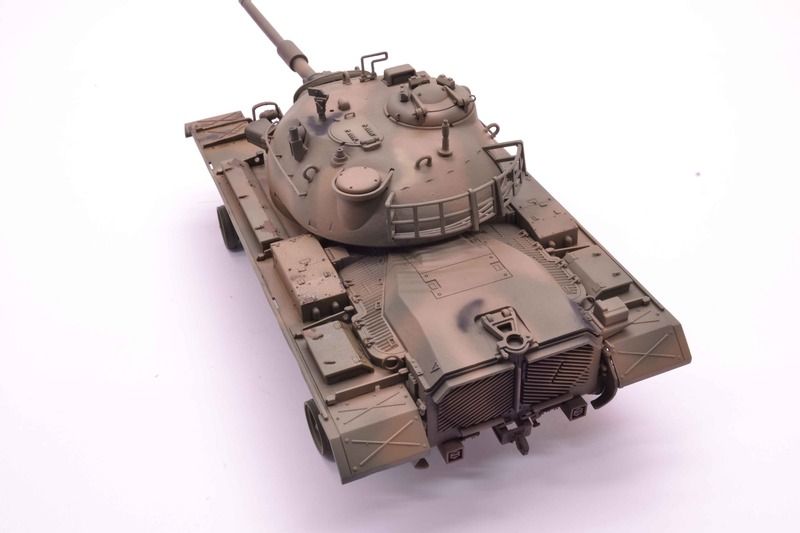
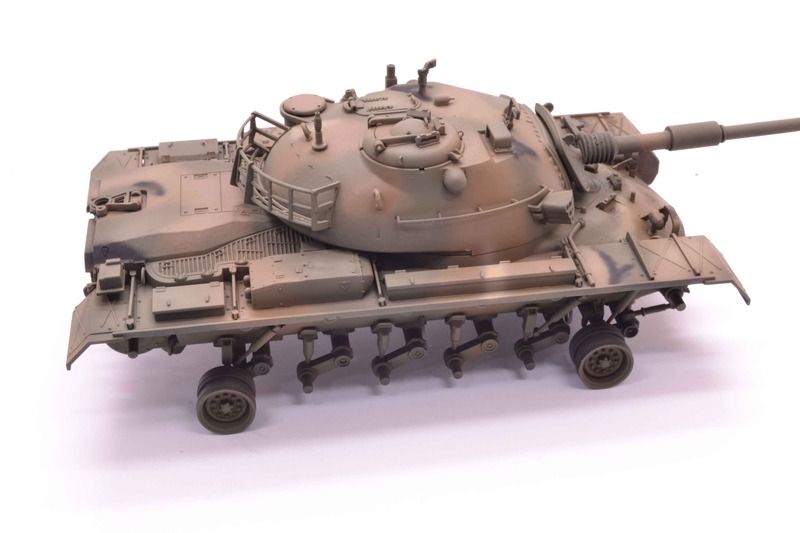
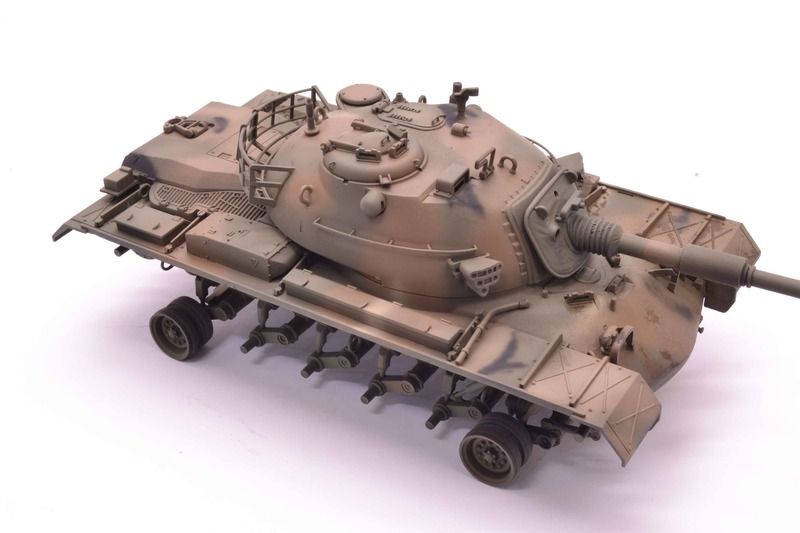
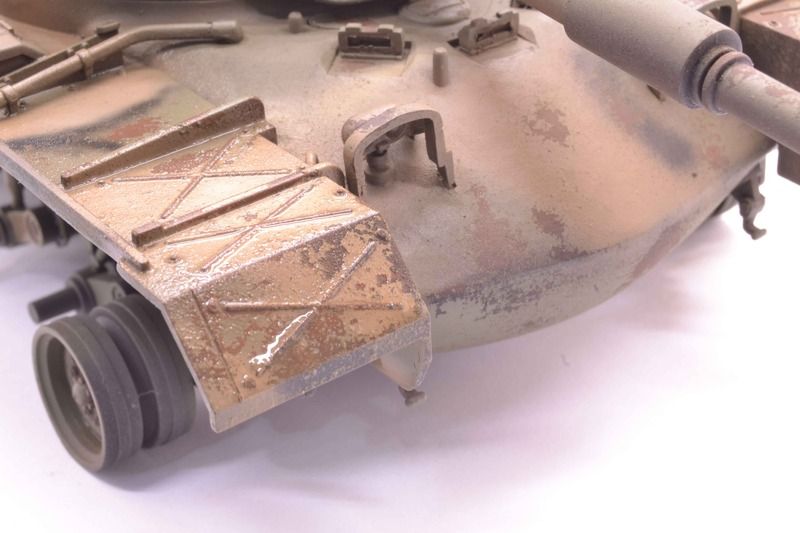
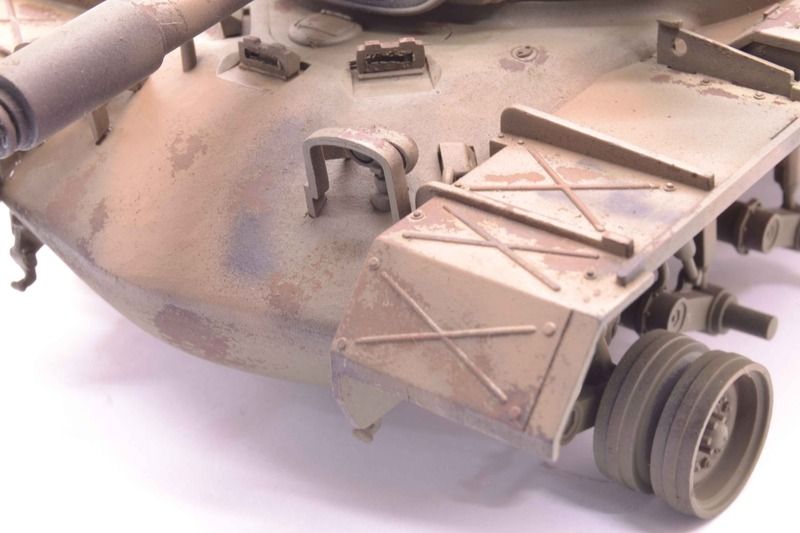
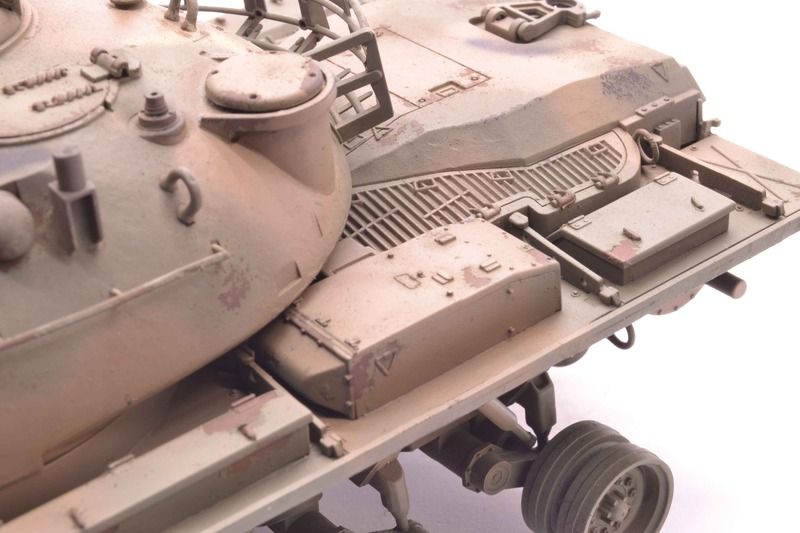
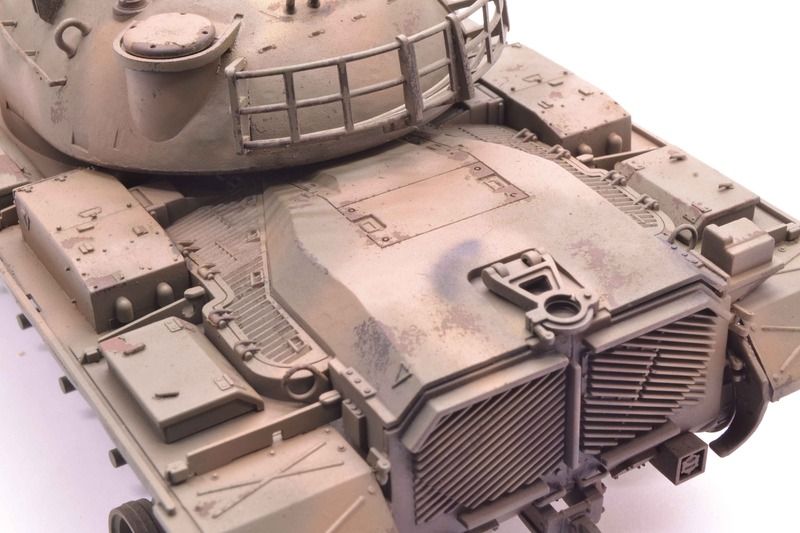
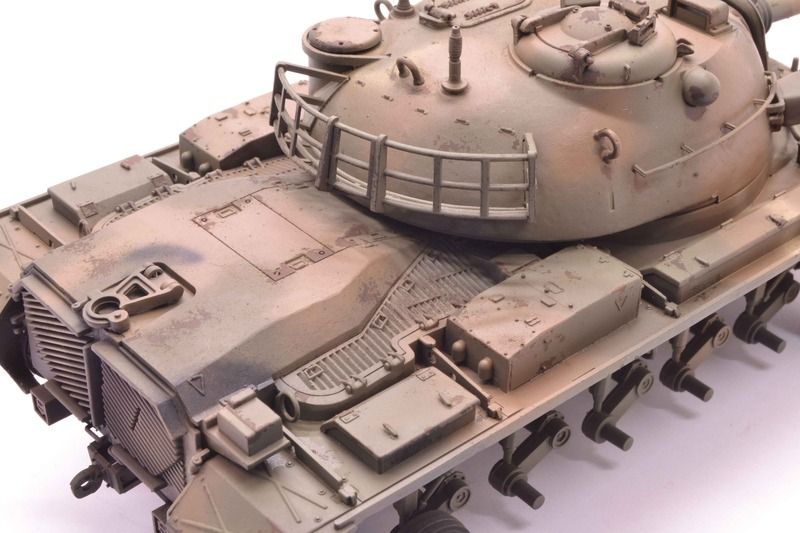
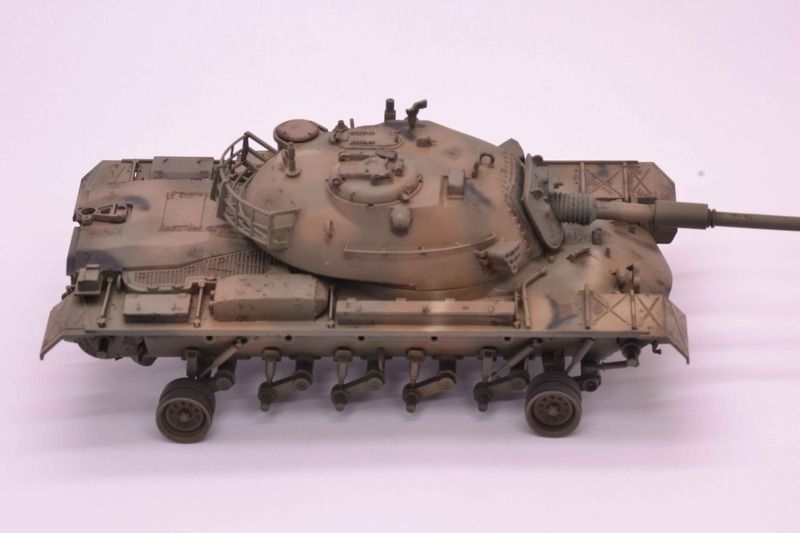
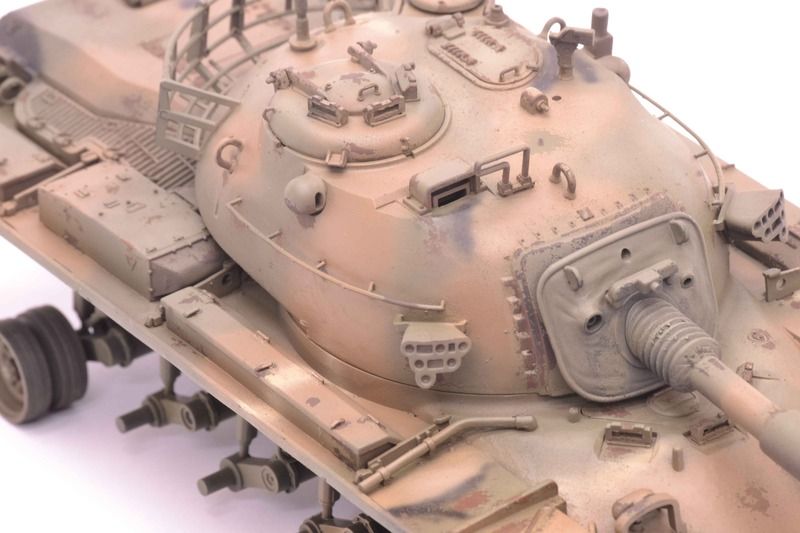
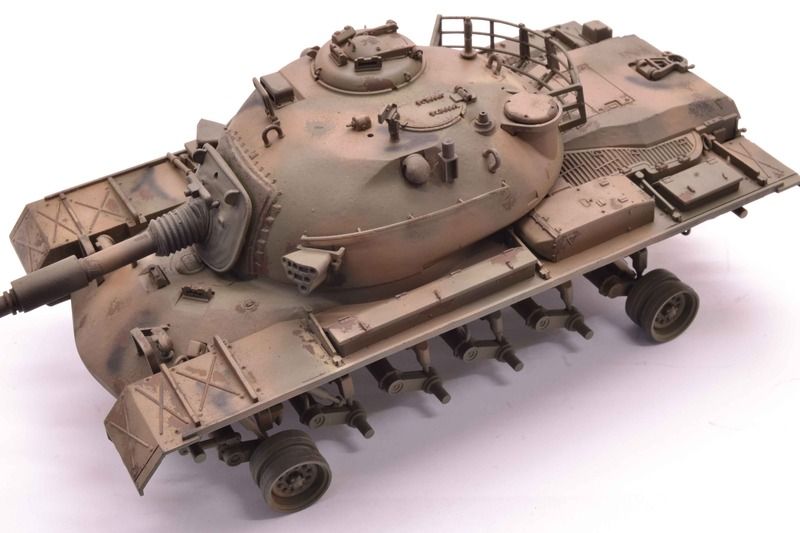
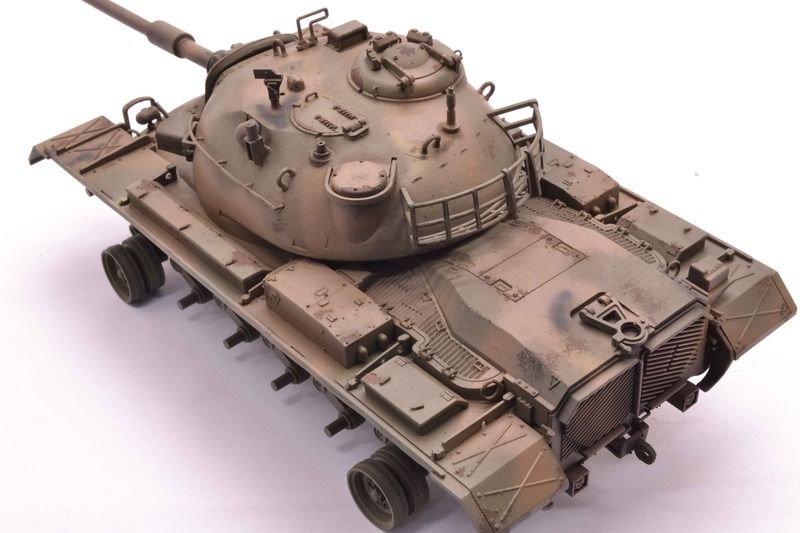
Currently she sits drying from the gloss coat. I plan to begin oil work once that dries.
Now lets critique a bit. I do not like the paint work. I rushed through the steps and did a poor job with it. I went freehand with the cammo and to be honest it only resembles the instruction call outs vaguely. I am pretty happy with the chipping though. I tried to keep a light approach and kept the chips and paint peeling to areas that would have seen wear and tear and where rust would naturally occur.
All comments, critiques, and criticism are requested.
Joe
Re: Academy Patton...Paint and Chipping
Posted: Sat Mar 18, 2017 10:35 pm
by arkbuilder2012
I think it looks great as is. Let it sit for a few days and come back to it. You may see it in a different light.
Re: Academy Patton...Paint and Chipping
Posted: Sun Mar 19, 2017 8:34 am
by OneSmallStep1966
That's looking great, very nice hairspray chipping too
Re: Academy Patton...Paint and Chipping
Posted: Mon Mar 20, 2017 11:53 am
by SergioSolo
Love the low contrast between the paint and the chips. Great job!
Re: Academy Patton...Paint and Chipping
Posted: Mon Mar 20, 2017 3:45 pm
by fightnjoe
Many thanks.
On another site some information was shared that shows the hull and turret do not chip or rust as I portray. I went back and cleaned it up a bit. Soon on to the oils.
Joe
Re: Academy Patton...Paint and Chipping
Posted: Sat Mar 25, 2017 5:38 pm
by GollyPo
I agree with Sergio, the contrast on the chipping is great. I like it when the chipping doesn't look too recent or like it all happened at once. I like the camo, too.
Re: Academy Patton...Paint and Chipping
Posted: Fri Mar 31, 2017 5:01 am
by fightnjoe
Many many thanks.
Joe
Re: Academy Patton...Oils
Posted: Fri Mar 31, 2017 5:02 am
by fightnjoe
Re: Academy Patton...Oils
Posted: Fri Mar 31, 2017 12:30 pm
by schweinhund227
nice work ! I love that M48 Engine deck !

Re: Academy Patton...Oils
Posted: Tue Apr 04, 2017 5:48 am
by fightnjoe
Many many thanks.
Joe
Re: Academy Patton...Finished
Posted: Tue Apr 04, 2017 5:48 am
by fightnjoe
Re: Academy Patton...Finished
Posted: Tue Apr 04, 2017 9:14 pm
by Topcat
Superb photos, nice.
Re: Academy Patton...Finished
Posted: Wed Apr 05, 2017 4:40 pm
by fightnjoe
Many thanks.
Joe