Page 1 of 1
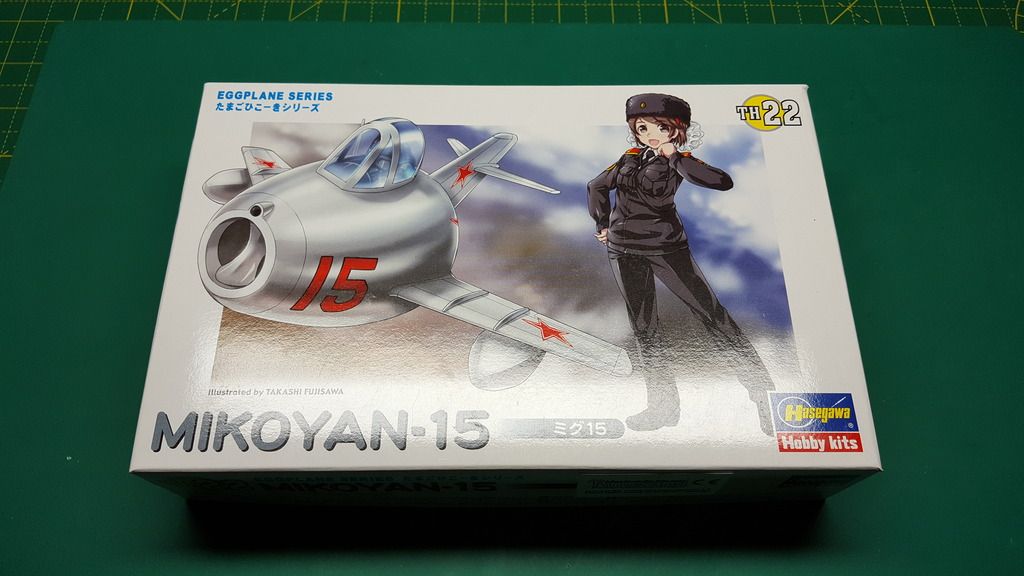
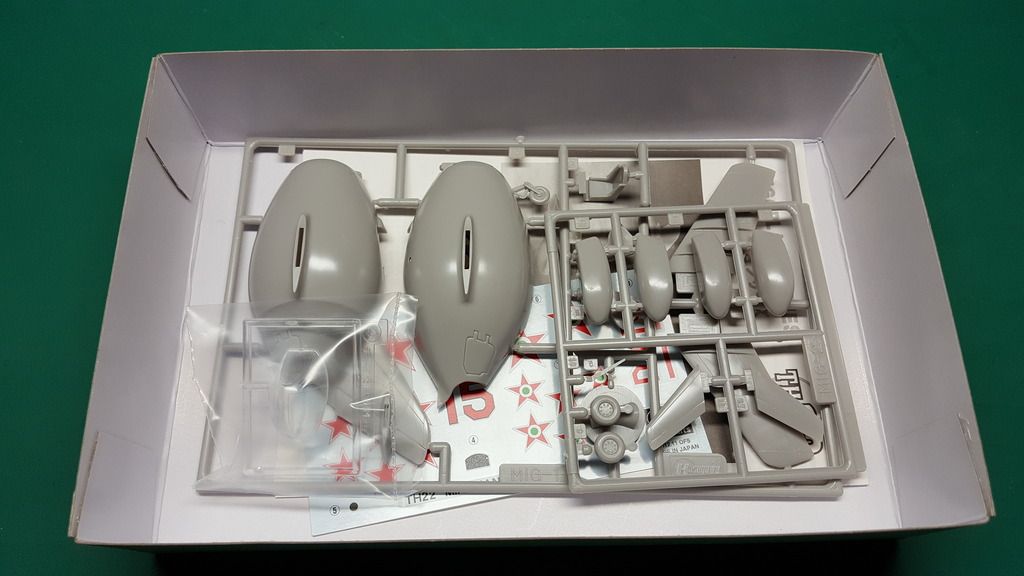
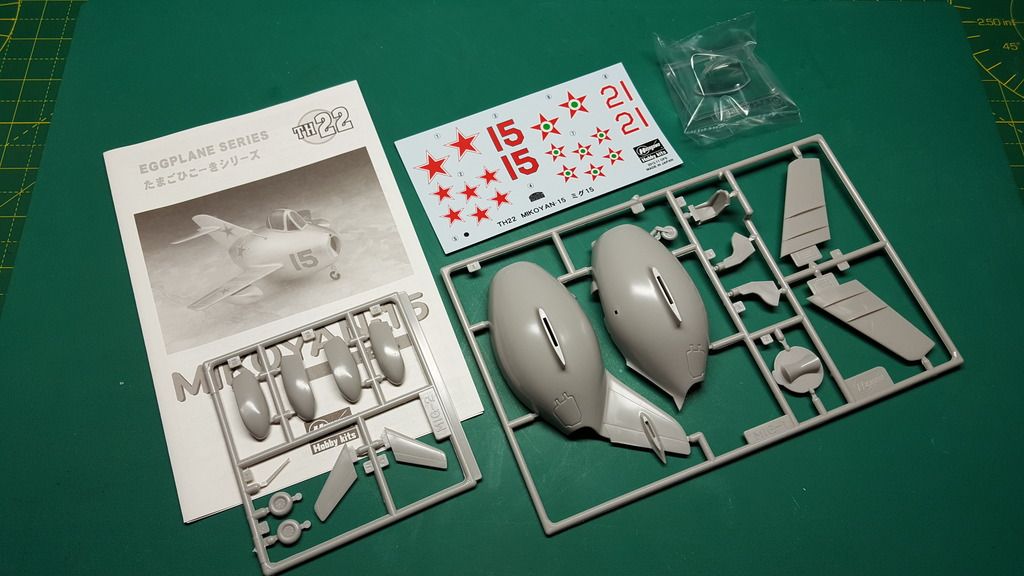
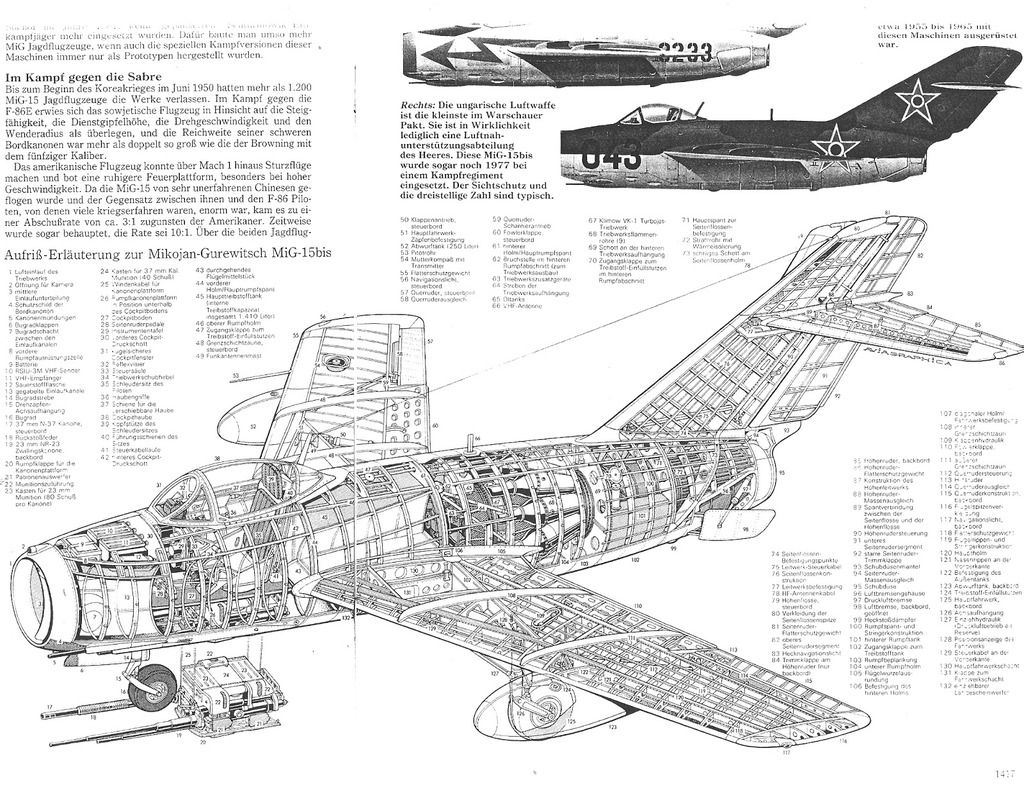
MIG-15 Cutaway Egg
Posted: Sun Apr 02, 2017 9:13 pm
by WorldofPlastic
Re: MIG-15 Cutaway Egg
Posted: Sun Apr 02, 2017 9:47 pm
by Timplastic
It will look good

but boy your crazy


Re: MIG-15 Cutaway Egg
Posted: Sun Apr 02, 2017 9:57 pm
by Skullfish
an Eggsploded view.......

Re: MIG-15 Cutaway Egg
Posted: Sun Apr 02, 2017 10:03 pm
by Lysus
Eggcellent

Re: MIG-15 Cutaway Egg
Posted: Sun Apr 02, 2017 10:07 pm
by WorldofPlastic
an Eggsploded view.......
Haha brilliant

love it

Re: MIG-15 Cutaway Egg
Posted: Sun Apr 02, 2017 10:11 pm
by Lysus
TackyGold wrote: Sun Apr 02, 2017 10:07 pm
an Eggsploded view.......
Haha brilliant
love it
To honor Skullfish's brilliance you should consider a yolk power plant
Re: MIG-15 Cutaway Egg
Posted: Sun Apr 02, 2017 10:26 pm
by WorldofPlastic
TackyGold wrote: ↑Sun Apr 02, 2017 10:07 pm
an Eggsploded view.......
Haha brilliant
love it
To honor Skullfish's brilliance you should consider a yolk power plant
Gotta be careful with a Yolk Power plant ... could end up with Scrambled Egg flying out the back of the thruster if youre not careful

!!!
Re: MIG-15 Cutaway Egg
Posted: Sun Apr 02, 2017 10:52 pm
by Twokidsnosleep
Interesting concept. Like to see how this unfolds
Re: MIG-15 Cutaway Egg
Posted: Wed Apr 05, 2017 2:42 pm
by Spook
Wow this will look cool

Re: MIG-15 Cutaway Egg
Posted: Sun Apr 09, 2017 3:51 pm
by WorldofPlastic
Hello Again
Another Update
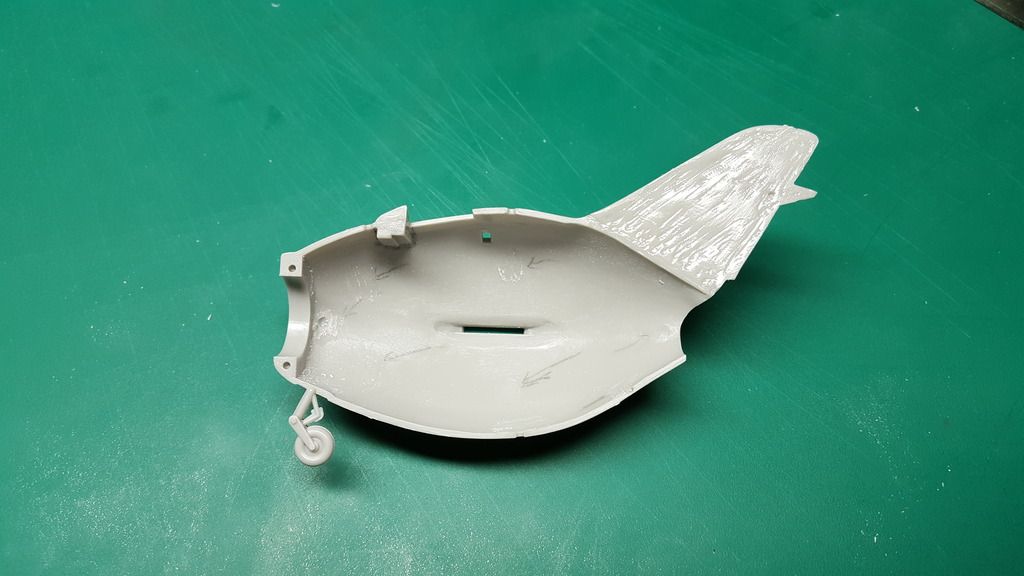
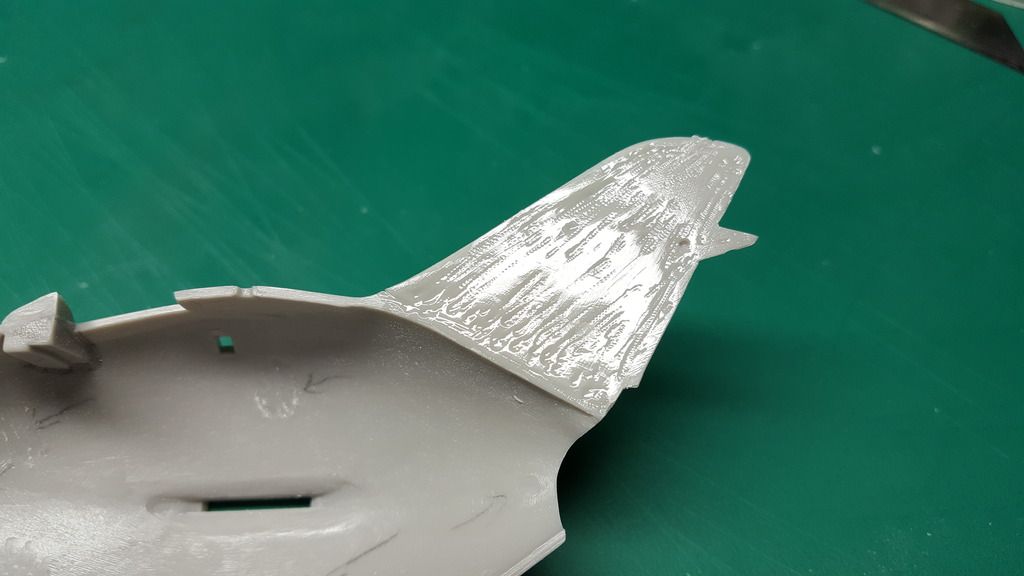
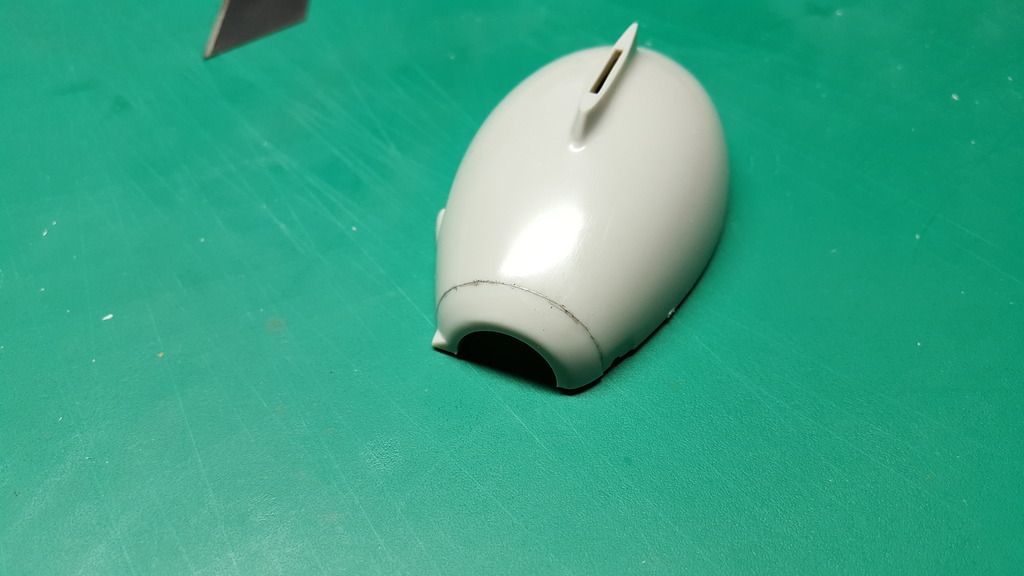
For the next part i marked out the front nose cowling for the air intake and cut this section away from the side that was going to be exposed. The only section of the nose that i wanted to remain on the exposed side to nicely frame the interior is this sections so after a little work i managed to remove this part ready for later
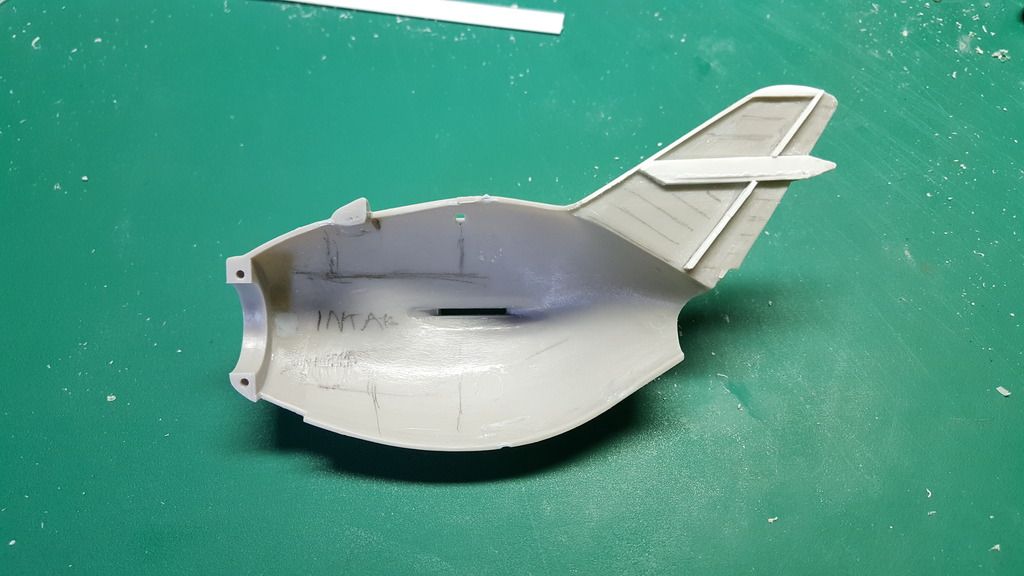
The next stage was then to start finely anding down the interior of the back tail fin so that is was really thin all the way across the section ... Once this was finished i then started building the internal main structure out fo strips of plasticard and sticking them in as shown.
Re: MIG-15 Cutaway Egg
Posted: Sun Apr 09, 2017 4:01 pm
by WorldofPlastic
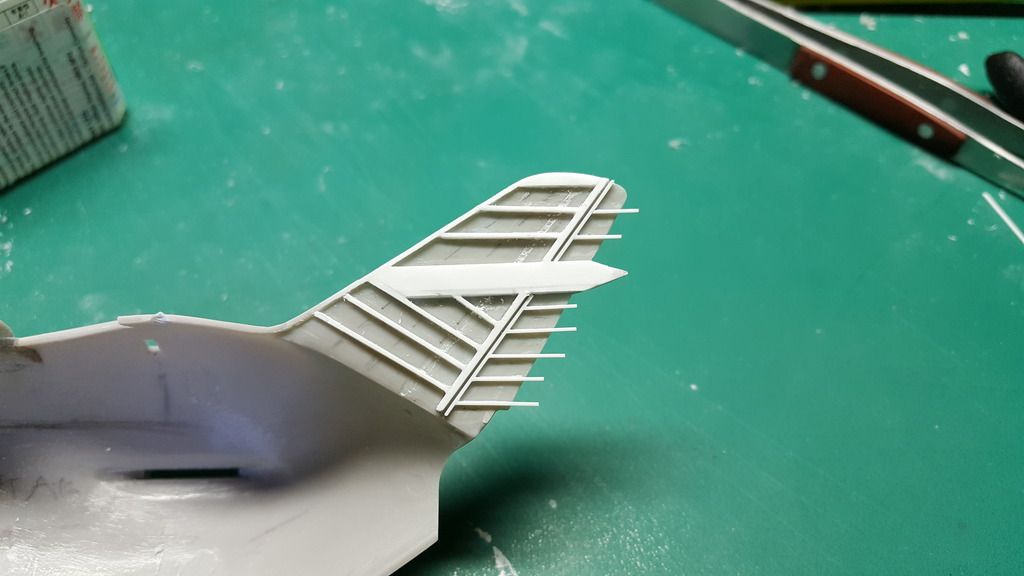
Further work on the back tail section including the back wing
In the image below you can see that i have started to insert all the smaller more detailed sections into the main internal structure. I was rather pleased at this stage as the detail was starting to mount in this section and was looking rather nice.
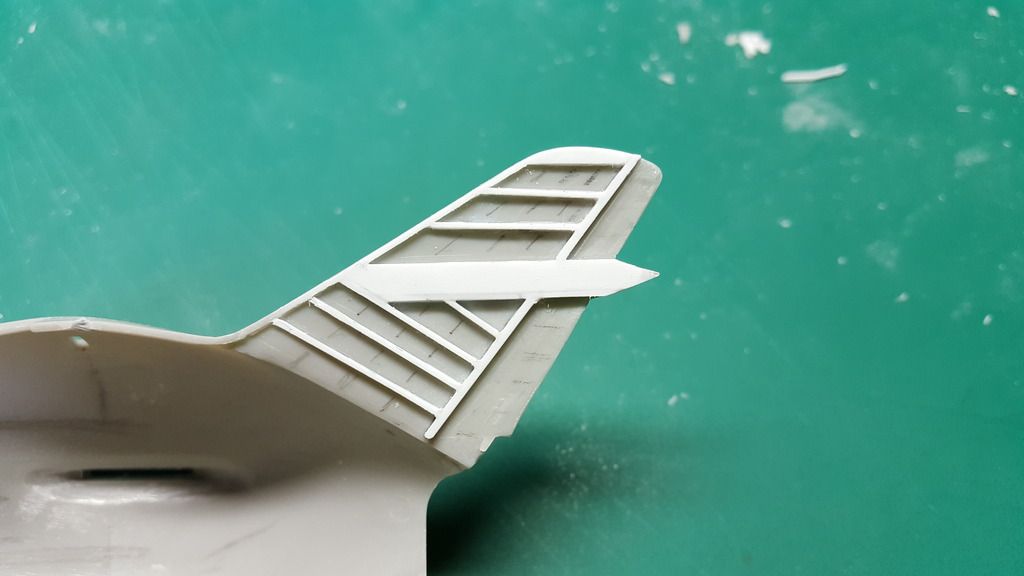
As above i then started to include the finer details and ribbage on the rear fin to further increase the cutaway detail in this section as shown.
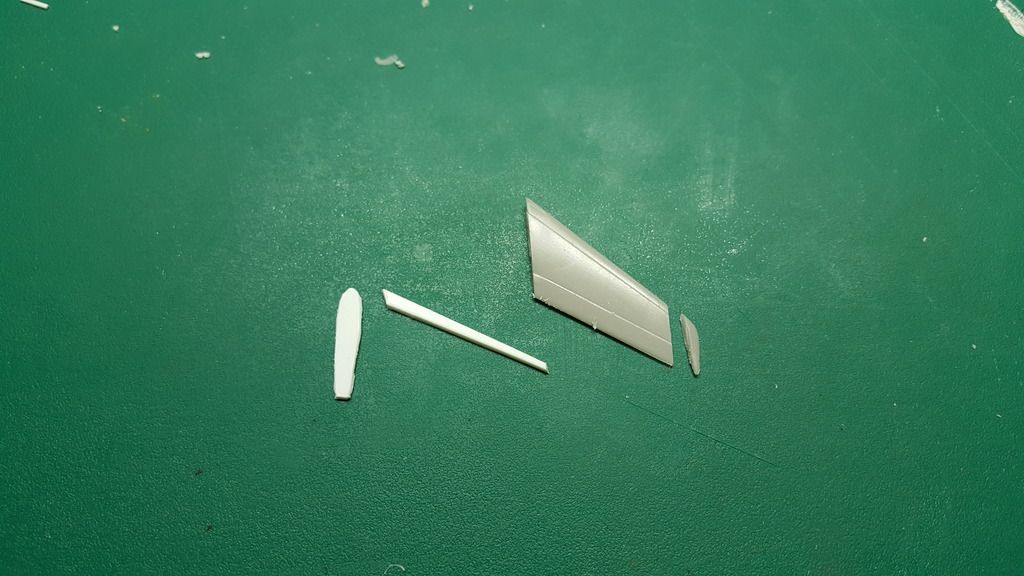
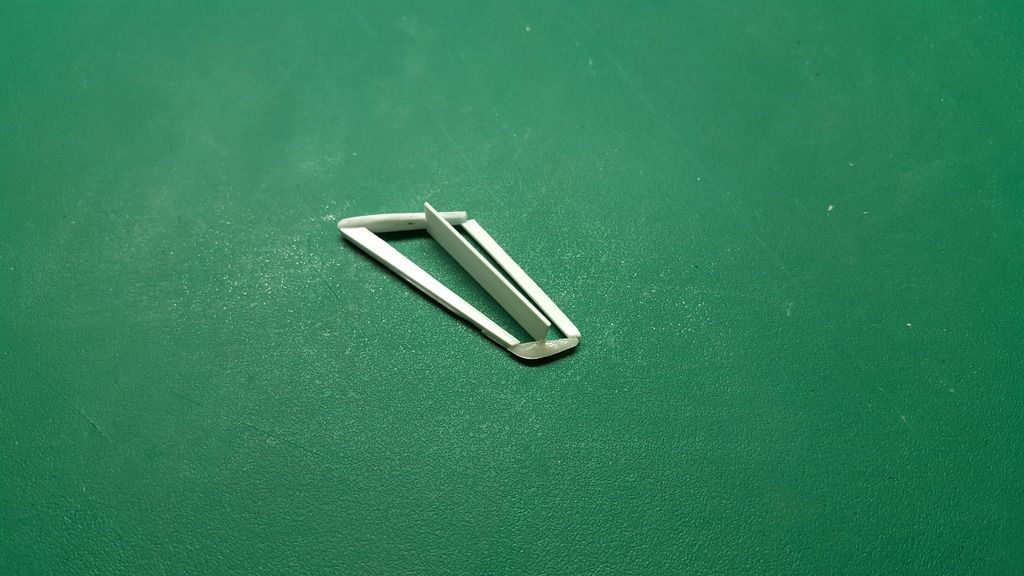
It was now time to start producing the rear wing ... As seen in the image i cut away the end of the kit part and used that section as the end tip ... i then cut myself some pieces of plasticard and assembled them together so they where the same shape as the opposite intact kit wing
Re: MIG-15 Cutaway Egg
Posted: Sun Apr 09, 2017 4:04 pm
by WorldofPlastic
As you can see i then attached the rough completed tail wing to the back tail section to see what it currently looked like ... I was rather pleased with the final outcome and so i then decided to proceed on with the engine assembly
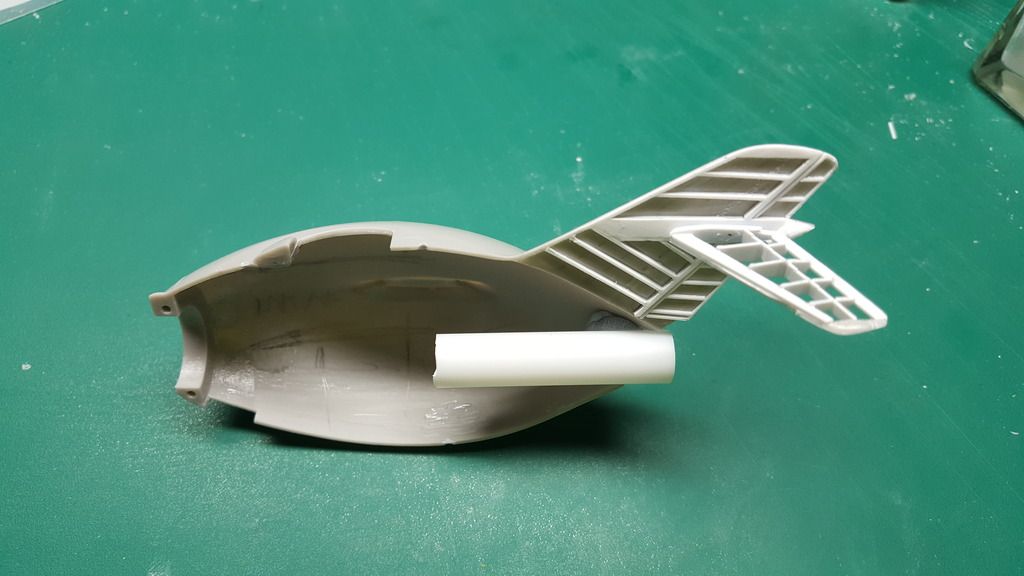
I also cut some plasticard length of tubing for later use int he Engine ... That will be the next part to work on ... and most probably the hardest.
Re: MIG-15 Cutaway Egg
Posted: Sun Apr 09, 2017 4:12 pm
by WorldofPlastic
The Engine Assembly
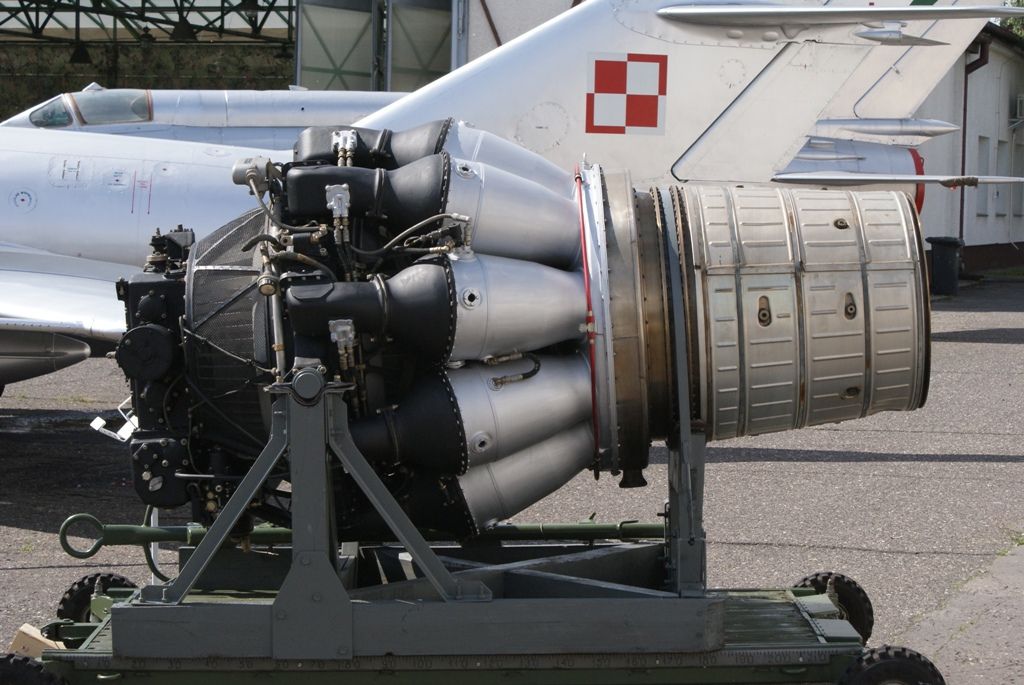
This is the engine that i will hopefully be producing from scratch with the aid of some scratch built resin casts and some little parts from the classic spare parts box.
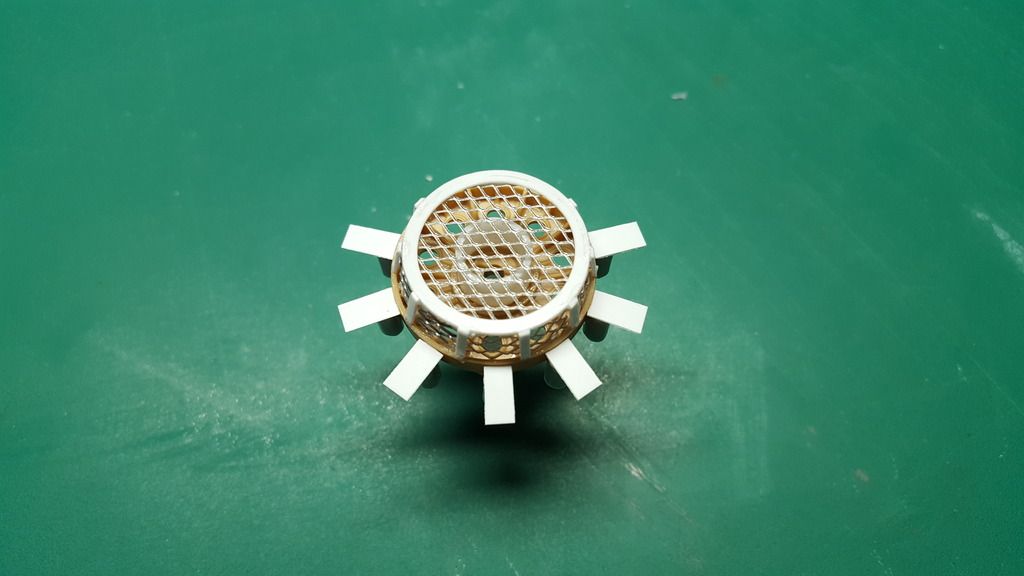
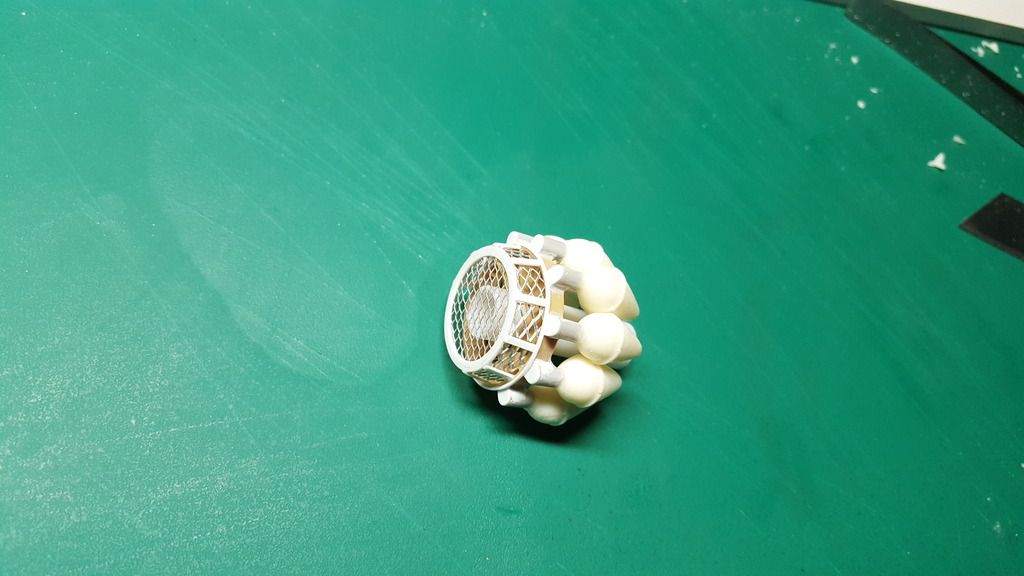
The first stage that i decided to tackle was the front end of the engine .... this is the part where the external air gates drawn into the main working of the engine ... I decided the best way to replicate this was to cut out a hollow circle from plasticard and then CA glue some metal miniature chicken wire into the part as shown below
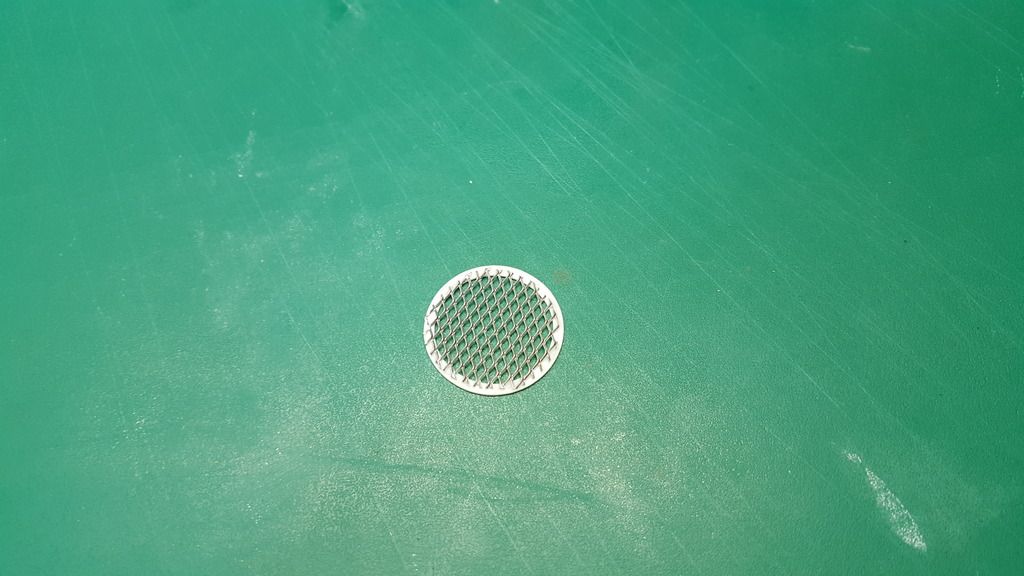
[/URL]
In order to get a round perfect circle for use within the engine i found an old spare T34 tireless wheel i had lying in my spares box so i thought lets use that ... as you can see in the image below is the wheel and the cover ...i then carefully stuck some of the fine mesh around the sides and closed the gaps up with some small pieces of plasticard so that i had the first section complete.
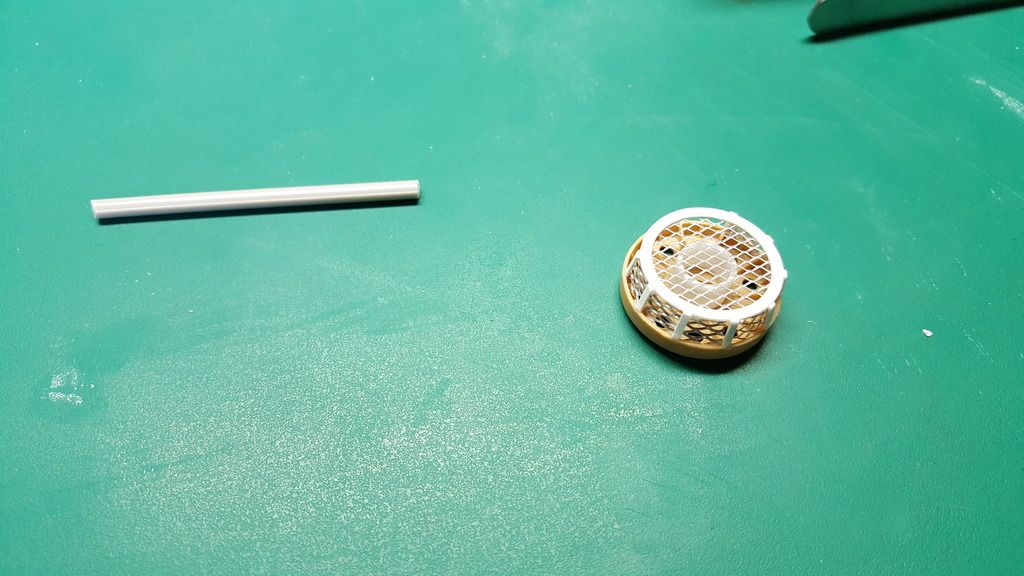
[/URL]
Re: MIG-15 Cutaway Egg
Posted: Sun Apr 09, 2017 4:22 pm
by WorldofPlastic
In order for the combustion chambers to be attached i cut up some of the spare sprue in the kit and stuck these around 3/4 of the engine sides ... these would then act as perfect little passage tubes to the chambers ... I also stuck some white plasticard in-front of the tubes and sanded them down so that they covered the front ends and would make them look more accurate in the detail.
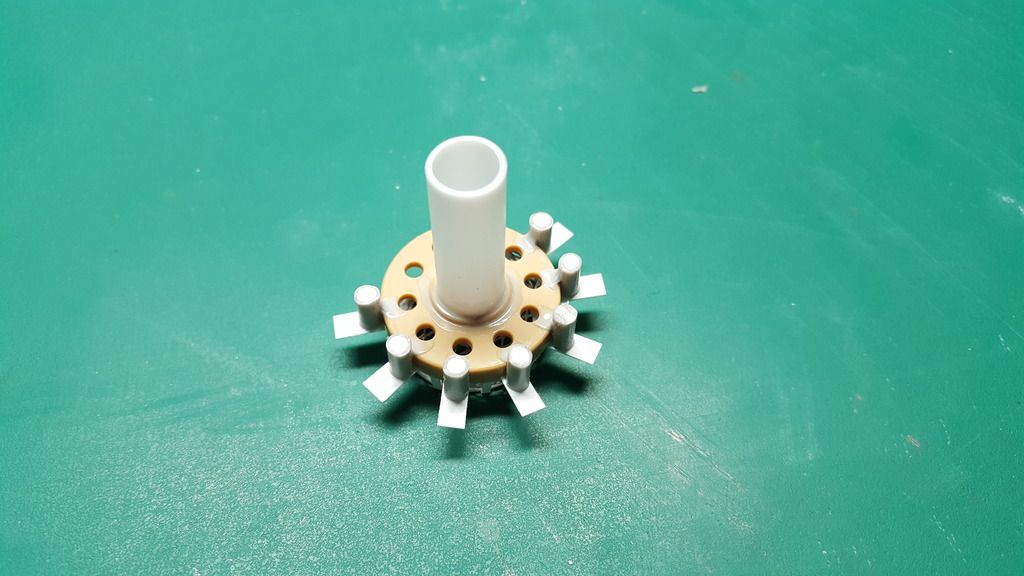
The image below shows a front on image of the piece so far and also an image of it housed temporarily inside the fuselage.
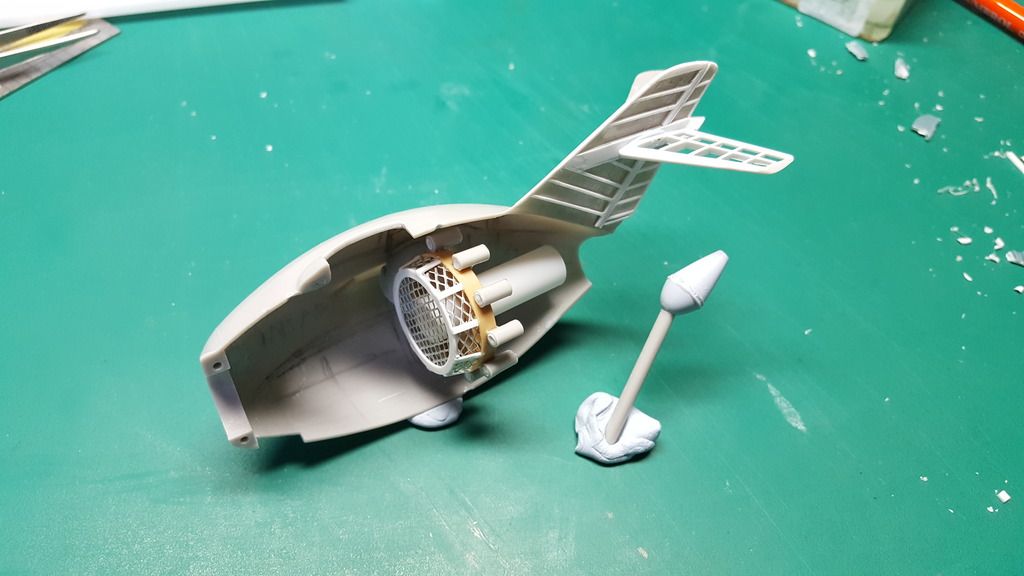
I have also created out of plastic a small combustion chamber Egg Shaped
ready for casting ... i need about 7 / 8 of these so hopefully once my casting materials arrive in the post i can get cracking with these.
Re: MIG-15 Cutaway Egg
Posted: Sun Apr 09, 2017 4:56 pm
by Lysus
Eggstraordinary. I do love a good scratch build and this thread delivers in spades.

Re: MIG-15 Cutaway Egg
Posted: Sat Apr 15, 2017 5:44 pm
by Skullfish
Self eggsplanatory really.

Jase
Re: MIG-15 Cutaway Egg
Posted: Sun Apr 16, 2017 3:52 am
by Lysus
Oooh....

Re: MIG-15 Cutaway Egg
Posted: Mon Apr 17, 2017 8:38 pm
by WorldofPlastic
Re: MIG-15 Cutaway Egg
Posted: Mon Apr 17, 2017 8:42 pm
by WorldofPlastic
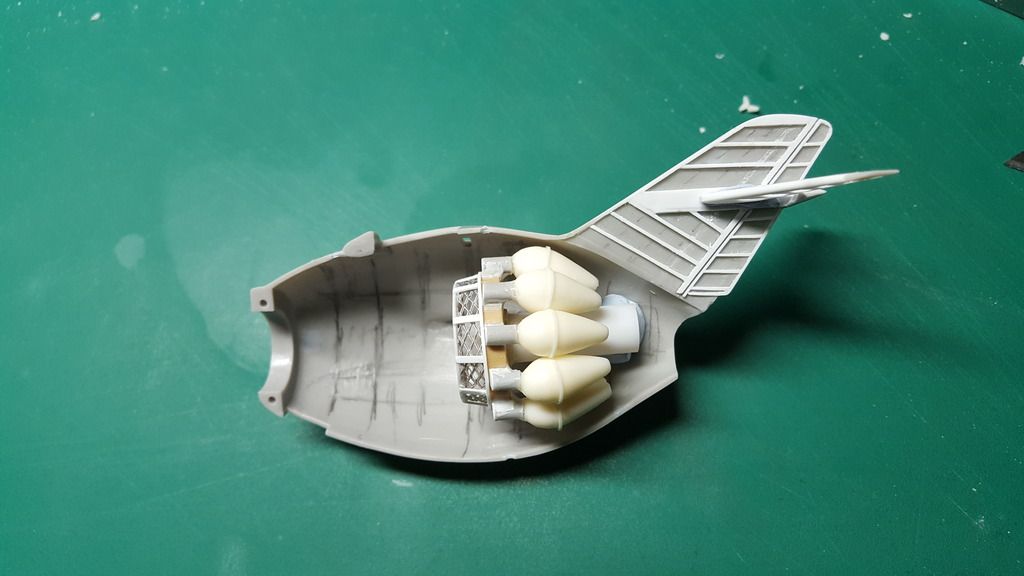
Once the resin engine parts had been complete it was then time to stick the to the engine block made earlier as shown below
Re: MIG-15 Cutaway Egg
Posted: Mon Apr 17, 2017 8:49 pm
by WorldofPlastic
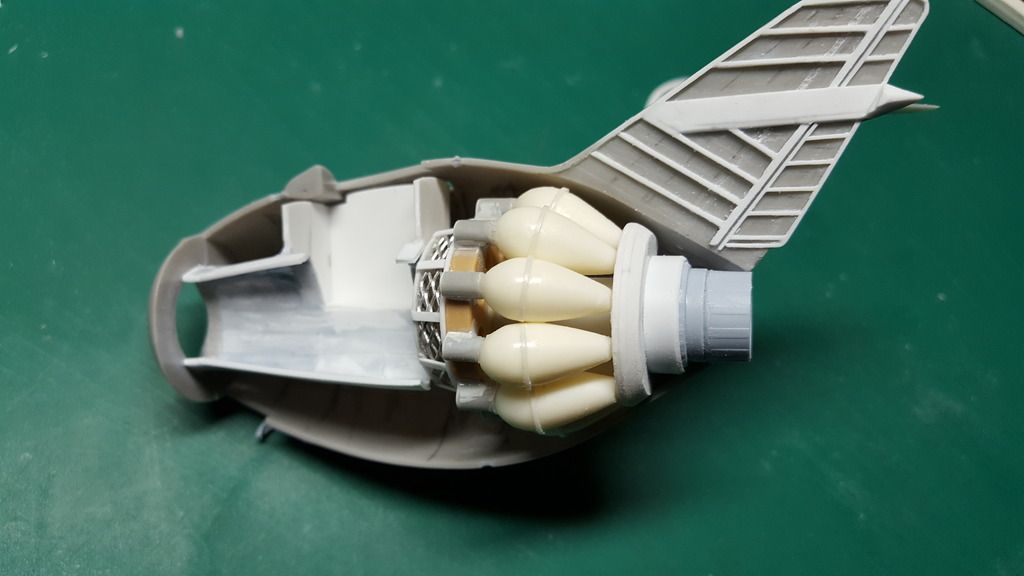
The next stage was then to complete the engine and also create the left hand side air intake that flowed past the pilots cockpit area ... i wanted this stage to flow harmlessly towards the engine and also to feature another smaller cutaway section so that the cockpit inside was also visible through the piece.
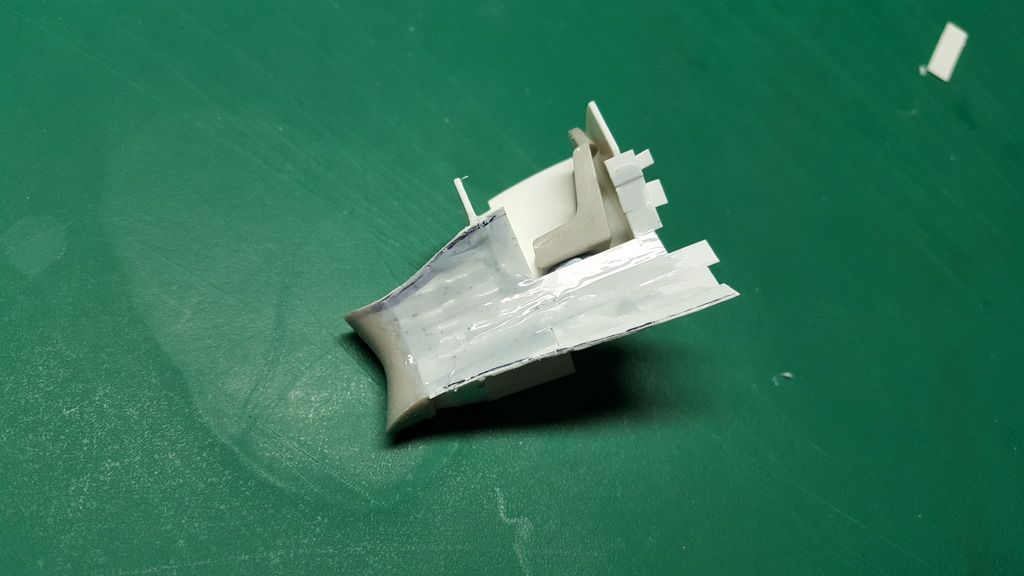
As you can see the location of the cockpit has been left open and i have stuck on the original internal nose cowling section to contour the internals from the front section.
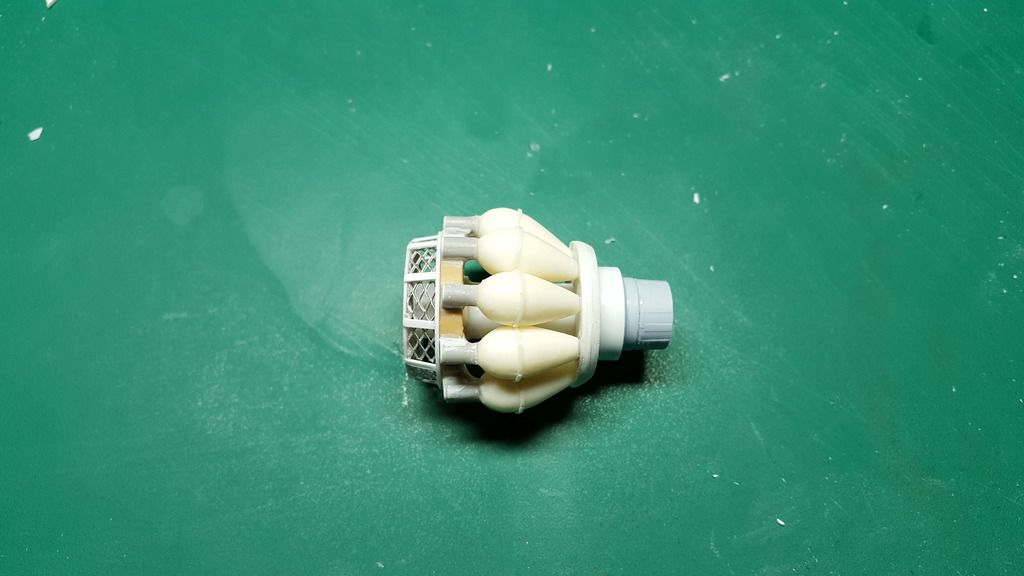
The two images below are showing how the internal air vent and the completed engine look once inside the main body of the Egg.
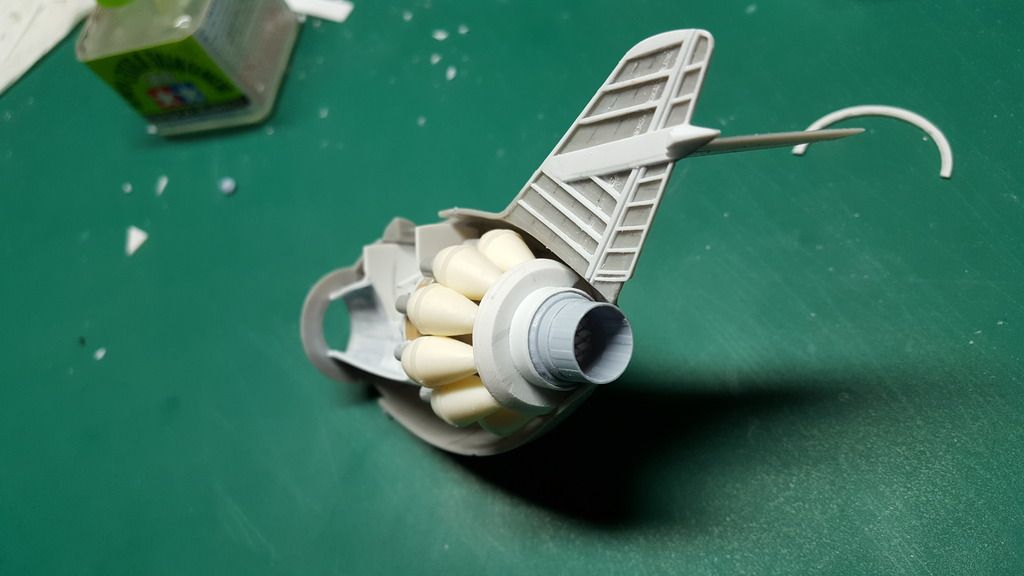
For the main engine end i used a scrap piece of engine cover from a airfix mig29
Re: MIG-15 Cutaway Egg
Posted: Mon Apr 17, 2017 8:52 pm
by WorldofPlastic
That air intake flow from the front looks a little bit weird however it is to replicate one of these tubes as shown in this similar styled plane Mig21 image below
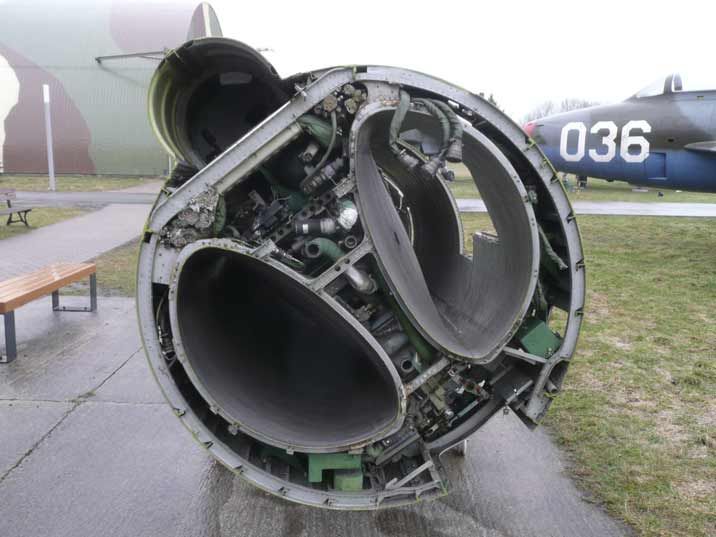
As you can see the air intake flows come in either side of the pilot with the pilot sitting nested in the middle !!!
Re: MIG-15 Cutaway Egg
Posted: Mon Apr 17, 2017 10:55 pm
by Fridgy
Ummm..... wow
Awesome work
Re: MIG-15 Cutaway Egg
Posted: Mon Apr 17, 2017 11:35 pm
by Lysus
This is pretty amazing...
Re: MIG-15 Cutaway Egg
Posted: Tue Apr 18, 2017 12:22 am
by Kingdan
Re: MIG-15 Cutaway Egg
Posted: Tue Apr 18, 2017 7:38 am
by Skullfish
This is like watching an autopsy but in reverse! Fascinating to watch.
Jase
Re: MIG-15 Cutaway Egg
Posted: Thu Apr 20, 2017 9:24 pm
by WorldofPlastic
Re: MIG-15 Cutaway Egg
Posted: Thu Apr 20, 2017 10:09 pm
by Twokidsnosleep
This is awesome work

I have to try the resin casting...got some stuff around the office and then your great photos to help
Re: MIG-15 Cutaway Egg
Posted: Thu Apr 20, 2017 10:53 pm
by Lysus
Well I quit
Re: MIG-15 Cutaway Egg
Posted: Mon Apr 24, 2017 9:01 am
by Goose
It's an insane freaking eggcellent job!!!!
Love it
Keep up this nice work mate.
Re: MIG-15 Cutaway Egg
Posted: Mon Apr 24, 2017 12:06 pm
by MarkVerploeg
Very nice work so far
Lovely scratch building too
Keep up the good work
Re: MIG-15 Cutaway Egg
Posted: Mon Apr 24, 2017 6:47 pm
by privatepete
Hi stunning work and brilliant scratch building
Re: MIG-15 Cutaway Egg
Posted: Fri Apr 28, 2017 9:54 pm
by WorldofPlastic
Hi There
Cheers for all the kind messages guys !!!
Time for another update
Below you will find 3 images of the wing section that i created ... I started with taking measurements and dimensions from the original kit piece and created my own wing from sections and strips of plasticard .... The only part i kept from the original wing was the end tip with the curved profile.
 20170420_213749
 by
Richard, on Flickr
 20170422_210726
 by
Richard, on Flickr
 20170423_150039
 by
Richard, on Flickr
I then proceeded to give this wing section a coat of Ultimate Black Primer
 20170425_180537
 by
Richard, on Flickr
Re: MIG-15 Cutaway Egg
Posted: Fri Apr 28, 2017 9:59 pm
by WorldofPlastic
The Next stage was to then give the engine a going over with the Ultimate Black Primer and giving all the sections so far a coat of Black Primer
 20170425_182634
 by
Richard, on Flickr
I gave the wing section a coat of a yellowish paint however i decided to revert back to a neutral color such as an off white for the cutaway to stop the build becoming to garish.
I then proceeded to create a scratch little seat from plasticard ... I cut of the back part of the headrest and incorporated that with the overall seat as shown in the image below.
 20170424_205828
 by
Richard, on Flickr
Re: MIG-15 Cutaway Egg
Posted: Fri Apr 28, 2017 10:13 pm
by WorldofPlastic
I actually tried several different colors of metal but finally settled on the Vallejo Steel color as it went nicely with the red and off white.
 20170425_194153
 by
Richard, on Flickr
 20170428_124539
 by
Richard, on Flickr
I then used some left over spare decals that i borrowed from a Eduard Mig 21 kit
 20170428_142544
 by
Richard, on Flickr
Once everything had been painted up here are a few images of the current state of the build after today
 20170428_153724
 by
Richard, on Flickr
 20170428_153644
 by
Richard, on Flickr
 20170428_191130
 by
Richard, on Flickr
 20170428_191051
 by
Richard, on Flickr
 20170428_153714
 by
Richard, on Flickr
few more final touches to be done tomorrow before the final finished reveal
Re: MIG-15 Cutaway Egg
Posted: Sat Apr 29, 2017 12:47 am
by NorthernModeller
Amazing work mate, really well done