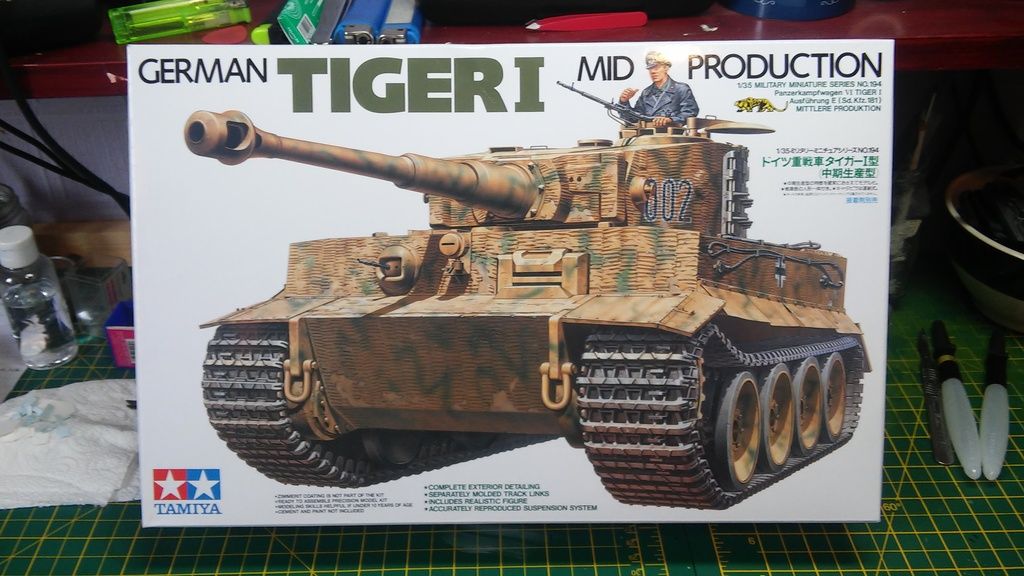
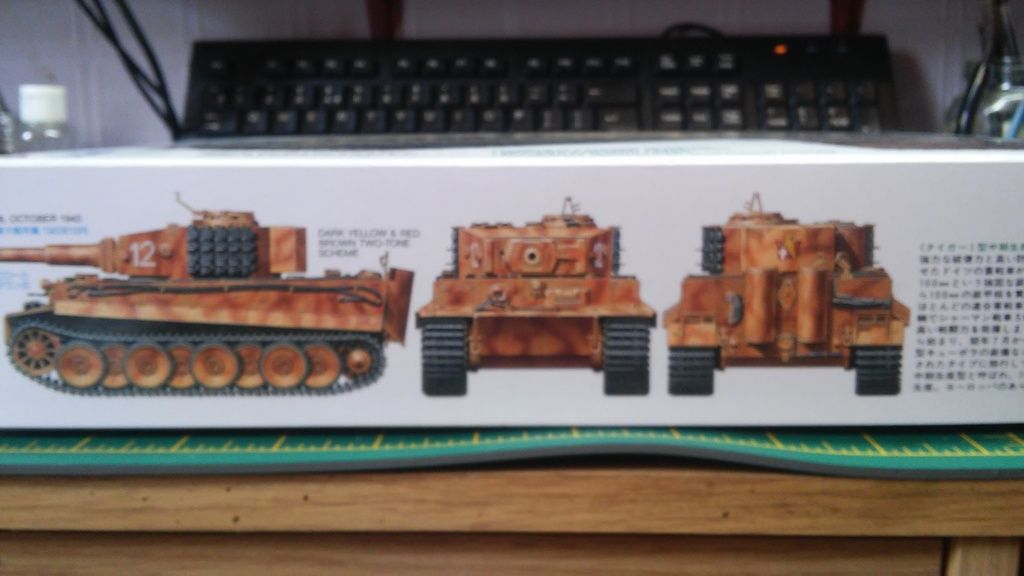
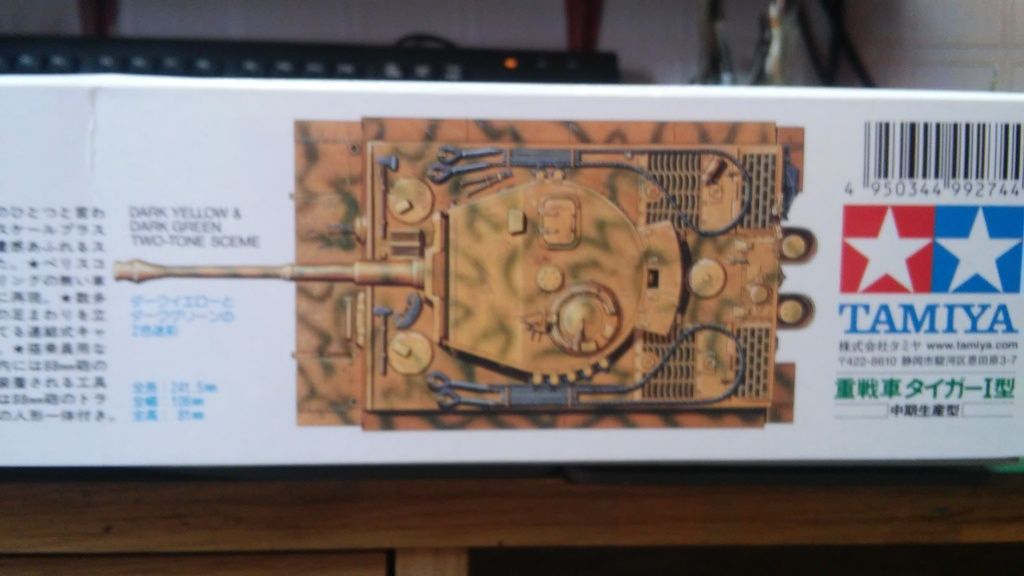
Tamiya 1:35 German Tiger I mid production
Posted: Mon Jun 05, 2017 1:22 pm
This kit will be another first for me not that it is amour but I am going to add the zimmerit by hand.
There is a full review on the review section on the forum
To start with I attached the rear plate to the hull along with the suspension arms


Then I made up the wheels ( there is a lot of them on this )


Then I decided to make up the exhausts as I am going to add the zimmerit I wanted to know how thick the zimmerit needed to be to still be able to attach these parts


The engine cover I think


The Gun travel lock, the jack and the Bosch headlight

Now when I came to adding the zimmerit I had watched some videos on youtube and I also asked Mike ( Coan scale modelling) on youtube and the forum as to his best way of adding this.
So I tried this with some white milliput and to make the impressions I used the flat end of a Tamiya paint stirrer.
I liked the effect this has made on the small section I have done.


The next section on the rear where the exhausts will be will be a bit trickier as it does not need to be too thick for adding the other parts on this section.
That is all for now thanks for taking a look and any comments or suggestions are welcome.
There is a full review on the review section on the forum


To start with I attached the rear plate to the hull along with the suspension arms


Then I made up the wheels ( there is a lot of them on this )


Then I decided to make up the exhausts as I am going to add the zimmerit I wanted to know how thick the zimmerit needed to be to still be able to attach these parts


The engine cover I think


The Gun travel lock, the jack and the Bosch headlight

Now when I came to adding the zimmerit I had watched some videos on youtube and I also asked Mike ( Coan scale modelling) on youtube and the forum as to his best way of adding this.
So I tried this with some white milliput and to make the impressions I used the flat end of a Tamiya paint stirrer.
I liked the effect this has made on the small section I have done.


The next section on the rear where the exhausts will be will be a bit trickier as it does not need to be too thick for adding the other parts on this section.
That is all for now thanks for taking a look and any comments or suggestions are welcome.
