Page 1 of 2
Fokker E.I 1/144 scratch
Posted: Sat Jul 29, 2017 7:58 pm
by ondra
Re: Fokker E.I 1/144 scratch
Posted: Sun Jul 30, 2017 7:44 am
by ondra
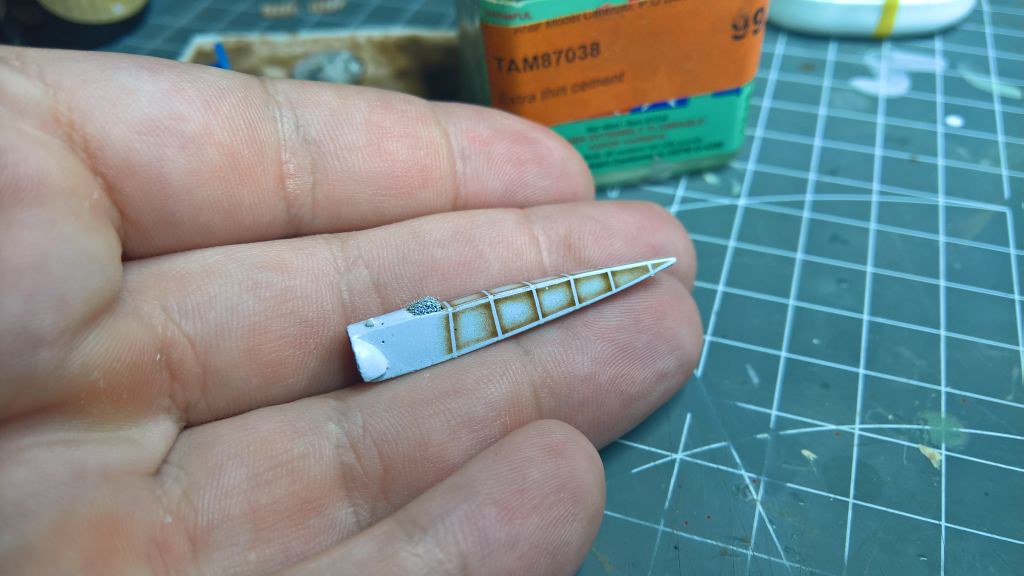
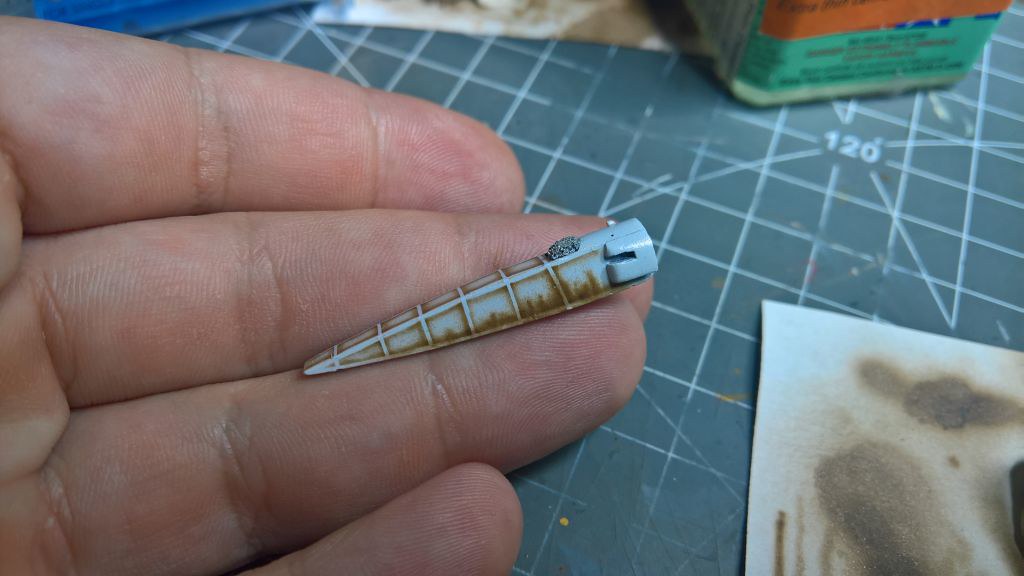
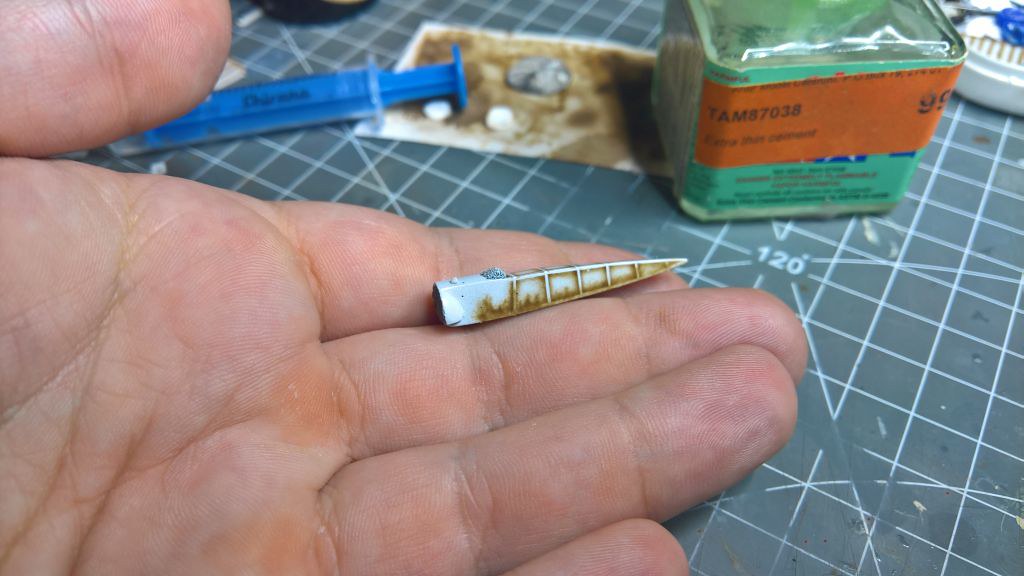
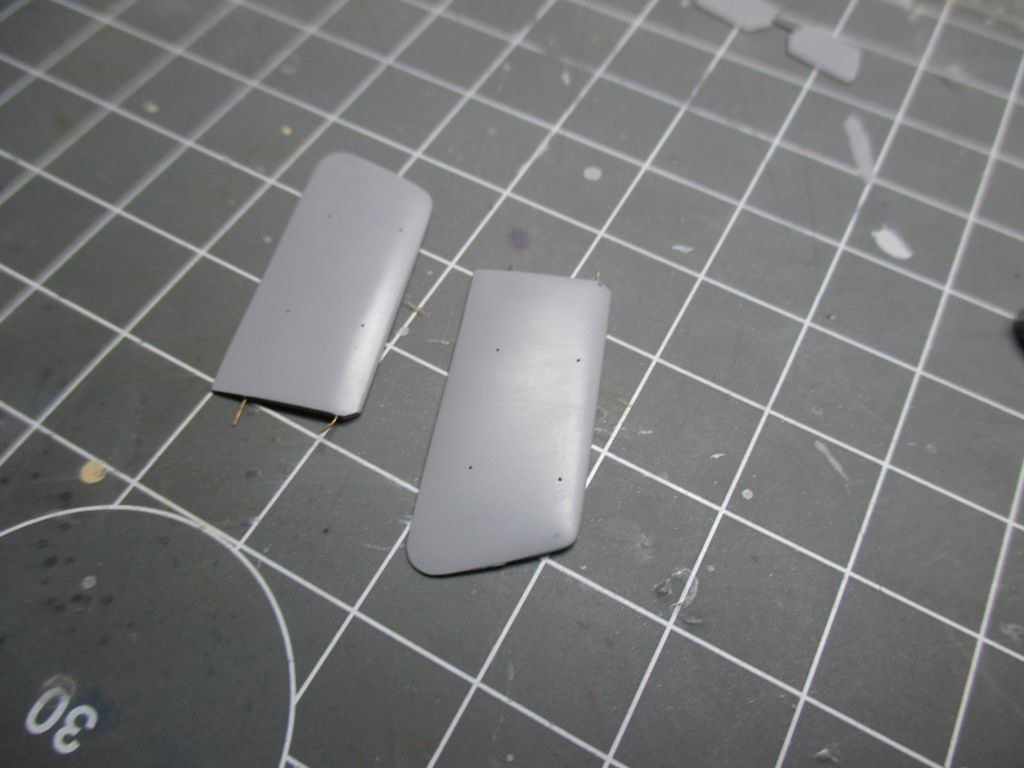
The wings are now polished and ready for rib tapes masking:
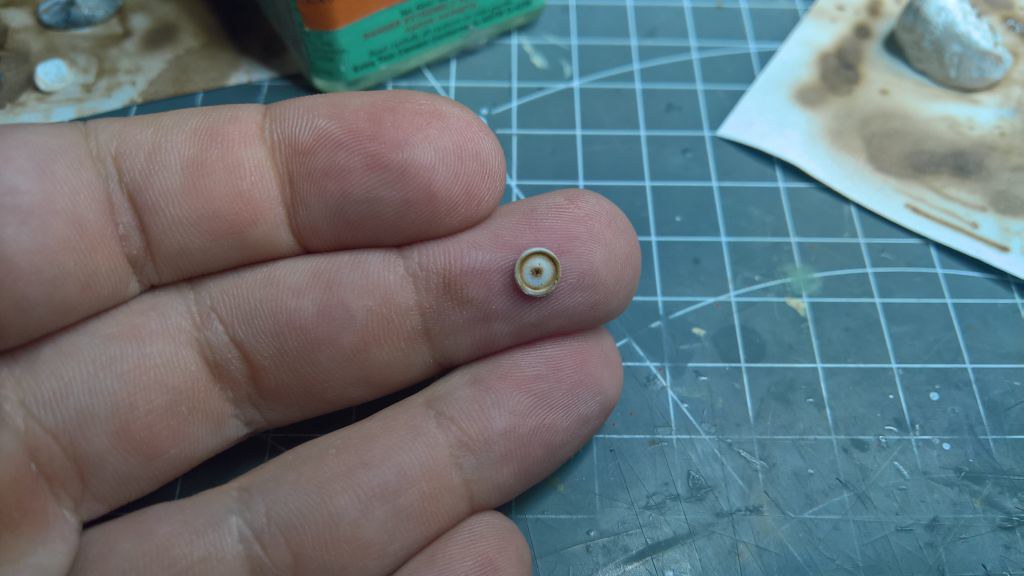
I added the second layer of oil paints to the cockpit sidewalls to simulate the oil soaking in canvas, now I like it much better than before.
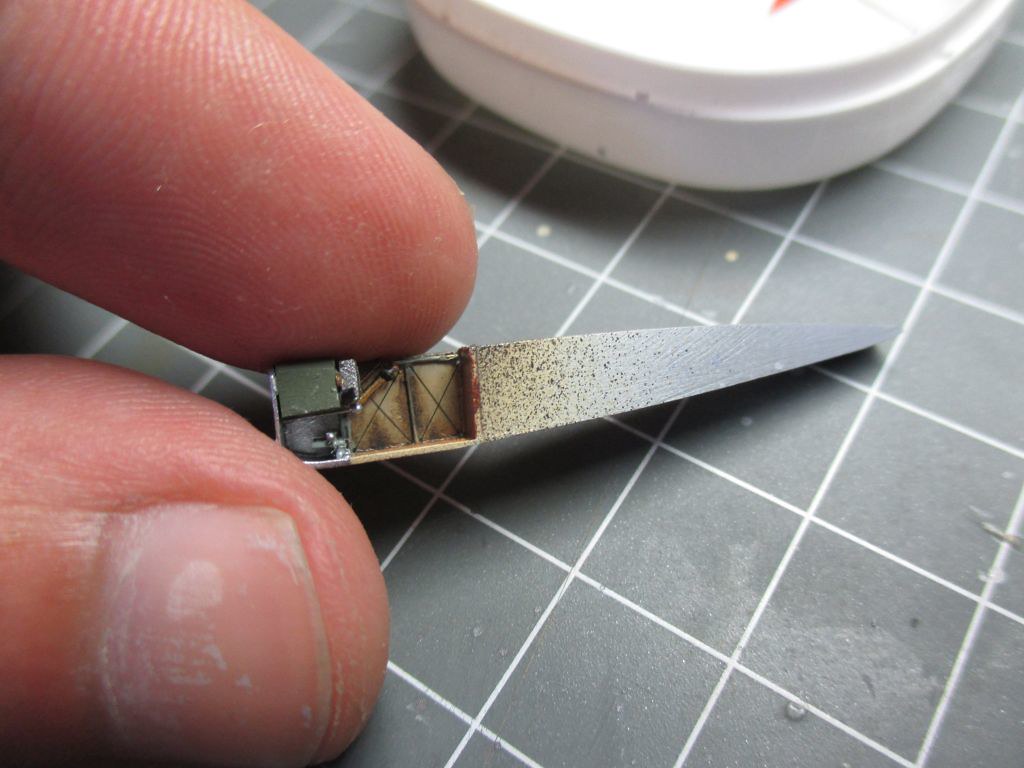
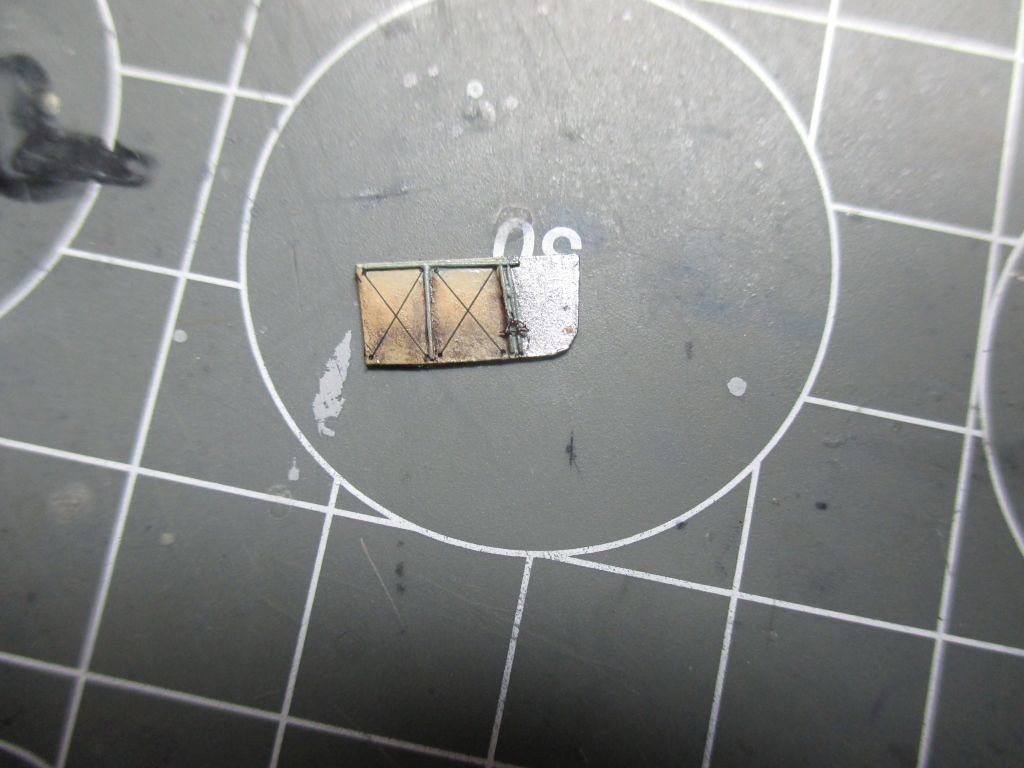
Cheers
Ondra
Re: Fokker E.I 1/144 scratch
Posted: Sun Jul 30, 2017 7:46 am
by sheppsea
Very nice so far

I don't think I would be able to handle building, let alone scratch building, in that scale!
Re: Fokker E.I 1/144 scratch
Posted: Sun Jul 30, 2017 4:53 pm
by ondra
Many thanks, sheppsea! Actually it is not as difficult as it looks, the only thing needed is patience for the trial-error method.

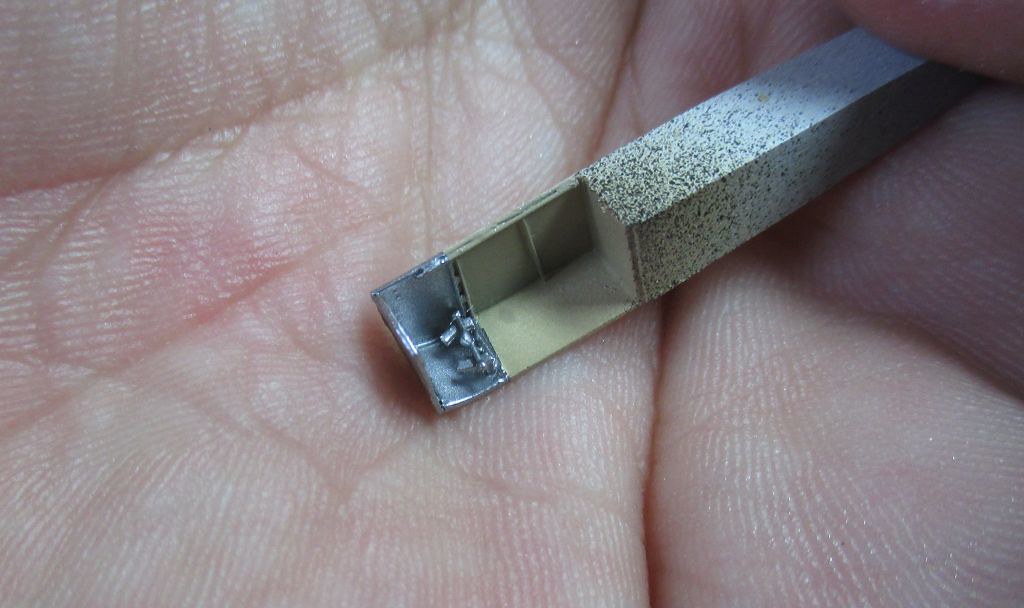
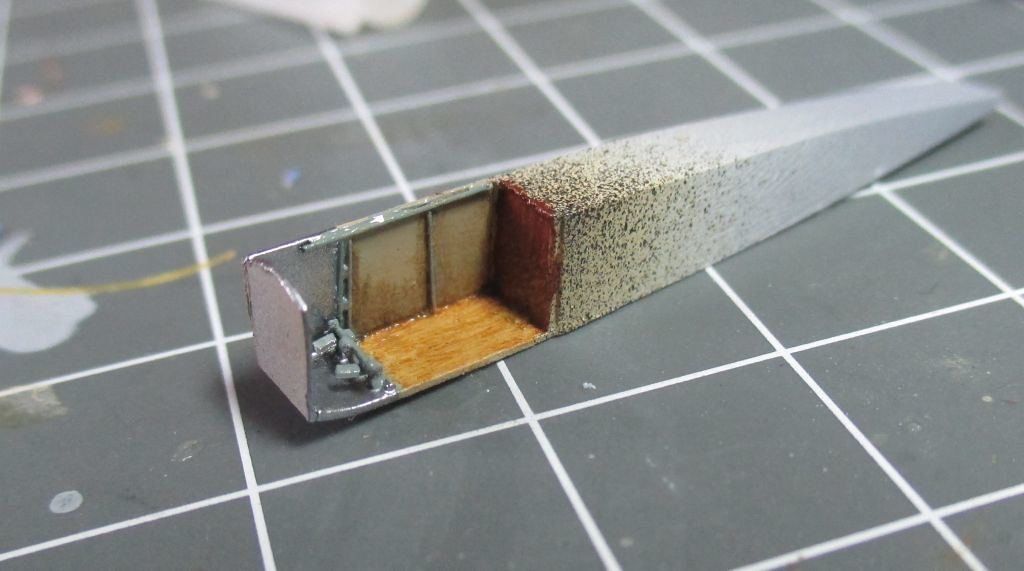
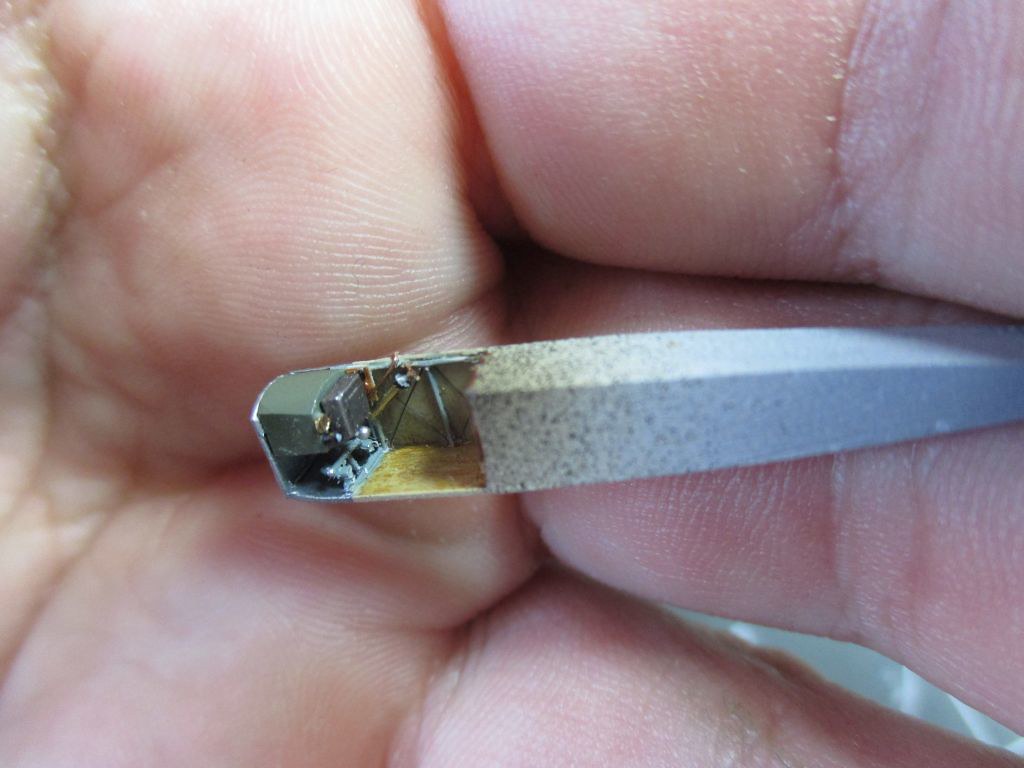
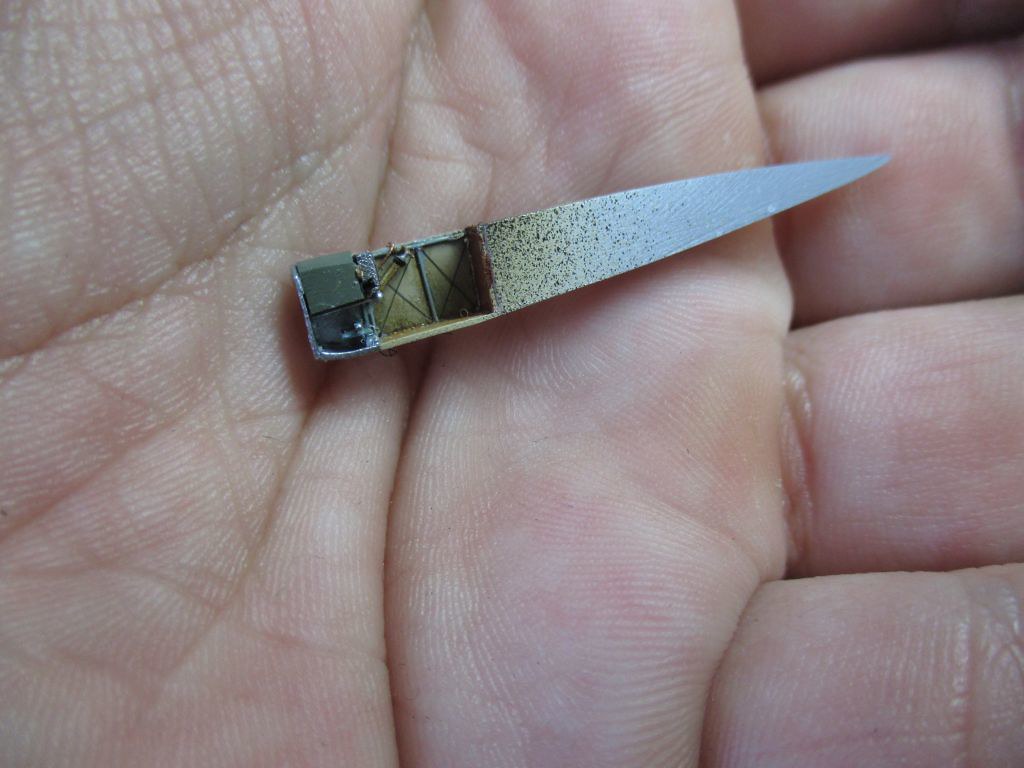
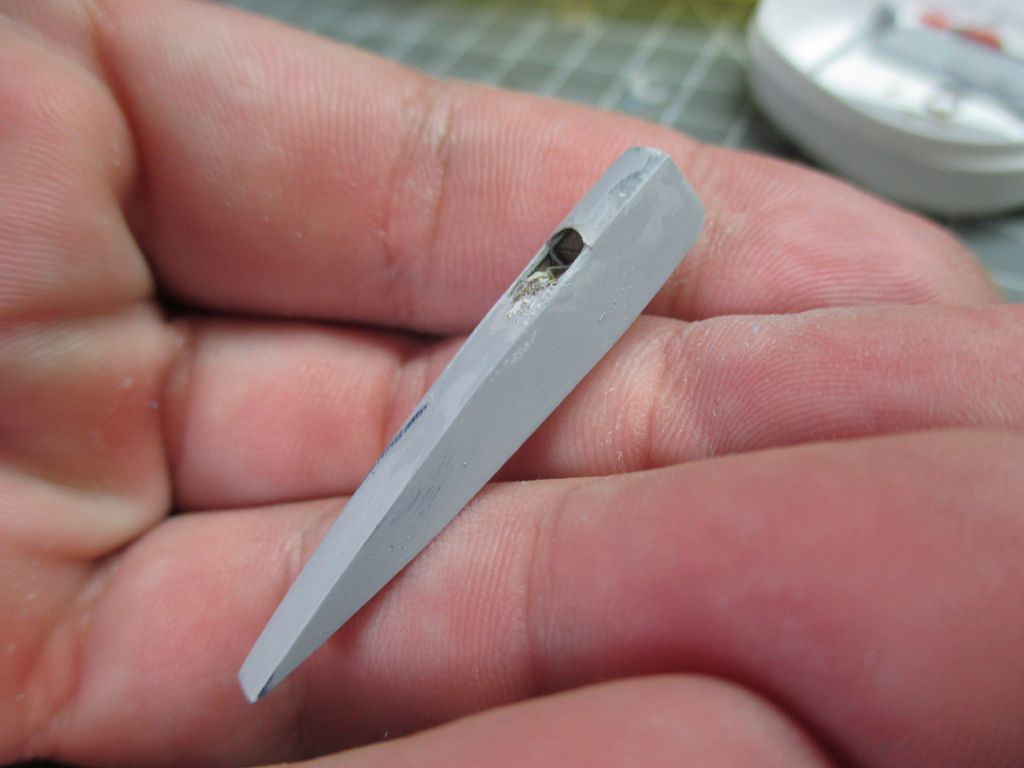
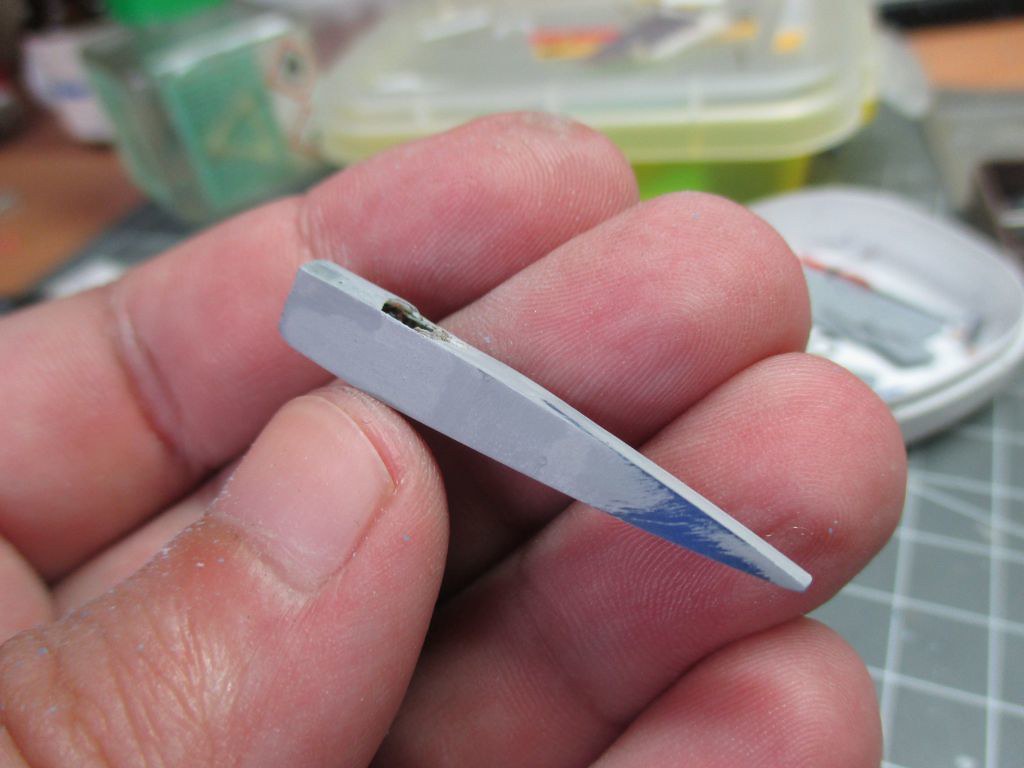
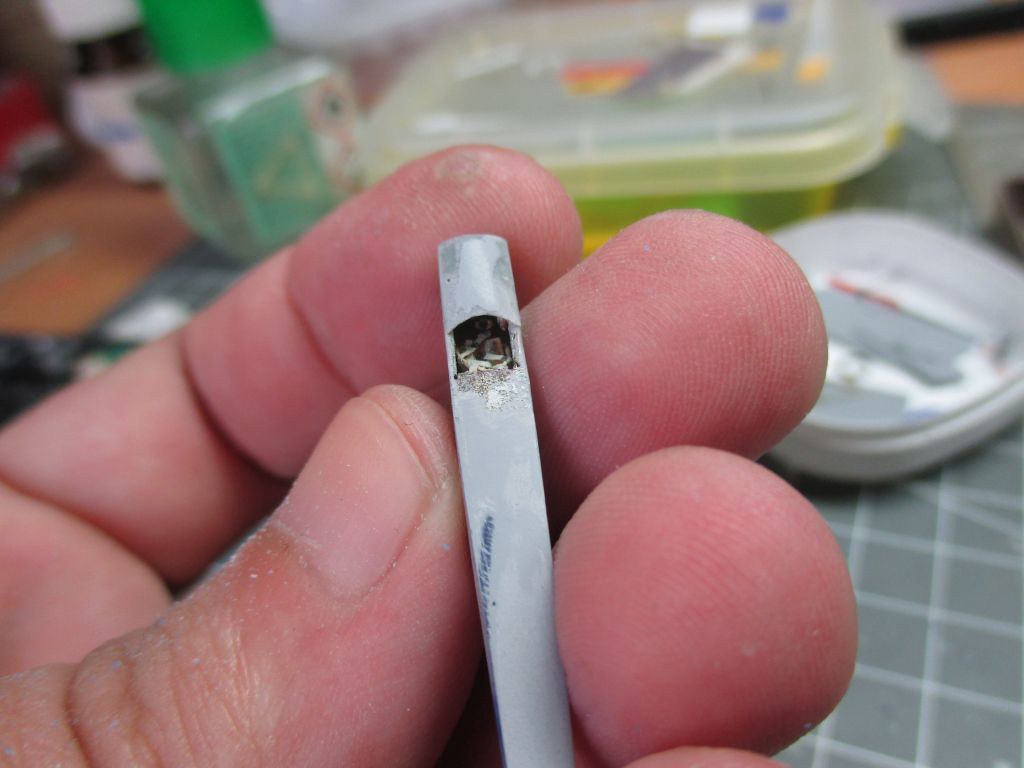
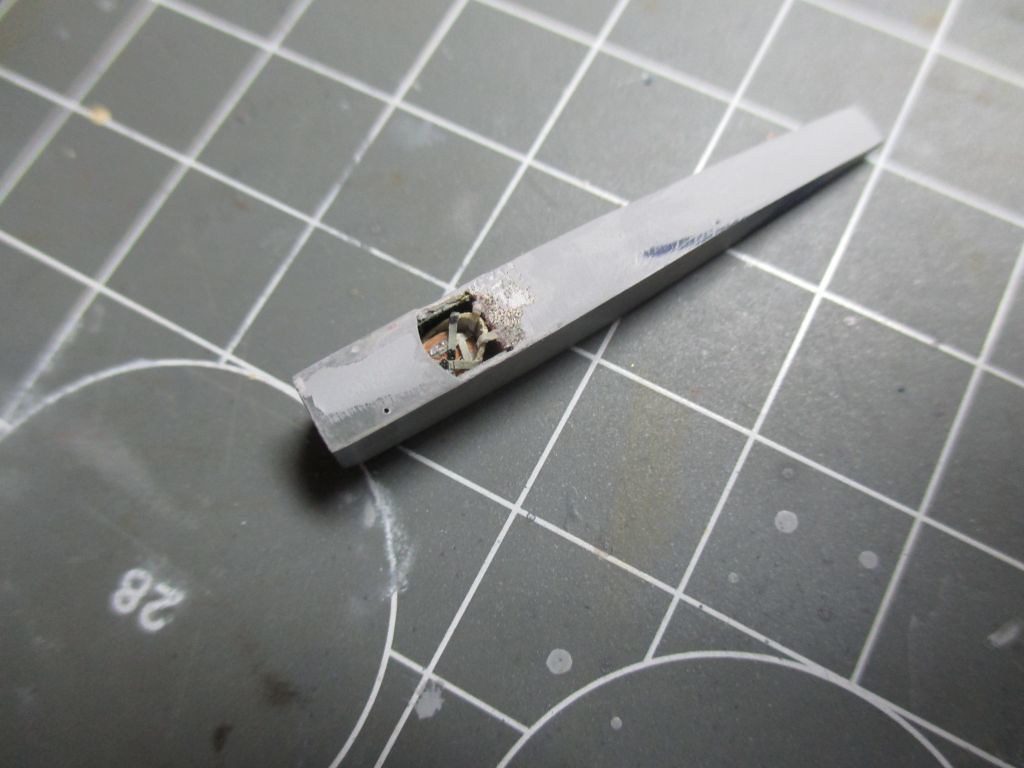
Here the two final photos of the cockpit before I close the fuselage and most of the details disappear forever.
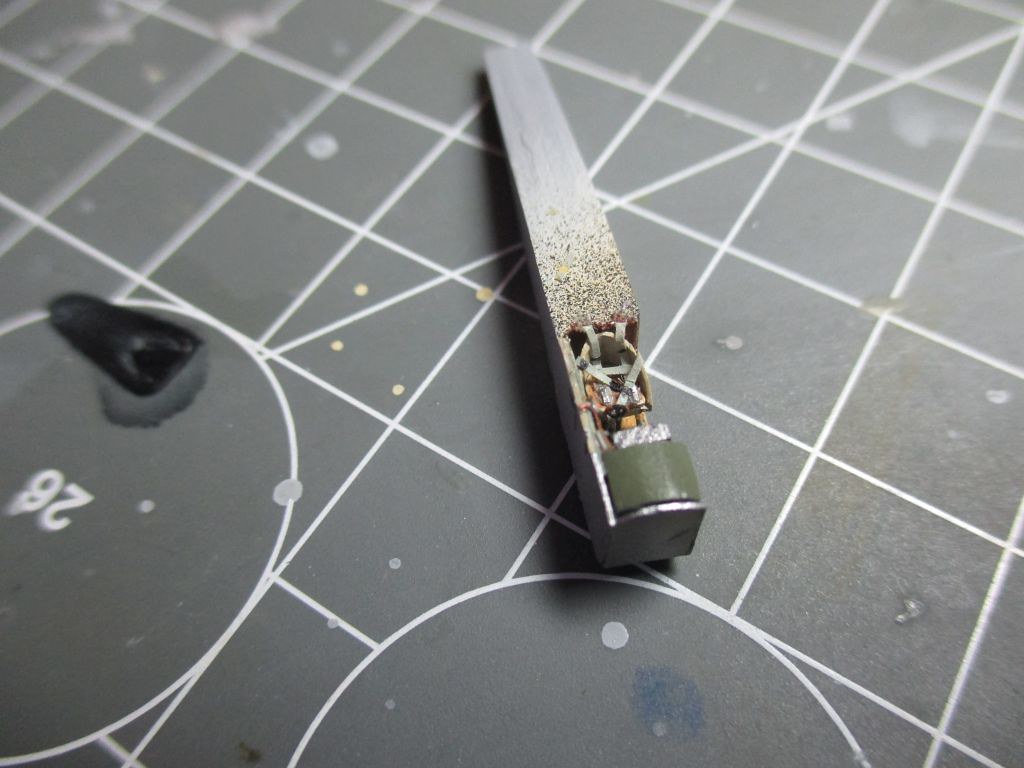
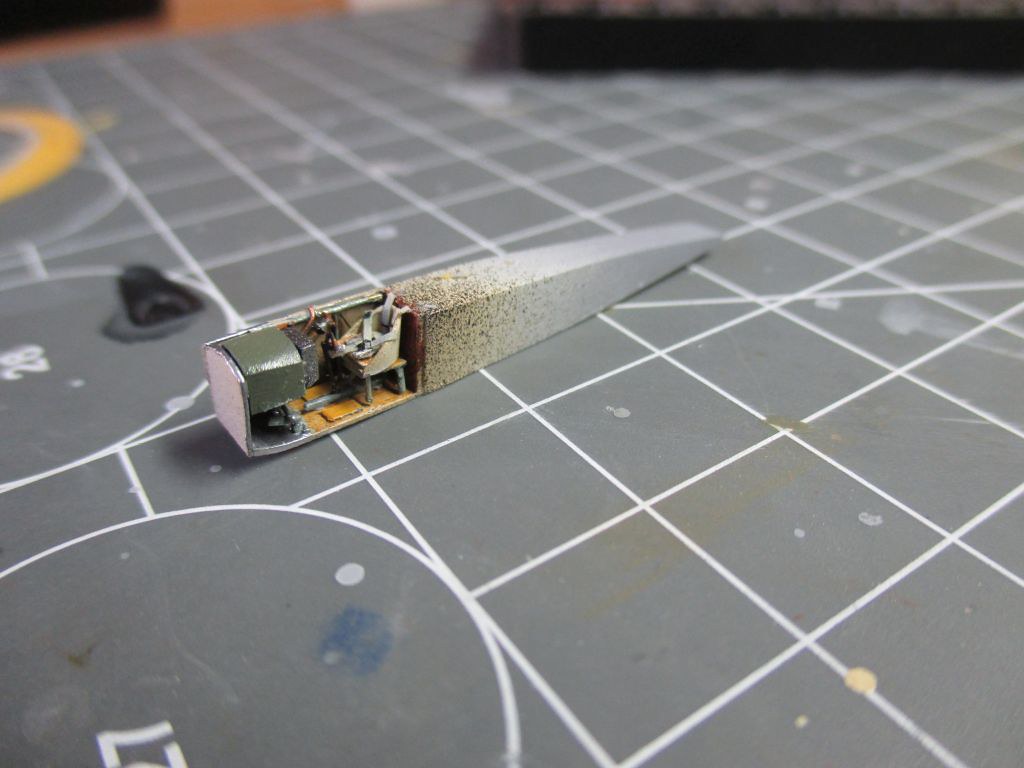
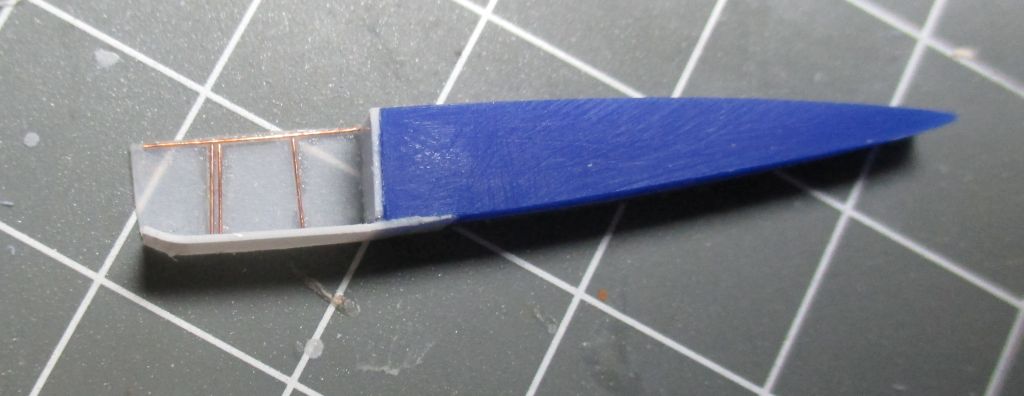
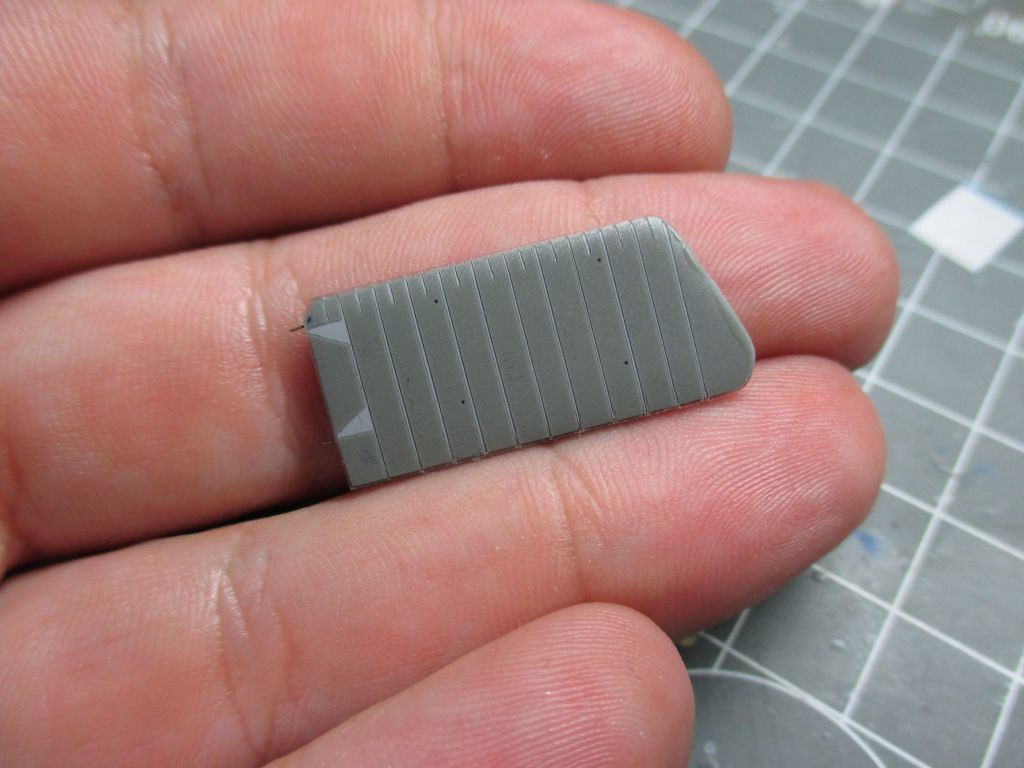
I also masked the wings for the rib tapes, which will be made with surfacer. I cut the masks on my plotter, with a bit of training it goes pretty quickly.
Cheers
Ondra
Re: Fokker E.I 1/144 scratch
Posted: Sun Jul 30, 2017 5:48 pm
by shortCummins
...and I thought 1:72 was too small!
great work
rgds
John(shortCummins)
Re: Fokker E.I 1/144 scratch
Posted: Mon Jul 31, 2017 4:25 am
by Twokidsnosleep
shortCummins wrote: Sun Jul 30, 2017 5:48 pm
...and I thought 1:72 was too small!
great work
rgds
John(shortCummins)
I was thinking the same thing
HOLY SHITE!!!!! That is sweet detail for so small

Re: Fokker E.I 1/144 scratch
Posted: Tue Aug 01, 2017 7:04 am
by Kevthemodeller
Oh my

Re: Fokker E.I 1/144 scratch
Posted: Sat Aug 05, 2017 1:03 pm
by ondra
Many thanks for your nice comments, guys, they are highly appreciated!
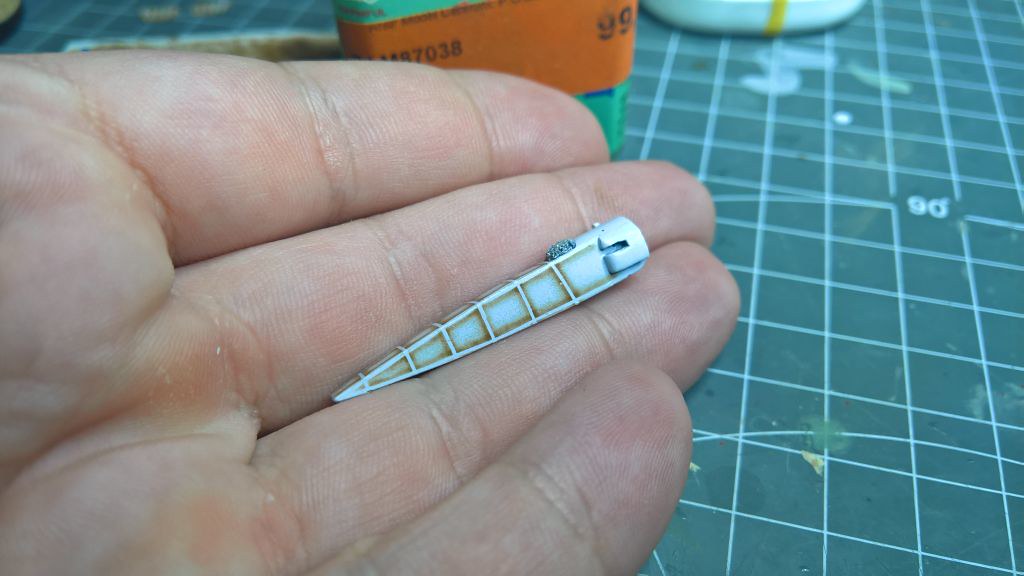
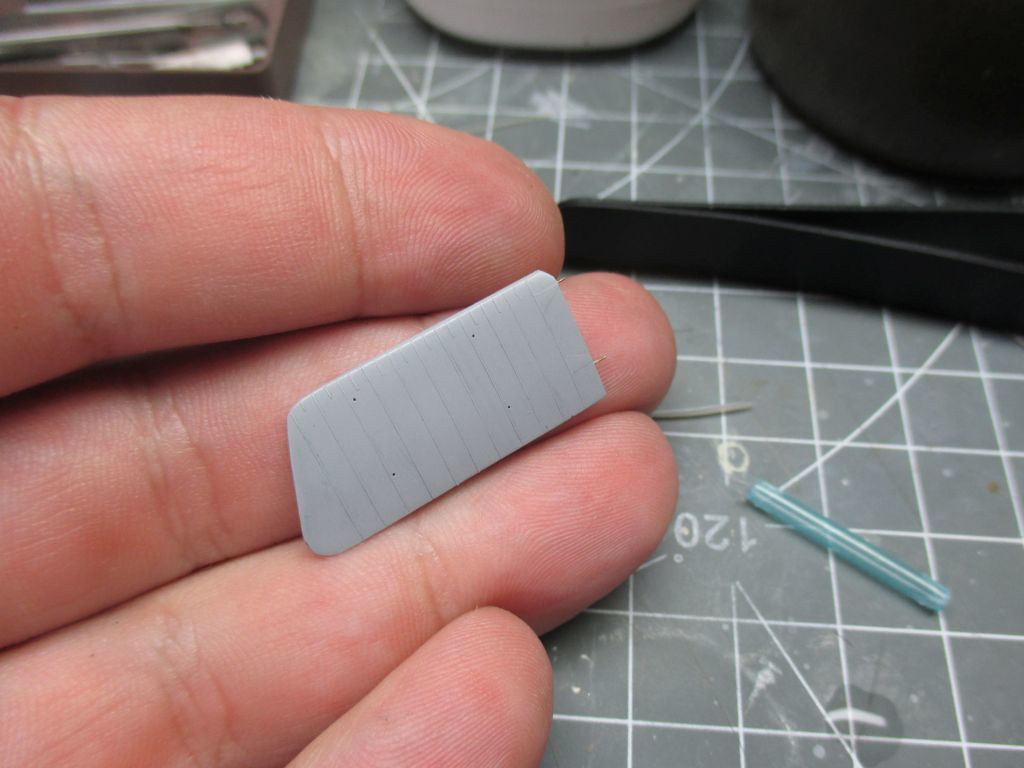
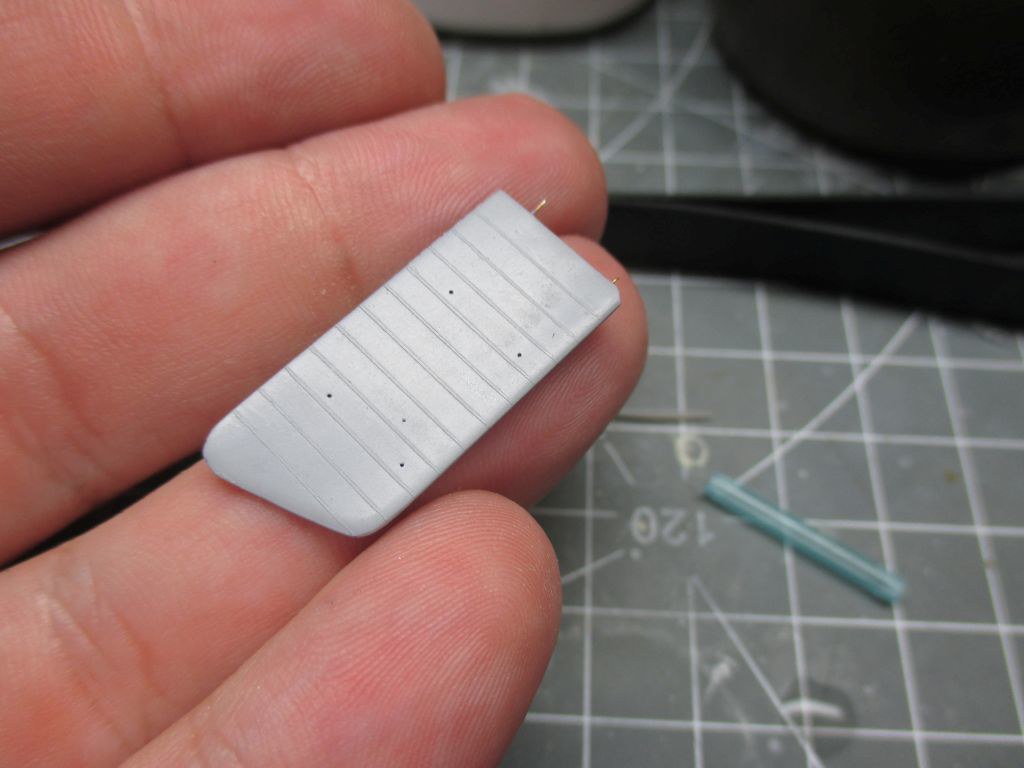
The wings are nearly ready for painting, the ribs turned out quite fine.
Cheers
Ondra
Re: Fokker E.I 1/144 scratch
Posted: Sun Aug 06, 2017 12:29 pm
by ondra
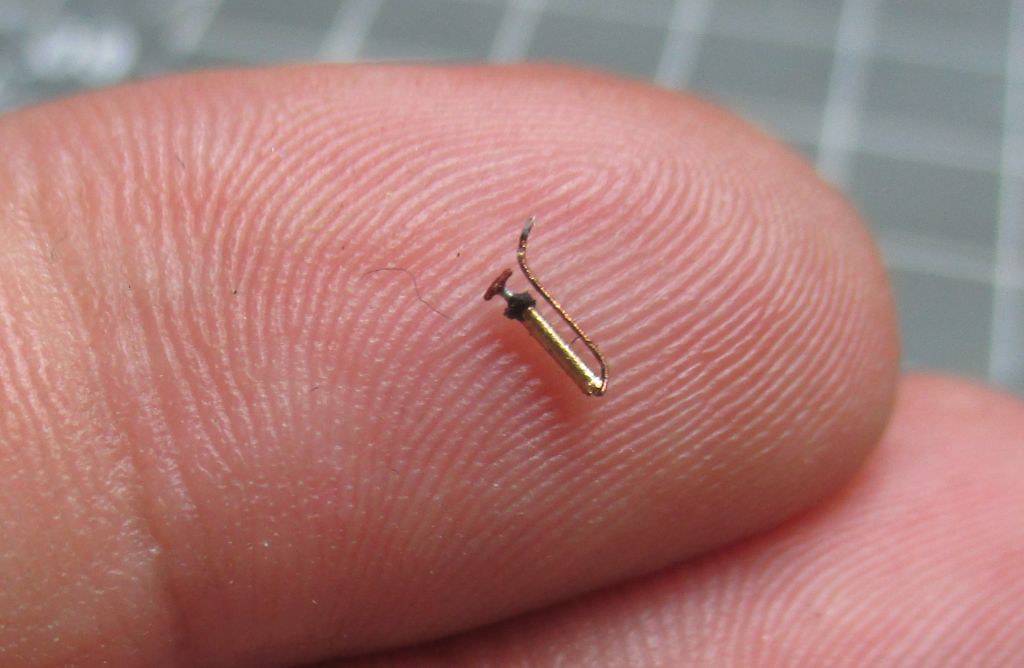
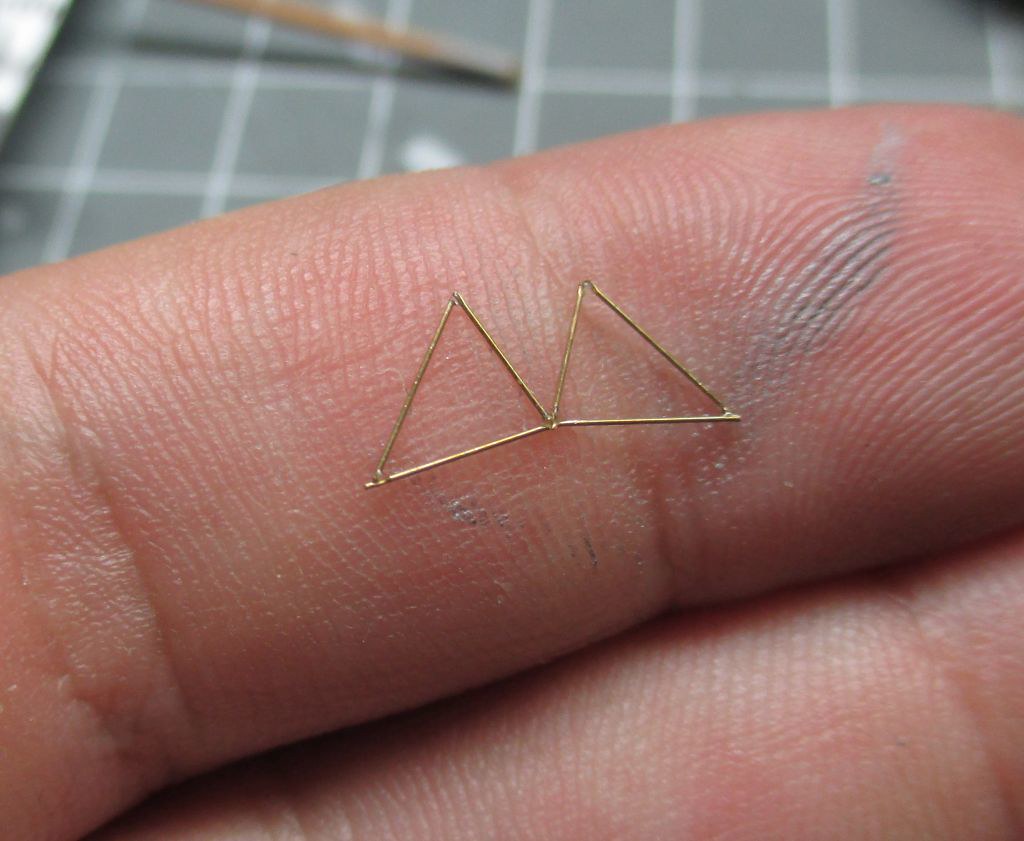
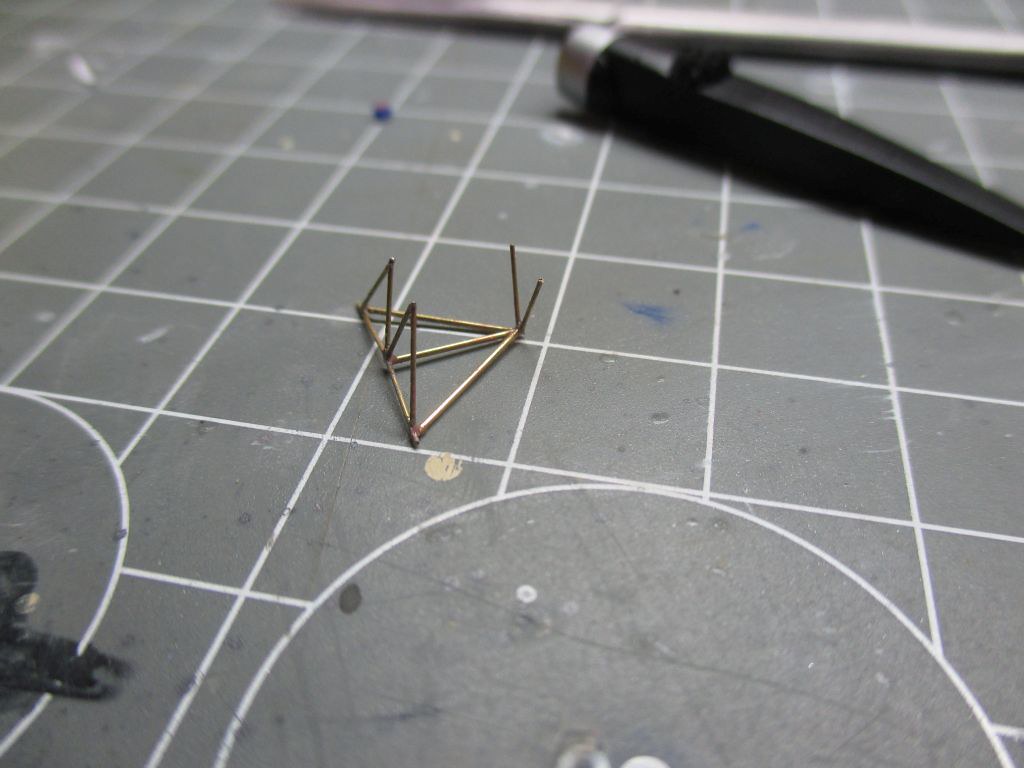
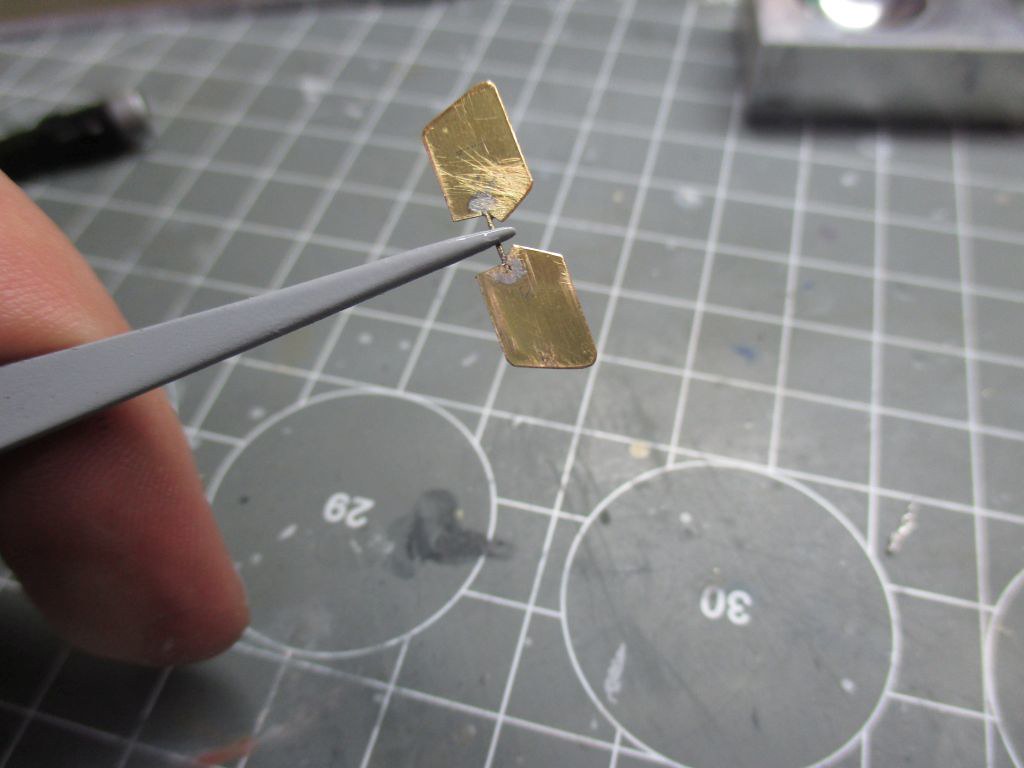
Today I lost my soldering virginity.
More practice will be needed, but all in all a very promising method.
IMG_1983.JPG
Cheers
Odra
Re: Fokker E.I 1/144 scratch
Posted: Sat Aug 12, 2017 9:48 am
by ondra
Re: Fokker E.I 1/144 scratch
Posted: Tue Aug 15, 2017 2:03 am
by Lysus
I'm speechless. Impressive stuff.

Re: Fokker E.I 1/144 scratch
Posted: Sat Aug 19, 2017 1:09 pm
by ondra
Many thanks for your nice comment!
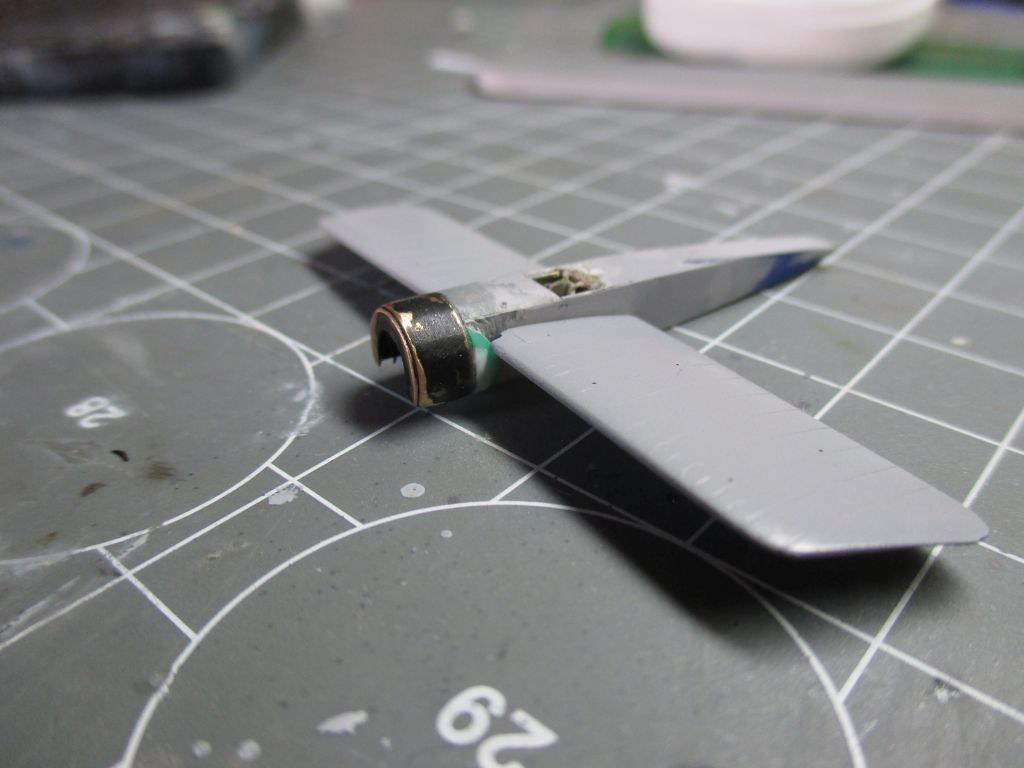
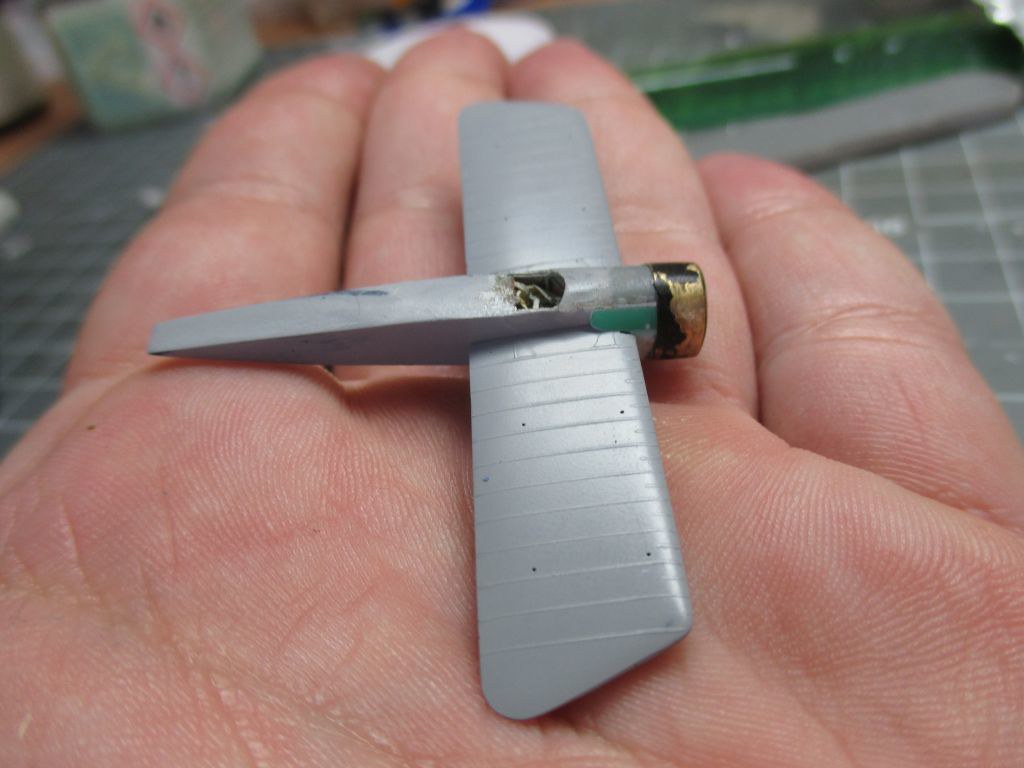
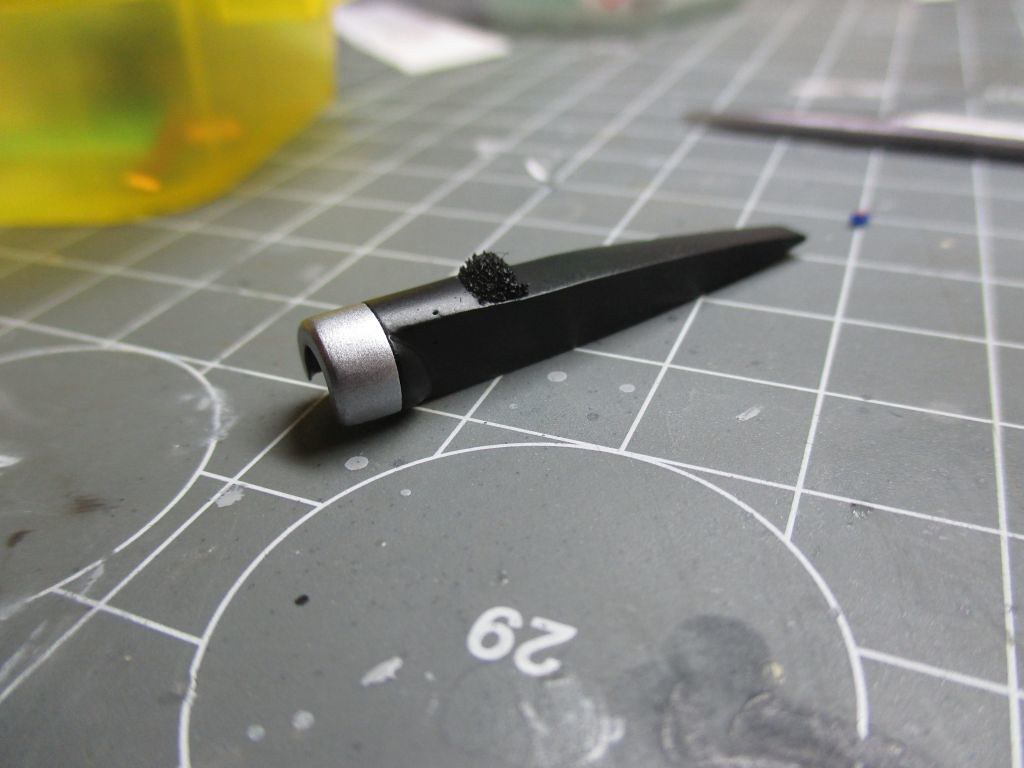
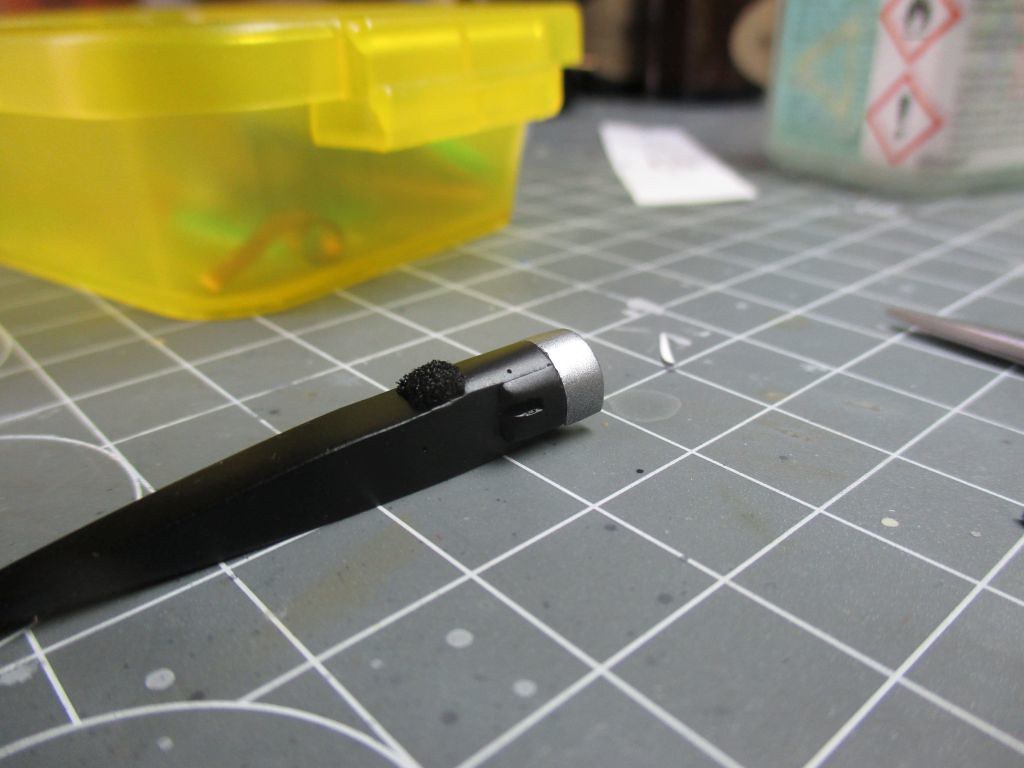
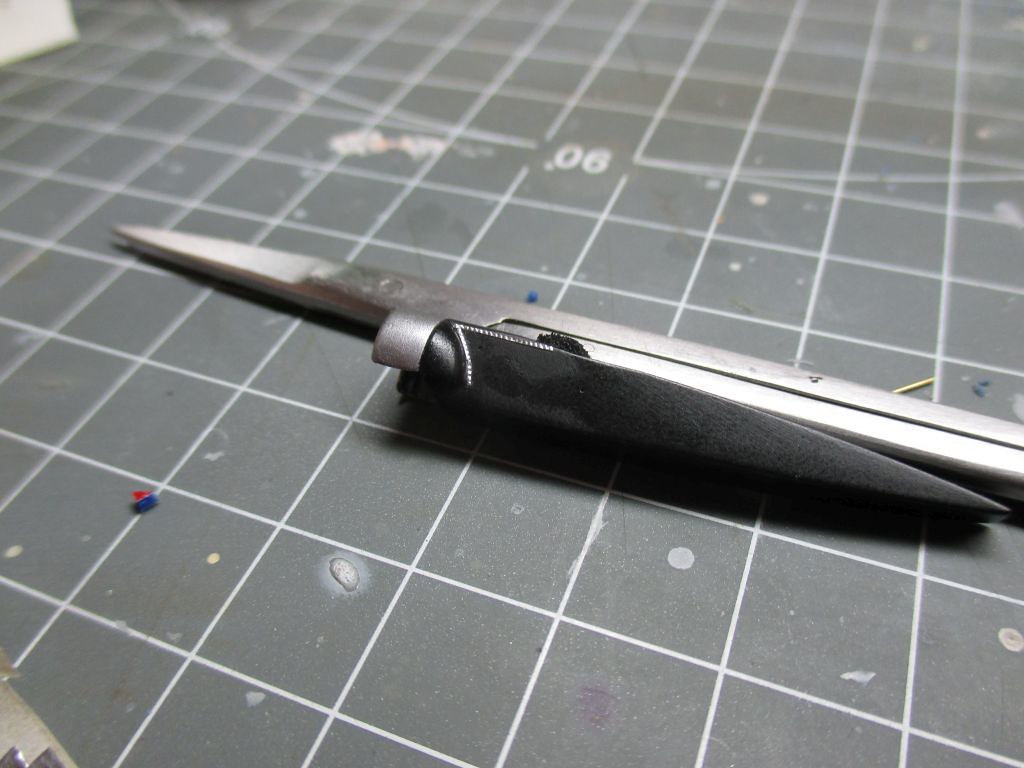
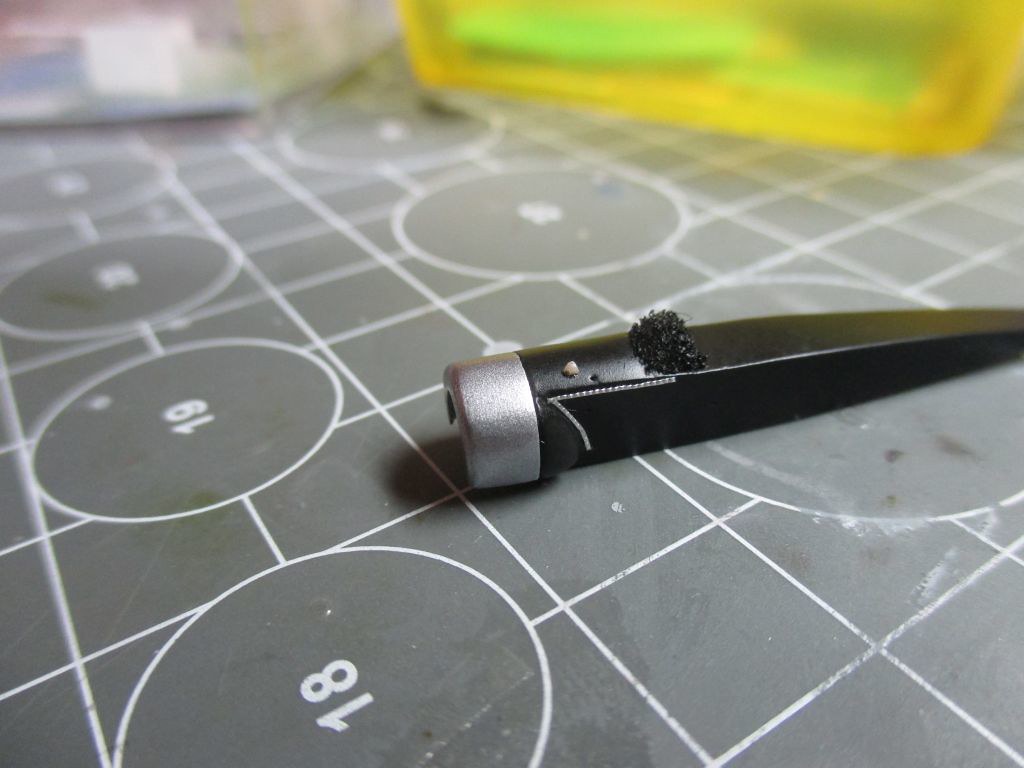
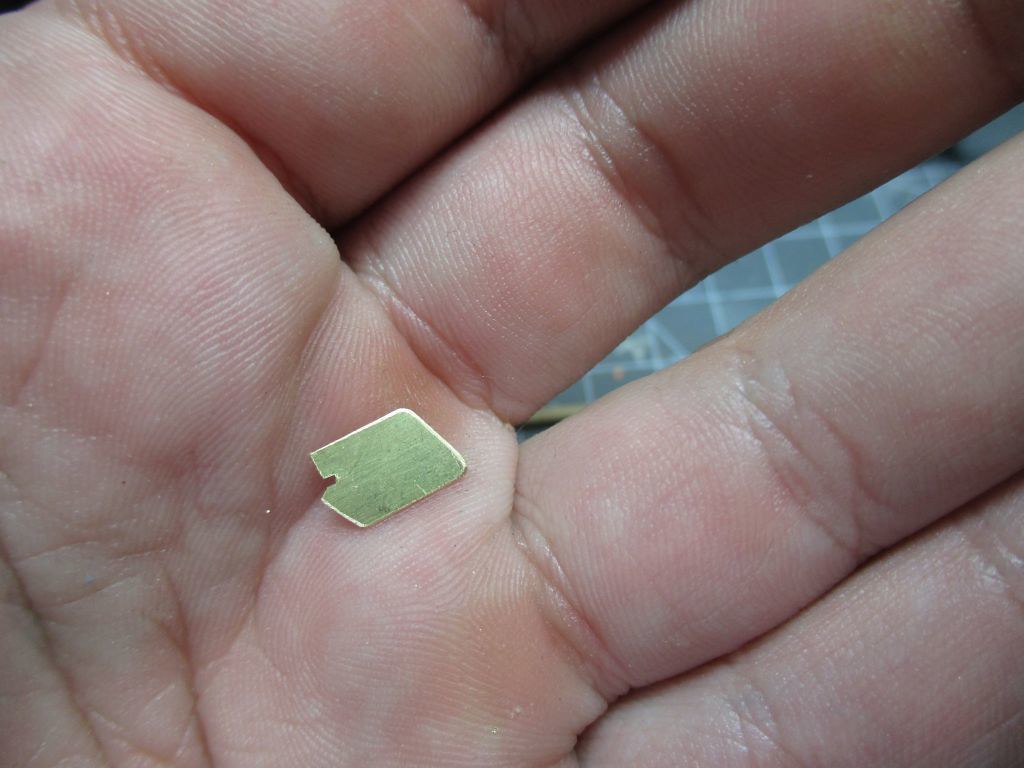
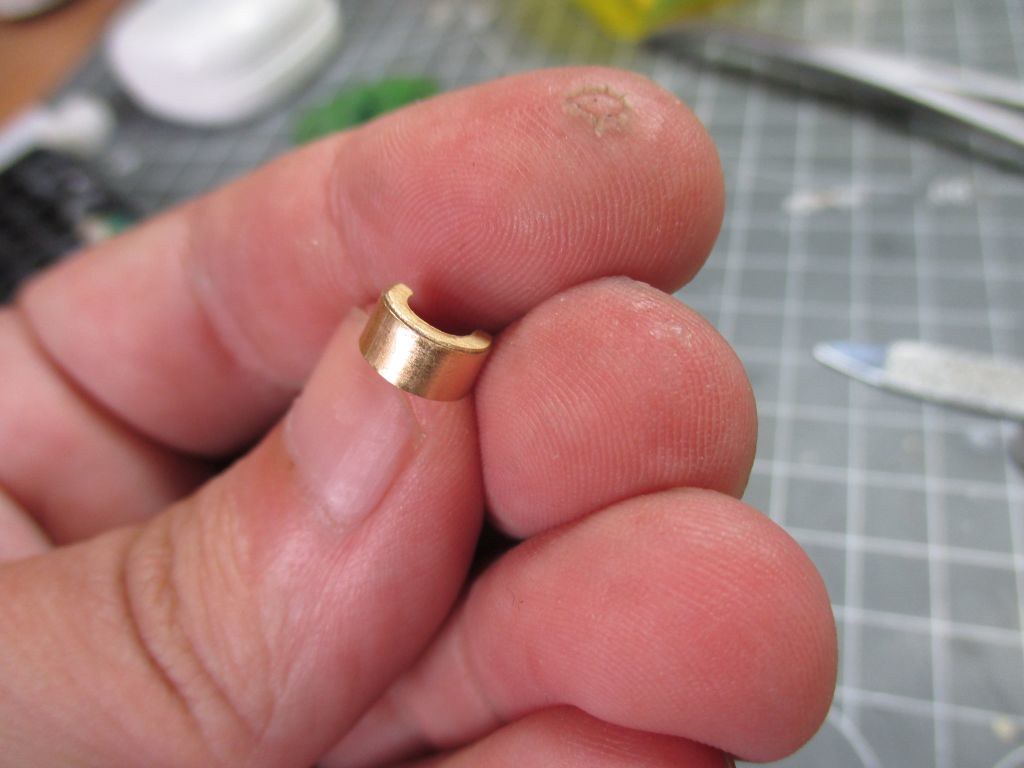
Today I have been experimenting with an alternative method to make the engine cowling, this time using brass sheet. The original intention was to solder the two pieces together, but this turned out to be beyond my skills yet (and obviously I will need a finer soldering iron tip). So I took plan B and glued the two pieces together with photopolymer glue. Hopefully it will be rigid enough.

Cheers
Ondra
Re: Fokker E.I 1/144 scratch
Posted: Sat Aug 19, 2017 9:38 pm
by Twokidsnosleep
If you could clamp it like that it might be solderable..is that a word???
How I made a brass Bugatti cowling; gotta hunt for pics, probably in work computer at office
Run a flux paste on the inside of the joint...could paint it along the seam
Cut solder into tiny little chunks and apply along the solder line within the flux
Blast heat from the inside with a small butane torch
Watch for the flash of solder and the flow along the seam
Clean up the mess
Gets into the intricacies of soldering but the clamping of the part in the correct orientation is the most important step for which glue and physical clamp are vital.
Apologies if this is redundant for you
Re: Fokker E.I 1/144 scratch
Posted: Sun Aug 20, 2017 6:50 am
by ondra
That is very inspirative, many thanks!
Re: Fokker E.I 1/144 scratch
Posted: Sun Aug 20, 2017 1:07 pm
by ondra
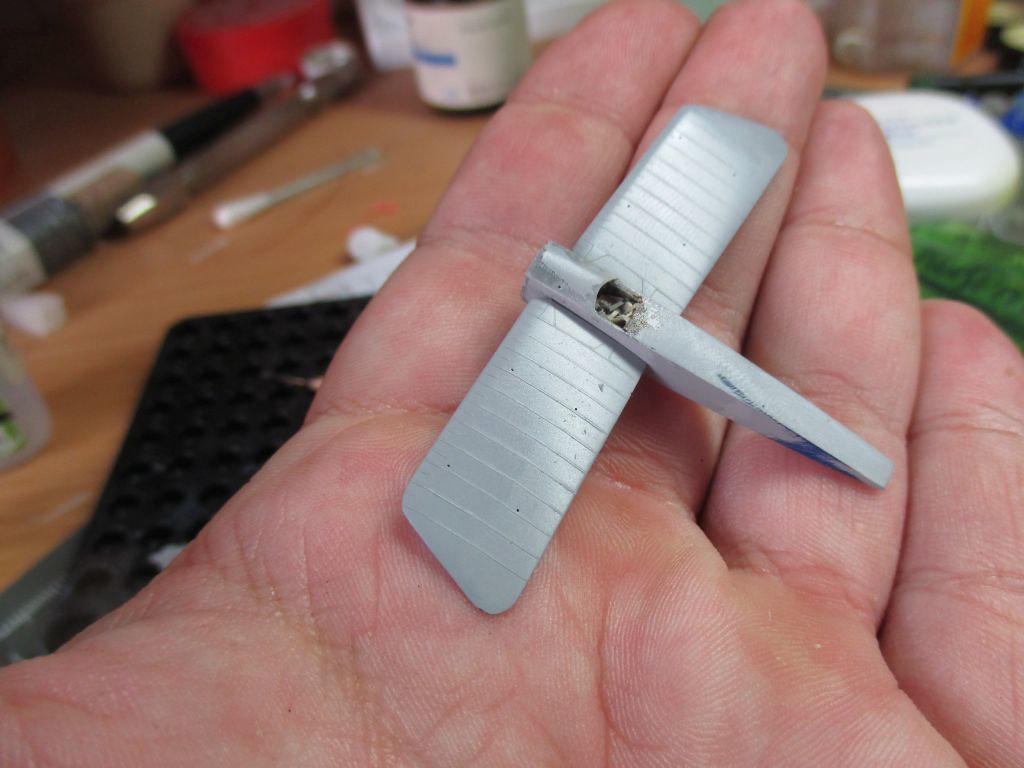
Today I drilled the holes for the brass pins and could not resist from dry fitting the wings while praying for the symetry to be correct.
It looks acceptable.
Cheers
Ondra
Re: Fokker E.I 1/144 scratch
Posted: Sat Aug 26, 2017 12:28 pm
by ondra
Re: Fokker E.I 1/144 scratch
Posted: Sun Aug 27, 2017 4:00 pm
by ondra
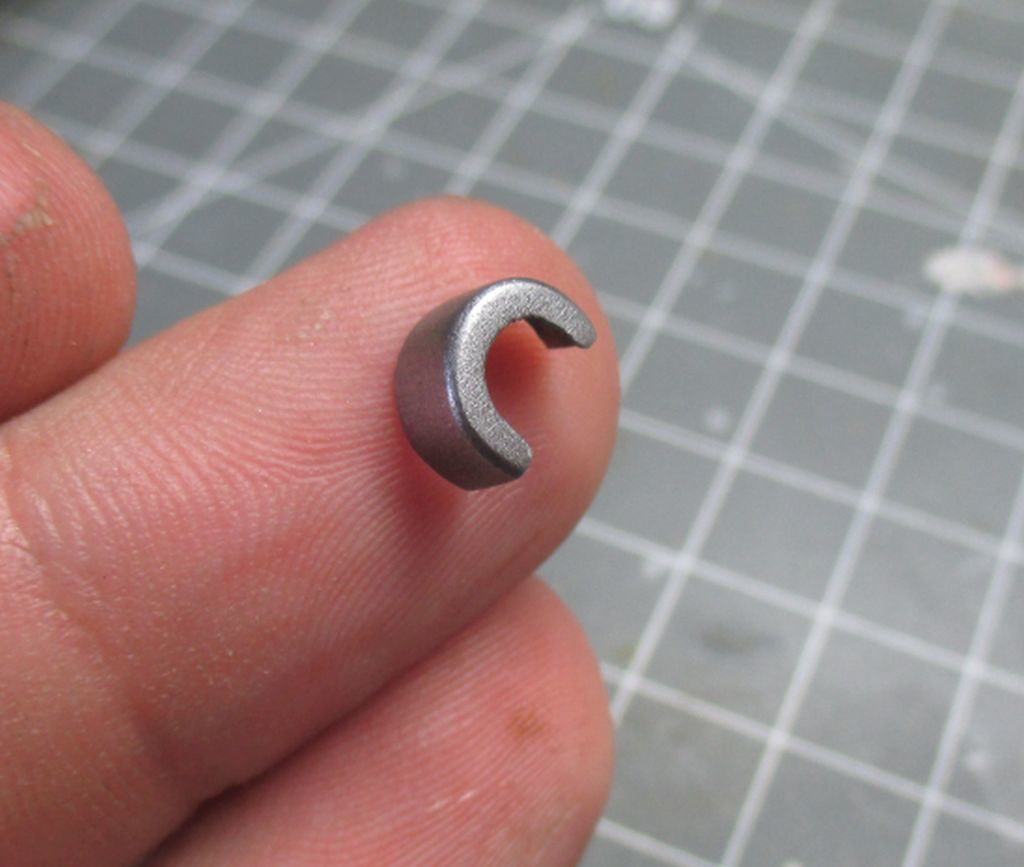
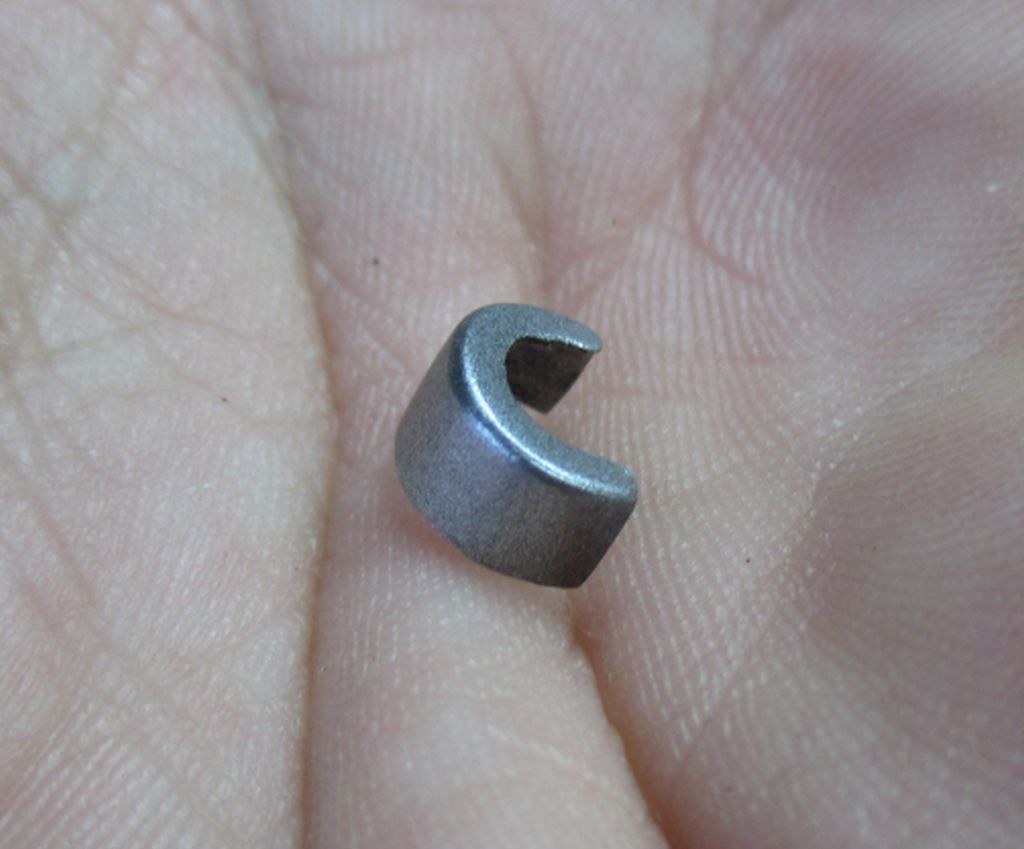
I wanted to check whether the cowling will be ok, so I sprayed it with black Mr. Surfacer, polished it and gave it a semi translucent coat of Mr. Paint metalizer. So far I have not found a suitable method to render the "swirling" on the cowling to make it look believable in this scale. So for the time being I will just try to create the effect telling "this is not clean polished aluminium", therefore the translucency.
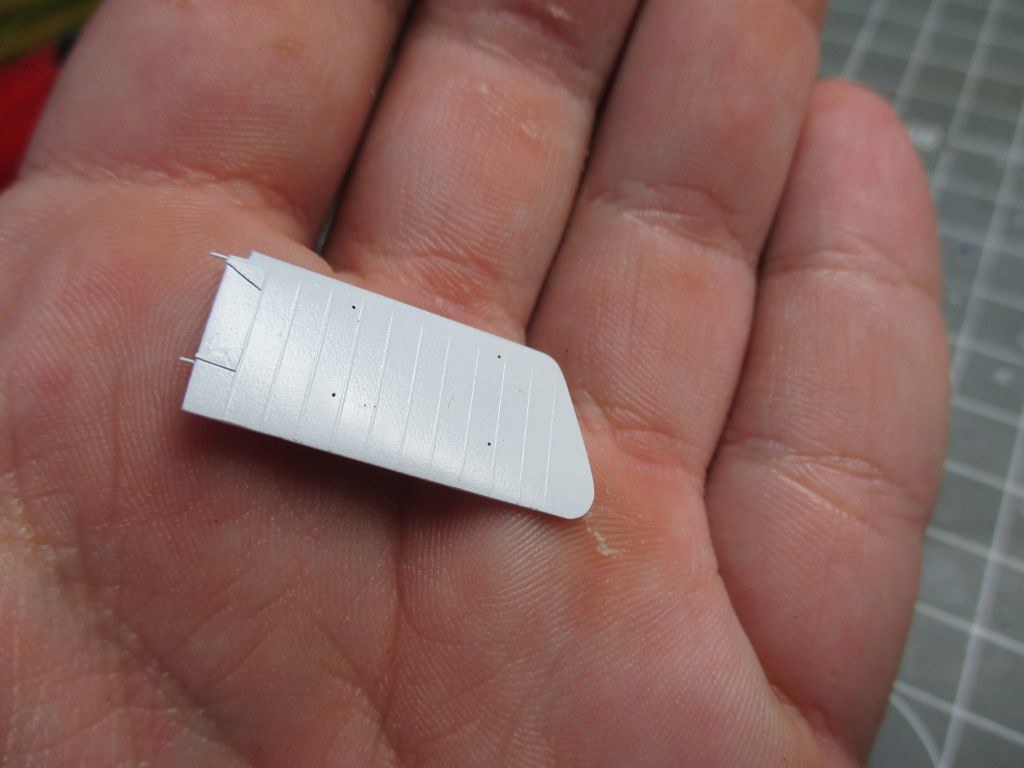
The wings and the tailplanes were given a coat of Drooling Bulldog zinc white and are ready for preshading. As usually I will be using Drooling Bulldog paints for the whole paintjob (fell in love with them). The fuselage and horizontal tailplanes will be painted with a mix of unbleached linen and umbraun lightened with zinc white, for the wings I will probably use the graugrün.
Re: Fokker E.I 1/144 scratch
Posted: Sun Sep 03, 2017 4:14 pm
by ondra
Re: Fokker E.I 1/144 scratch
Posted: Sun Sep 03, 2017 4:17 pm
by Twokidsnosleep
Looking awesome
I see some soldering going on there

Re: Fokker E.I 1/144 scratch
Posted: Wed Sep 06, 2017 5:38 pm
by ondra
Thank you very much! The more practice I gain with soldering, the more taste I am developing for this technology.

Re: Fokker E.I 1/144 scratch
Posted: Sun Sep 10, 2017 1:53 pm
by ondra
Re: Fokker E.I 1/144 scratch
Posted: Thu Sep 14, 2017 5:32 am
by ondra
Last night I found a bit of time for the workbench, so I continued with the engine assembly and added a few details. It is not perfect but quite good for the first try.


I also started working on details on the fuselage bottom. I would like to use a method very similar to the one I use for making ribs - I apply the masking tape and afterwards I spray several coats of surfacer. Once the tape is removed, the edges should create good guides for the stitching and for the hatch beneath the cockpit.


Cheers
Ondra
Re: Fokker E.I 1/144 scratch
Posted: Sun Sep 17, 2017 3:13 pm
by ondra
Not much time for the workbench this weekend, so just a slight progress.
I removed the masks from the fuselage belly and after a bit of sanding the result looks acceptable.


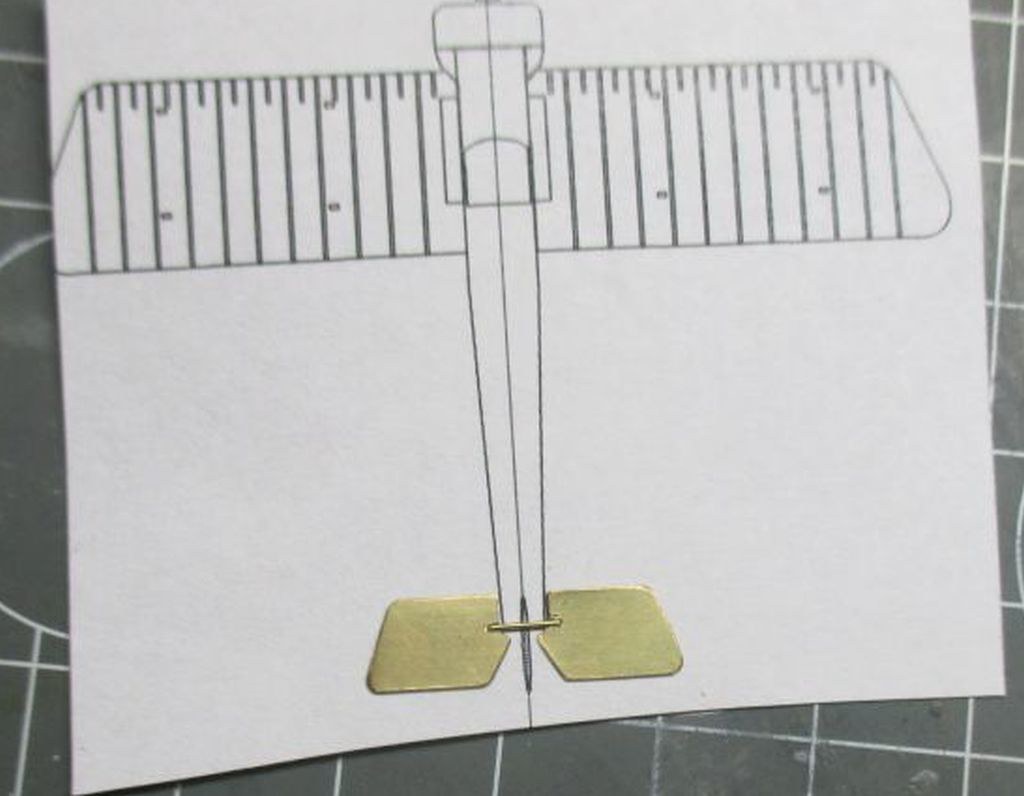
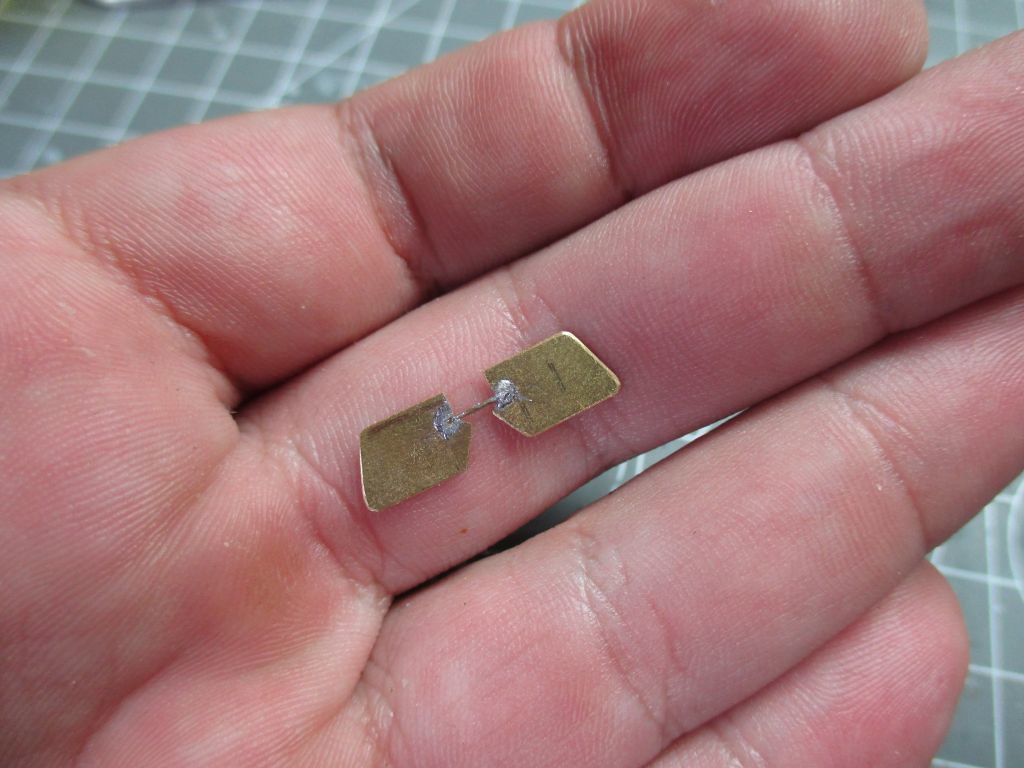
I also added the ribs to the tailplanes:

And started adding details to the undercarriage, still a lot of work ahead on this one:

Cheers
Ondra
Re: Fokker E.I 1/144 scratch
Posted: Sun Sep 17, 2017 4:12 pm
by Twokidsnosleep
Super stuff
You are doing a great job and so imaginative in creating the detailed parts
Re: Fokker E.I 1/144 scratch
Posted: Tue Sep 19, 2017 5:20 am
by ondra
Many thanks for your nice comment!
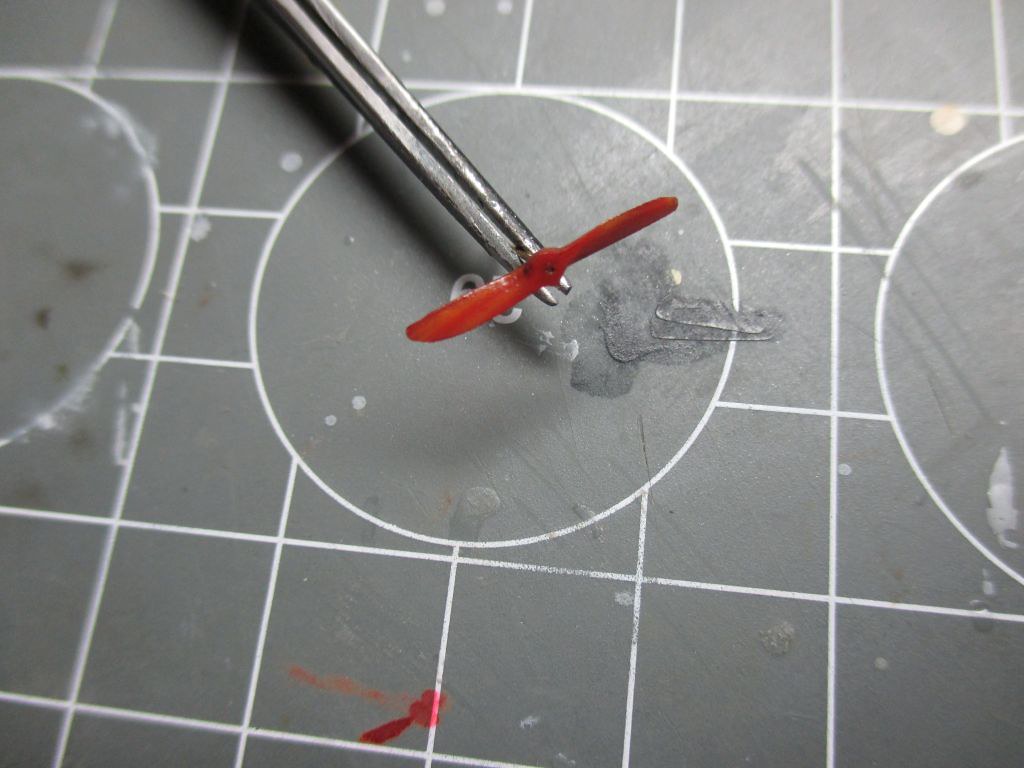
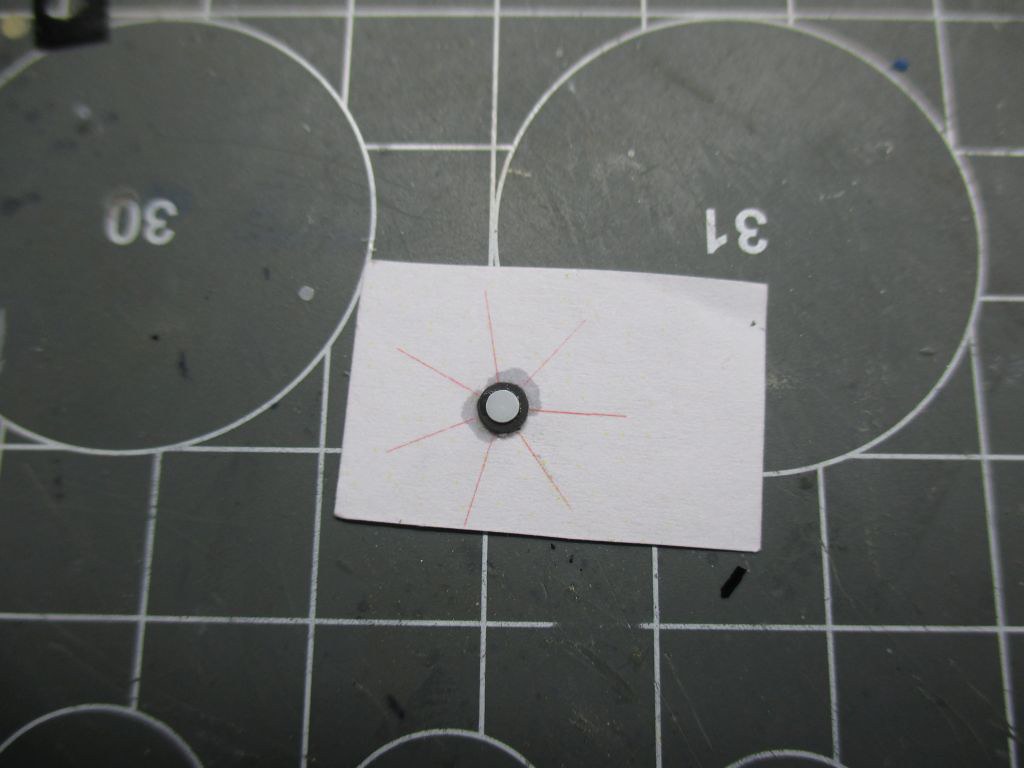
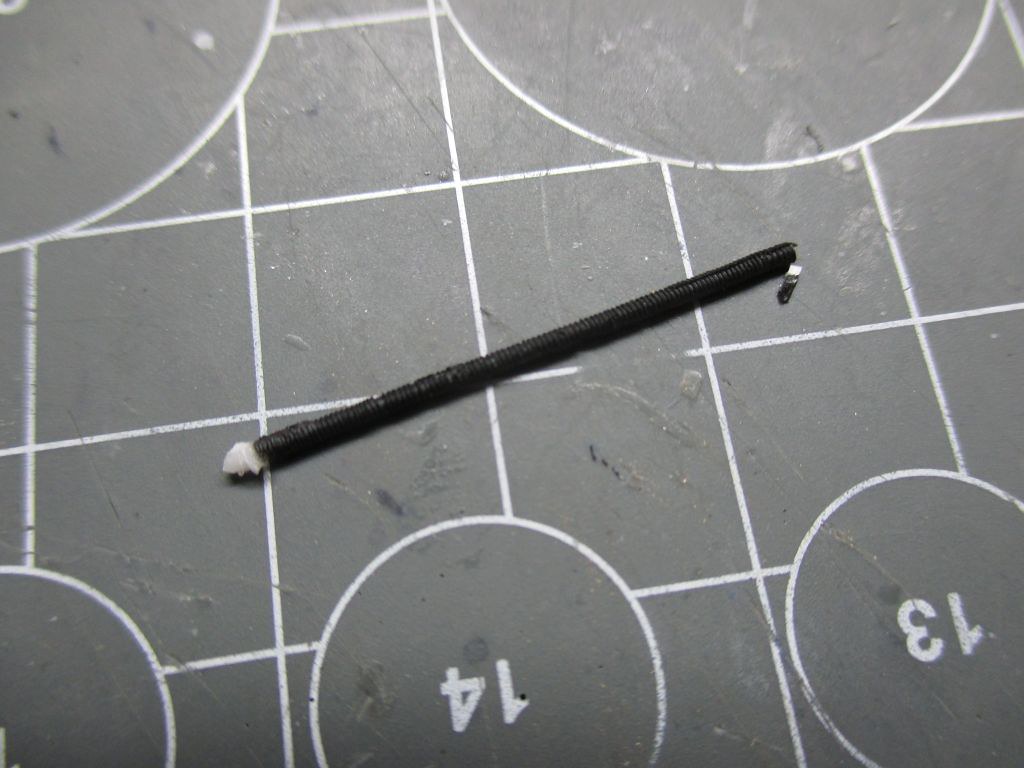
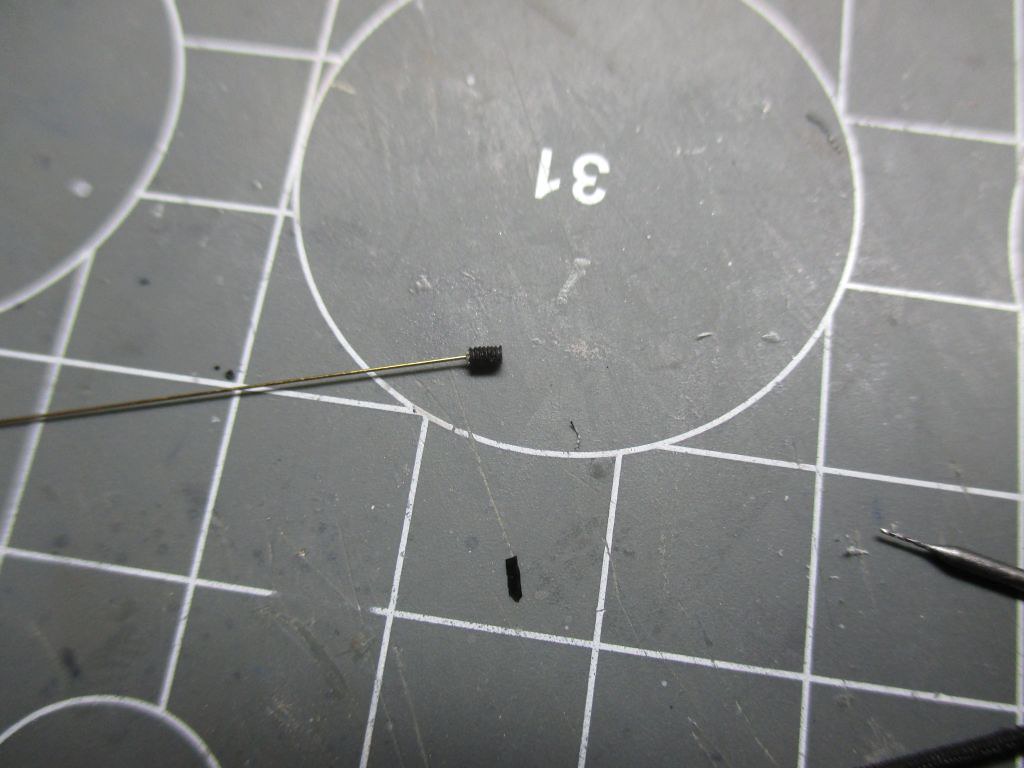
Yesterday I made a bit of progress on the engine by adding the push rods, now it is ready for painting.


I also added the stitching to the fuselage, but I am not very satisfied with the result, therefore I will rework it.


Cheers
Ondra
Re: Fokker E.I 1/144 scratch
Posted: Wed Sep 20, 2017 6:20 am
by ondra
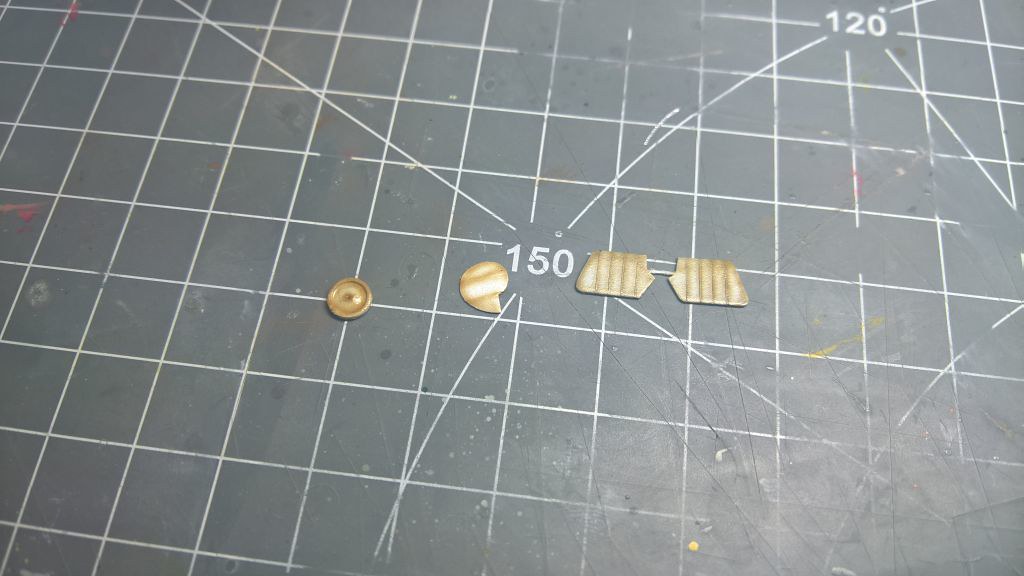
I found some time for the workbench last night (could not sleep) so I started working on the preshading.
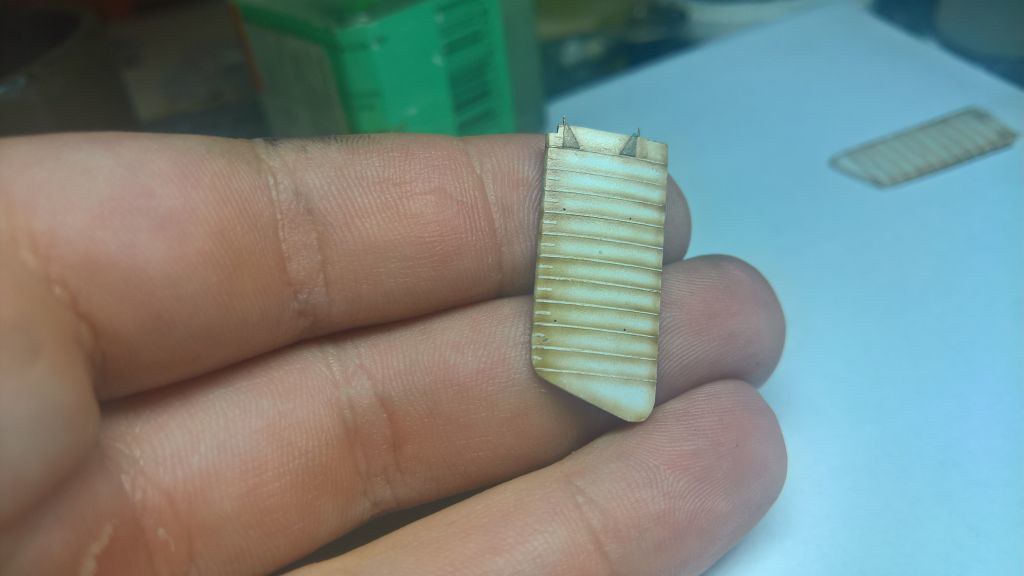
First I sprayed a thin layer of strongly diluted Drooling Bulldog Umbraun along the ribs.
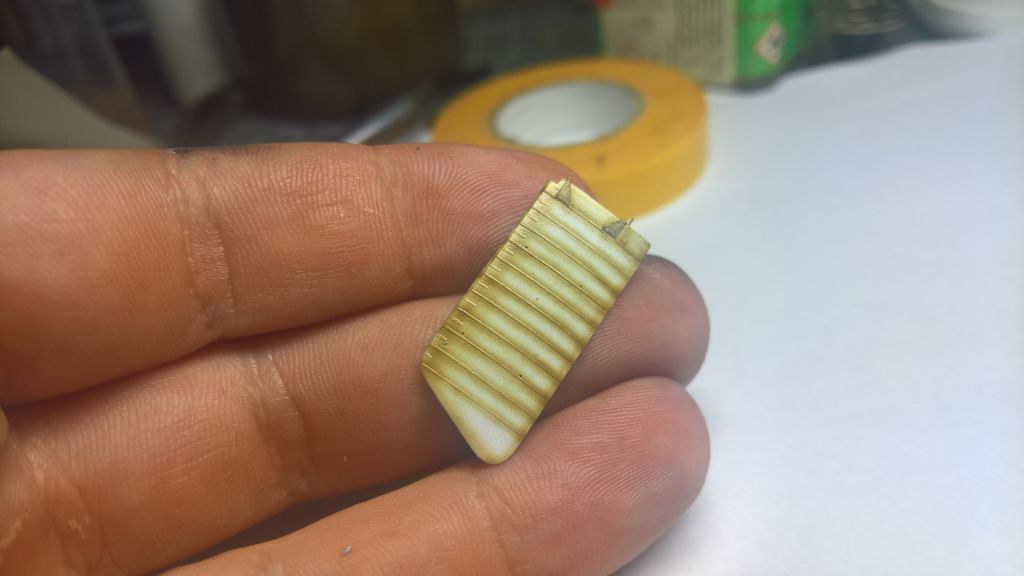
Afterwards I took very fine sandpaper and removed the Umbraun from the ribs ridges.
Similar procedure followed on the fuselage, first a bit of masking:
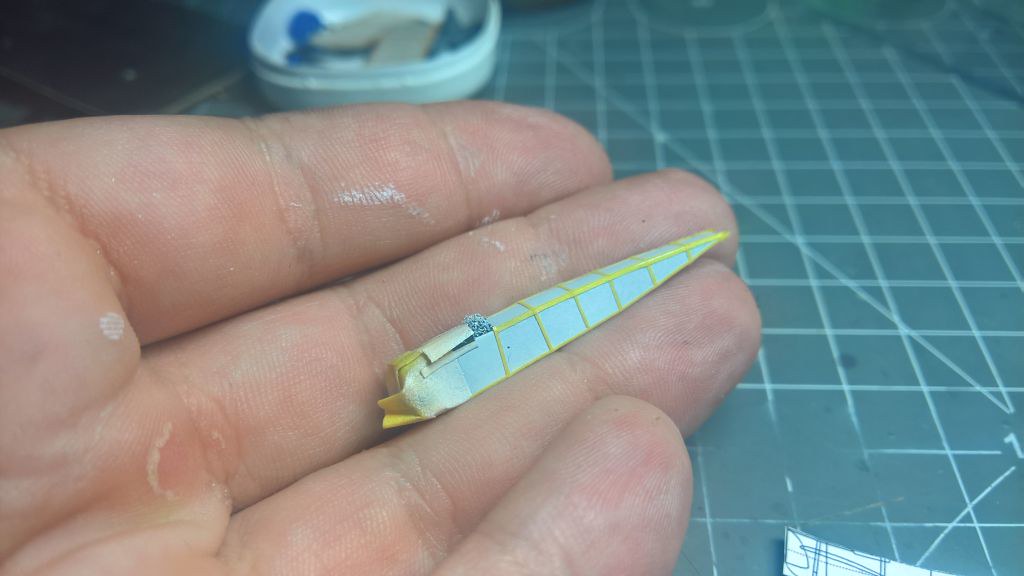
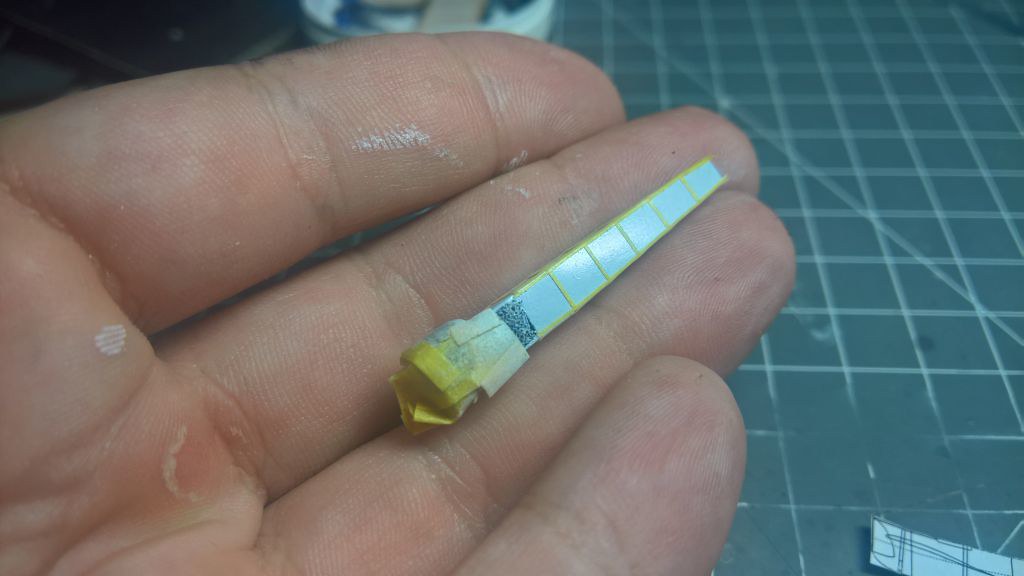
Then Umbraun again:
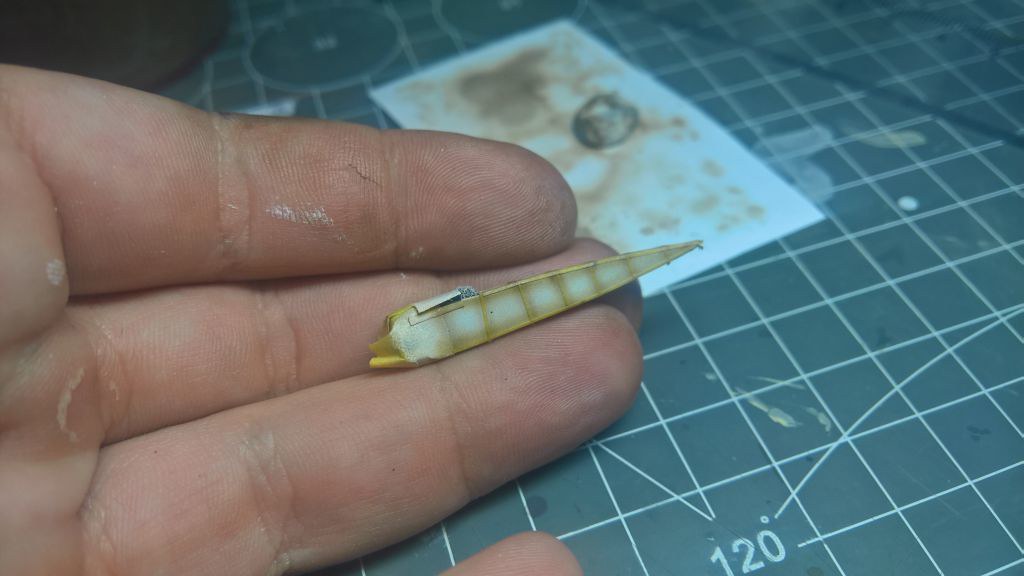
And masks removed:
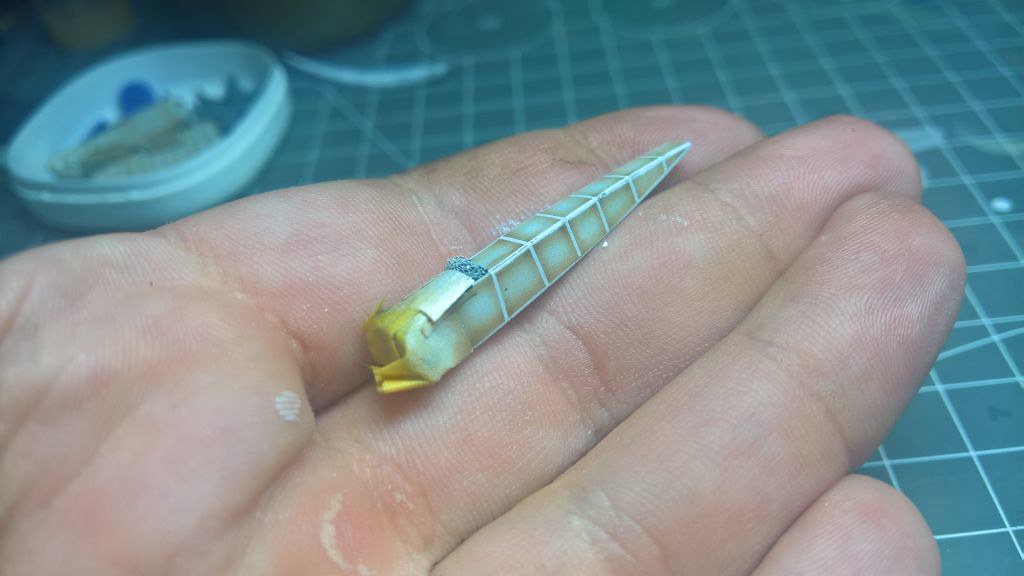
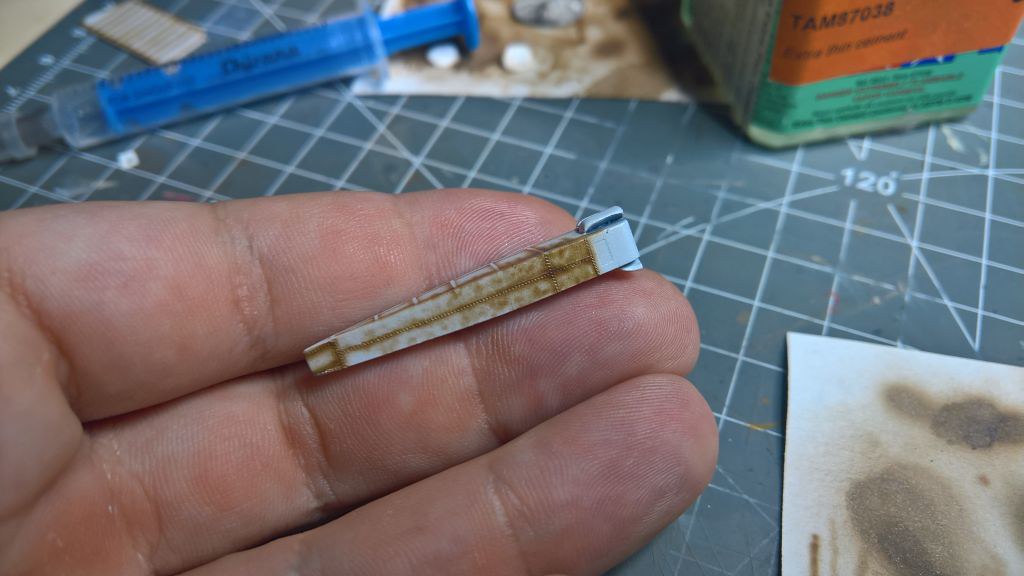
The last step so far was a heavier coat of Umbraun to creat the base for the oil soaking:
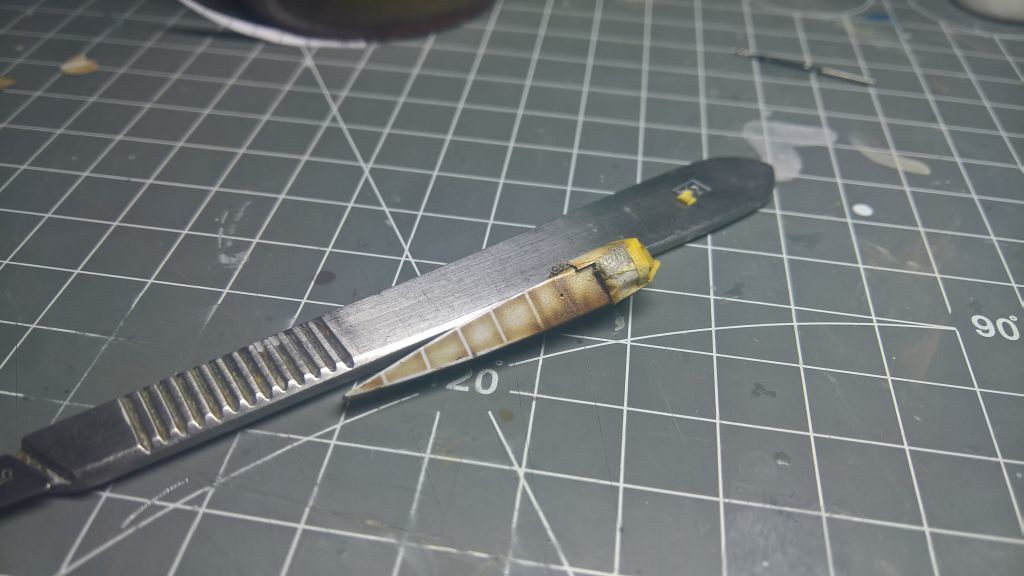
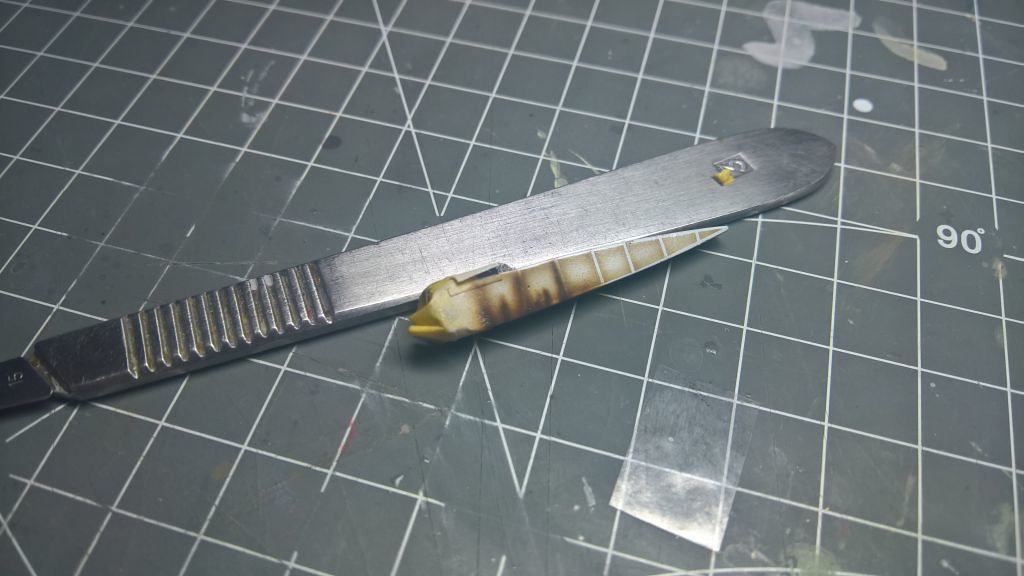
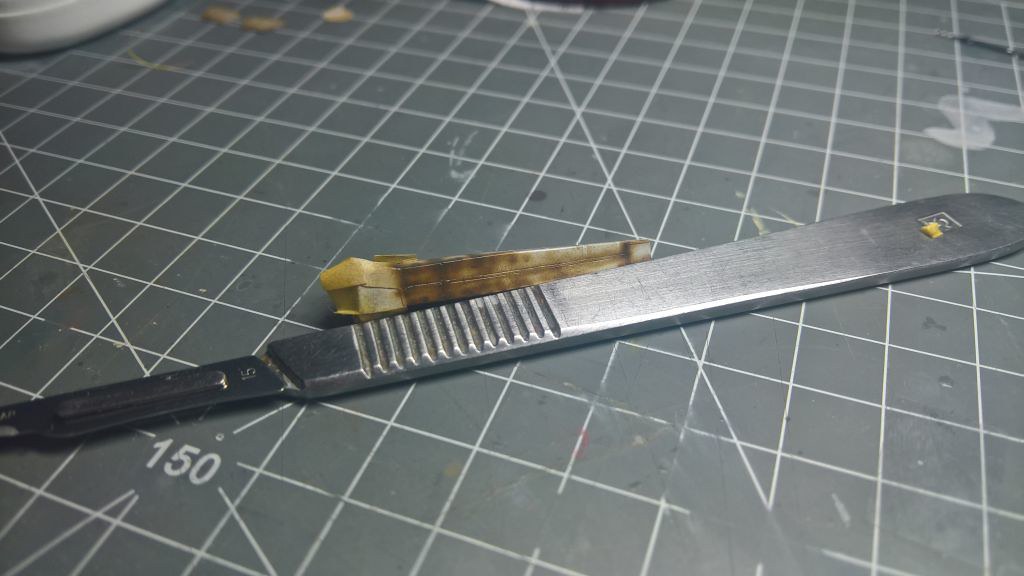
Will see what it will look like once oversprayed with the canvas paint.
Cheers
Ondra
Re: Fokker E.I 1/144 scratch
Posted: Wed Sep 20, 2017 4:29 pm
by Twokidsnosleep
God it is so tiny
Are you using magnification of some sort to work??
Re: Fokker E.I 1/144 scratch
Posted: Wed Sep 20, 2017 5:10 pm
by Lysus
Twokidsnosleep wrote: Wed Sep 20, 2017 4:29 pm
God it is so tiny
Are you using magnification of some sort to work??
Was just wondering the same thing. But for the hand and knives I'd assume this was a 1/32

Re: Fokker E.I 1/144 scratch
Posted: Thu Sep 21, 2017 7:11 am
by ondra
Unfortunately I am not able to work with a magnifier, so I have to get along with bare eyes.
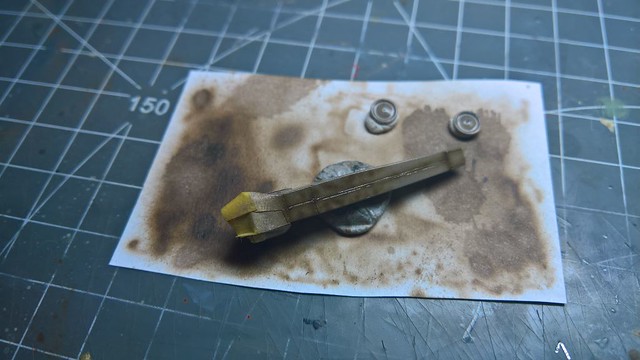
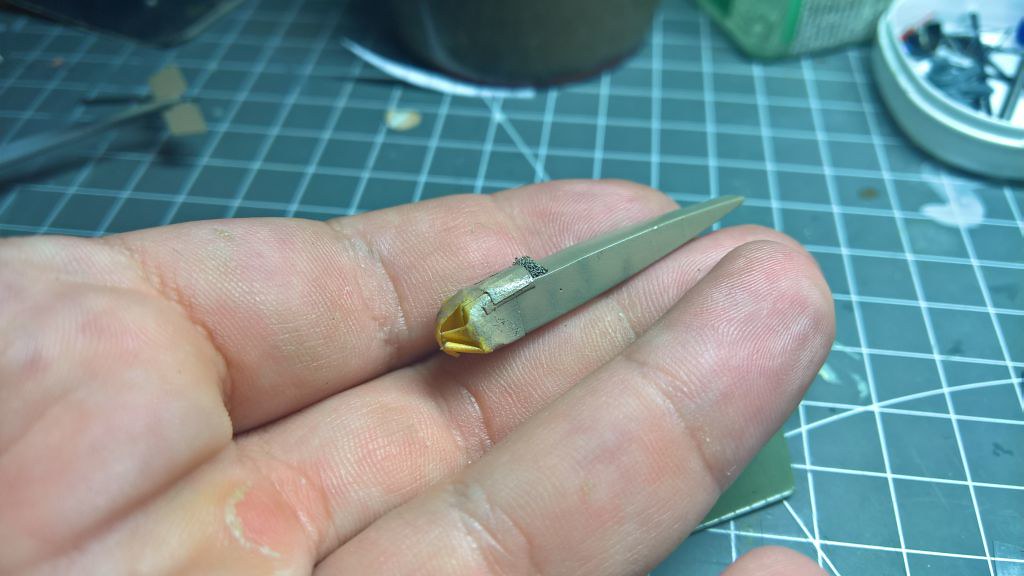
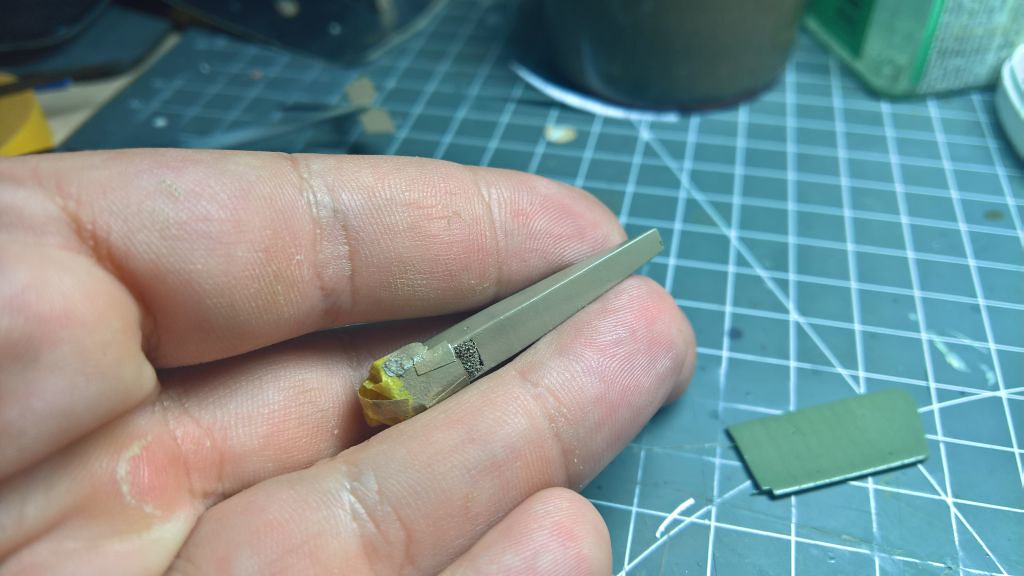
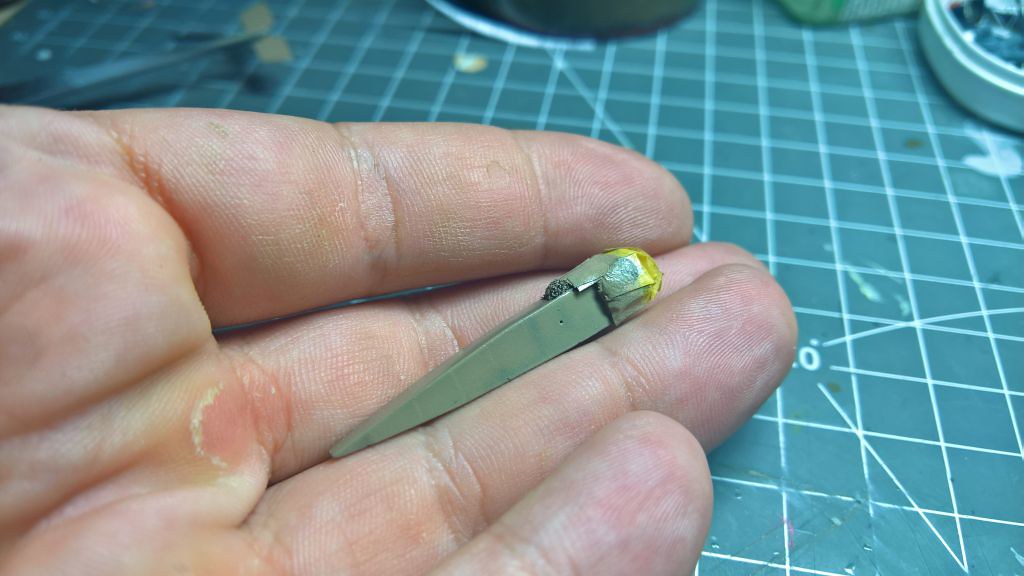
I was also eager to see what the preshading would look like, so I continued with painting last night. Result - well, lesson learned.
The contrast of the soaking was too little, whereas the contrast of the tube construction was too much - as I have learned from the photo of the original (placed in WNW instructions), the fuselage was obviously not CDL, as there is almost no translucency.
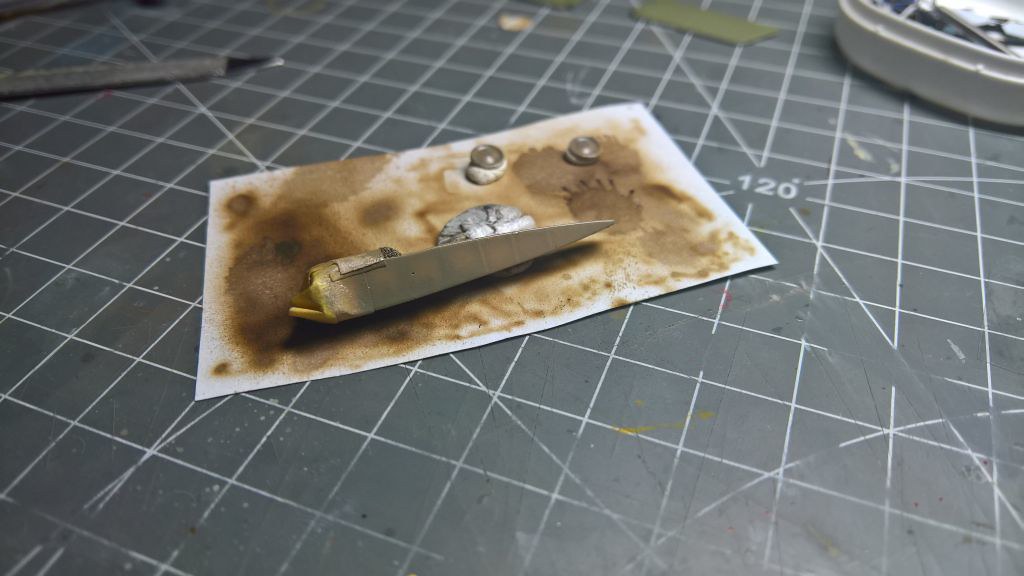
So I decided to do something between preshading and postshading - maybe "intershading"?
- and emphasized the soaking a bit. Afterwards, I sprayed another thin layer of paint. The translucency almost disappeared, but is still there. I am still not sure whether the shade is correct, looks a bit too dark to me, so I might to rework the fuselage paintwork completely. Will see once the paint has cured completely, i. e. this evening.
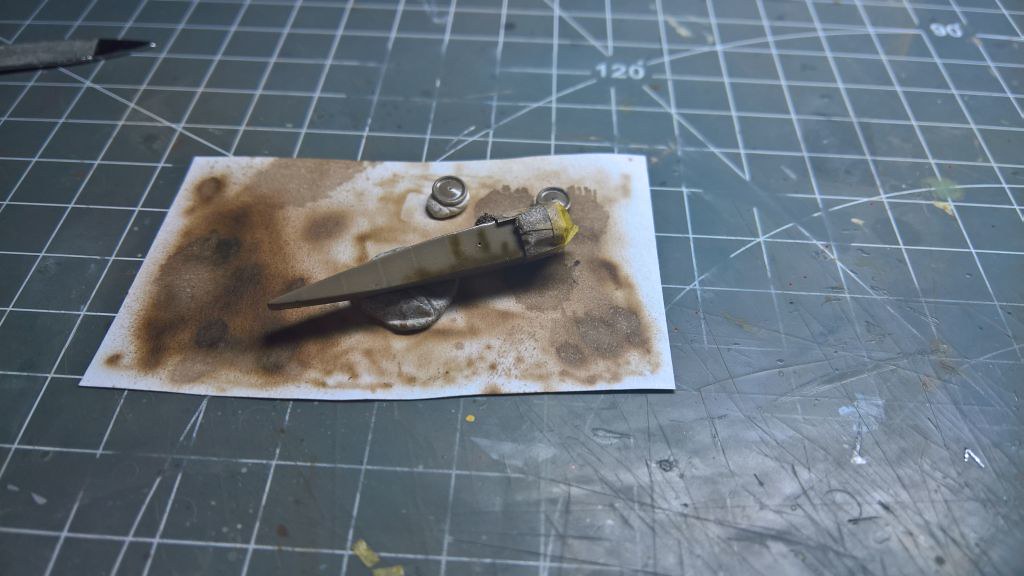
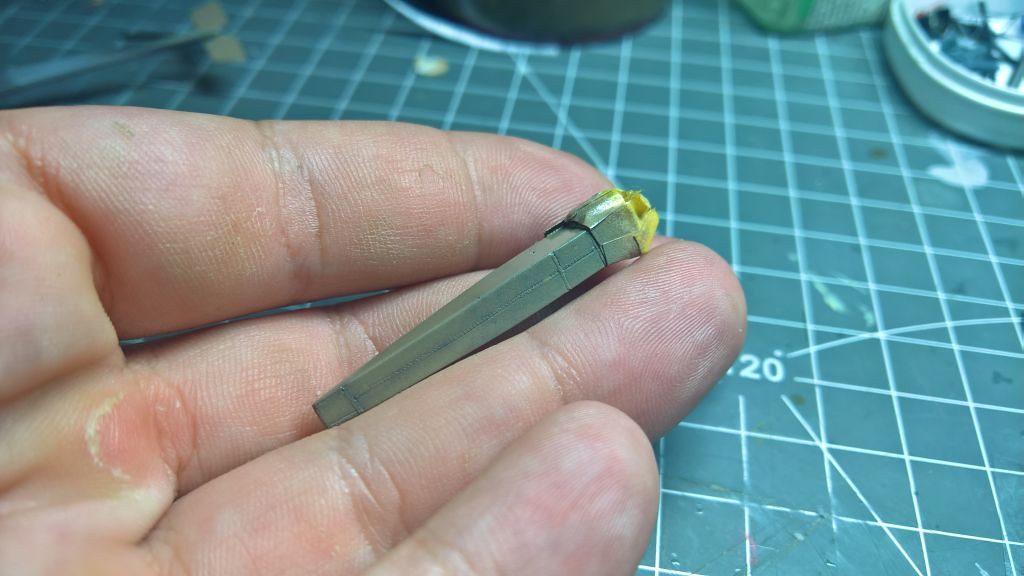
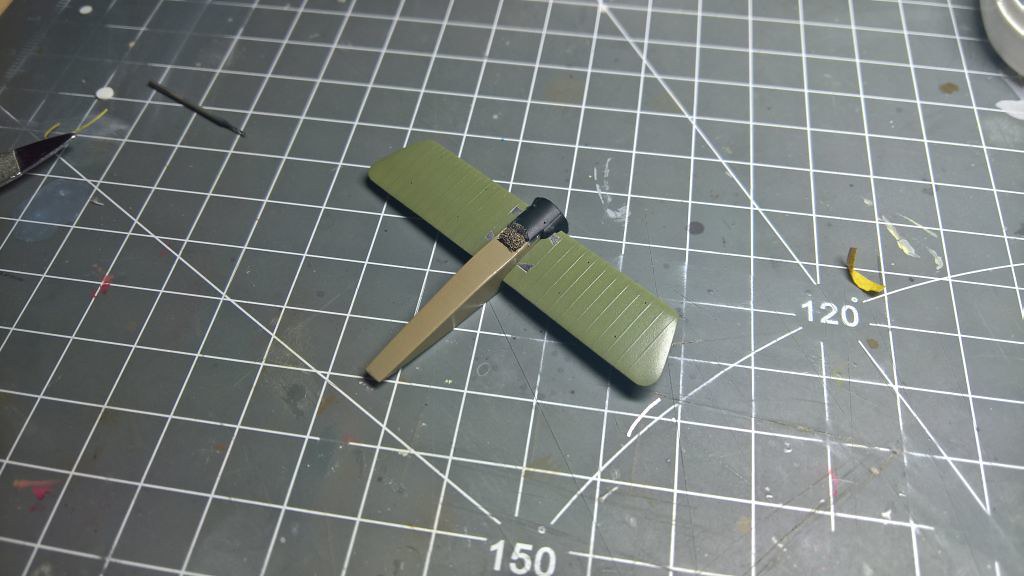
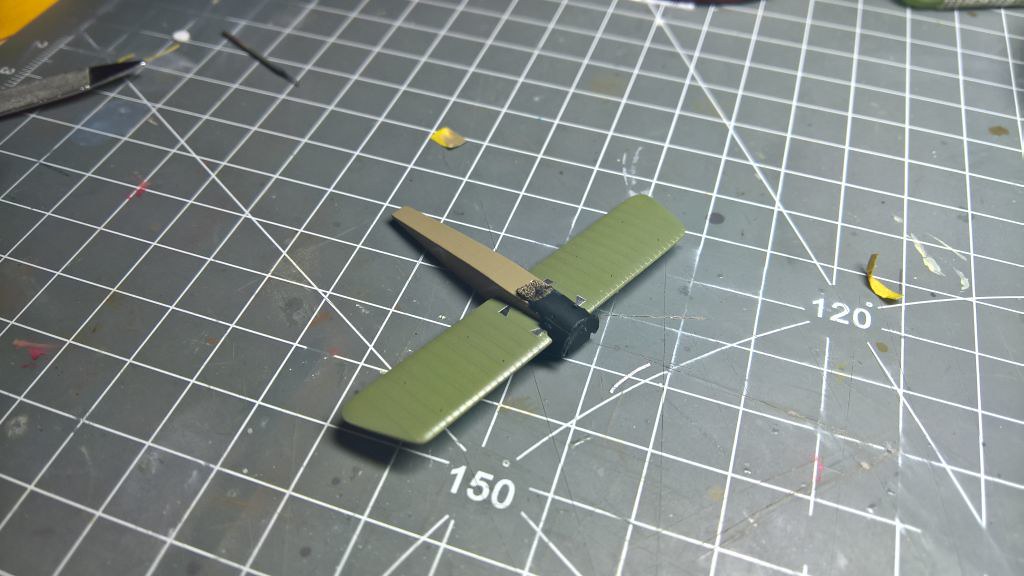
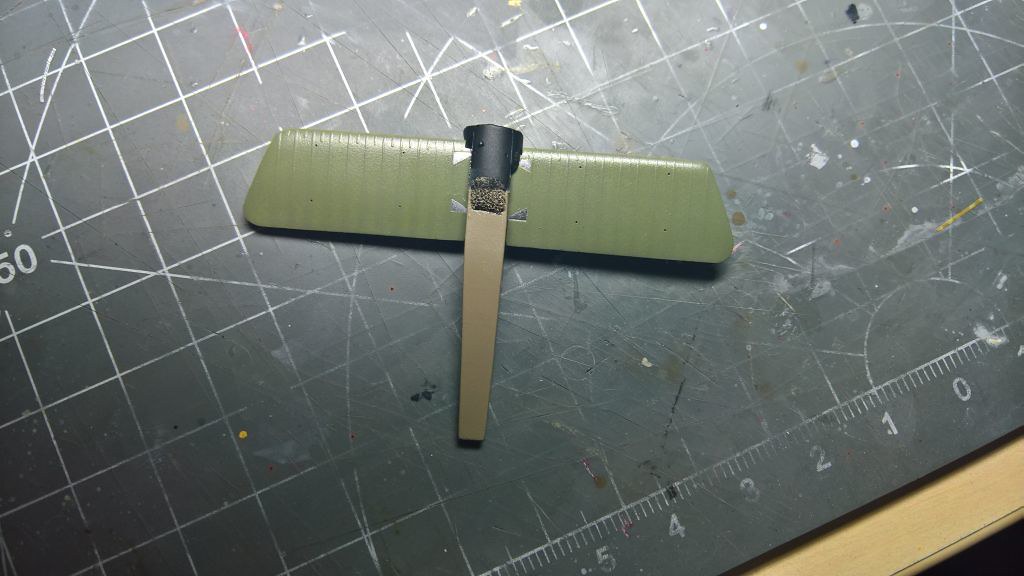
The shade I took for the wings did not look correct either, unfortunately, it was too yellowish for my taste.
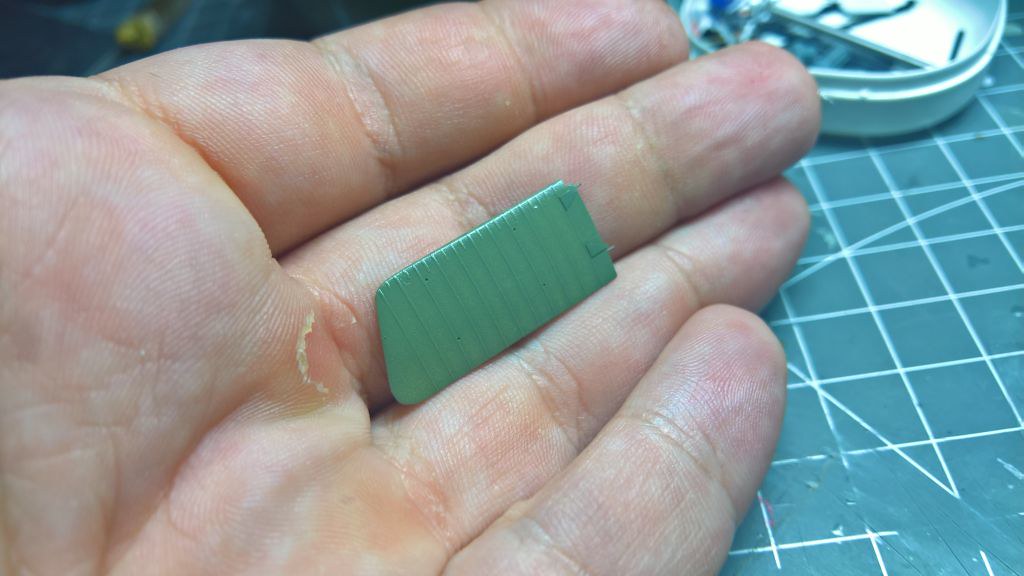
So I gave it a shot of Drooling Bulldog Grauesgrün without lightening and it looks a tad better.
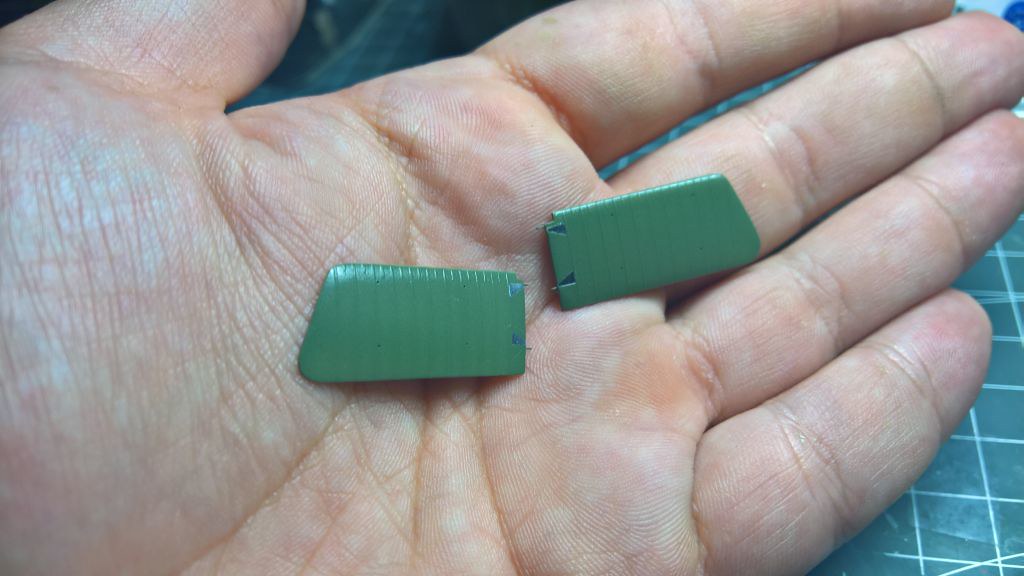
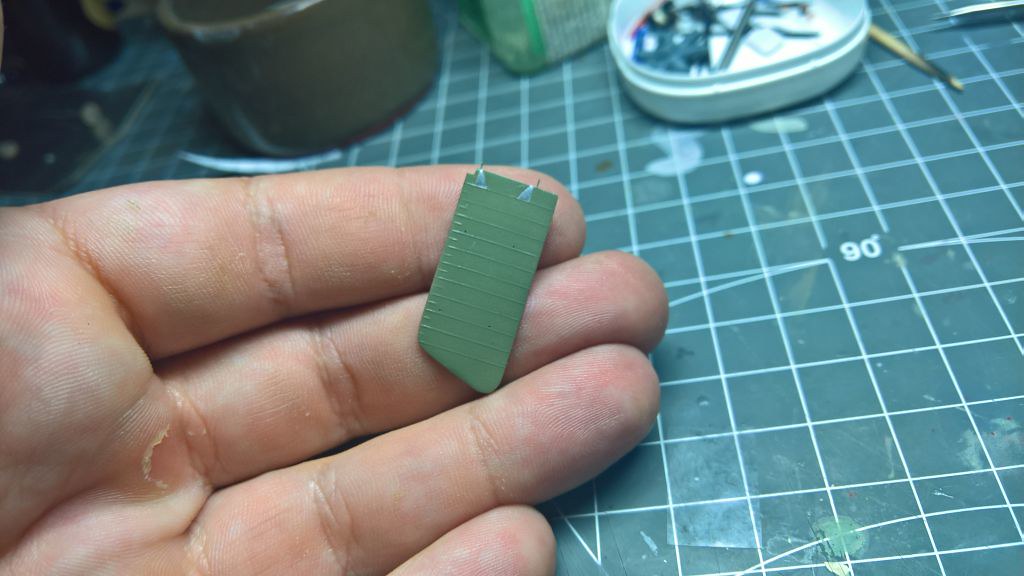
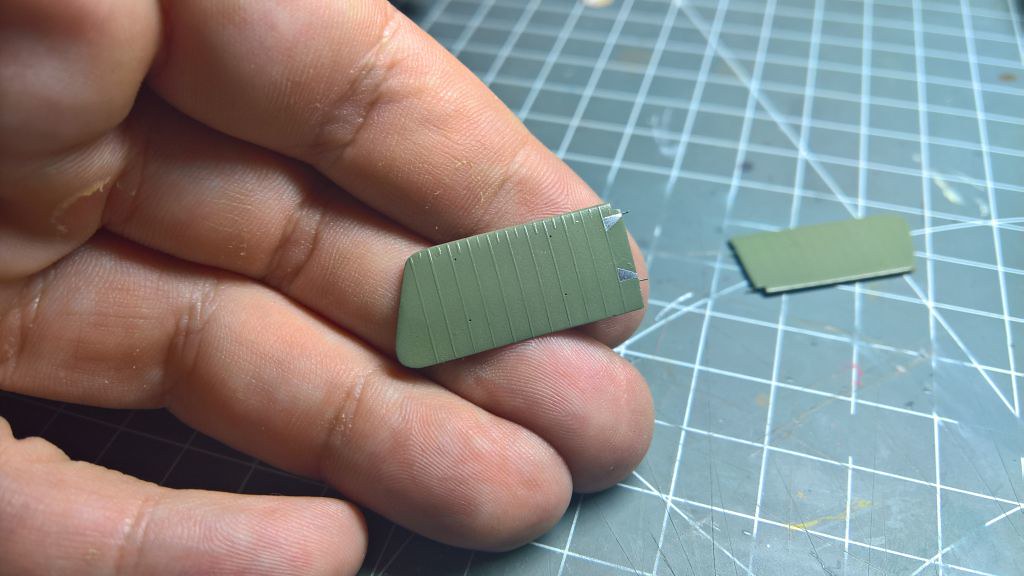
This is where I stand now with wings dry fitted. The metal panels on the wings will need a slight touch up, should not be a big deal, however.
Cheers
Ondra
Re: Fokker E.I 1/144 scratch
Posted: Fri Oct 20, 2017 2:14 pm
by ondra
The engine is assembled now and I started with painting.
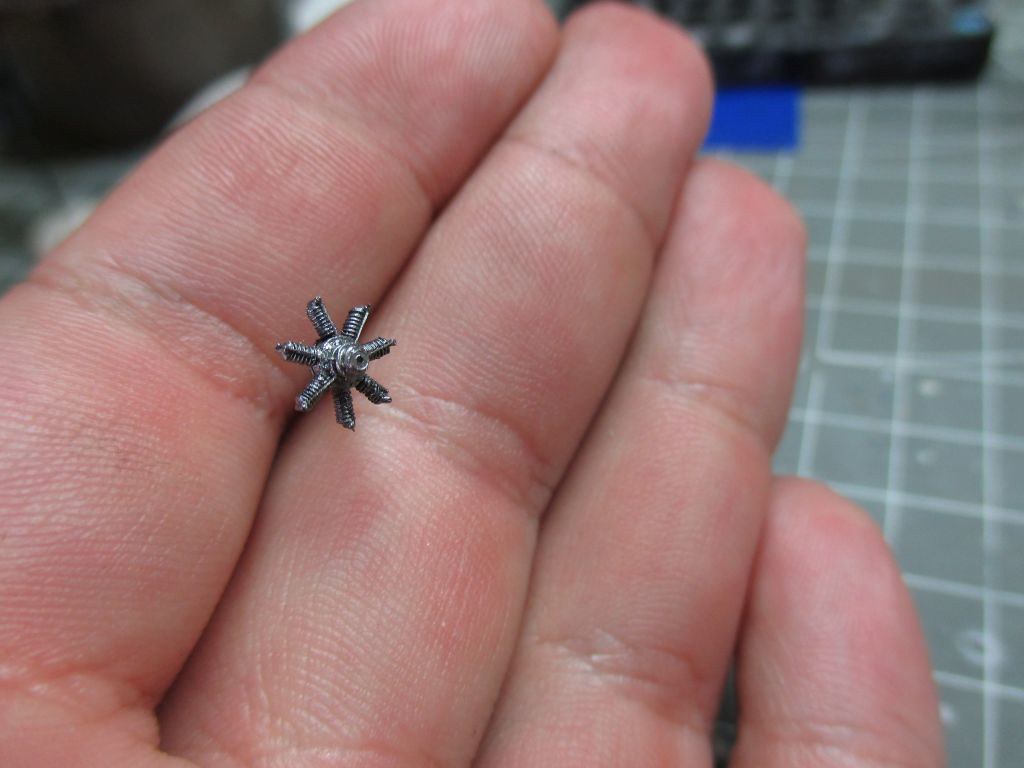
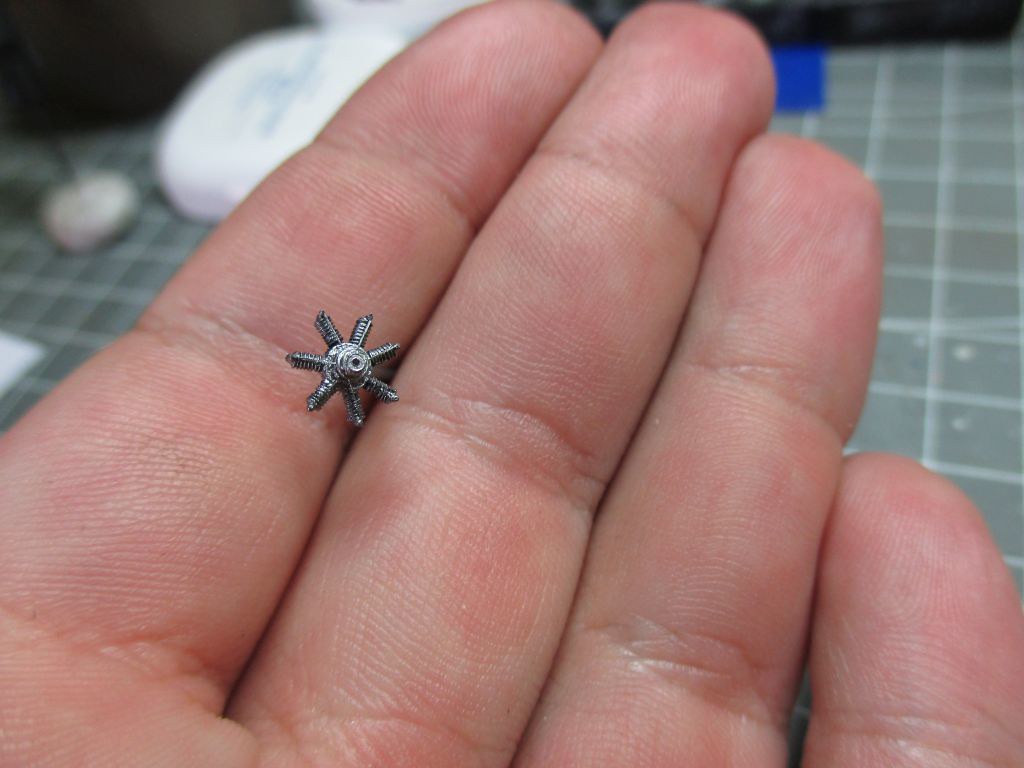
Cheers
Ondra
Re: Fokker E.I 1/144 scratch
Posted: Wed Nov 01, 2017 6:03 am
by ondra
After a rather long break I found some time for the workbench yesterday and a bit of painting was done on the engine. It might look ok under the cowling, nevertheless I will make another one and will see which one will turn out better.
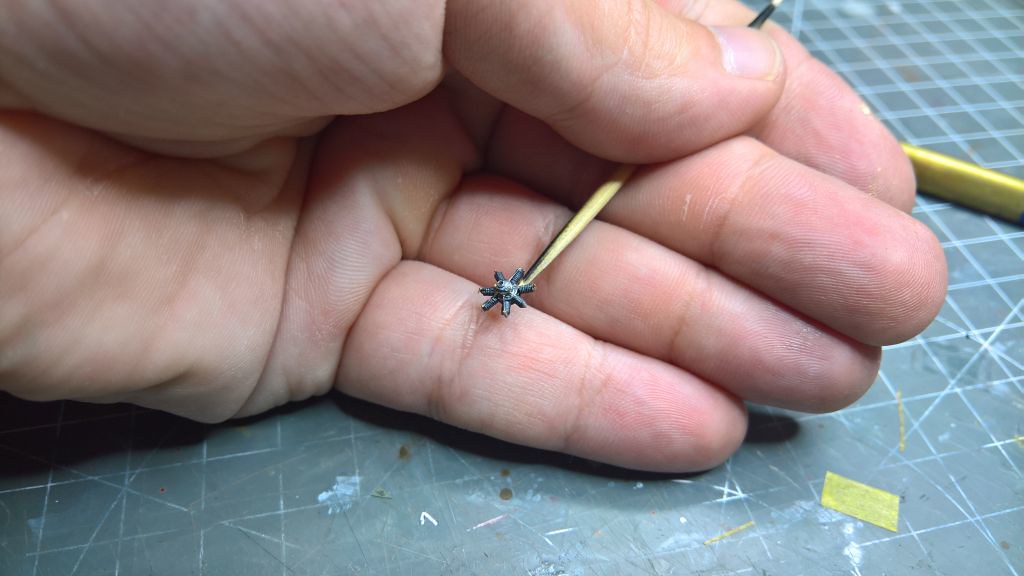
Cheers
Ondra
Re: Fokker E.I 1/144 scratch
Posted: Mon Nov 06, 2017 8:28 am
by ondra
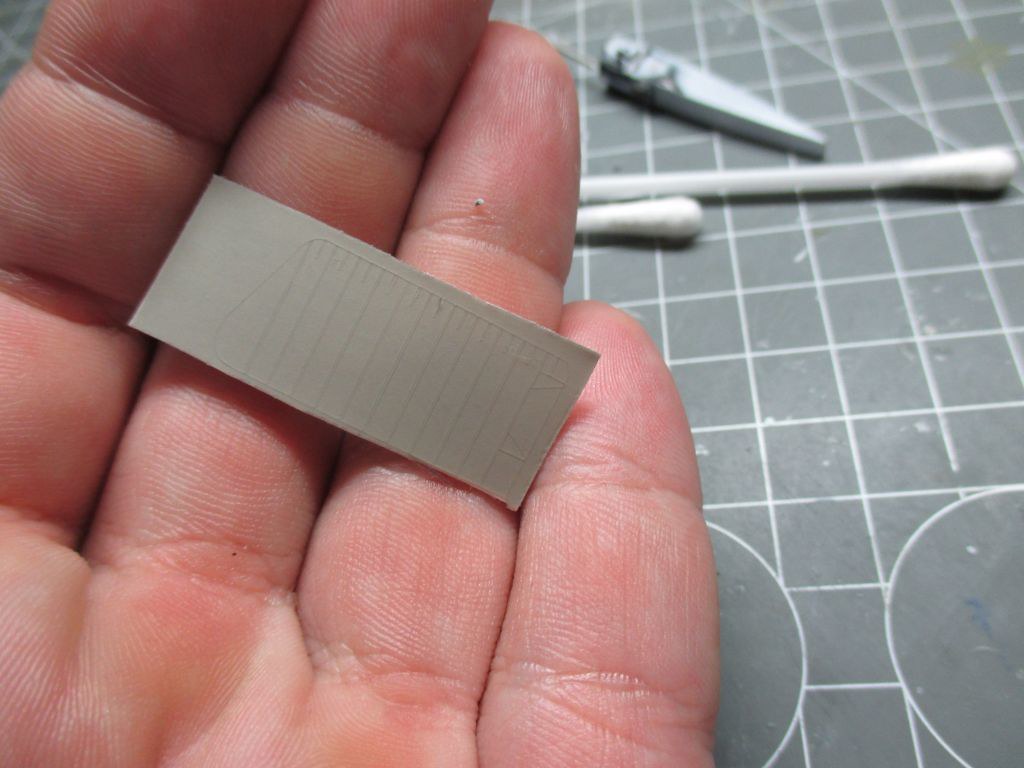
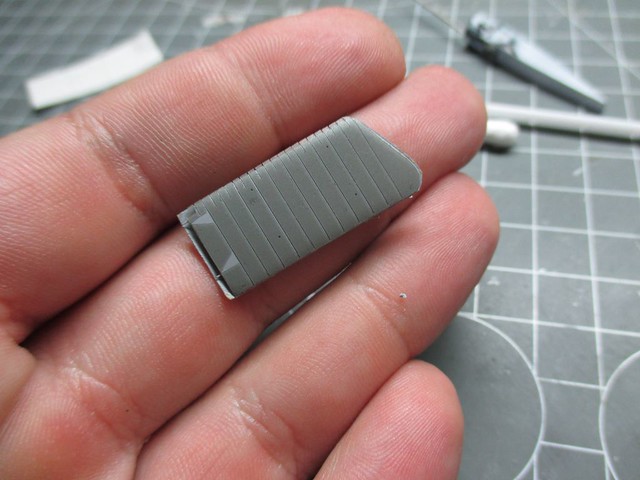
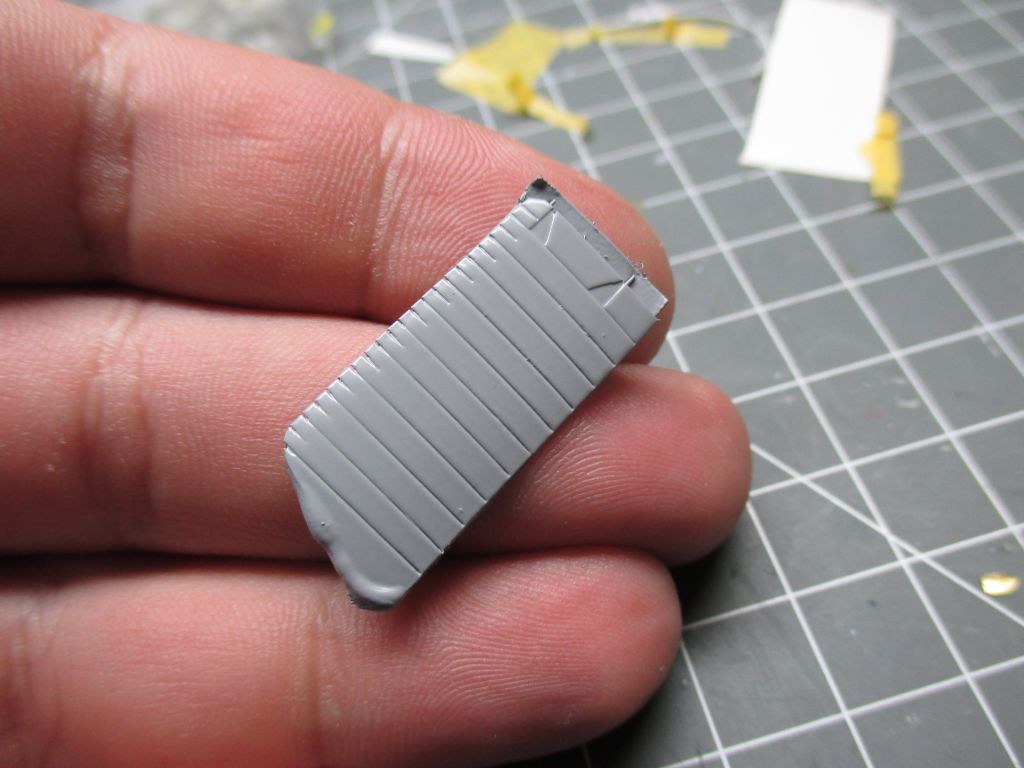
This weekend I made my traditional ritual of taking a critical look at the model and decided to rework the fuselage - I am not satisfied with the oil staining (looks different on the photos of the original machine) and with the shade I took. As the first step, I reworked the stitching I was not very happy about either, this one looks more satisfactory.
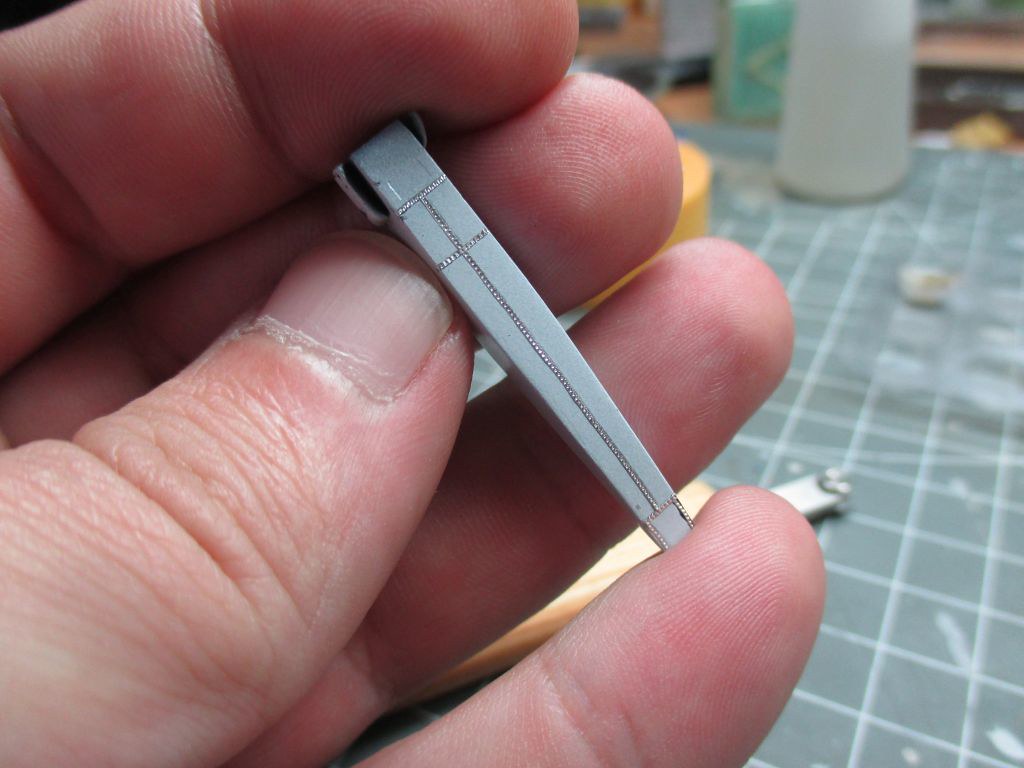
I also discovered a few flaws on the upper sides of the wings, so here we go again - cutting masks, masking the wings and several layers of surfacer. Demasking will take place next weekend.
Cheers
Ondra
Re: Fokker E.I 1/144 scratch
Posted: Thu Nov 16, 2017 6:40 pm
by Lysus
I'm still in awe over how you work with such small details.
Re: Fokker E.I 1/144 scratch
Posted: Sun Nov 19, 2017 4:32 pm
by ondra
Many thanks for your nice comment, Lysus!
I used the prolonged weekend (public holiday on Friday) and found some time for the workbench.
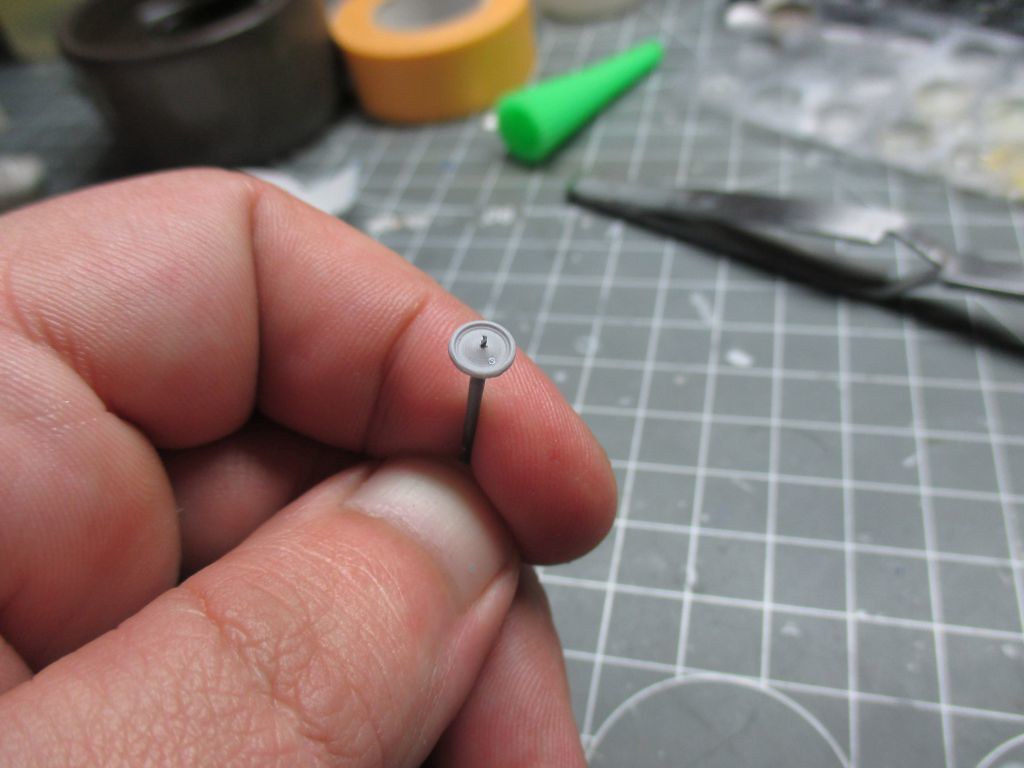
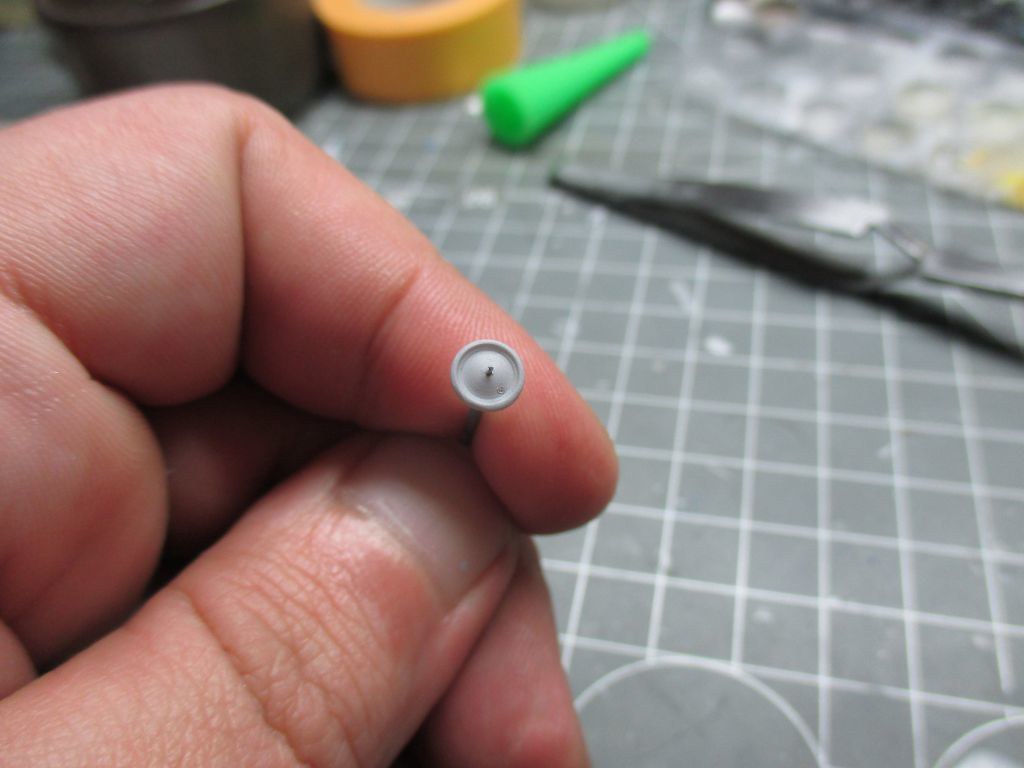
I started reworking the wheels by adding the valve covers.
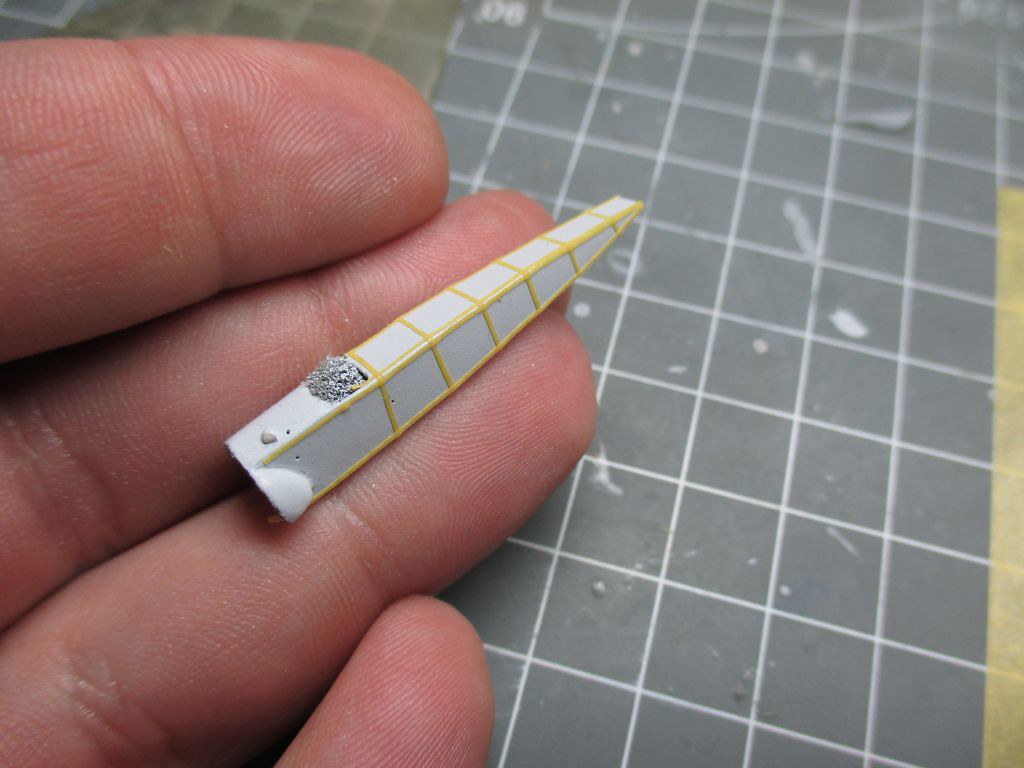
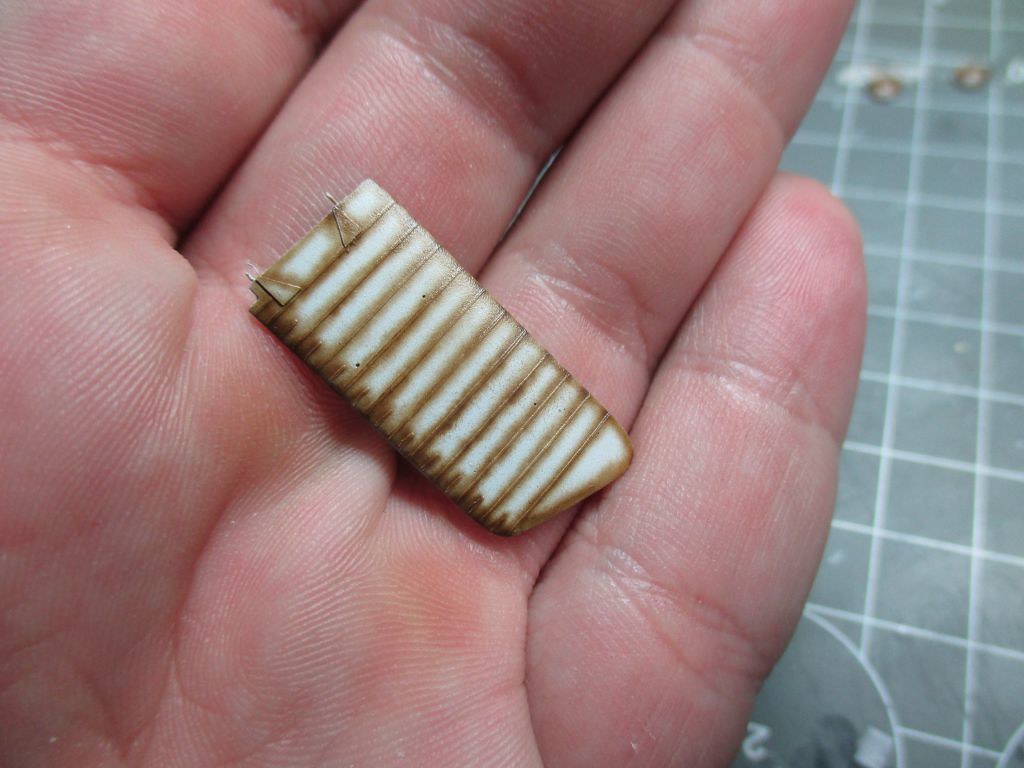
I also enjoyed some masking upon preparation for the fuselage preshading and started working on the preshading on the wings.
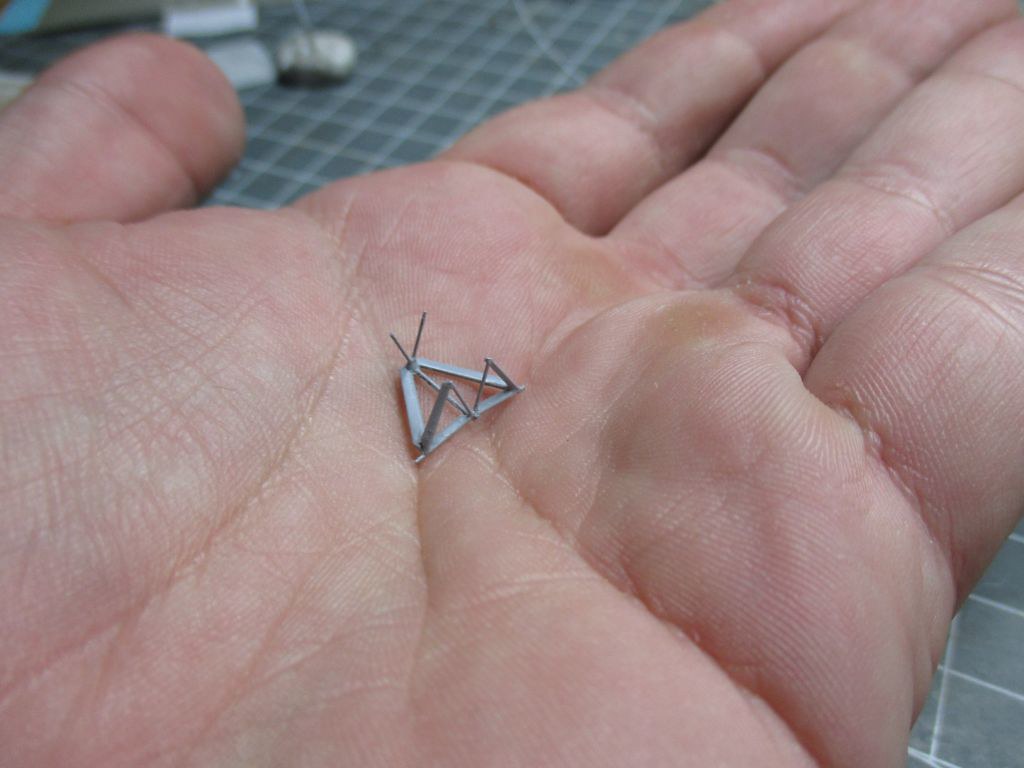
After a lot of filling and sanding on the undercarriage I is almost ready for painting, only a few minor corrections will be necessary.
Cheers
Ondra
Re: Fokker E.I 1/144 scratch
Posted: Wed Nov 29, 2017 5:32 am
by ondra
Re: Fokker E.I 1/144 scratch
Posted: Wed Nov 29, 2017 6:27 am
by Twokidsnosleep
Great stuff,keep posting your progress
Re: Fokker E.I 1/144 scratch
Posted: Thu Nov 30, 2017 6:37 pm
by Lysus
Really great stuff...

Re: Fokker E.I 1/144 scratch
Posted: Thu Dec 07, 2017 6:41 am
by ondra
Many thanks for your generous comments, I am really honoured, guys!
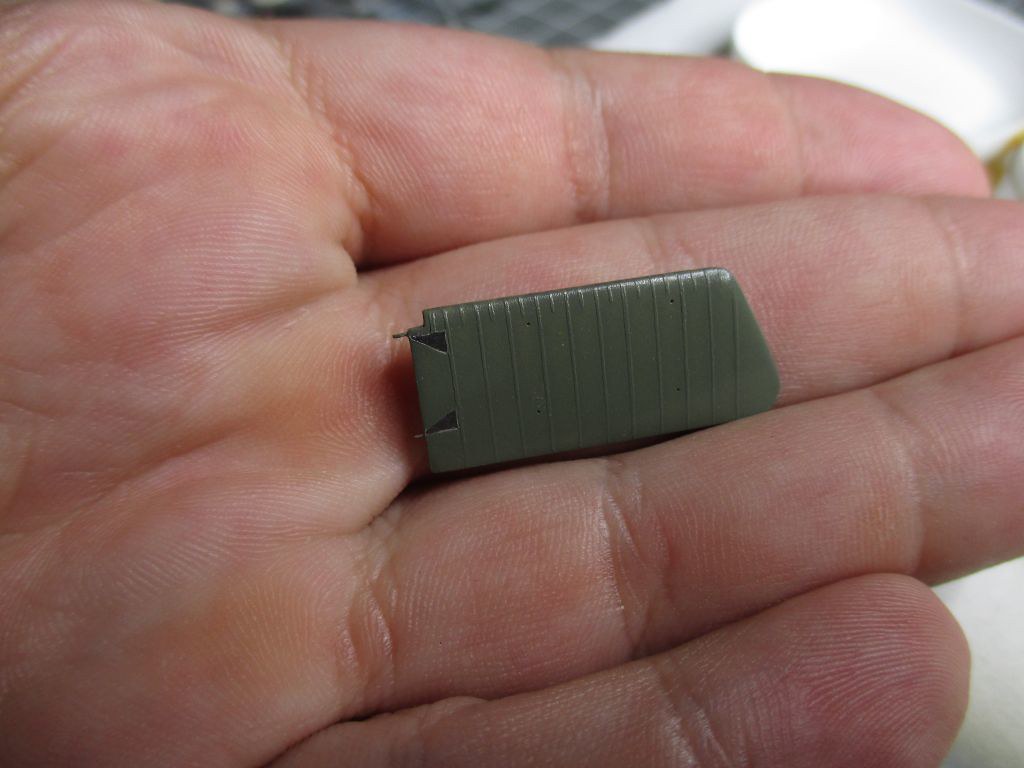
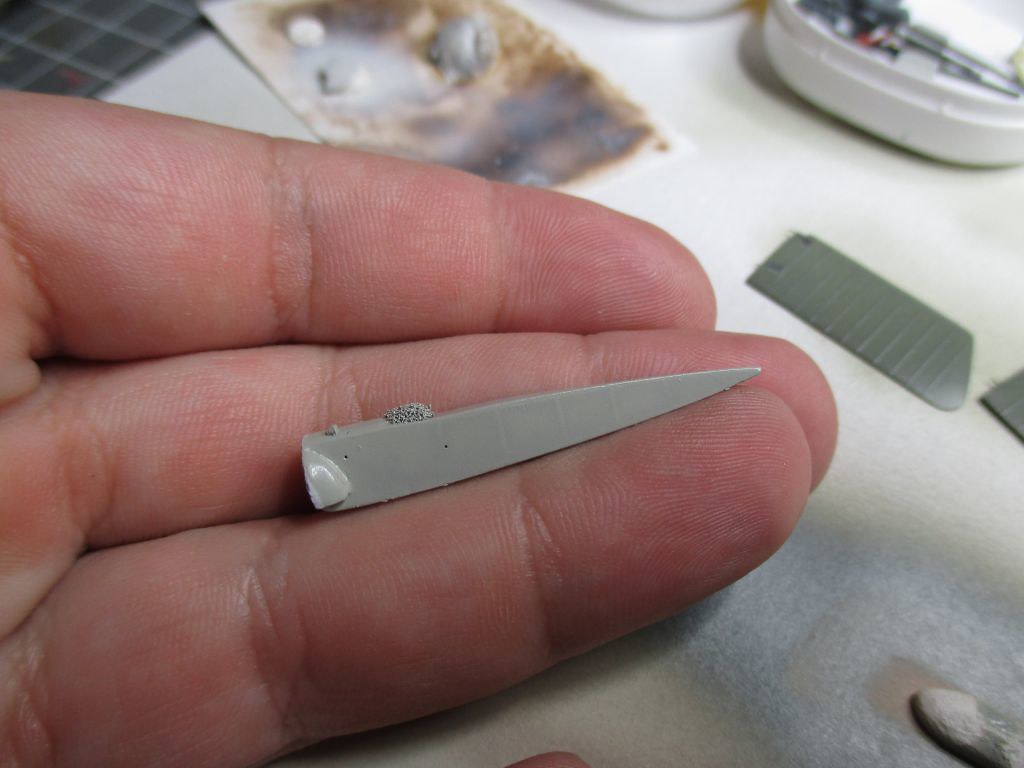
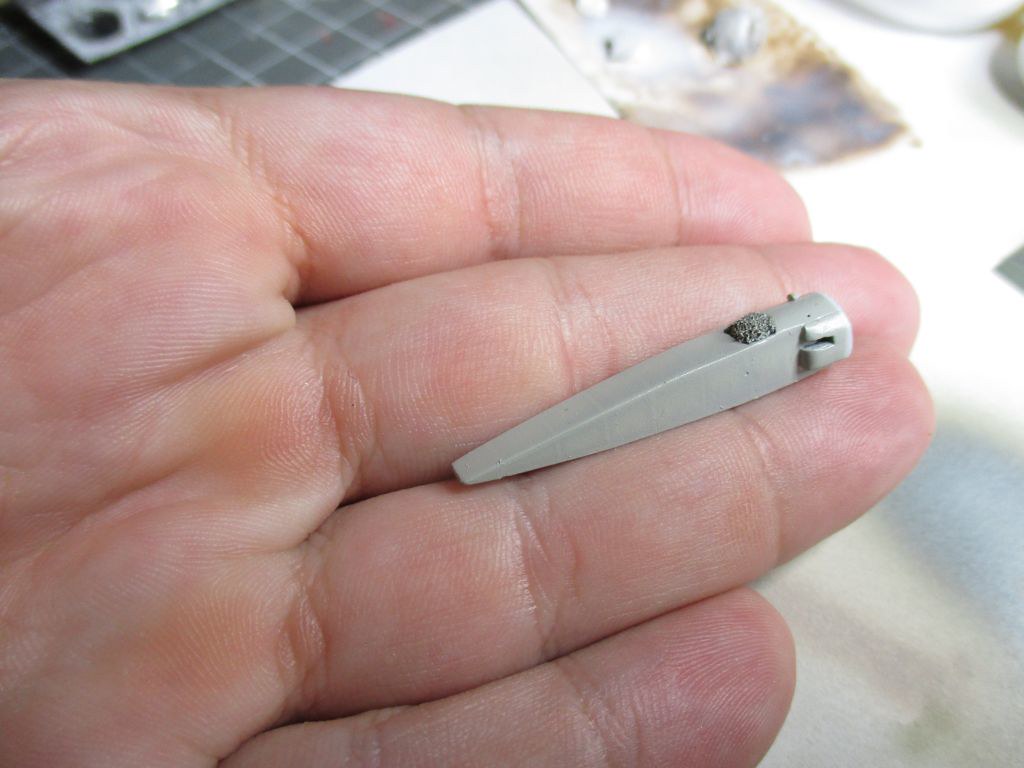
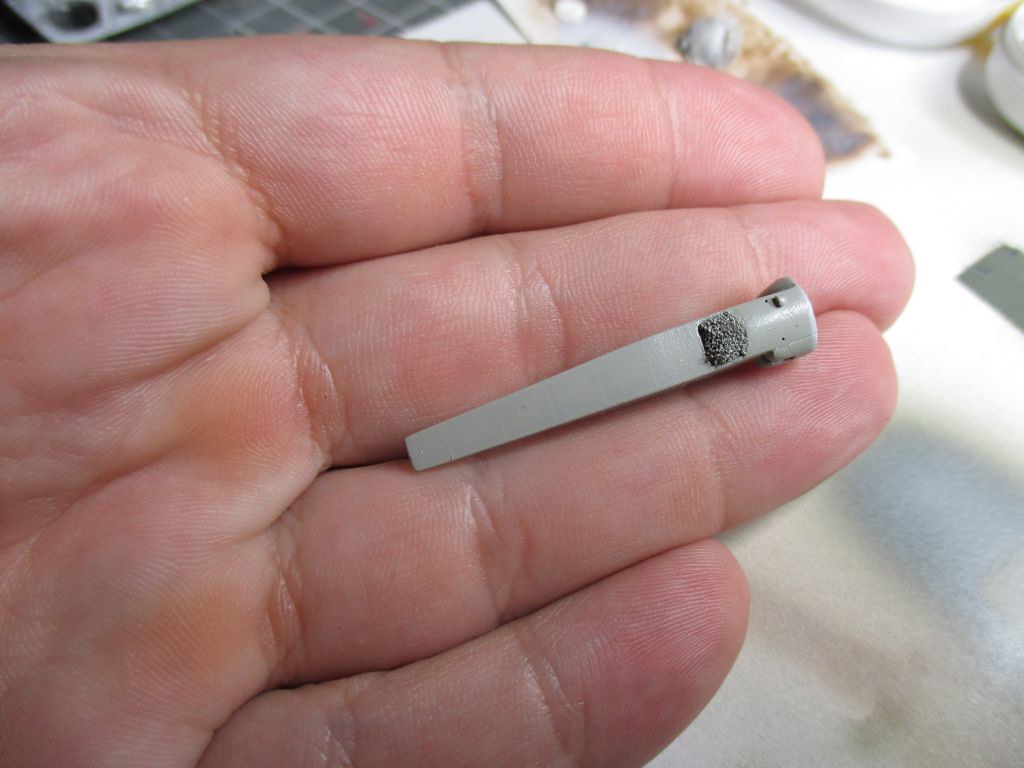
This is where I stand now, the parts got a coat of Drooling Bulldog Greyish green for the wings and Unbleached Linen for the fuselage and tail. The preshading is actually more visible than on the photos. Will see what it will look like after oil paints. The oil soaking will definitely need emphasizing by means of what I call "intershading".
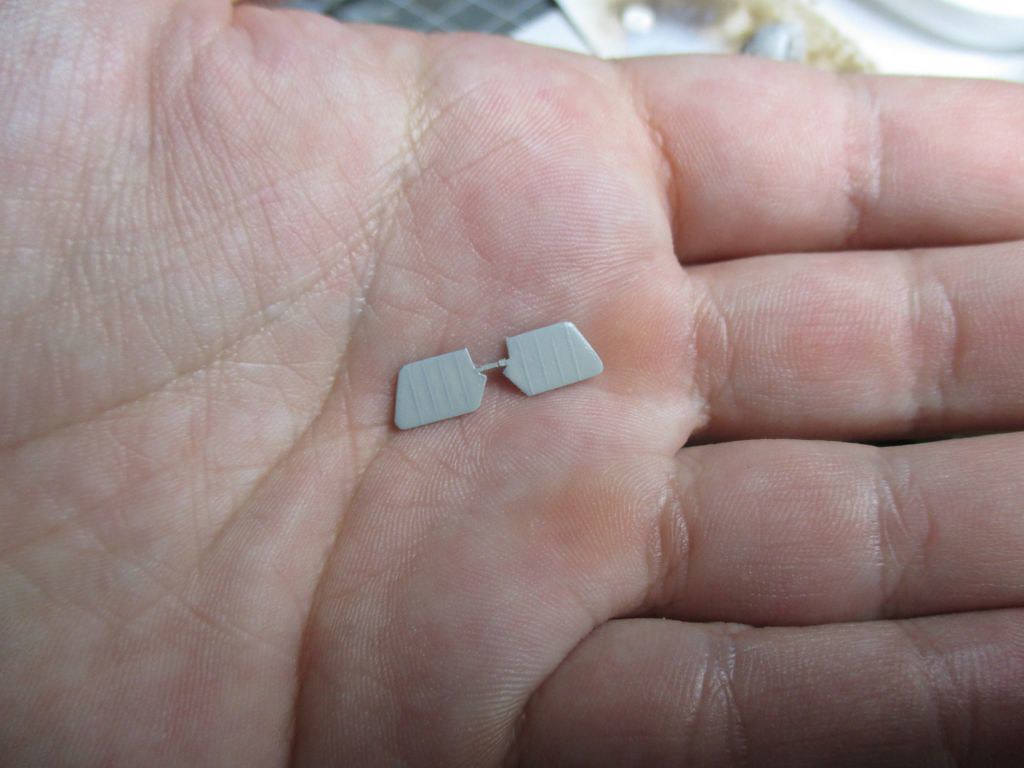
Cheers
Ondra
Re: Fokker E.I 1/144 scratch
Posted: Sat Dec 09, 2017 4:11 pm
by ondra
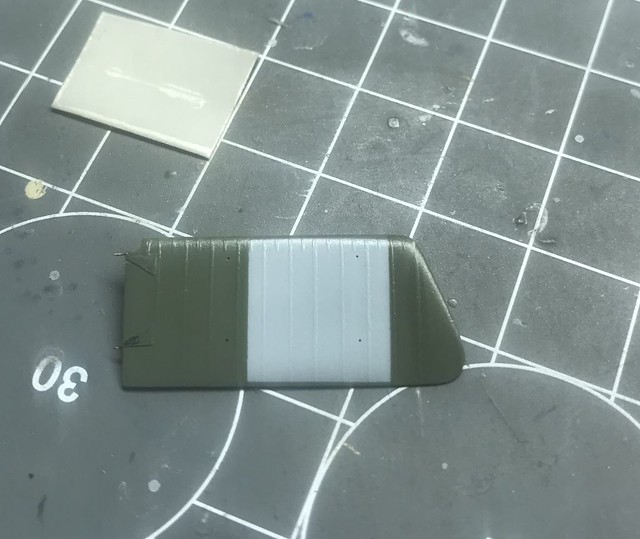
Continuing slowly with the painting, I airbrushed the first layer of the oil soaking, which I would like to fine tune with oil paints later.
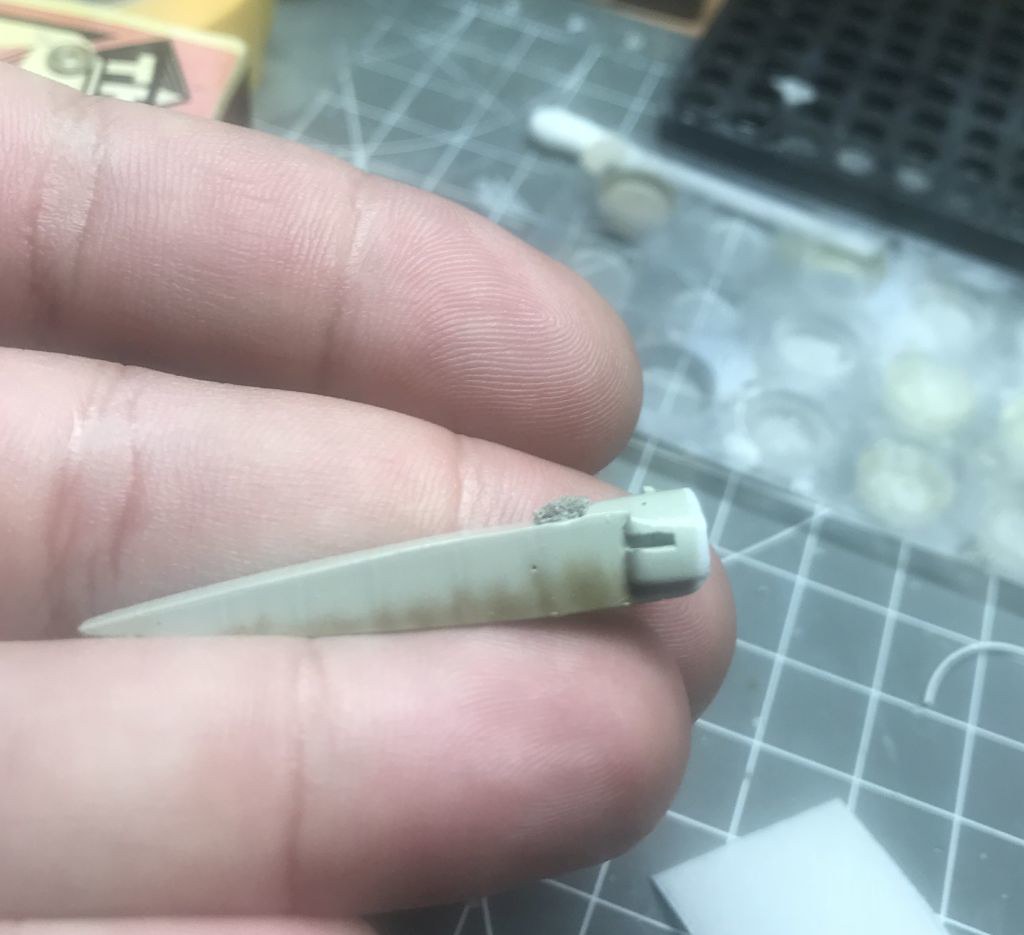
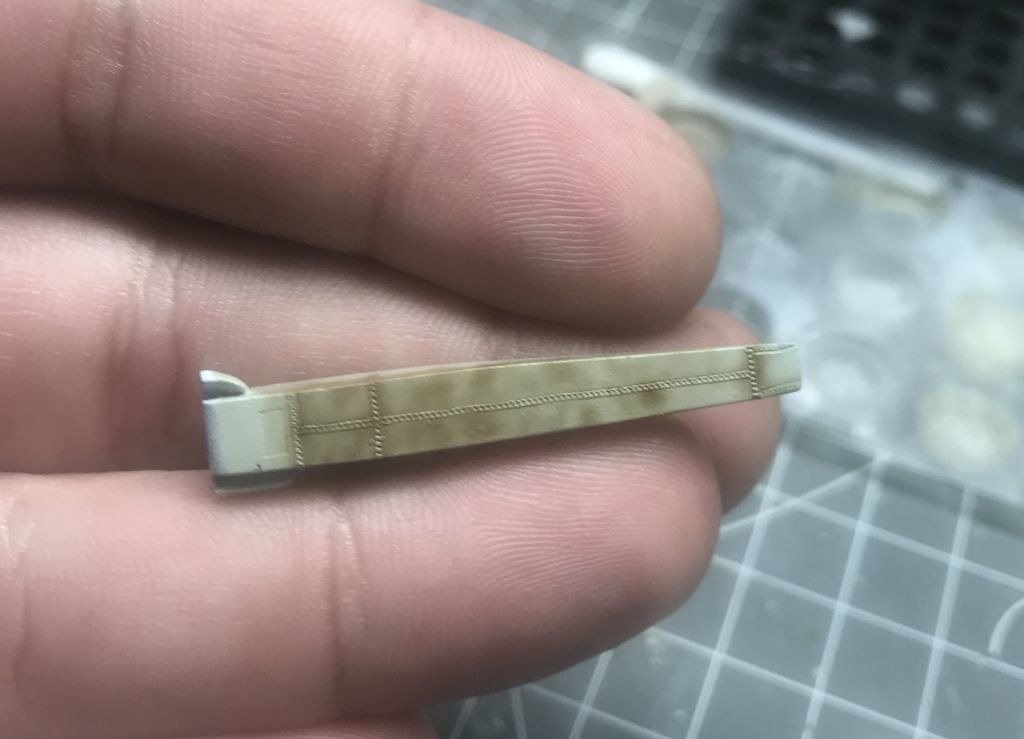
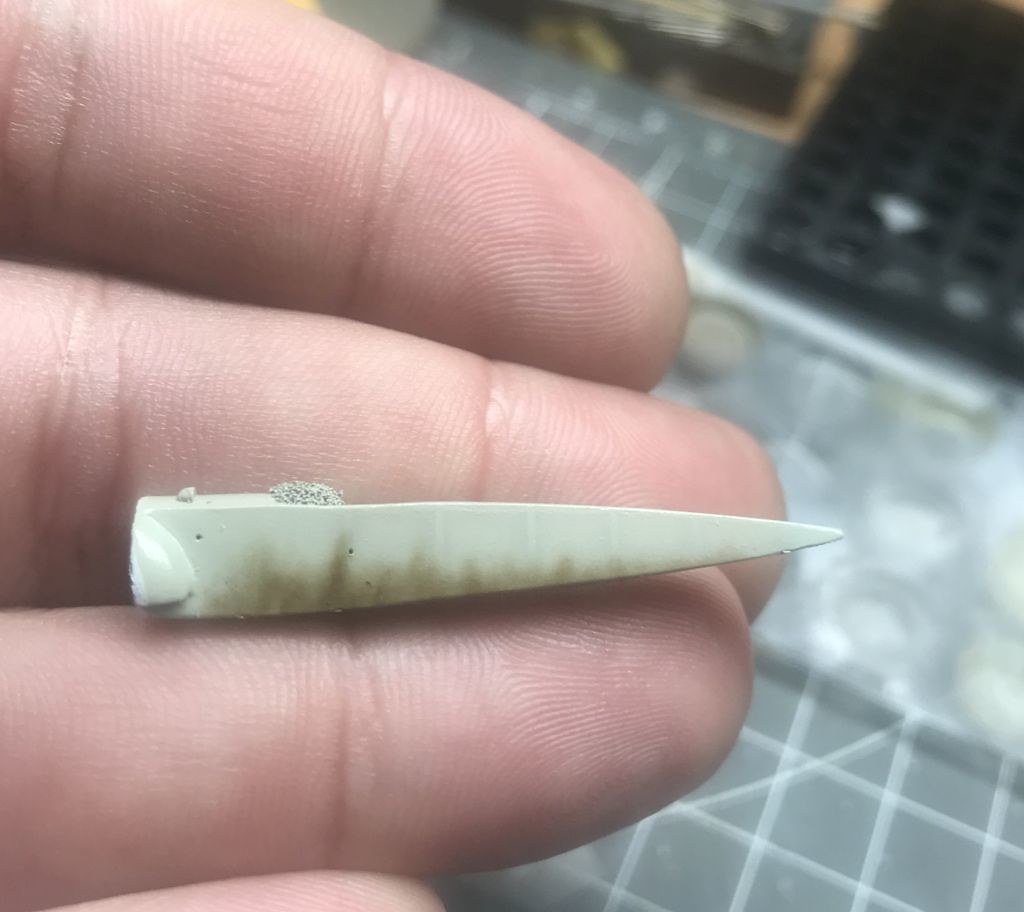
I also started working on the insignia, placing the masks aligned correctly was rather tough...
Cheers
Ondra
Re: Fokker E.I 1/144 scratch
Posted: Sun Dec 10, 2017 3:46 pm
by ondra
Today I continued on the fuselage, tail and wheels and added fading using oil paints.
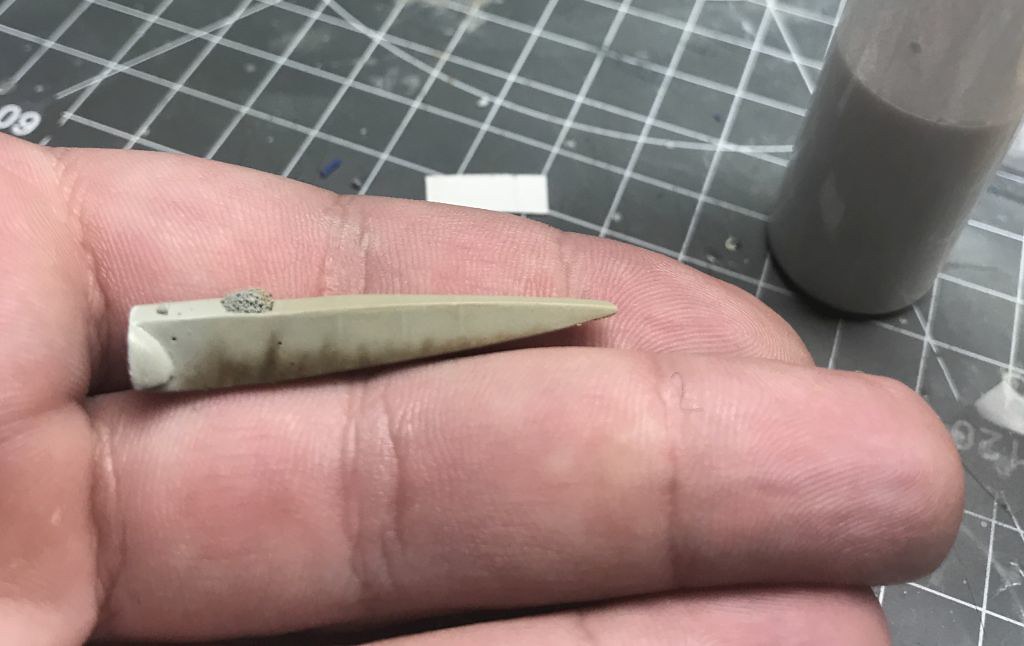
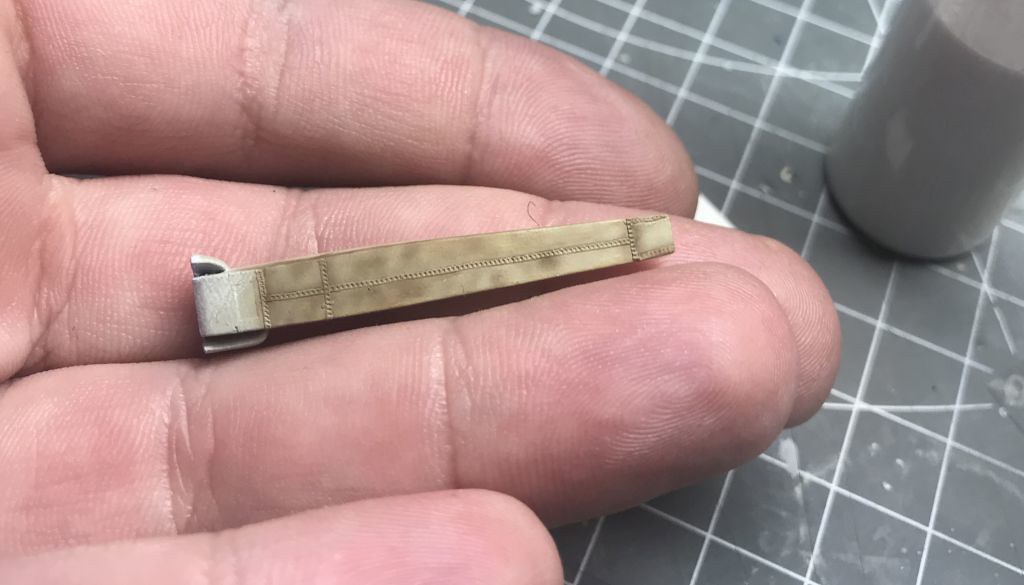
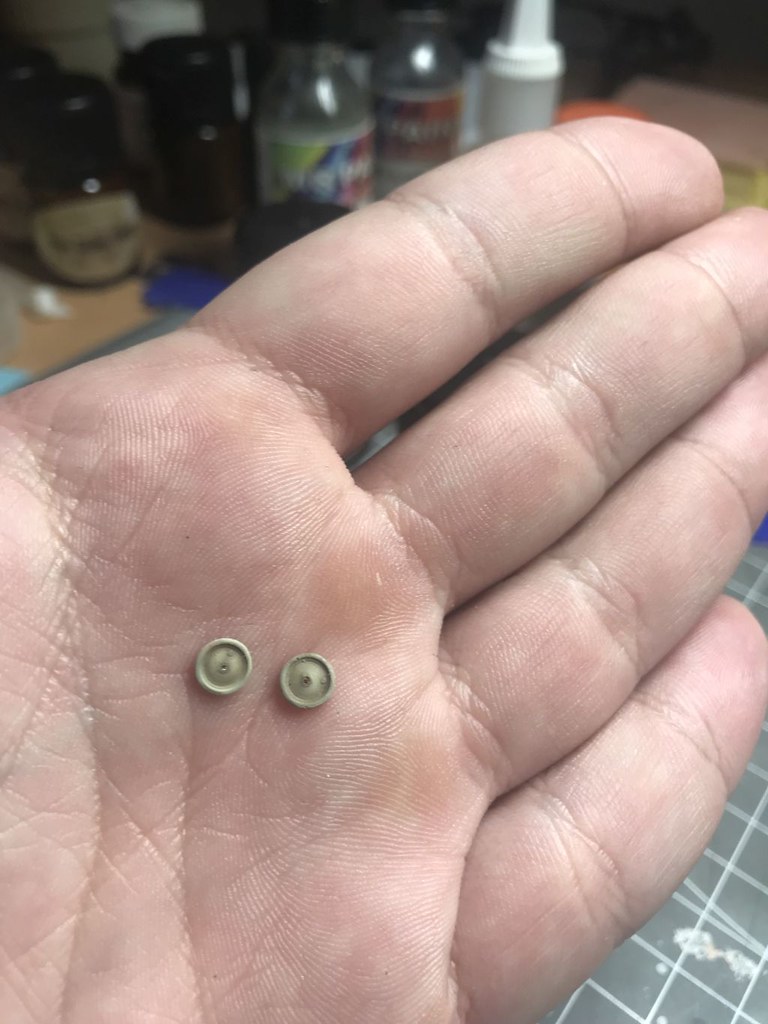
I also moved on with the iron crosses, some touch ups will be needed, but all in all they look acceptable.
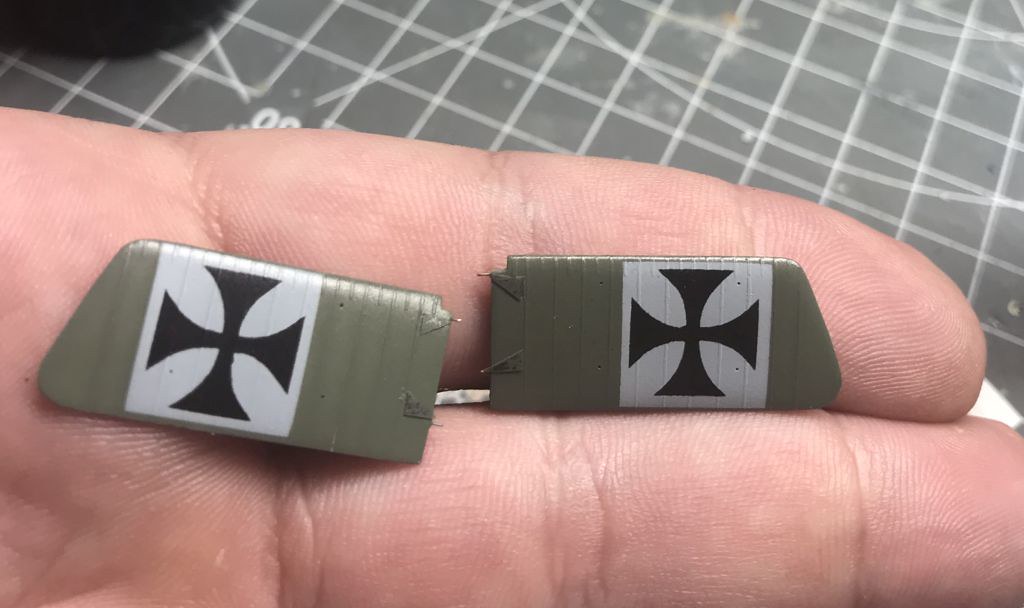
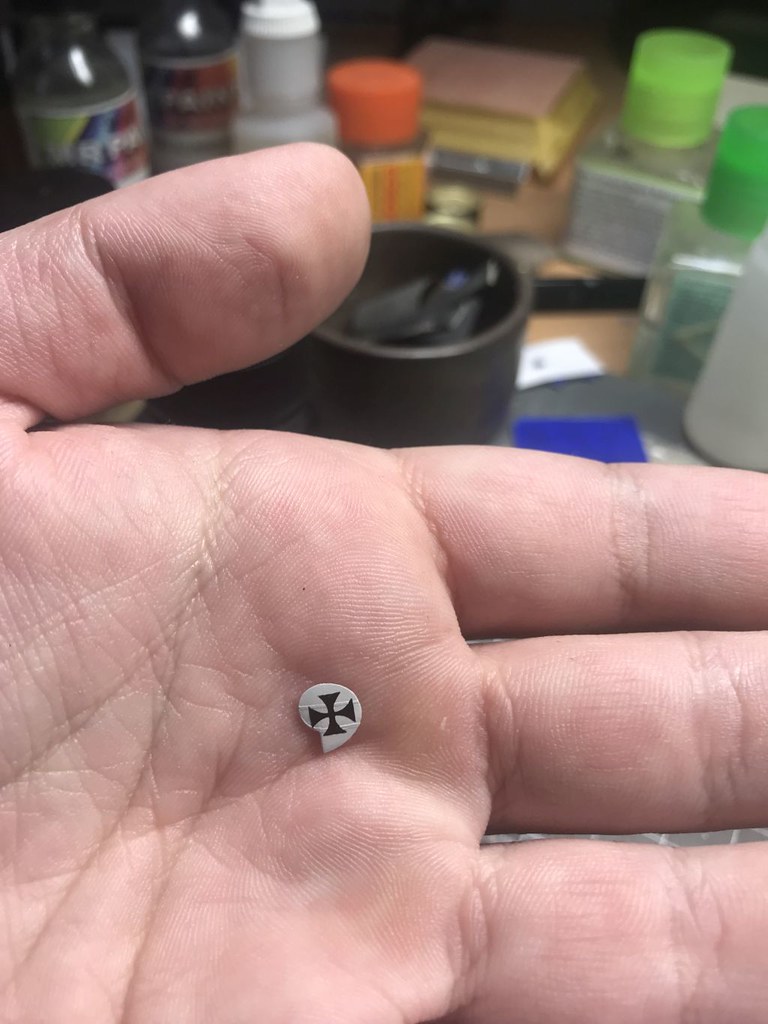
Cheers
Ondra
Re: Fokker E.I 1/144 scratch
Posted: Sun Dec 10, 2017 9:45 pm
by TommyKillander
Amazing stuff !
Tommy
Re: Fokker E.I 1/144 scratch
Posted: Mon Dec 11, 2017 5:58 am
by ondra
Many thanks for your generous comment, Tommy!
Last evening I placed the serial numbers into position, this was my first experience with HGW Wet Transfer stencils and it really is a great stuff, lightyears ahead of classical decals.
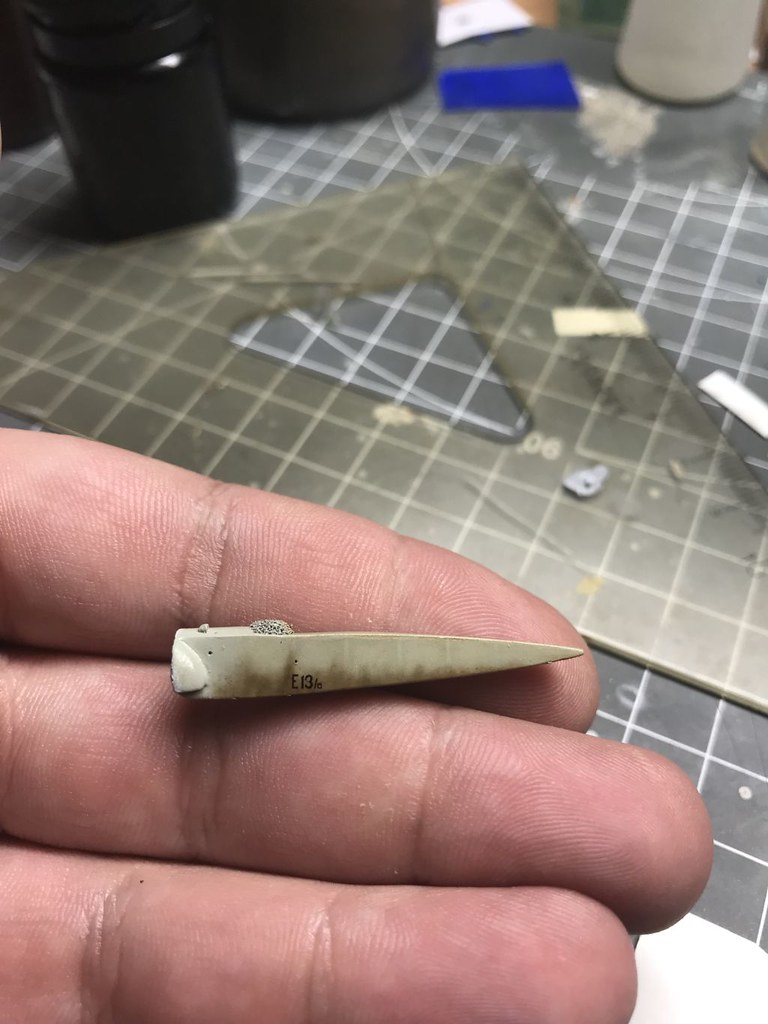
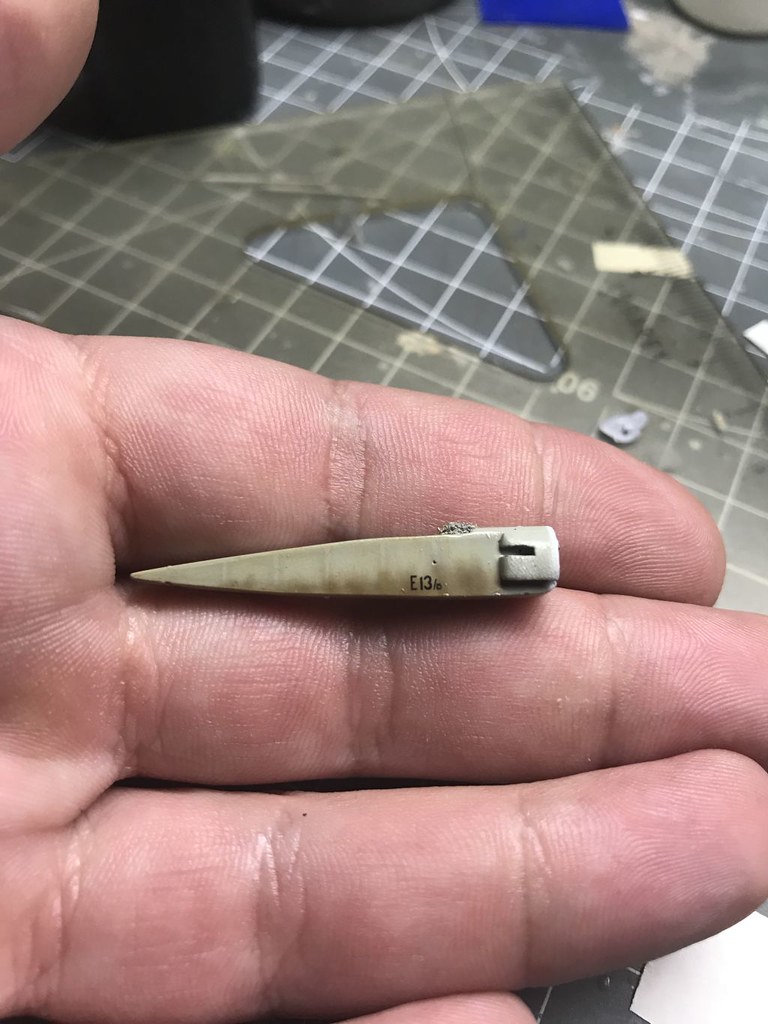
Cheers
Ondra
Re: Fokker E.I 1/144 scratch
Posted: Sun Dec 17, 2017 10:43 am
by ondra
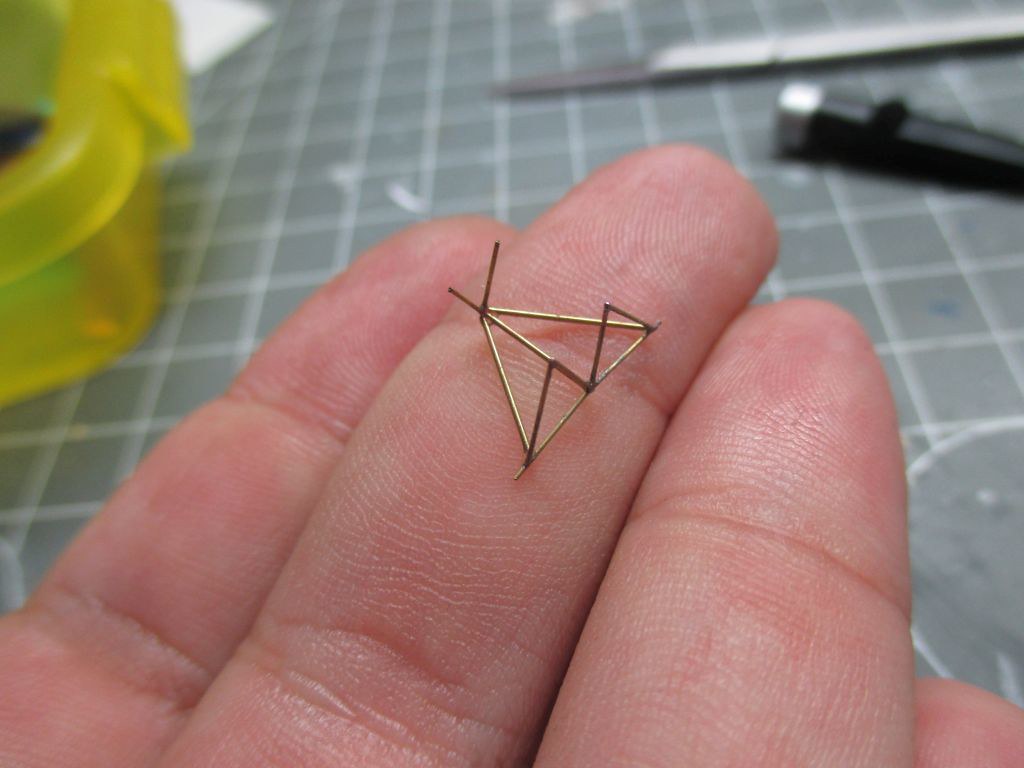
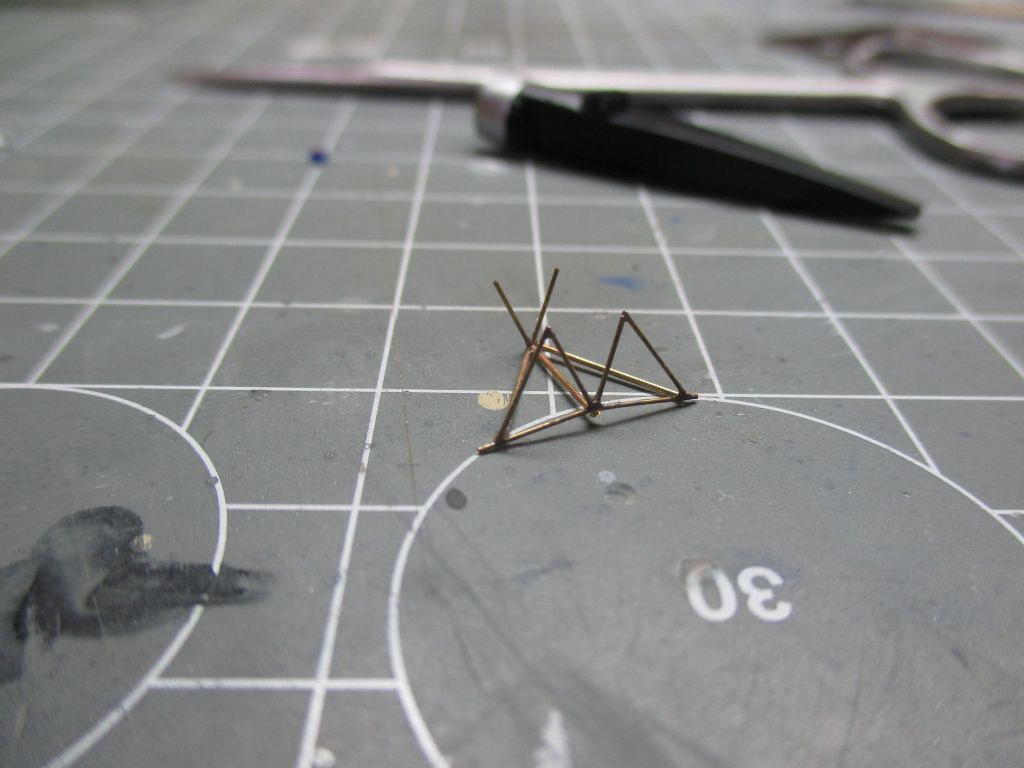
Today's workbench session was mainly about soldering, I reworked the undercarriage as I realized I was not able to paint it properly with the wooden panels assembled.
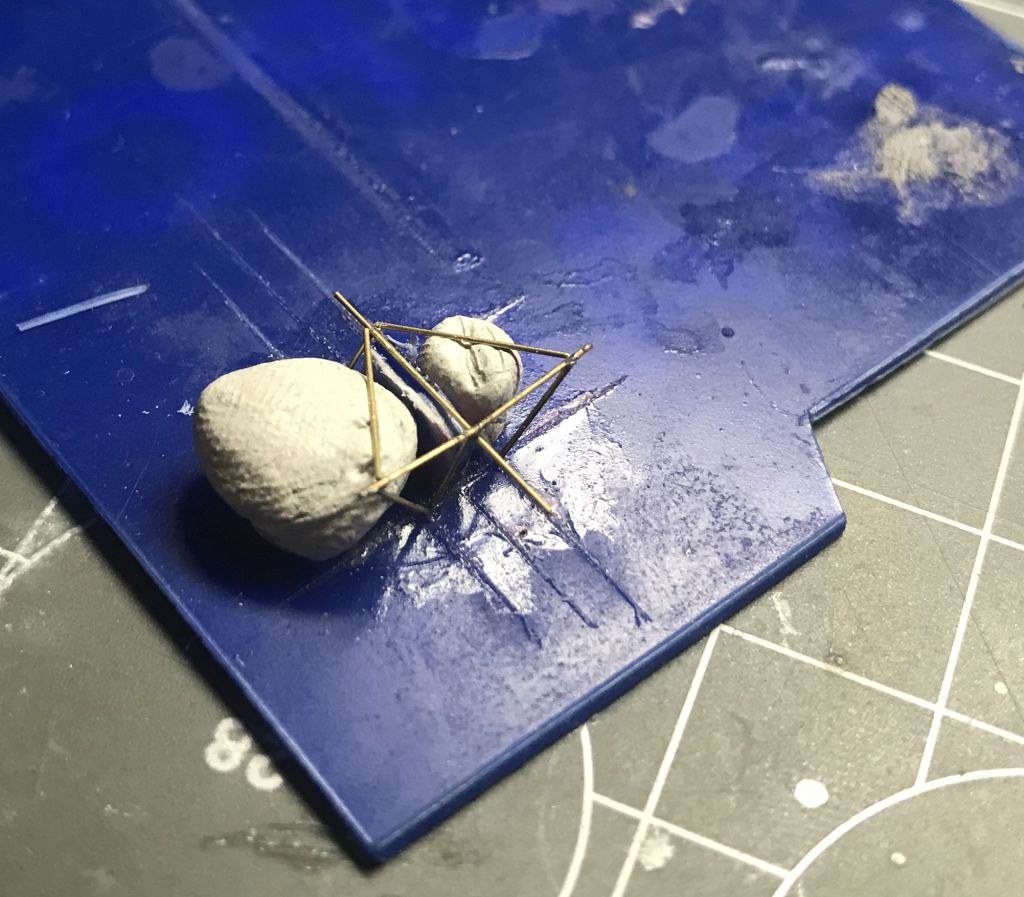
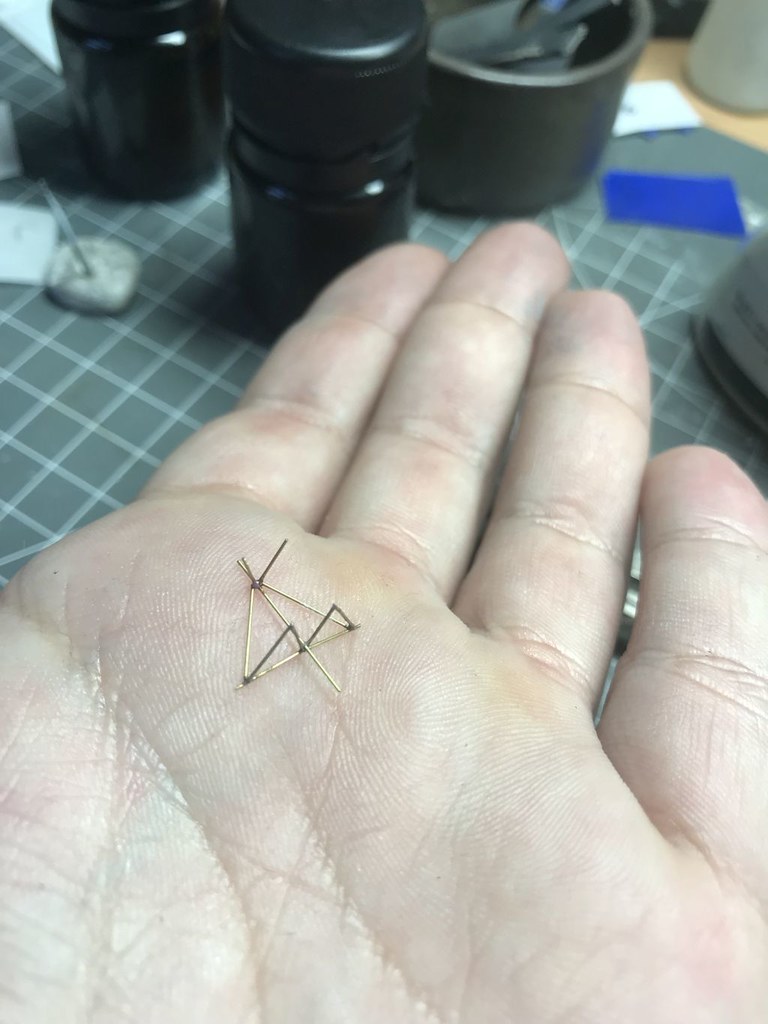
And I also created the rest of soldered parts I will need.
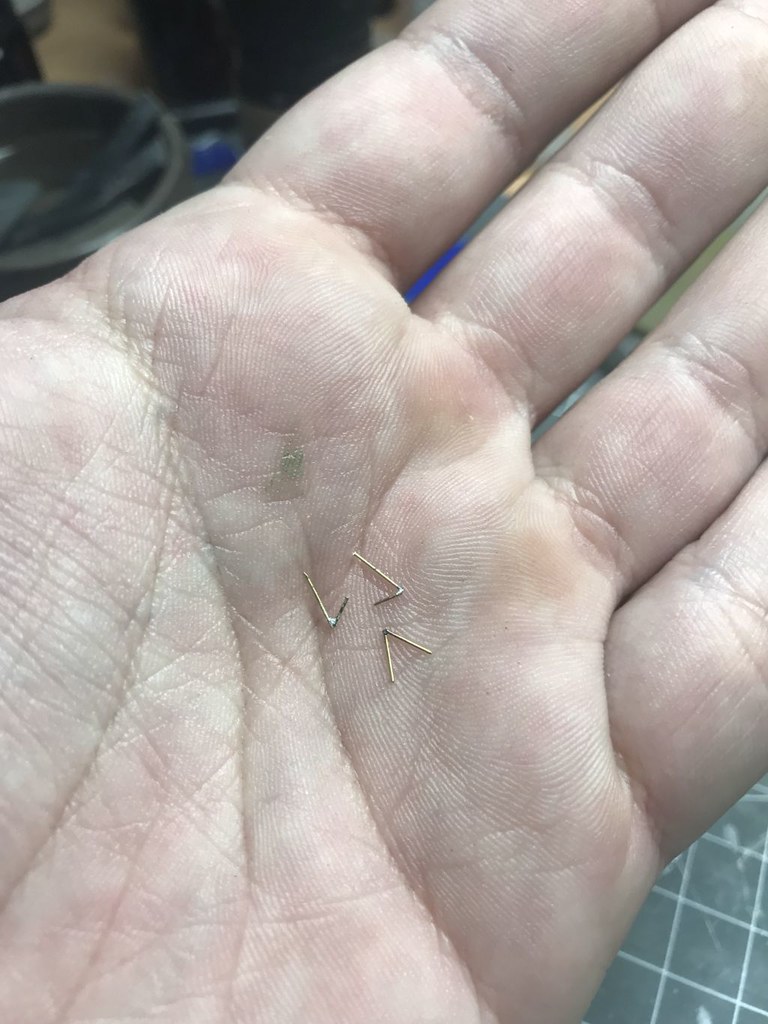
Cheers
Ondra
Re: Fokker E.I 1/144 scratch
Posted: Wed Dec 27, 2017 11:05 am
by ondra
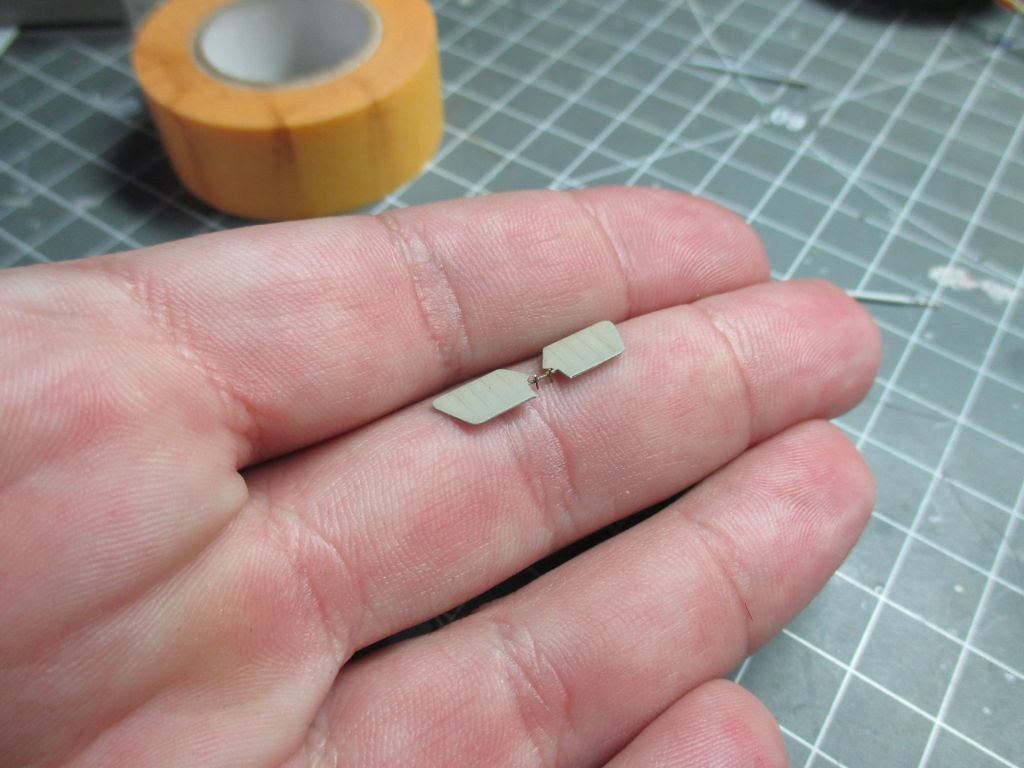
The small parts are assembled and ready for primer and paint, I will use the greyish green by Drooling Bulldog. The tubes on the tailplane can not be airbrushed (well, at least I have not found a reasonable way to mask the rest), so I will have to use a paintbrush. Fortunately these paints can be paintbrushed too.
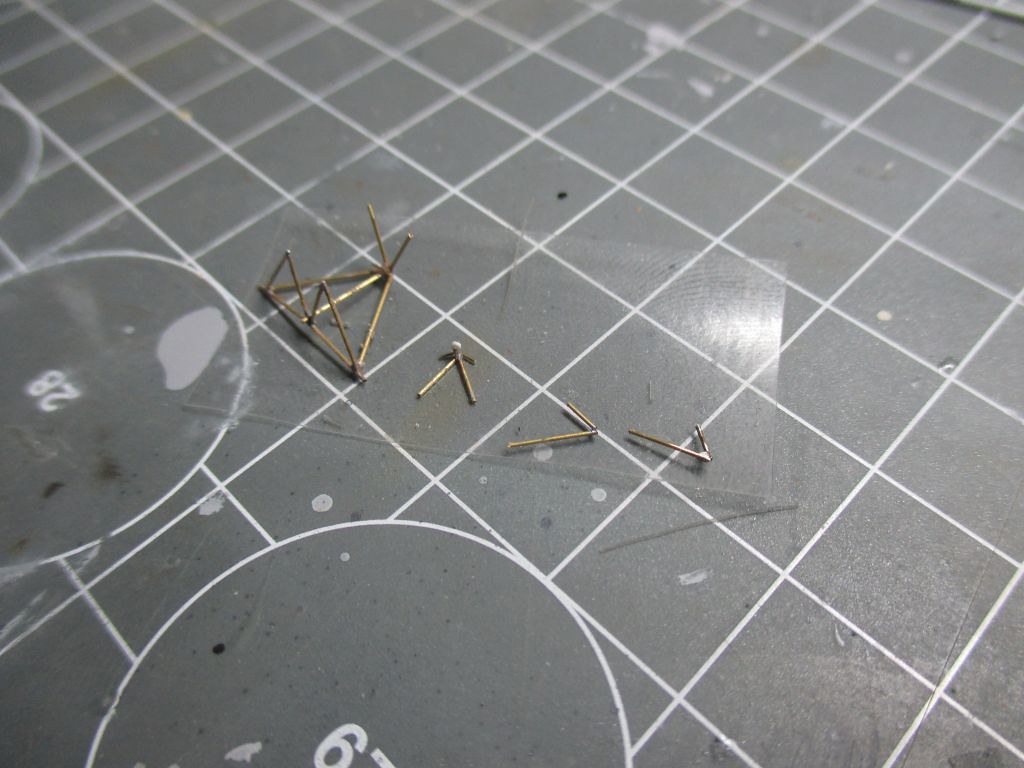
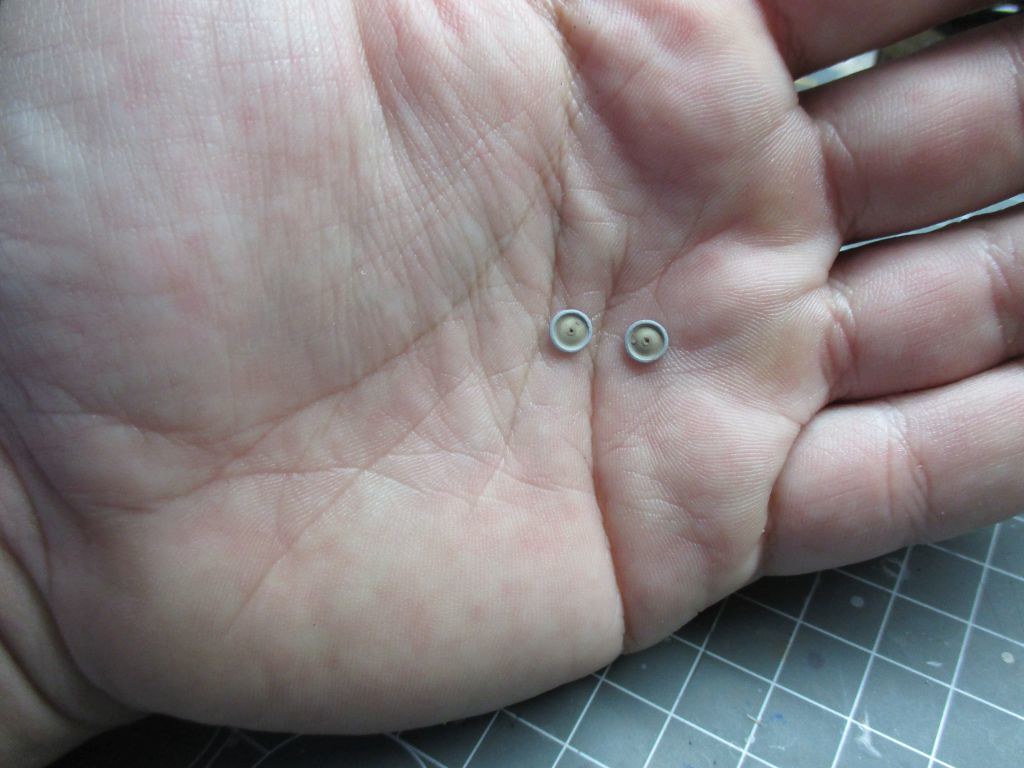
The wheels are almost finished, next up will be only varnish, wash and some pigments.
Cheers
Ondra
Re: Fokker E.I 1/144 scratch
Posted: Thu Dec 28, 2017 10:39 am
by ondra
Today is mainly about small parts, gluing the wooden parts to the undercarriage was not the most enjoyable part of the build, but with 5 min. epoxy it was eventually not as difficult.
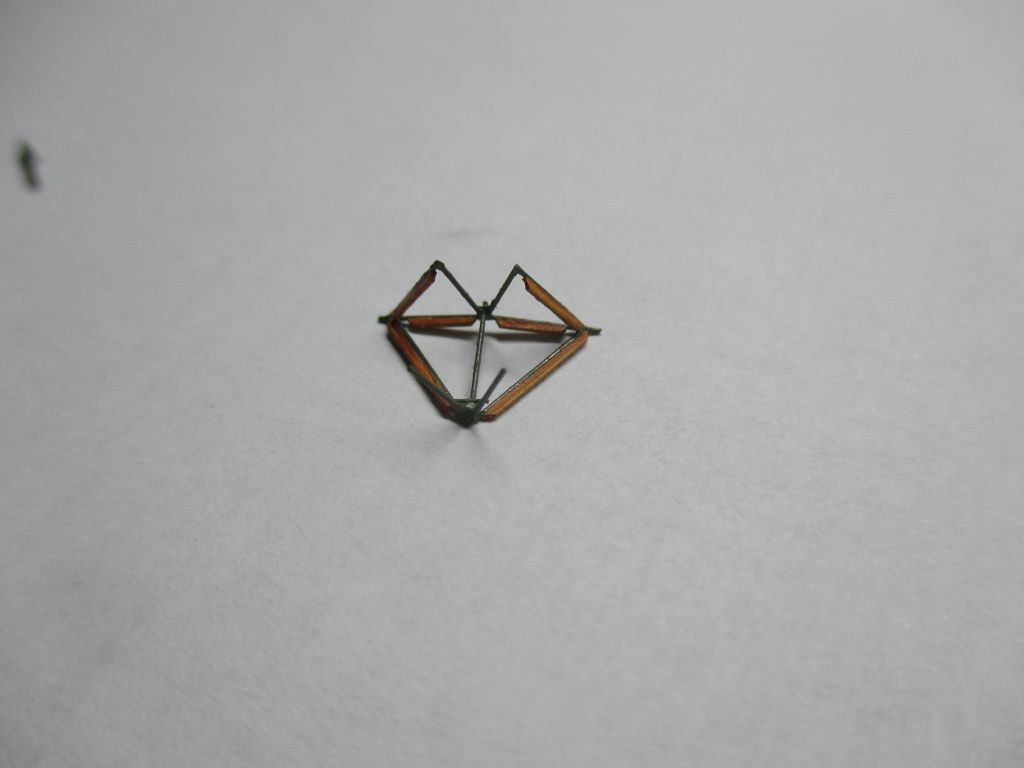
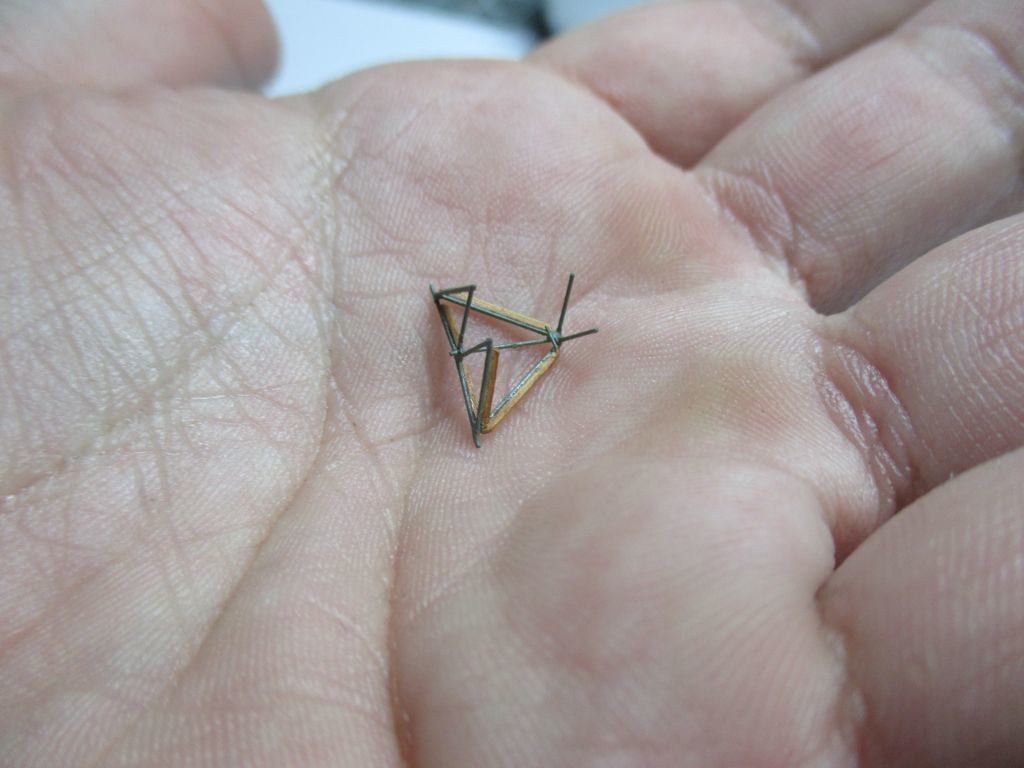
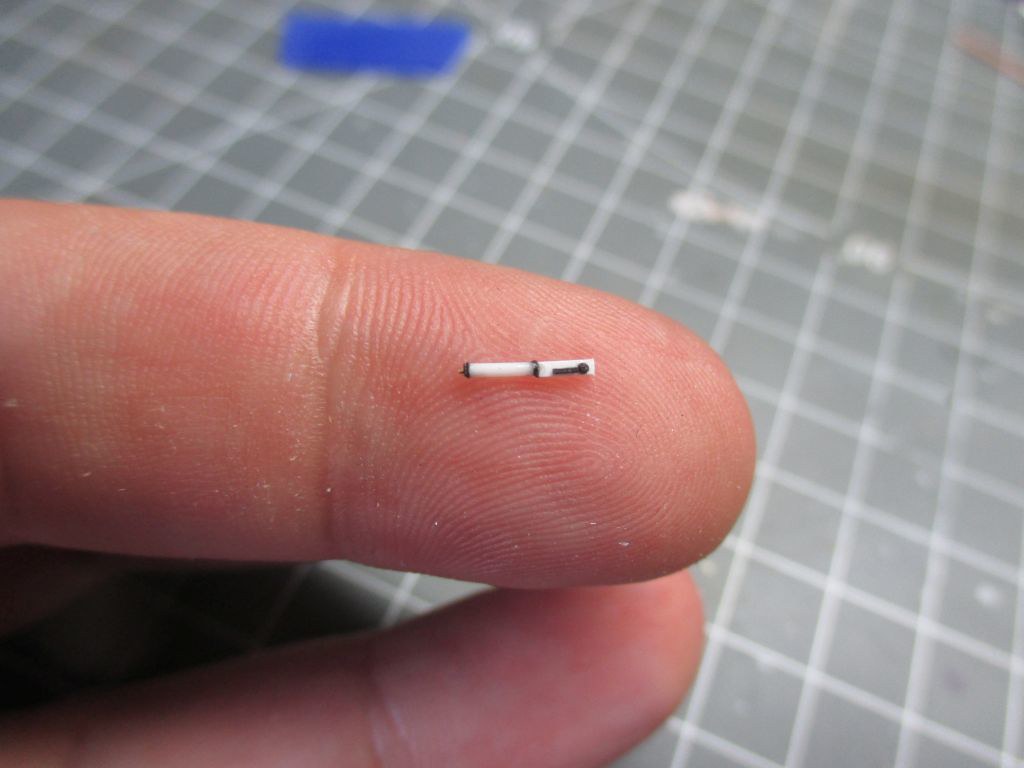
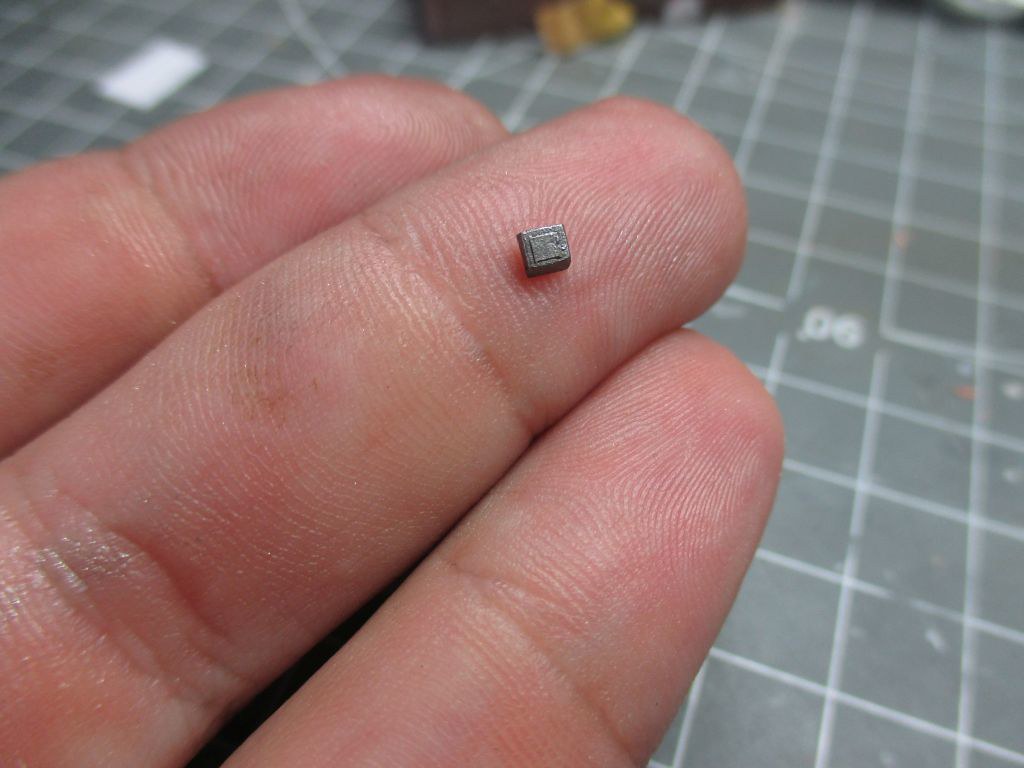
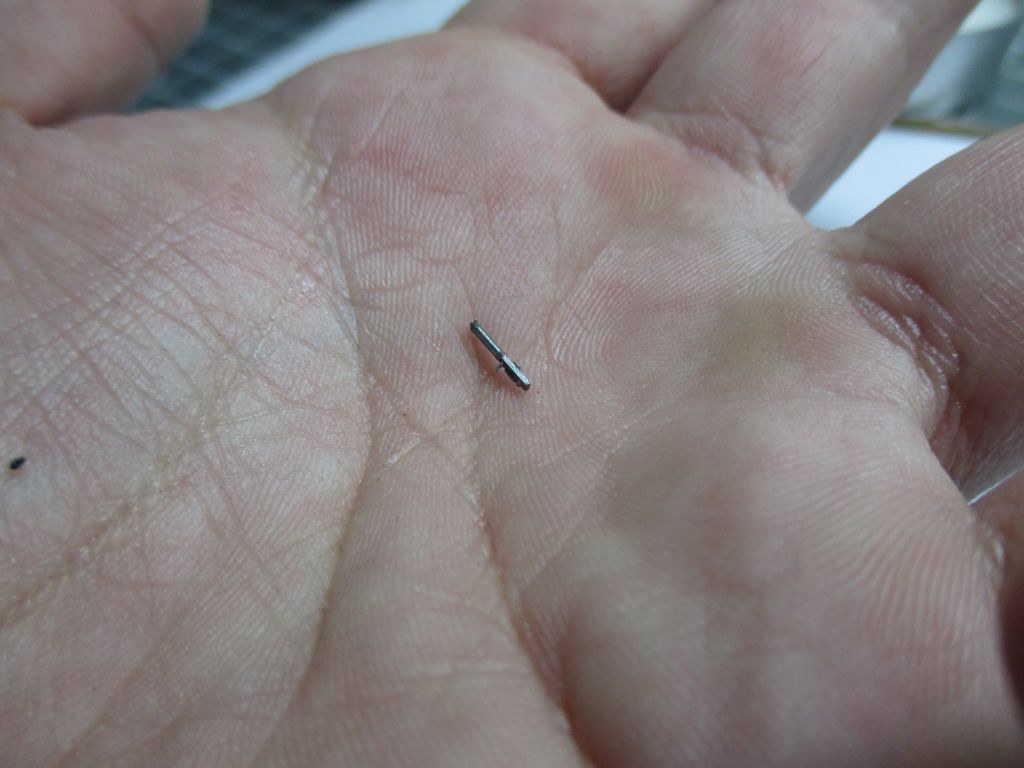
I will have to add 10 metal stripes holding the parts together as on the original, so I started training on the tail skid.
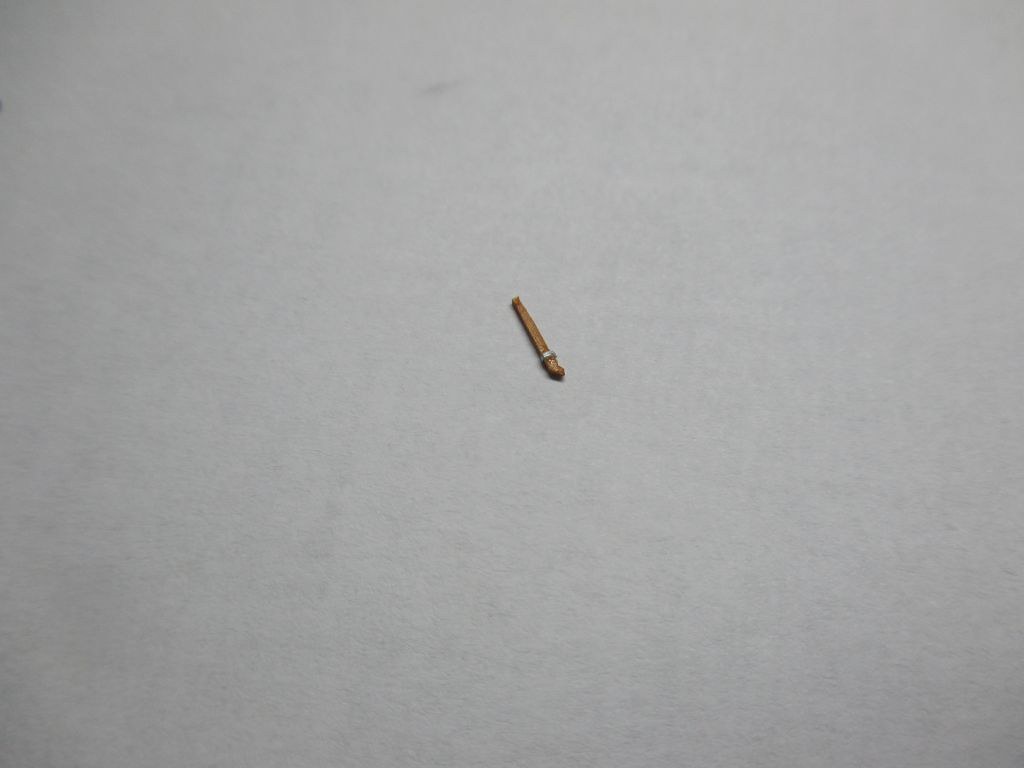
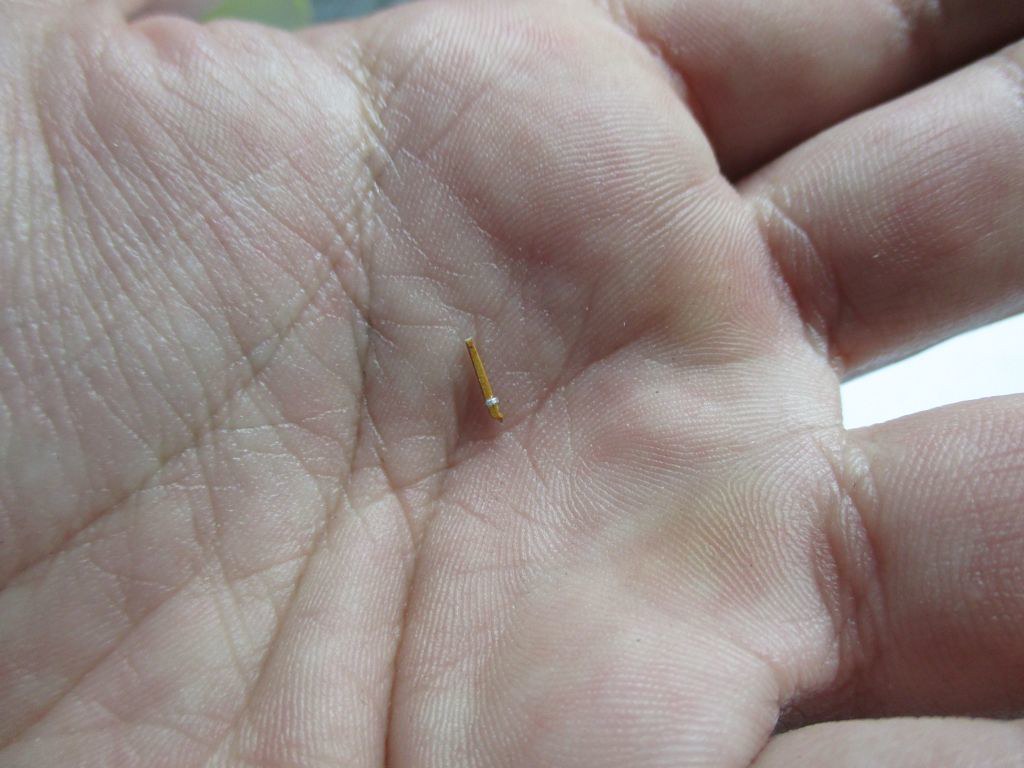
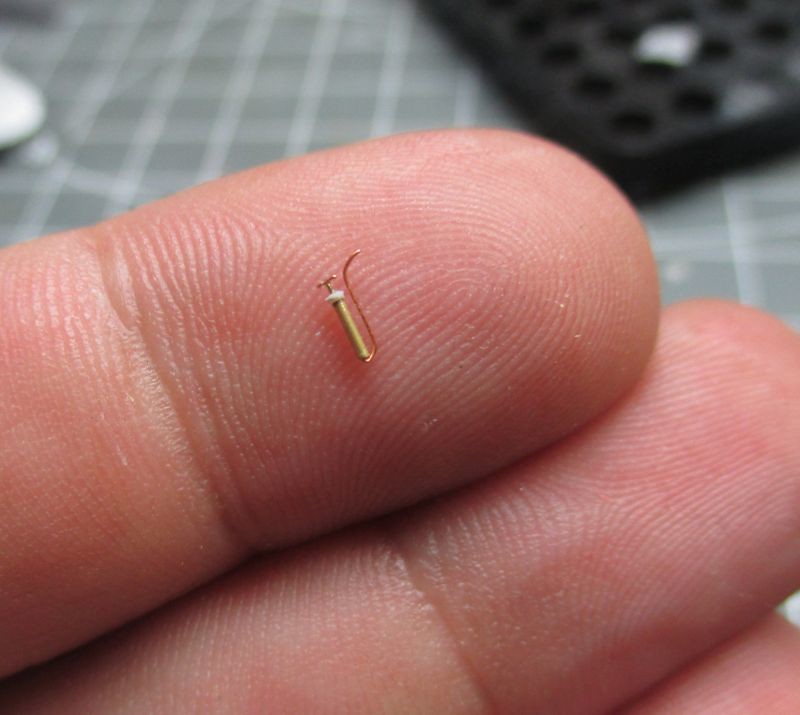
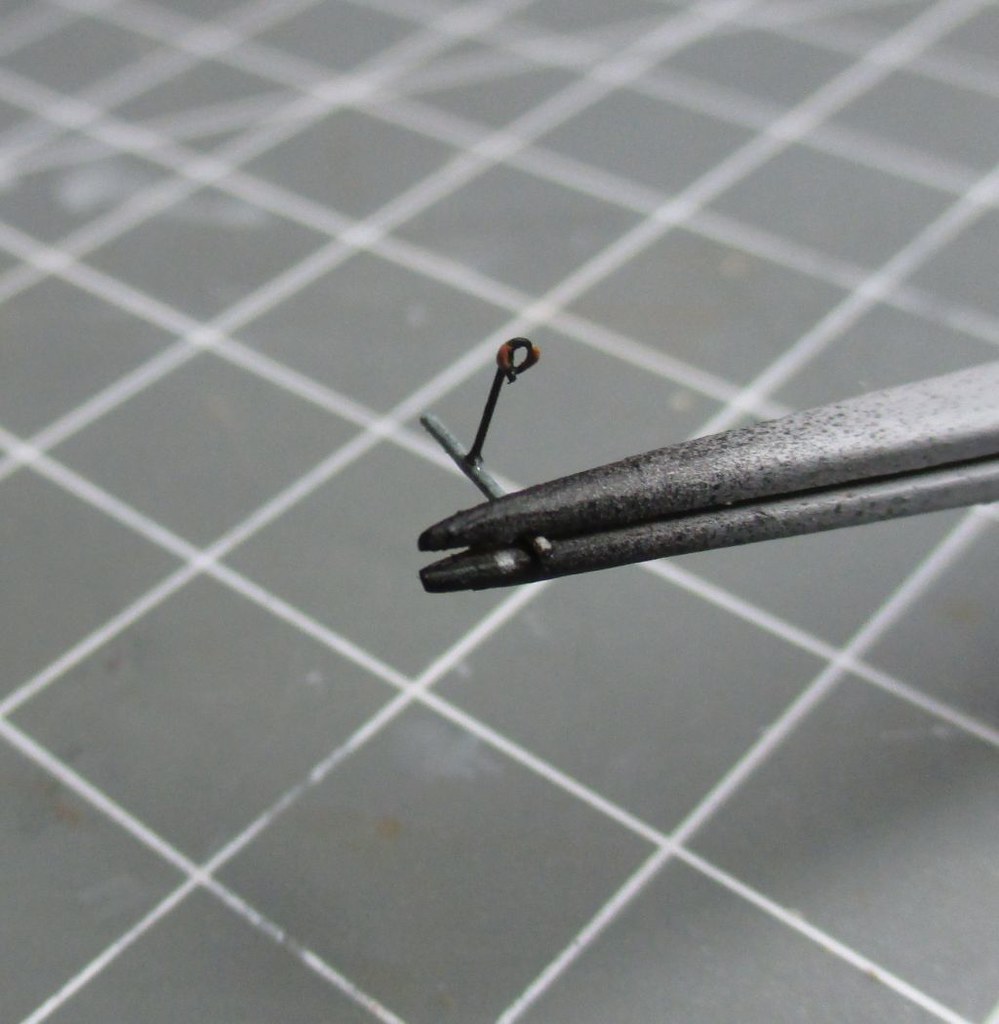
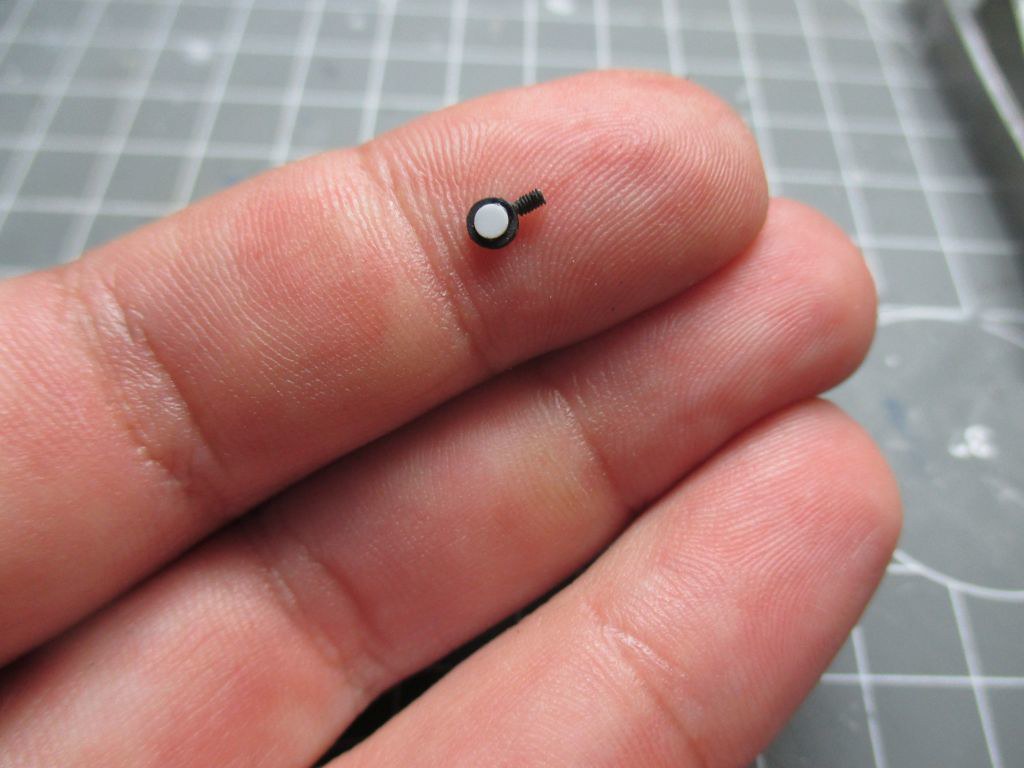
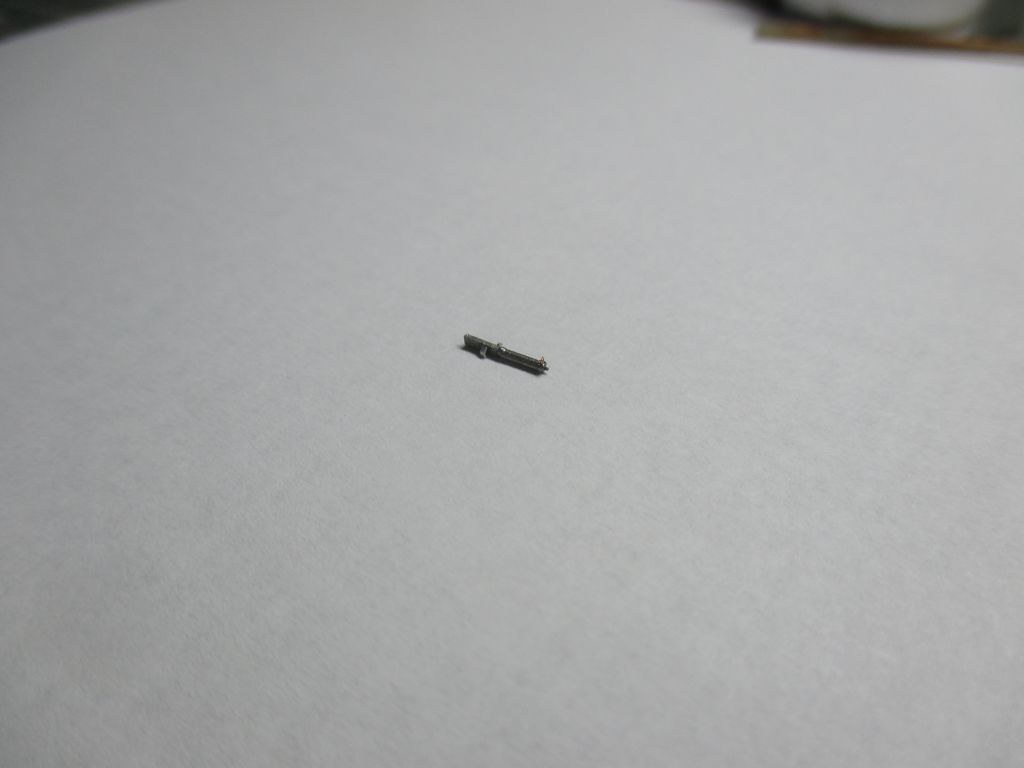
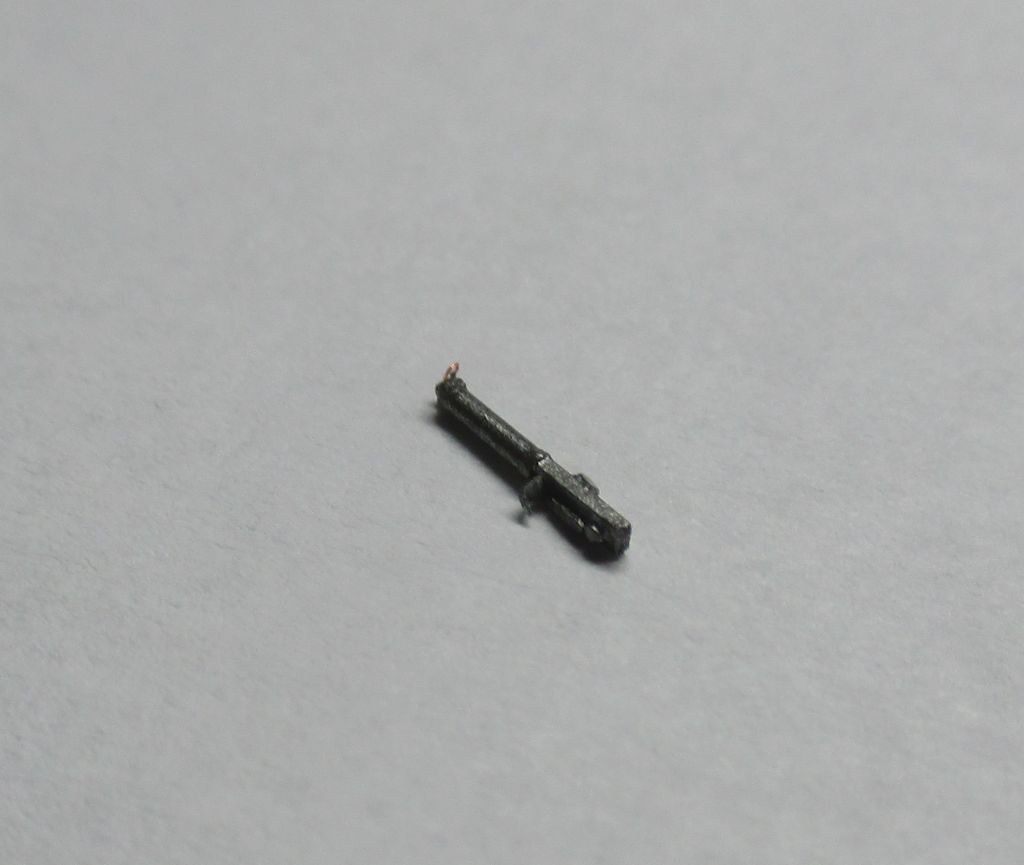
I also added a few details and gunsight on the machine gun, now it is ready for painting and wash.
Cheers
Ondra
Re: Fokker E.I 1/144 scratch
Posted: Thu Dec 28, 2017 8:51 pm
by Twokidsnosleep
Wow
My eyes are straining just looking at photos, I cannot fathom working in this scale
Re: Fokker E.I 1/144 scratch
Posted: Fri Dec 29, 2017 4:04 pm
by ondra
Many thanks for your nice comment, Scott!
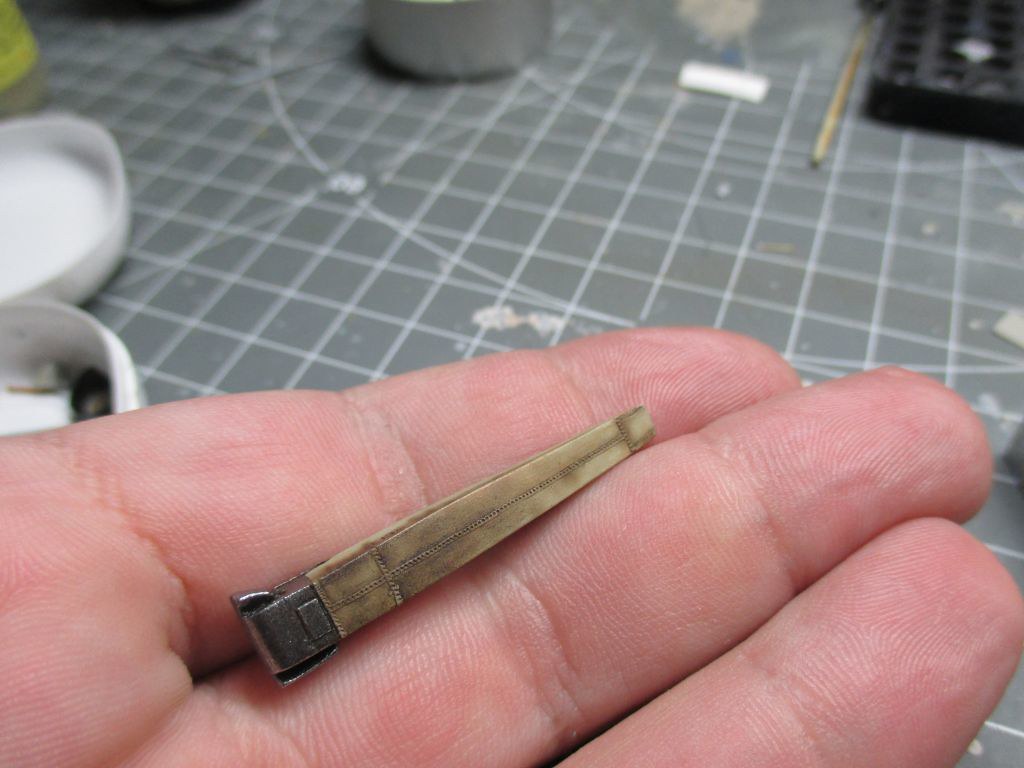
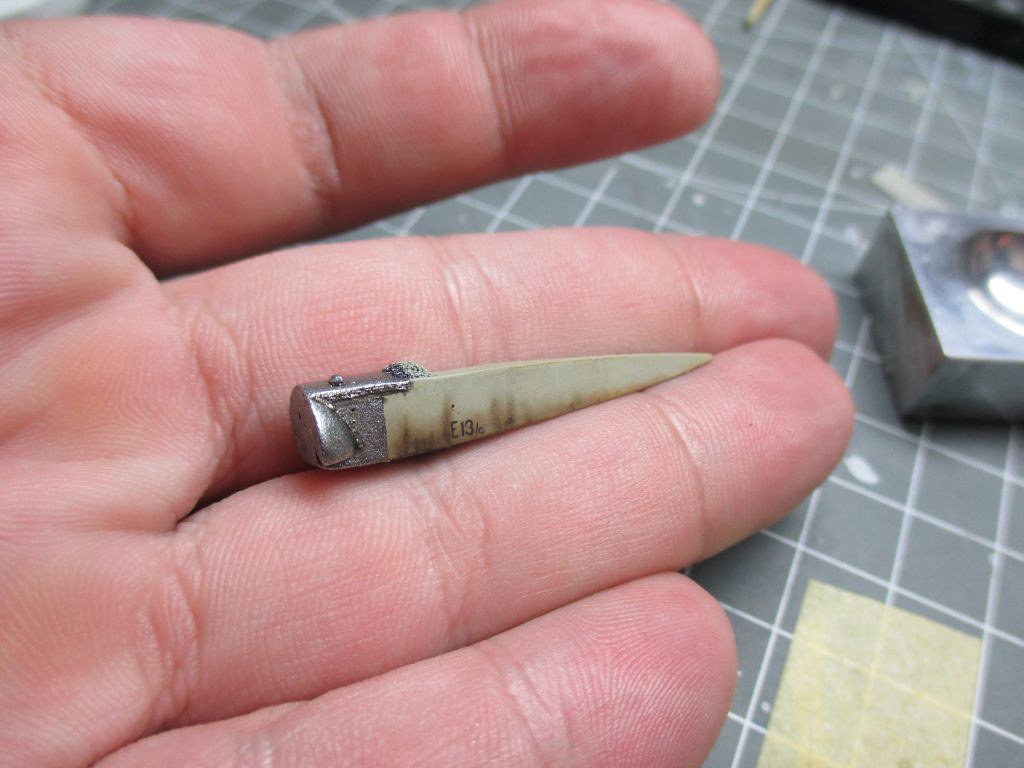
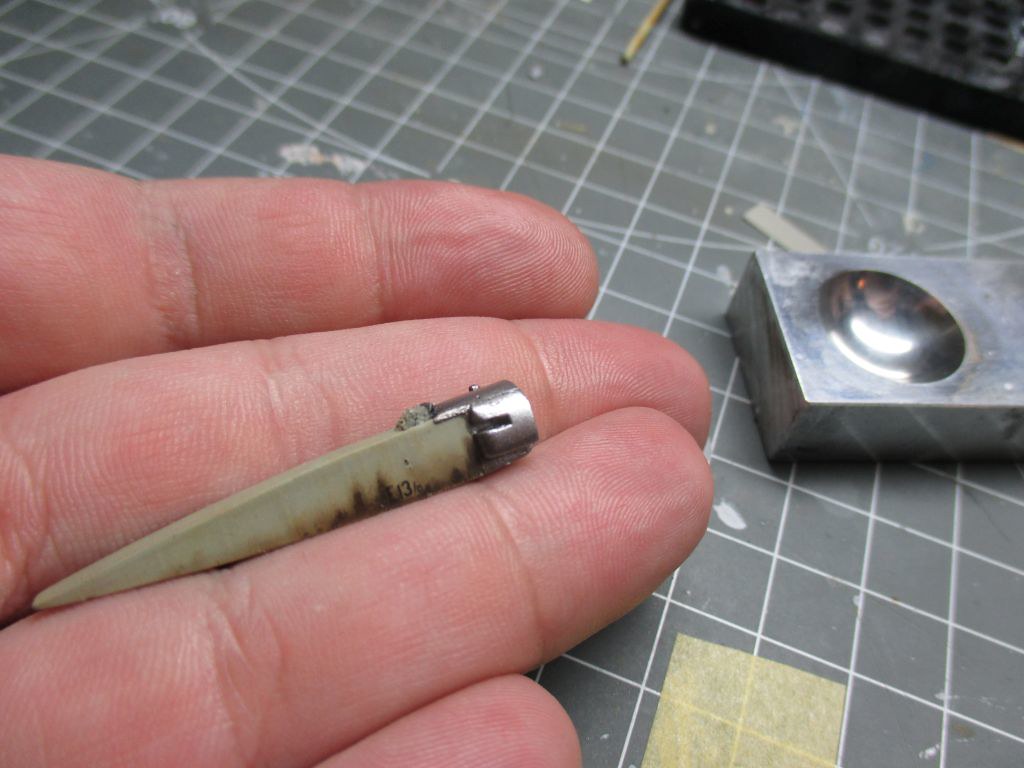
Ok, I have all parts ready for final steps (wash, fading, a few details on the undercarriage etc.).
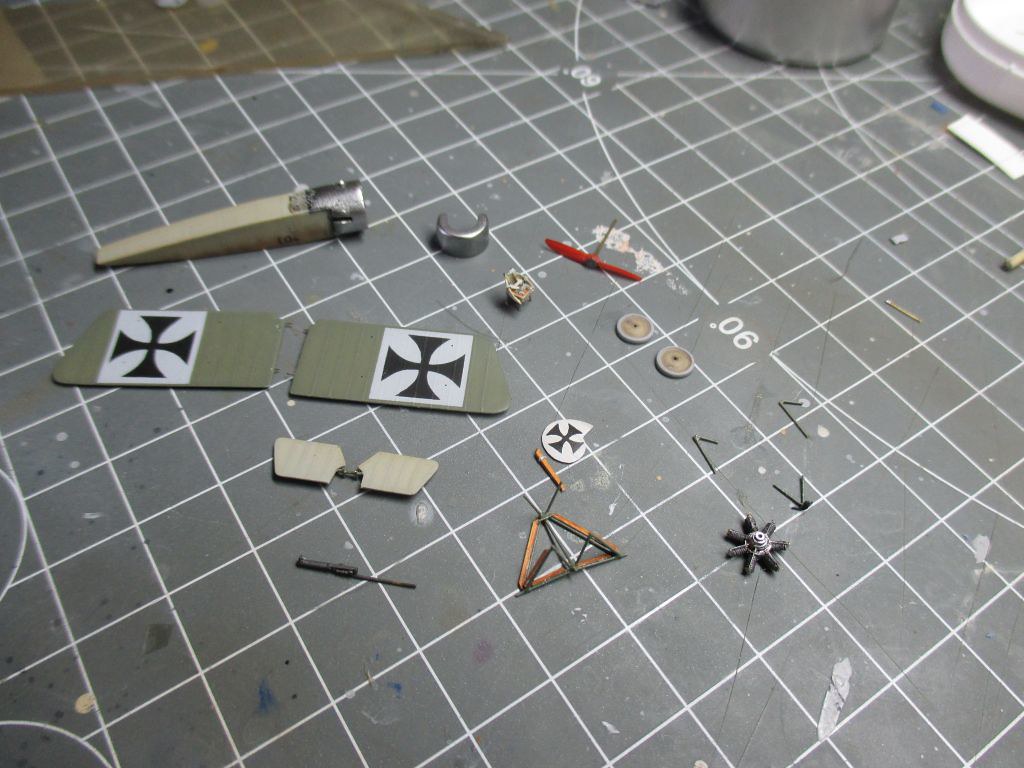
I started fine tuning the oil soaking on the fuselage:
Cheers
Ondra
Re: Fokker E.I 1/144 scratch
Posted: Fri Dec 29, 2017 5:13 pm
by TommyKillander
Amazing!

Tommy
Re: Fokker E.I 1/144 scratch
Posted: Sun Dec 31, 2017 11:18 am
by ondra
Many thanks for following and for your kind comment, Tommy!
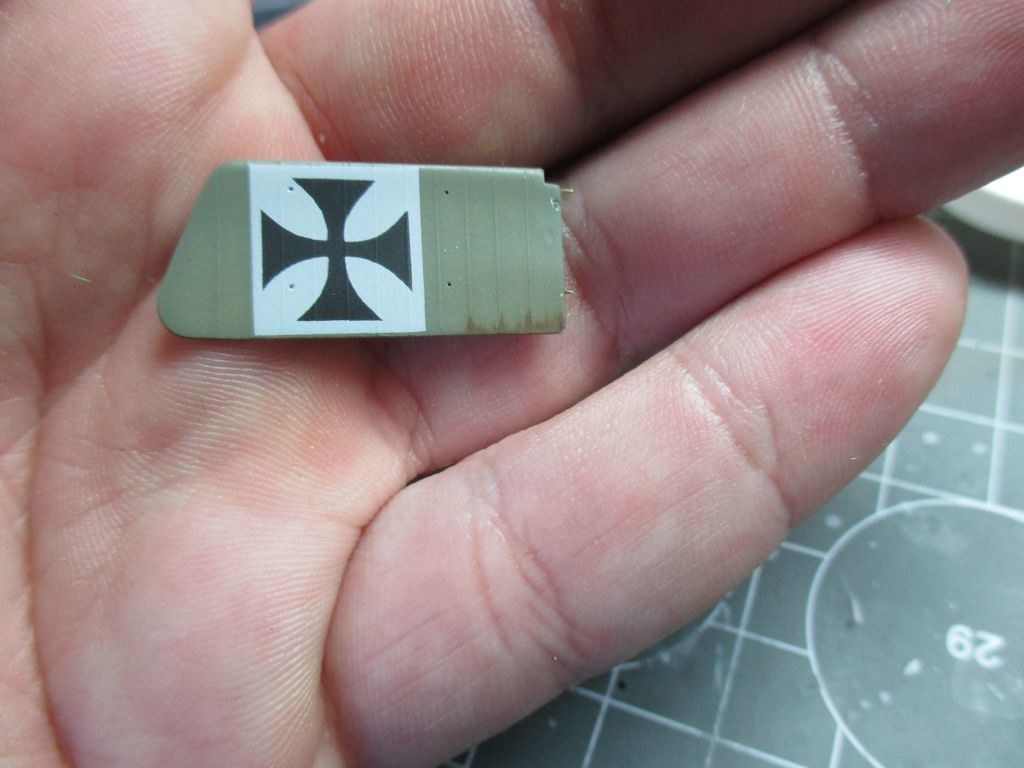
I decided to add a bit of oil soaking to the wing roots, as it was visible on some Eindeckers.
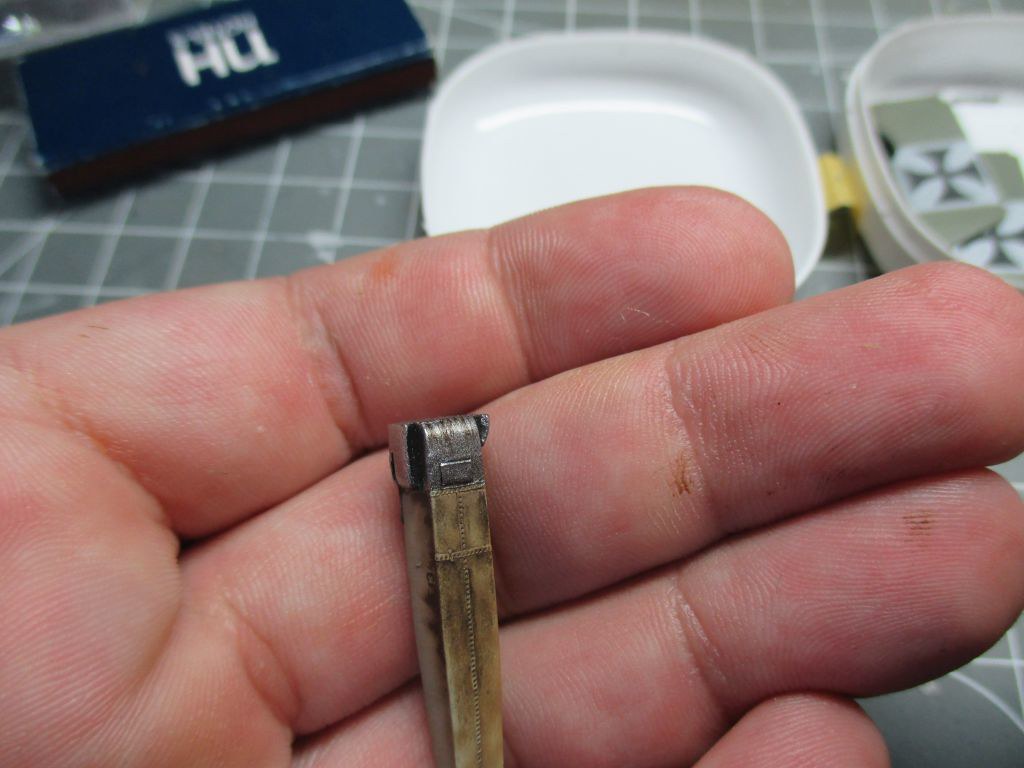
A bit of oil staining was also added beneath the engine.
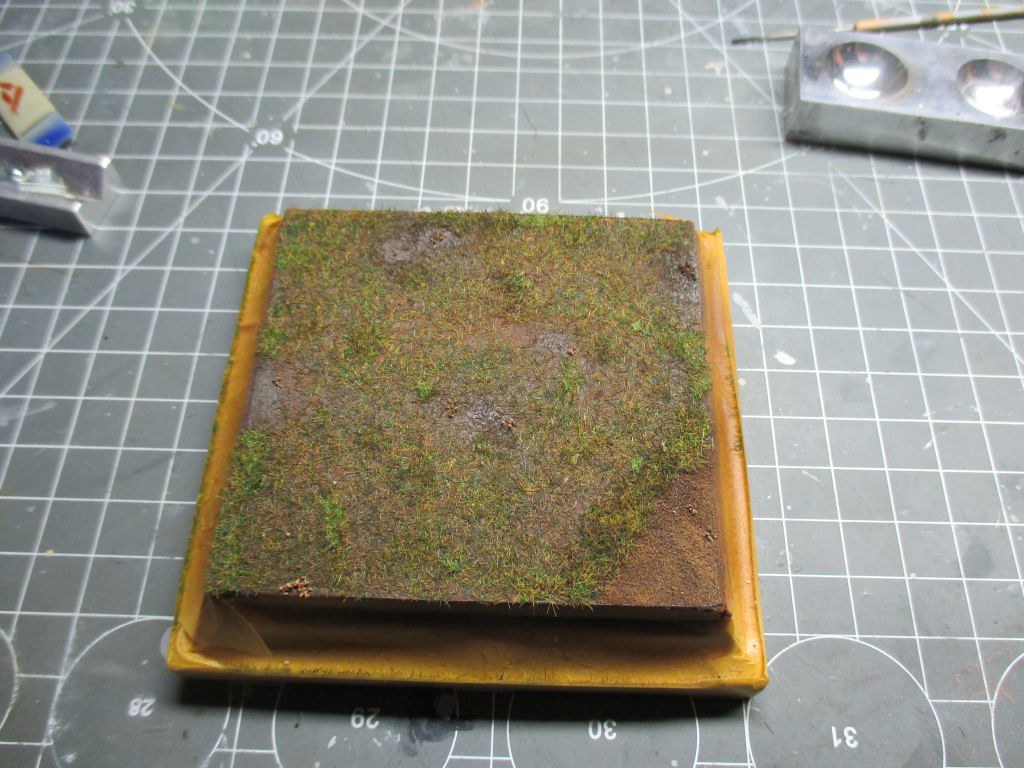
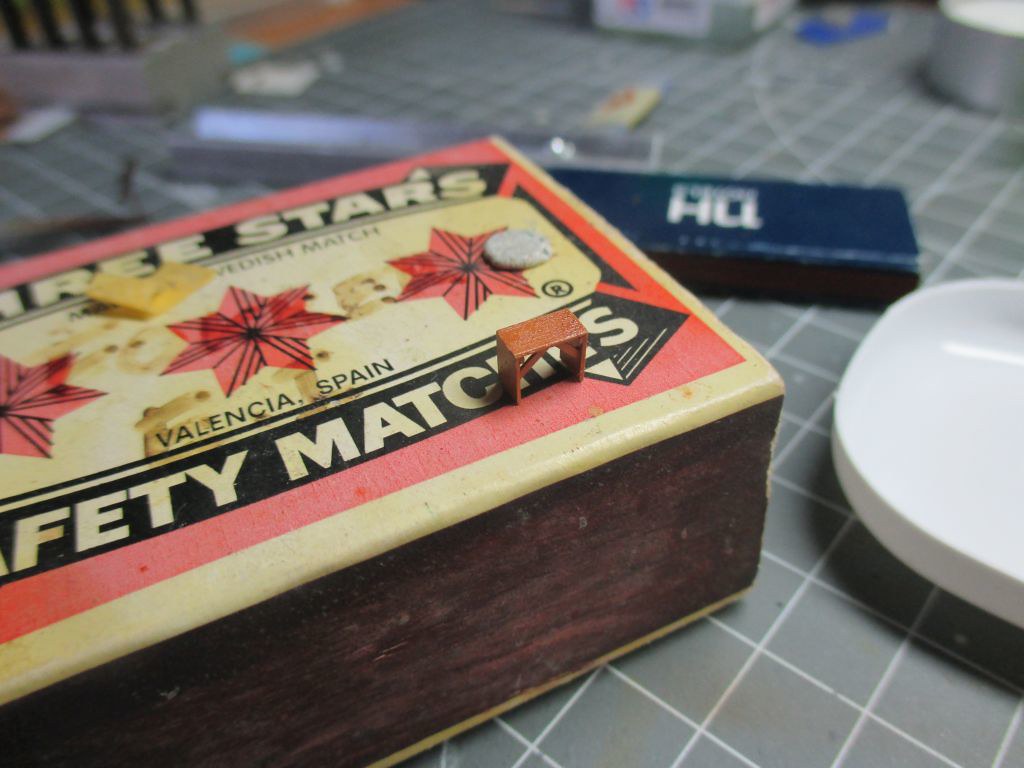
I also started working on the base and some accessories. As I am no good with terrain etc., all comments and critique are warmly welcome. This is the very initial stage, so I can change a lot.
Cheers and all the best in the new year to all forumites!
Ondra
Re: Fokker E.I 1/144 scratch
Posted: Sun Dec 31, 2017 3:21 pm
by Twokidsnosleep
I see nothing to improve on the base.
The grass and dirt areas look spectacularly realistic to my eye
A couple posts back you were soldering joints up for the undercarriage....is that white tac you used to stabilize the little rods???
All the best to you and yours in 2018...Happy New Year