To kick this build off my first step was going to be prepping the body, for this i used the green sided buffer which is 12000 grit (unless you are Guys) i gently buff all over the car using water to help stop the dust scratching and stop it from blowing everywhere. once done i decided to change tactics a little bit and venture into a taboo area, i'm going to prime the car off the Sprue but prime everything else on the Sprue!!! let us see how it goes.
I have sprayed everything in Ultimate Grey
 20170916_130415
 by
Mark Johnson, on Flickr
Step 1 sand the bodywork
i then start removing parts of the sprue for the next phase, as in the image below i take the parts off away from the edge of the part and then remove closer to the part and sand flush when off the sprue, that way there will be no unwanted damage from stressing the plastic.
 20170919_015752
 by
Mark Johnson, on Flickr
Cut sprue gates away from parts.
 20170918_200219
 by
Mark Johnson, on Flickr
Then trim and sand back when the part is released from the sprue.
Firstly the engine needs assembling, this is a straight forward process for this kit as there are not a great many parts, those that there are, will be glued together, left to cure the have there joins sanded down and then painted with avaiety of tones from Tamiyas Flat Alluminium to Revells Silky Matt black and as a contrast MRP Chrome Silver, once i'd reached the end of stage 6 i had an engine built by step 9 i also had the radiators painted and then installed them along with the engine.
 20170918_194852
 by
Mark Johnson, on Flickr
Engine built and painted.
 20170918_194940
 by
Mark Johnson, on Flickr
The twin radiators partly painted.
The instructions are now telling me to assemble the front steering/suspension next and in another departure im going to brush paint these parts with Tamiya and get comparable results!
1. Shake Tamiya very well
2. Open lid and set bottle to one side
3. add TWO (2) drops of MLT to the inside of the Tamiya lid
4. Mix contents of lid with the MLT drops
5. Your ready to paint.
This method is great for small parts and done properly can give you fantastic results.
In step 9 take care as there is a minimum amount of glue used, and heat is used in the form of a flat bladed screwdriver heated up and used to melt the pins on the back of the joists.
 20170918_231457
 by
Mark Johnson, on Flickr
Brush painting with these items can give surprising results.
 20170920_111903_009
 by
Mark Johnson, on Flickr
 20170920_111942
 by
Mark Johnson, on Flickr
Engine, Radiators and suspension in Situ
 20170919_202039
 by
Mark Johnson, on Flickr
Here we can see the pins heated and melted flat instead of gluing as shown in step 9 of the instruction manual.
And to finish todays entry i'm just going to add the exhaust ducting so i can seat the chrome exhaust tips, i normally dechrome these (exhaust tips) parts, but its qite a good finish and is going to be barely visible, these were easily fitted.
 20170920_111932
 by
Mark Johnson, on Flickr
Exhaust rims and ducting in situ.
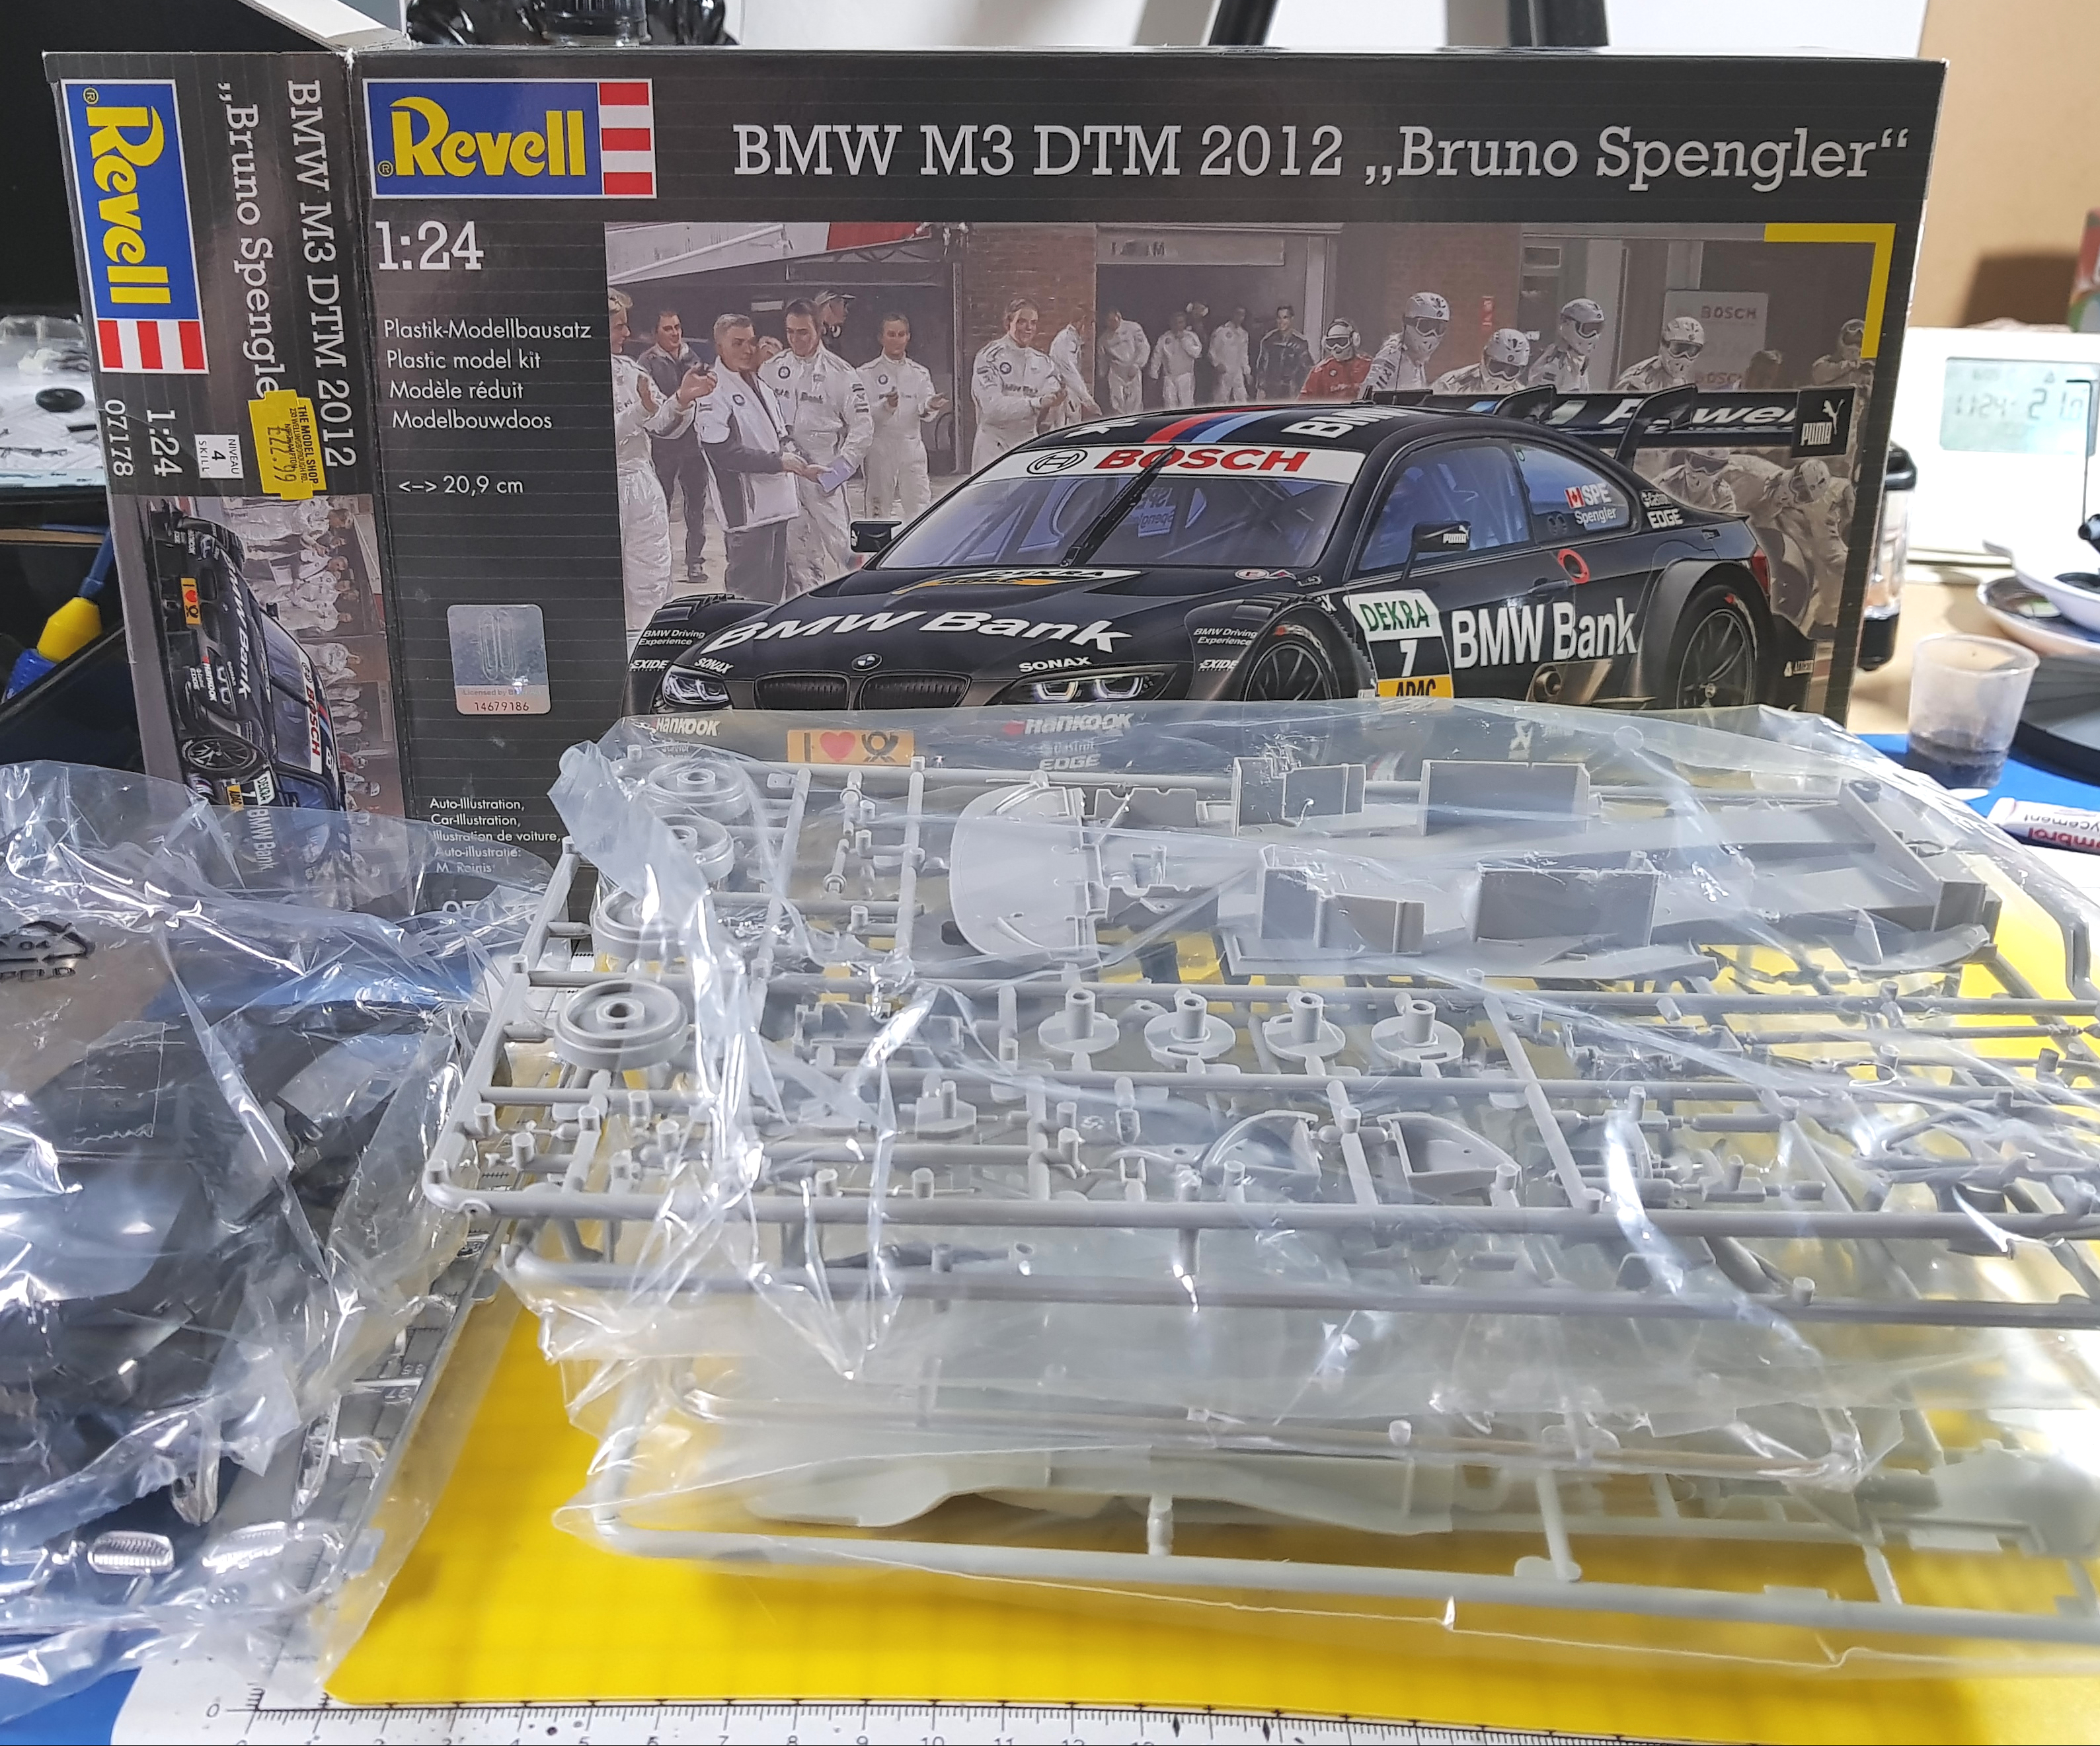 20170916_120339 by Mark Johnson, on Flickr
 looks really cool. The review was cool as well!


