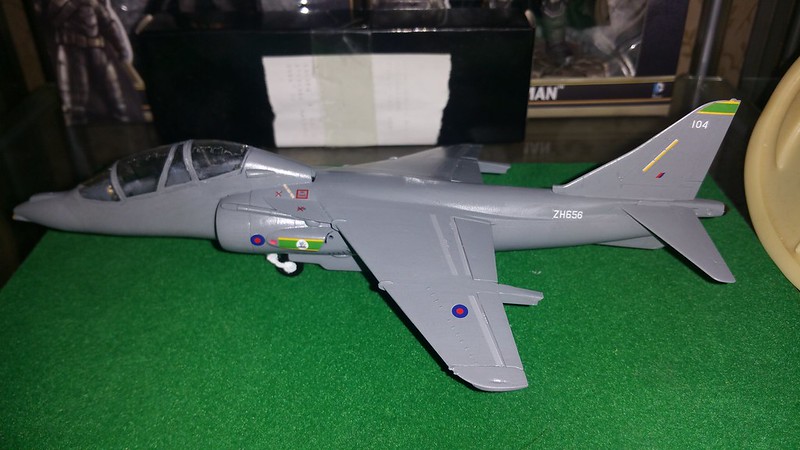
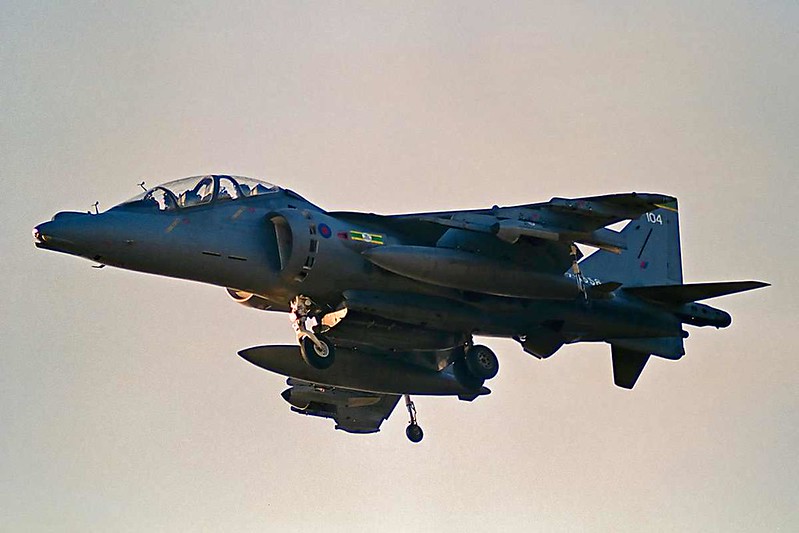
1/72 Italeri TAV-8B/T.10 Harrier II & Heller/Bobcat Harrier T.4
Posted: Sat Dec 23, 2017 8:40 am
Hey folks!
I wanted to share the progress with you of the first project since my daughter was born at the end of Feb!
I'm doing a double twin seat Harrier build.
both of these were bought from Telford SMW.
Heller Bobcat Harrier T.4 & Italeri Harrier T.10(using the nose cone and decals from the Airfix kit kindly provided by a friend) which I started at the start of June.
So here they are almost built:
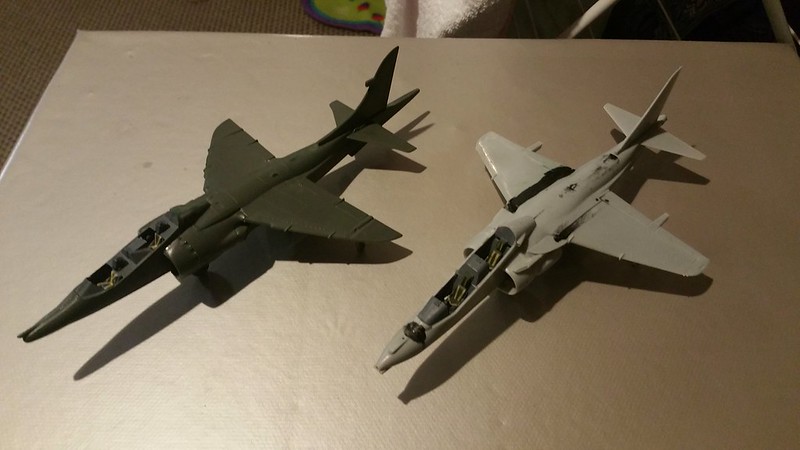
Im going to be concentrating on the T.10 first.
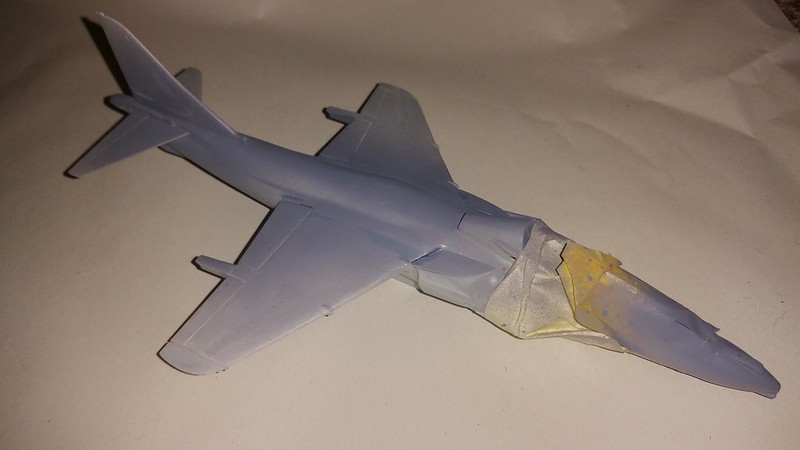
After the final bit of filling and sanding here she is after a quick splash of primer to check the joins:
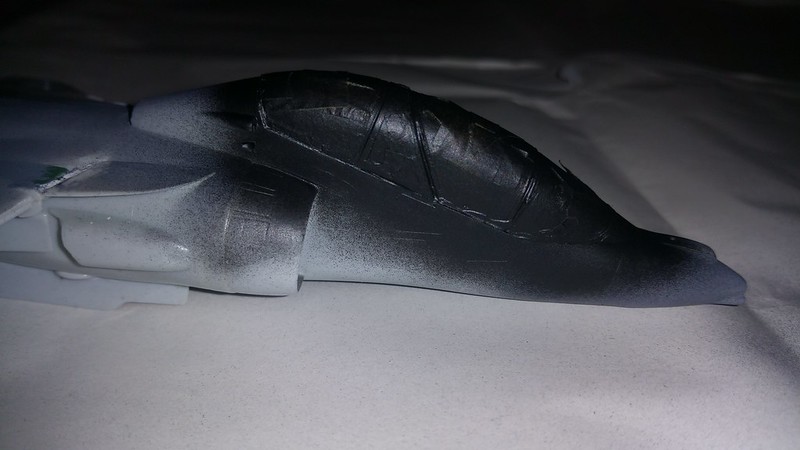
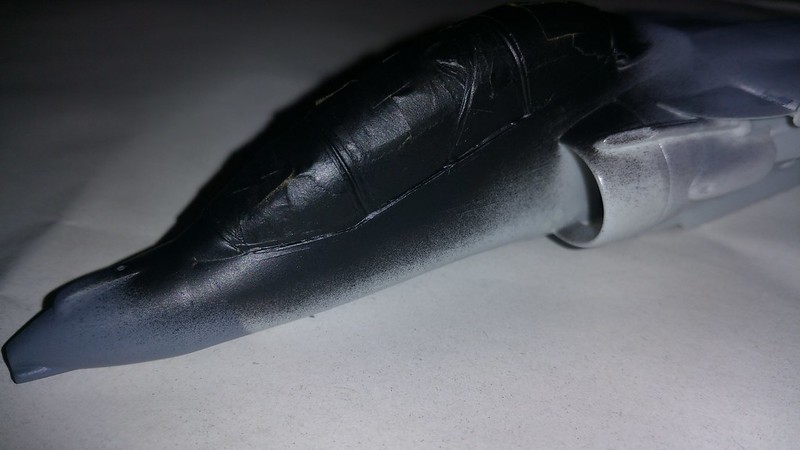
The next job was cleaning up around the canopy after the PVA dried.

I had to conduct minor surgery to get the clear parts to fit.
With it being a 4 piece canopy and being slightly warped it was a very tricky job whilst doing my best not to break or crack them.
I know its not the cleanest but its the best I'll be able to achieve:
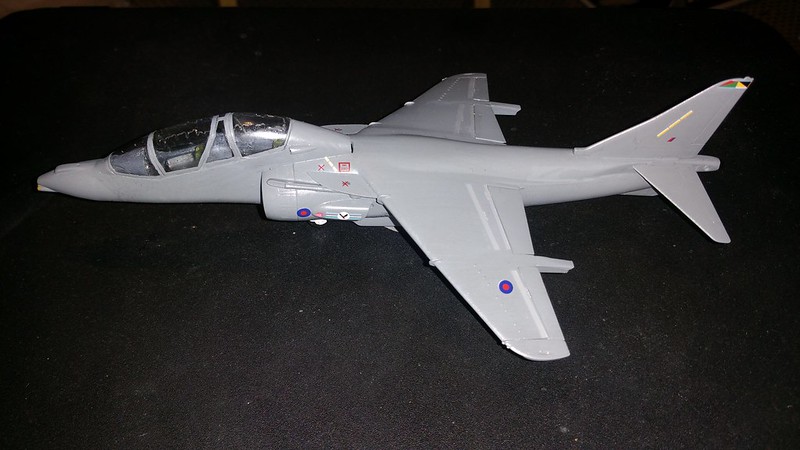
Next I finished her paintwork and put a layer of Klear on:

The seam line on the bottom of the fuselage was left as I'm going to be adding a pylon and ordinance so there would be no point and there's a groove for it to settle into.(My way of hiding the fact I'm lazy)
I decided to go with 20(R) Squadron as I haven't got a Harrier in that scheme yet, I'm unsure about the overall finish of the model at the moment, as I paint more and more details onto her I feel a little better so I'm sure once all the decals, painted details and weathering aswell as antenna, engine nozzles and pylons with ordinance are on I'll feel happy but only time will tell.
I very nearly put her back onto the shelf of doom to sit for another year or so but my Mrs(SWMBO) talked me round despite not being keen on Harriers because I go on all the time about them!
Nose shot to show the Middlestone bumps on the nosecone.
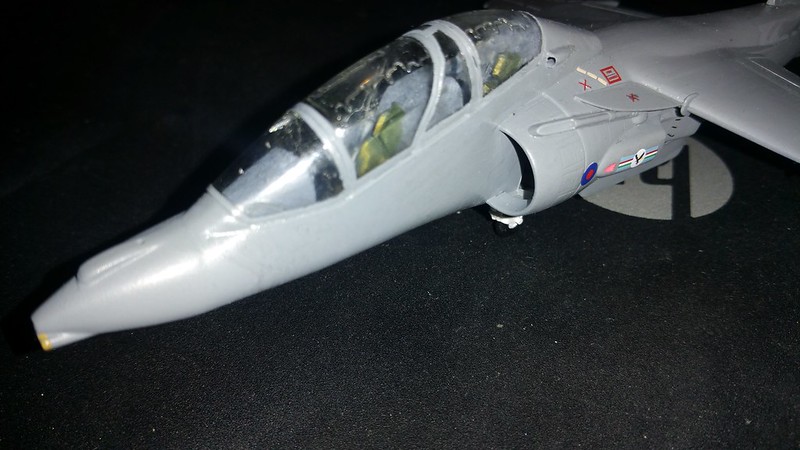
With not having the glass part on the nosecone I've been toying with the idea of scratching a red cover like the one my Mrs bought me as a treat after finishing a difficult summer on the ramp:

Either that or I'll just use PVA instead but this with a ton of Remove Before Flight togs would be awesome and would test my skills as a modeler.
That's it up to now folks.
I hope you like my progress, more will be added soon and remember.
Harriers do it best.
I wanted to share the progress with you of the first project since my daughter was born at the end of Feb!
I'm doing a double twin seat Harrier build.
both of these were bought from Telford SMW.
Heller Bobcat Harrier T.4 & Italeri Harrier T.10(using the nose cone and decals from the Airfix kit kindly provided by a friend) which I started at the start of June.
So here they are almost built:
Im going to be concentrating on the T.10 first.
After the final bit of filling and sanding here she is after a quick splash of primer to check the joins:
The next job was cleaning up around the canopy after the PVA dried.
I had to conduct minor surgery to get the clear parts to fit.
With it being a 4 piece canopy and being slightly warped it was a very tricky job whilst doing my best not to break or crack them.
I know its not the cleanest but its the best I'll be able to achieve:
Next I finished her paintwork and put a layer of Klear on:
The seam line on the bottom of the fuselage was left as I'm going to be adding a pylon and ordinance so there would be no point and there's a groove for it to settle into.(My way of hiding the fact I'm lazy)
I decided to go with 20(R) Squadron as I haven't got a Harrier in that scheme yet, I'm unsure about the overall finish of the model at the moment, as I paint more and more details onto her I feel a little better so I'm sure once all the decals, painted details and weathering aswell as antenna, engine nozzles and pylons with ordinance are on I'll feel happy but only time will tell.
I very nearly put her back onto the shelf of doom to sit for another year or so but my Mrs(SWMBO) talked me round despite not being keen on Harriers because I go on all the time about them!
Nose shot to show the Middlestone bumps on the nosecone.
With not having the glass part on the nosecone I've been toying with the idea of scratching a red cover like the one my Mrs bought me as a treat after finishing a difficult summer on the ramp:
Either that or I'll just use PVA instead but this with a ton of Remove Before Flight togs would be awesome and would test my skills as a modeler.
That's it up to now folks.
I hope you like my progress, more will be added soon and remember.
Harriers do it best.