Page 1 of 1
Sopwith F.1 Camel B6313 - W. G. Barker 1/144
Posted: Mon Mar 26, 2018 6:03 am
by ondra
Hello everybody,
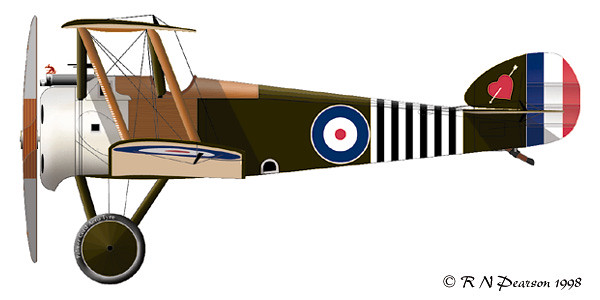
with the Eindecker finished it is time to start another project, this time W. G. Barker's Sopwith Camel in its final layout from Autumn 1918:
First of all I made the drawings:
The cockpit will be very open, as this machine hat most of the cowling before cockpit removed, on top the fabric cover on the upper wing centre was removed too. That means the interior will be very visible and I can not use my usual method of solid plastic. Therefore I came to the conclusion it is time to experiment with vacuforming.

I took the drawings and reduced them in size for 3 styrene thicknesses - 0.5, 0.75 and 1.0 mm.

Then I cut out the particular sections and created this framework:
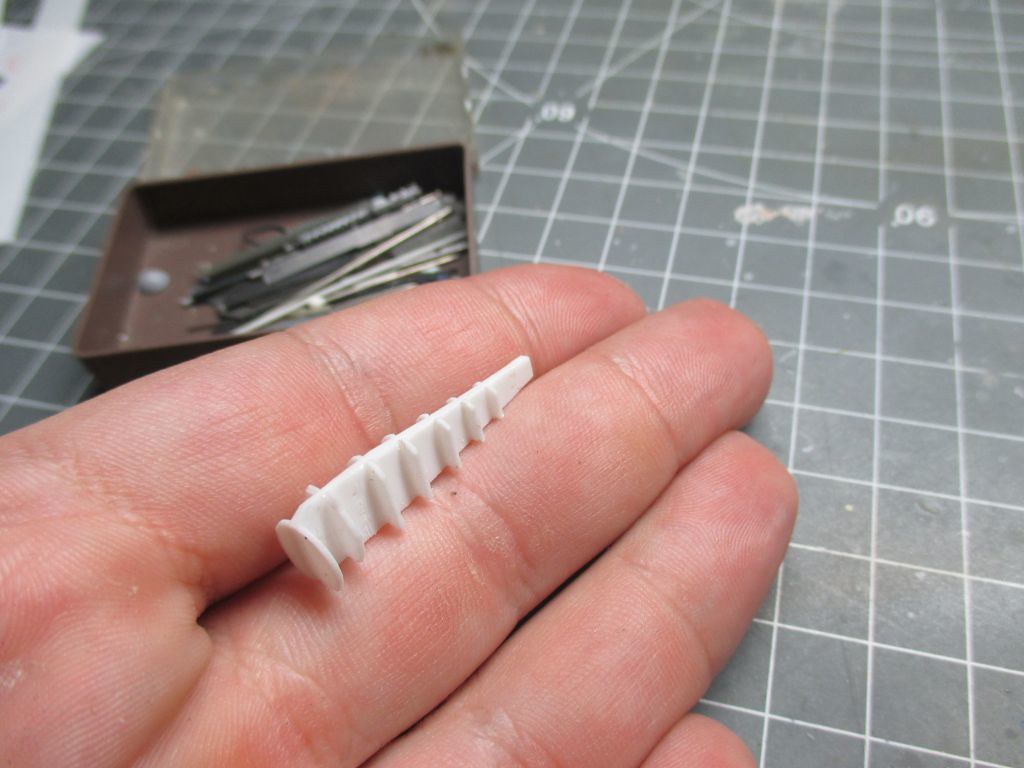
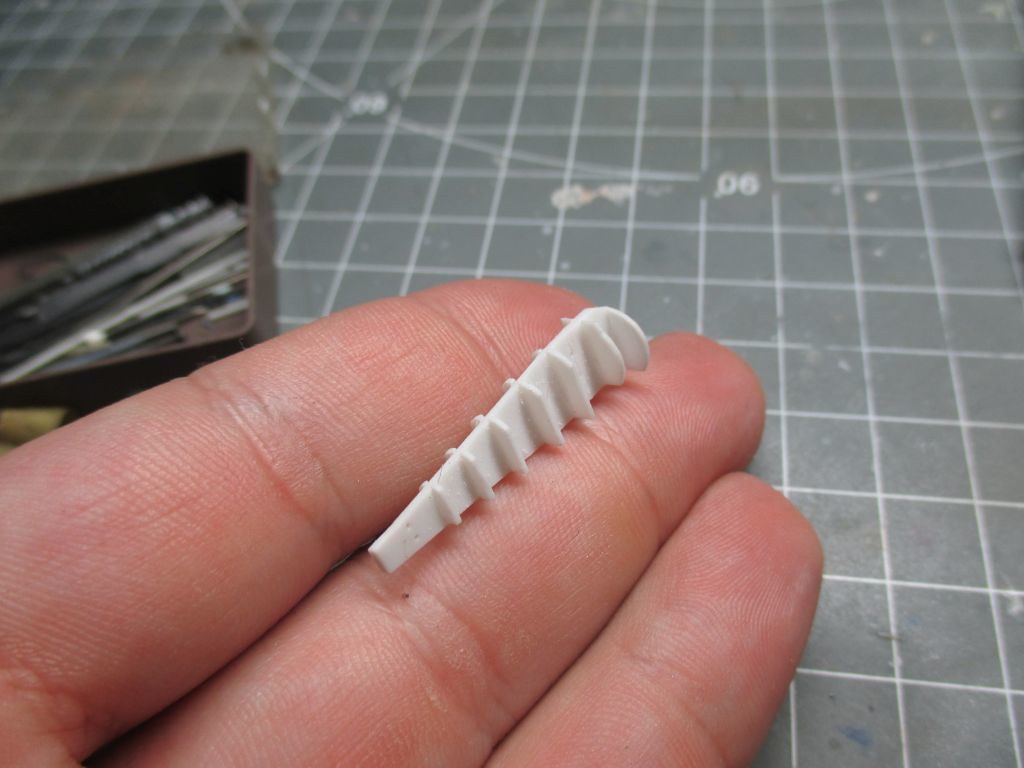
Afterwards I filled the gaps with black miliput, which gave me a good guide while filing the piece to shape (the contrast between white styrene and black miliput).
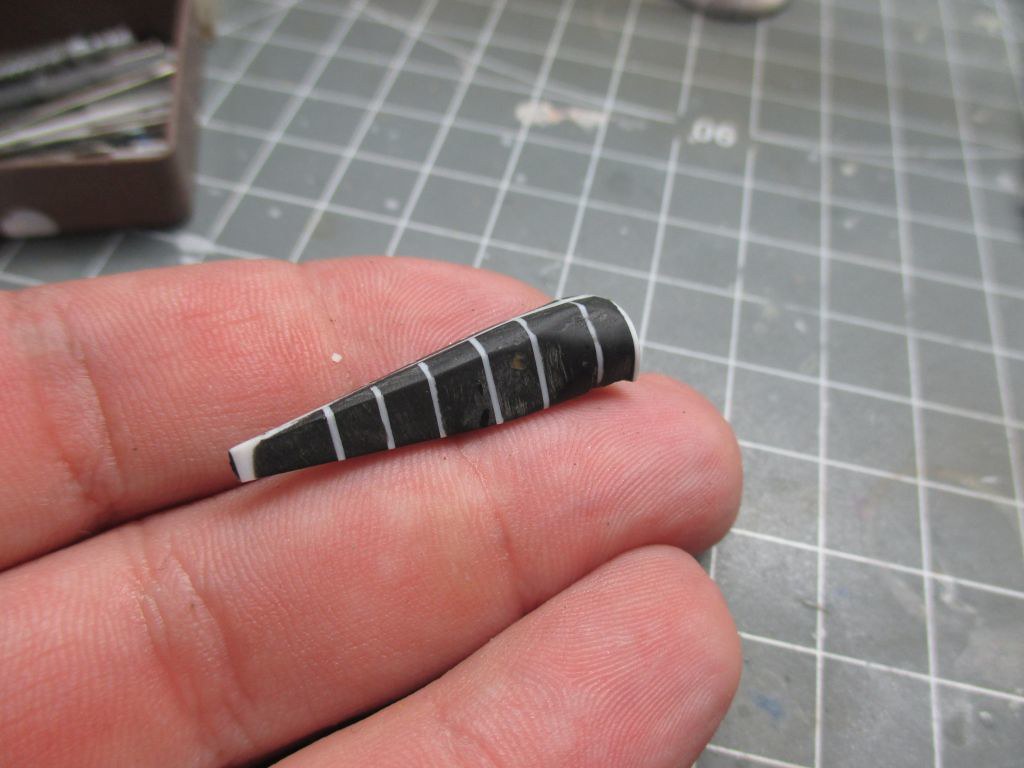
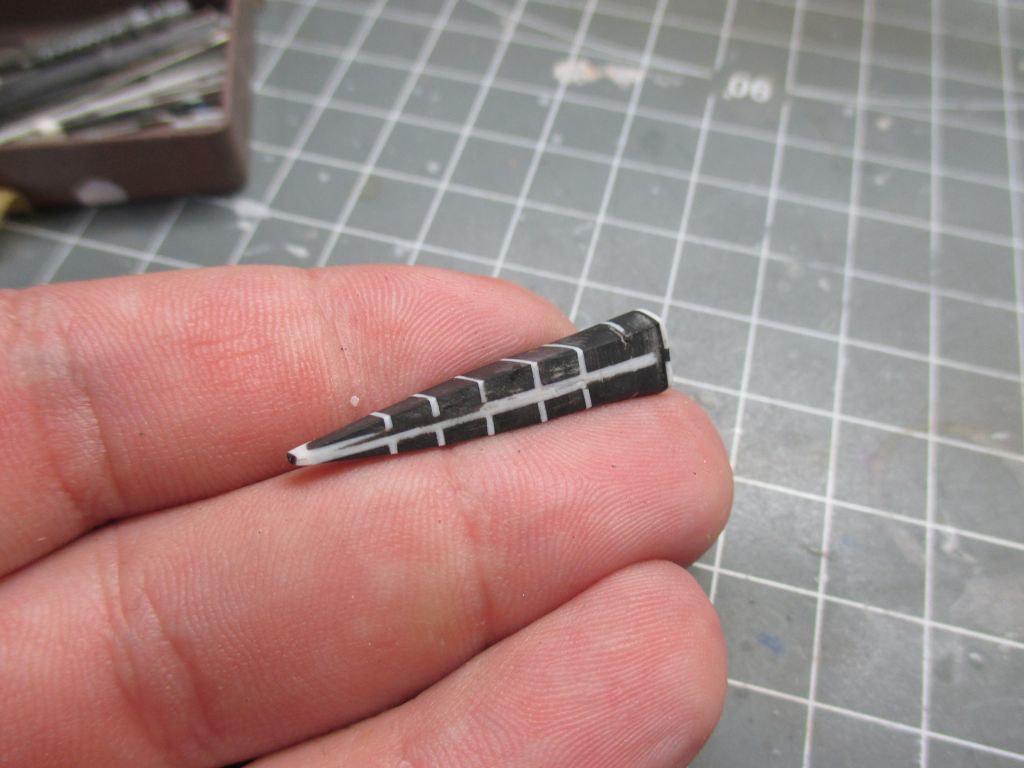
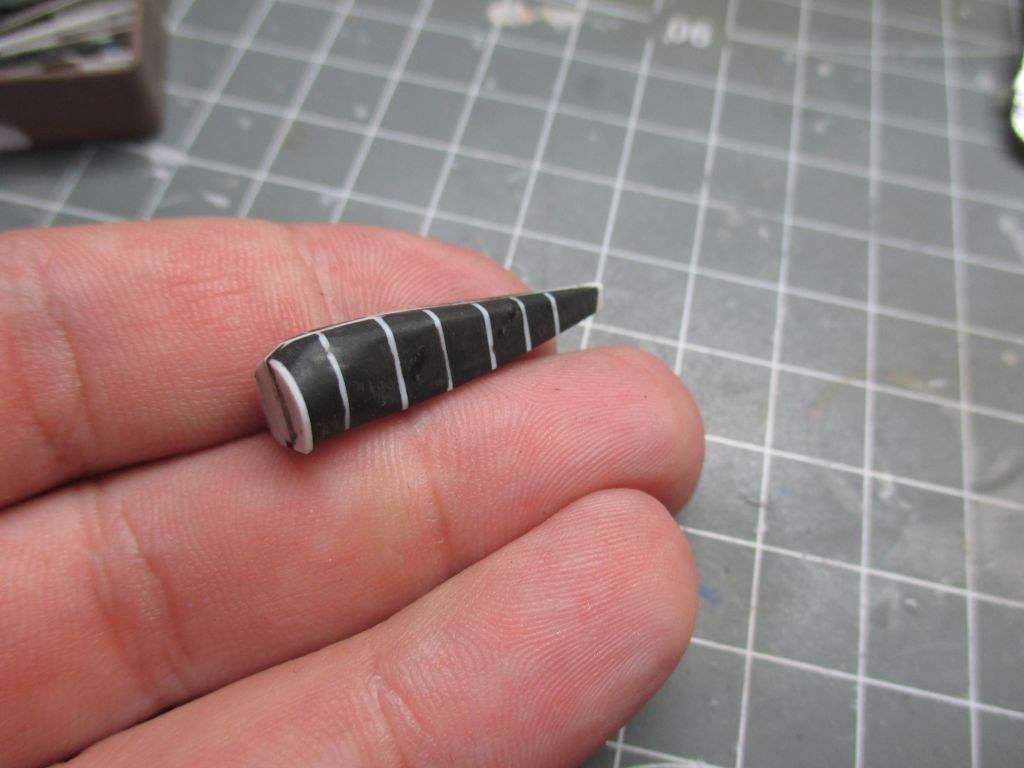
I also turned the core for the engine cowling on my Proxxon:
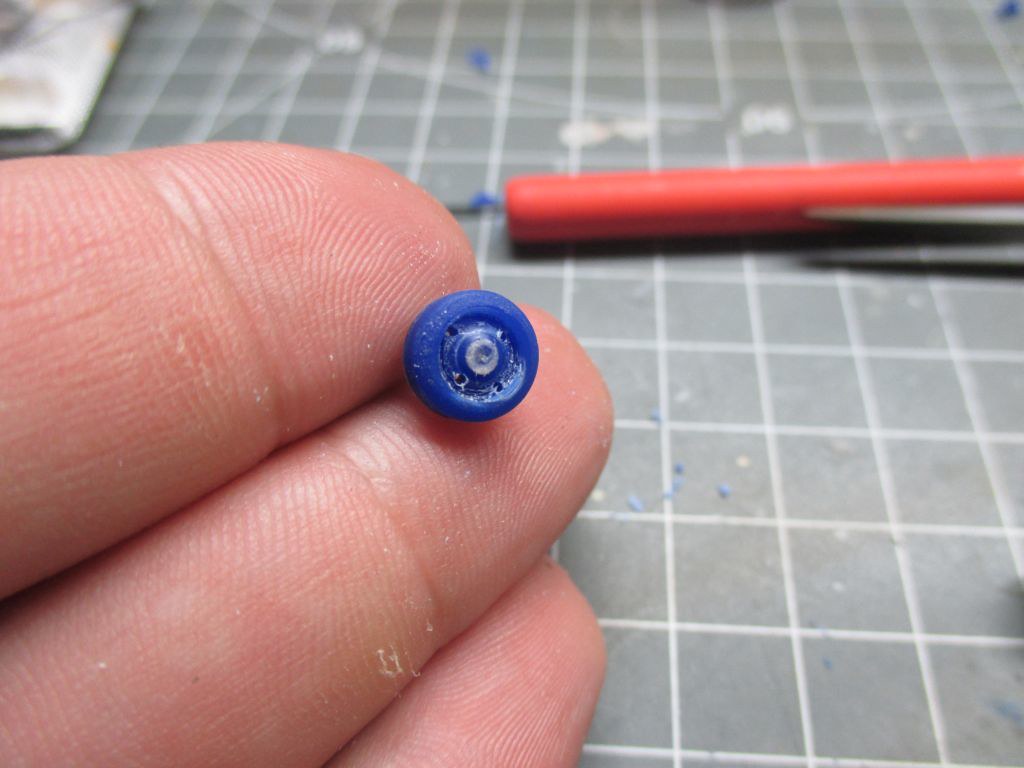
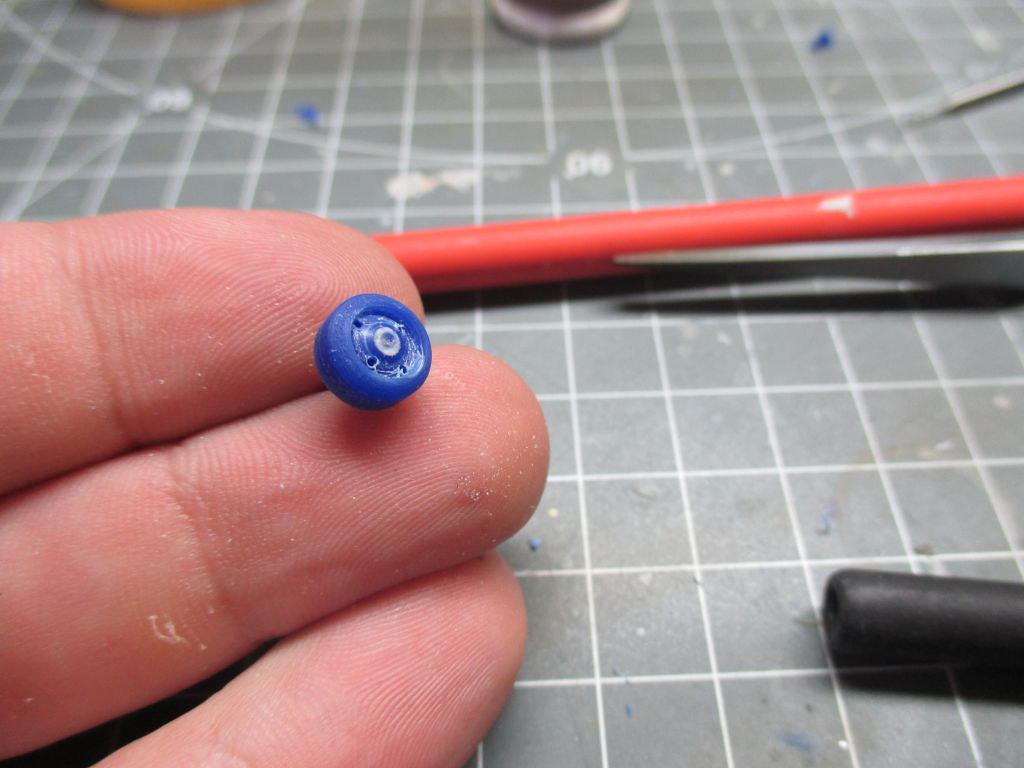
These are the parts ready for vacuforming. As I have no previous experience with this technology, all advices and tipps are very velcome.

Cheers
Ondra
Re: Sopwith F.1 Camel B6313 - W. G. Barker 1/144
Posted: Mon Mar 26, 2018 6:41 am
by Twokidsnosleep
Ok, I am watching again


I would have thought your eyes would need a couple months rest from that last build

Re: Sopwith F.1 Camel B6313 - W. G. Barker 1/144
Posted: Sat Apr 07, 2018 5:20 pm
by ondra
Many thanks for your nice comment, Scott! No rest for the eyes, once one build is finished, another one has to be on the workbench the same week, that is the rule.
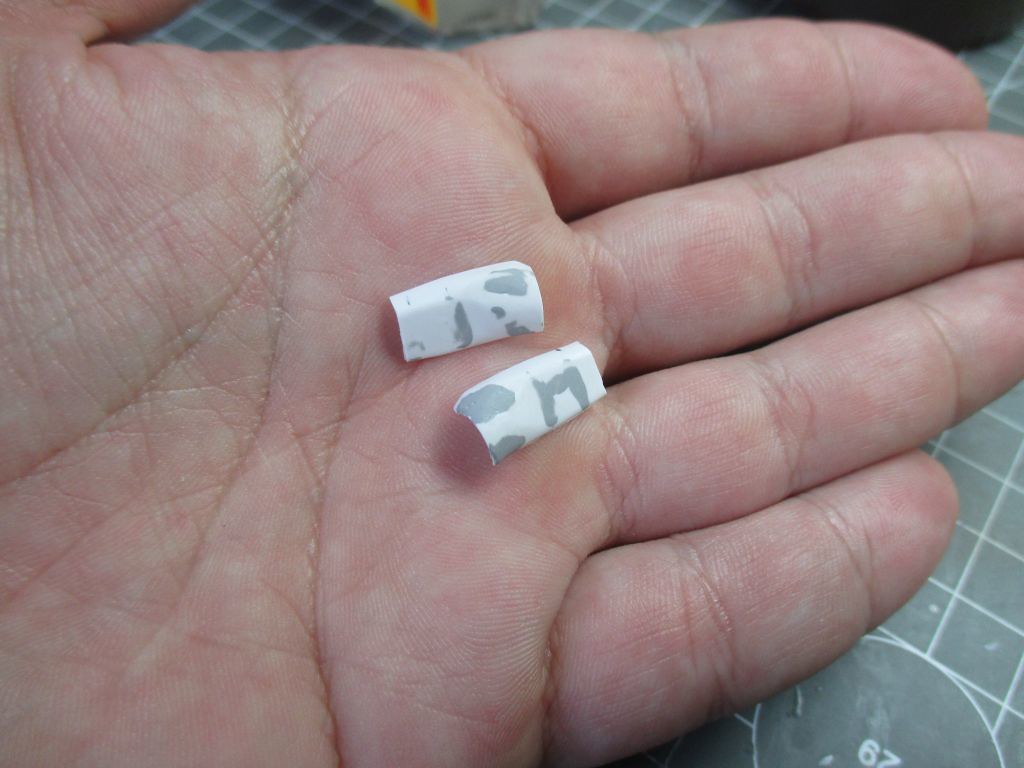
I started working on the fuselage, eventually I decided to change the approach a bit. Made of two vacuformed halves, the fuselage would not be rigid enough, so the rear part will be made of solid plastic. Quite surprisingly, vacuforming went well on the first attempt already, so these are the parts I got for the front fuselage:
The rear part is under construction now, the gaps will be filled with styrene:
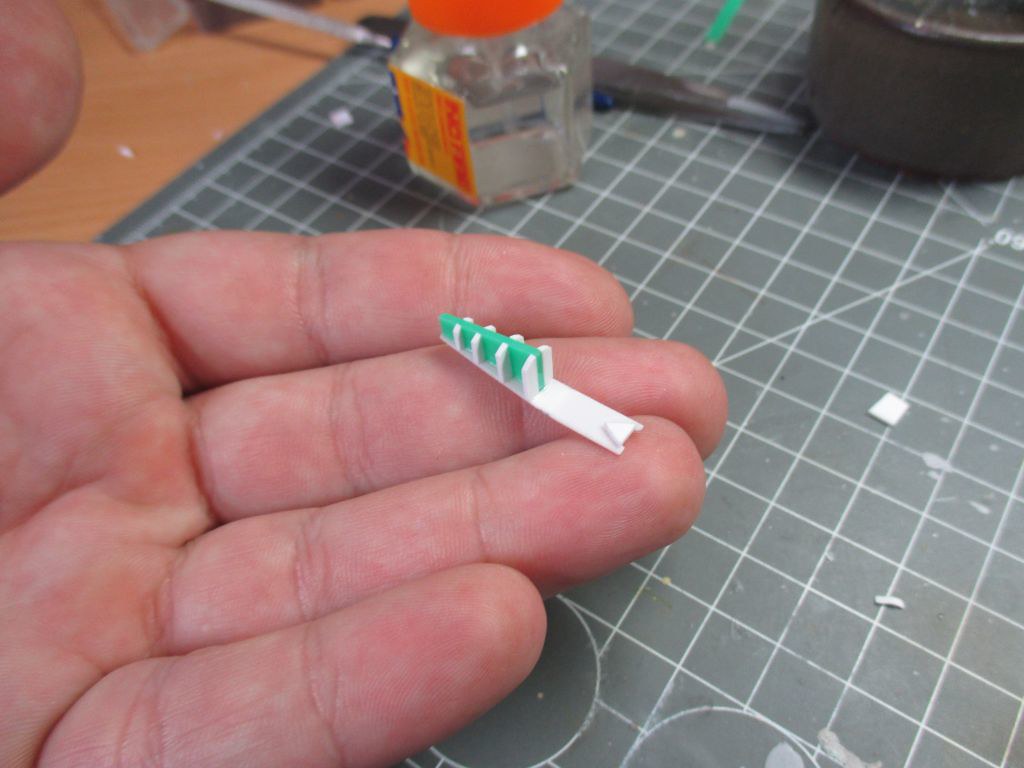
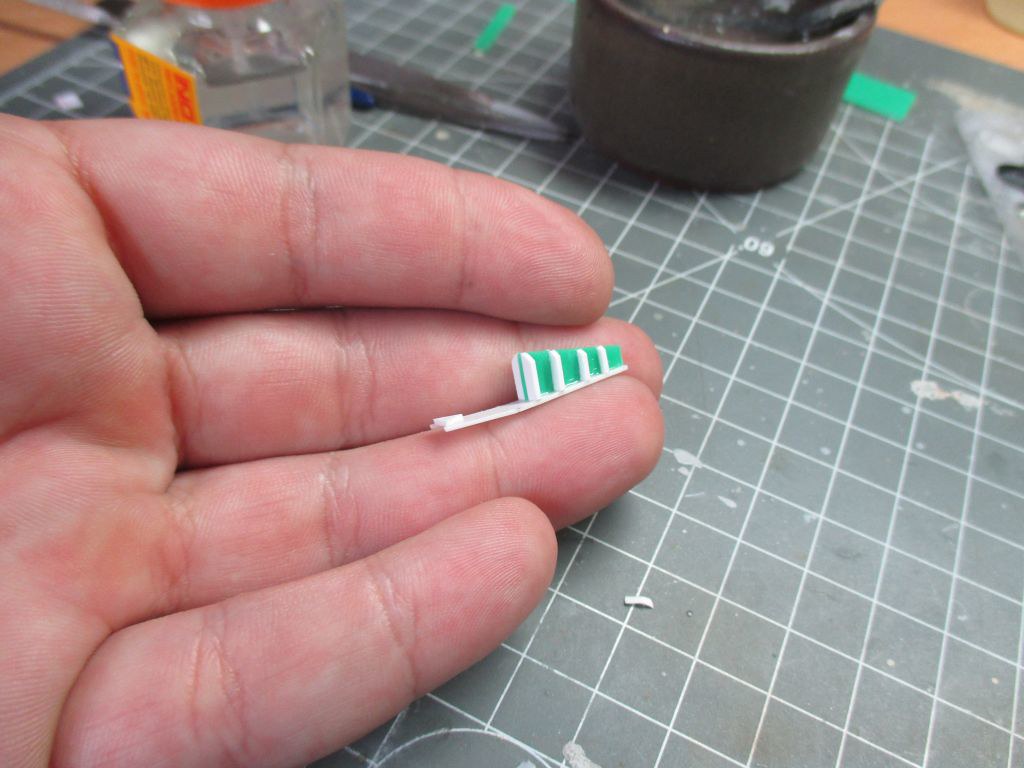
And this is what it looks like when put together with a piece of white tac:
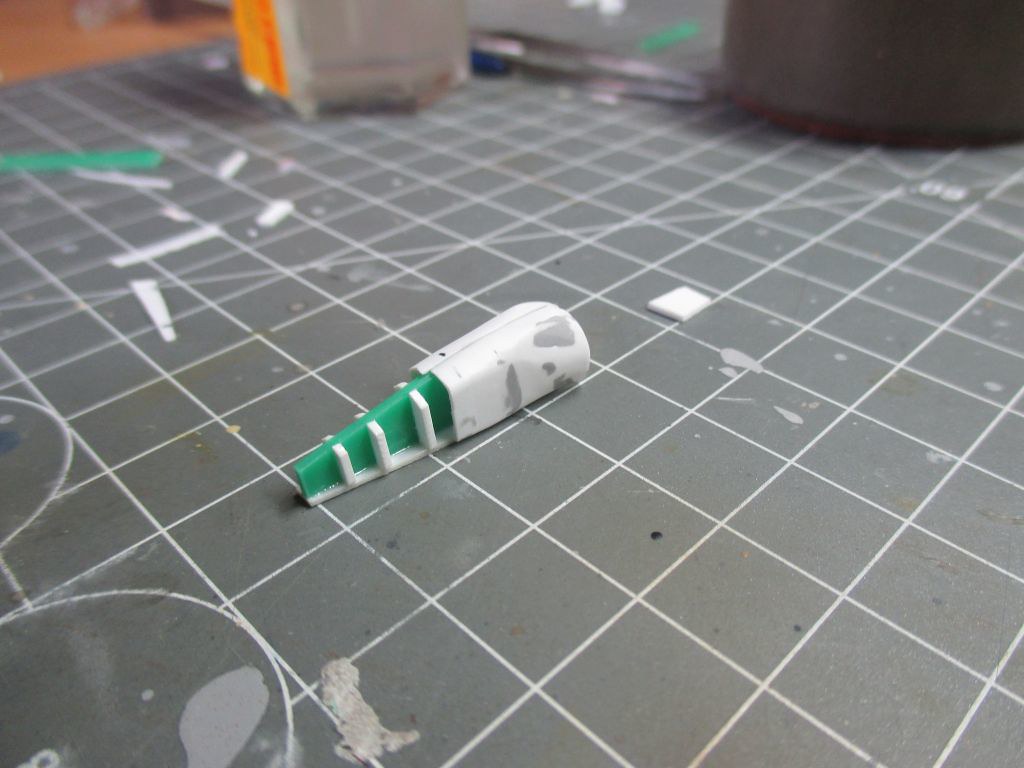
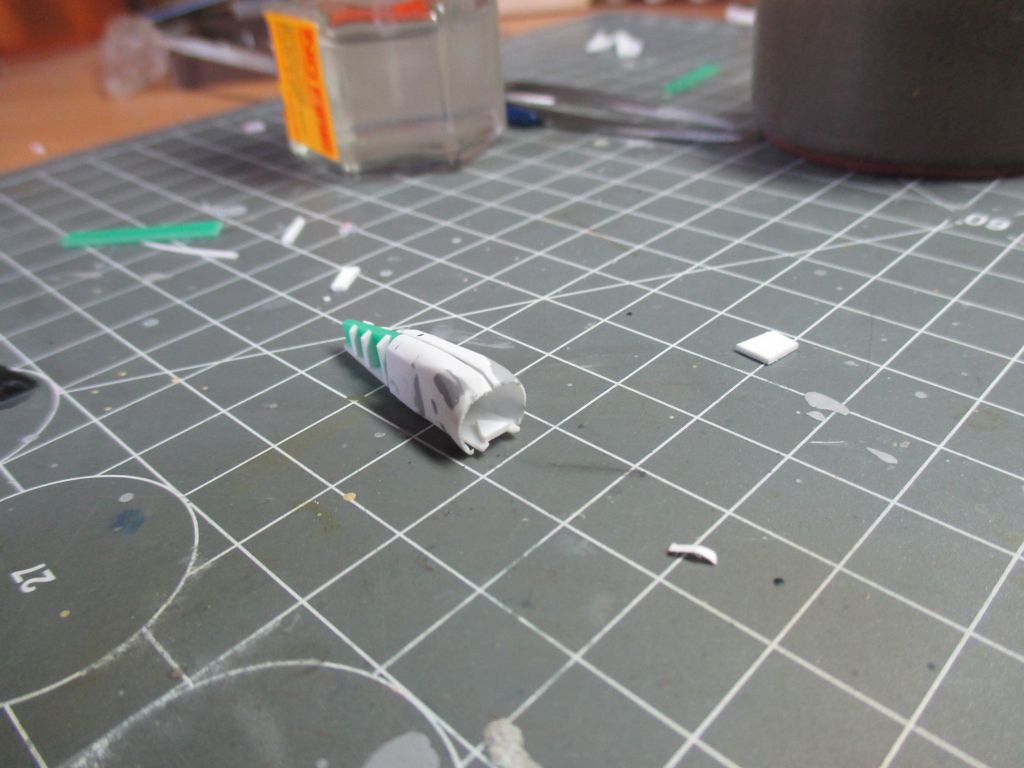
The engine cowling will be vacuformed as well, this where I stand now:
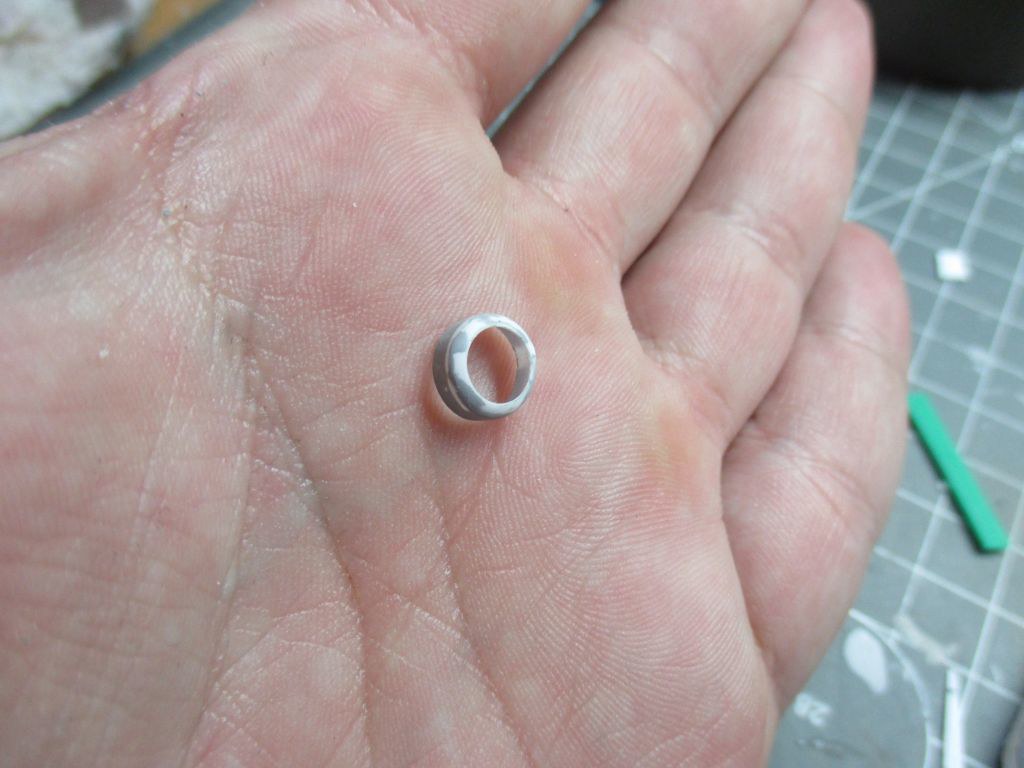
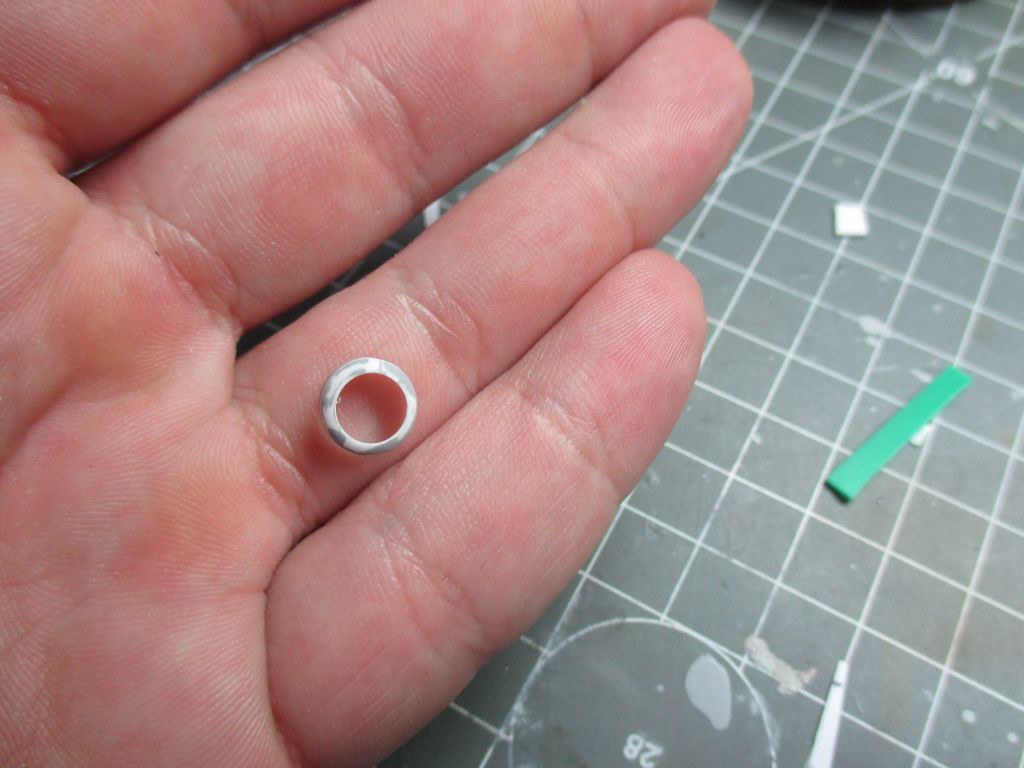
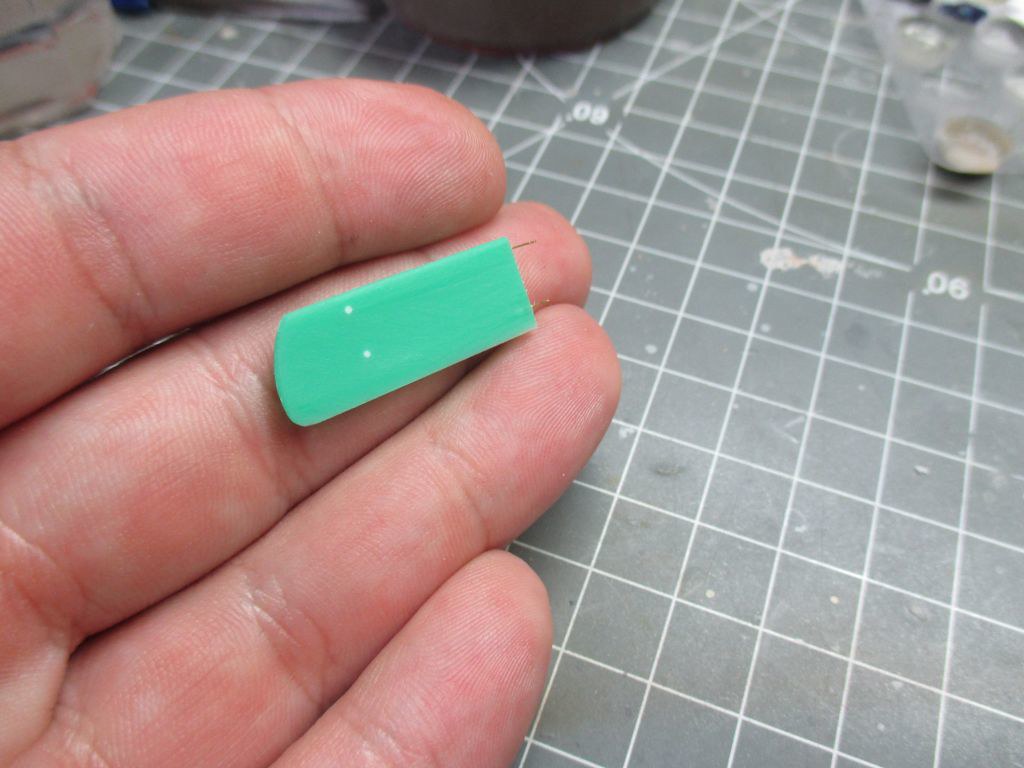
I also started working on the wings, a lot of sanding ahead of me.
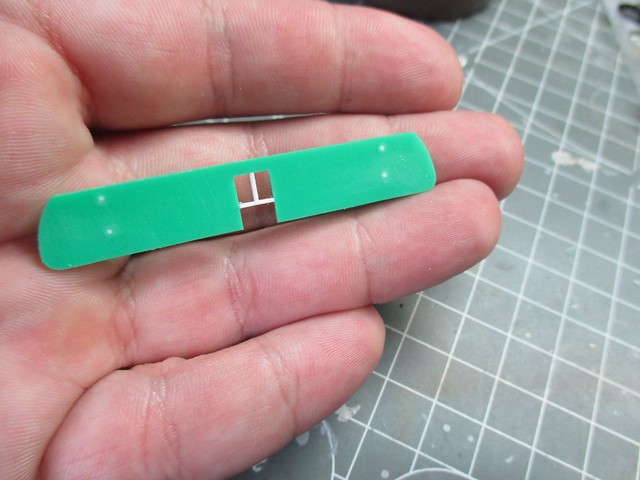
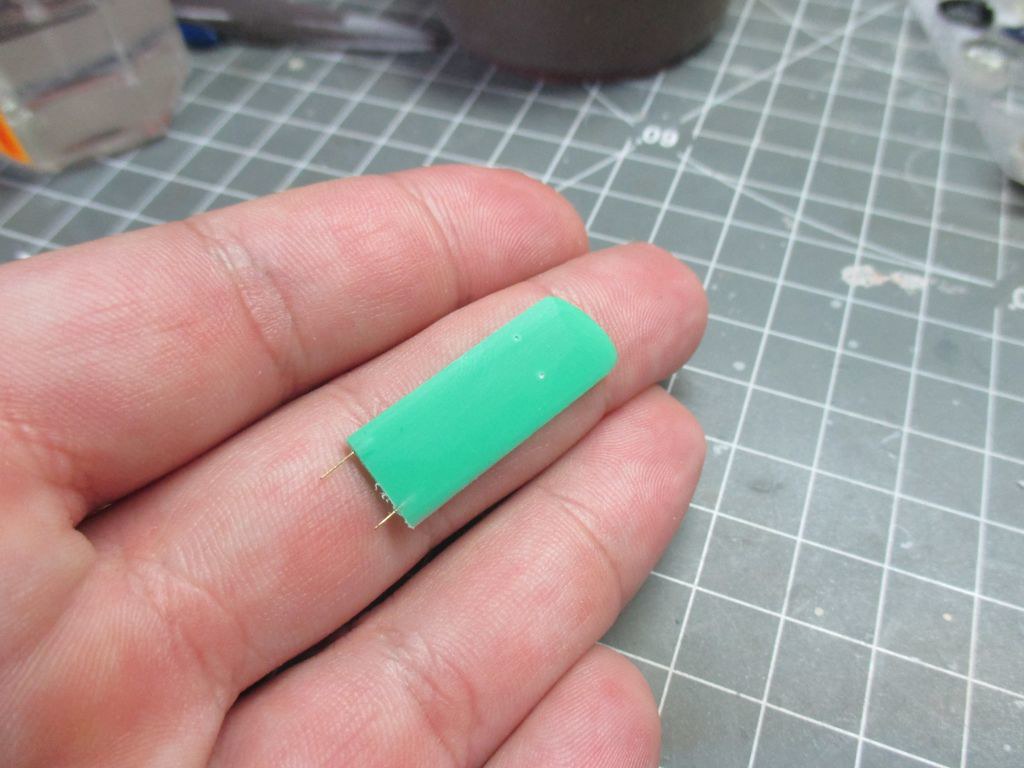
Cheers
Ondra
Re: Sopwith F.1 Camel B6313 - W. G. Barker 1/144
Posted: Sat Apr 07, 2018 8:40 pm
by TommyKillander

I'm watching this for sure!
Tommy
Re: Sopwith F.1 Camel B6313 - W. G. Barker 1/144
Posted: Sun Apr 08, 2018 12:59 am
by Twokidsnosleep
Yes, me too.
I would like to see your vacuformer...I have a dental,one at work but so far use it for boring dental stuff
Re: Sopwith F.1 Camel B6313 - W. G. Barker 1/144
Posted: Sun Apr 08, 2018 10:41 am
by ondra
Many thanks for your support, gentlemen!
My vacuformer actually is originally a dentist tool, as far as my understanding goes.
71z9on4Rt4L._SL1000_.jpg
Cheers
Ondra
Re: Sopwith F.1 Camel B6313 - W. G. Barker 1/144
Posted: Wed Apr 11, 2018 4:45 pm
by ondra
I filled the fuselage with green styrene and sanded it to rough shape, so this is where I stand now. Next up will be primer and corrections, tomorrow I would like to start working on the interior frame.
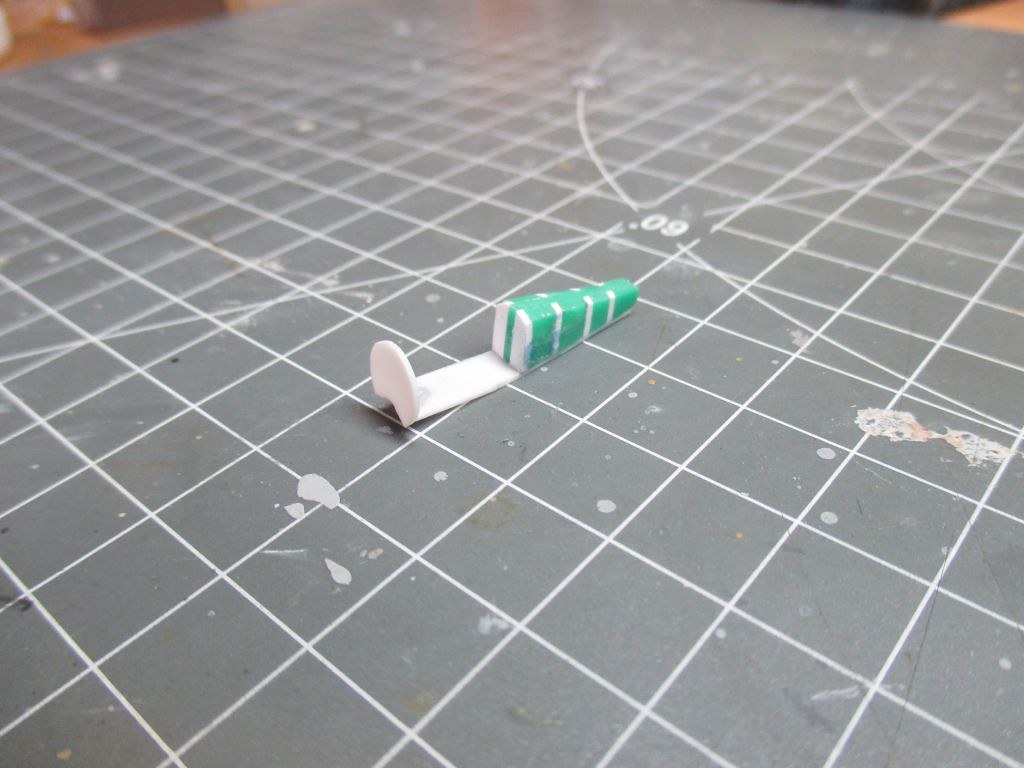
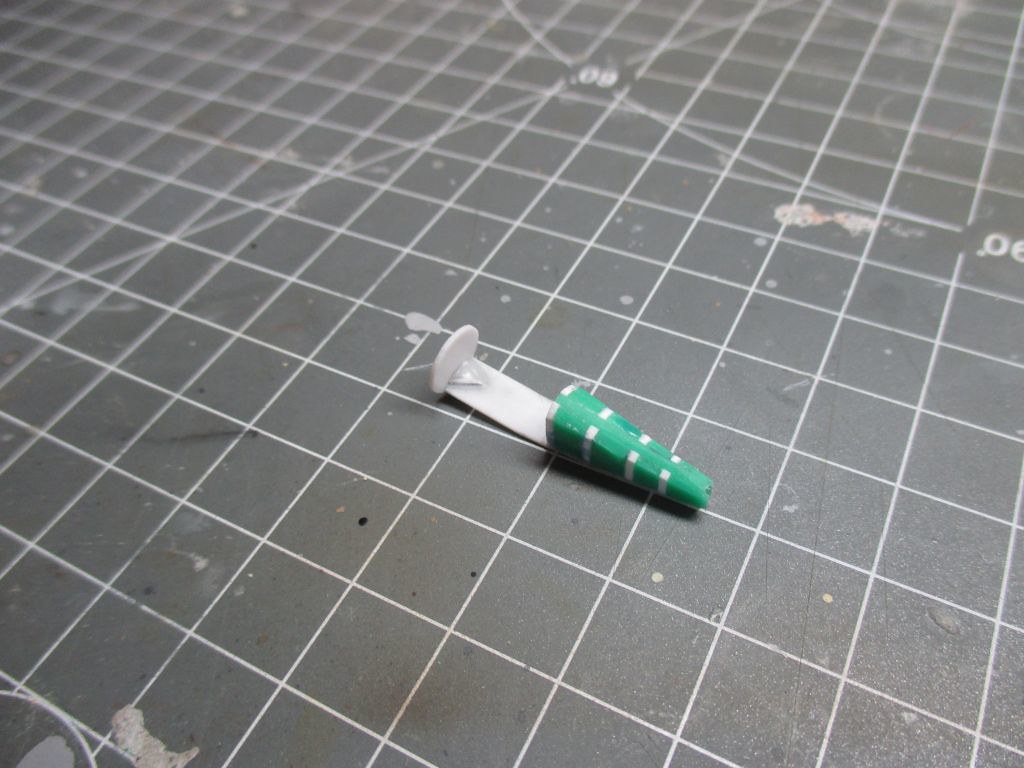
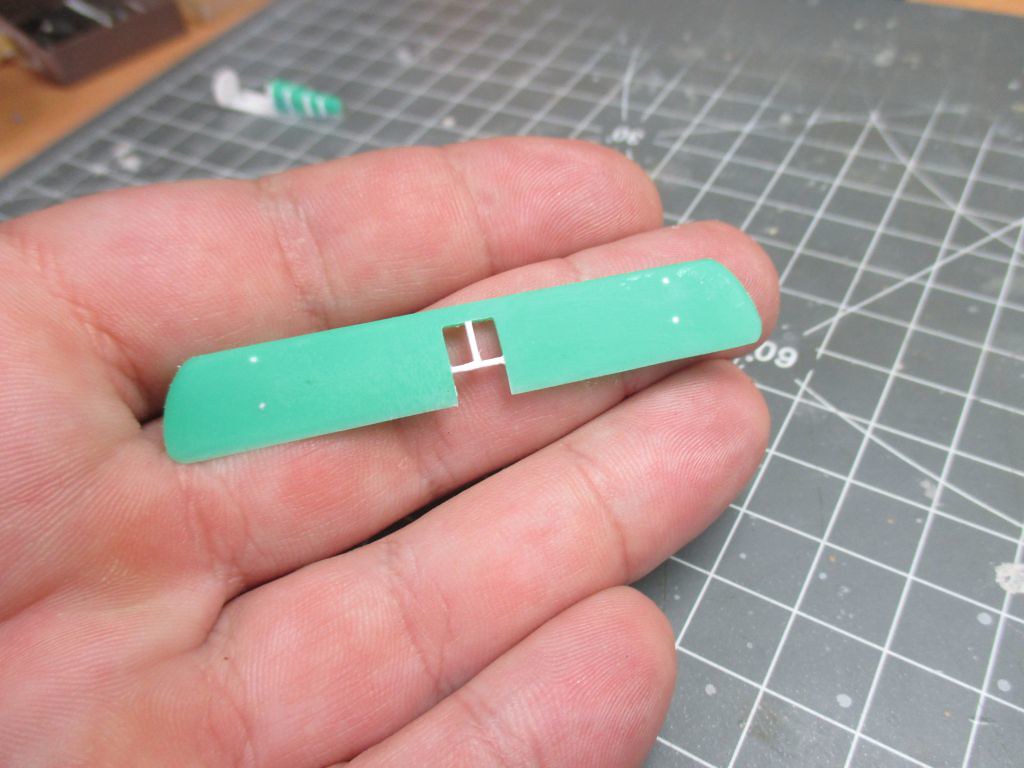
And when I had the file in the hand already, I also sanded the wings to the airfoil shape, the last picture pretty much gives away how "big" the Camel will be.
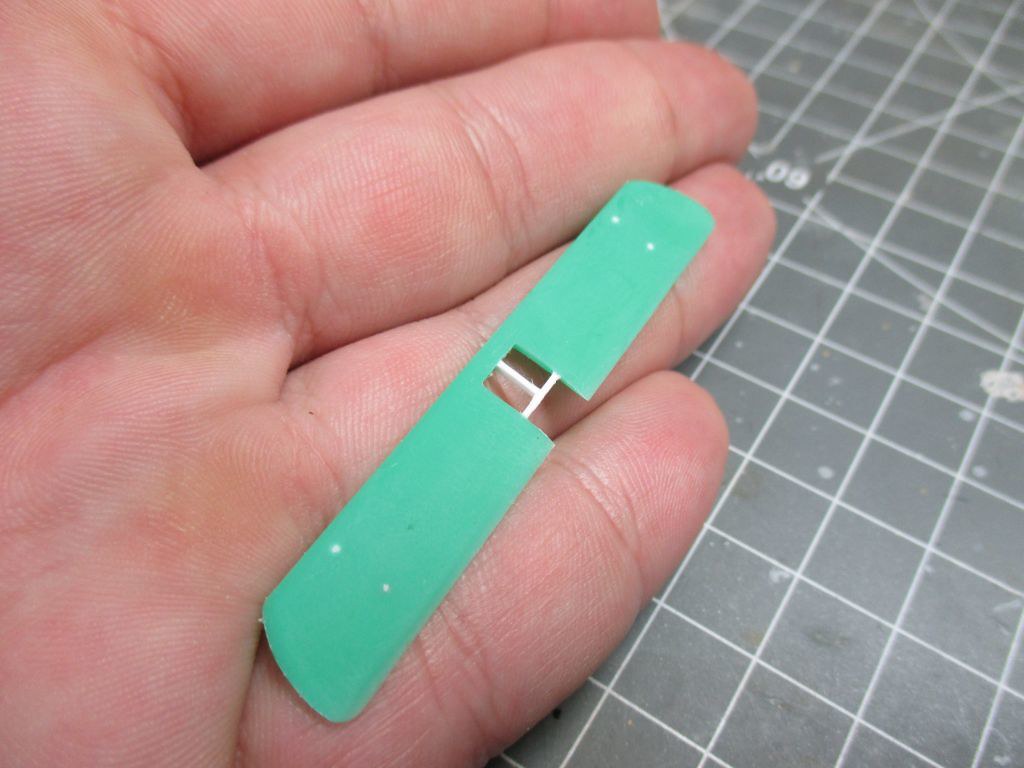
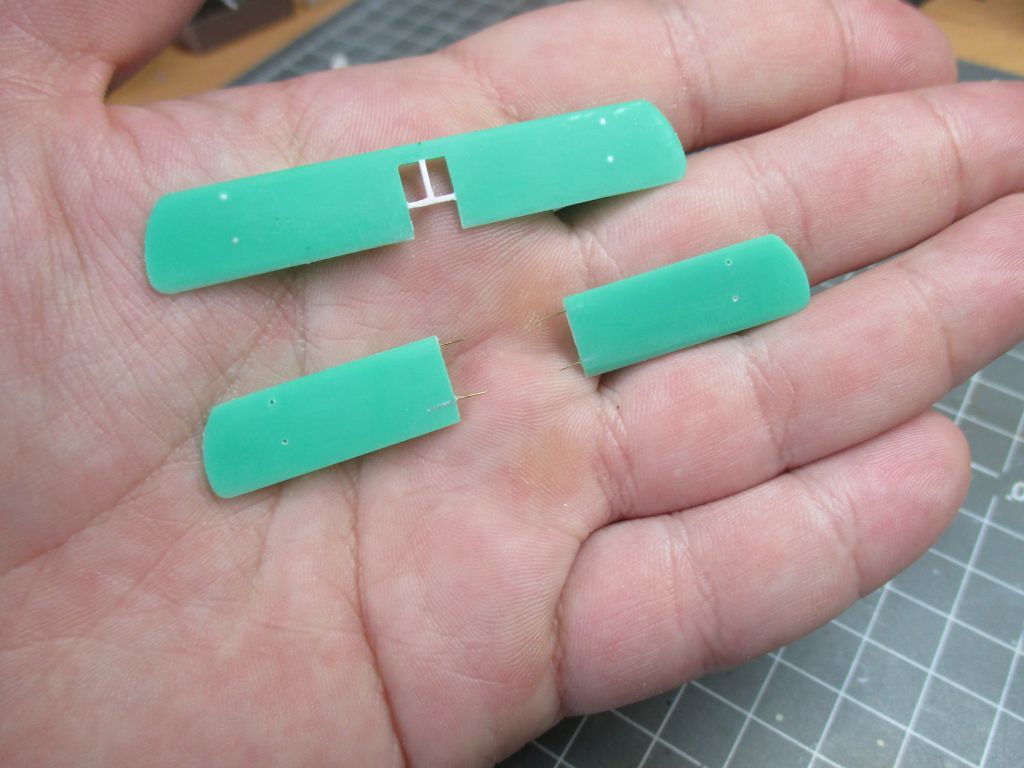
Cheers
Ondra
Re: Sopwith F.1 Camel B6313 - W. G. Barker 1/144
Posted: Wed Apr 11, 2018 5:30 pm
by Twokidsnosleep
ondra wrote: Sun Apr 08, 2018 10:41 am
Many thanks for your support, gentlemen!
My vacuformer actually is originally a dentist tool, as far as my understanding goes.
71z9on4Rt4L._SL1000_.jpg
Cheers
Ondra
Yep, very similar to mine.
I imagine you make a blank form and then do a heated suck down overtop of it.
I am anticipating making windows with thin clear acrylic we make surgical splints and guards with.
My most favourite tool is the air abrasion unit I can sandblast parts with.
You are doing some cool scratch building my friend

Re: Sopwith F.1 Camel B6313 - W. G. Barker 1/144
Posted: Fri Apr 13, 2018 3:30 pm
by ondra
Many thanks for your nice comment, Scott, and for following the build!
Today I started working on the interior. I made a drawing of the cockpit sides in scale:
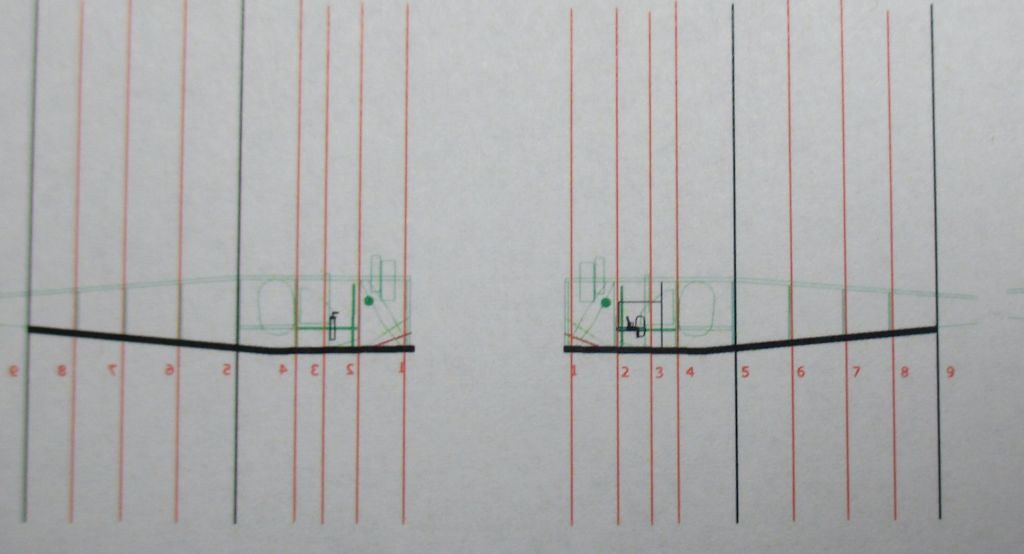
Then I fixated the drawing to a piece of aluminium with Tamiya tape, to keep it stable and prevent it from crooking:
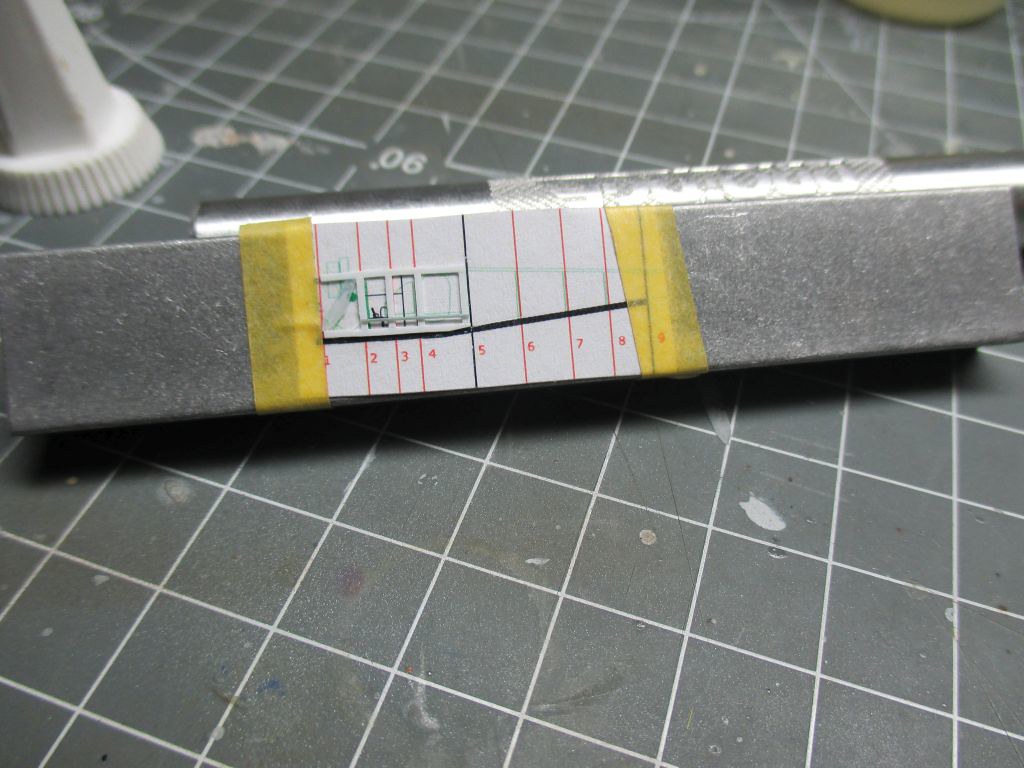
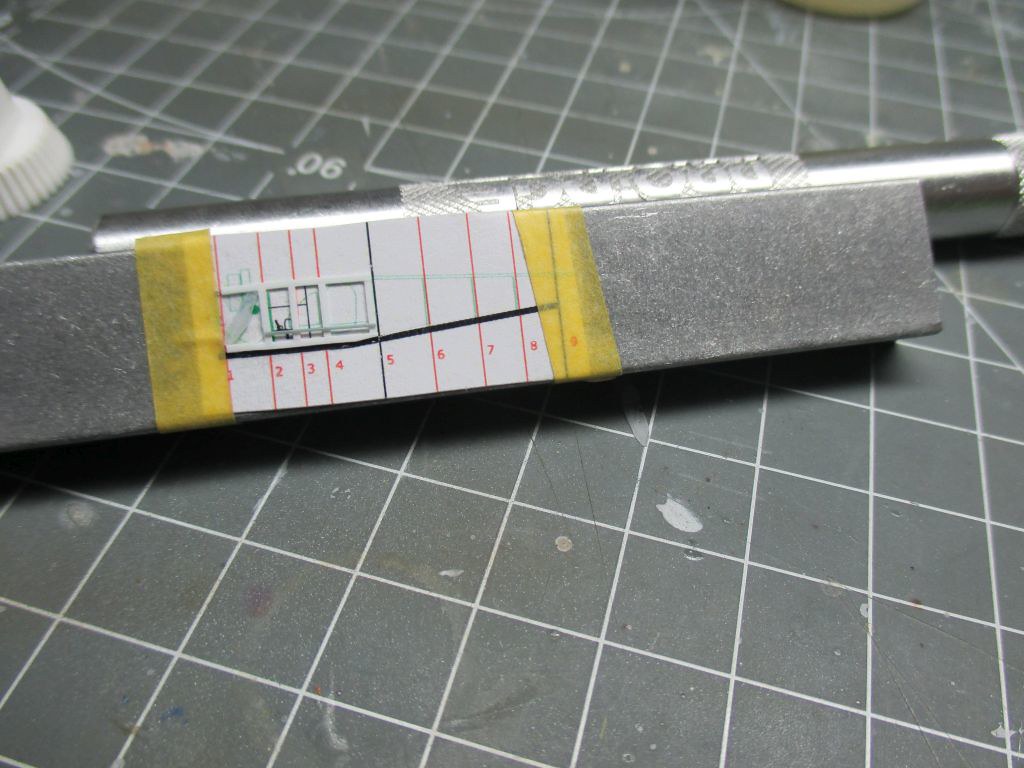
Afterwards I started glueing evergreen profiles cut to the desired length to the respective spots with small drops of CA. Then I glued the joints with Tamiya extra thin to weld them together. At the end I got this:
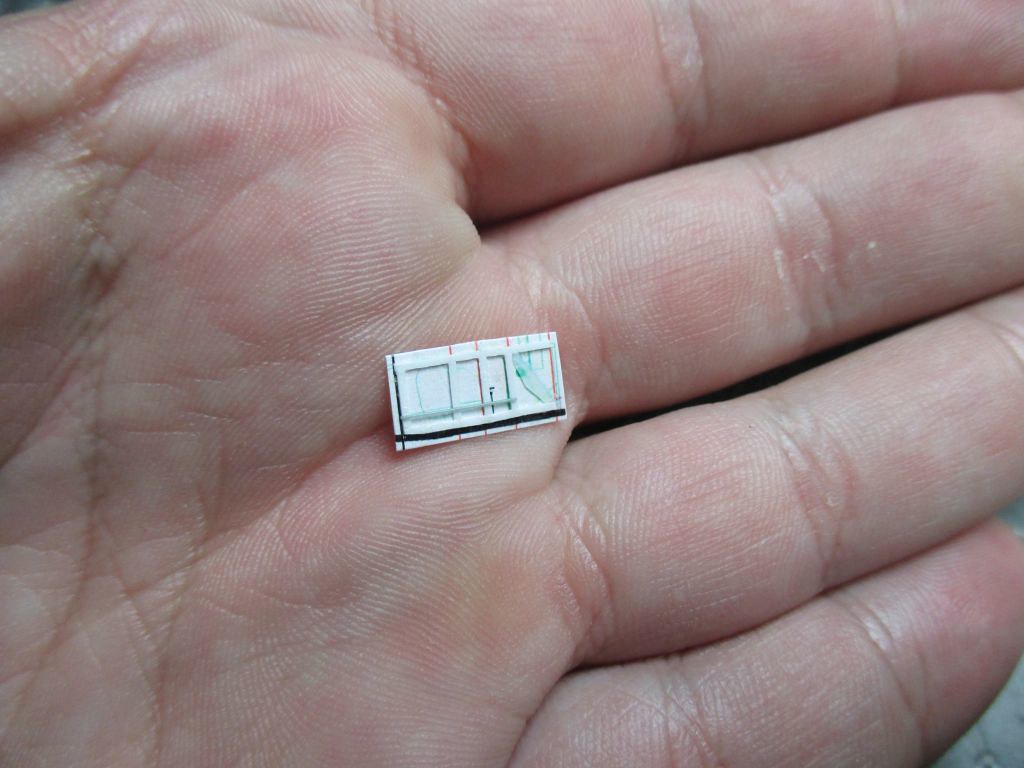
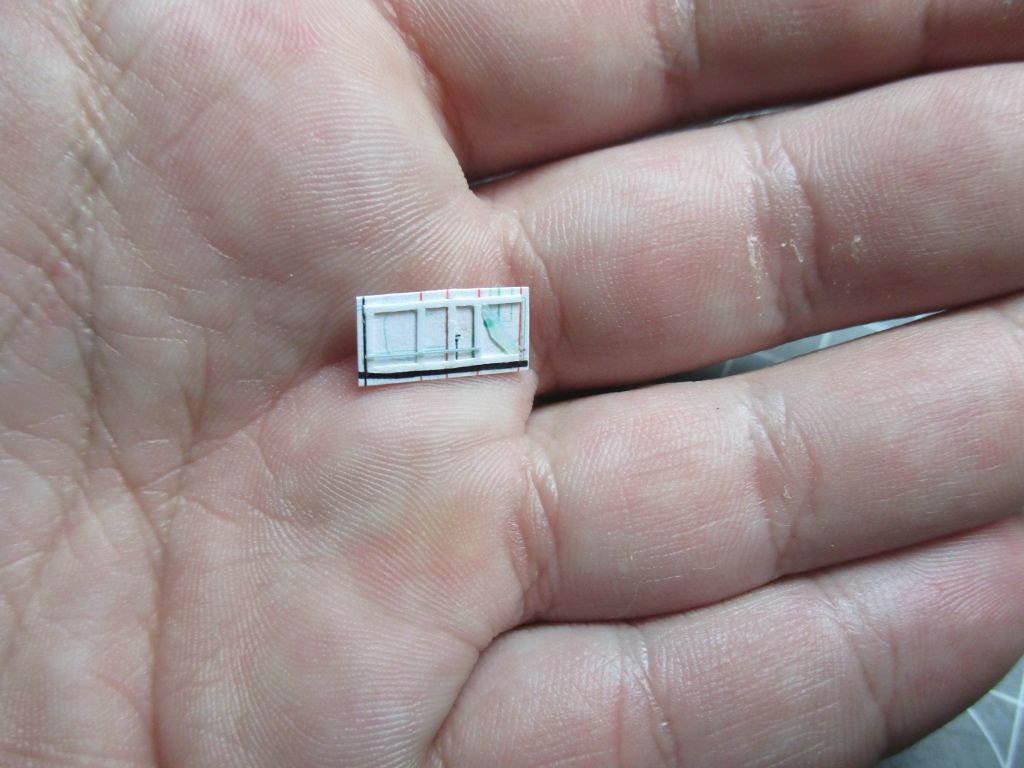
Now the parts have been soaked in debonder, which should dissolve the CA and loosen the parts from the paper. Will see tomorrow, how it works out.
Cheers
Ondra
Re: Sopwith F.1 Camel B6313 - W. G. Barker 1/144
Posted: Sat Apr 14, 2018 8:11 am
by ondra
I am glad to say the method with dissolving CA has worked, the parts separated from the paper without any problem.
Today I made a fit test using white glue and for the first attempt it is acceptable.
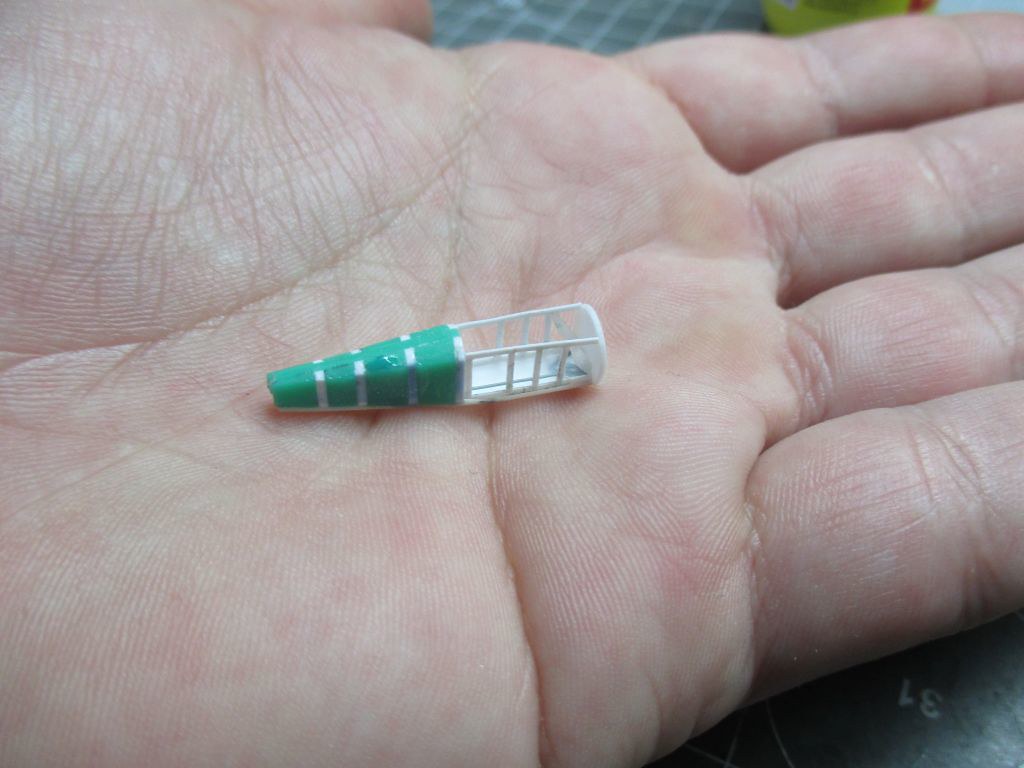
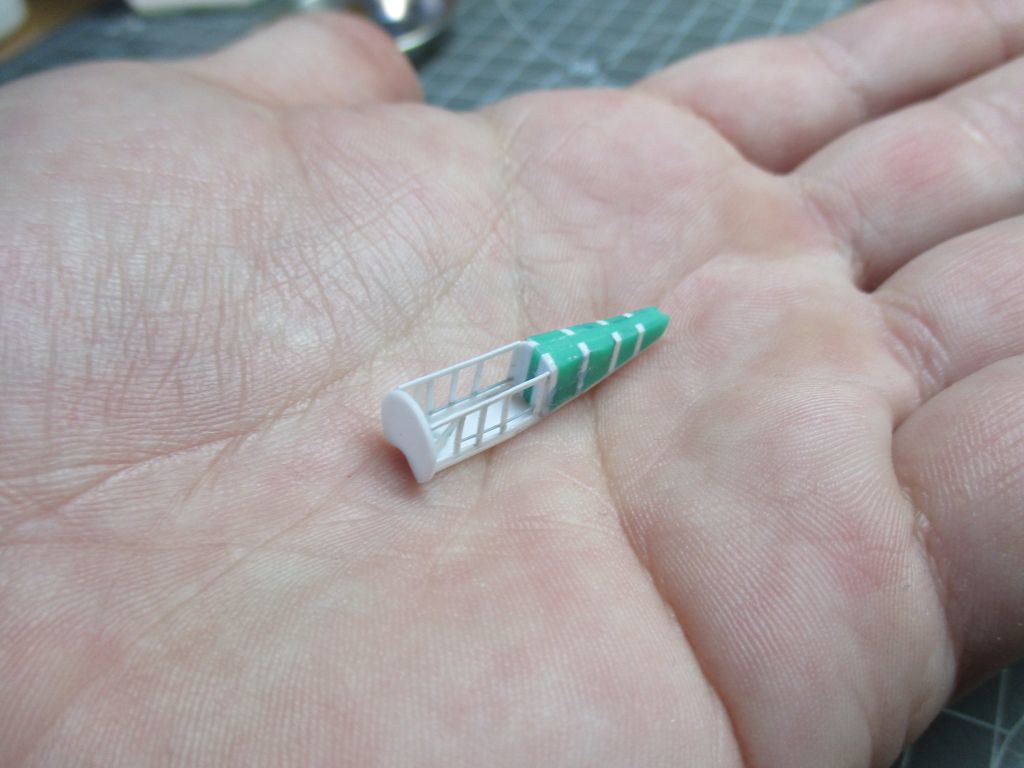
Next up are some parts for the cockpit (seat, gas tank, dashboard etc.)
Cheers
Ondra
Re: Sopwith F.1 Camel B6313 - W. G. Barker 1/144
Posted: Sat Apr 14, 2018 1:32 pm
by ondra
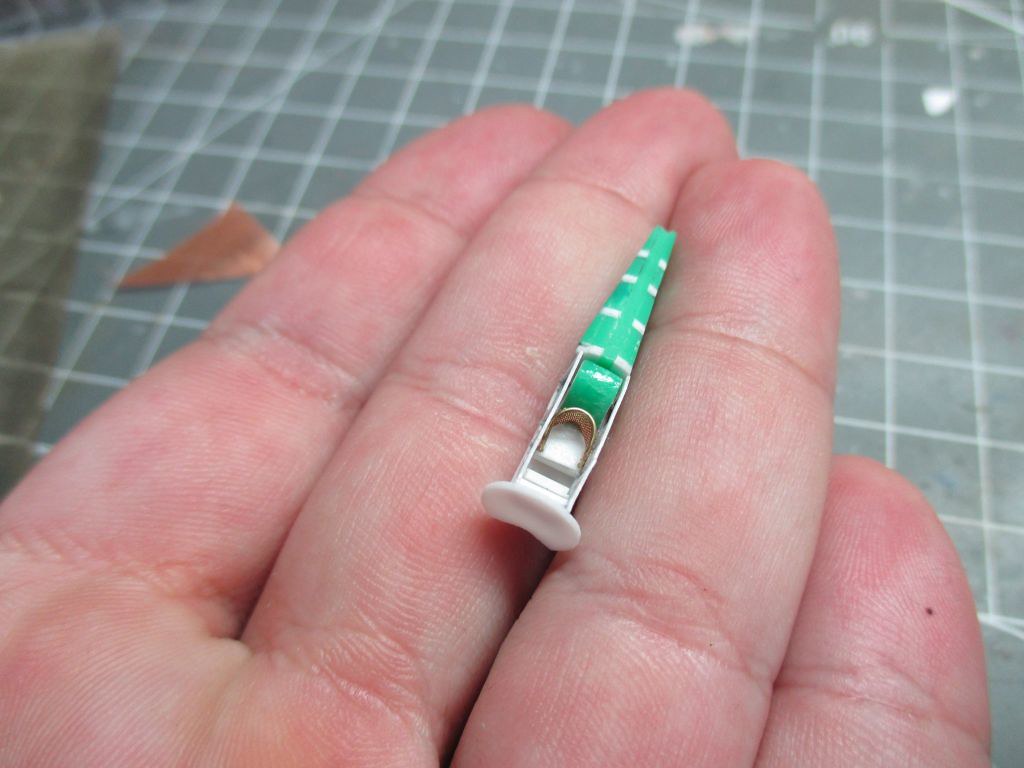
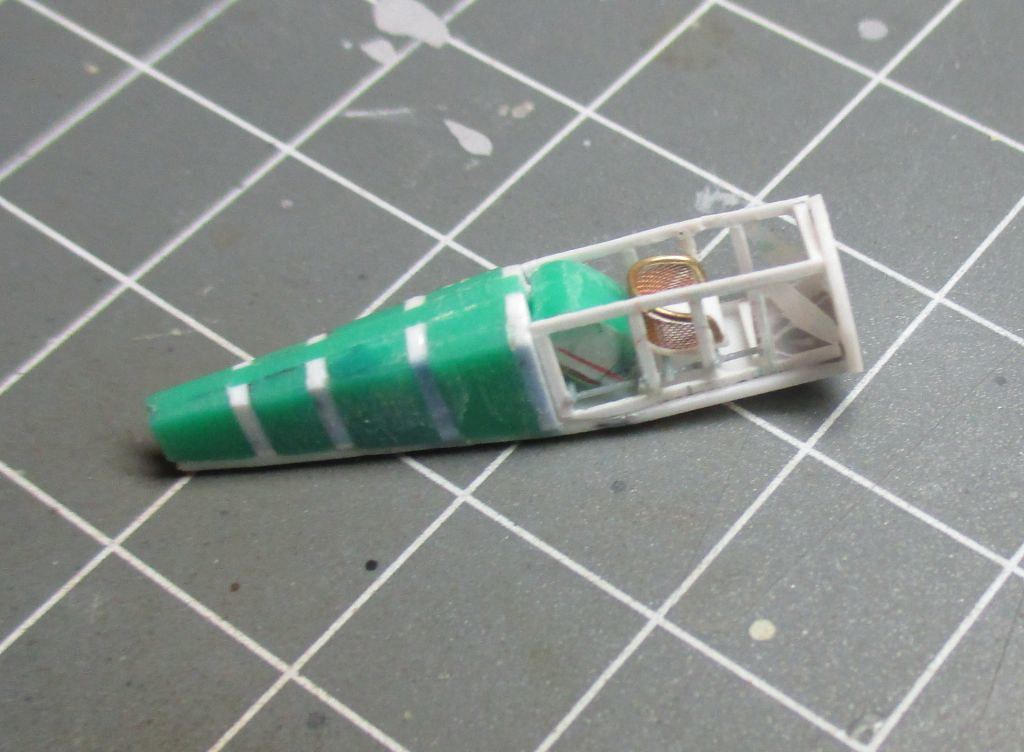
I want to make sure that my drawings are correct and that all interior parts will fit in, therefore I started working on the main components.
First is the seat, in Camel's wicker seat. I decided to use a very fine mesh I got years ago from a friend of mine.
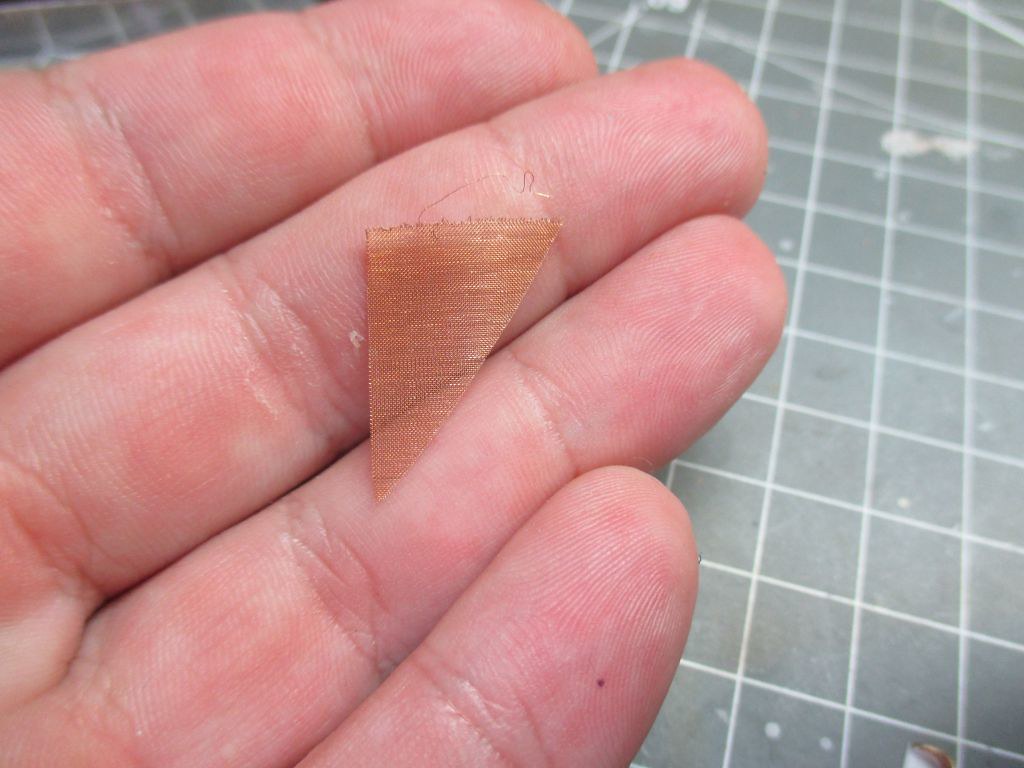
Assembly was not as easy as I would have hoped, but eventually I got an acceptable result.
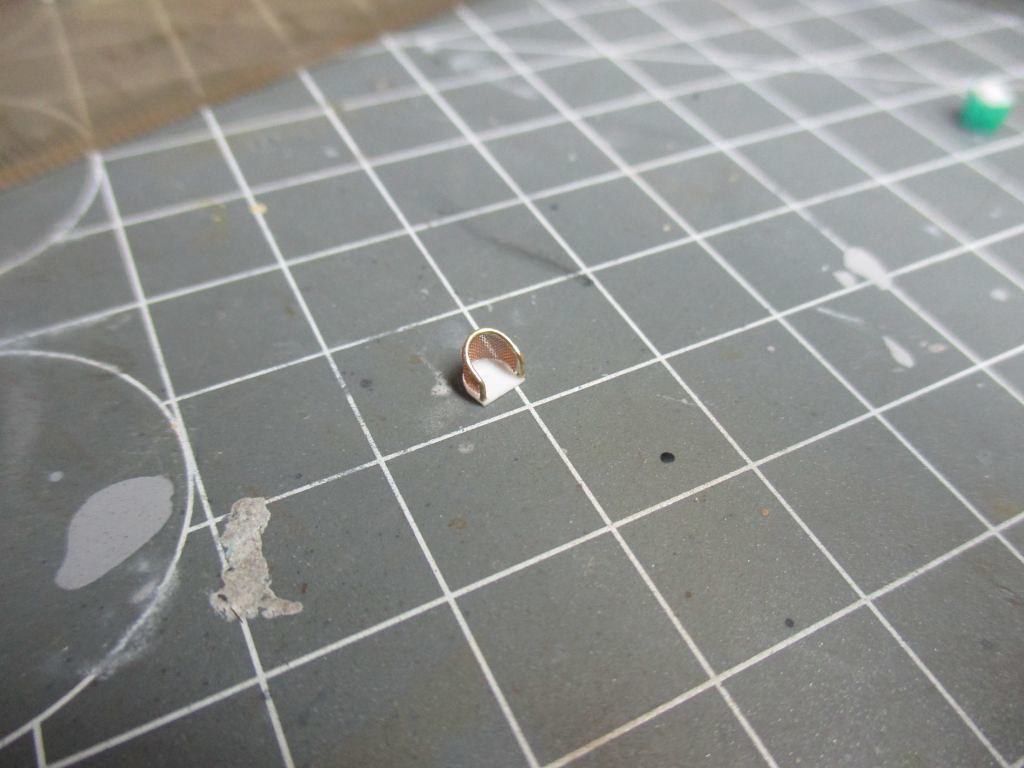
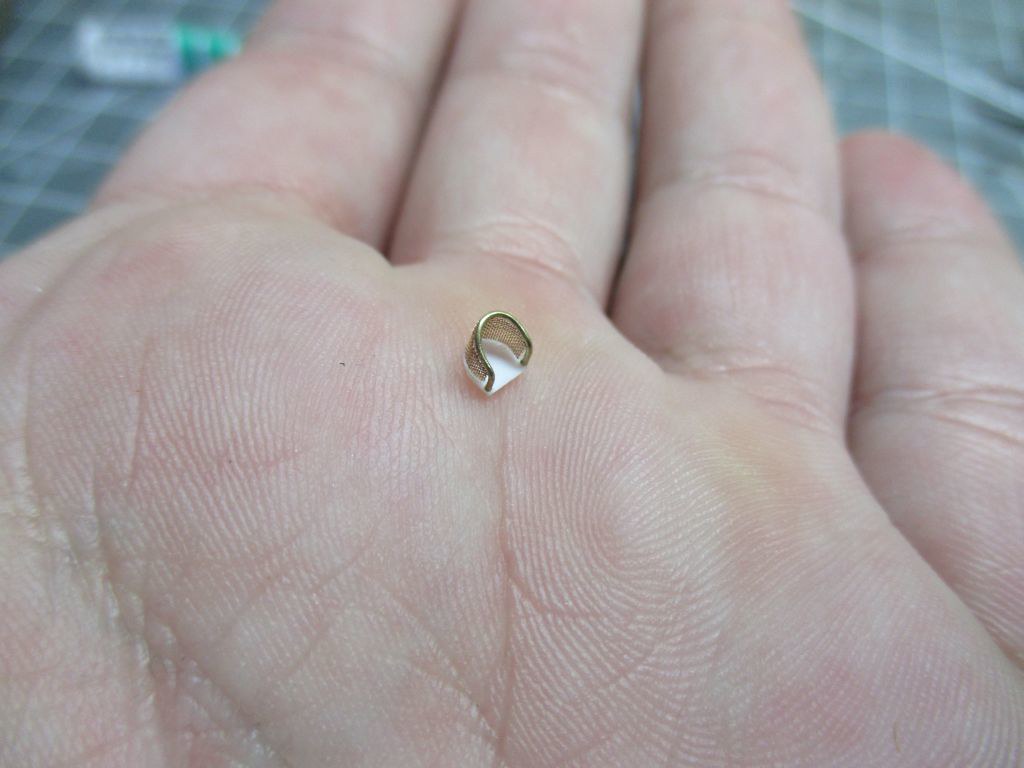
This what the seat and tank look like in the interior (not glued), so far so good.
Cheers
Ondra
Re: Sopwith F.1 Camel B6313 - W. G. Barker 1/144
Posted: Mon Apr 16, 2018 1:31 pm
by ondra
Re: Sopwith F.1 Camel B6313 - W. G. Barker 1/144
Posted: Tue Apr 17, 2018 12:03 pm
by ondra
Today I made the tail part of the fuselage, I want to have it hollow as it was on the original plane.


The parts are now ready for the first coat of primer, so keep your fingers crossed for me.


Cheers
Ondra
Re: Sopwith F.1 Camel B6313 - W. G. Barker 1/144
Posted: Sat Apr 21, 2018 9:18 am
by ondra
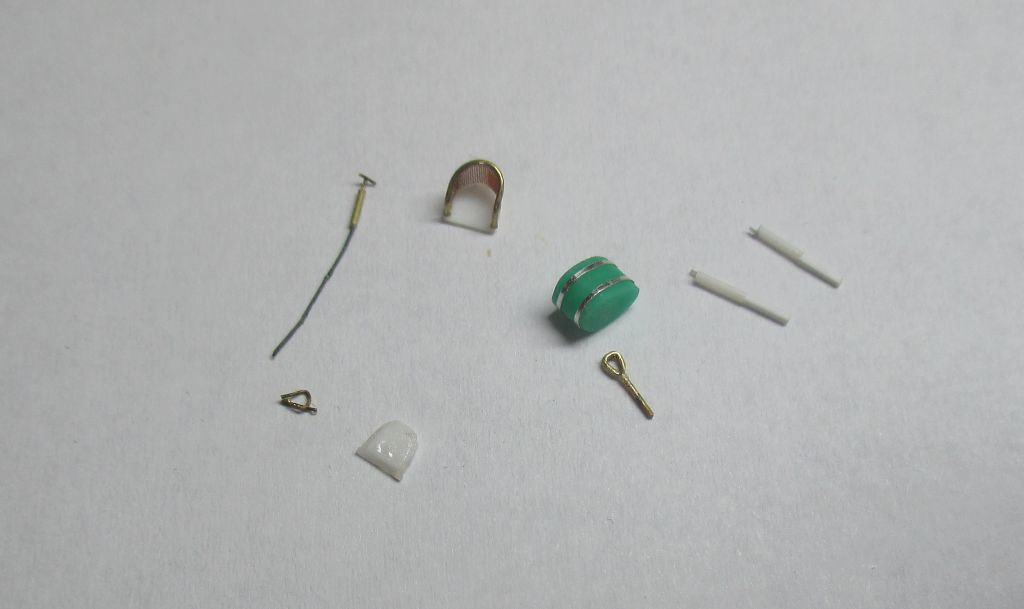
I started painting the interior, this time I decided not to use oil paints. I only gave the parts a coat of Drooling Bulldog Cream Yellow which I afterwards coated with Drooling Bulldog wood stain (Birch for the frame, Mahogany for the cockpit sides). I think the effect looks acceptable, very little will be visible eventually.


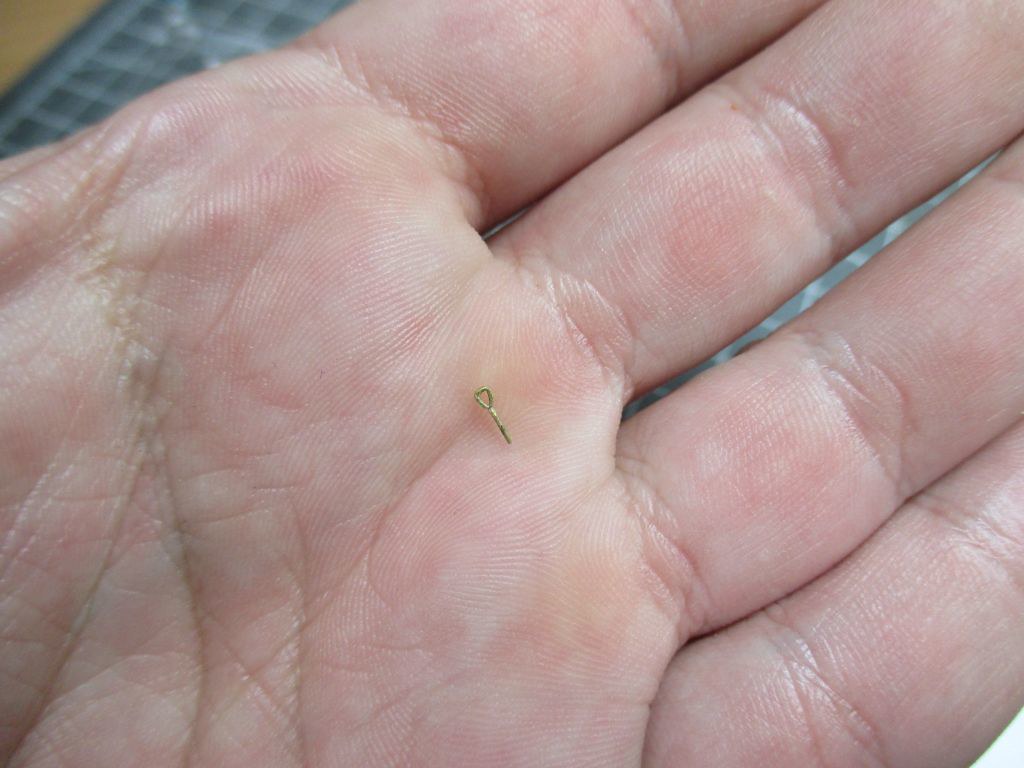
I also made a new steering stick, as the previous one was too robust (and on top of it, I lost it.
)

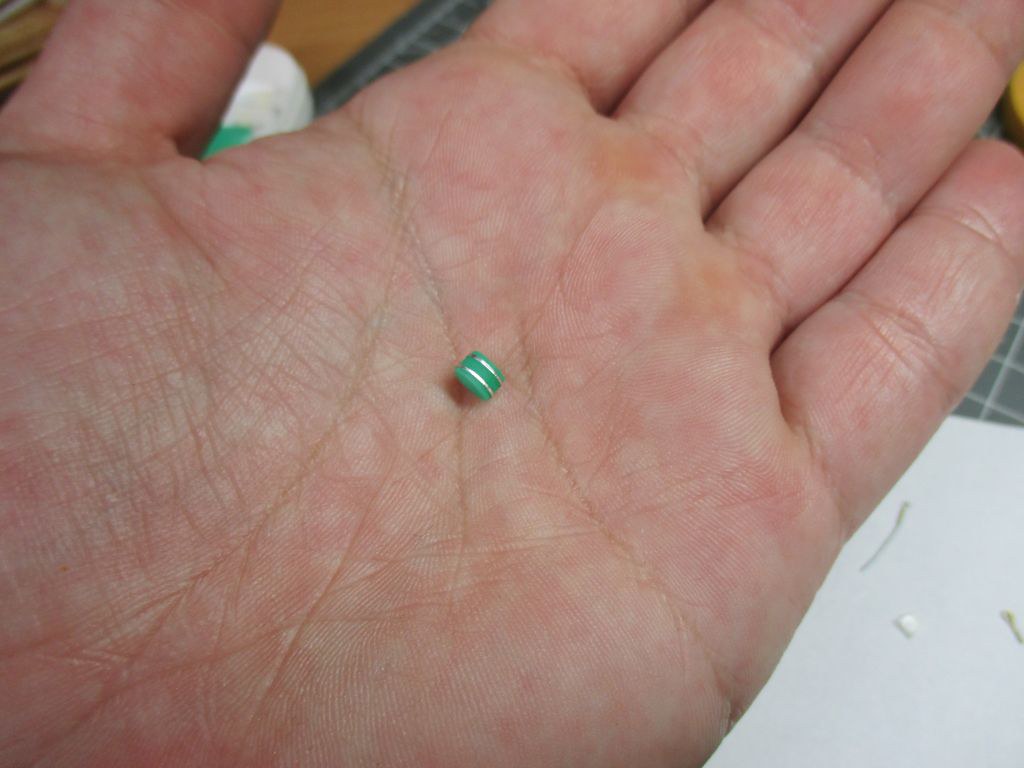
The seat and seat cushion have been painted and are ready for the belt and weathering.


The wood on the instrument panel was also made the same method as interior frame, I just used a thinner layer of the wood stain to get a slightly different wood tone.

The fuel tank got a coat of Drooling Bulldog Gunship Grey and is ready for wash now.

Cheers
Ondra
Re: Sopwith F.1 Camel B6313 - W. G. Barker 1/144
Posted: Sat Apr 21, 2018 3:36 pm
by ondra
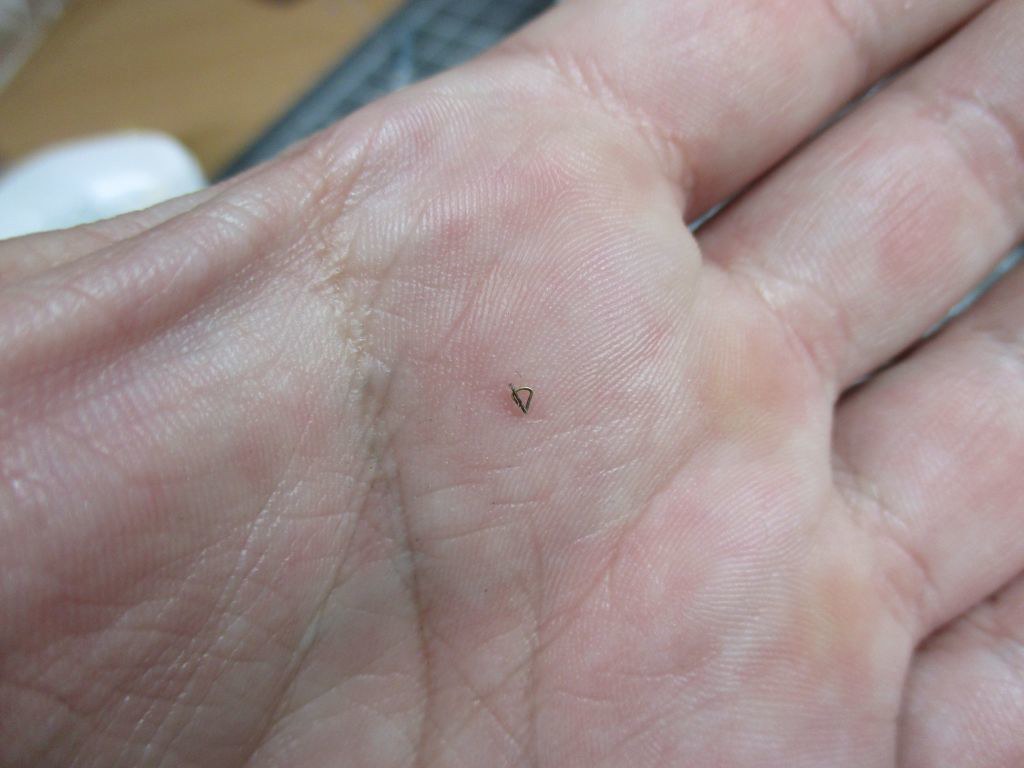
The seat belts are in place and weathered, they look quite ok.


All components are inside the cockpit now, so the last thing to do was the rigging, fortunately it was rather easy. I had to disassemble the machine guns and glue the rear parts in place already. Once the fuselage is closed, I will have to glue the front parts in.


Interior done, so it is time to close the fuselage and move on to the wing ribs.
Cheers
Ondra
Re: Sopwith F.1 Camel B6313 - W. G. Barker 1/144
Posted: Thu May 03, 2018 5:45 am
by ondra
This part of build is actually rather boring, as it contains many many rounds of filling and sanding, however, I have to say to me it is one of the most pleasant ones. Watching her taking the shape of the Camel is very satisfactory to me.
To be very honest, my engineering skills still leave a lot to be desired, so a bit of putty was needed.


And yes, I added the valve covers to the wheels, just for the feeling.

Cheers
Ondra
Re: Sopwith F.1 Camel B6313 - W. G. Barker 1/144
Posted: Tue May 08, 2018 1:30 pm
by ondra
After a lot of pain, struggle and dirty words, I have finally managed to fit the lower wings to the fuselage. Unfortunately the fuselage is a bit wider than it should be, so adjustments will be necessary to the wings.
The good news is, most of the cockpit details will remain visible.


The Camel will be the same story as the S.E.5a, so I will basically build it twice - in the first step I will only assemble it to make sure the struts have the correct length, then disassemble and paint.
Cheers
Ondra
Re: Sopwith F.1 Camel B6313 - W. G. Barker 1/144
Posted: Sat Jun 09, 2018 2:13 pm
by ondra
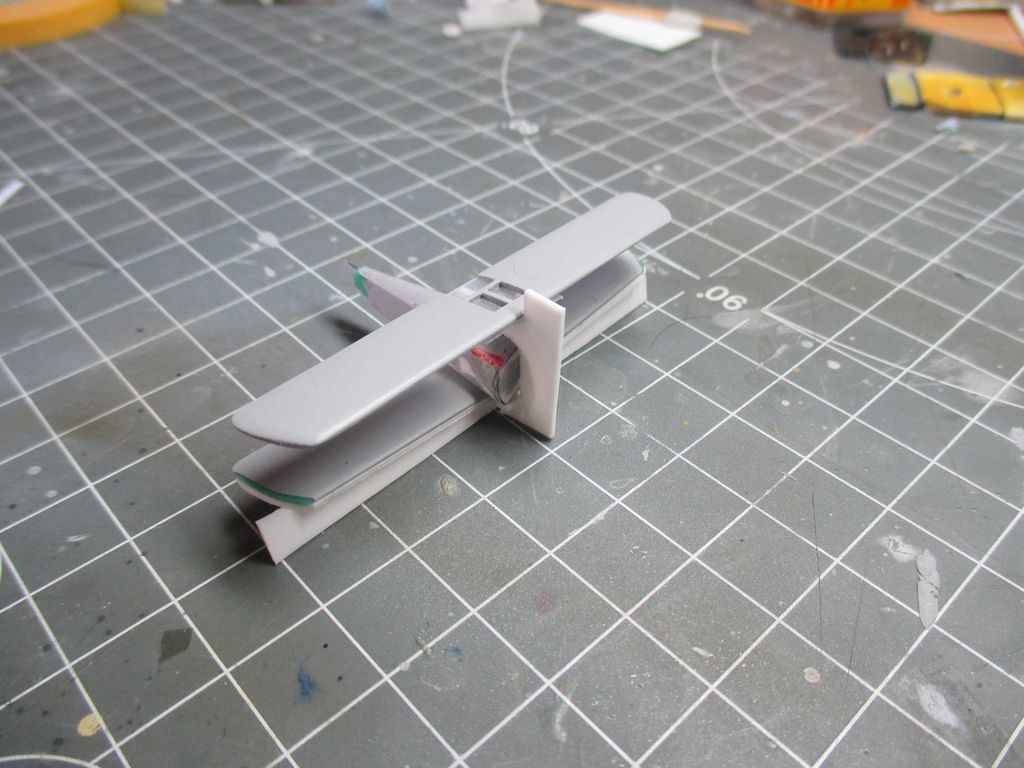
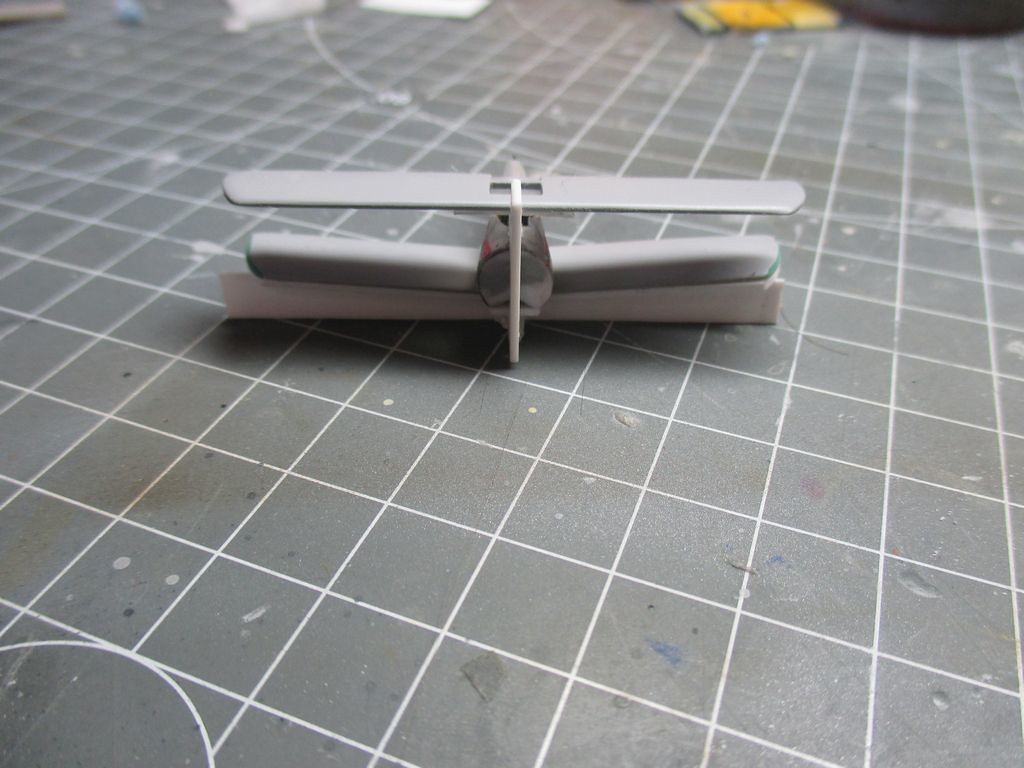
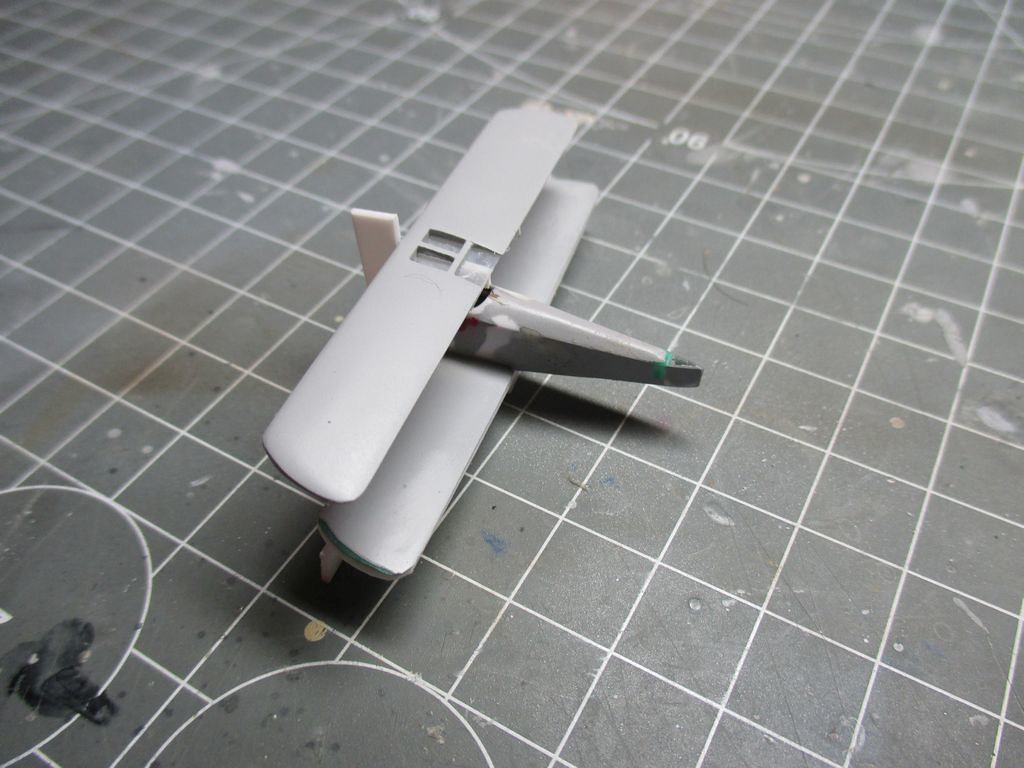
The build pace slowed down quite a lot due to several aspects, among others because I entered the most painful part of the build, i. e. making the struts and fitting the upper wing.
I did not want to get this wrong so I took time to think about the apropriate method. At the end of the day I decided for the rather primitive option and made this jig out of styrene sheet.
Cheers
Ondra
Re: Sopwith F.1 Camel B6313 - W. G. Barker 1/144
Posted: Sat Jun 09, 2018 6:28 pm
by Twokidsnosleep
Great to see this again and Good solution
Big on jigs myself, though more for larger stuff like soldering or woodworking
I marvel at the small, delicate plane in the palm of your hand
Keep it up

Re: Sopwith F.1 Camel B6313 - W. G. Barker 1/144
Posted: Tue Jun 26, 2018 10:22 am
by Modelfreek
Your sir are amazing! I’m always envious of anyone who scratch builds but to do it in such small scale
Is truly next level!

Front row centre for this one
Re: Sopwith F.1 Camel B6313 - W. G. Barker 1/144
Posted: Sat Jul 21, 2018 3:46 pm
by ondra
Many thanks for your generous comments, gentlemen!
I have to apologize for the long break since the previous update, various issues in personal and work life were keeping me off the workbench.
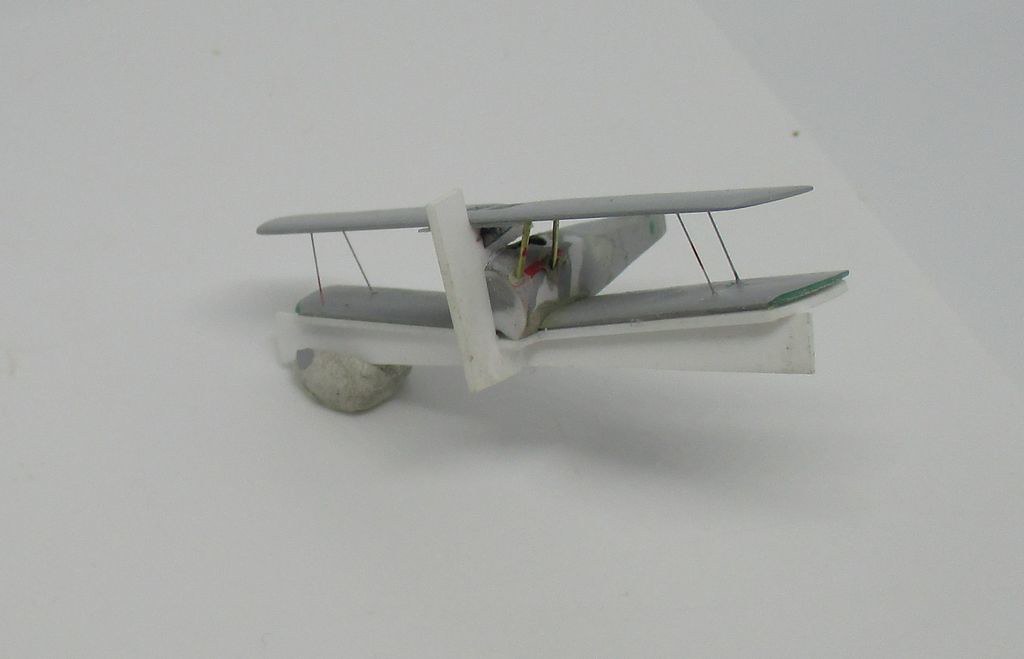
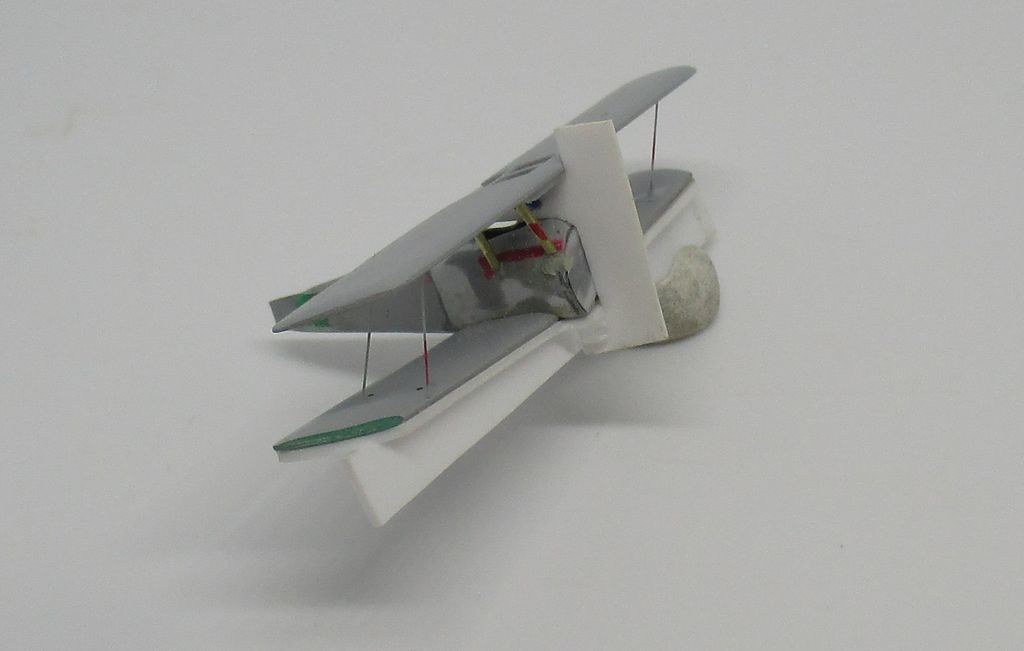
Nevertheless, I was slowly working on the adjustments to the jig and I seem to be on the right path now. Today I made the centre struts and put them into position. On the fuselage they have been pressed into small pieces of miliput, which should me the right position where to glue them during final assembly.
Cheers
Ondra
Re: Sopwith F.1 Camel B6313 - W. G. Barker 1/144
Posted: Sat Jul 21, 2018 4:07 pm
by Twokidsnosleep
I hate it when real life gets in the way of serious modelling
Keep at it
Re: Sopwith F.1 Camel B6313 - W. G. Barker 1/144
Posted: Fri Jul 27, 2018 6:11 pm
by ondra
Many thanks for your support, I fully agree with you.
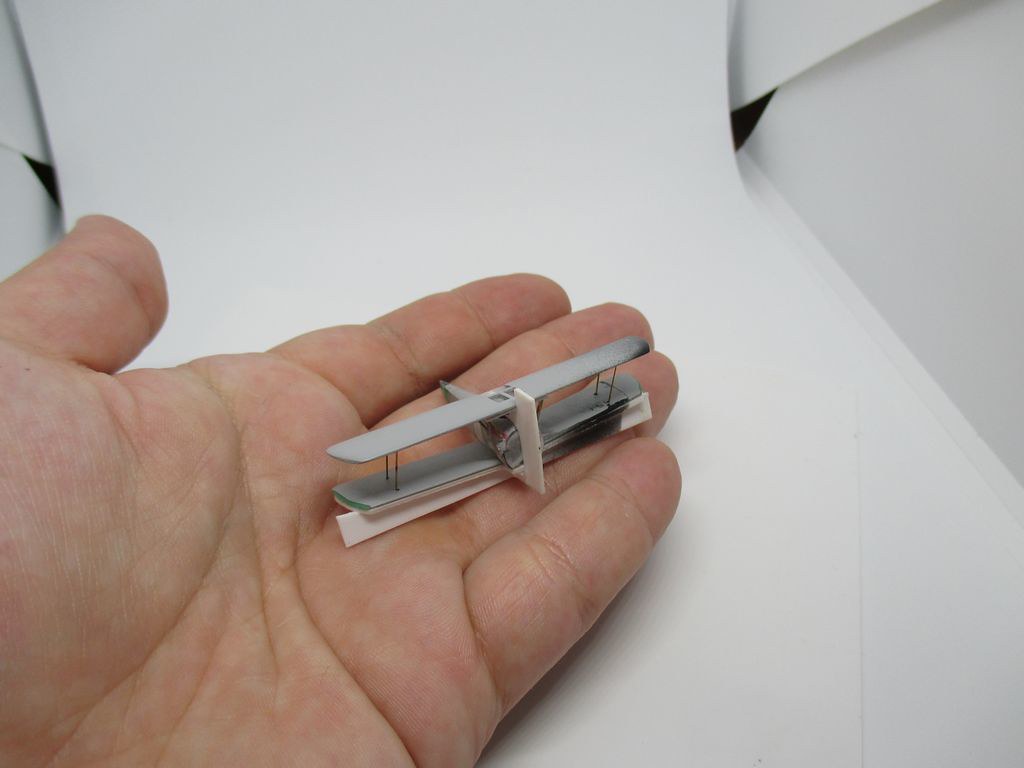
Hooray, finally all struts are in place and aligned, I can not wait to move on to more enjoyable parts of the build.
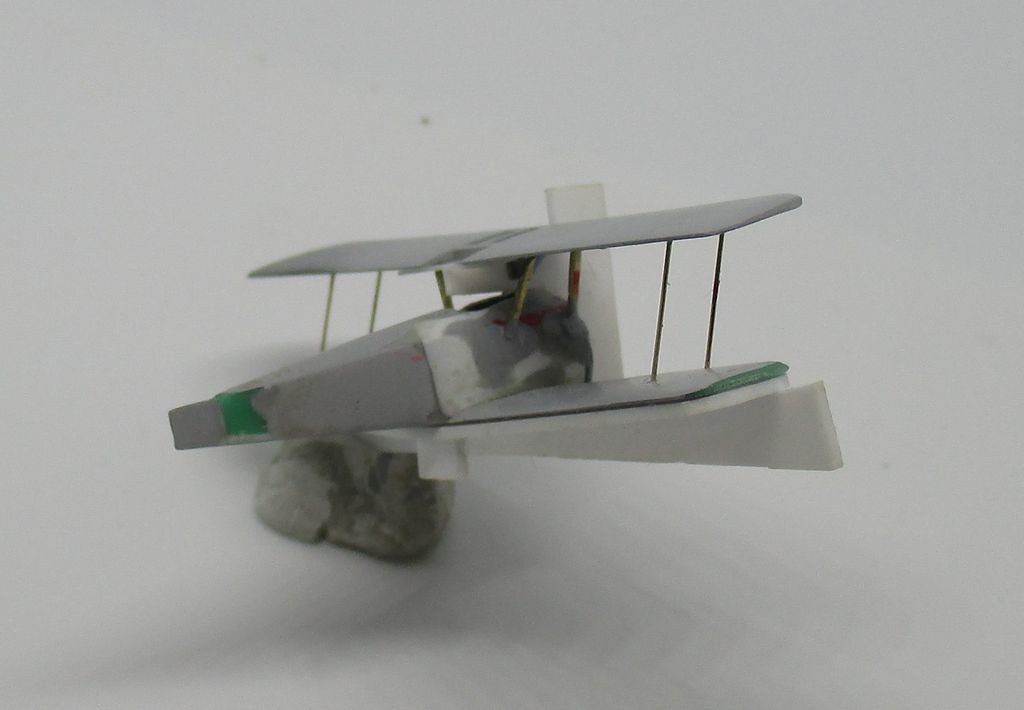
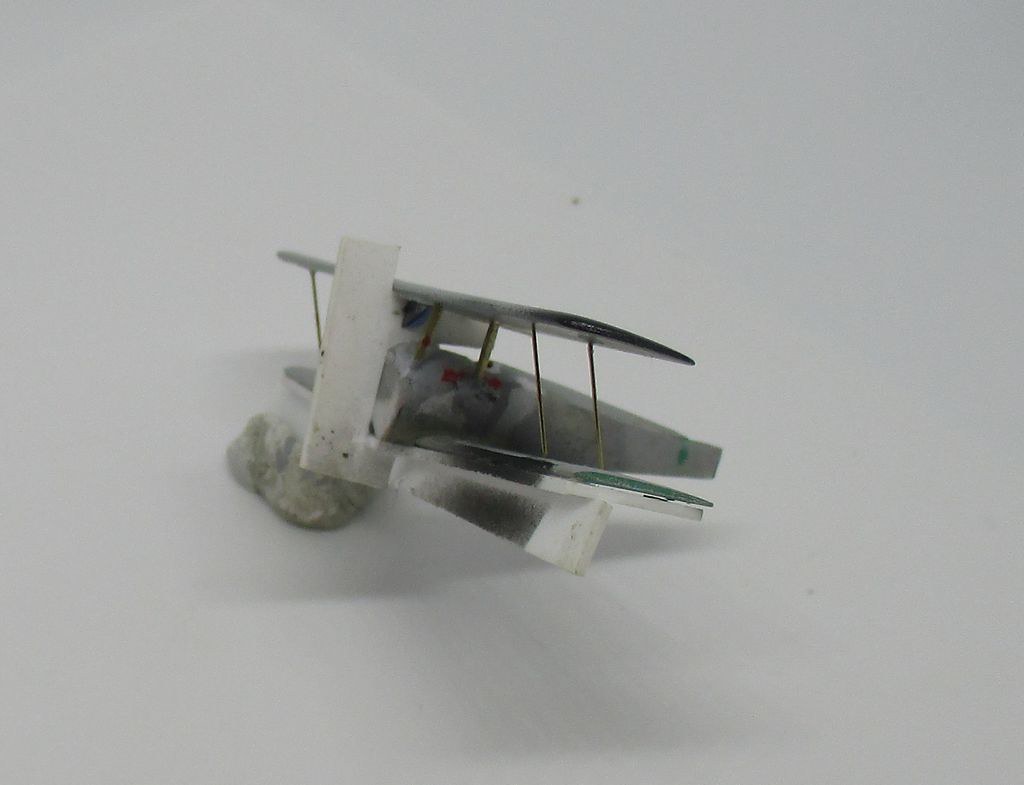
Cheers
Ondra
Re: Sopwith F.1 Camel B6313 - W. G. Barker 1/144
Posted: Sun Aug 05, 2018 2:06 pm
by ondra
I continued the work on the fuselage and adjusted the cockpit opening to the shape which seems about right to my eye. I am glad I invested the effort into the interior details, as eventually a lot will remain visible.
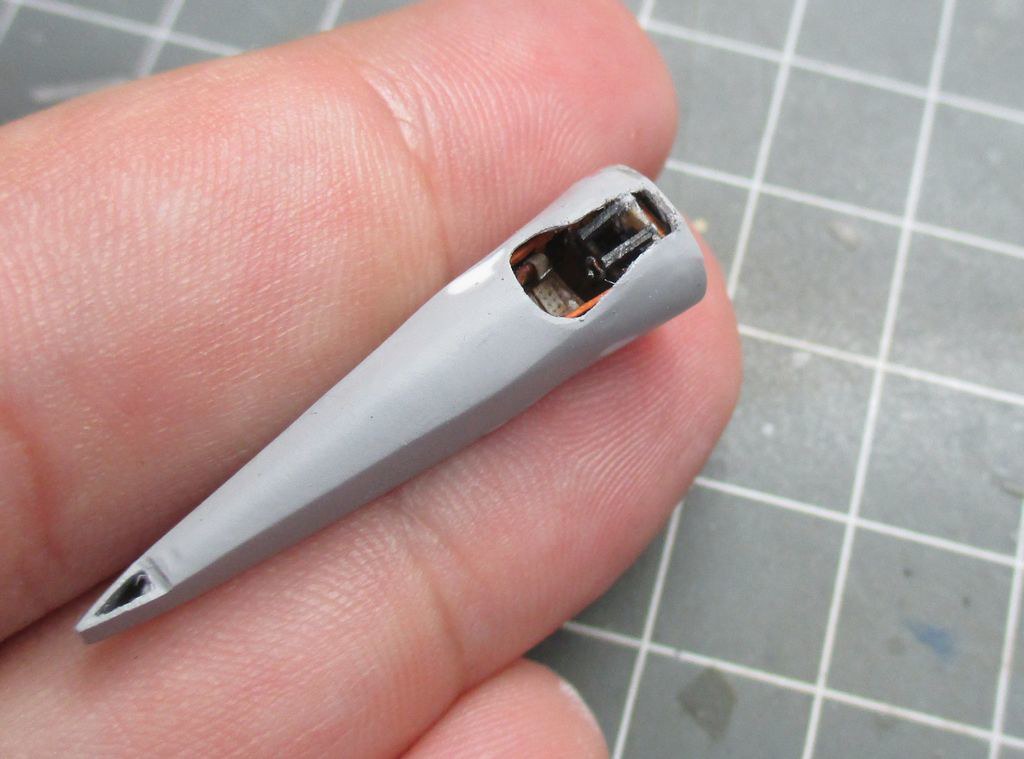
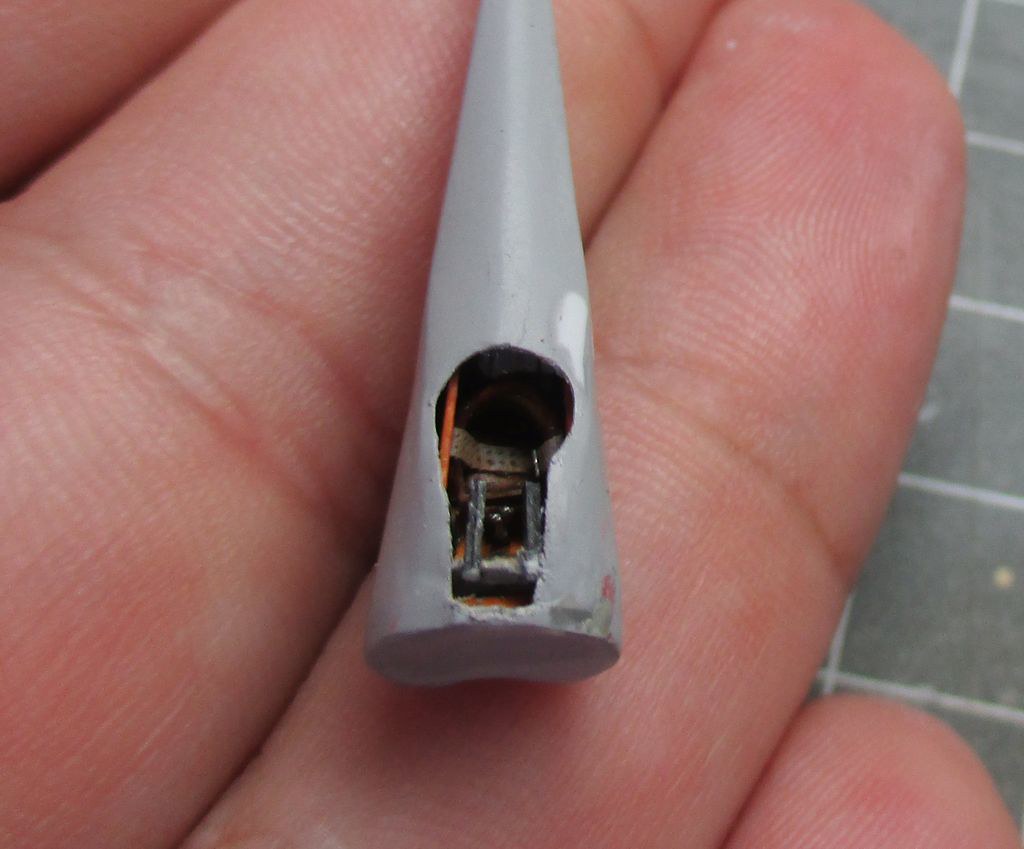
I also started working on the upper side of the fuselage.
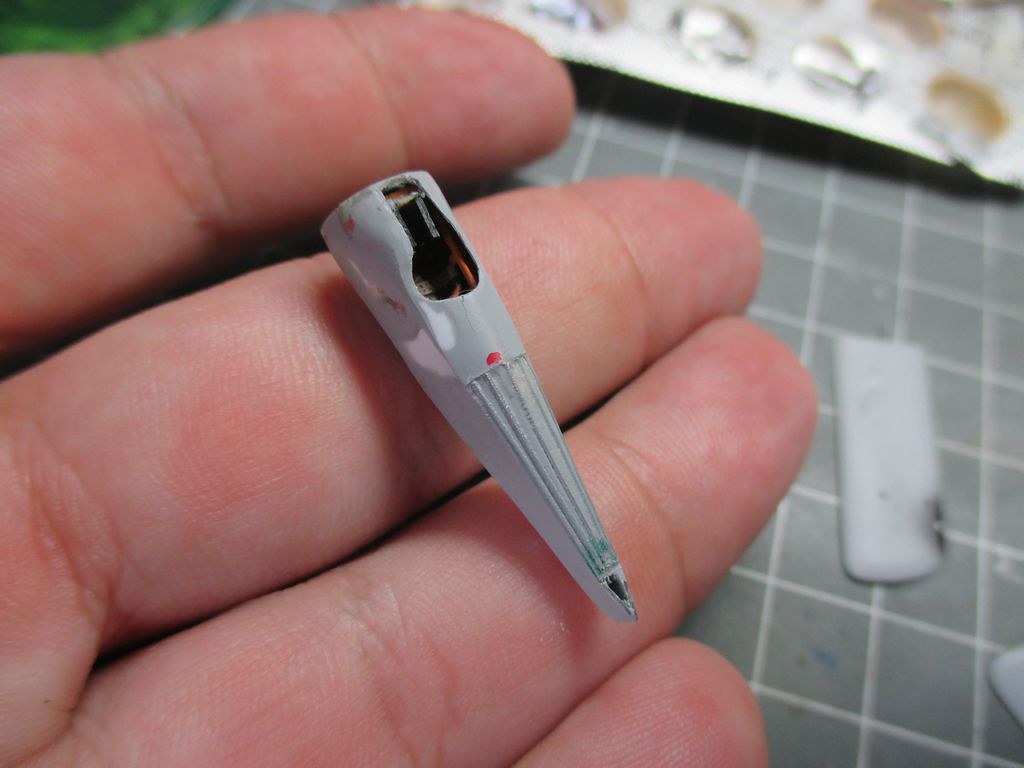
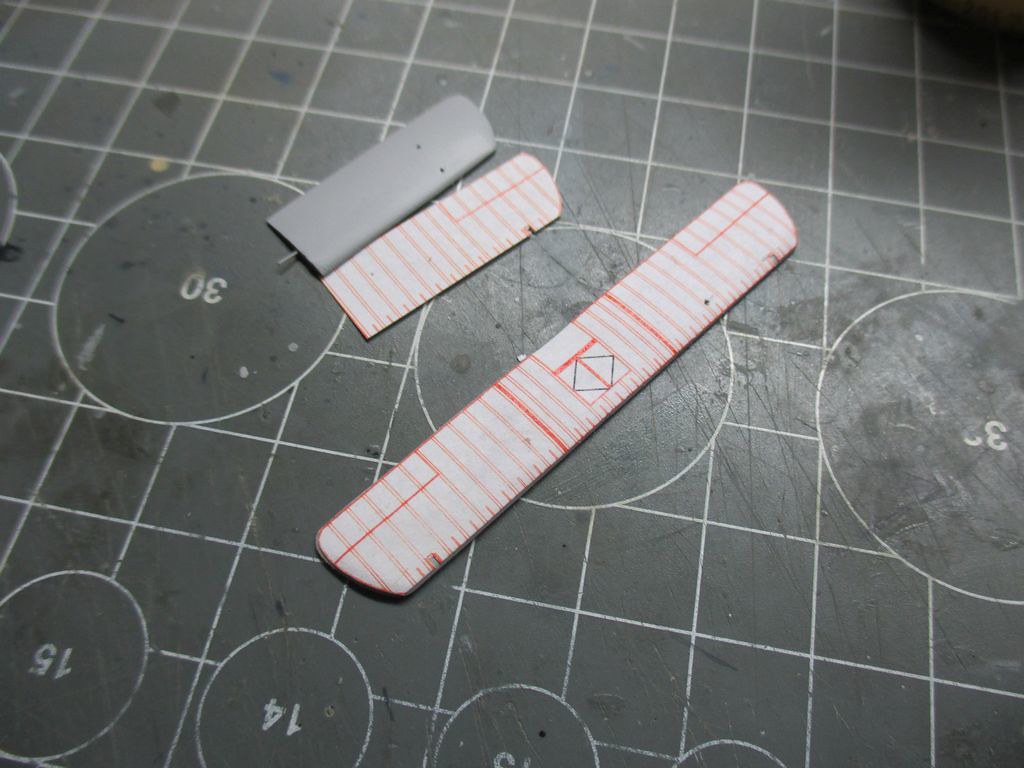
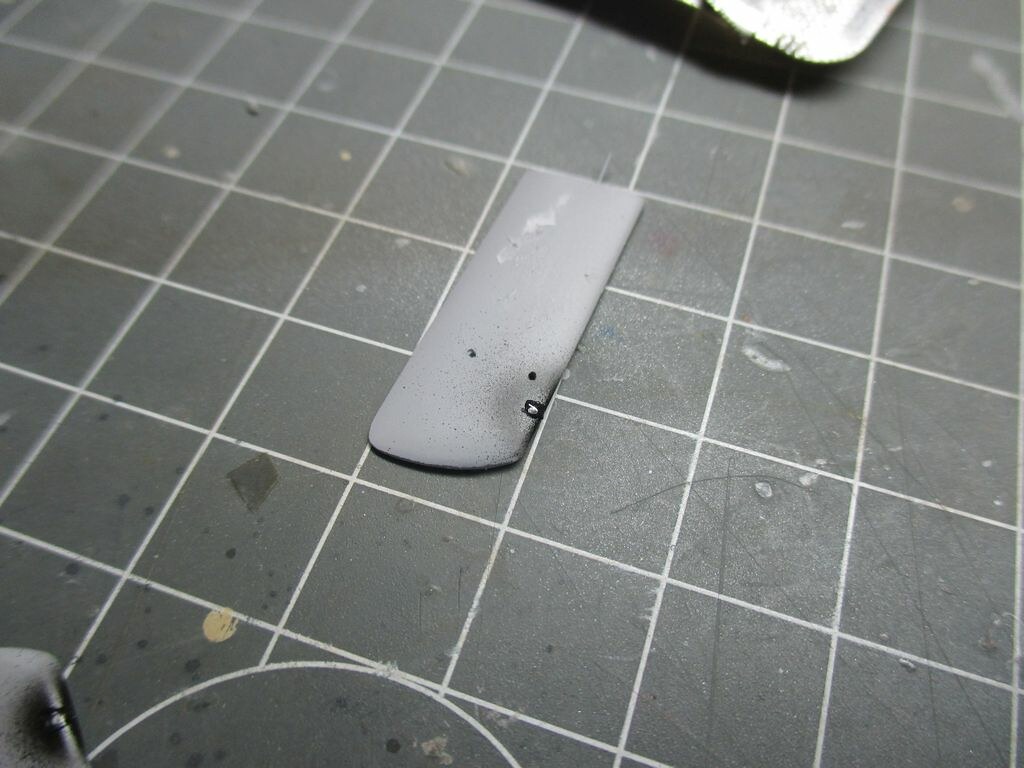
As the Camel featured small inspection windows on the leading edges, I want to represent them on my model too.
I used paper templates to find the right position on the wings:
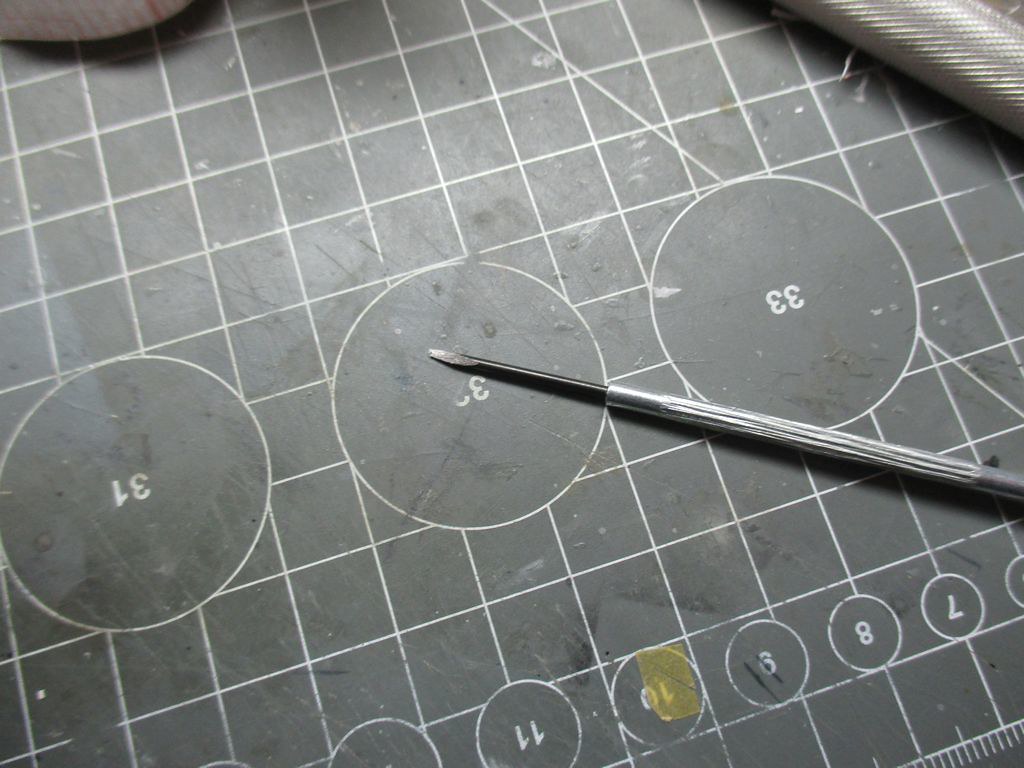
Afterwards I carved the holes with this tool which a friend of mine made for me. Many thanks for that, a great jig!
The next step was black paint and inserting 0,6 mm diameter circles made of aluminium sheet.
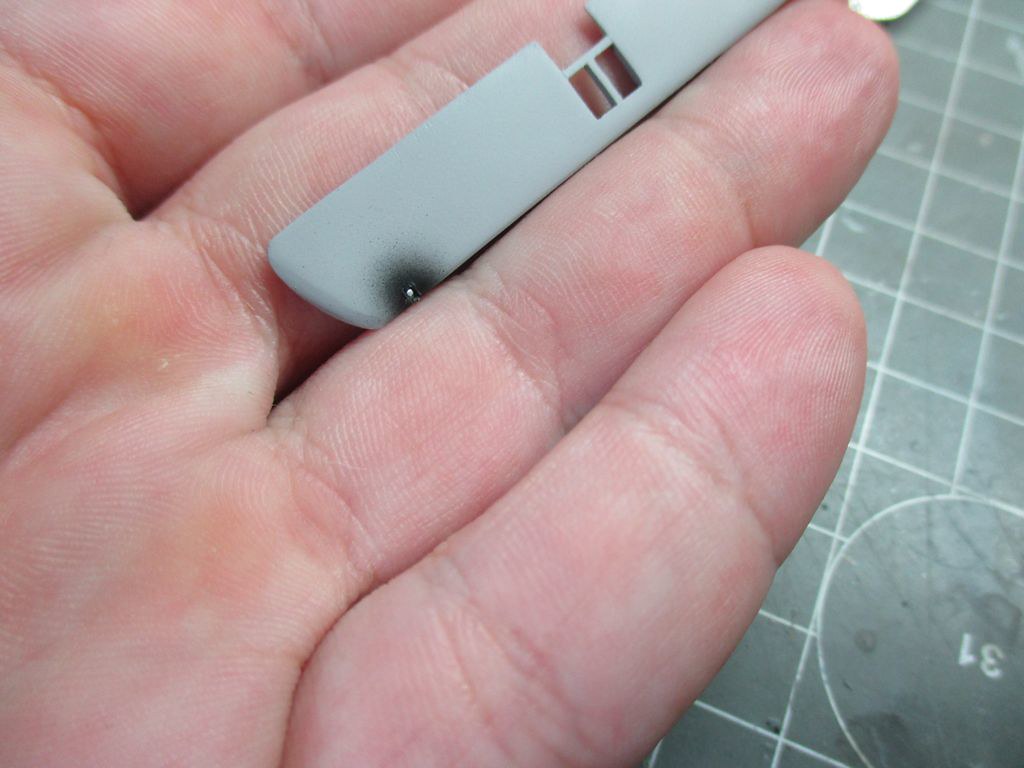
The glass was added by using photopolymeric glue, Will see what it will look like once sanded and polished.
Cheers
Ondra
Re: Sopwith F.1 Camel B6313 - W. G. Barker 1/144
Posted: Wed Aug 29, 2018 5:17 pm
by ondra
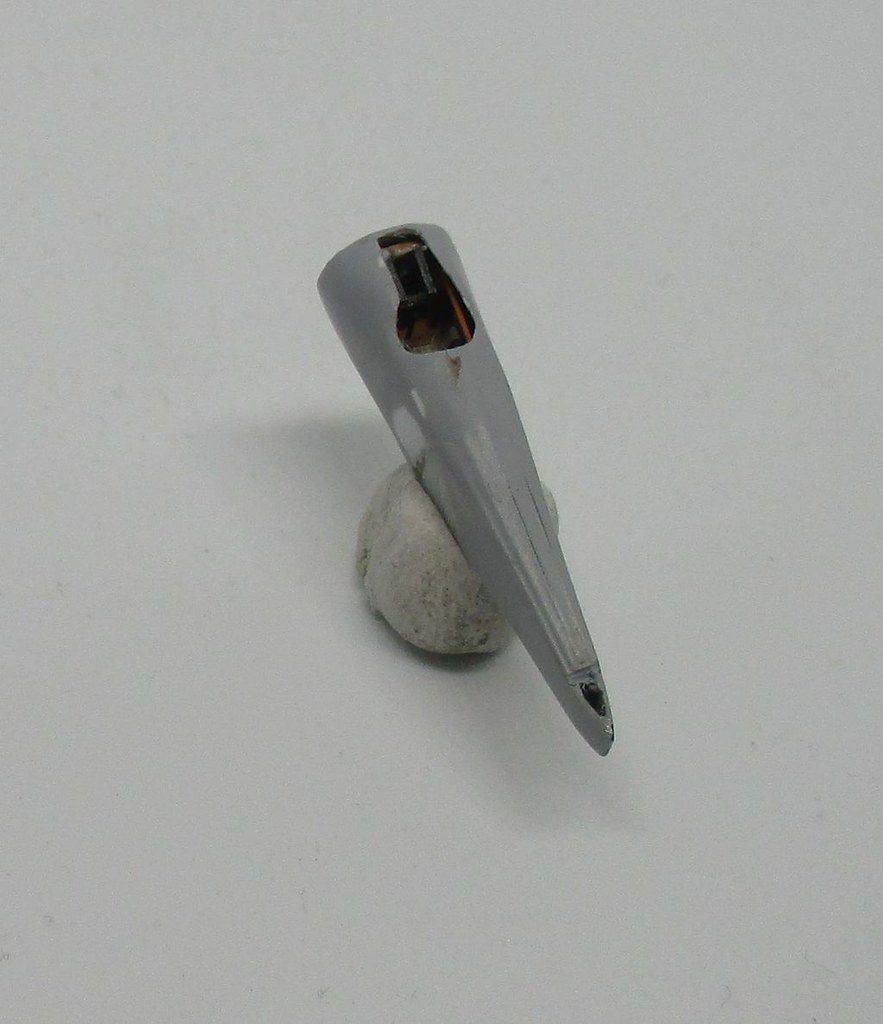
The build pace slowed down again due to various reasons, but from time to time I found an hour or half to continue with filling and sanding.
The fuselage looks close to acceptable now, so hopefully one last shot of primer will be needed and I can start with the scribing.

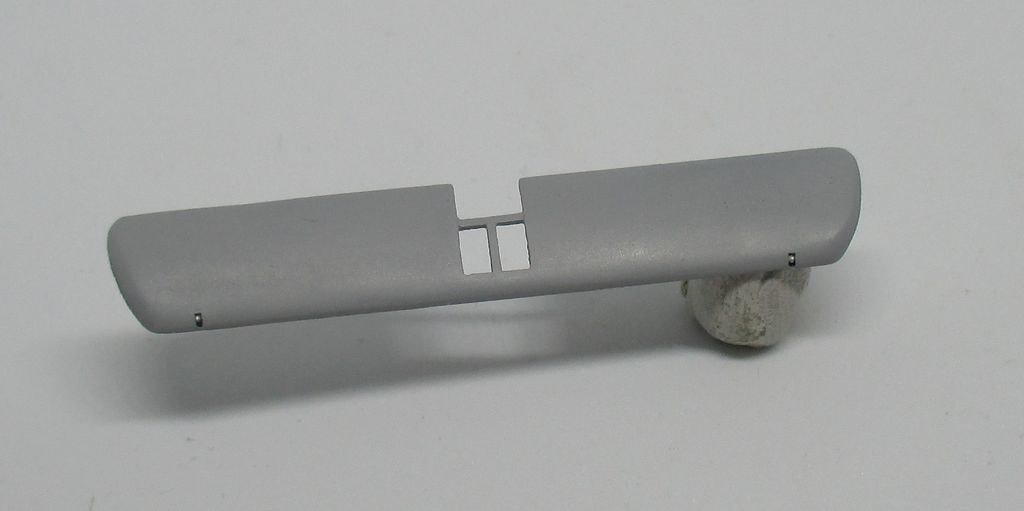
The wings look acceptable too, I am rather satisfied with the way the pulley inspection windows turned out. Some touch ups will be necessary on the centre section cut outs, though.
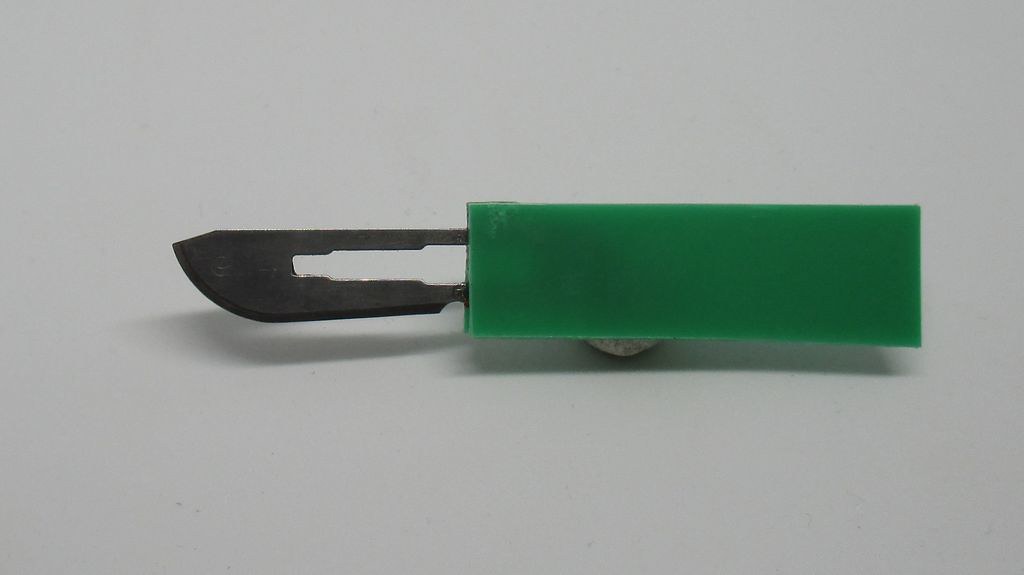
Next up will be the wing ribs, so I made this little jig to help me separate the masks from the paper, hopefully it will work as intended. Testing will start this weekend.
Cheers
Ondra
Re: Sopwith F.1 Camel B6313 - W. G. Barker 1/144
Posted: Fri Oct 12, 2018 6:18 am
by ondra
The pace of the build slowed down quite significantly due to various reasons, one of them being that I struggled big time with the wing ribs. I could not seem to make the masking foil work. After several attempts I found out that the foil simply had gone bad and the glue had changed its behaviour, thus becoming more sticky. So I ordered a new foil and the masking was finished within one evening.
I know I presented the method here before, so just a brief description - I take the drawing of the wing I had made in the preparation stage and cut it on my plotter. Afterwards I put the mask on the wing and remove the foil in the areas where the ribs will be. Once done, I give the wing some layers of surfacer which creates ridges in the unmasked areas.
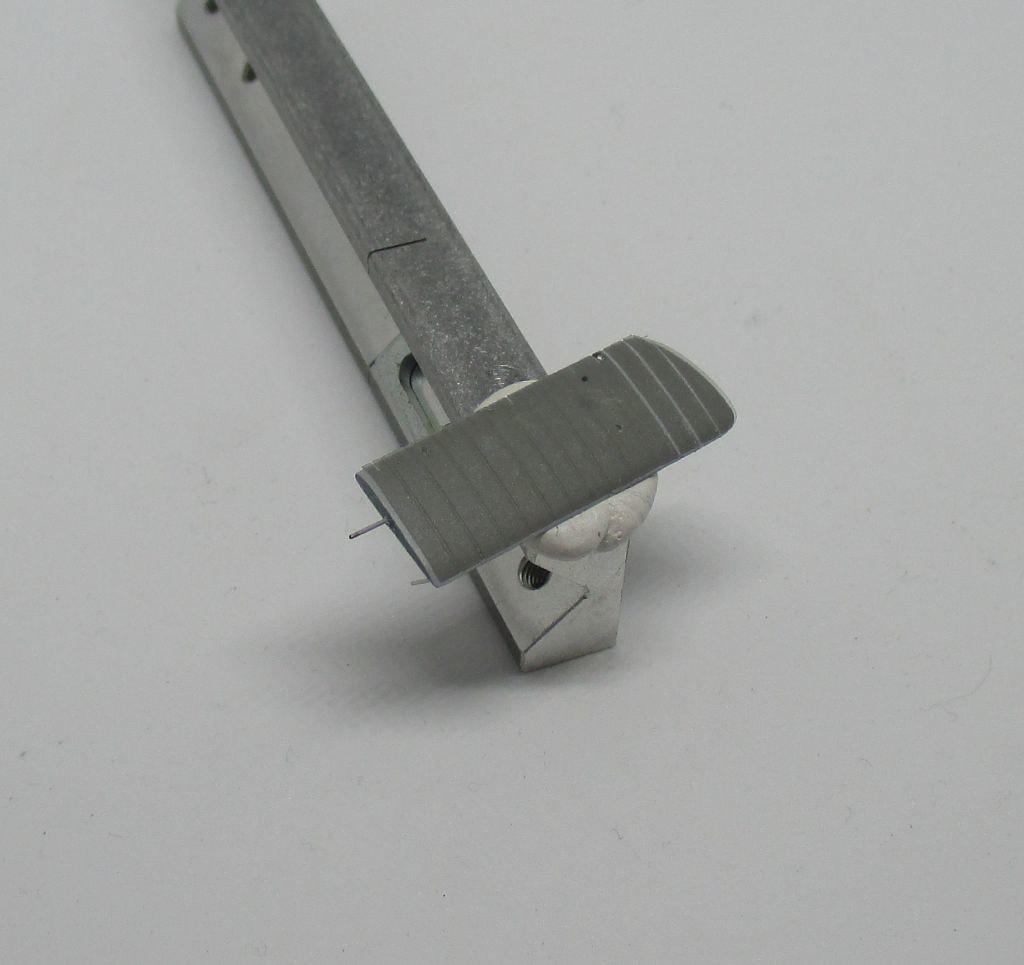
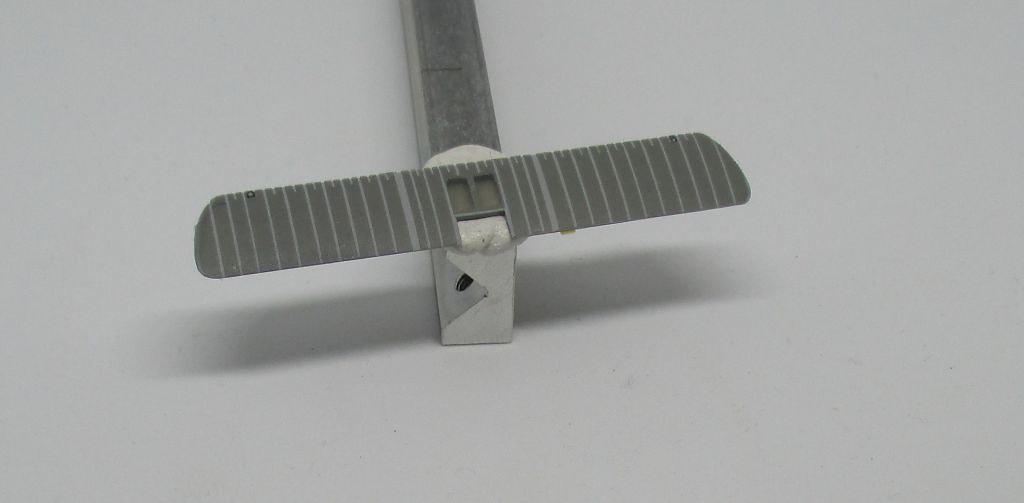
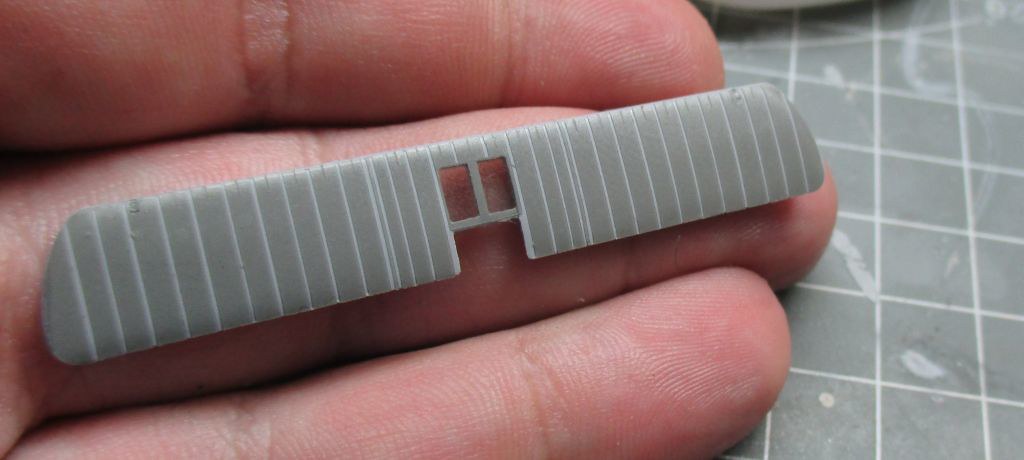
Cheers
Ondra
Re: Sopwith F.1 Camel B6313 - W. G. Barker 1/144
Posted: Sun Nov 04, 2018 12:38 pm
by ondra
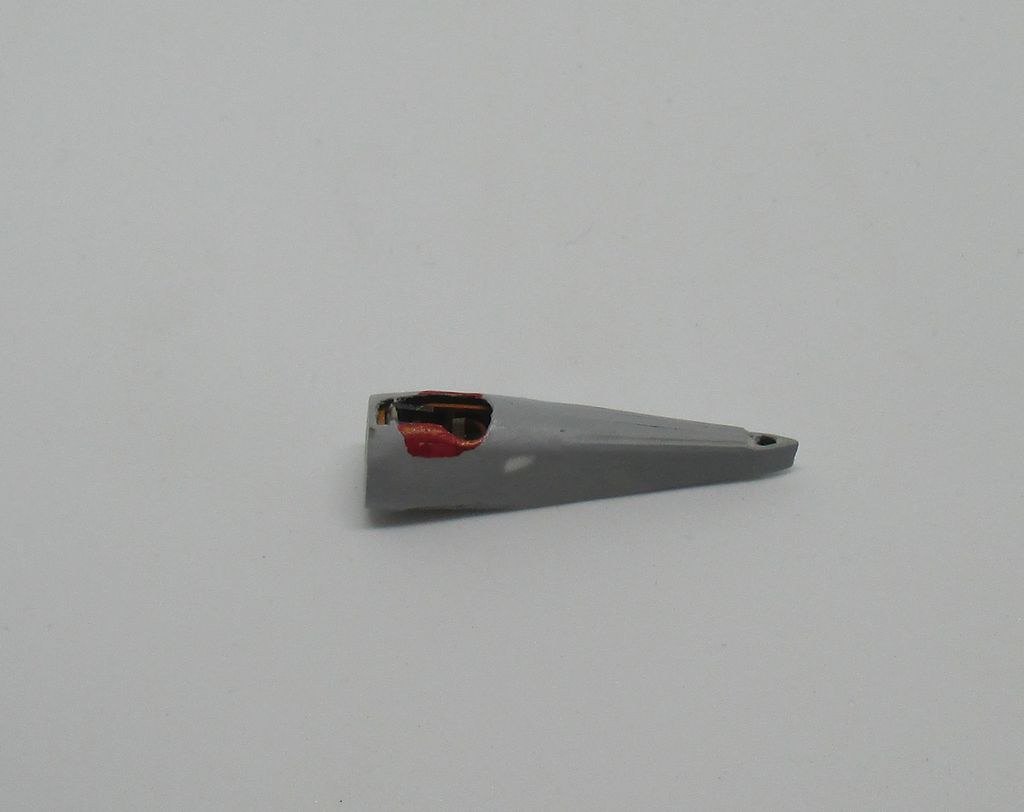
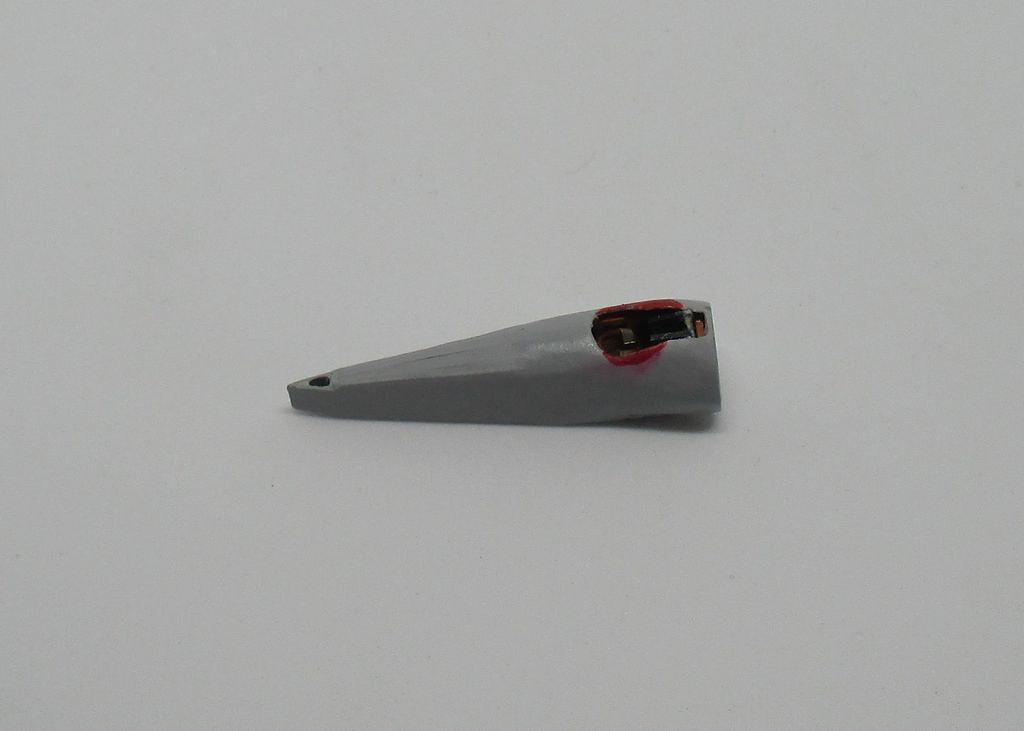
As Barker's Camel had most of the cockpit decking removed, the fusulage will require adjustments. I marked the areas to be removed on the fuselage and will start working on the adjustment next weekend.
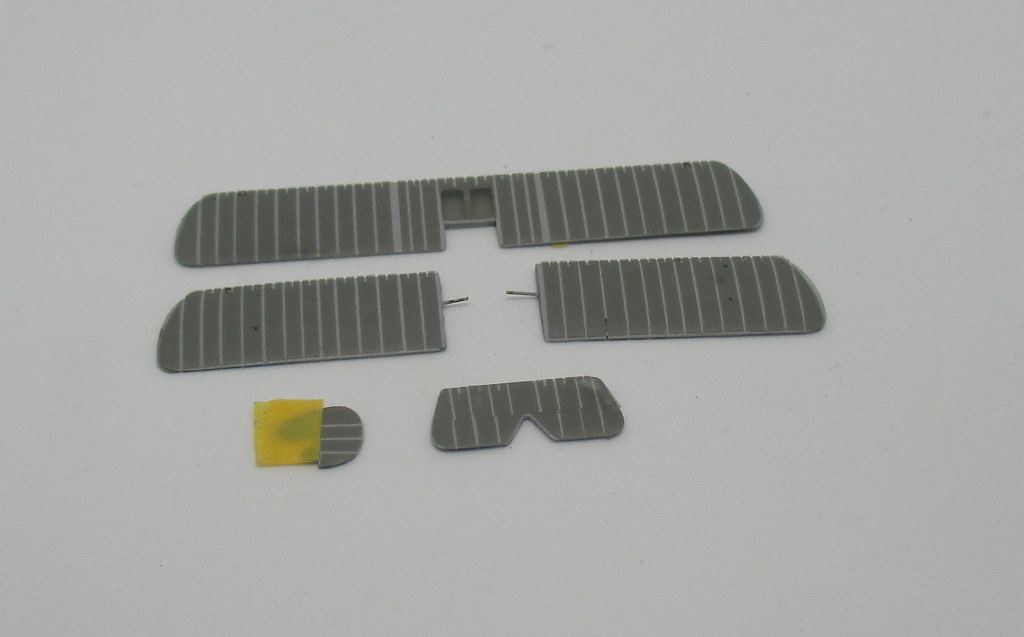
While masking the wings for the wingribs I experienced one of the hardest struggles in my modelling history, the tailplane took me over 20 trials to get it about right. Corrections will still be needed, but this will be a minor issue.
Cheers
Ondra
Re: Sopwith F.1 Camel B6313 - W. G. Barker 1/144
Posted: Sun Nov 04, 2018 2:31 pm
by Twokidsnosleep
Good to see you are still progressing on your Camel
Keep at it, what you have done so far looks spectacular

Re: Sopwith F.1 Camel B6313 - W. G. Barker 1/144
Posted: Sun Nov 11, 2018 11:25 am
by ondra
Many thanks for your nice comment, it is a great encouragement for the build!
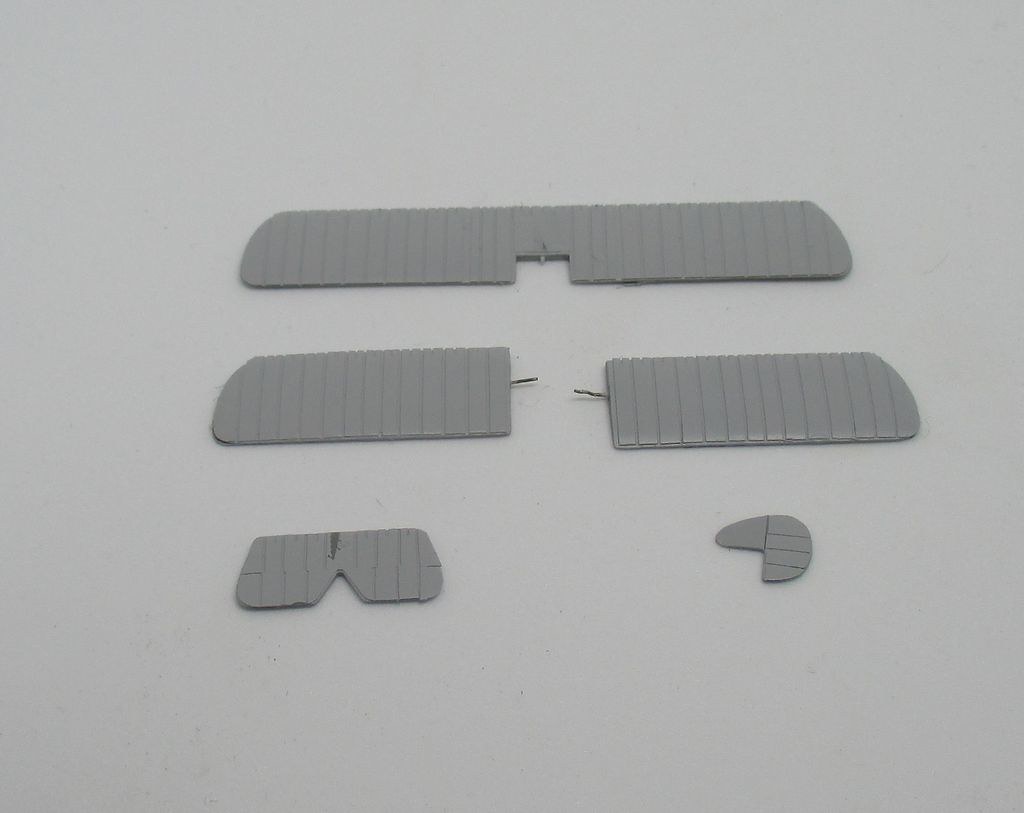
Not much progress this weekend, only the wings and tailplanes received several layers of surfacer, now I will leave them to cure until next weekend, will see how it turns out then.
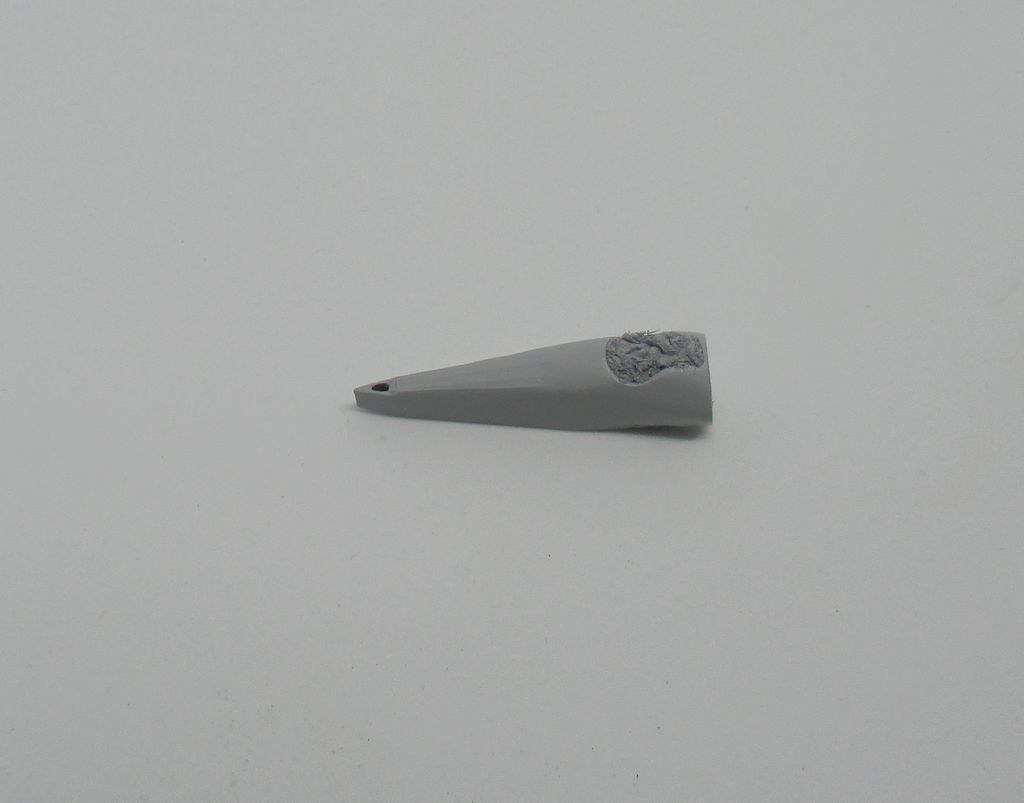
I spent most of the time at the workbench adjusting the cockpit opening. I did not want to damage the interior, therefore I could not use my Proxxon and had to remove all the material using a sharp blade and small files. But the result looks acceptable.
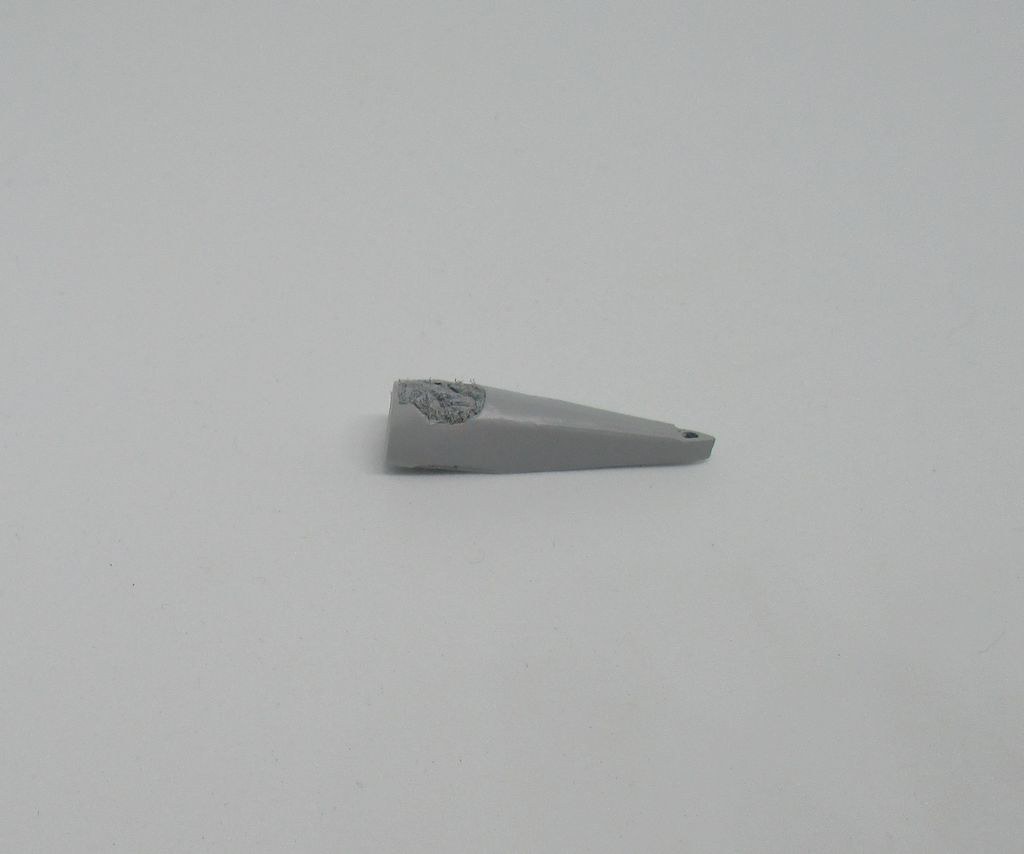
Cheers
Ondra
Re: Sopwith F.1 Camel B6313 - W. G. Barker 1/144
Posted: Wed Nov 14, 2018 2:25 pm
by ondra
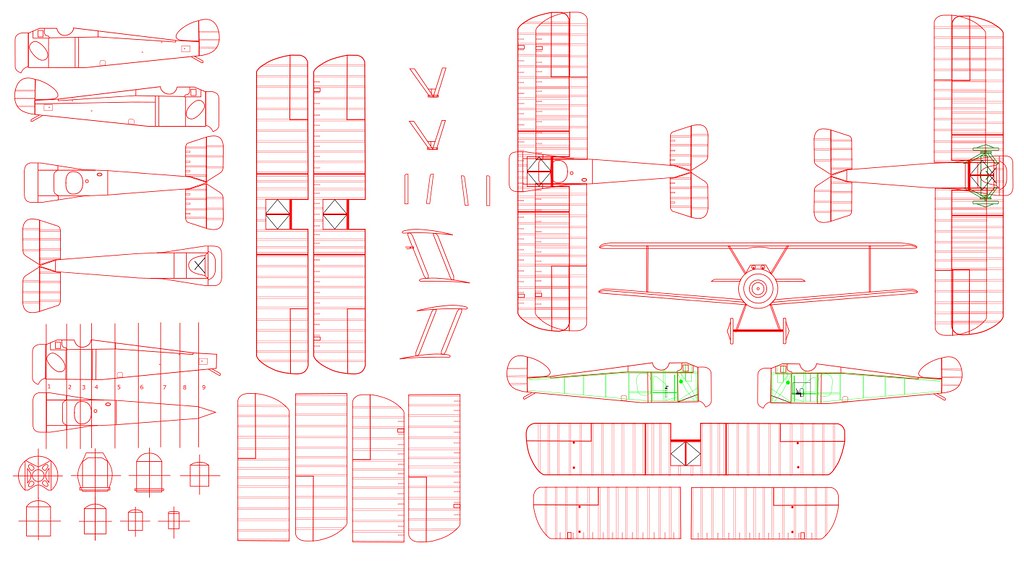
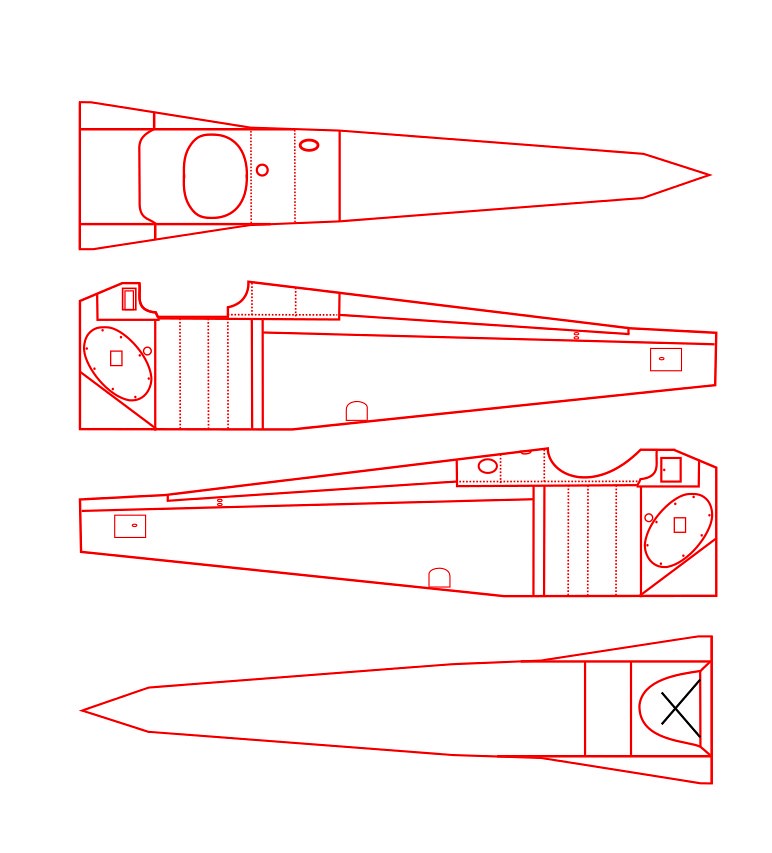
In preparation for the scribing I made the drawing to keep better overview, so I will leave it here should anyone find it useful.
Cheers.
Ondra
Re: Sopwith F.1 Camel B6313 - W. G. Barker 1/144
Posted: Wed Nov 14, 2018 5:47 pm
by Twokidsnosleep
Scribing a 1/144 aircraft fuselage...I can think of simpler tortures

Mind boggling work my friend