Page 1 of 1
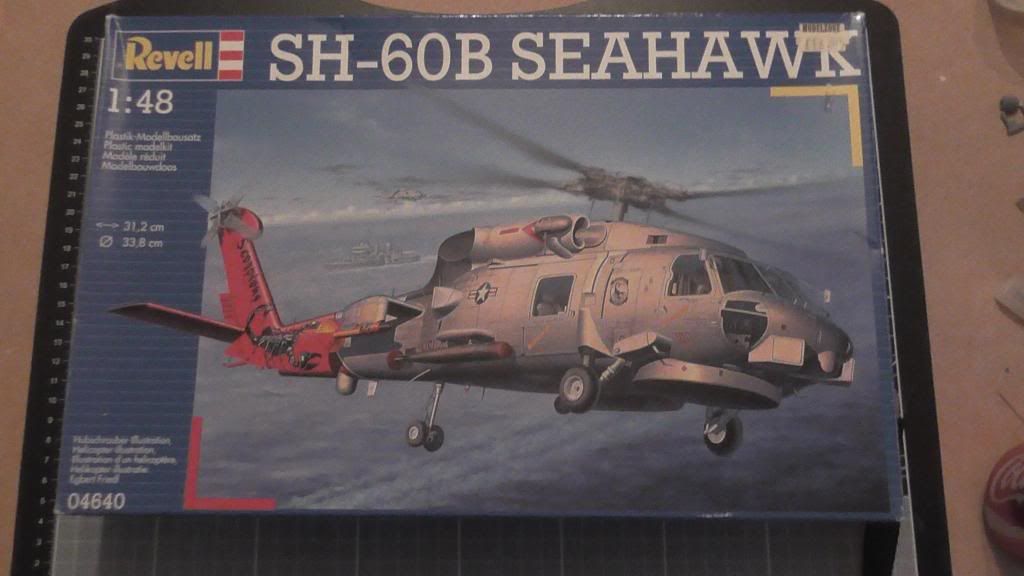
1/48 'Revell' SH-60B Seahawk
Posted: Fri Oct 11, 2013 9:37 pm
by 5Craven
Re: 1/48 'Revell' SH-60B Seahawk
Posted: Fri Oct 11, 2013 9:42 pm
by DC87
Very nice, this should be a cracking watch with the PE you are adding. Excited to see it begin

Re: 1/48 'Revell' SH-60B Seahawk
Posted: Fri Oct 11, 2013 9:57 pm
by fly1ngdutchm4n
O yeah!

Love it!
As a PE addict myself, i'm realy intrested too see this build!
Good luck!
Re: 1/48 'Revell' SH-60B Seahawk
Posted: Fri Oct 11, 2013 10:27 pm
by 5Craven
fly1ngdutchm4n wrote:O yeah!
Love it!
As a PE addict myself, i'm realy intrested too see this build!
Good luck!
Christ! Now I feel under pressure!!

Re: 1/48 'Revell' SH-60B Seahawk
Posted: Fri Oct 11, 2013 11:47 pm
by spruecutter
Nice one

, good luck with the build.
Re: 1/48 'Revell' SH-60B Seahawk
Posted: Sat Oct 12, 2013 2:53 am
by ManCupboardModels
Nice one!
Re: 1/48 'Revell' SH-60B Seahawk
Posted: Sat Oct 12, 2013 10:38 pm
by kiwigav
Nice choice..
look forward to following your progress
Gav
Re: 1/48 'Revell' SH-60B Seahawk
Posted: Mon Oct 14, 2013 2:17 am
by gosselin2112
Got enough PE?

Someone should make a shirt that says, "GOT PE?"

Seriously, nice subject. Just don't get all folded up in your PE

Re: 1/48 'Revell' SH-60B Seahawk
Posted: Mon Oct 14, 2013 8:33 pm
by 5Craven
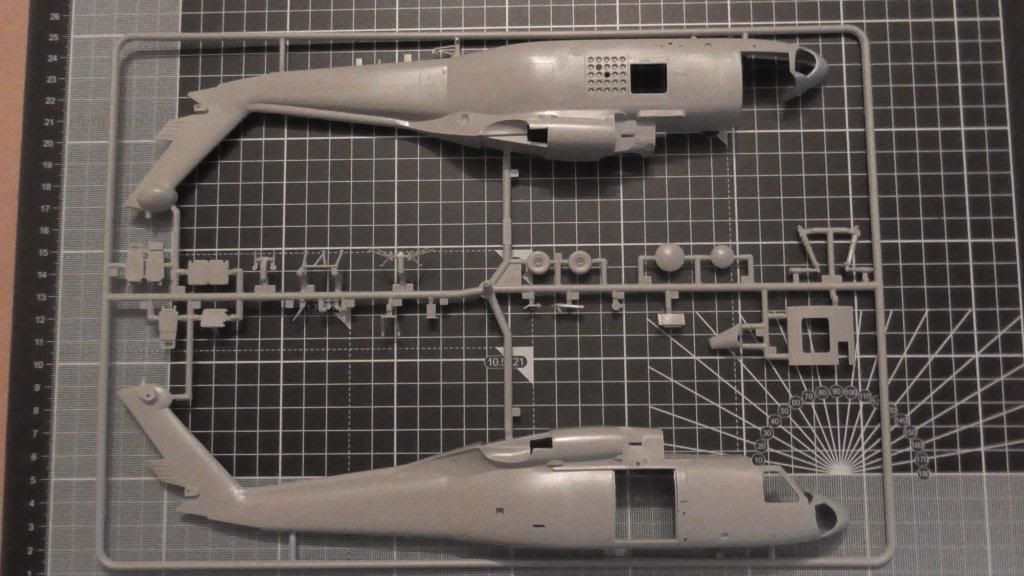
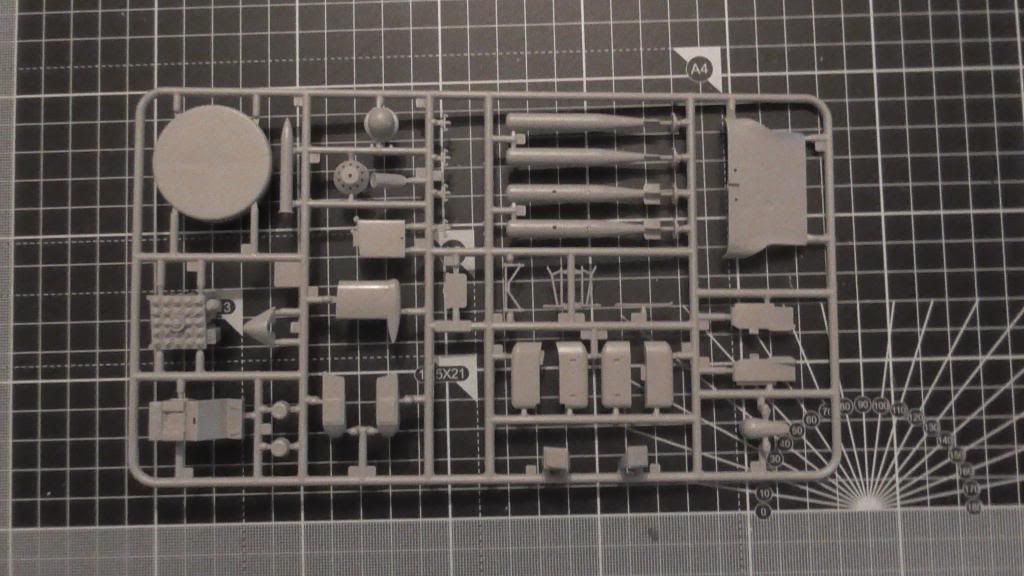
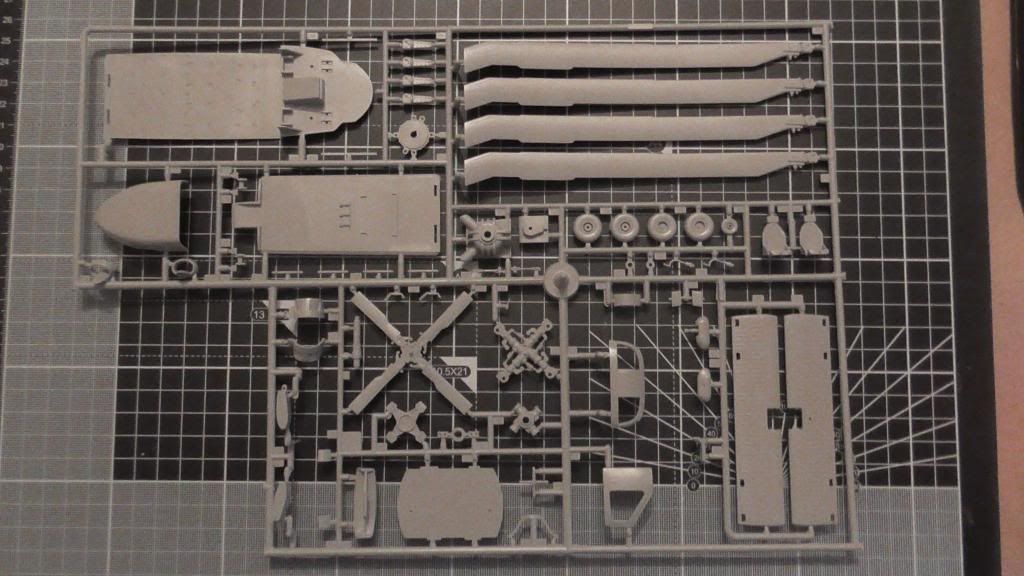
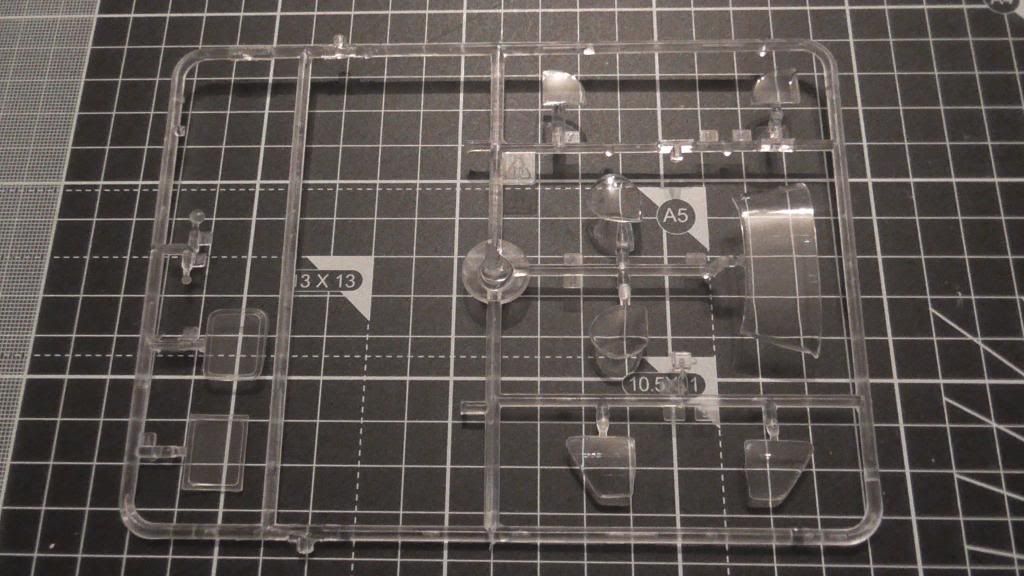
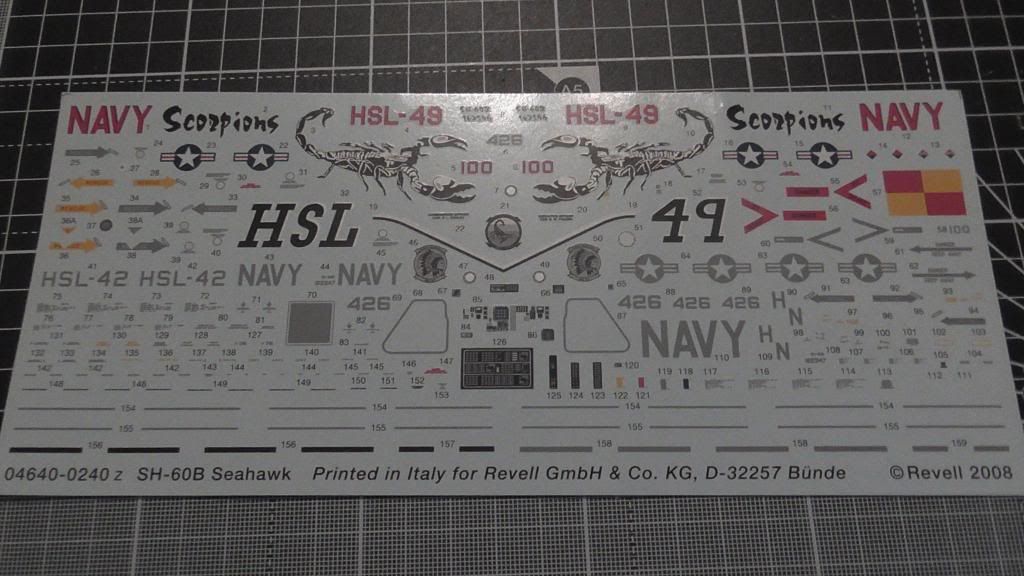
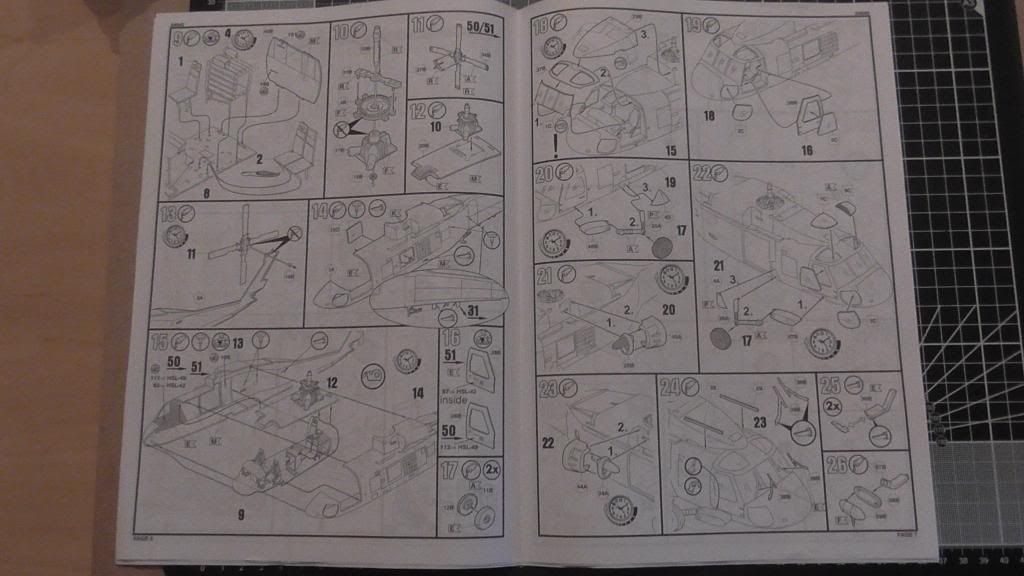
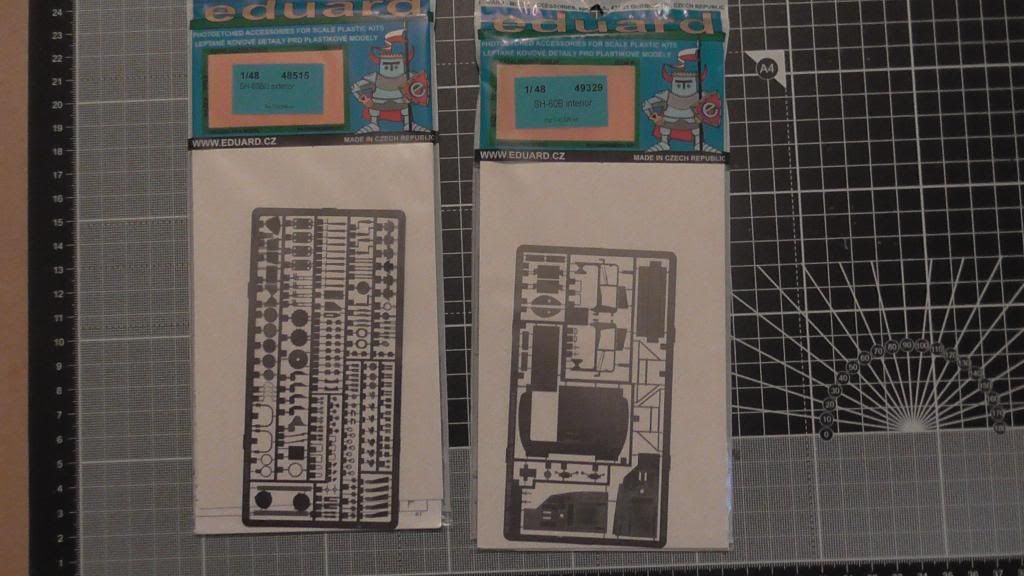
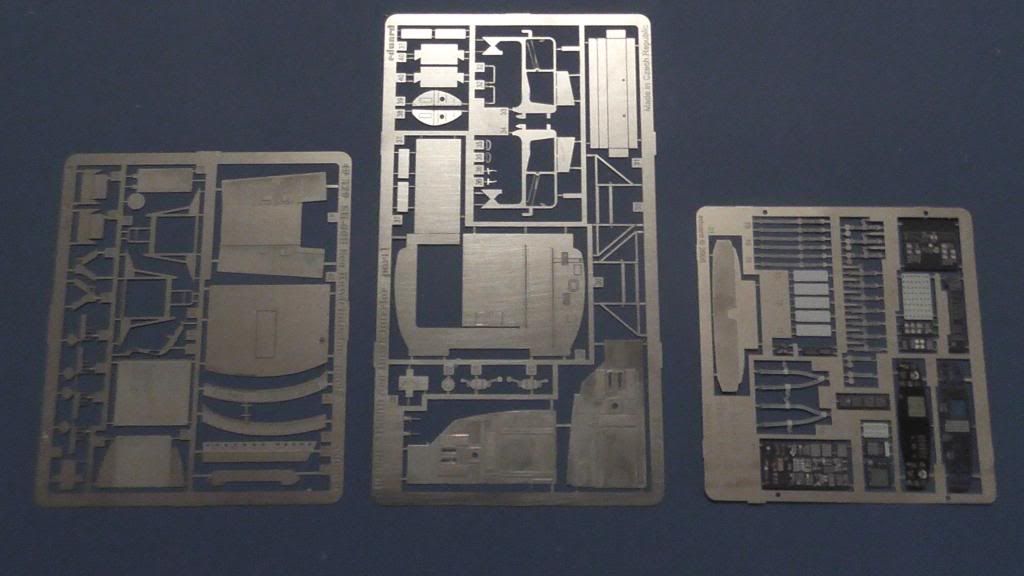
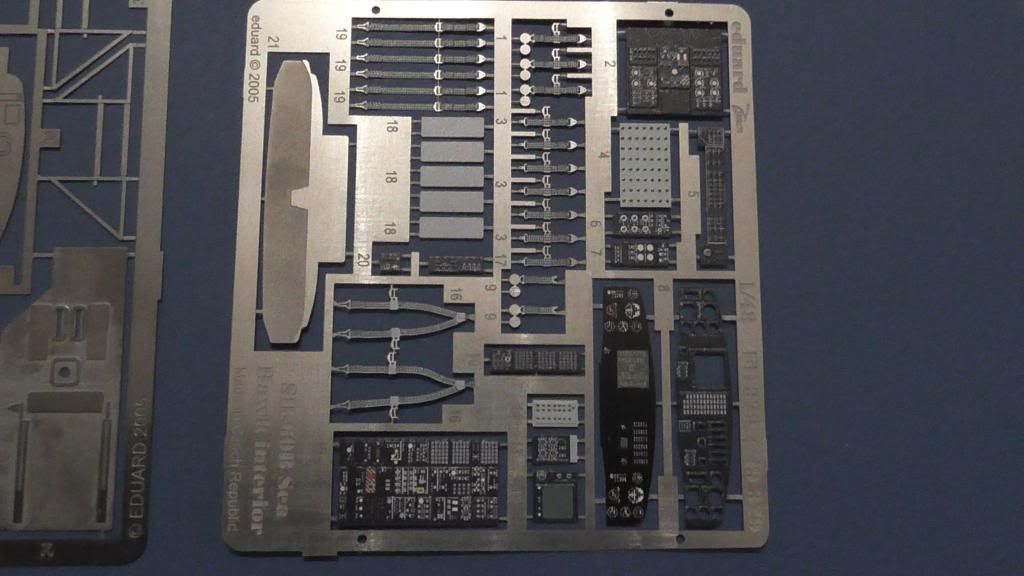
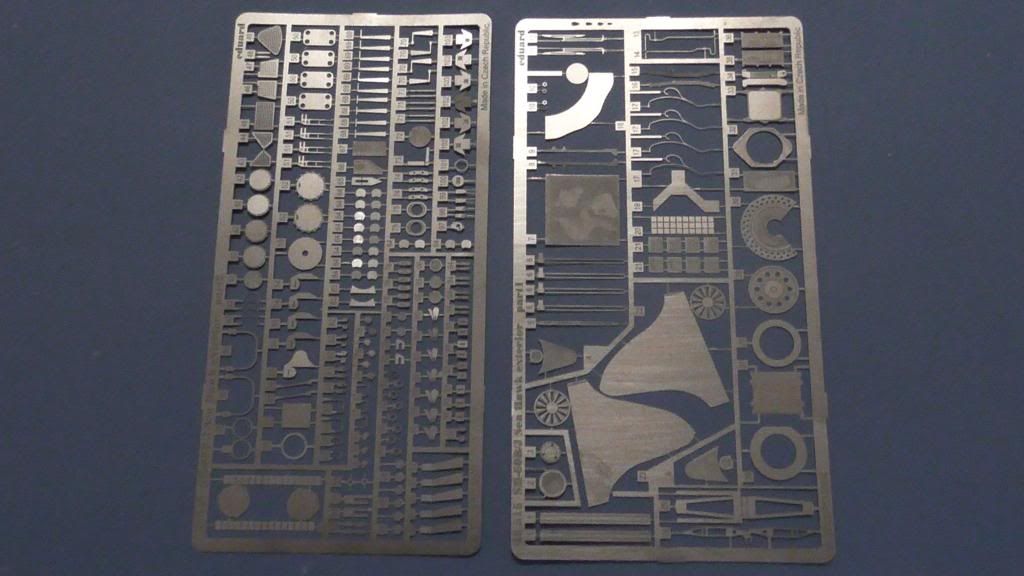
As promised here is the video look at the kit and photo etch.
[youtube]3EVtHI-iVzU[/youtube]
Re: 1/48 'Revell' SH-60B Seahawk
Posted: Mon Oct 14, 2013 9:22 pm
by fly1ngdutchm4n
gosselin2112 wrote:Got enough PE?
Someone should make a shirt that says, "GOT PE?"
Seriously, nice subject. Just don't get all folded up in your PE
As a PE addict myself, I would buy one of those shirts!

Great review vid 5Craven!
And no PE pressure mate...
Re: 1/48 'Revell' SH-60B Seahawk
Posted: Wed Oct 23, 2013 9:12 pm
by 5Craven
The first update on this build as I have been pottering away doing the odd bit here and there as I get the chance. My plan is to try and get the interior pieces to a stage where I can prime and paint most of them before final assembly. Then I can worry about putting them all together and fitting it all into the fuselage. I am also looking at what I need to get removed from the fuselage parts for the exterior PE so I can get that done before I insert the interior. So what been done to date?
First off the removal of bad details from the kit.

The sides and back of the pilots seats need to be removed and I will just be using the seat cushion. The seat mounts have been removed from the floor as have the collective stick mounts. The stick mounts have also be put to one side. All remaining detail and the remnants of the removed parts have been sanded off ready for new detail.
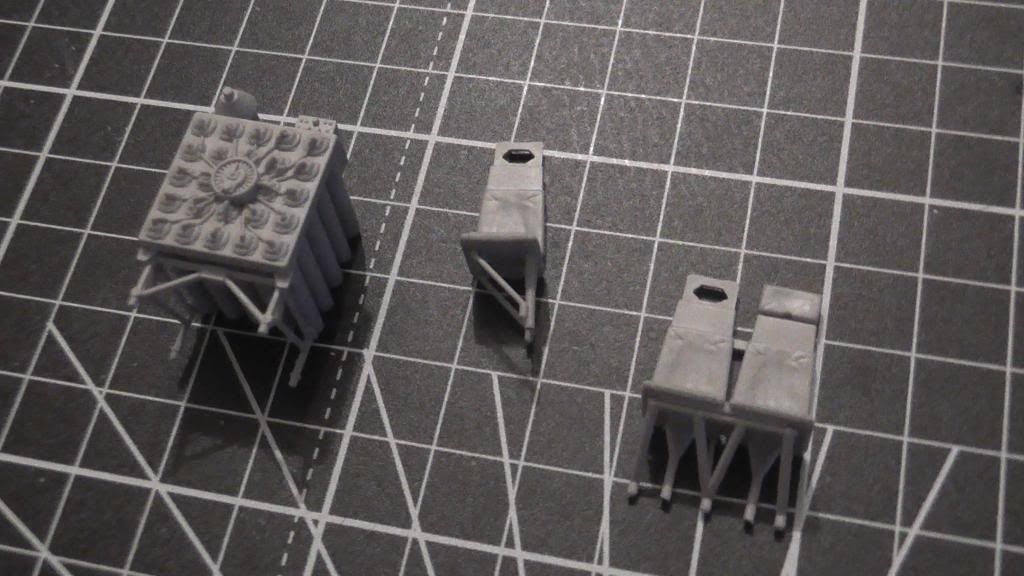
The rear crew seats have been put together as has the sondbuoy launcher ready for painting.
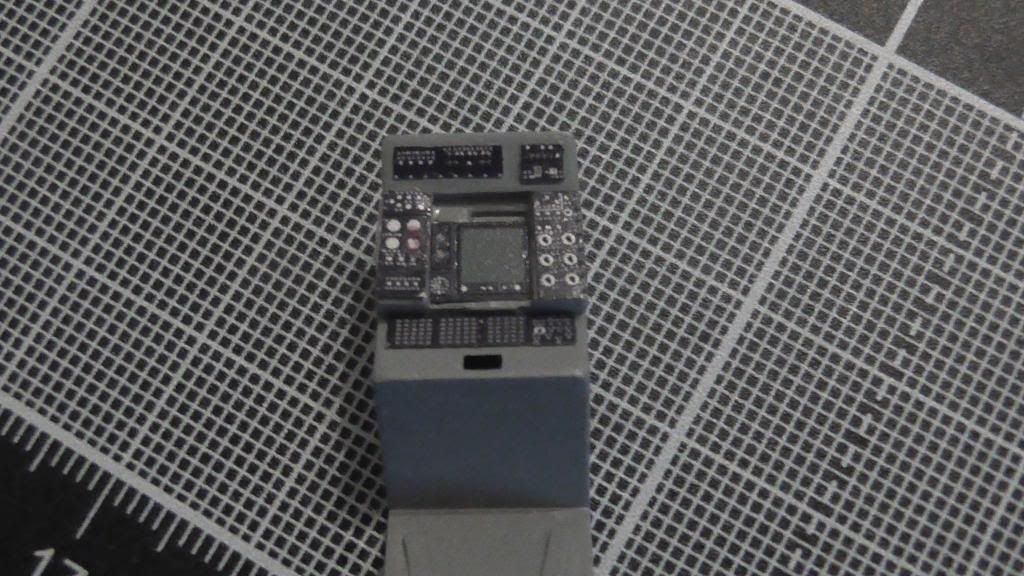
The search systems control station has been painted and the coloured PE detail added. Just the station desktop to add here.

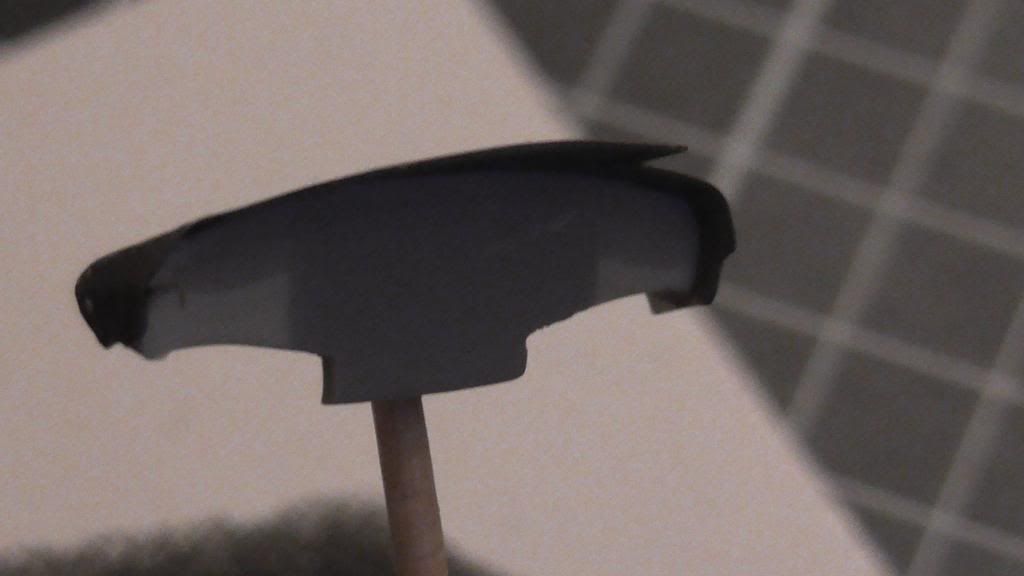
I needed to scratch build the new seat backs for the pilots seats. I scrounged some waste plastic from the schools D&T vac forming machine, on the left. Trimmed it down and cut to the final required size, on the right.

Fitted the new seat back to the original cushion and added the PE seat frames. All ready for priming!
Next up more front cockpit detailing to get the rest of the interior block closer to the primer stage.
Re: 1/48 'Revell' SH-60B Seahawk
Posted: Tue Nov 19, 2013 10:23 pm
by spruecutter
Nice work, especially with the improvements on the seats

Re: 1/48 'Revell' SH-60B Seahawk
Posted: Sat Feb 08, 2014 9:13 pm
by 5Craven
OK it's time to reactivate this build log. Due to some serious family issues I really haven't had the time or state of mind to carry on with this or the cold war GB builds that I committed to last year. However thing are now a bit more on an even keel so here is the next installment on this build.
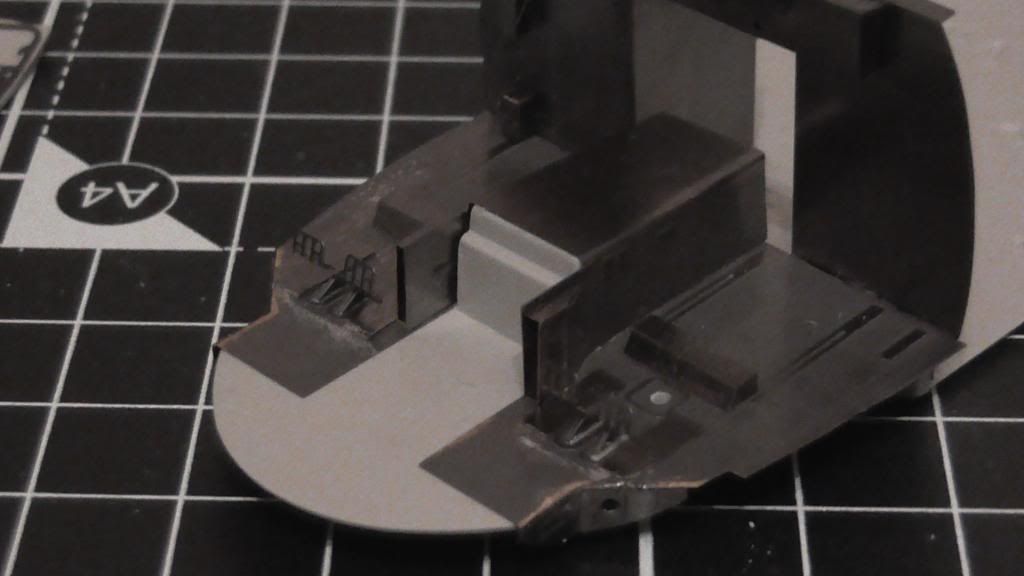
Following the seat update I installed the rest of the cockpit PE details;

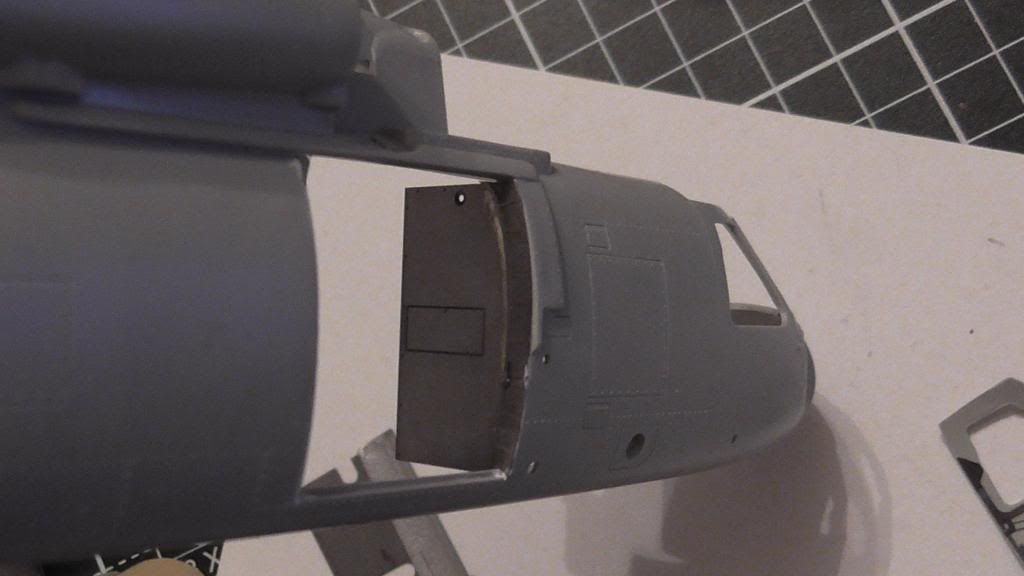
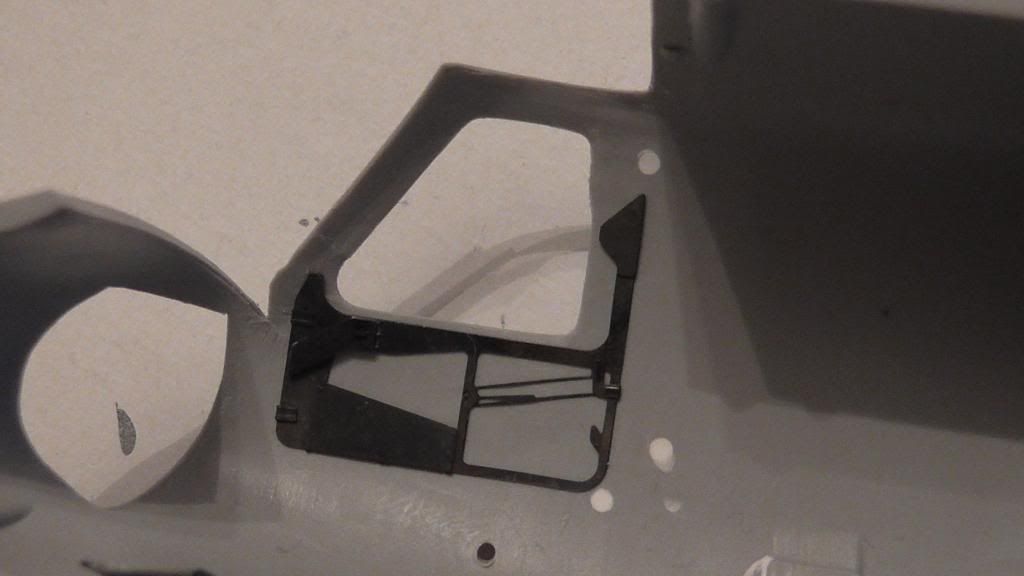
This needed some careful annealing and bending to fit the moulding;
The front office done;
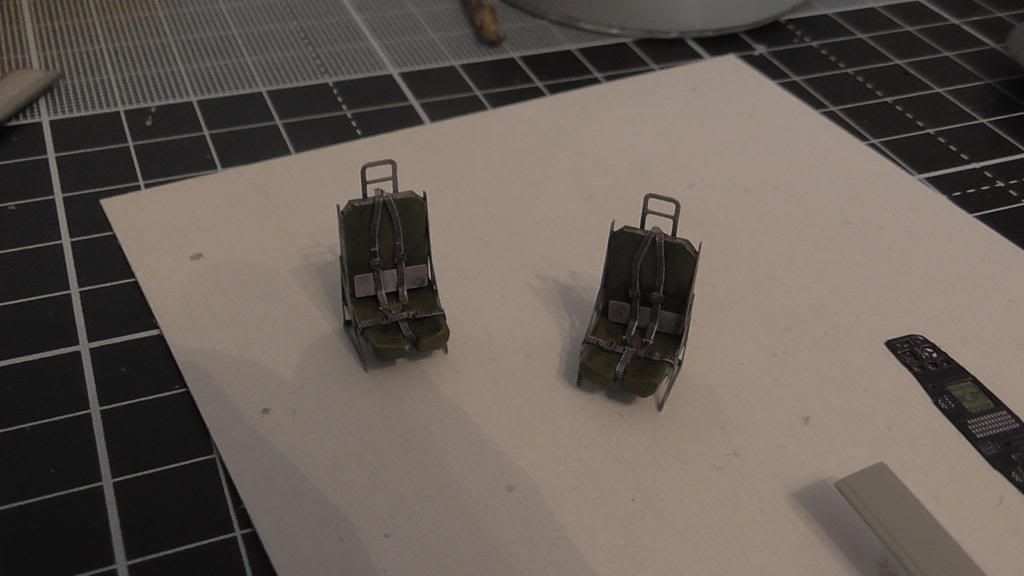
Seats painted, detailed and washed;
Everything painted and installed;


Cabin roof on and ready to install into the fuselage;
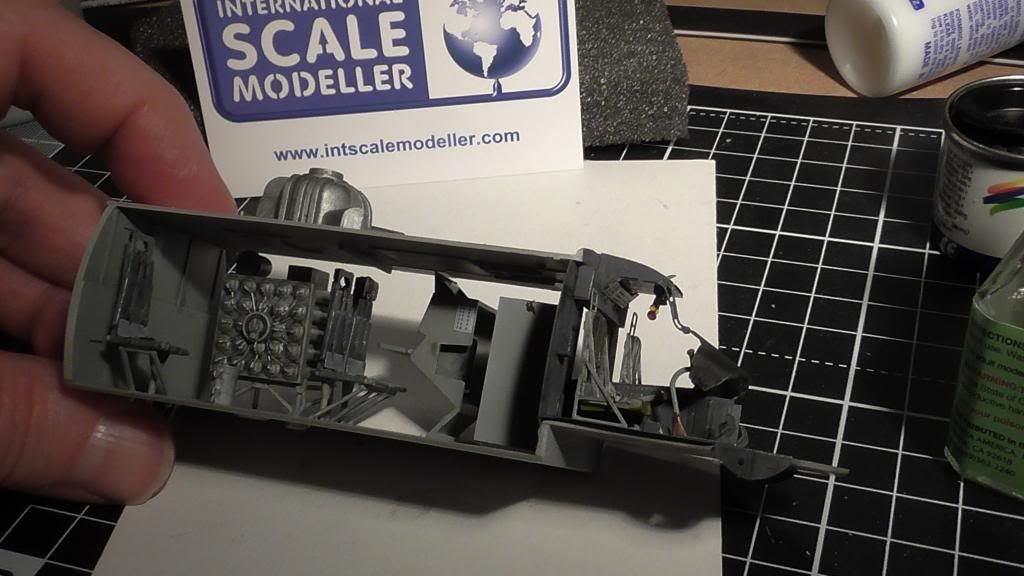
Thanks for looking and apologies to those who might have been following the build originally.
Re: 1/48 'Revell' SH-60B Seahawk
Posted: Sat Feb 08, 2014 9:45 pm
by DC87
Great to see you back at this project, interior looks class and nice detailing
Re: 1/48 'Revell' SH-60B Seahawk
Posted: Sun Feb 09, 2014 7:11 am
by kiwigav
Nice stuff. I love how the PE just adds that bit extra. Really surpasses the detail of the 1/72 scale kit I built for the Wirlybird SIG.
Re: 1/48 'Revell' SH-60B Seahawk
Posted: Fri Feb 14, 2014 6:13 pm
by 5Craven
Well its really nice to be back in the groove again and I have made more progress on the build. I am really starting to enjoy this now, before there was just too much going on in my mind and seemed a real chore. However more photos of stuff done so far;
The interior has been installed and the fuselage buttoned up. This didn't go as well as dry fitting suggested so I suspect I screwed something up inside. Still I only needed minimal filler on the seams.
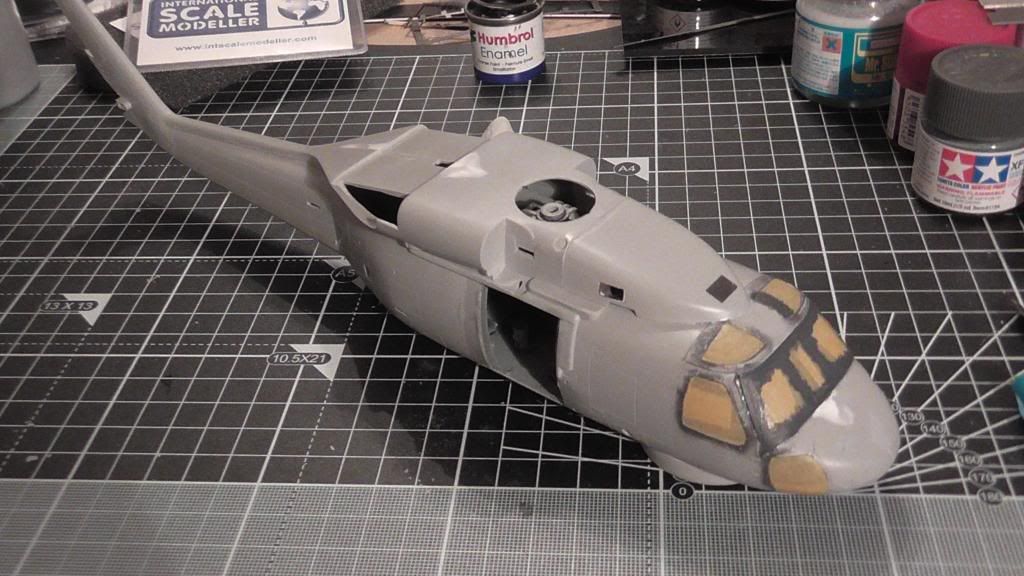
There is photo-etch that is in place to show interior detail on intakes and exhausts. You can also make out the traditionally awkward fitting of helicopter windows here.

As you can see all the windows have been masked and installed and painted the interior colour.
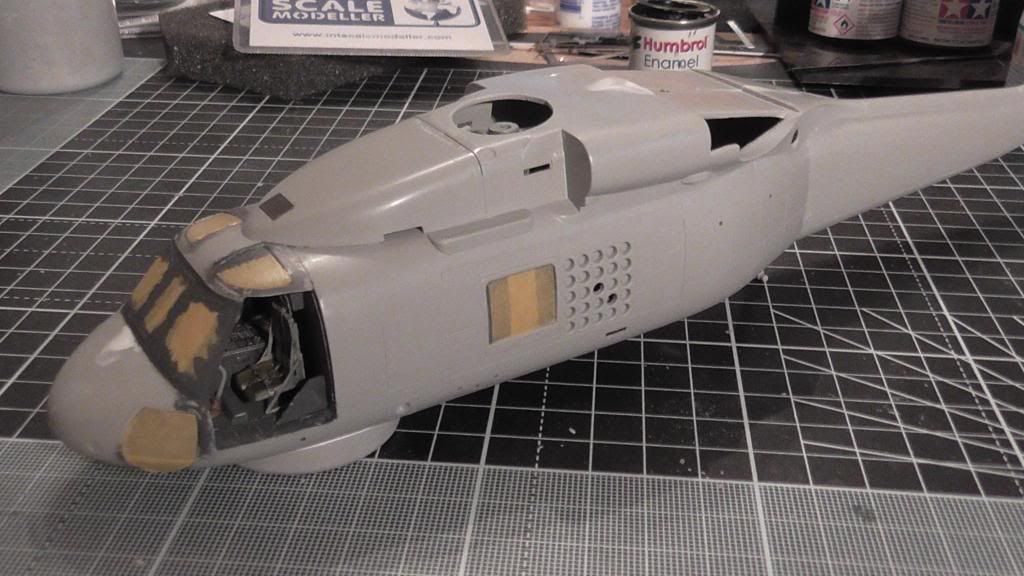
Somewhere along the way I have lost the collective stick by the door

. If I can't find it I will have to scratch something to replace it. You can see one of the nice PE grilles on the roof. So much better that the crudely molded detail it replaces.

Another piece of PE internal detail, this time the APU exhaust pipe.
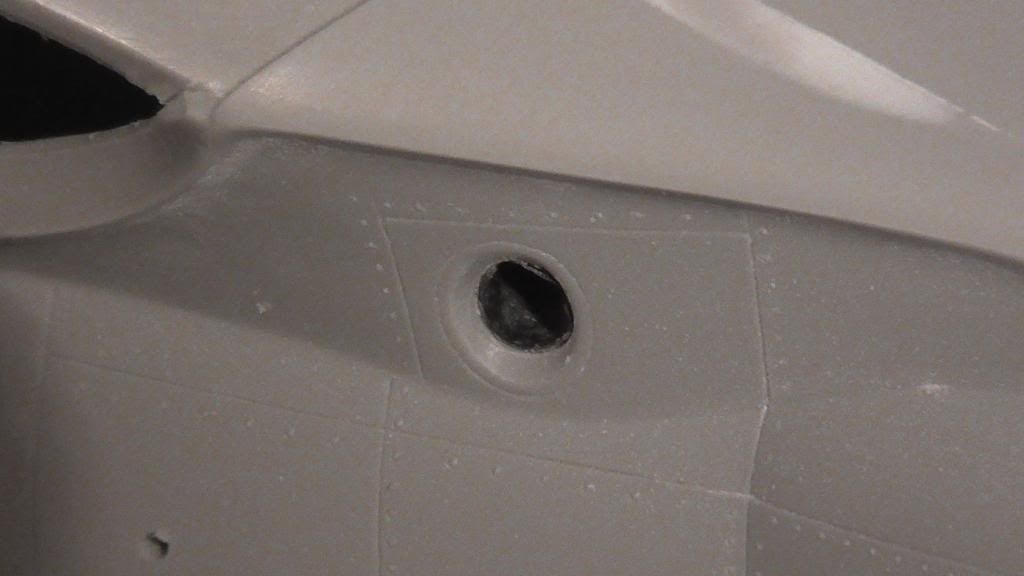
And the landing lights, these needed careful marking and removal of material from the fuselage.
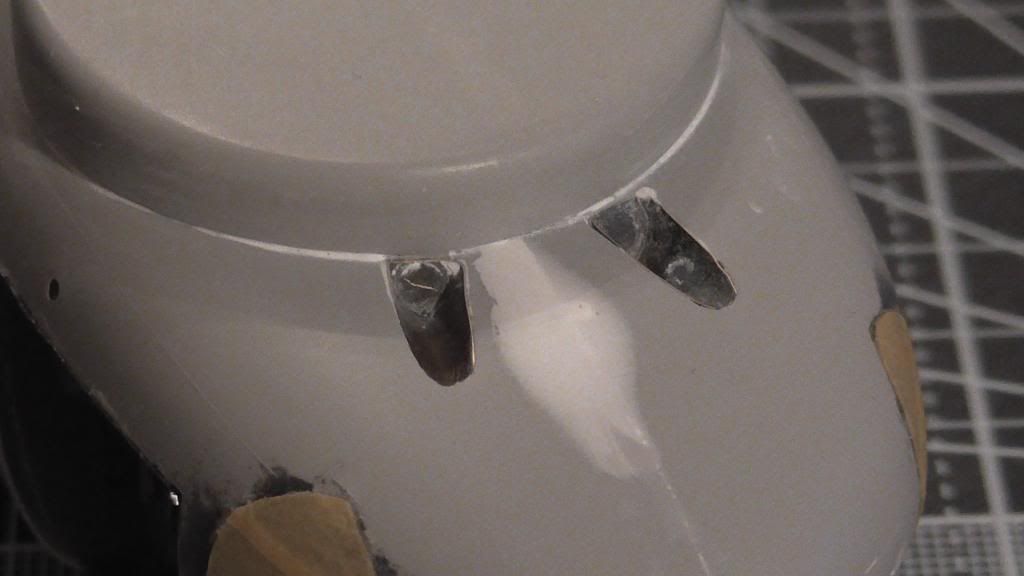
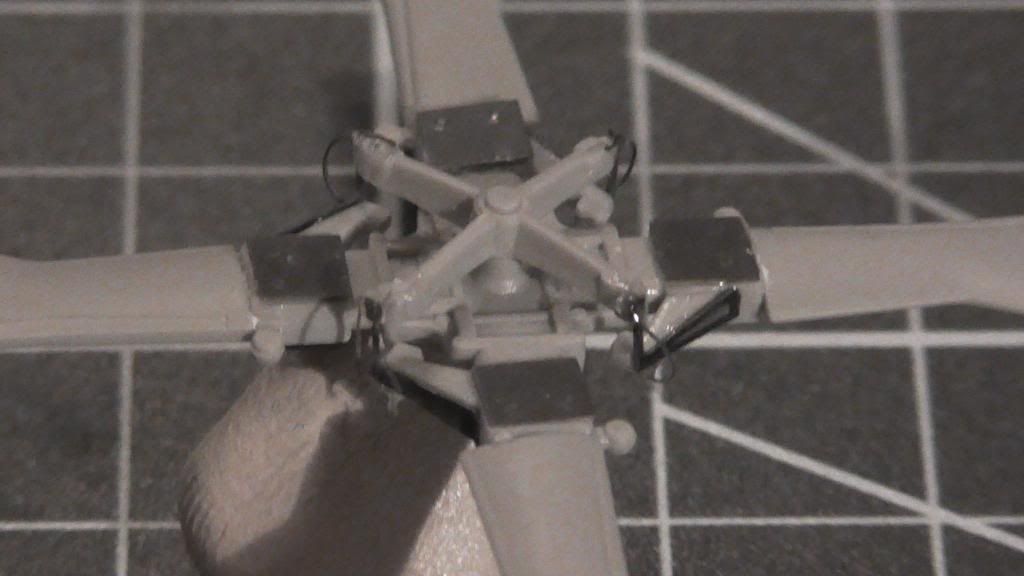
Whilst waiting for stuff to dry on the main body I have been working on the rear rotor. Here is the completed PE upgrade which I managed without too many side effects

Re: 1/48 'Revell' SH-60B Seahawk
Posted: Fri Feb 14, 2014 6:33 pm
by schweinhund227
Re: 1/48 'Revell' SH-60B Seahawk
Posted: Tue Apr 01, 2014 7:00 pm
by 5Craven
Time for another quick PE installation update before I put this temporally on one side to do the Egg Plane SiG. I have been bending a gluing away bit by bit on this one but in most of the views below there will be some items added after painting as I would be 100% certain to knock them loose in the process. Also a small bit of good news was that I managed to locate the collective stick that came loose. It has now been put securely away for attention later. Anyway here is the progress so far.
Front view;
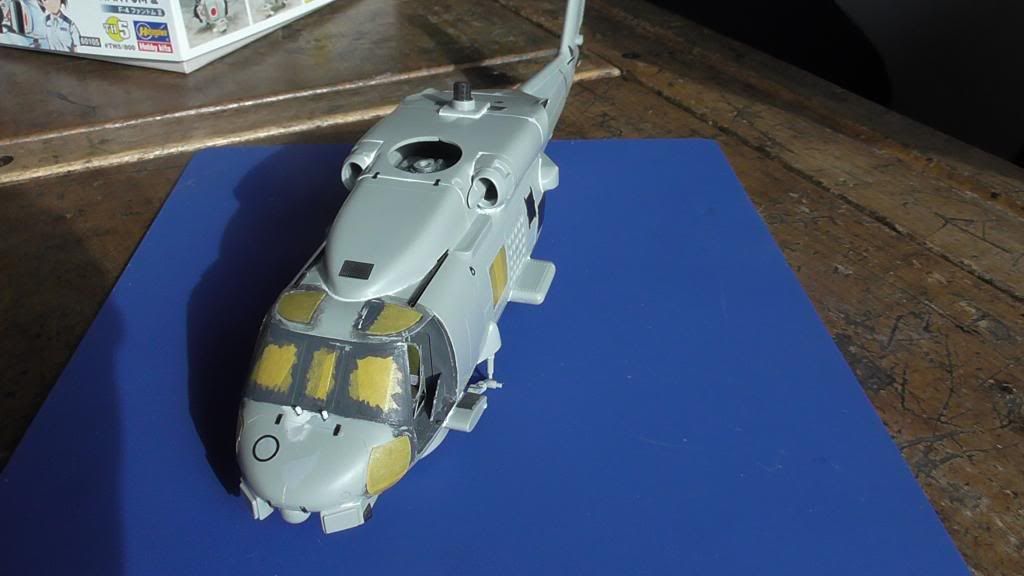
View of the port side, if you look closely you can see the brakeline on the landing wheel strut.
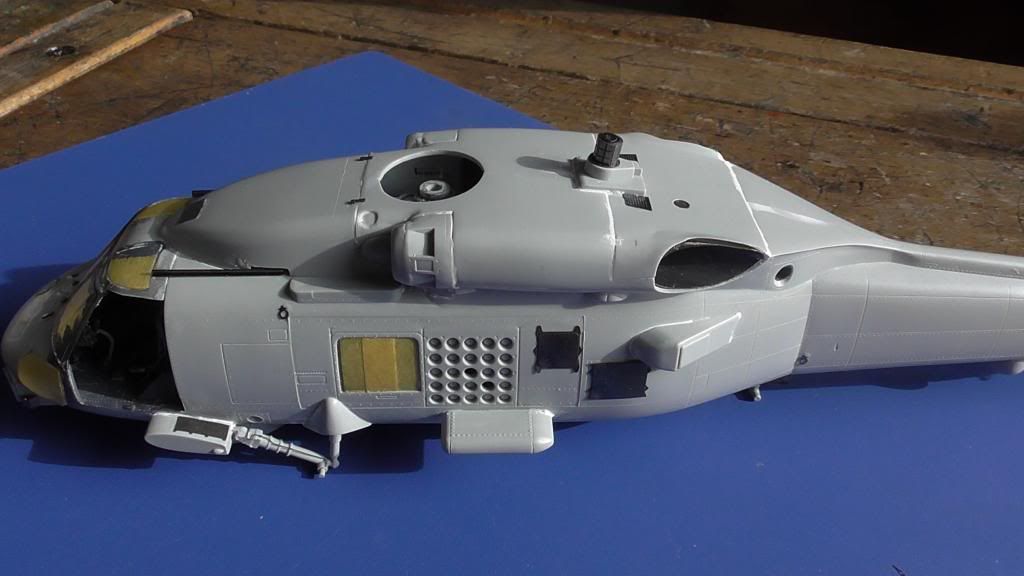
Tail section with ventilation grills added.
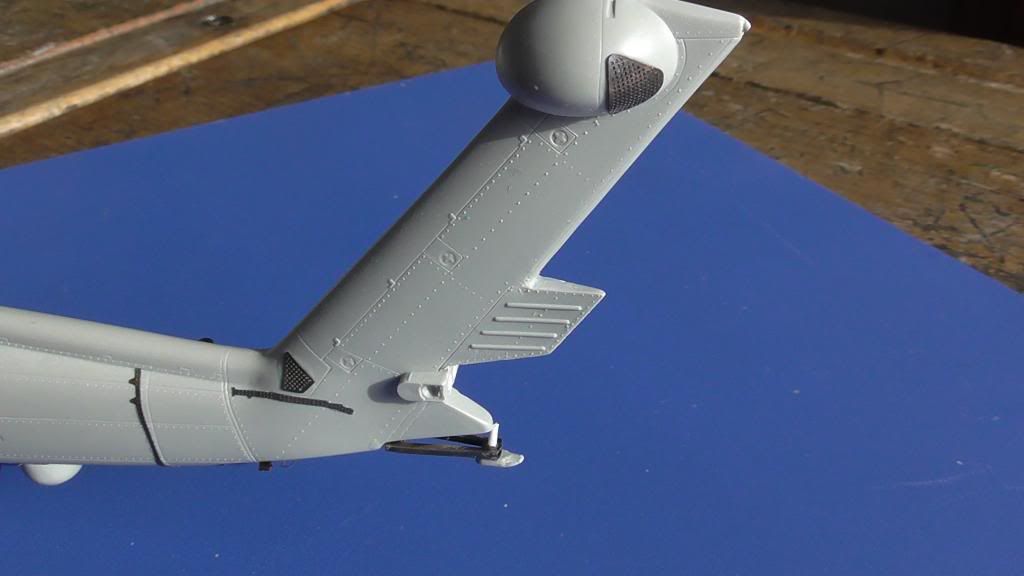
Another view of the tail section. The tail skid shock absorber isn't quite right so I will have to revisit that. I still need to add the tail fold hinges and latches in this area on either side.

View of front starboard cockpit area. You can see the one poor area of fit between the cockpit glass and the fuselage. A bit more filler needed here.
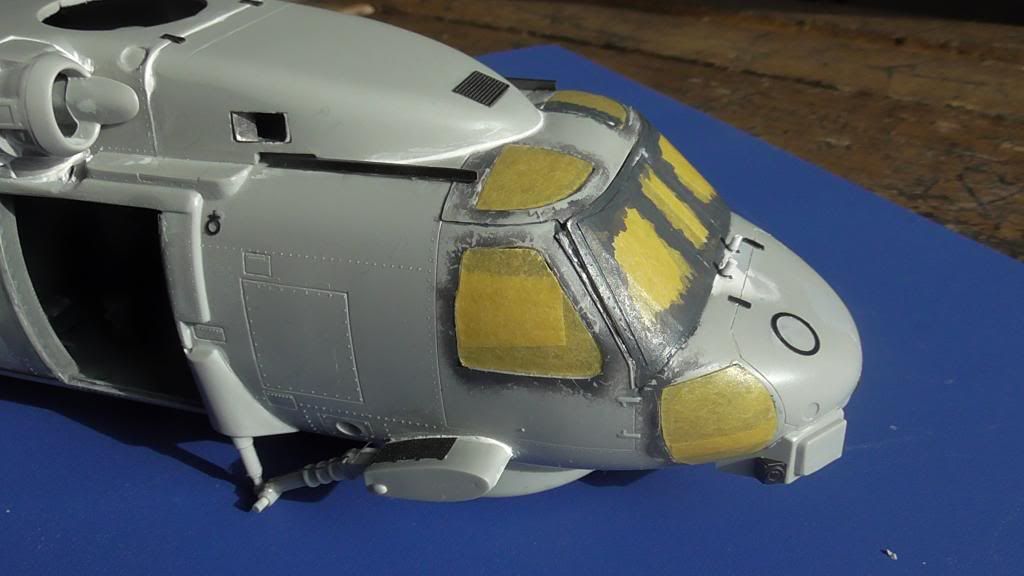
Overall the kit is a bit of a curate's egg very good fit in parts, poor in others. Mostly though its pretty good. Working with the PE is fiddly, there are some very small intricate parts will almost no contact surface to glue, staying calm is the trick

More as soon as I get back to it.
Re: 1/48 'Revell' SH-60B Seahawk
Posted: Tue Apr 01, 2014 11:02 pm
by schweinhund227
Thanks for sharing your progress!
I really hope you can fix that main cockpit Glass. . ? Good luck with the rest of the build!
Re: 1/48 'Revell' SH-60B Seahawk
Posted: Sat Apr 05, 2014 11:52 am
by Fran
Hi mate!. I like how do you work and the progress it looks very good so far. Keep showing the steps!
Regards,
Fran A.
Re: 1/48 'Revell' SH-60B Seahawk
Posted: Sat May 03, 2014 8:21 am
by AchtungPanzer
Professional model - many PE parts - i love this. Well done !
Re: 1/48 'Revell' SH-60B Seahawk
Posted: Sat May 31, 2014 3:08 pm
by Keleborn
I like what you've been doing here! I only wish I could use your build for reference on mine, but, from what I've seen, the Navy had/has their own version of most of the equipment on board, just as the Air Force does with their Pave Hawks; Coast Guard versions are different, & National Guard versions are different --- no wonder our country spends so much money on the military! So much of it is wasted giving each service branch their own version of each piece of equipment that does the same thing!
Re: 1/48 'Revell' SH-60B Seahawk
Posted: Sat May 31, 2014 4:41 pm
by UKguyInUSA
Wow! That interior is killer, mate!

That's a ton of PE...would it have been easier just to have ordered a complete PE kit?!

Looking forward to the completion now.

Cheers,
Martin