Page 1 of 1
Airfix DH Mosquito B.XVI 1:72
Posted: Sun Oct 17, 2021 9:45 pm
by MarkB15
Re: Airfix DH Mosquito B.XVI 1:72
Posted: Sun Oct 17, 2021 10:48 pm
by Twokidsnosleep
Great project, love those blanks for masking covers

Re: Airfix DH Mosquito B.XVI 1:72
Posted: Sun Oct 17, 2021 11:24 pm
by BigWall
Re: Airfix DH Mosquito B.XVI 1:72
Posted: Wed Oct 20, 2021 8:11 pm
by MarkB15
Usual start with the cockpit.
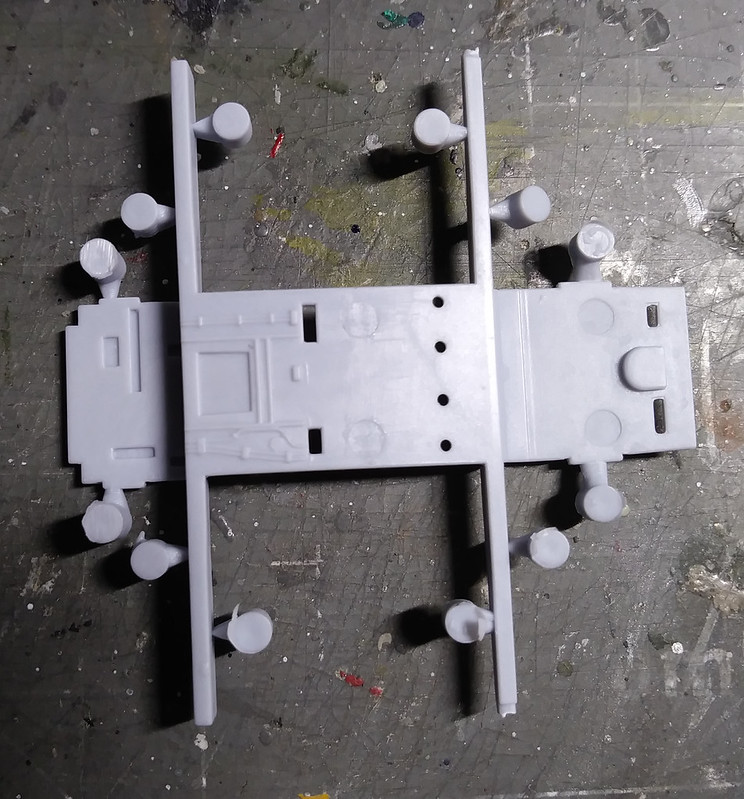
Got to love the Extras on part 1
Cockpit bits mostly together. Waiting for the small bits on cocktail sticks.

and the other side which is the top of the bomb bay.

Usual small bits on cocktail sticks.

Then attention turns to the fuselage interior.

Make sure you get this bit, G18,the correct way around, it is the recess for the tail wheel.

All primed with Ultimate Ultimate Primer Grey after the usual wash with warm soapy water. Few ejection pins marks not filled, as I don't think any will be visible. Detail painting next.
Re: Airfix DH Mosquito B.XVI 1:72
Posted: Thu Oct 21, 2021 11:14 am
by Tomcat64
I love the Mosquito and was really tempted when I saw this release so very interested in seeing how it all comes together.
Re: Airfix DH Mosquito B.XVI 1:72
Posted: Sat Oct 23, 2021 2:40 am
by BigWall
^^^Yep, What he said!^^^
Re: Airfix DH Mosquito B.XVI 1:72
Posted: Sat Oct 23, 2021 8:49 pm
by MarkB15
Really must remember to take photo's before closing up in the fuselage. Anyway got the best I could.
This is the worst.

Other way.

Decals for the instrument panel. settled well with Ultimate Decal Setting Solution.
Bottom,


Call outs in Humbrol, XF71 for 78, XF1 for 33, 163, and 70. Silver pencil and silver drybrush to enhance the detail. Then all sealed with Pledge, finally light wash with ultra thin black.
More soon.
Re: Airfix DH Mosquito B.XVI 1:72
Posted: Sat Oct 23, 2021 11:58 pm
by digger303
Twokidsnosleep wrote: Sun Oct 17, 2021 10:48 pm
Great project, love those blanks for masking covers
Aren't they a marvelous idea, shame we don't see more of those in other kits.

Re: Airfix DH Mosquito B.XVI 1:72
Posted: Mon Oct 25, 2021 8:43 pm
by MarkB15
More done, Pilot consider, 16mm head to toe.

Starting to think getting in too close is not a good idea!
Like some of the features like the interlocking joint for the tailplanes. Test fit showed them to be very secure.

Using the wing jig gives you.

Spayed up with Flat aluminium and cockpit green for the bay. Yet to seal and enhance.

Exhausts, Make sure you get them the right way up. saying no more.

Dry fit testing found the above can be fitted after this is put together no before as per the instructions. This means that the Nacelles can painted before fitting so the exhausts will not need to be masked.


Re: Airfix DH Mosquito B.XVI 1:72
Posted: Fri Oct 29, 2021 10:23 pm
by MarkB15
Got more done.
Nice thing about this kit they give you another canopy, presumably a different version in the future. This can be used as a blank then replace with the actual canopy once this has been masked and base coated.


You can use the closed bomb bay doors as another blank.

Dry fit of the wings show they close very nicely. Note make sure you sand the ejection pin marks on the inside to get a good fit.
Not glued here just held together.

Engine nacelle with its blank in place. Nice tight fit. The tape is covering the spinner mount which is none glue to stop paint getting in.

Upper and lower wings with pre-shading.


Undercarriage bays sealed with pledge, drybrush silver and light black wash.
The wing tips are actually on the clear part sprue, nice in that the lights are integral. Just need to ensure you paint and mask them. Strangely the only paint instructions missing are the navigation lights.
Re: Airfix DH Mosquito B.XVI 1:72
Posted: Fri Oct 29, 2021 11:49 pm
by digger303
Re: Airfix DH Mosquito B.XVI 1:72
Posted: Sun Nov 14, 2021 5:12 pm
by MarkB15
Been a while. Work / life in the way but got this far.
The propellers, tips painted Humdrol 24 then dipped in neo Mr masking sol

Then sprayed XF-1

Surgical gloves great for rubbing the masking off.
Then the rest of the assembly. The spinner is XF-18

Wing undersides Humbrol 165 enamel

This one with the nacelle dry fit.

Pre-shading just showing through.
Time to fit the nacelles


Exhausts finally in place.
Upper surfaces.


The small square is Humbrol 165, rest first free hand XF-106 then mask off using home made masks. I scan the instructions, then zoom by 157% and print in sections. for the second colour XF-58 which is Matt dark green even though its printed brown!
Then the bombs. Painted XF-58 then dipped in Pledge Multi-surface wax.

The yellow decals do not go all the way around, or I put them in the wrong place?

Then dipped in semi-matt varnish.
I know I left a bit of a seam, but when in place will not be seen.
That's it for now.
Re: Airfix DH Mosquito B.XVI 1:72
Posted: Thu Dec 30, 2021 11:15 am
by MarkB15
Sorry been a while but away we go again.
Bomb carrier bases.

Bay door arms.

Bomb carriers.

Bombs in place.

Bay doors in place.

Time to install the wings, undercarriage and the undercarriage bay doors.

Side angle.

Spinners on. Note these are glued on. You can place them so they will spin but the attachment point needs to be a tight fit or they sag.

Not hiding my mistakes. Note I should have painted the glazing interiors before fitting the glazing, as you can see the grey plastic is clearly viable.


Anyway time to do those panel lines then spray ready for decals.
Comments welcome.
Re: Airfix DH Mosquito B.XVI 1:72
Posted: Thu Dec 30, 2021 2:20 pm
by Tomcat64
Nice to see you back and still making progress

Re: Airfix DH Mosquito B.XVI 1:72
Posted: Fri Dec 31, 2021 2:18 am
by BigWall
Nice progress!
Re: Airfix DH Mosquito B.XVI 1:72
Posted: Sat Jan 01, 2022 4:35 pm
by MarkB15
Thanks Guys. Happy New Year to All.
Anyway calling this one done. Not much of a weatherer. Decals bedded with Ultimate decal setting solution, final coat with Alclad II semi matte. Comments welcome.


 20220101_161237
 by
Mark Bradley, on Flickr


