Page 1 of 1
Build #3 - Handley Page Heyford
Posted: Sun Feb 12, 2023 11:35 pm
by RangerNeil
The final stages of the Whitley are driving me nuts so in a - possibly vain - bid to save the Mojo here's another build. The way the Whitley is mucking me about we may get into double figures before the end!!
This one is the 1/72 Heyford I just got from eBay.
Firstly, as usual, the type history so we know what we are looking at....
The Air Ministry issued specification B.19/27 for a replacement twin engined night bomber as a replacement for the Vickers Virginia and Handley Page Hinaidi. A number of types were submitted - the Avro 557 Ava, Fairey Hendon, Handley Page Heyford, Vickers Type 150, Vickers Type 163, Vickers Type 195, Vickers Type 225, Bristol Type 108. Overall winner was the Fairey Hendon but there were issues and delays in production that resulted in the contract being awarded to the Heyford.
The Heyfords main claim to fame it was the last biplane bomber to enter RAF service, startingwith 99 Sqdn at Upper Heyford in 1933. The type was obsolete by 1937 having replaced by the Wellesley then the Wellington and Whitley but soldiered on until 1941 in a variety of roles including trainer, target tug, radar target, airborne radar test bed and, lastly, an in-flight refueller.
The design of the Heyford broke with traditions of the time in being of metal construction instead of wood and it had the fuselage joined to the upper wing and not the lower. In flight the type was remarkably agile and was a favourite with the crowds at the Hendon air shows.
Performance wise the Heyford carried a crew of 4, - pilot, co-pilot/ navigator, gunner/bomb aimer & gunner/radio operator. It had a top speed of 142 mph at 13,000 ft, a maximum ceiling of 21,000 feet and carried a payload of 2,5000lb. Defensive armamment was a single .303 machine gun in the nose, ventral and dorsal turrets. As there was only 1 rear gunner it can be seen that he would have been VERY busy had the Heyford ever been attacked from behind.
The Kit.
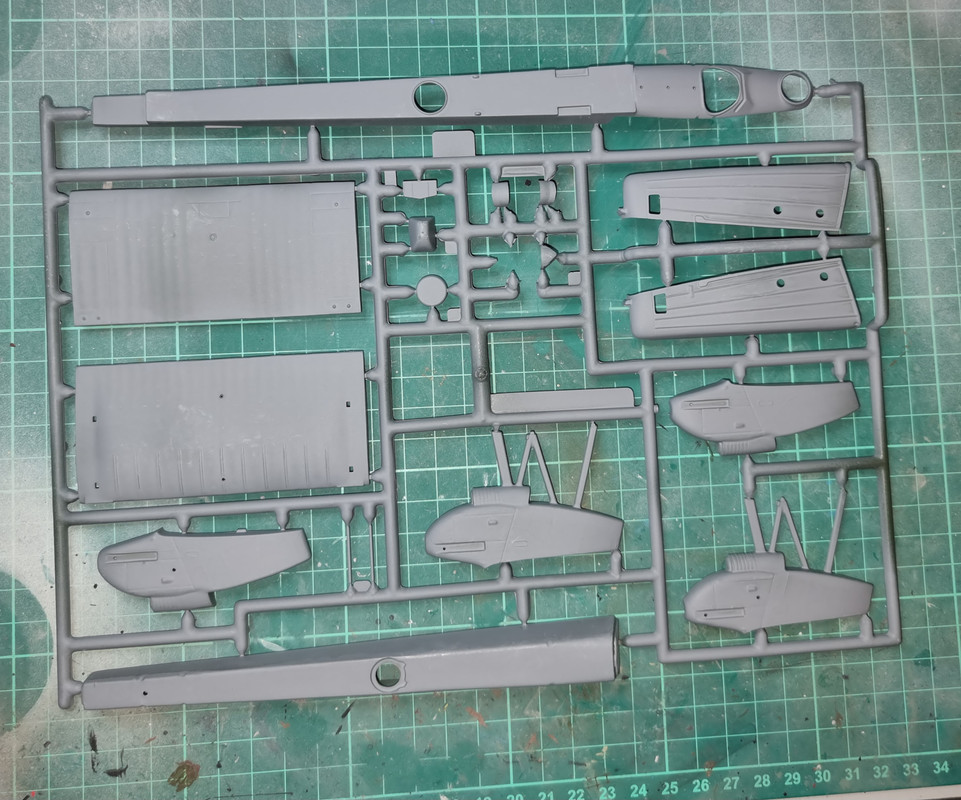
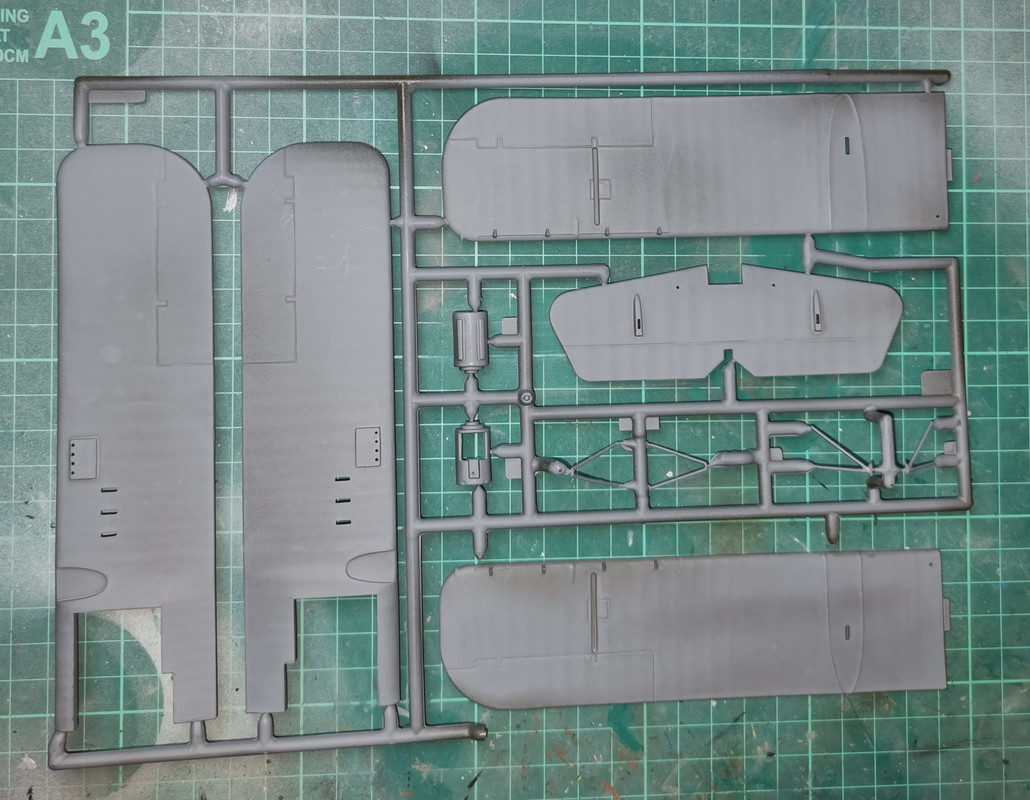
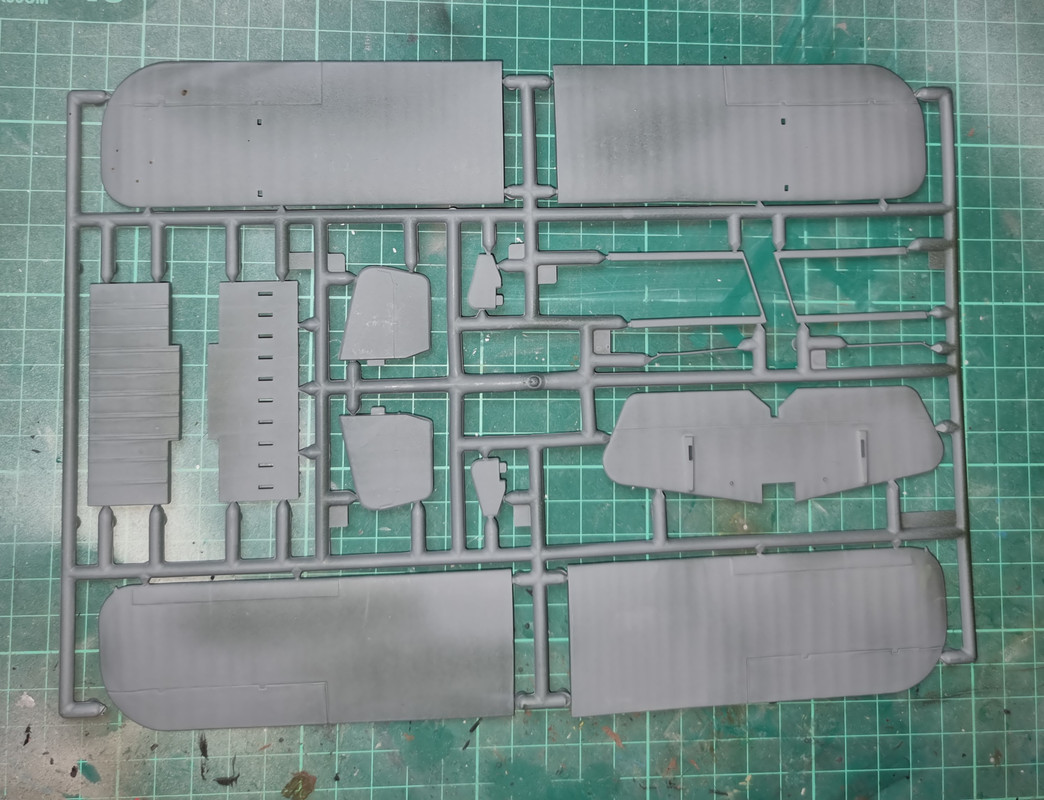
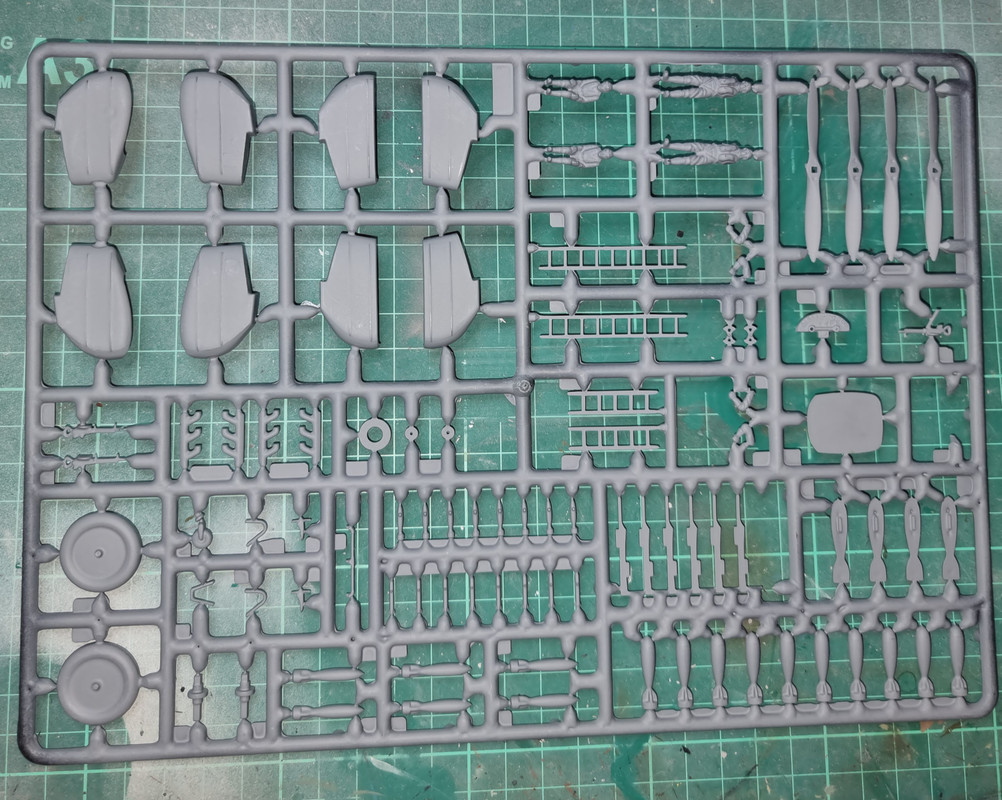
This is the 1980's Matchbox release of the Heyford - and the 1980's bit shows in the quality of the mouldings. Still as good, if not better, than the equivalent Airfix but not the same standard as the later 1990's releases. I bought the kit described as "
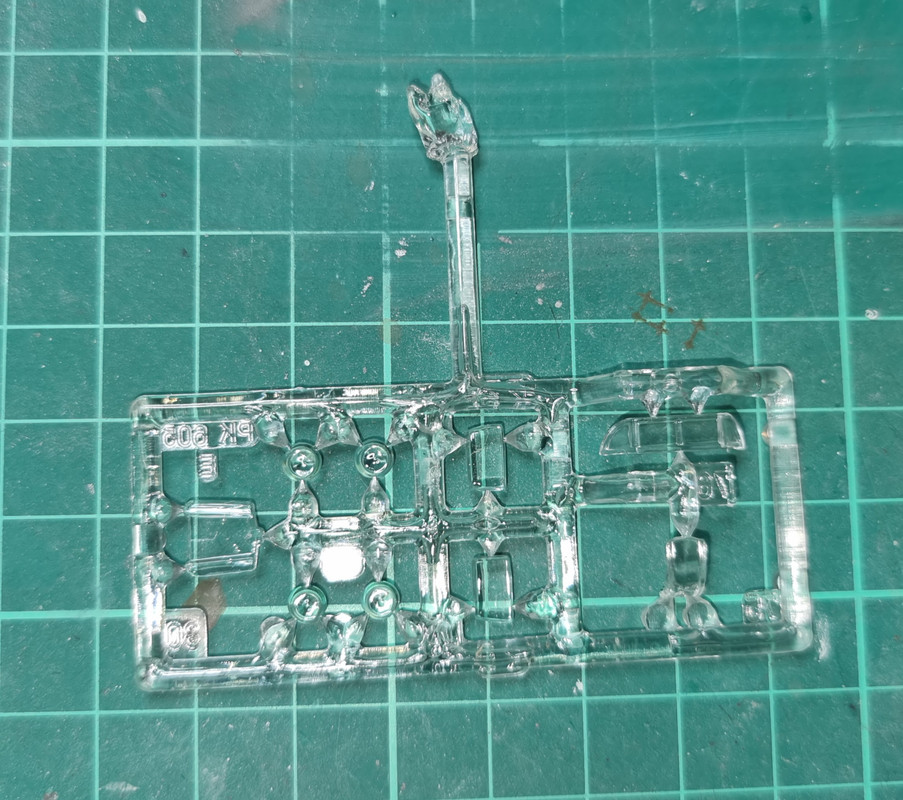
Handley Page Heyford Mk I/MkII/III 1:72. I believe kit is complete. Please check detailed photos. The Heyford was the last biplane heavy bomber used by the RAF. First flew in 1930.". What it didn't say was someone had started it as the parts are covered in a grey primer. Checking the sprues there is one part that is missing. Luckily for me its an optional part (part of the engine cowling. And the decals are beyond repair but luckily I found a shop on-line selling replacements.
The Instructions.
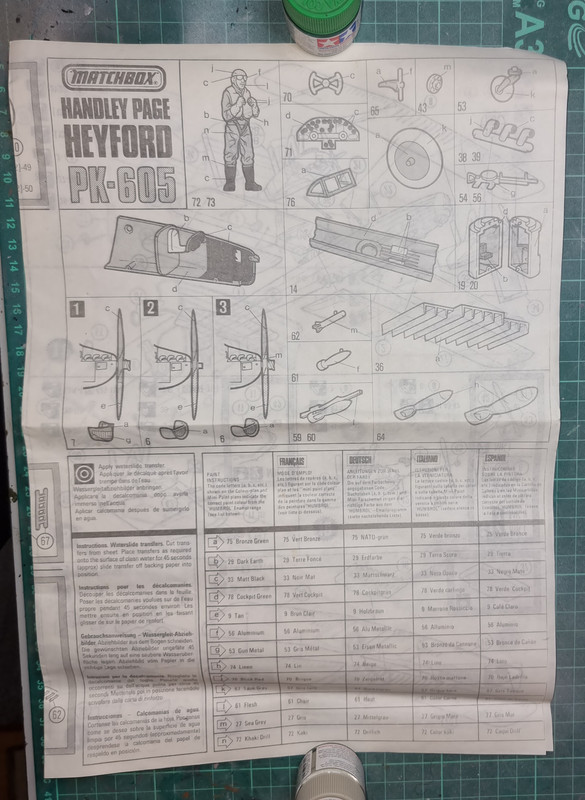
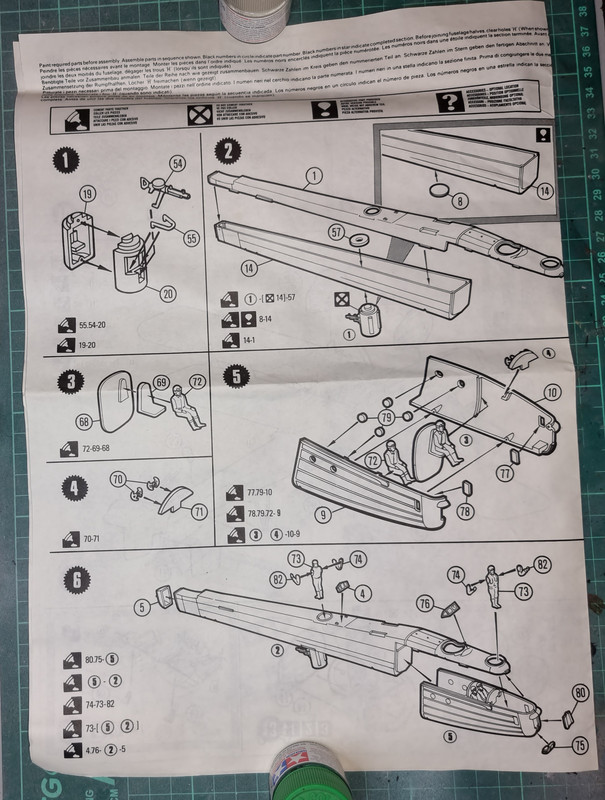
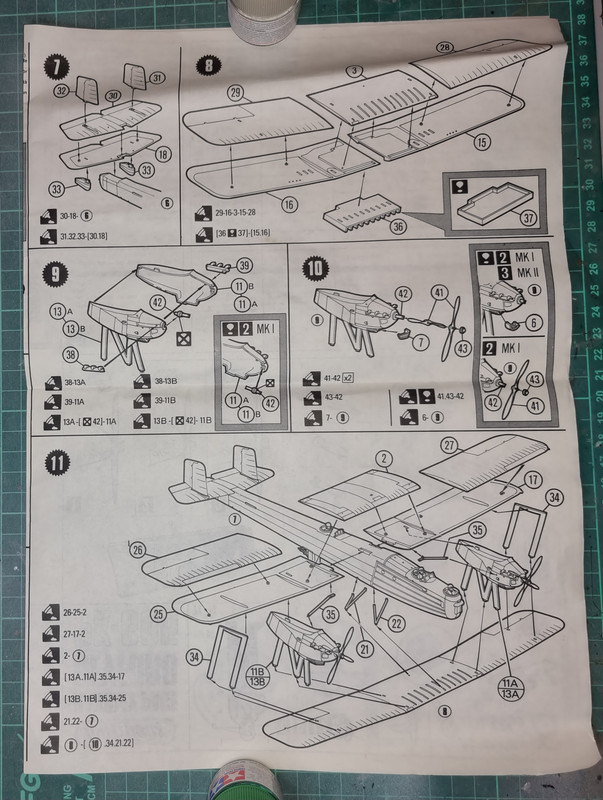
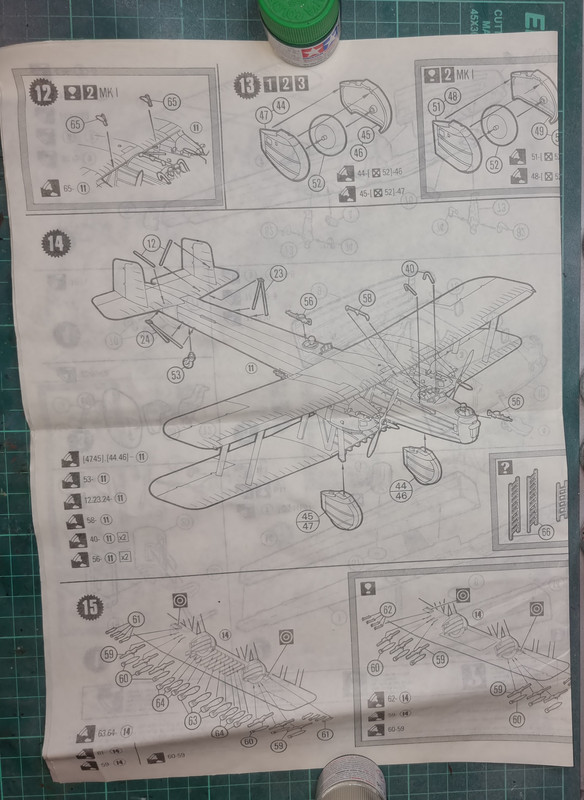 The Sprues
.
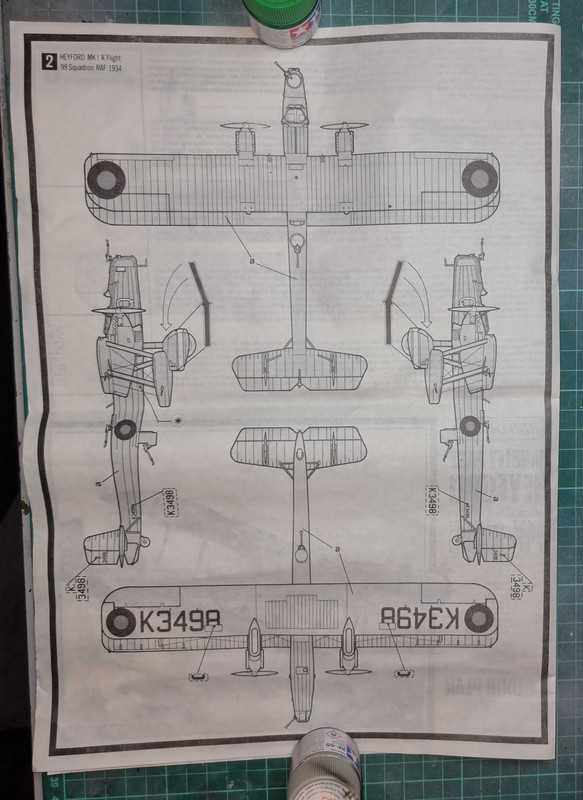
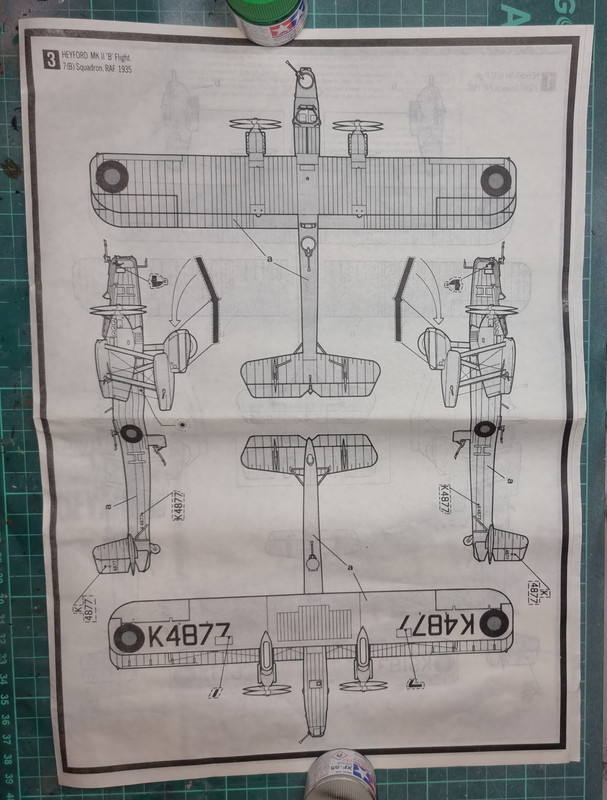
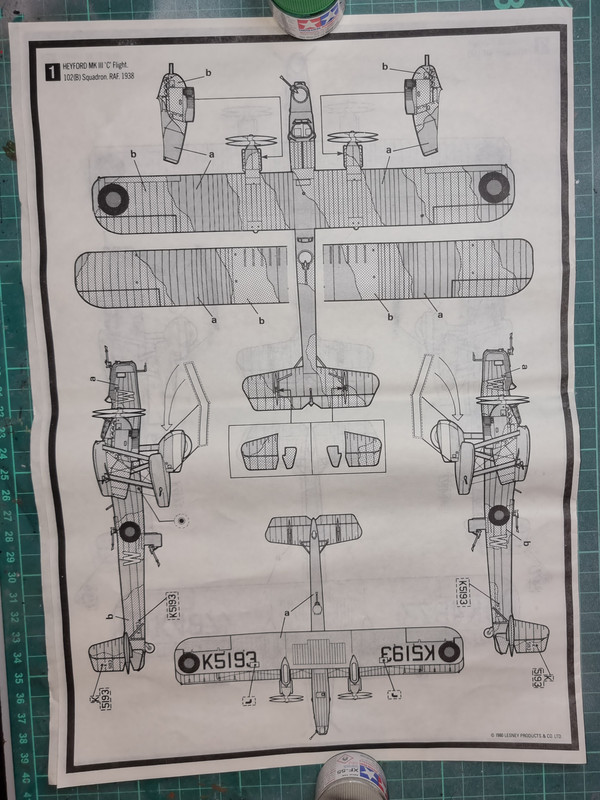
 Painting & Decaling guide.
 The Build.
First steps in the build were the assembly of the front cockpit and gunners position, then the dorsal turret and lower hull followed by assembling the upper and lower fuselage halves. Unusually (in my experience).for Matchbox no decal is specified for the instrument panel, the instructions call for the front of the panel to be painted cockpit grey/green with dials picked out in black. I must be honest and say I am not that happy how its turned out using a hairy stick so I might try washing it off and doing it again.... The glazing - again unusually - just push into the openings, no backing/locating flanges so lets hope they dont push out whenit comes to masking up time.....

Interior of the lower fuselage
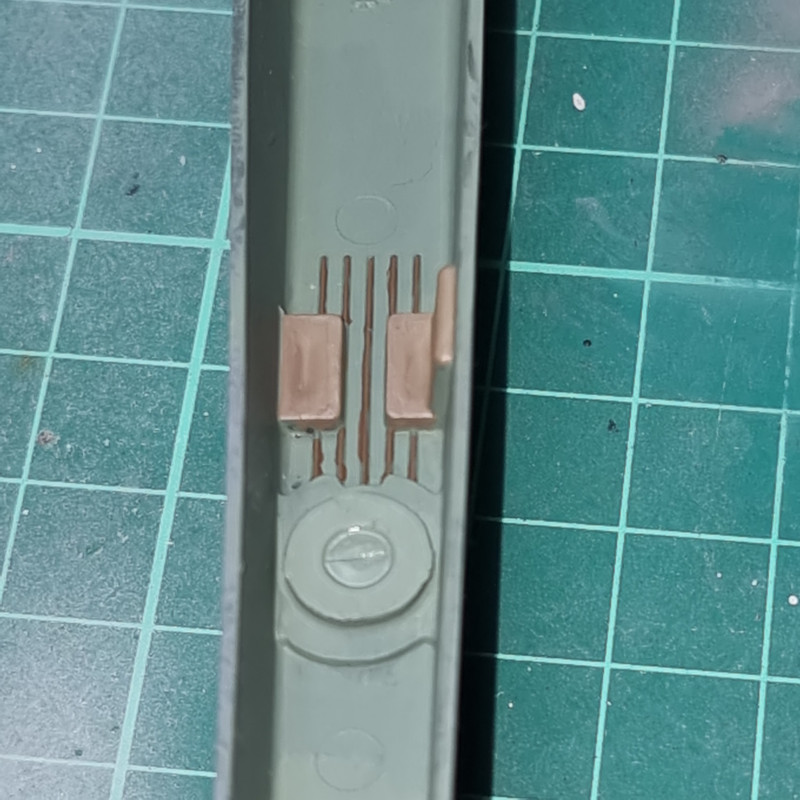
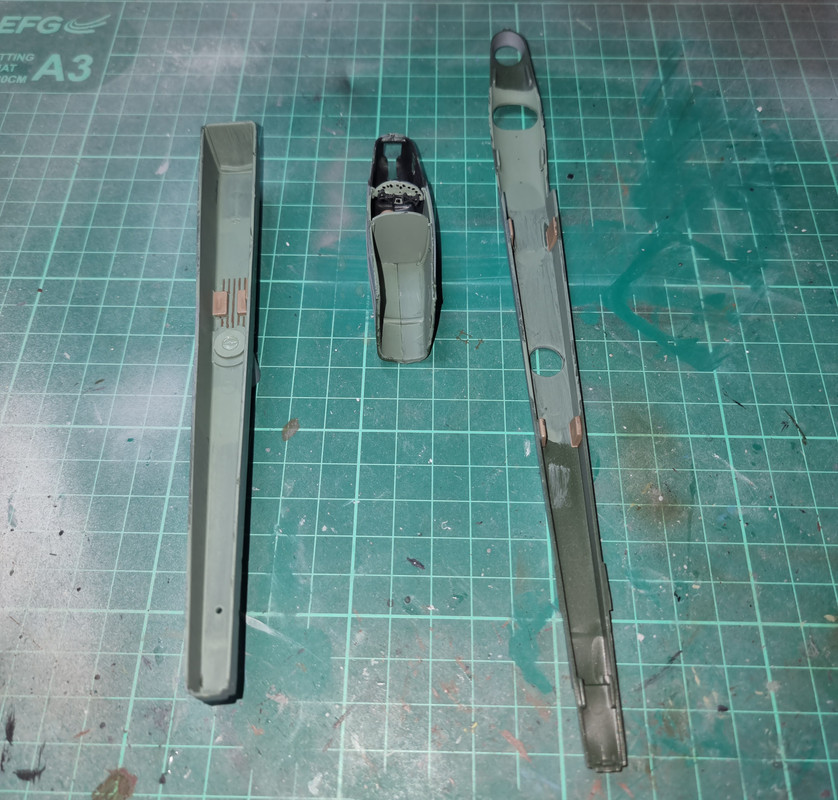
Fuselage sections
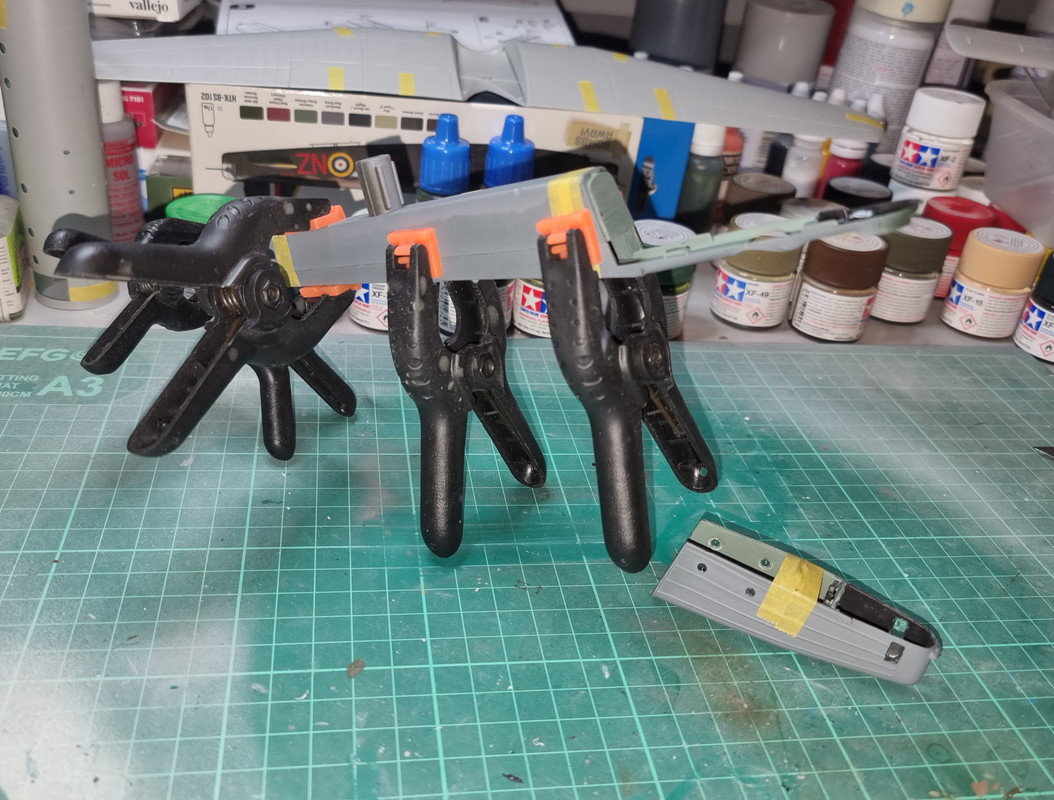
Fuselage halves all clamped up
Re: Build #3 - Handley Page Heyford
Posted: Mon Feb 13, 2023 4:21 am
by digger303
Re: Build #3 - Handley Page Heyford
Posted: Mon Feb 13, 2023 12:48 pm
by ForeverPlasticKits
A good start, i'm happy you found a decal sheet and that the missing part isn't a problem!

Re: Build #3 - Handley Page Heyford
Posted: Mon Feb 13, 2023 8:38 pm
by RangerNeil
Moved on with this one today... Starting to think Whitley Mk 2... Although age related rather than QC.
First step was to complete the fuselage - this just needed minor fettling.
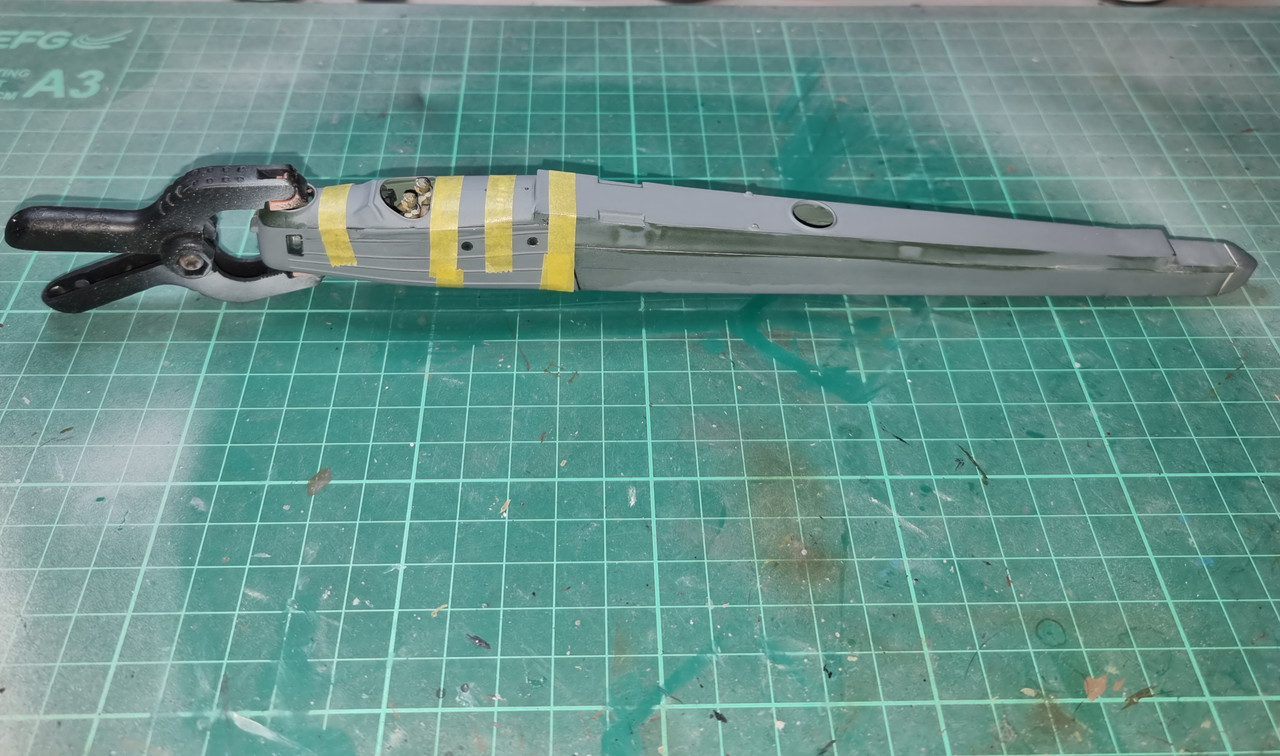
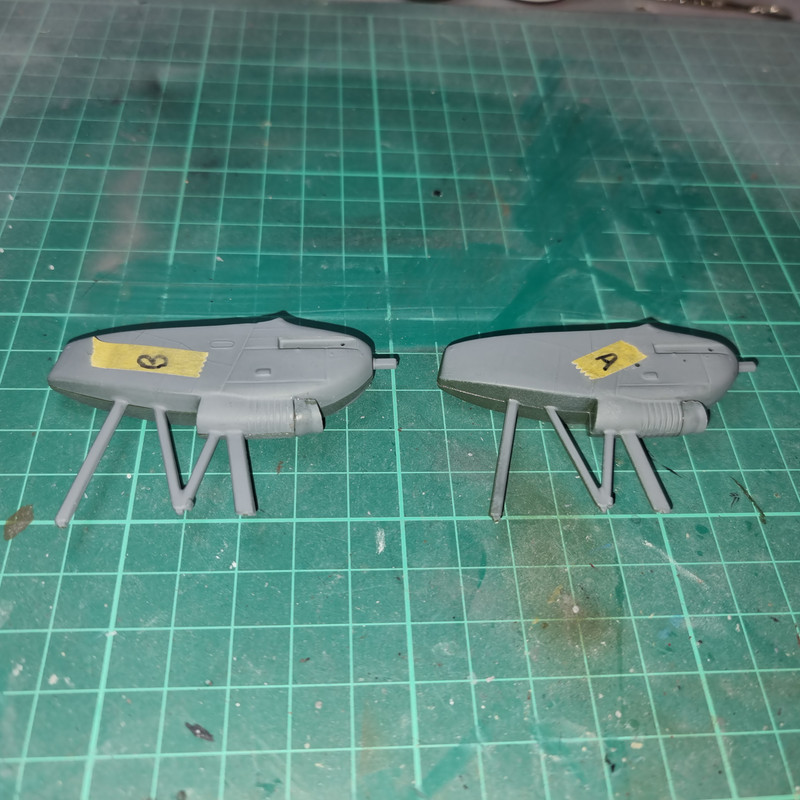
Next up was the engine pods. One variation of the Heyford had 2 bladed props, all the others were 4 bladed. And fortunately the missing part was for the 2 bladed so all is good. Matchbox had a cute solution to the 2 vs. 4 blade - the propshaft has a short end and a long end. For the 4 bladed one the long end is the one that sticks out, for the 2 bladed you simply reverse the shaft when assembling the engine pods. I think that the pods will need seam filling tomorrow.
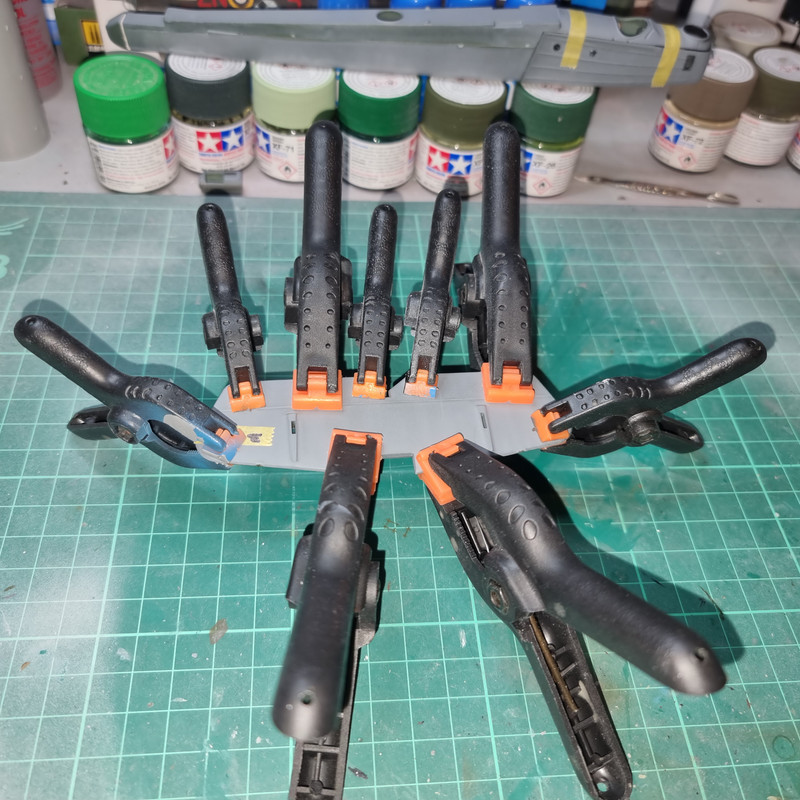
Moving on - the next steps were the tail plane and lower wing. And this is where the fun started. Due to age, possibly improper storage, the lower wings and horizontal part of the tailplane are warped - quite nastily. Everything is clamped up to set overnight - we'll see how well its worked tomorrow.
Tail plane.

Oh - and whilst painting up the bomb load I noticed one of the machine gun barrels was suddenly missing. It had parted from the sprue at the barrel end, the barrel was bent and I was planning on sorting it after finishing the bombs. But when I finished the barrel end was gone!! Don't know how I'm going to fix that.

Thinking ahead - I'm thinking about whats going to be the best way to do the flying wires. Right now I'm looking at the possibility of fine wire, drilling holes to insert the ends of the wire in and securing with CA.
Re: Build #3 - Handley Page Heyford
Posted: Mon Feb 13, 2023 10:28 pm
by digger303
Re: Build #3 - Handley Page Heyford
Posted: Tue Feb 14, 2023 8:24 am
by RangerNeil
The lower half of the tail plane was U shaped - hence all the clamps. Lower wing is twisted corkscrew like so I am thinking get it statight with clamps and use CA rather than Contacta. And if its still twisted after then a soak in hottish water and then clamp to the bench. Fingers crossed it ain't that bad though!!

Re: Build #3 - Handley Page Heyford
Posted: Tue Feb 14, 2023 9:56 am
by digger303
RangerNeil wrote: Tue Feb 14, 2023 8:24 am
The lower half of the tail plane was U shaped - hence all the clamps. Lower wing is twisted corkscrew like so I am thinking get it statight with clamps and use CA rather than Contacta. And if its still twisted after then a soak in hottish water and then clamp to the bench. Fingers crossed it ain't that bad though!!
You've got a full plate to contend with that's for sure.

Re: Build #3 - Handley Page Heyford
Posted: Tue Feb 14, 2023 12:42 pm
by RangerNeil
digger303 wrote: Tue Feb 14, 2023 9:56 am
RangerNeil wrote: Tue Feb 14, 2023 8:24 am
The lower half of the tail plane was U shaped - hence all the clamps. Lower wing is twisted corkscrew like so I am thinking get it statight with clamps and use CA rather than Contacta. And if its still twisted after then a soak in hottish water and then clamp to the bench. Fingers crossed it ain't that bad though!!
You've got a full plate to contend with that's for sure.
Stops me getting bored whilst I work out what to do with the Whitleys canopy!!

Re: Build #3 - Handley Page Heyford
Posted: Tue Feb 14, 2023 5:08 pm
by Tomcat64
I love these old Matchbox kits - despite their age & occasional failings I think the nostalgia factor makes you more forgiving somehow (or is that just me??)
This is coming along nicely despite what it's throwing at you

Re: Build #3 - Handley Page Heyford
Posted: Tue Feb 14, 2023 8:50 pm
by RangerNeil
Tomcat64 wrote: Tue Feb 14, 2023 5:08 pm
I love these old Matchbox kits - despite their age & occasional failings I think the nostalgia factor makes you more forgiving somehow (or is that just me??)
This is coming along nicely despite what it's throwing at you
Thanks for the kind words.
I must admit the fact the issues are due to the age of the kit and not the dire QC issues of the Whitley is a bonus. The challenge of age related is a lot more satisfying than the challenge of "can't be bothered making sure the production parts are the same level as the prototype. "
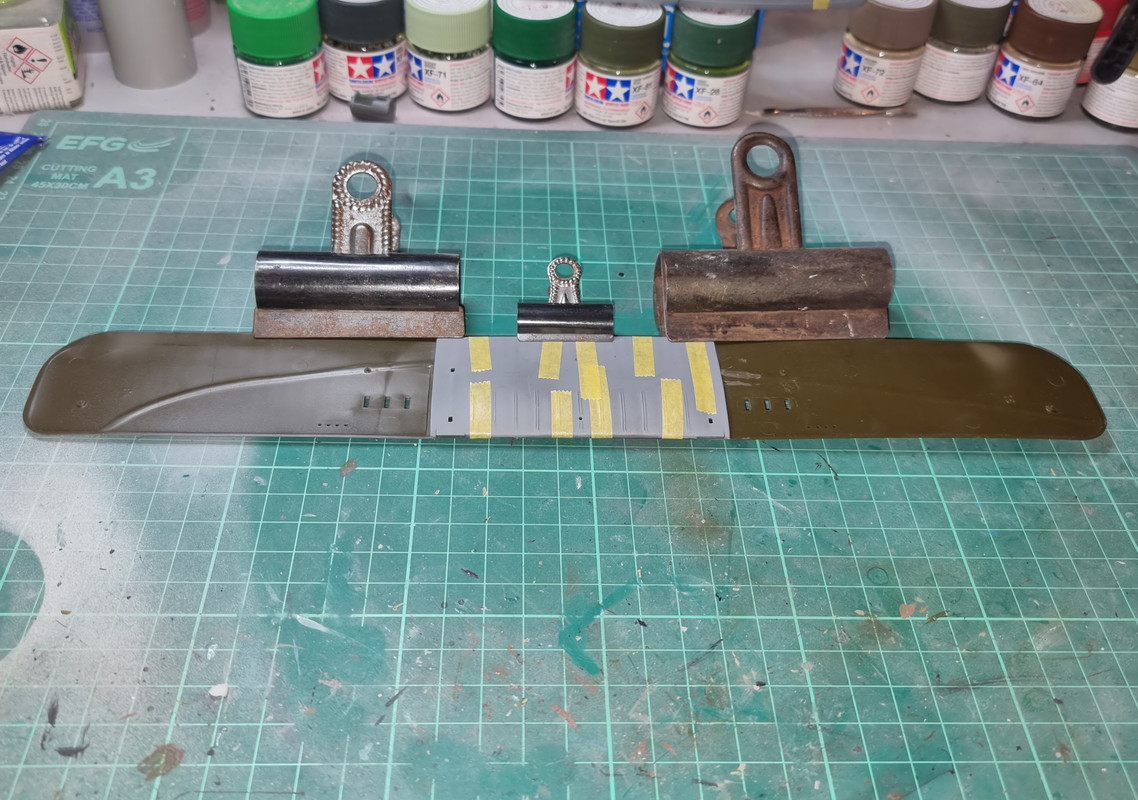
So - the good news is the "clamp the hell out of it overnight" plan actually worked (and honestly, no one is more shocked than me!!
). We have a nice straight tail plane:
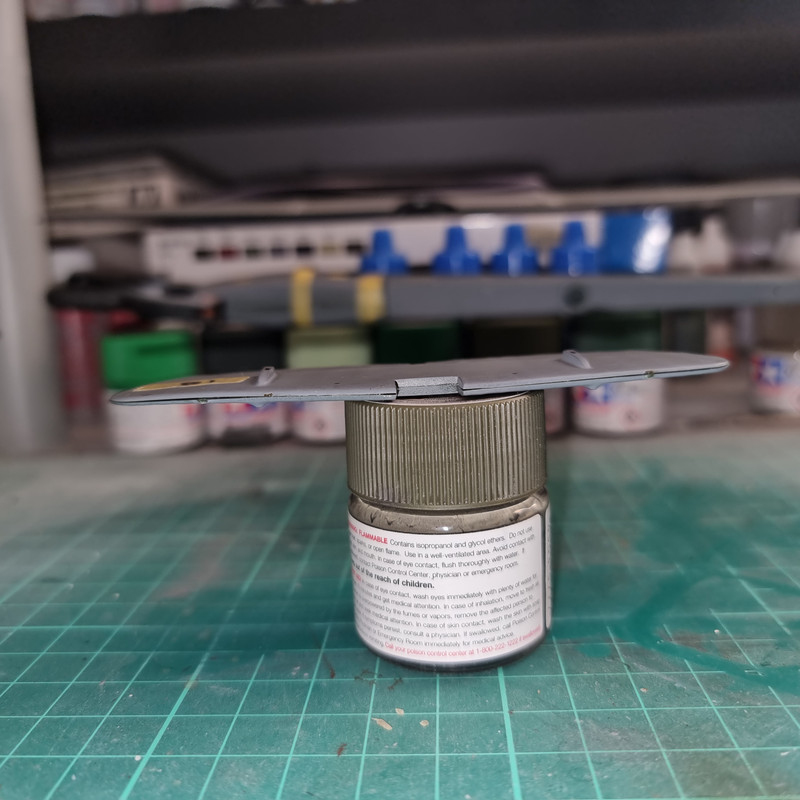
And a fairly straight lower wing too. Now the upper wing sections are going through the same process tonight.
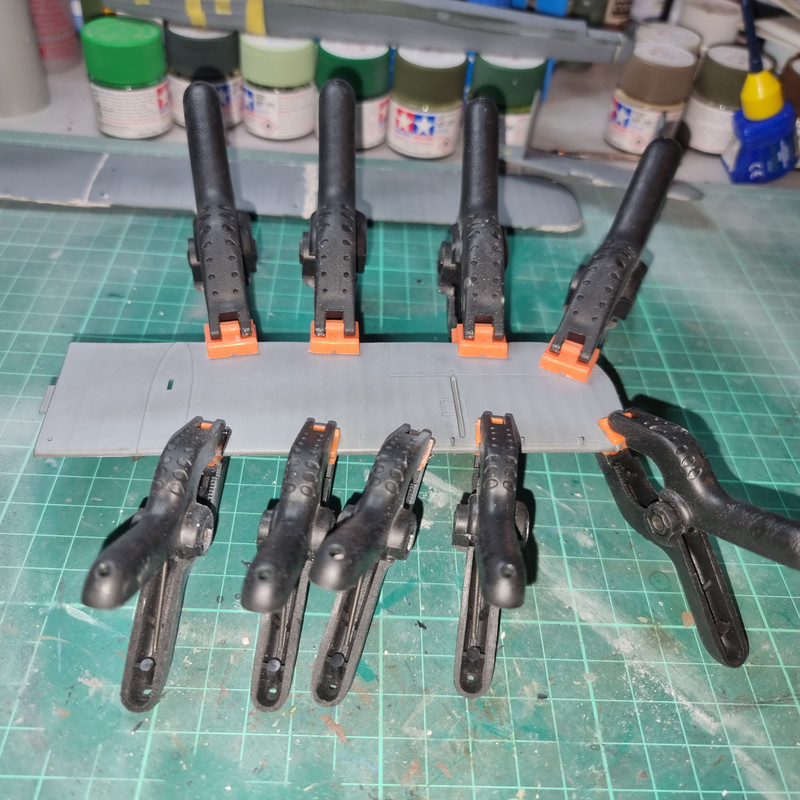
At close of play tonight this is the state of play:
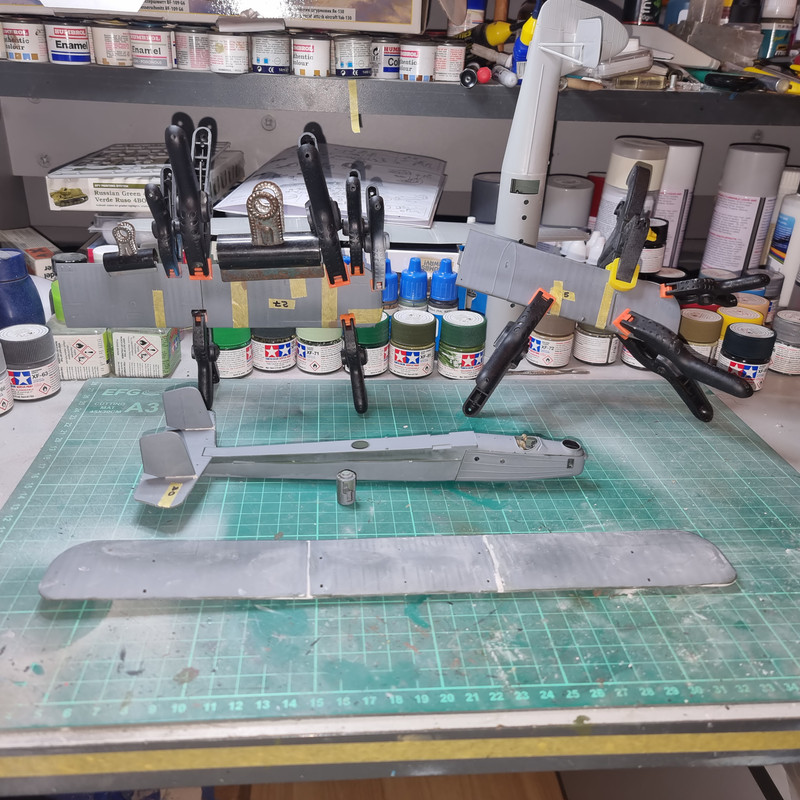
* The fuselage sections are all joined with some minor rubbing down left to do.
* The tail plane is complete less bracing struts - again some minor rubbing down to do.at the base of the rudders.
* Lower wing is complete and rubbed down
* Upper wing sections are clamped/taped up overnight.
It has to be noted the wings really are lacking in rigidity hold them.at the wing tip.and the flex is frankly frightening. I am hoping once assembled with the engines, fuselage, struts and landing gear they will stiffen up considerably. One of the issueswoth the wing structures is the leading ecge joins are VERY thin. The tube on the bottle of Contacta is about the same width so theres not much for the adhesive to grip on whilst the 2 minute locator pins are very much hit or miss. If I were building this again then, in hindsight the best solution would have been to use Contacta on the trailing edges, let it set over night then use CA on the leading edges & wing tips. We live and learn!
Overall though I am happy with the way things have gone thus far despite the various issues. For its age its really not a bad kit.
Re: Build #3 - Handley Page Heyford
Posted: Wed Feb 15, 2023 8:48 pm
by ForeverPlasticKits
Even if there are some difficulties your build is very good and very interesting to follow!

Re: Build #3 - Handley Page Heyford
Posted: Wed Feb 15, 2023 9:10 pm
by RangerNeil
Cracked on with the Heyford today as I am still waiting for for the weights to arrive for the Horsa.
After much sanding of filler that happy stage was reached where the fit of various sub asemblies can be carried out - such as the fit of the engine nacelles/struts into the wings....

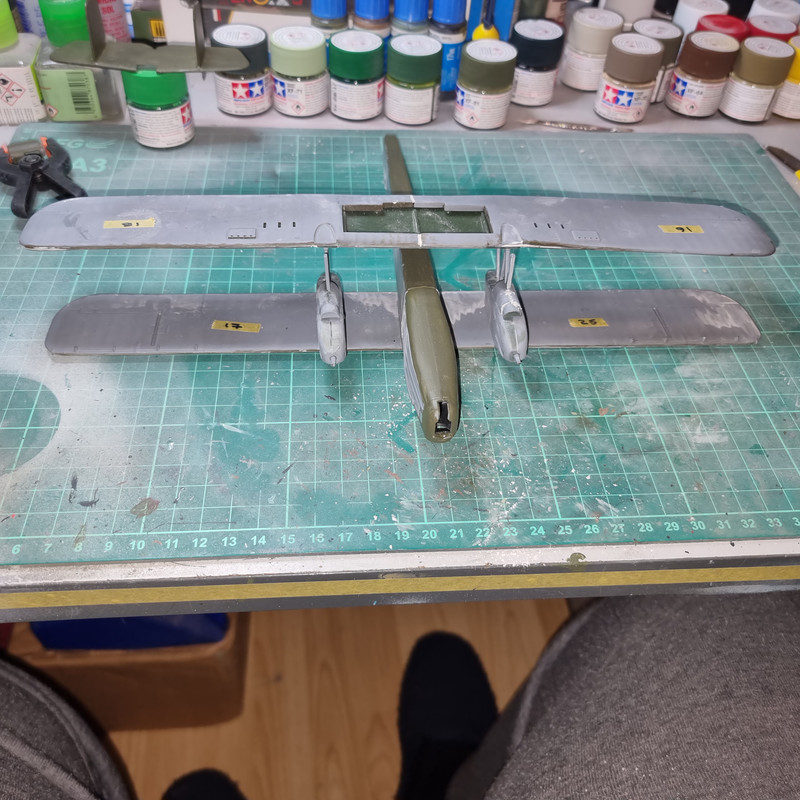
And whilst I was doing that the fuselage went in too...
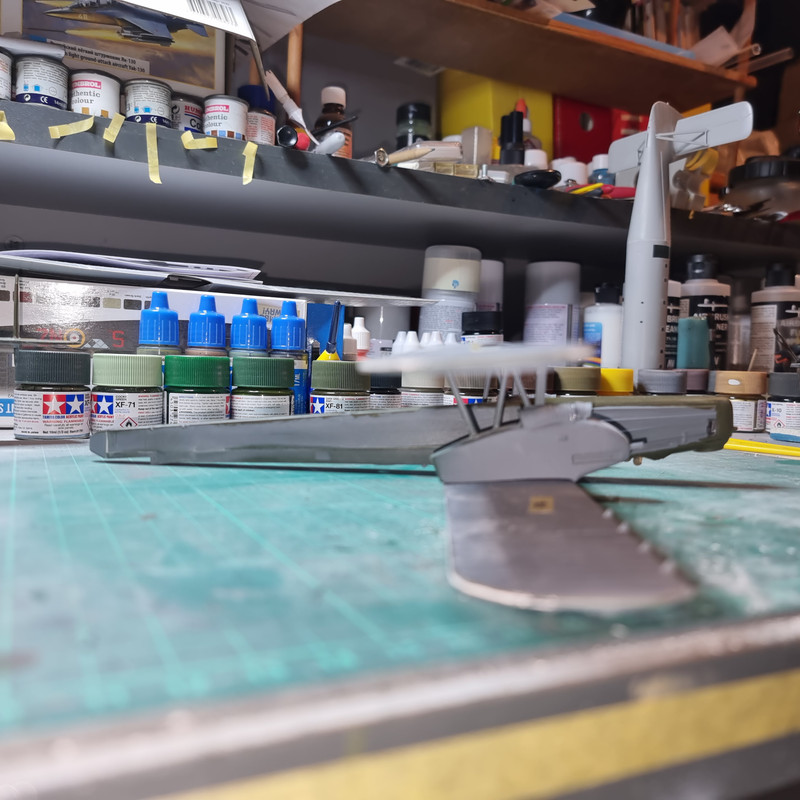
Now - those eagle-eyed readers will also note the advent of the other happy stage - the paint is going on!!
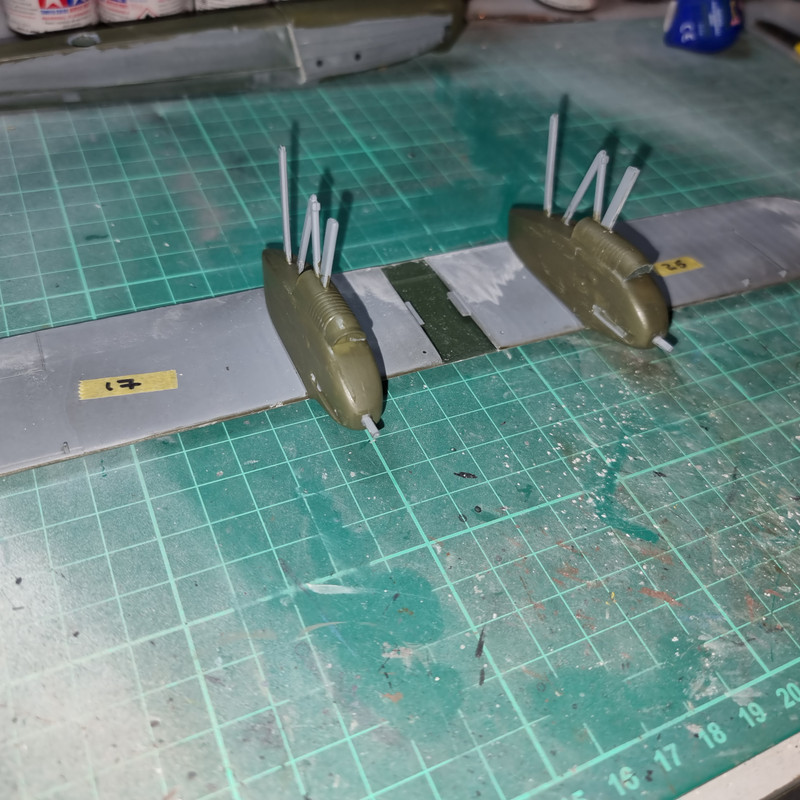
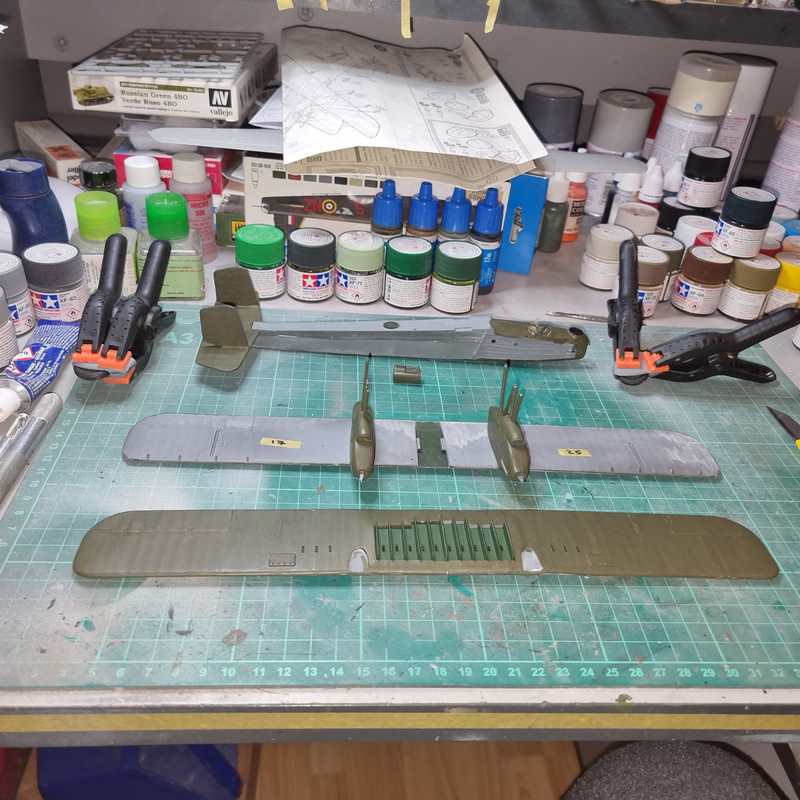
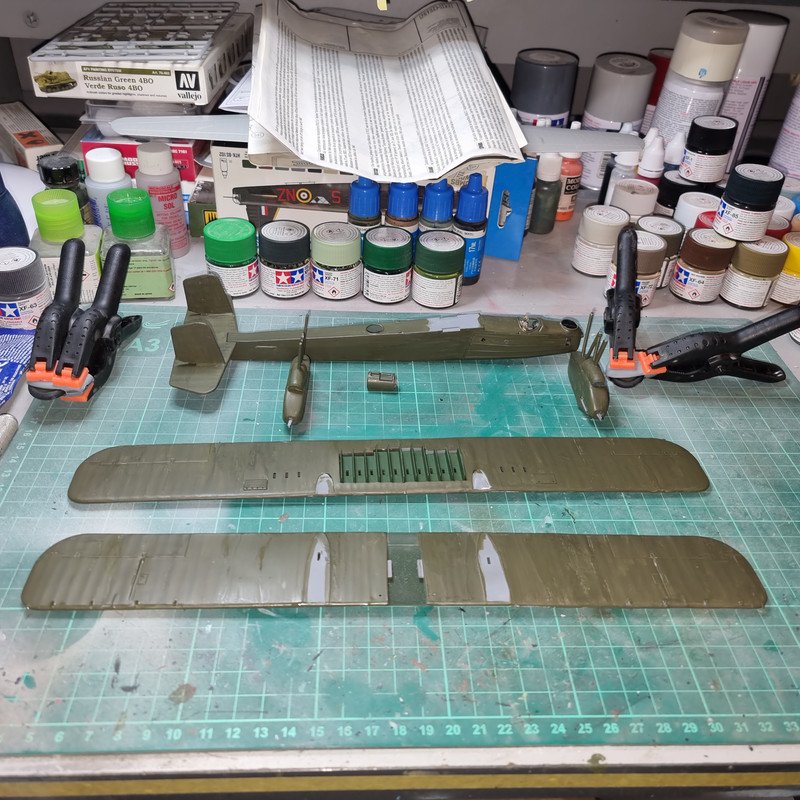
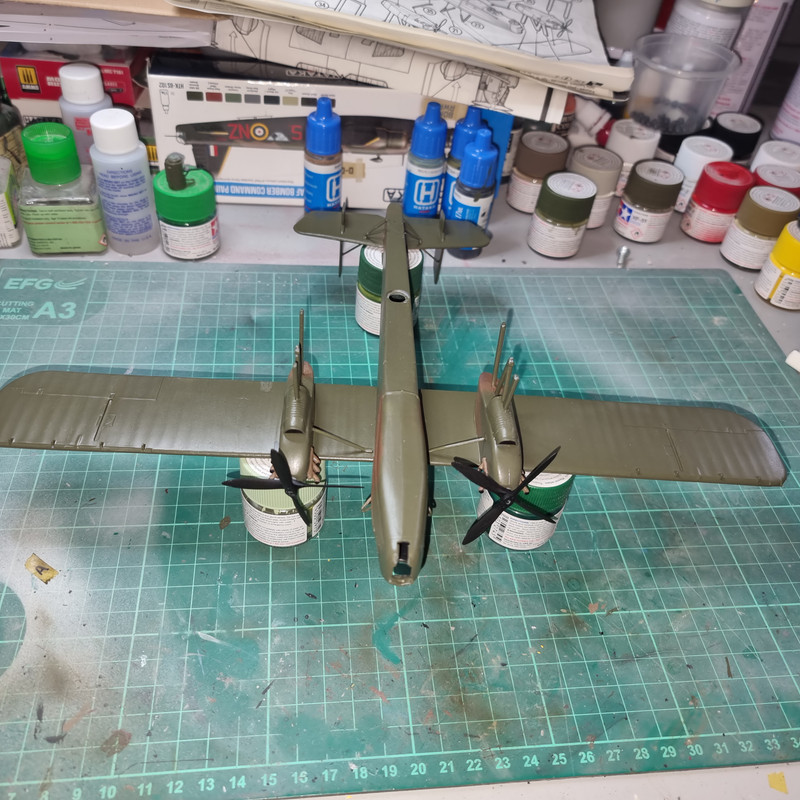
The whole plane is done in RAF Dark Green all over with a dark earth overloay on the upper & side surfaces - and one of the lovely things about this build is the design of the Heyford really lends itself to a modular build where everything can be painted as seperate entities then assembled as a whole. Which is the point the issue of rigging is going to rear its ugly head!
The plan is a brushed finish first to cover any imperfections from that bl*#dy awful primer and then a blow-over with the airbrush for the Green. Allow to dry for at least 24 hours then mask up the the overlay and apply the Dark Earth by airbrush
Meantime the missing & broken list annoyance continues to grow. Currently standing at
* Missing (optional) engine intake.
* Missing rear gunners windscreen (this is really irritating!).
* Damaged upper machine gun
* Decal sheet useless.
* Everything covered in a horrible thick grey primer.
I am really hoping nothing else is gone as its all now critical to.complete the build.
Re: Build #3 - Handley Page Heyford
Posted: Wed Feb 15, 2023 11:23 pm
by digger303
Sounds very frustrating, I hope you have all the critical components.
Re: Build #3 - Handley Page Heyford
Posted: Thu Feb 16, 2023 5:07 am
by BigWall
It's looking great! You've got it!
Re: Build #3 - Handley Page Heyford
Posted: Thu Feb 16, 2023 7:45 pm
by RangerNeil
Little bit more done today - the rear fuselage/tail plane, upper wing surfaces, engine & undercarriage pods have all been sprayed RAF Dark Green. That can dry overnight then the wings can be flipped and the underside given the same treatment. At the same time the front of the fuselage can have the glazing masked - somehow - and the front end air brushed. Once thats all dry I can look at the overlay.
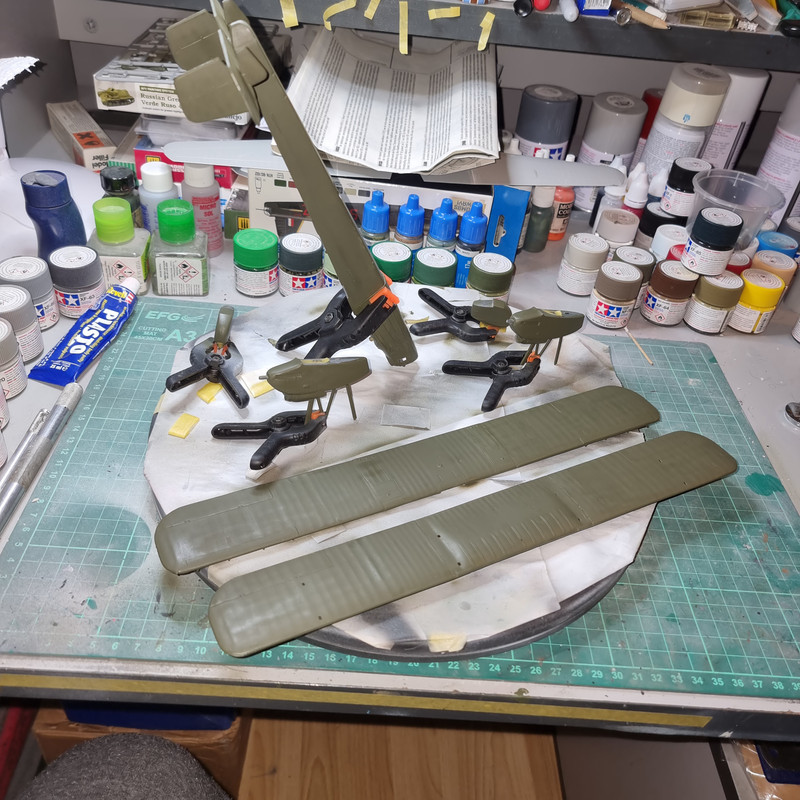
And possibly good news on the missing/damaged parts. Revell took over the manufacturing of the kit after Matchbox so I've emailed them asking if I can get the missing parts from them. Chargeable of course but if they can supply them it will be worth it.....
Re: Build #3 - Handley Page Heyford
Posted: Thu Feb 16, 2023 11:29 pm
by digger303
Re: Build #3 - Handley Page Heyford
Posted: Fri Feb 17, 2023 5:47 pm
by RangerNeil
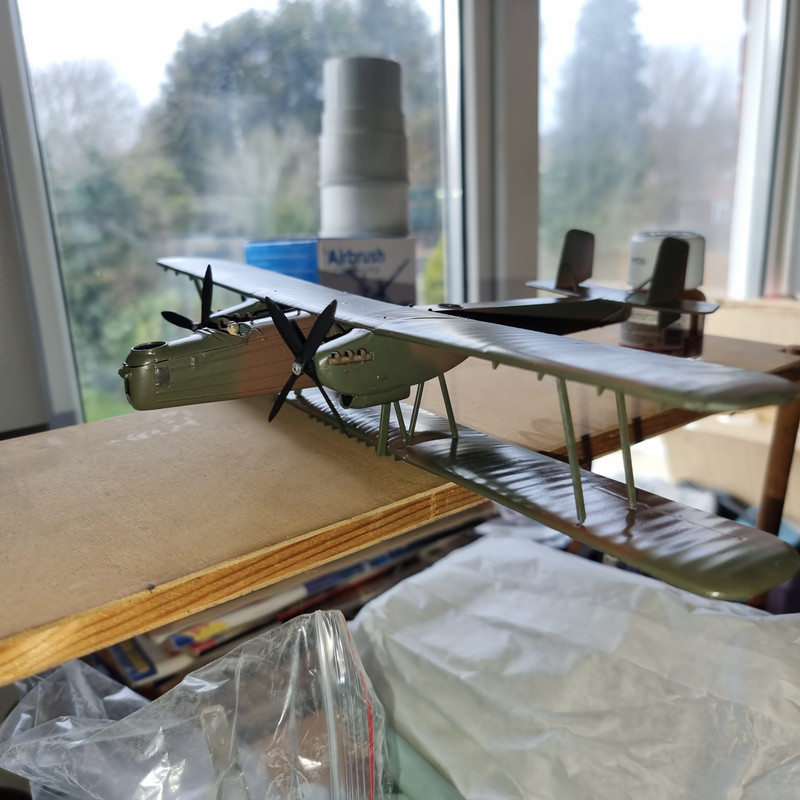
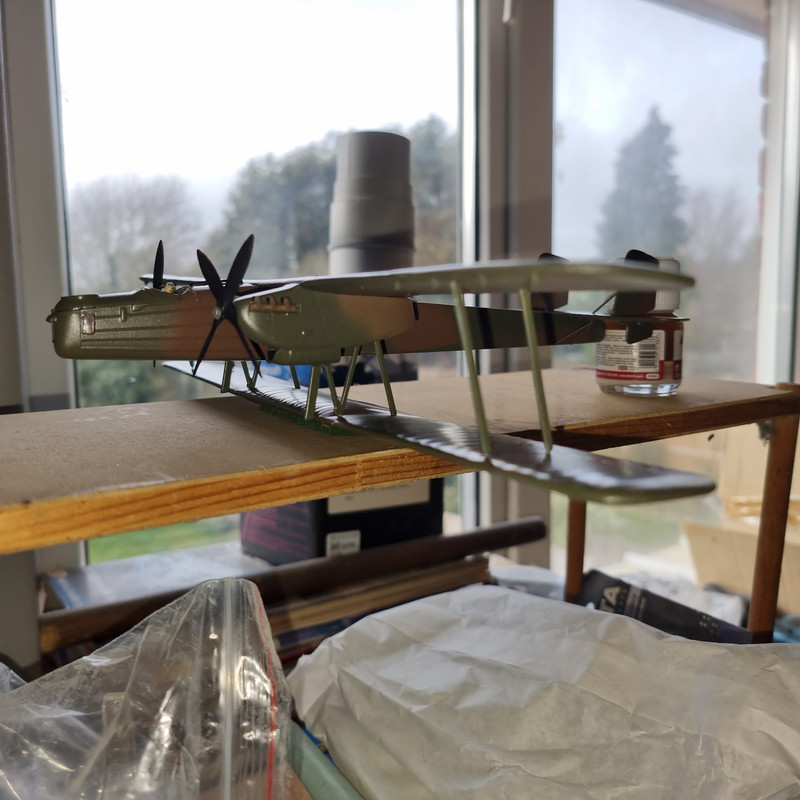
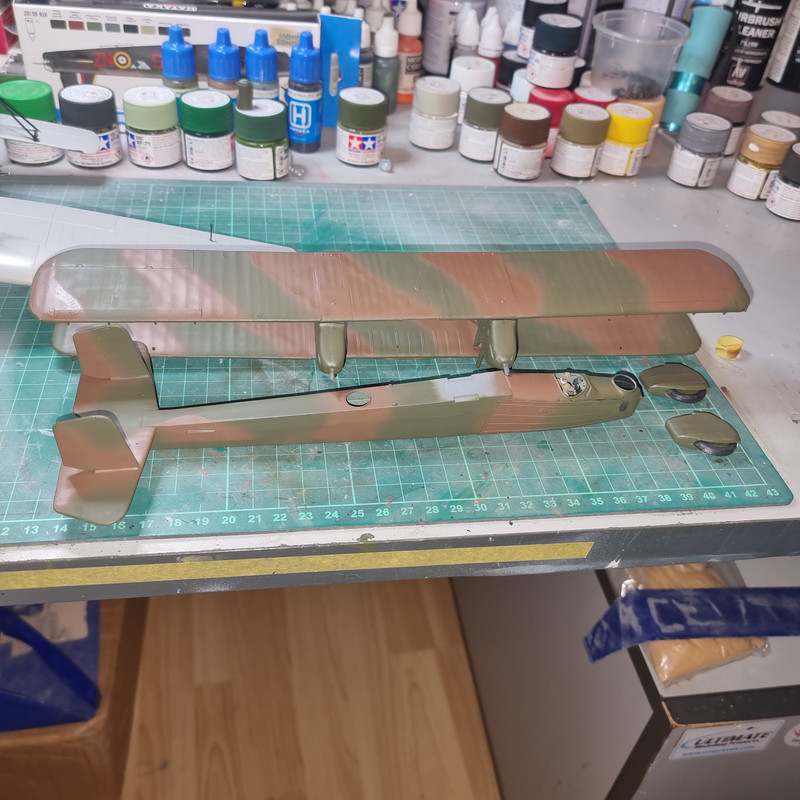
Overlay went on today for a Heyford in service in 1938. Every thing has been test fittted and - thus far - everything seems to line up. As of now the lower wings, upper fuselage nacelles and wheel pods have all had a coat of silk varnish to protect the paint from marking. Later on, once dry, they can all be flipped and be done the other side. Then tomorrow the assemby phase can begin.
Re: Build #3 - Handley Page Heyford
Posted: Fri Feb 17, 2023 8:52 pm
by ForeverPlasticKits
Very cool
Re: Build #3 - Handley Page Heyford
Posted: Sun Feb 19, 2023 5:45 pm
by RangerNeil
Disaster of a day!!!
Bent down to get get something and as I straightened up I caught the lower wing of the Heyford - which promptly went flying through the air before hitting the floor and literally exploding into its 10 component parts.
I've gone from a completed wing ready for final assembly back to absolute square 1.
Re: Build #3 - Handley Page Heyford
Posted: Sun Feb 19, 2023 10:21 pm
by digger303
RangerNeil wrote: Sun Feb 19, 2023 5:45 pm
Disaster of a day!!!
Bent down to get get something and as I straightened up I caught the lower wing of the Heyford - which promptly went flying through the air before hitting the floor and literally exploding into its 10 component parts.
I've gone from a completed wing ready for final assembly back to absolute square 1.
Oh crap that's a disaster.

I had only just looked at the previous post where it was all going to plan and about to be assembled and was thinking that is looking better and better.
I hope you can get it all back together without too much work.
Re: Build #3 - Handley Page Heyford
Posted: Sun Feb 19, 2023 10:44 pm
by RangerNeil
digger303 wrote: Sun Feb 19, 2023 10:21 pm
RangerNeil wrote: Sun Feb 19, 2023 5:45 pm
Disaster of a day!!!
Bent down to get get something and as I straightened up I caught the lower wing of the Heyford - which promptly went flying through the air before hitting the floor and literally exploding into its 10 component parts.
I've gone from a completed wing ready for final assembly back to absolute square 1.
Oh crap that's a disaster.
I had only just looked at the previous post where it was all going to plan and about to be assembled and was thinking that is looking better and better.
I hope you can get it all back together without too much work.
Cheers Digger. Right now the only consolation is the decals haven't arrived yet so theres no "push" to get finished with the Heyford.
On the topic of decals - after posting this I thought I'd summon the mojo and get the decals on the Whitley. The squadron code on the fuselage sides sit over some of those little slit windows so I took the Maskol off - only to find blocks of unpainted platic around every window..... End of Mojo......
Re: Build #3 - Handley Page Heyford
Posted: Sun Feb 19, 2023 11:11 pm
by digger303
RangerNeil wrote: Sun Feb 19, 2023 10:44 pm
digger303 wrote: Sun Feb 19, 2023 10:21 pm
RangerNeil wrote: Sun Feb 19, 2023 5:45 pm
Disaster of a day!!!
Bent down to get get something and as I straightened up I caught the lower wing of the Heyford - which promptly went flying through the air before hitting the floor and literally exploding into its 10 component parts.
I've gone from a completed wing ready for final assembly back to absolute square 1.
Oh crap that's a disaster.
I had only just looked at the previous post where it was all going to plan and about to be assembled and was thinking that is looking better and better.
I hope you can get it all back together without too much work.
Cheers Digger. Right now the only consolation is the decals haven't arrived yet so theres no "push" to get finished with the Heyford.
On the topic of decals - after posting this I thought I'd summon the mojo and get the decals on the Whitley. The squadron code on the fuselage sides sit over some of those little slit windows so I took the Maskol off - only to find blocks of unpainted platic around every window..... End of Mojo......
That's one problem with maskol or that type of product and the fact for me it dries so quick if I fiddle with it it invariable sticks and lifts. I've given up using it for anything except chipping. If only it dried a little slower and was a little thinner.
Re: Build #3 - Handley Page Heyford
Posted: Mon Feb 20, 2023 6:51 pm
by RangerNeil
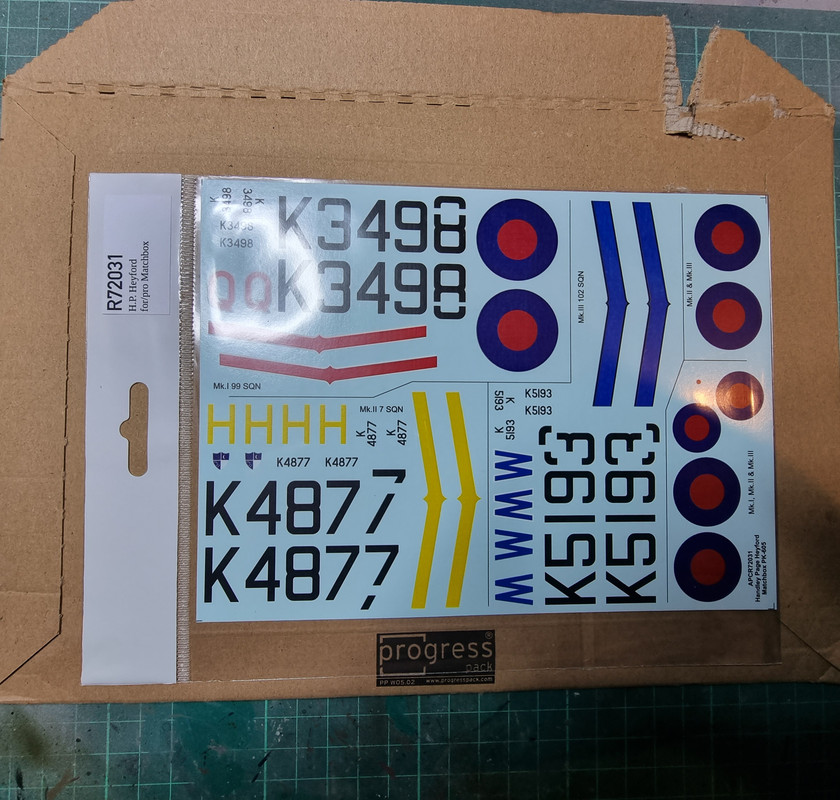
Some better news today. Firstly the new decals arrived from Hobbyshop.cz and I am impressed with the speed of their service!!
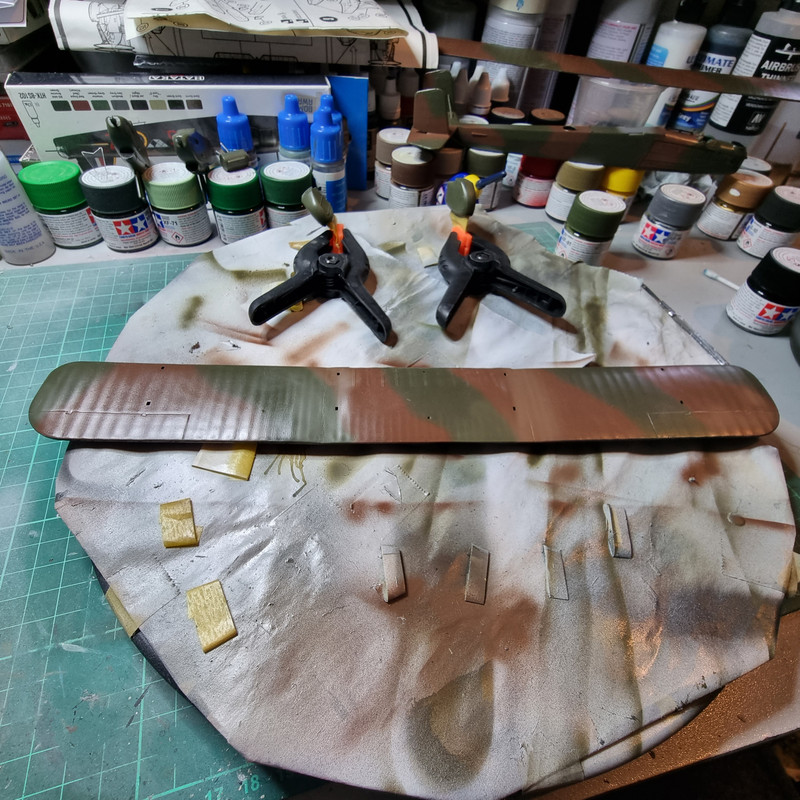
And the dismembered lower wing is back together (apart from the undercarriage pods), filled, sanded and painted. Currently its had a coat of Valeo acrylic silk top coat after this was taken which is now drying overnight..
Upper wing is now attached to the fuselage and setting overnight. Engine nacelles are dry fitted at the moment.
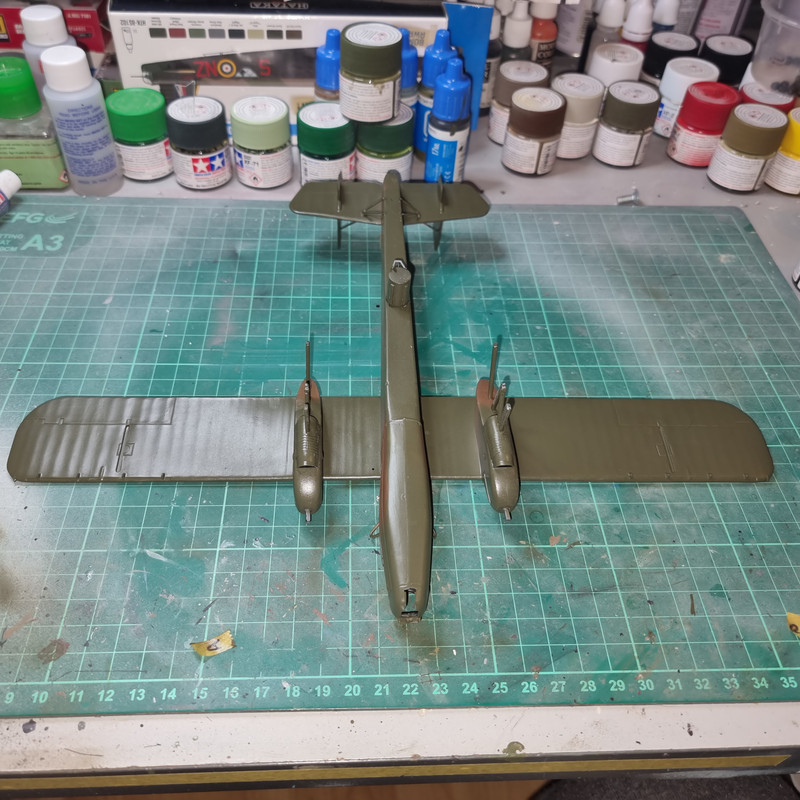
Tomorrow comes the fun of lining up the engines and their struts, the wing struts and cabane struts between the underside of the fuselage and the top of the lower wing.
Re: Build #3 - Handley Page Heyford
Posted: Mon Feb 20, 2023 11:52 pm
by digger303
Re: Build #3 - Handley Page Heyford
Posted: Tue Feb 21, 2023 8:32 pm
by RangerNeil
Re: Build #3 - Handley Page Heyford
Posted: Wed Feb 22, 2023 8:51 pm
by RangerNeil
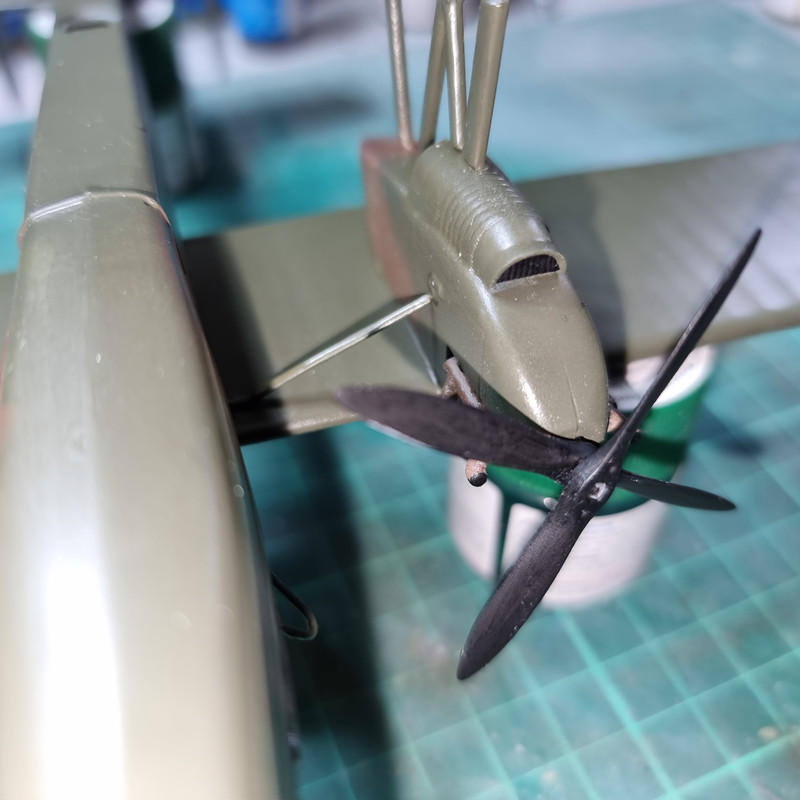
Upper and lower wings are now joined completely. Which now raises an interesting issue. The engine nacelles have 3 struts hanging down beneath them, the rearmost two plug into the lower wing whilst the forward ones connect to the top of the undercarriage pods - only they don't!!
There is maybe a 1mm or so gap between them so another problem to solve.....
And just to add to the fun the Heyford was set aside to set whilst I worked on the Stirling. As I was fettling parts I heard a clunk from where the Heyford was. Turned around to look and saw the fuselage had fallen off the upper wing.... Suffice it to say I was not impressed with the gripping power of Contacta.
On the bright side - cos theres always one - it makes solving the first problem a bit easier with more access......
Re: Build #3 - Handley Page Heyford
Posted: Wed Feb 22, 2023 11:29 pm
by digger303
RangerNeil wrote: Wed Feb 22, 2023 8:51 pm
Upper and lower wings are now joined completely. Which now raises an interesting issue. The engine nacelles have 3 struts hanging down beneath them, the rearmost two plug into the lower wing whilst the forward ones connect to the top of the undercarriage pods - only they don't!!
There is maybe a 1mm or so gap between them so another problem to solve.....
And just to add to the fun the Heyford was set aside to set whilst I worked on the Stirling. As I was fettling parts I heard a clunk from where the Heyford was. Turned around to look and saw the fuselage had fallen off the upper wing.... Suffice it to say I was not impressed with the gripping power of Contacta.
On the bright side - cos theres always one - it makes solving the first problem a bit easier with more access......
I've used Contacta a lot and where I've had a issue I blamed the type of styrene. Some just don't seem to want to melt and bond as quick or properly as others. Evergreen is a bit like that too. It will bond , but so much slower.
Re: Build #3 - Handley Page Heyford
Posted: Thu Feb 23, 2023 8:41 pm
by RangerNeil
Wings have set nice and - seemingly - solid albeit absent the fuselage.
So now I need to address the issue of the front struts not touching the wheel pods:
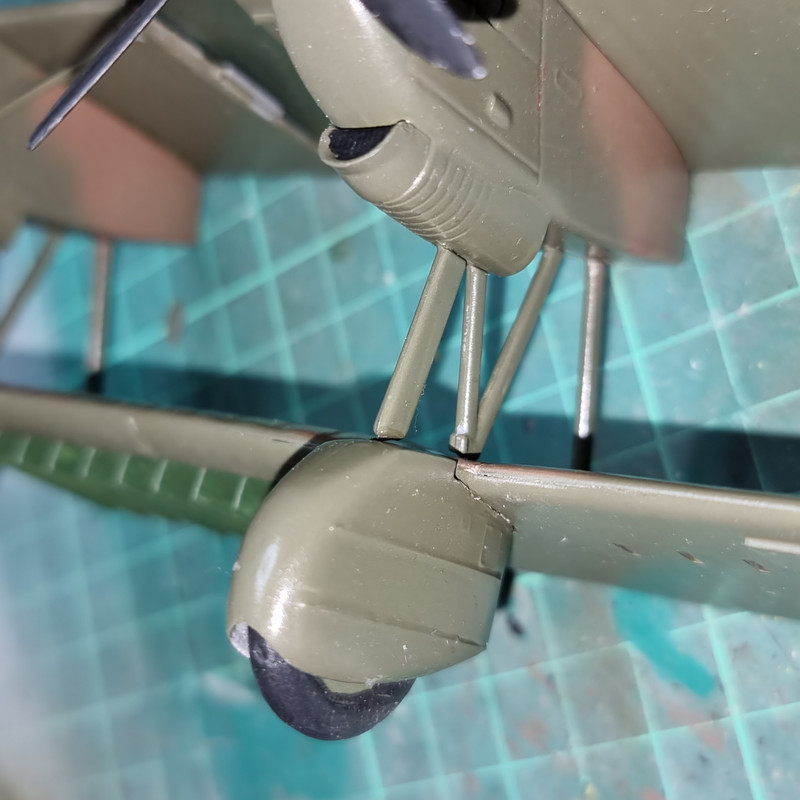
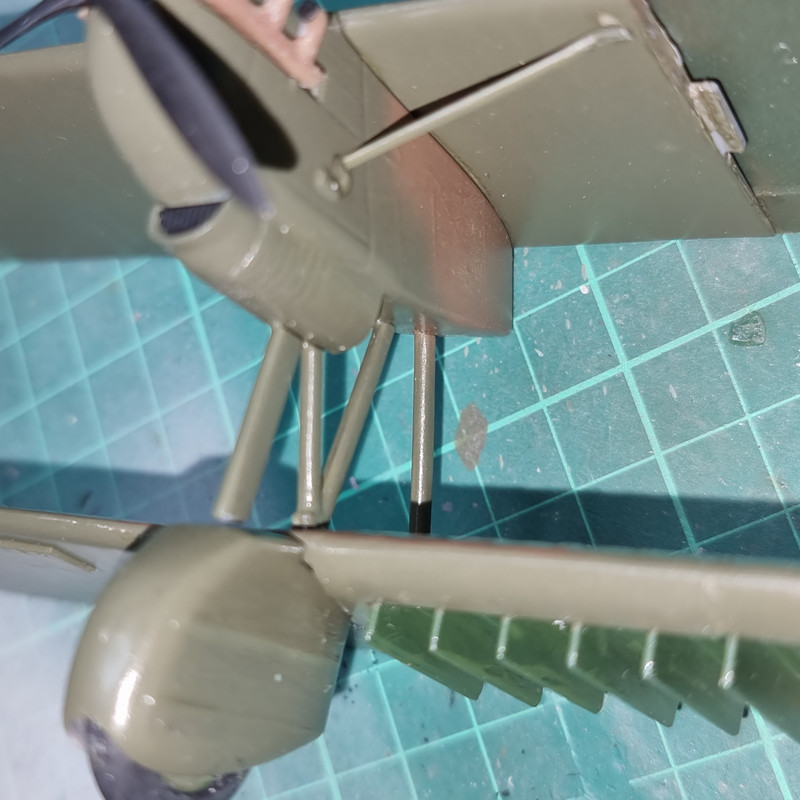
Not sure yet exactly how I am going to sort this one yet.
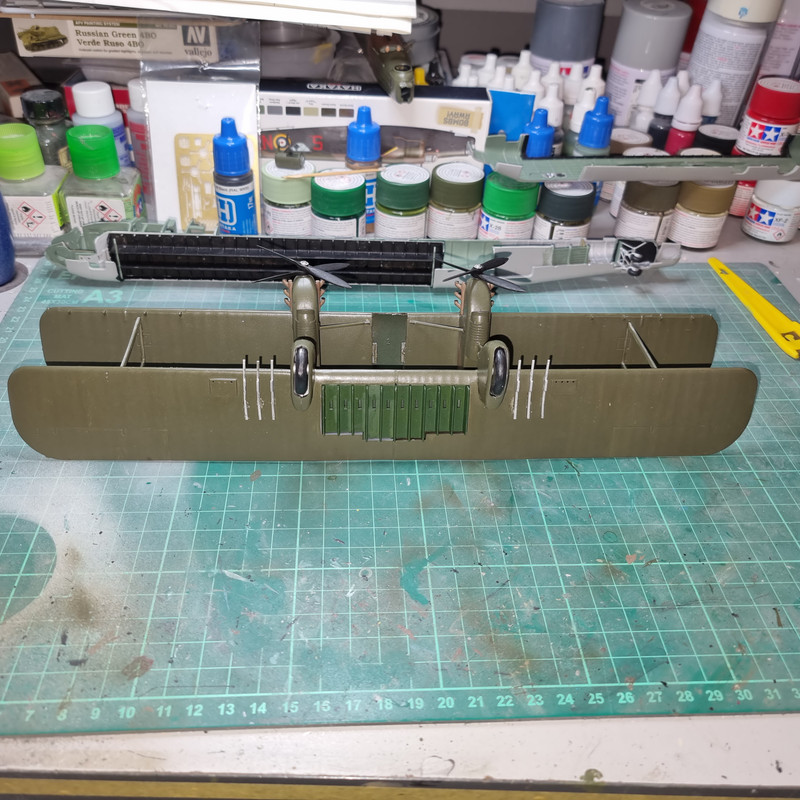
Meantime the bomb racks are going on.
Re: Build #3 - Handley Page Heyford
Posted: Thu Feb 23, 2023 8:58 pm
by BigWall
Maybe some plastic shims followed up with sprue goo?
Re: Build #3 - Handley Page Heyford
Posted: Fri Feb 24, 2023 8:54 pm
by RangerNeil
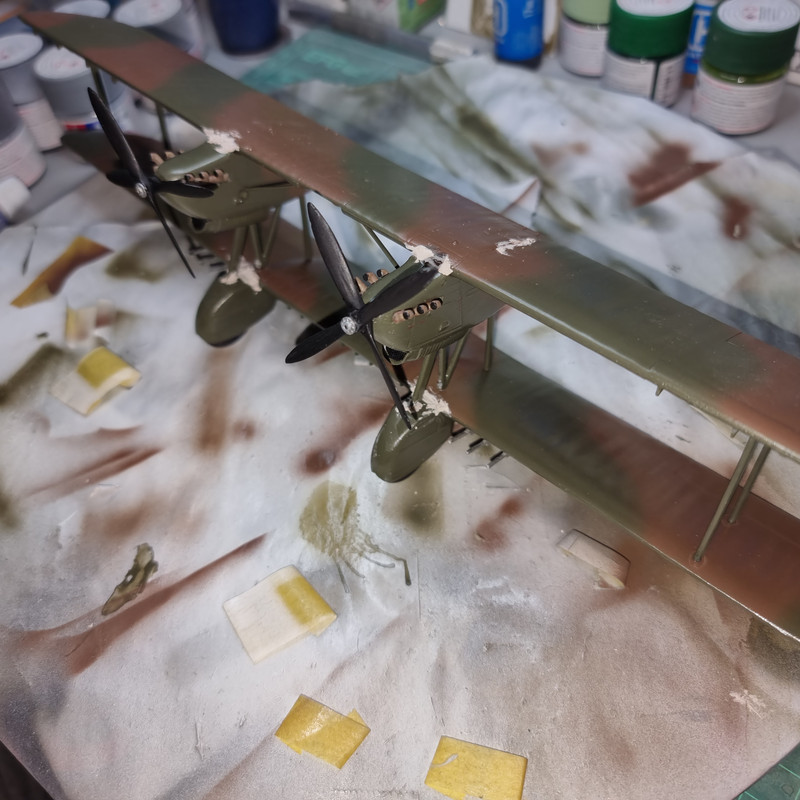
As the other airbrush failed today I was looking at the wing section of the Heyford and, to be honest, I was less than happy with the look so broke out the filler to make it better. And in the process rectified the gap between the struts and wheel pods.
Re: Build #3 - Handley Page Heyford
Posted: Tue Feb 28, 2023 5:20 am
by digger303
Re: Build #3 - Handley Page Heyford
Posted: Sun Mar 05, 2023 8:54 pm
by RangerNeil
Big jump forwards today on the Heyford!!
First off the fuselage rejoined the wings - and this time I used CA to join them so hopefully they won't part company again....
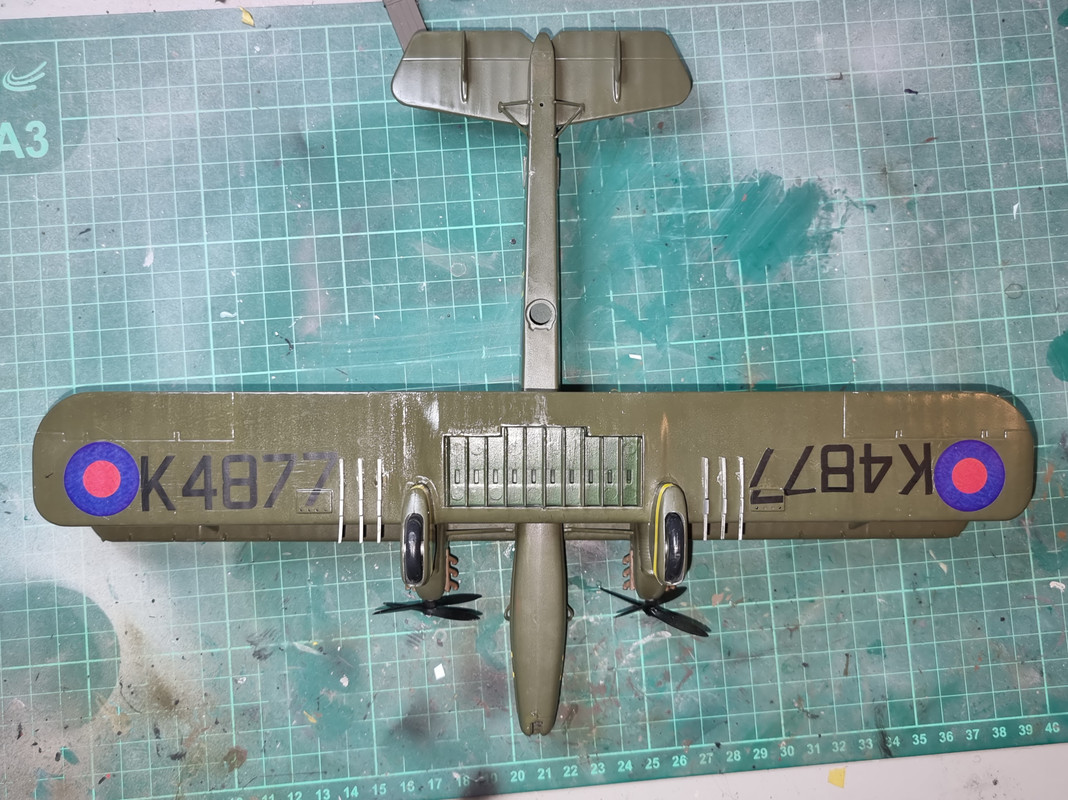
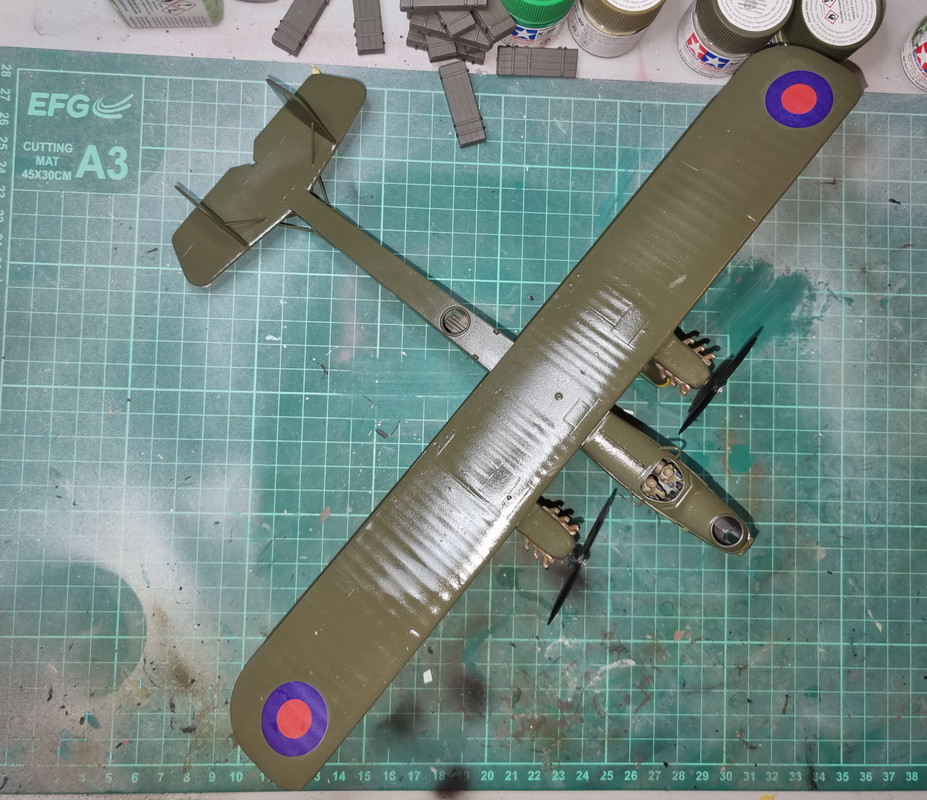
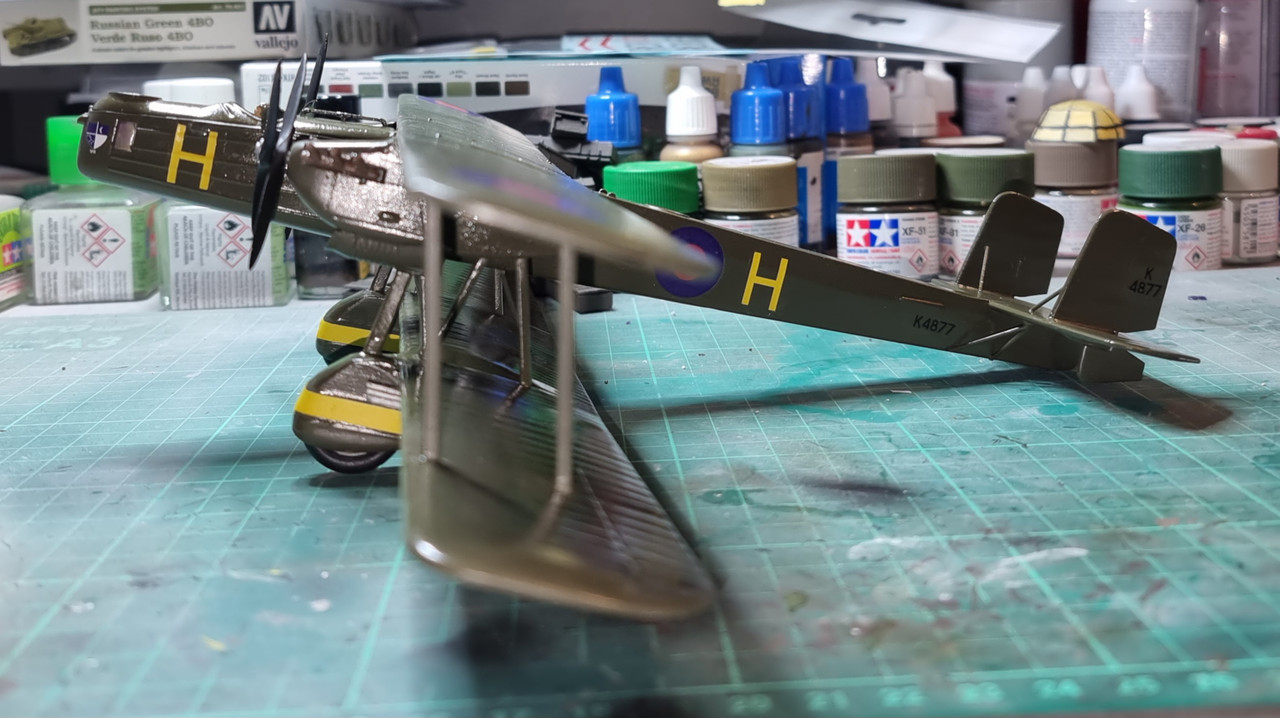
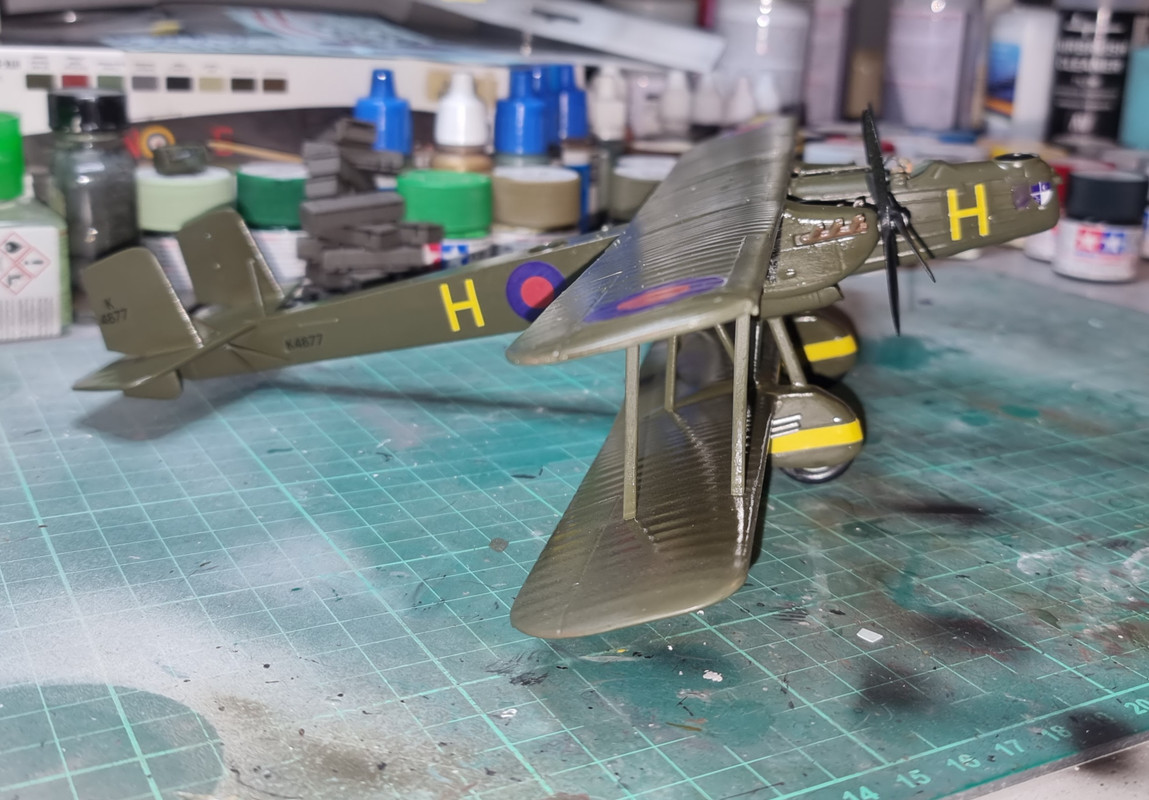
And then the decals went on. Not the best of experiences. Partly my fault as I never realised they were printed on decal paper thus making it one massive decal. Luckily I realised this after the first decal - a lower wing roundel. The carrier film is also VERY thin so anyone building a Heyford with these after market decals be warned - as they slide off the backing paper they tend to "roll up" on themselves. This caught me out on the first of the underwing registrations and I could not get it to fully unroll.
Subsequent ones I slide the leading edge of the decal onto a wet piece of carrier paper then pulled the main part away letting the decal settle onto the surface.
On the plus side the thinness of the carrier film means the decals conform nicely to the kits surface.
Now they are drying overnight and tomorrow the kit gets a satin top coat. After this the pilots windscreen, nose glazing, 2 gunners and the only machine gun I have get fitted Then comes the question of whether to add rigging wires or not. And if the answer is yes - then how to do it.
You can see here the problem with the serial number on the right of the photo:
Still waiting to hear from Revell Gmbh as to whether they can supply the missing machine gun and rear gunners screen.
Re: Build #3 - Handley Page Heyford
Posted: Sun Mar 05, 2023 9:55 pm
by digger303
Re: Build #3 - Handley Page Heyford
Posted: Mon Mar 06, 2023 9:12 pm
by RangerNeil
Props are on Digger - I left tbem free to rotate as it made things easier working on the wings. For the final session they will be secured - not least because one of them looks crooked!!
Went to put the satin top coat on today - a brand new aerosol of Humbrols enamel - lasted about 10 seconds and stopped spraying again.. This is the second tin this has happened on and its getting very unfunny...... An e-mail to Humbrol is the next step asking if they are aware of this issue. Only seems to affect the Satin finish, Gloss and Matt are fine.....
Re: Build #3 - Handley Page Heyford
Posted: Mon Mar 06, 2023 11:17 pm
by digger303
RangerNeil wrote: Mon Mar 06, 2023 9:12 pm
Props are on Digger - I left tbem free to rotate as it made things easier working on the wings. For the final session they will be secured - not least because one of them looks crooked!!
Went to put the satin top coat on today - a brand new aerosol of Humbrols enamel - lasted about 10 seconds and stopped spraying again.. This is the second tin this has happened on and its getting very unfunny...... An e-mail to Humbrol is the next step asking if they are aware of this issue. Only seems to affect the Satin finish, Gloss and Matt are fine.....
Sometimes possible to regas via a high psi compressor and a air nozzle. You just put the end over the spray can nozzle and force air in.
Re: Build #3 - Handley Page Heyford
Posted: Tue Mar 07, 2023 4:41 pm
by Tomcat64
Man I've missed some serious drama with this one - well done for sticking with it though as it's really built up into an impressive beast.
I think short struts is a matchbox "feature" as I had the same problem with my He-115 last year.
But completely agree that misbehaving decals can suck the enthusiasm out of any build regardless of how well the rest of it goes.
Hoping you get the satin coat sorted soon; Humbrol varnishes can be a total pita unfortunately - proper marmite job
Re: Build #3 - Handley Page Heyford
Posted: Wed Mar 08, 2023 10:39 am
by RangerNeil
Thanks guys - the kind words are really much appreciated!!
Sad news from Revell today though - they stopped production of the Heyford in 2008 and they have no spares left. There are a few companies making aftermarket Vickes K machine guns, its just a case of locating one. But the rear gunners windscreen is a real issue. I've checked eBay in case someone was selling sprues - no joy there - and I'm not paying £40+ for another kit.
I have the cockpit glazing from the Airfix Gazelle that crazed over so I will look and see if any of that can be repurposed.
Re: Build #3 - Handley Page Heyford
Posted: Thu Mar 09, 2023 11:44 pm
by RangerNeil
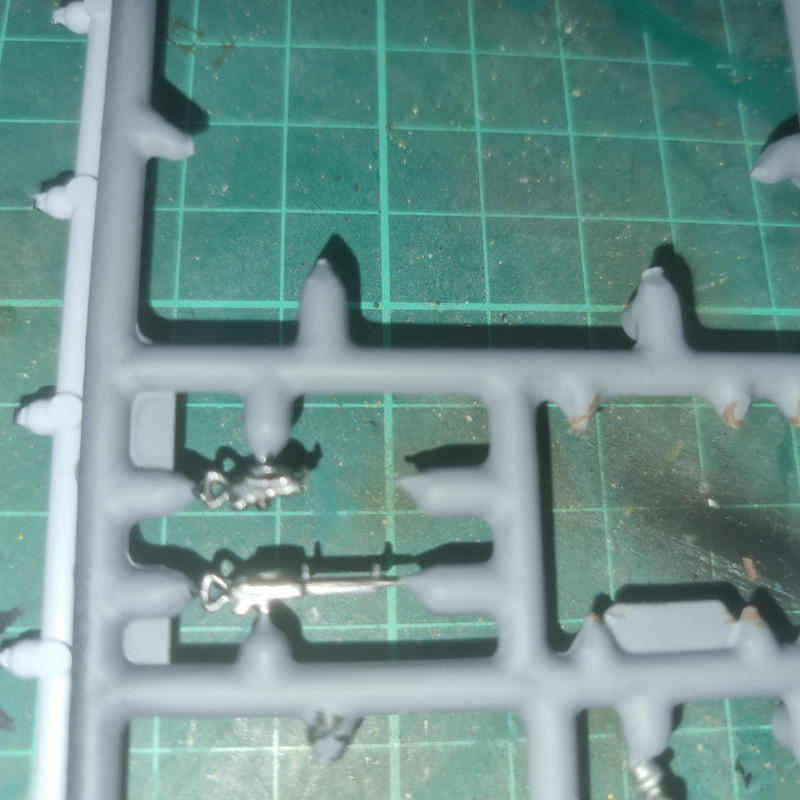
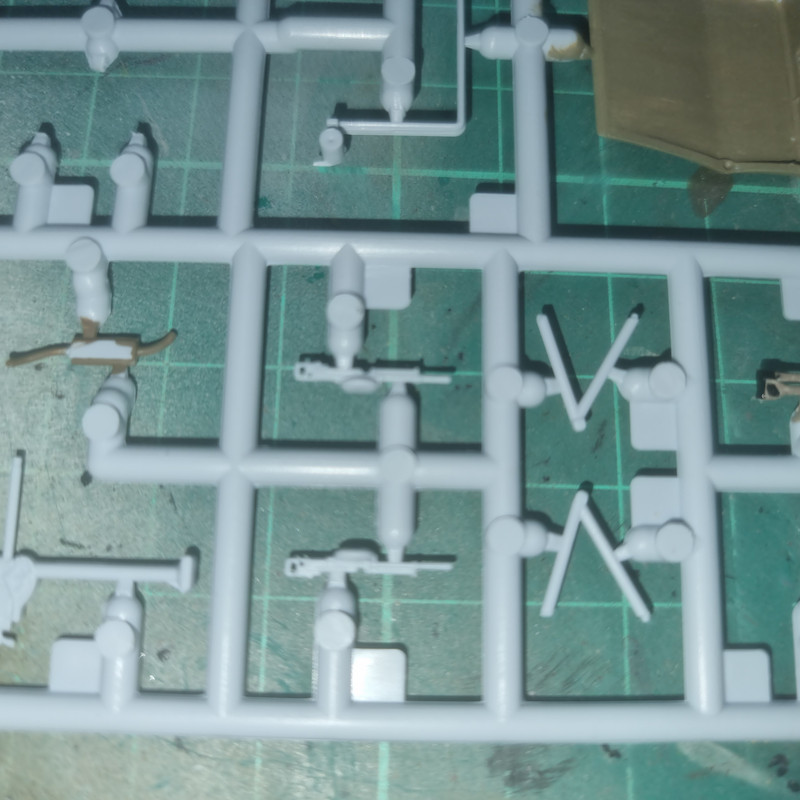
Some good news!!! I was putting an Airfix 1/72 Jeep together to go with the Horsa and the kit gives 2 options - a British Airborne unit or an American one. The sprue for the American one includes a pedestal mounted 0.30 or 0.50 cal machine gun - BUT - also a pair of Vickers K that aren't referenced in any of the instructions. And they are a better quality moulding than the Matchbox ones which are a bit "bloby".
These are the Matchbox ones:
And these are the Airfix ones:
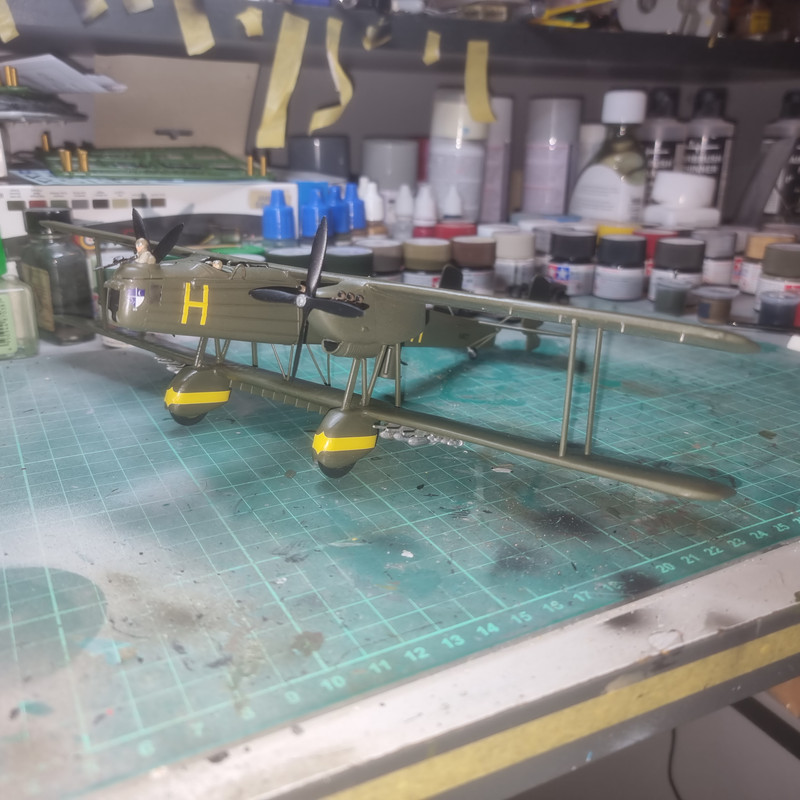
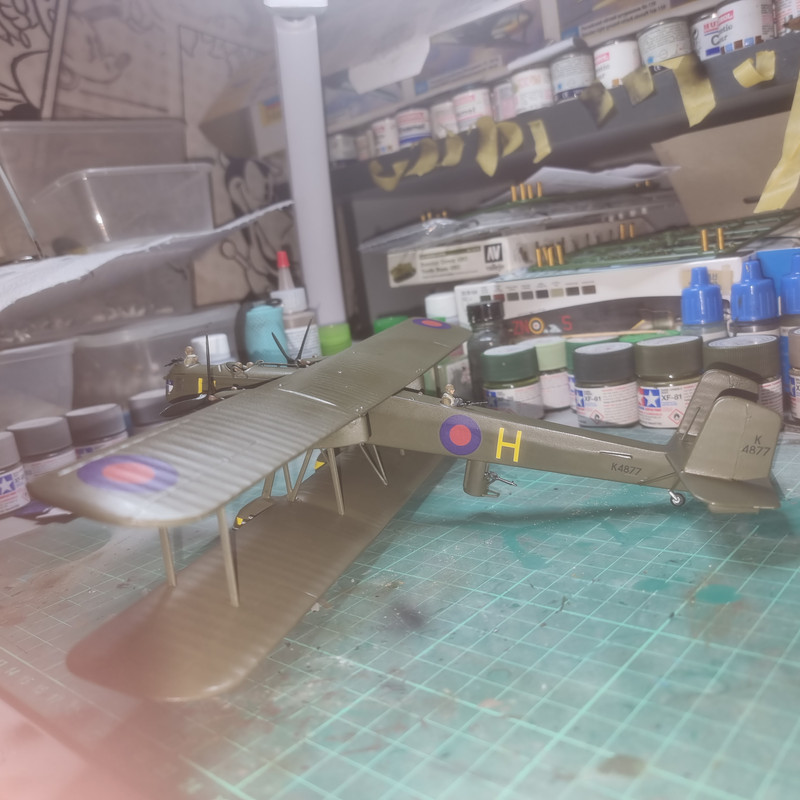
So a coat of gun metal for the barrels and a bit of black for the drum magines and there you have 2 gunners and 2 machine guns:
And, lastly, the bomb load:
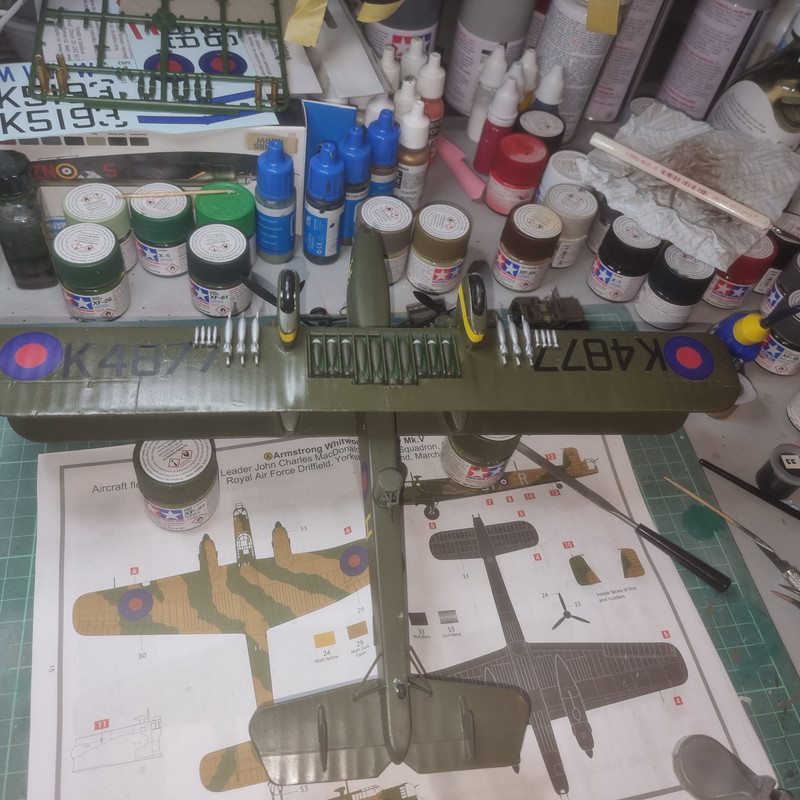
Just needs the satin varnish completing, the glazed sections added to the nose, pilots windscreen added and - the real thorn - the rear gunners screen fabricated and added.
Oh -and the rigging......
Re: Build #3 - Handley Page Heyford
Posted: Fri Mar 10, 2023 3:34 am
by digger303
Re: Build #3 - Handley Page Heyford
Posted: Fri Mar 10, 2023 7:47 am
by Stokesy44
Very nice work. A good result on such an old kit. My nostalgia node kicked off looking at those Matchbox instructions!
Re: Build #3 - Handley Page Heyford
Posted: Fri Mar 10, 2023 8:04 am
by Tomcat64
Nice result with those machine guns and she looks great with that fully kitted bomb load in place - I didn't realise just how much these things carried.
Re: Build #3 - Handley Page Heyford
Posted: Wed Mar 15, 2023 1:43 pm
by RangerNeil
Nose glazing is now fitted:
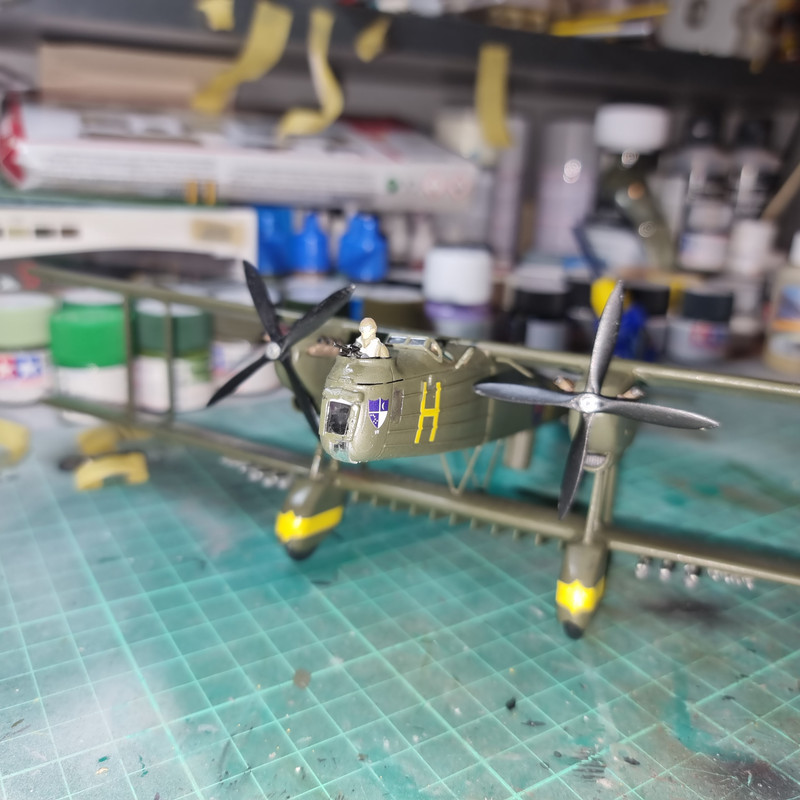
And the access ladders are done, just need a second coat of yellow:
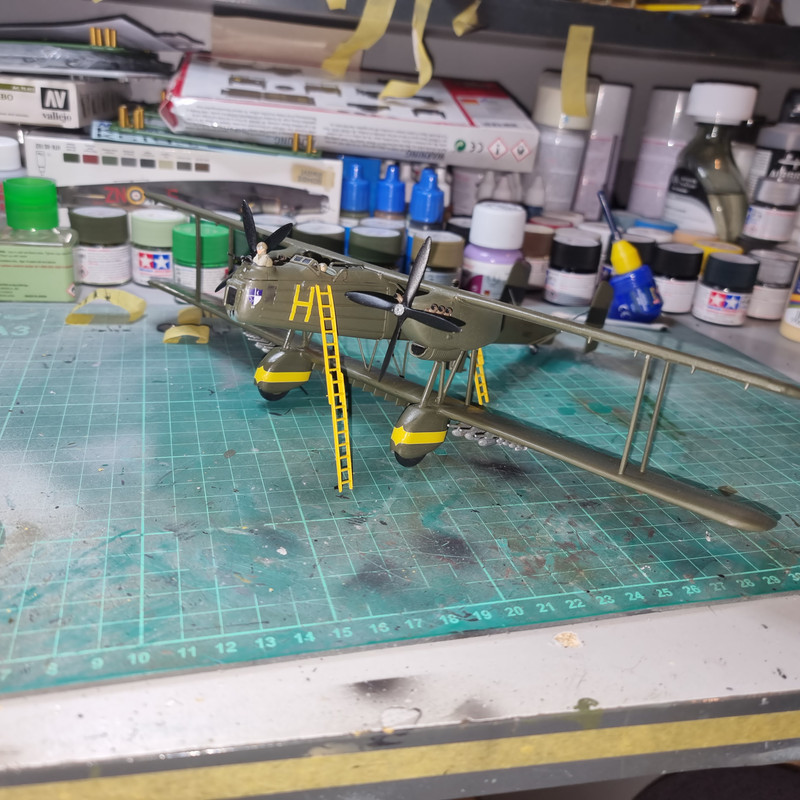
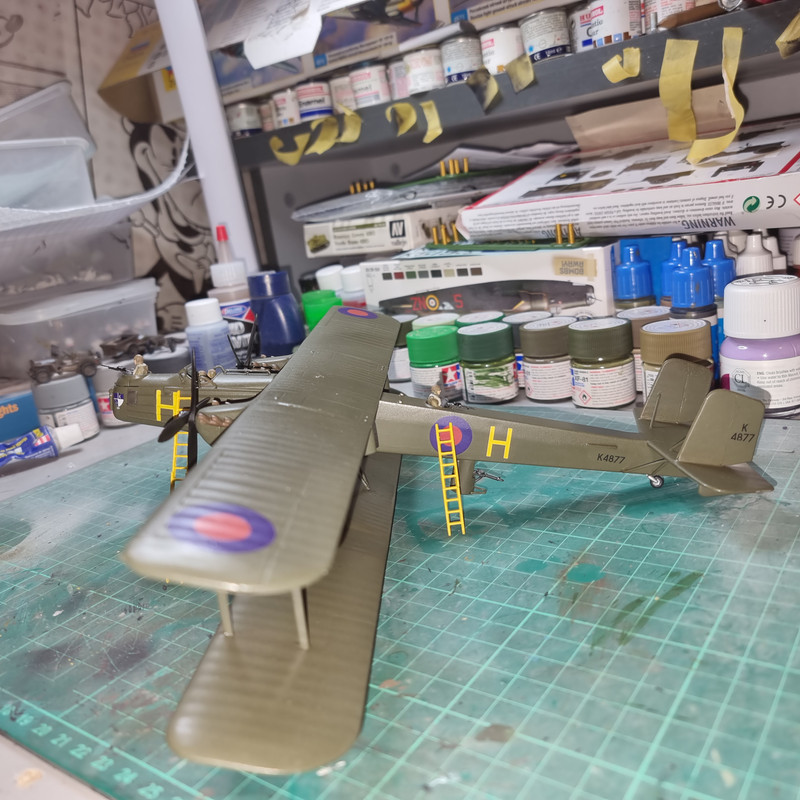
Just a bit more and I can call this one done!
Re: Build #3 - Handley Page Heyford
Posted: Wed Mar 15, 2023 10:42 pm
by digger303
Re: Build #3 - Handley Page Heyford
Posted: Sun Apr 02, 2023 10:28 pm
by RangerNeil
Calling this one closed now. Will do the flight rigging another time. Photos are in the reveal thread.