Page 1 of 1
Bomber Build 4 - Fairey Swordfish
Posted: Wed Apr 26, 2023 4:31 pm
by RangerNeil
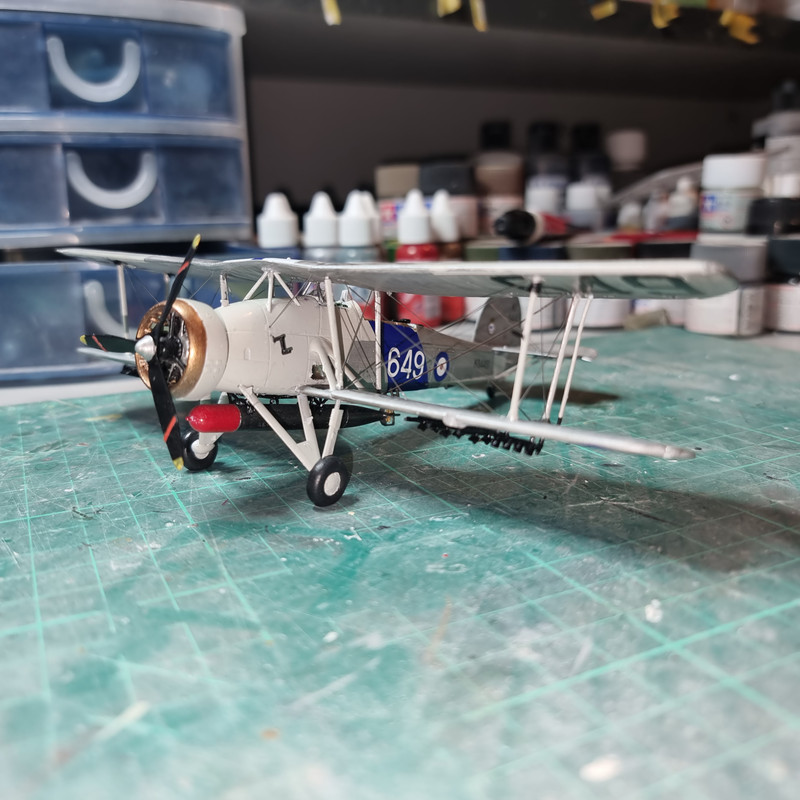
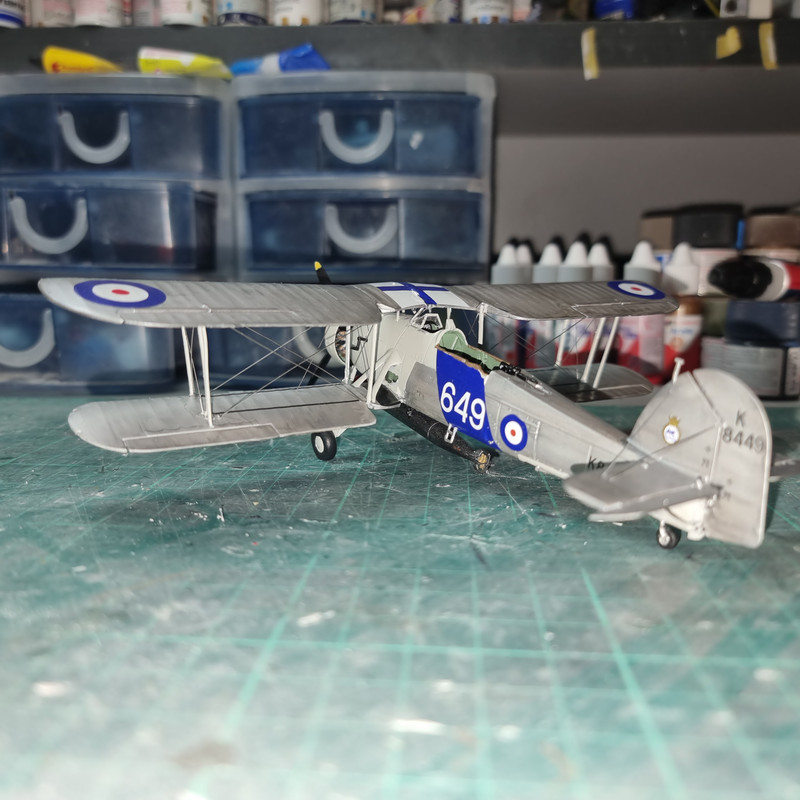
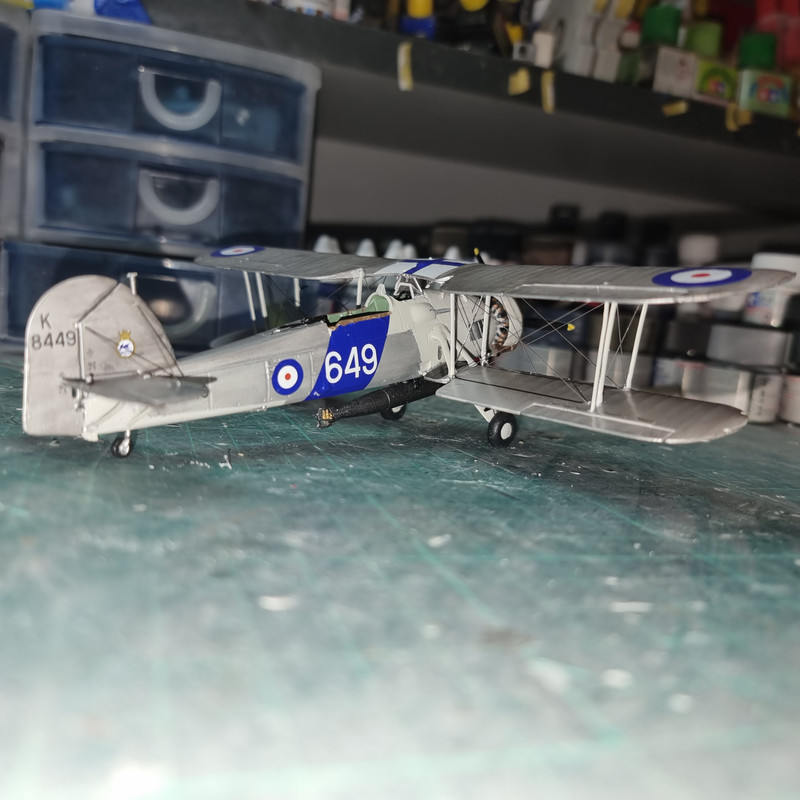
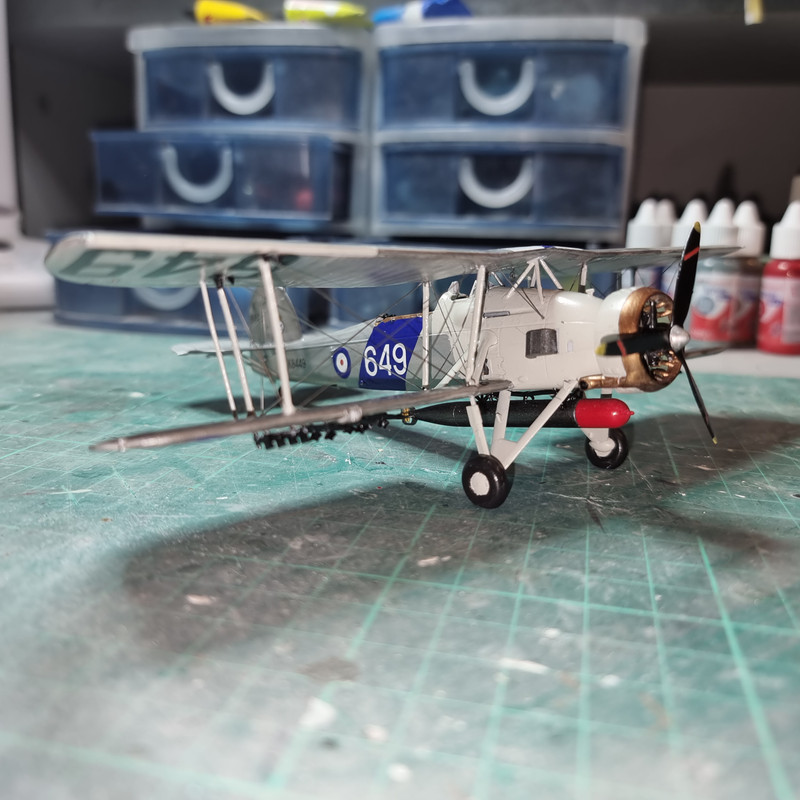
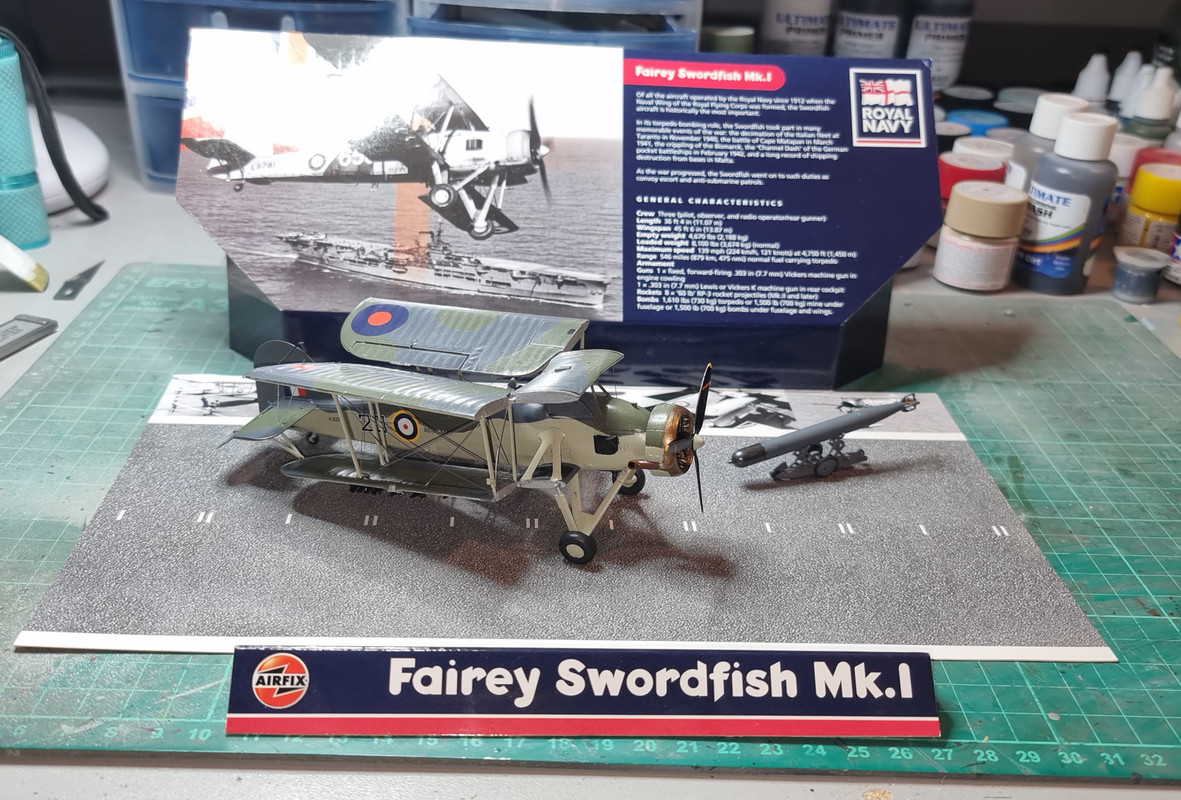
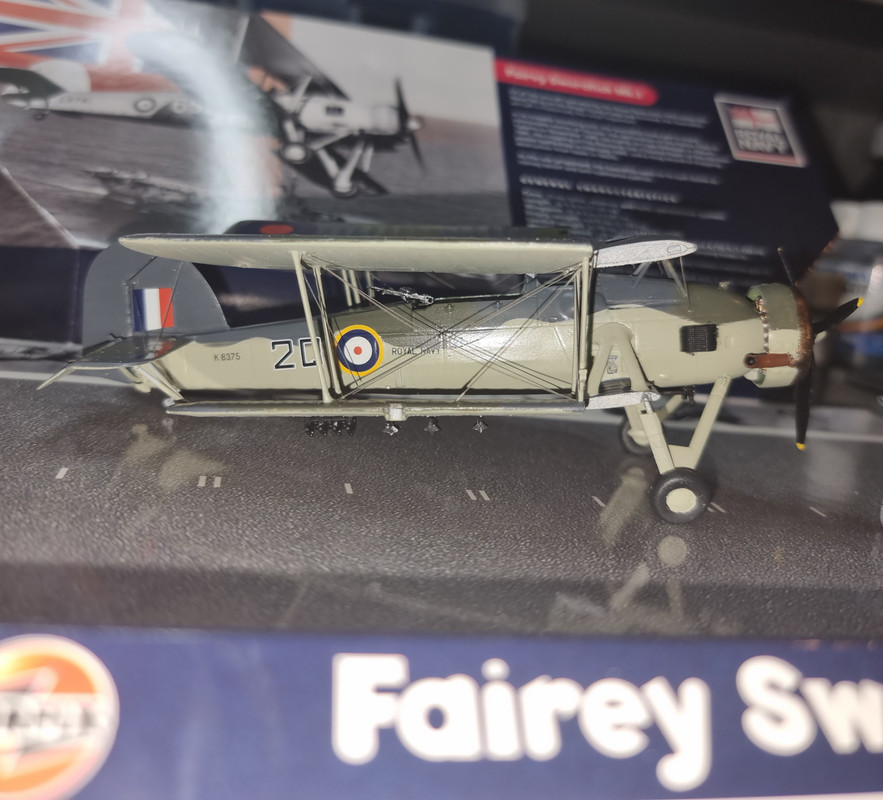
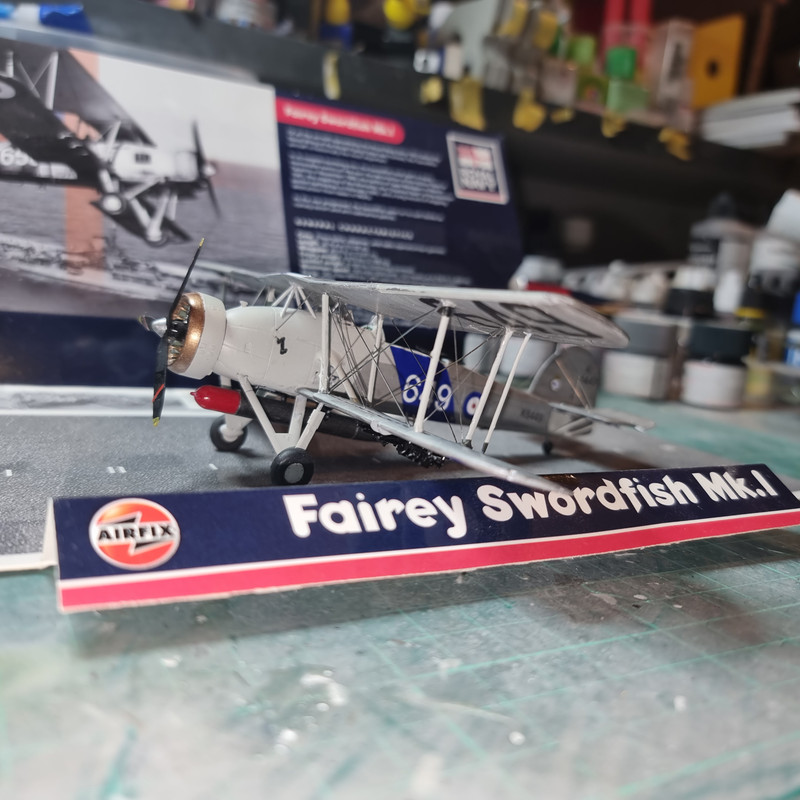
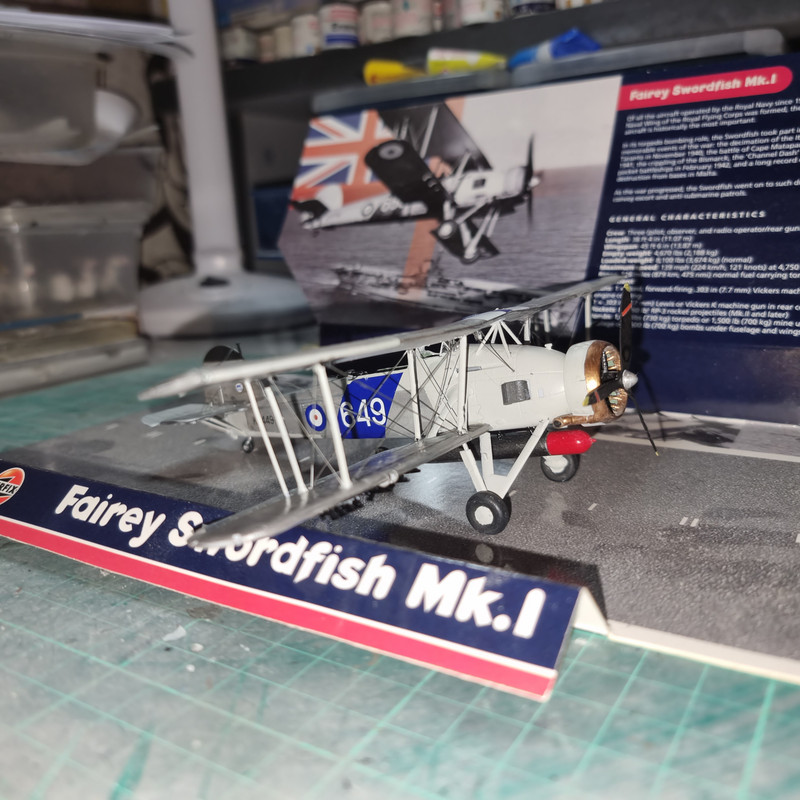
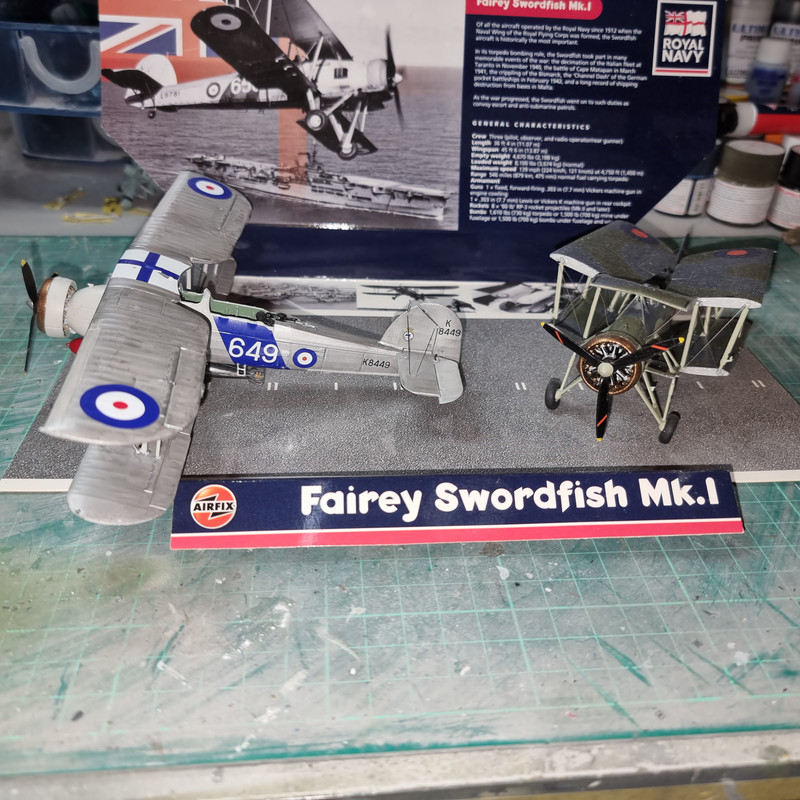
I seem to be hooked on bombers this year - the latest offering is the Airfix issue 1/72 issue of the Fairey Swordfish (it was classed as a Torpedo Bomber and it has bomb racks under the wings). This was a "Gift Set" and comes with paints, brushes and a diorama display.
History
The Fairey Swordfish is a biplane torpedo bomber, designed by the Fairey Aviation Company. Originating in the early 1930s, the Swordfish, nicknamed "Stringbag", was principally operated by the Fleet Air Arm of the Royal Navy. It was also used by the Royal Air Force (RAF), as well as several overseas operators, including the Royal Canadian Air Force (RCAF) and the Royal Netherlands Navy. It was initially operated primarily as a fleet attack aircraft. During its later years, the Swordfish was increasingly used as an anti-submarine and training platform. The type was in frontline service throughout the Second World War finally being replaced by the Fairey Barracuda.
First flight: 17 April 1934
Introduction into service: 1936
Retired from service: 21 May 1945
In July 1936, the Swordfish formally entered service with the Fleet Air Arm (FAA), which was then part of the RAF; 825 Naval Air Squadron became the first squadrons to receive the type that month.[5] The Swordfish began replacing both the Fairey Seal in the spotter-reconnaissance role and the Blackburn Baffin in the torpedo bomber role in competition with the Blackburn Shark in the combined role. Initially, the Shark replaced the Seal in the spotter-reconnaissance squadrons and the Swordfish replaced the Baffin in torpedo squadron, after which the Shark was quickly replaced by the Swordfish. For nearly two years during the late 1930s, the Swordfish was the sole torpedo bomber aircraft equipping the FAA.
By the eve of war in September 1939, the FAA, which had been transferred to Royal Navy control, had 13 operational squadrons equipped with the Swordfish I.[5] There were also three flights of Swordfish equipped with floats, for use with catapult-equipped warships. After the outbreak of the Second World War, 26 FAA Squadrons were equipped with the Swordfish. More than 20 second-line squadrons also operated the Swordfish for training. During the early months of the conflict, the Swordfish operated in mostly uneventful fleet protection and convoy escort missions.
Crew: 3 - pilot, observer, and radio operator/rear gunner (observer's position frequently replaced with auxiliary fuel tank)
Length: 35 ft 8 in (10.87 m)
Wingspan: 45 ft 6 in (13.87 m)
Width: 17 ft 3 in (5.26 m) wings folded
Height: 12 ft 4 in (3.76 m)
Wing area: 607 sq ft (56.4 m2)
Empty weight: 4,195 lb (1,903 kg)
Gross weight: 7,580 lb (3,438 kg)
Powerplant: 1 × Bristol Pegasus IIIM.3 9-cylinder air-cooled radial piston engine, 690 hp (510 kW)
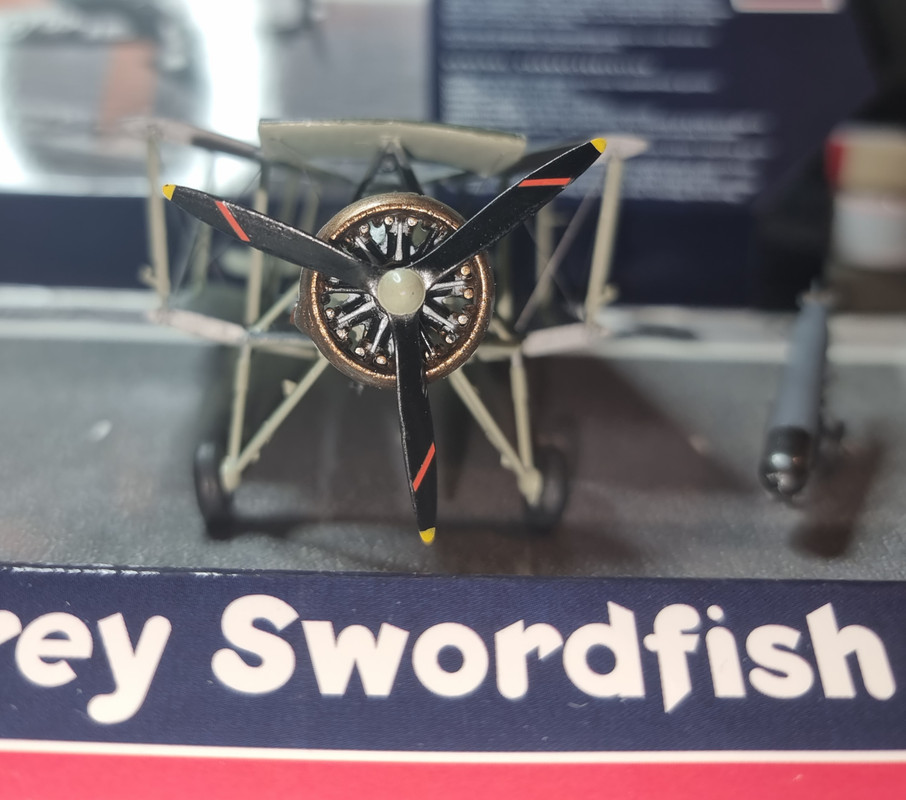
Propellers: 3-bladed metal fixed-pitch propeller
Performance
Maximum speed: 143 mph (230 km/h, 124 kn) with torpedo at 7,580 lb (3,438 kg) and 5,000 ft (1,524 m)
Range: 522 mi (840 km, 454 nmi) normal fuel, carrying torpedo[65]
Endurance: 5 hours 30 minutes
Service ceiling: 16,500 ft (5,000 m) at 7,580 lb (3,438 kg)
Armament
Guns: ** 1 × fixed, forward-firing .303 in (7.7 mm) Vickers machine gun in upper right fuselage, breech in cockpit, firing over engine cowling
1 × .303 in (7.7 mm) Lewis or Vickers K machine gun in rear cockpit
Rockets: 8 × "60 lb" RP-3 rocket projectiles (Mk.II and later)
Bombs: 1 × 1,670 lb (760 kg) torpedo or 1,500 lb (700 kg) mine under fuselage or 1,500 lb total of bombs under fuselage and wings.
The Kit
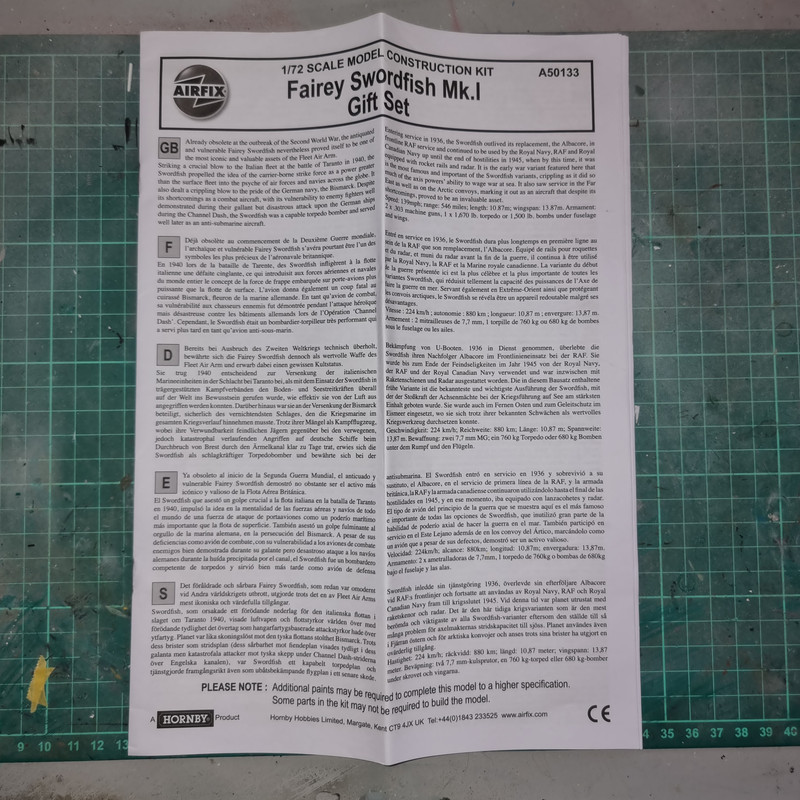
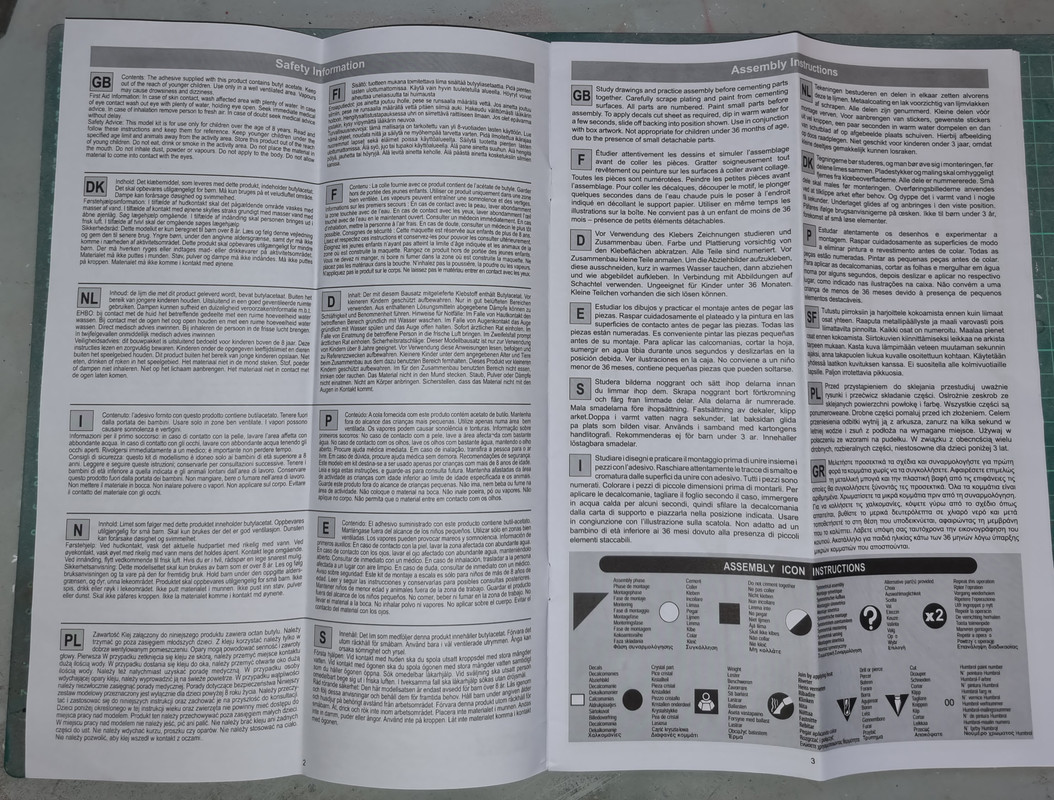
Instructions:
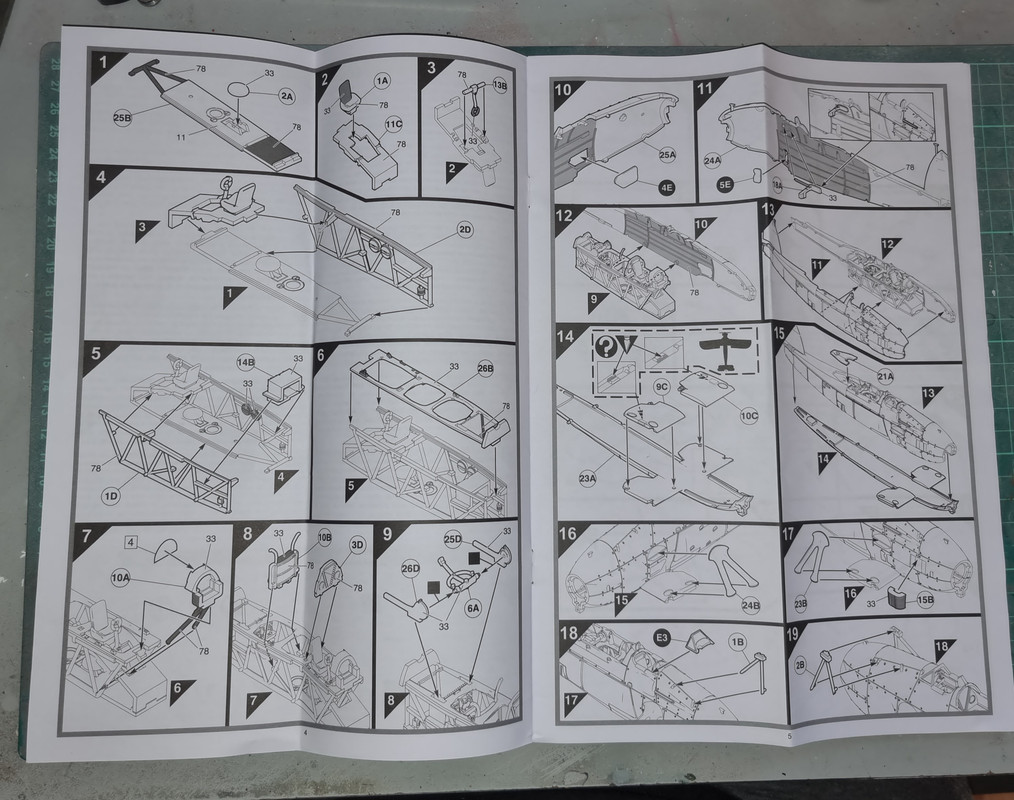
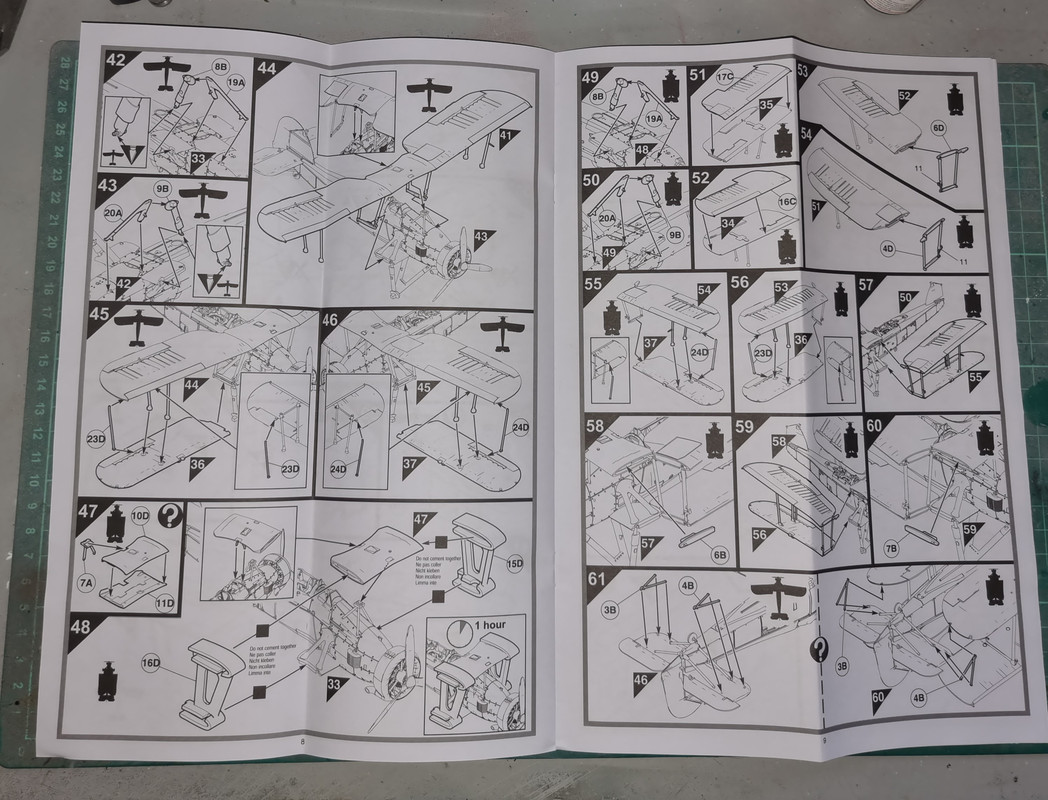
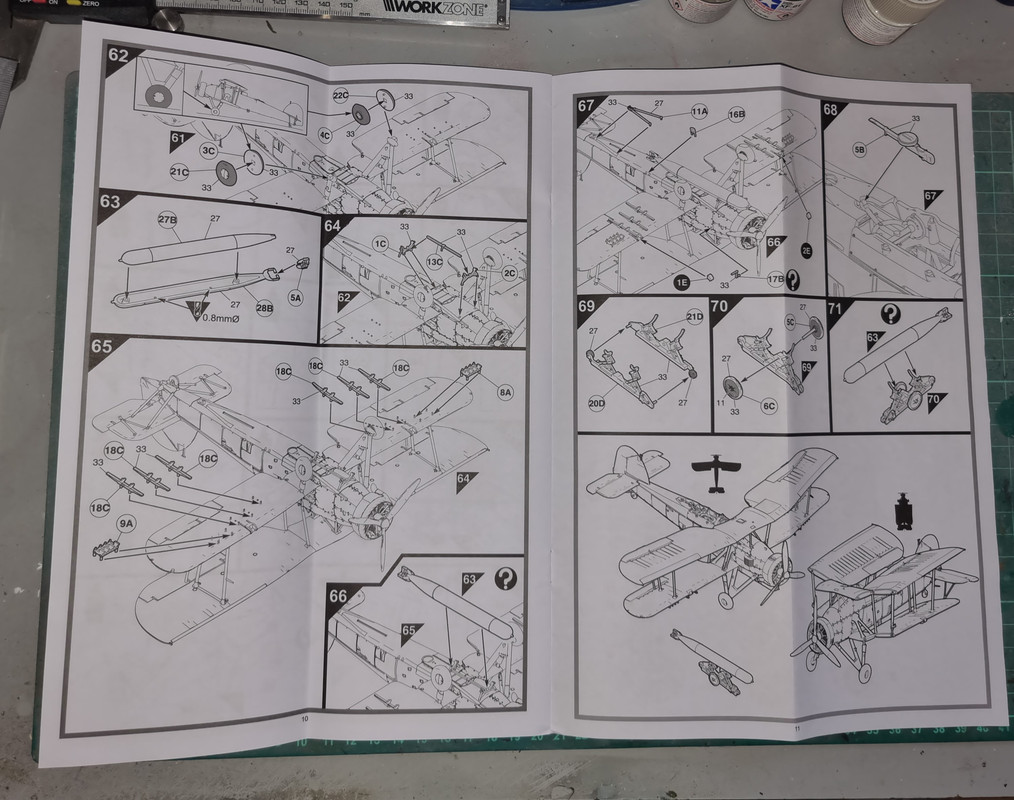
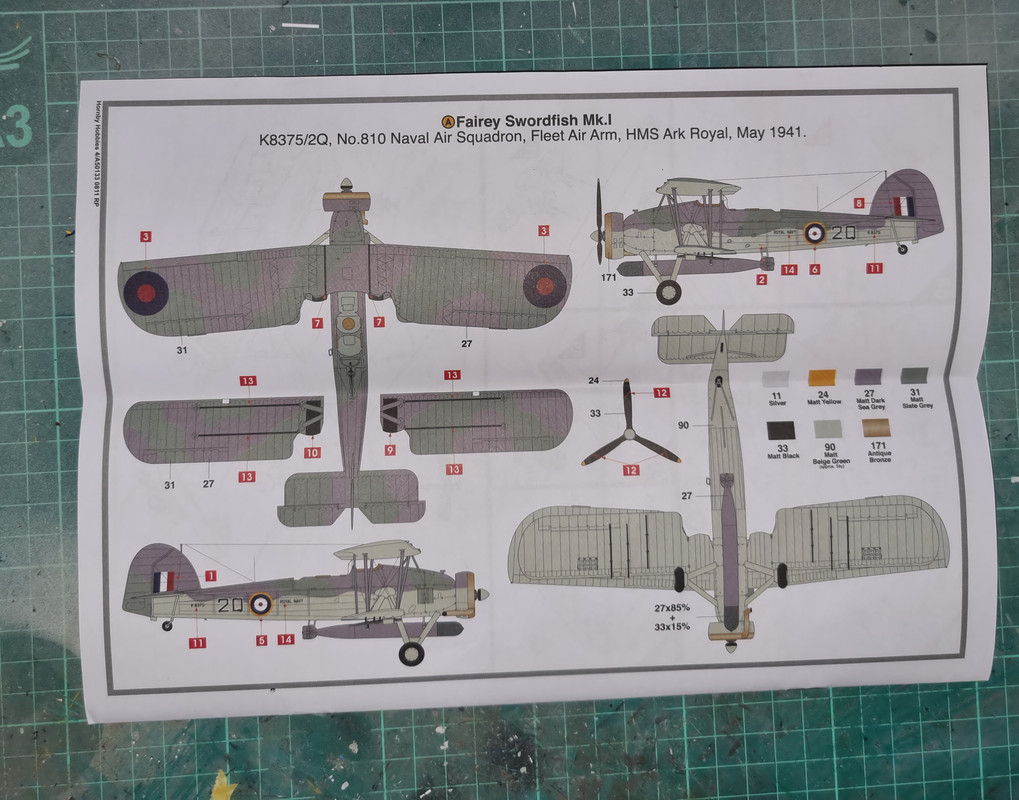
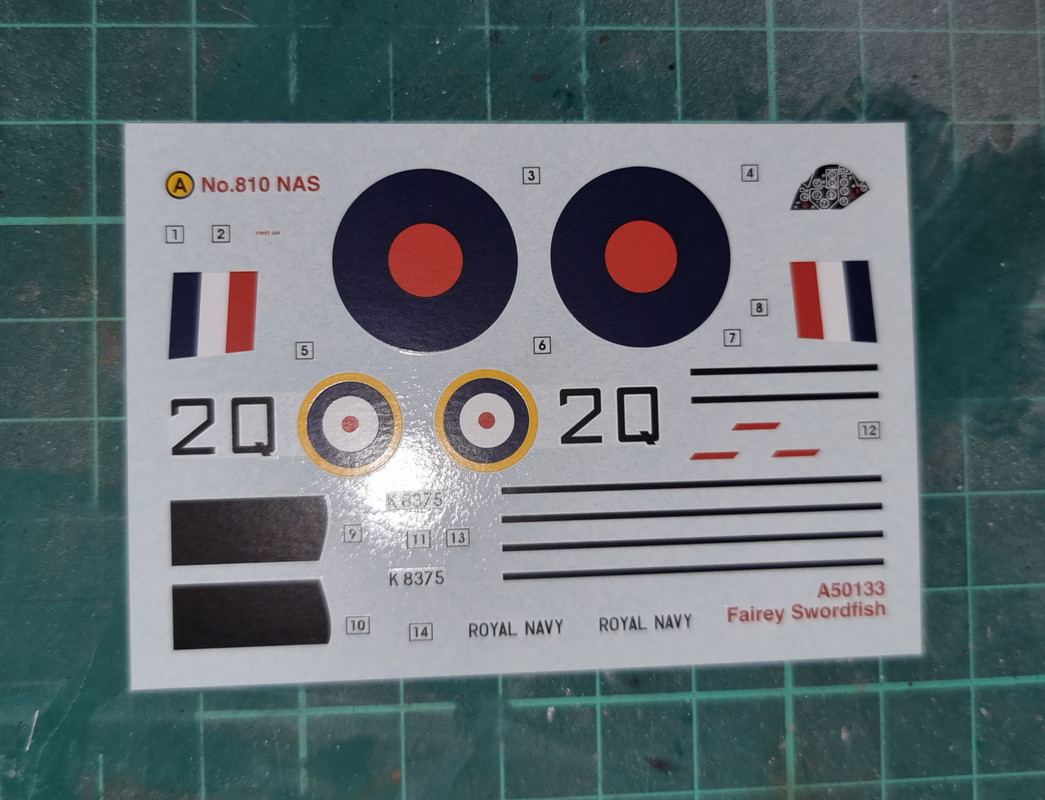
Decals
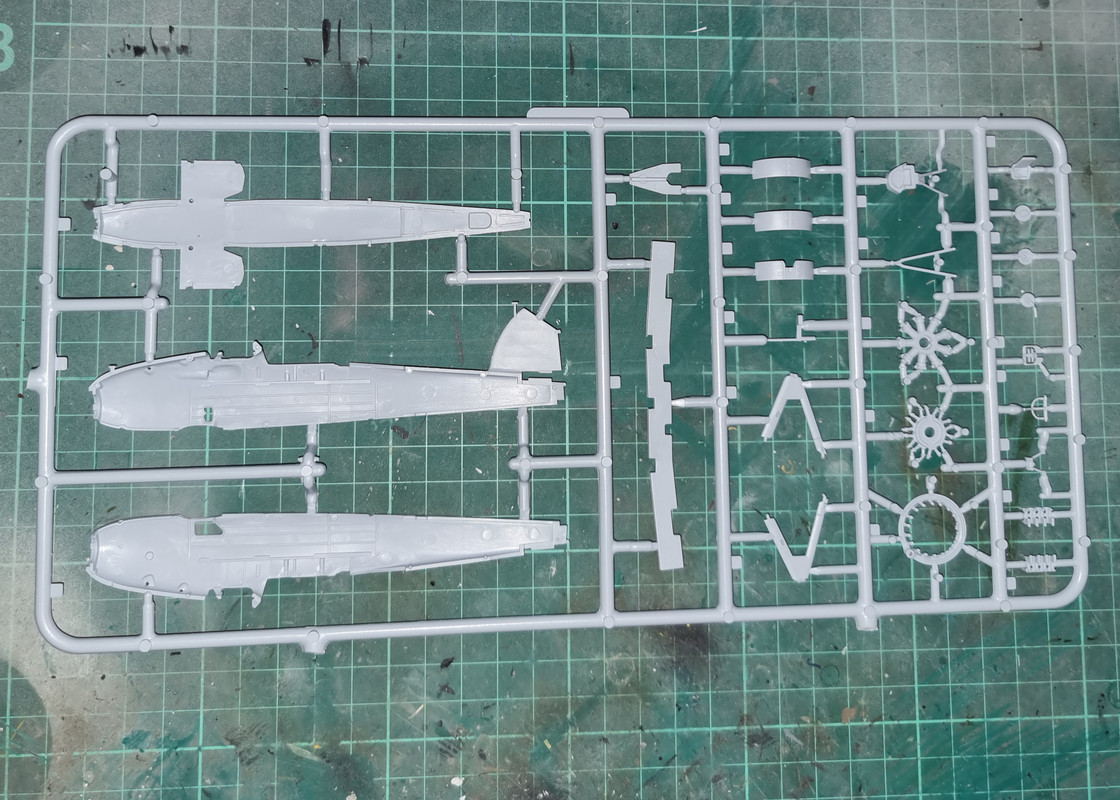
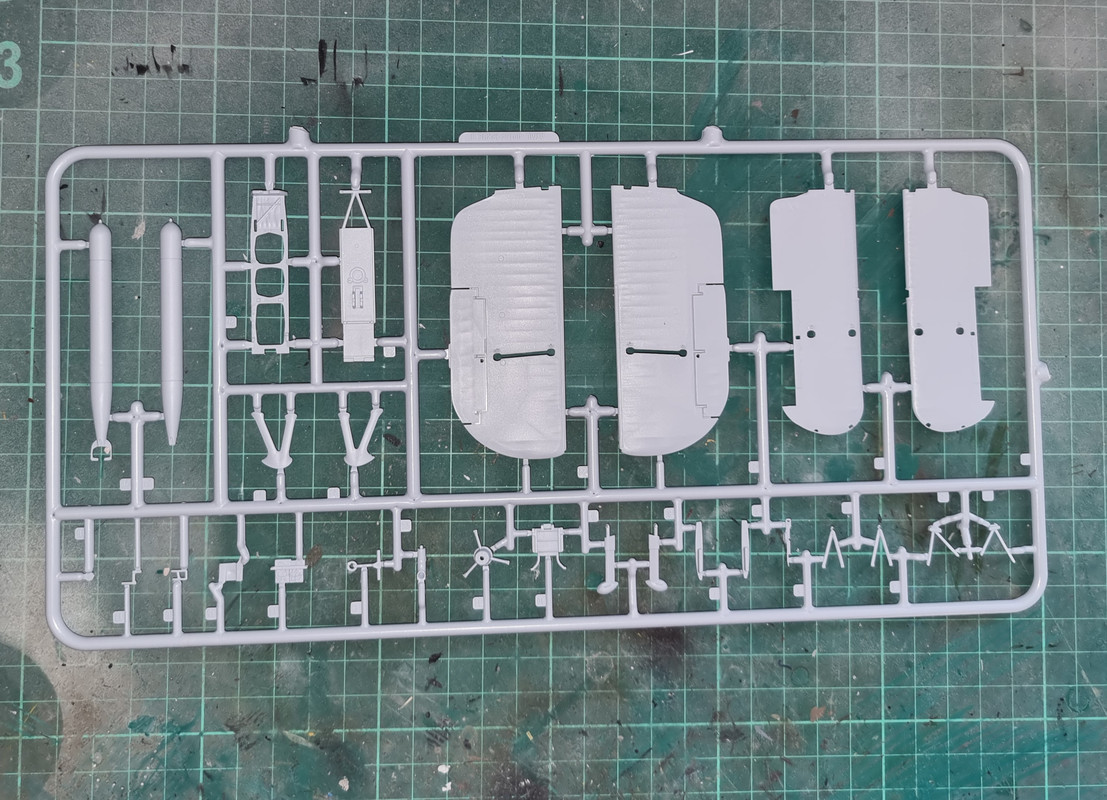
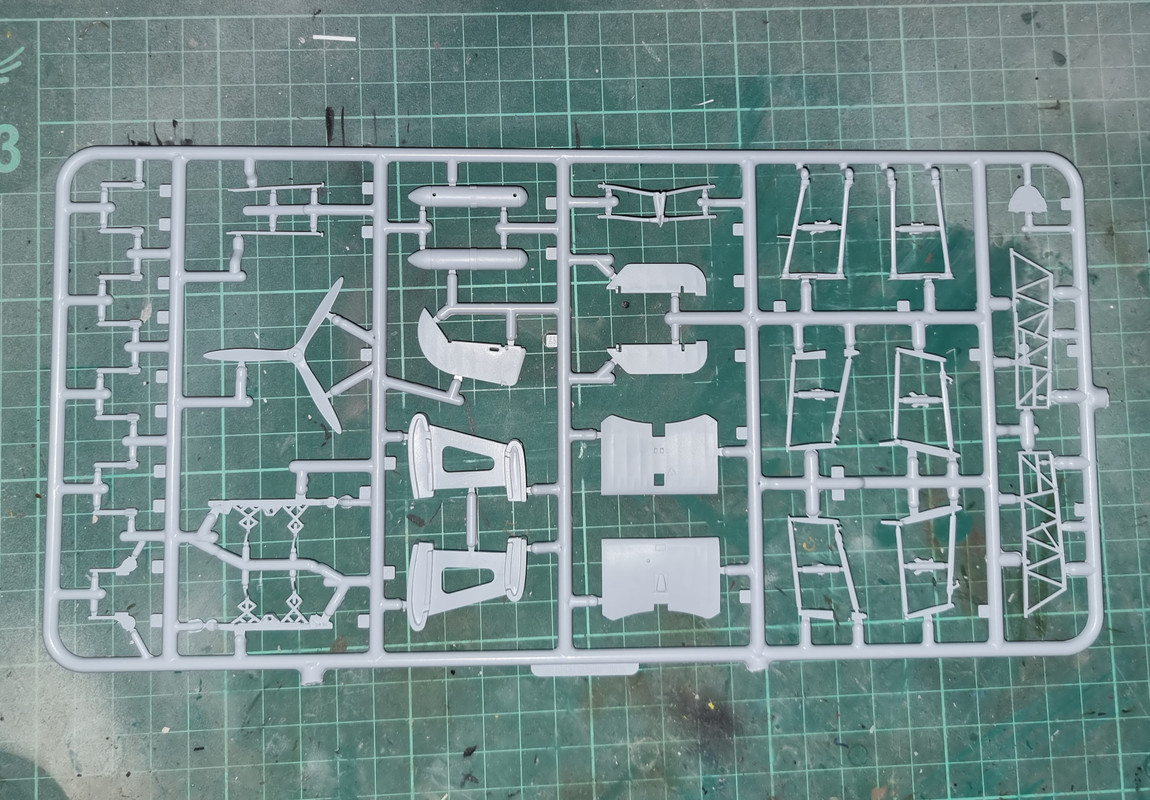
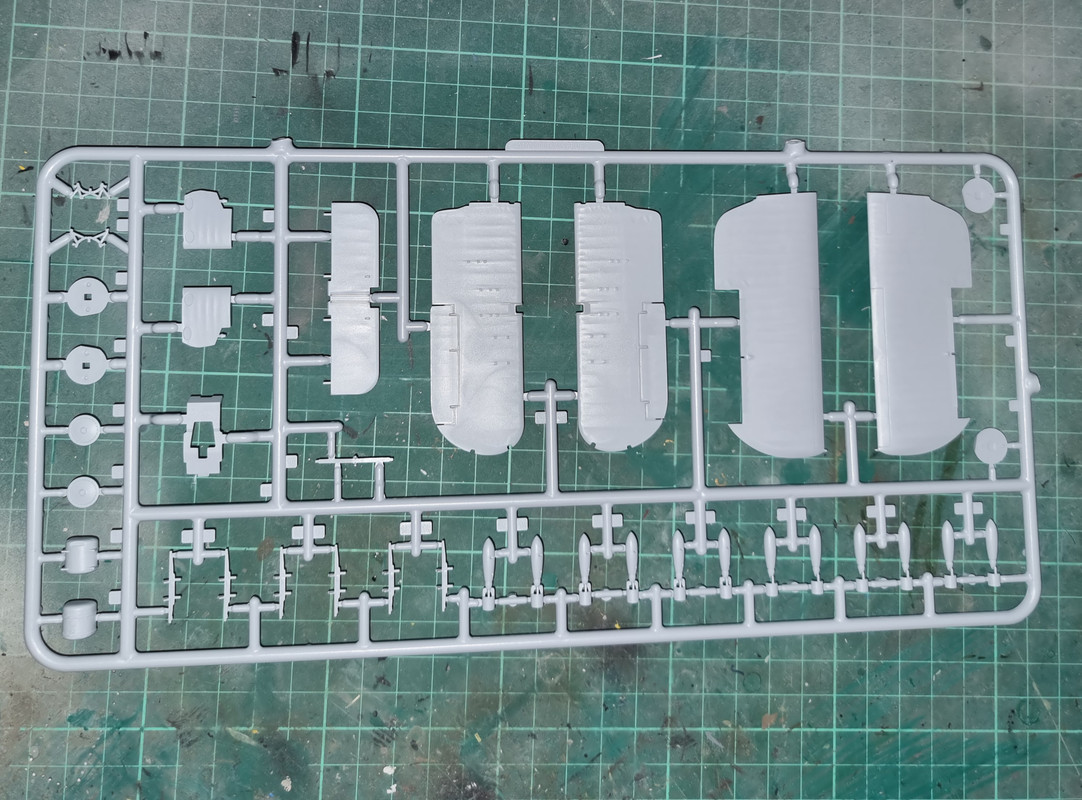
Sprue
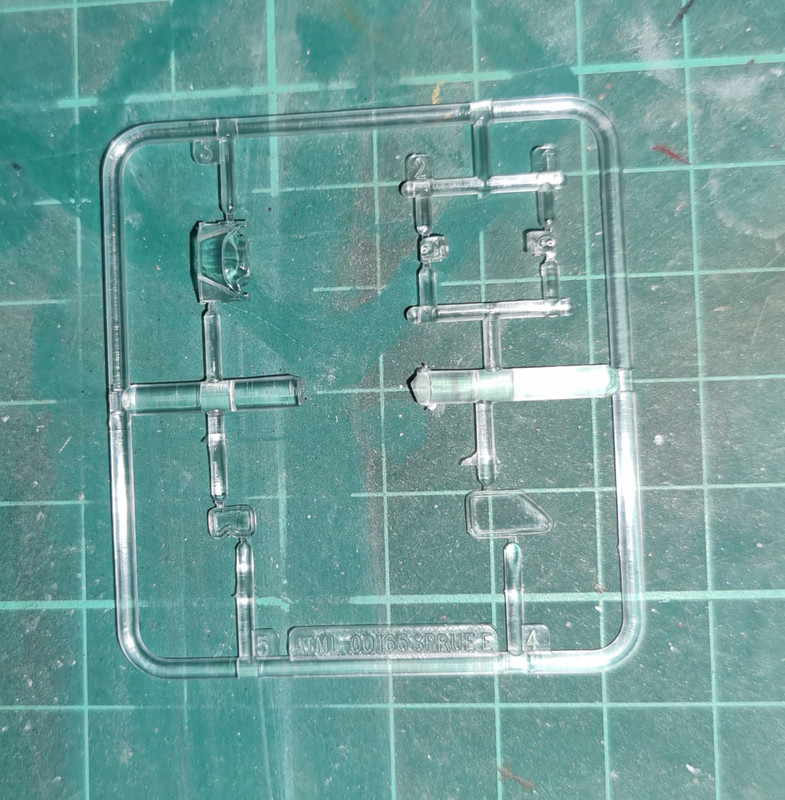
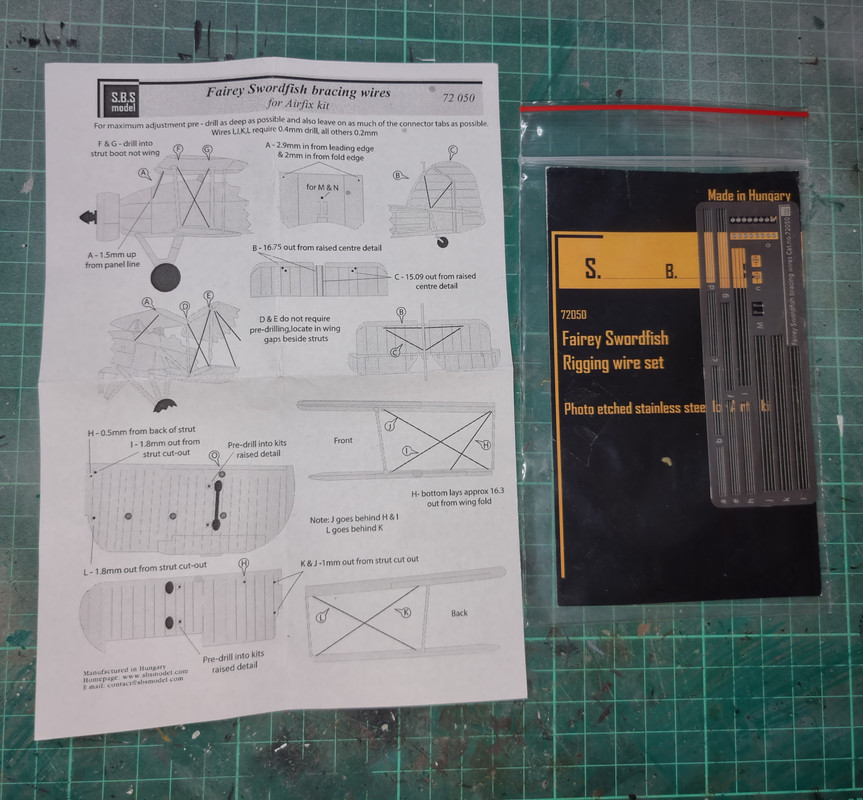
Rigging add-on
 The build
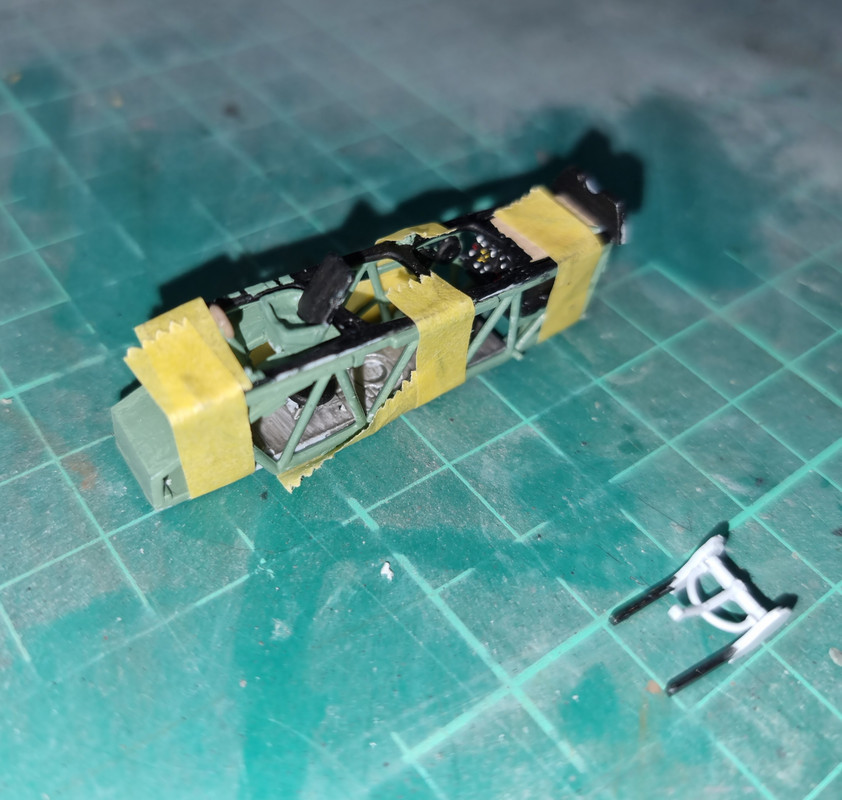
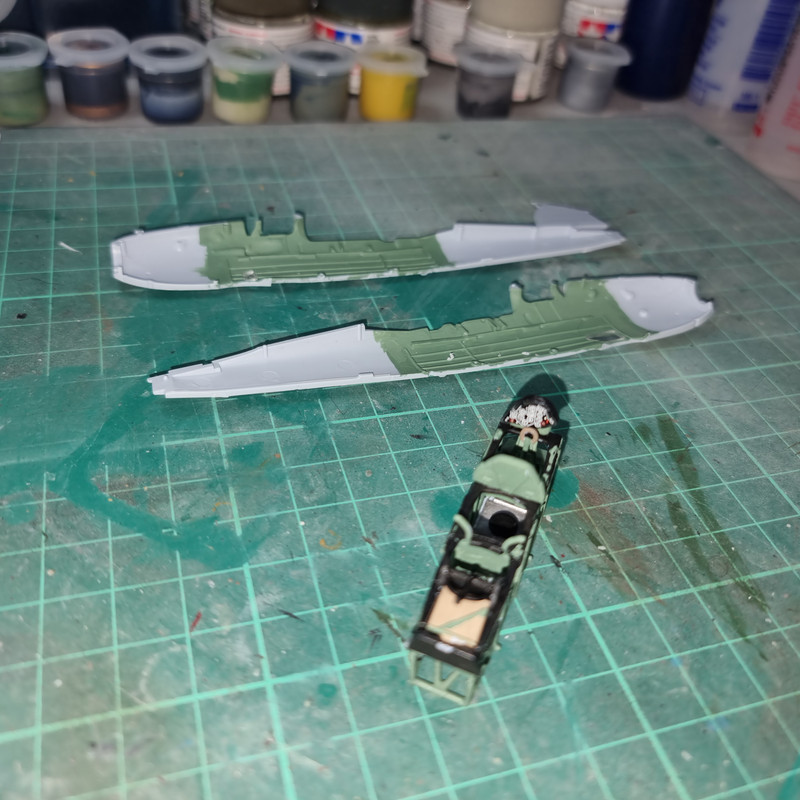
First assembly steps are the cockpit area. Taking the parts off the sprue and there was no flash and minimal seam lines. However the curse of Airfix became apparent yet again as the two side frames were warped - hence the excessive tape:
Once set the radio, upper bulkheads and instrument panel were added.
Re: Bomber Build 4 - Fairey Swordfish
Posted: Wed Apr 26, 2023 6:55 pm
by BigWall
Cool subject! You're really cranking out the kits!
Re: Bomber Build 4 - Fairey Swordfish
Posted: Wed Apr 26, 2023 7:21 pm
by KalebB
Excited to follow along to this, I've always found the Swordfish to be a very good looking bird

Re: Bomber Build 4 - Fairey Swordfish
Posted: Thu Apr 27, 2023 12:39 am
by digger303
Re: Bomber Build 4 - Fairey Swordfish
Posted: Thu Apr 27, 2023 12:45 am
by RangerNeil
BigWall wrote: Wed Apr 26, 2023 6:55 pm
Cool subject! You're really cranking out the kits!
The joys of being:
(a) Retired
(b) Now living in the back end of East Sussex
(c) Having Cold War Soviet Army living history as the other main hobby - and being banned from every event last year and this in case someone gets offended because of the Ukraine situation.
Leaves me at the bench instead of going ga-ga with boredom. Weather is improving though and the OH is making noises about garden tasks.

KalebB wrote: Wed Apr 26, 2023 7:21 pm
Excited to follow along to this, I've always found the Swordfish to be a very good looking bird
Many thanks - my other uncle (mums brother) flew in them during the war so I have a soft spot for them.

The large scale Trumpeter kit is in the stash too.
Re: Bomber Build 4 - Fairey Swordfish
Posted: Thu Apr 27, 2023 3:14 am
by digger303
RangerNeil wrote: Thu Apr 27, 2023 12:45 am
BigWall wrote: Wed Apr 26, 2023 6:55 pm
Cool subject! You're really cranking out the kits!
The joys of being:
(a) Retired
(b) Now living in the back end of East Sussex
(c) Having Cold War Soviet Army living history as the other main hobby - and being banned from every event last year and this in case someone gets offended because of the Ukraine situation.
Leaves me at the bench instead of going ga-ga with boredom. Weather is improving though and the OH is making noises about garden tasks.
KalebB wrote: Wed Apr 26, 2023 7:21 pm
Excited to follow along to this, I've always found the Swordfish to be a very good looking bird
Many thanks - my other uncle (mums brother) flew in them during the war so I have a soft spot for them.
The large scale Trumpeter kit is in the stash too.
I see the insomnia is still working it's magic

I've got the Mk1 Swordfish, what's yours and is there a big difference ?

Re: Bomber Build 4 - Fairey Swordfish
Posted: Thu Apr 27, 2023 1:32 pm
by RangerNeil
The Airfix one being built is also a Mk 1. The big Trumpeter one is also a Mk 1.
Talking Airfix - the one I built as a lad had underwing rocket racks and was only possible to build rigged for flight there was no glazing in the fuselage (this one has it) whilst the forward machine gun was moulded in. This one its a seperate part.
Same with the cockpit, this has much more detail. Oddly though the rear gun should be a single weapon and the old kit had this in better detail. The new one being built has a twin gun set up which are basically blobs of shape, no detail at all.....
Re: Bomber Build 4 - Fairey Swordfish
Posted: Thu Apr 27, 2023 10:52 pm
by RangerNeil
I had fun tonight - joining the fuselage halves...... That cockpit assembly is a TIGHT fit - and the fuselage is actually 3 pieces, left, right and base, the base not joining till later. I spent an age getting it lined up and and the gaps closed - then looked at the instructions and frantically pulled it apart again - I'd forgotten the nose machine gun that mounts inside the righthand fuselage.....
So - got that off the sprue, cleaned up, painted and fitted then spent another age getting it all to line up again.....
Next step was adding the tops of the stub wings to the fuselage base. Sounds simple - but!! - there are no locating pins. Its all done by feel making sure there are no ledges on the edges. Hopefilly I've got it right!!!
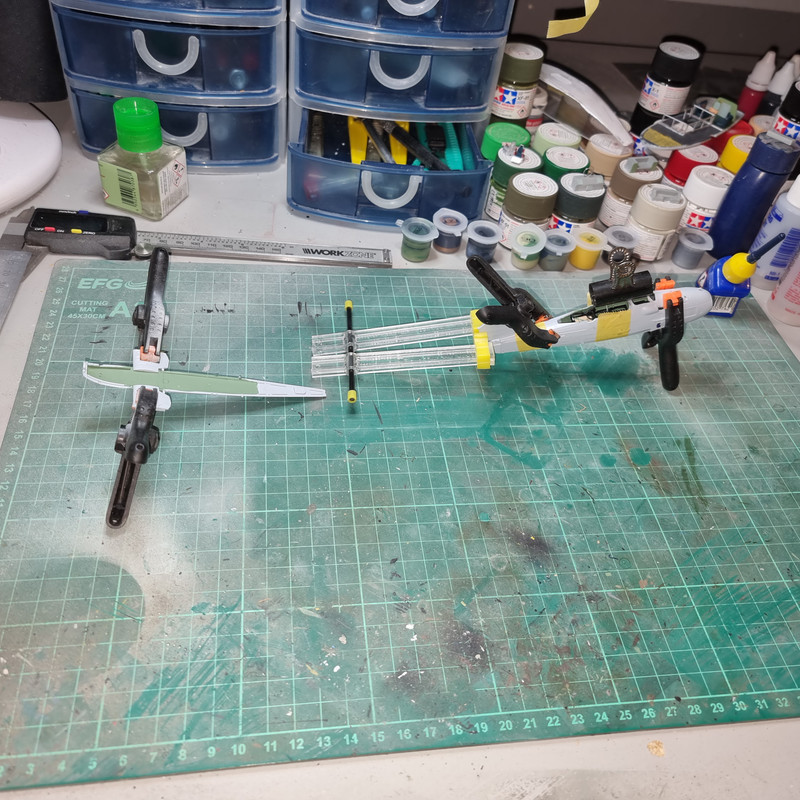
Letting this set overnight then tomorrow its a case of seam cleaning then fitting the base of the fuselage. I took the precaution of adding Maskol to the fuselage windows during the joining phase.
Iam also mindful of the fact I am getting very close to the point I need to start drilling very small holes in lots of places for the flying wires........
Re: Bomber Build 4 - Fairey Swordfish
Posted: Thu Apr 27, 2023 11:00 pm
by KalebB
Good thing you remembered the machine gun before the glue set up well
I'm sure drilling all those small holes for the wires will be an exercise in frustration as well

Looking good bud
Re: Bomber Build 4 - Fairey Swordfish
Posted: Fri Apr 28, 2023 1:13 am
by digger303
Re: Bomber Build 4 - Fairey Swordfish
Posted: Fri Apr 28, 2023 11:25 pm
by RangerNeil
Indeed it is Digger.
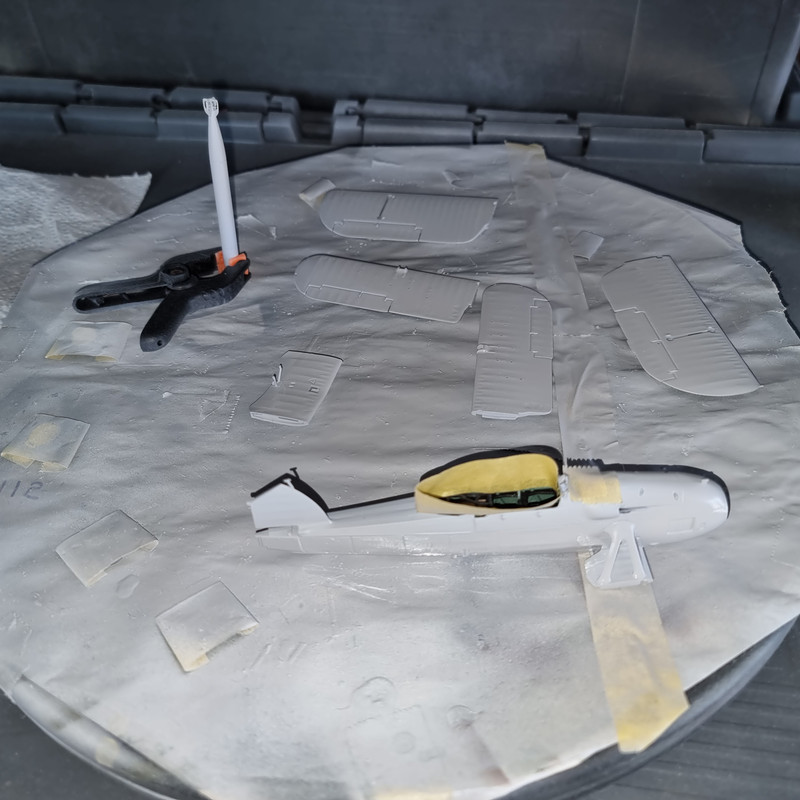
But I've now reached the stage where the major sub-assemblies are done and primed and its now time to look at drilling holes.
Cue minor hiccup!! The instructions for the rigging require maybe a dozen holes @ 0.2mm dia and 4 holes @ 0.4mm dia. The smallest drill bit I have is 0.49mm....
So I've ordered a couple of both 0.2mm and 0.4mm sizes and they are due around May 9th. It just means work will have to stop until they arrive.
Re: Bomber Build 4 - Fairey Swordfish
Posted: Sat Apr 29, 2023 12:40 am
by digger303
I'm really interested in how you tackle the rigging. What material you choose, why and how to go about making it tight if you use something other than ezi rigging.
Re: Bomber Build 4 - Fairey Swordfish
Posted: Sat Apr 29, 2023 2:33 pm
by RangerNeil
digger303 wrote: Sat Apr 29, 2023 12:40 am
I'm really interested in how you tackle the rigging. What material you choose, why and how to go about making it tight if you use something other than ezi rigging.
This one is - relatively- simple mate the rigging is all stainless steel Photo-Etch. Without trying it yet I gather the idea is drilling holes in the locations they specify (and they give dimensions to locate the positions), badding some CA in and then poking the end of the relevant PE piece in.
I've been talking to a chap on a facebook group, though, who just finished a HP 0/400. He recommended using 4lb breaking strain fishing line. He used a 0.6mm drill for the extra holes and used UV setting glue as he felt it was more controllable than normal CA.
Re: Bomber Build 4 - Fairey Swordfish
Posted: Sat Apr 29, 2023 2:53 pm
by digger303
RangerNeil wrote: Sat Apr 29, 2023 2:33 pm
digger303 wrote: Sat Apr 29, 2023 12:40 am
I'm really interested in how you tackle the rigging. What material you choose, why and how to go about making it tight if you use something other than ezi rigging.
This one is - relatively- simple mate the rigging is all stainless steel Photo-Etch. Without trying it yet I gather the idea is drilling holes in the locations they specify (and they give dimensions to locate the positions), badding some CA in and then poking the end of the relevant PE piece in.
I've been talking to a chap on a facebook group, though, who just finished a HP 0/400. He recommended using 4lb breaking strain fishing line. He used a 0.6mm drill for the extra holes and used UV setting glue as he felt it was more controllable than normal CA.
I can see how the UV setting glue could be useful.
Some fishing line is slightly elastic too.
Re: Bomber Build 4 - Fairey Swordfish
Posted: Sat Apr 29, 2023 6:31 pm
by KalebB
It'll be very interesting to see the rigging once it's all been drilled and set in place, very cool stuff sir!
Re: Bomber Build 4 - Fairey Swordfish
Posted: Fri May 05, 2023 11:54 pm
by RangerNeil
Drills arrived for this and I went to make the holes for the rigging today. Having marked the panels I went to drill the holes - and ran into a problem!!
The pin vice I use is bending the 0.2mm drill bit before I can start making the holes - and its fully tightened but barely gripping the bit:
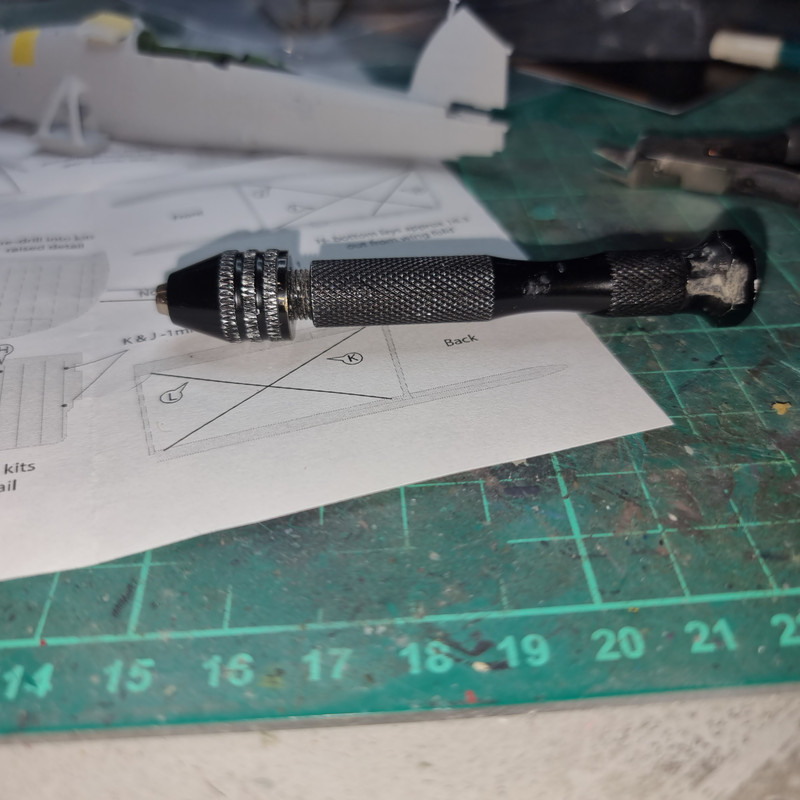
Does anyone know if you can get a smaller, lighter pin vice that would be more suitable??
Re: Bomber Build 4 - Fairey Swordfish
Posted: Sat May 06, 2023 2:15 am
by KalebB
Unfortunate to hear about the pin vise! I'm sure you will figure something out Neil
Re: Bomber Build 4 - Fairey Swordfish
Posted: Sat May 06, 2023 2:38 am
by digger303
You could Ca glue it in, just at the jaws. It should free up easy enough when you remove the bit with a couple of taps.
Could try wrapping masking tape around the bit....not easy.
Use the tungsten bits with a larger shank, but almost guaranteed to break it.
Buy a better quality pin vise.
These are my thoughts in order of preference for the grip problem.
Unfortunately the drill bit bending is going to be a matter of skill and patience. I've been toying with the idea of buying a mini drill bench press.
It makes these types of problems less so.
Re: Bomber Build 4 - Fairey Swordfish
Posted: Sat May 06, 2023 10:54 am
by Garion77
RangerNeil wrote: Fri May 05, 2023 11:54 pm
Drills arrived for this and I went to make the holes for the rigging today. Having marked the panels I went to drill the holes - and ran into a problem!!
The pin vice I use is bending the 0.2mm drill bit before I can start making the holes - and its fully tightened but barely gripping the bit:
Does anyone know if you can get a smaller, lighter pin vice that would be more suitable??
there's a tamiya one that I have to does all from 0,2 to 2 mm if I remember right, but the one I have is a bit heavy but I like that way. And there's dspiae one. And the tamiya's drill bit are solid too...more than no name brands I tried. In 6 years I broke only one and by my fault. But I think the smallest bit they have is 0,3 mm
Re: Bomber Build 4 - Fairey Swordfish
Posted: Fri May 26, 2023 10:23 pm
by RangerNeil
Progress today.....
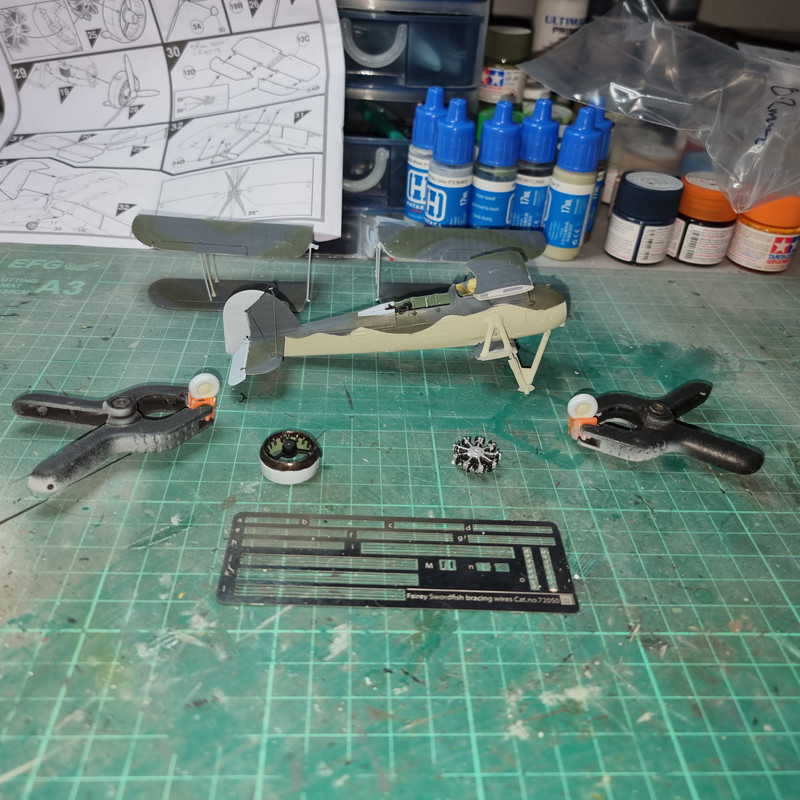
Firstly made a start on the rigging. An "interesting" experience. It was the devils own job getting the rigging wire into those 0.2mm holes and stainless steel is not particularly bendy Thus far wires A, B & C are installed. Wire A was long enough to seat in both holes but wires B & C weren't that long - barely enough to reach from one hole to the other. Luckily that was enough.
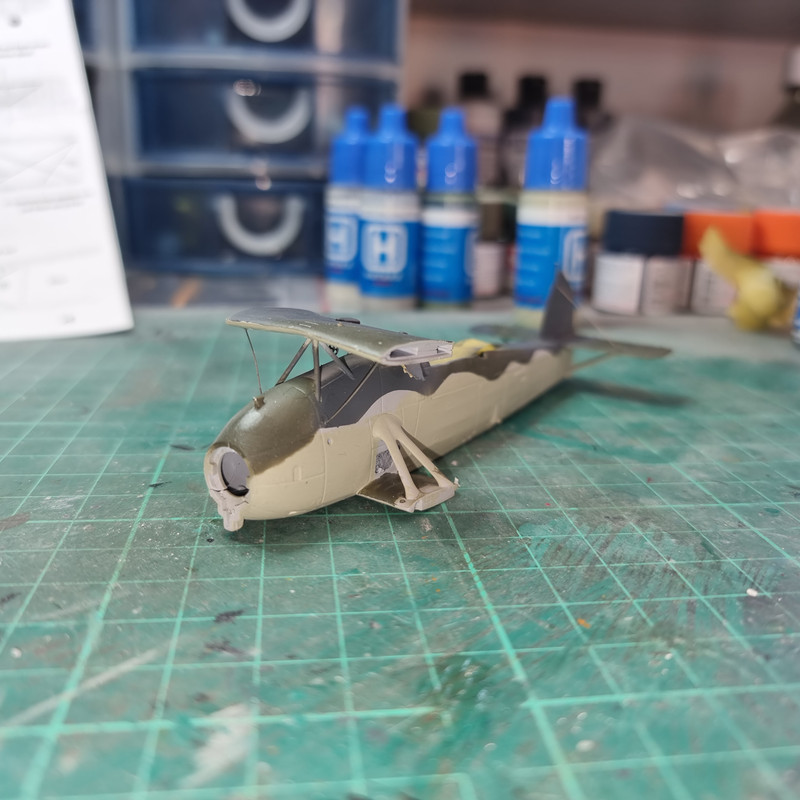
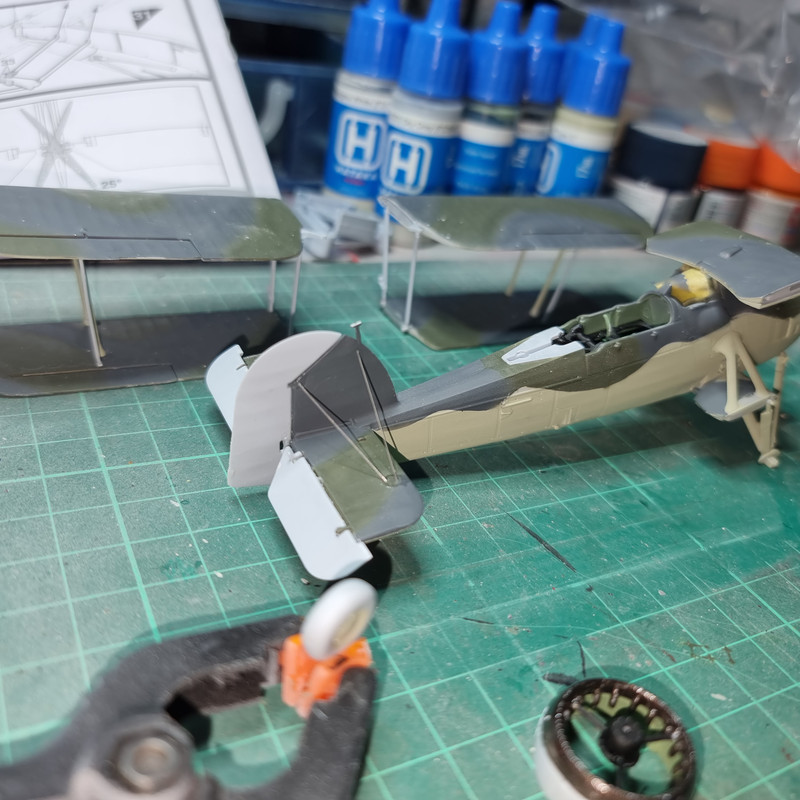
Wings are assembled and being left to dry overnight. Then the rigging wires can be done on these assemblies. Going to be interesting as I still have to drill 0.2mm holes into the strut boots.....
Re: Bomber Build 4 - Fairey Swordfish
Posted: Sat May 27, 2023 1:16 am
by digger303
Looking good.
Did you hand paint this too ?
You'll have it nearly done tonight.
Re: Bomber Build 4 - Fairey Swordfish
Posted: Sat May 27, 2023 1:24 am
by KalebB
Lovely looking aircraft, can't wait to see it with the wings attached!
Re: Bomber Build 4 - Fairey Swordfish
Posted: Mon May 29, 2023 2:01 am
by RangerNeil
Spent the evening rigging the wings. I have to say this is not the best or easiest of jobs!!
Lessons learnt are -
* Drill the holes AFTER painting if using an airbrush. Otherwise they fill up with paint (oddly this is not the case when using a brush...)
* Use a slow setting CA adhesive - else its drying before you can pick the itsy-bitsy little wires up.
Doesn't look so bad though.
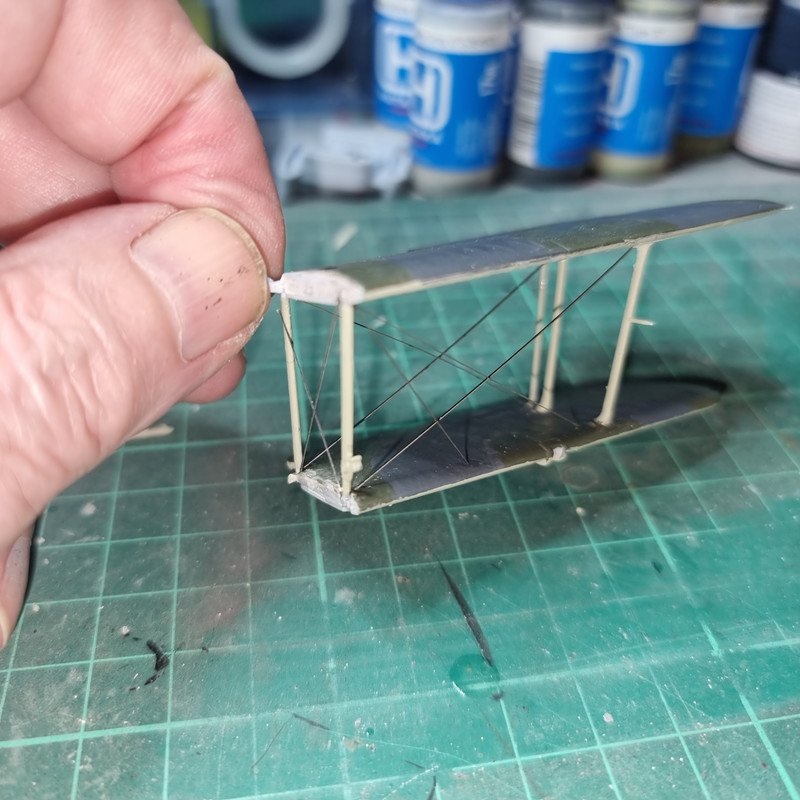
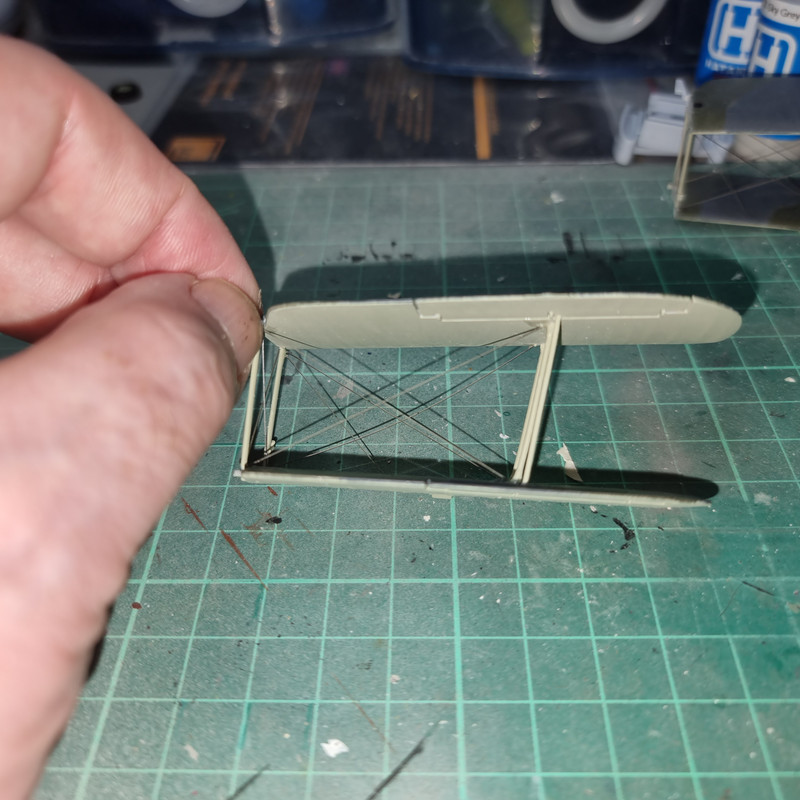
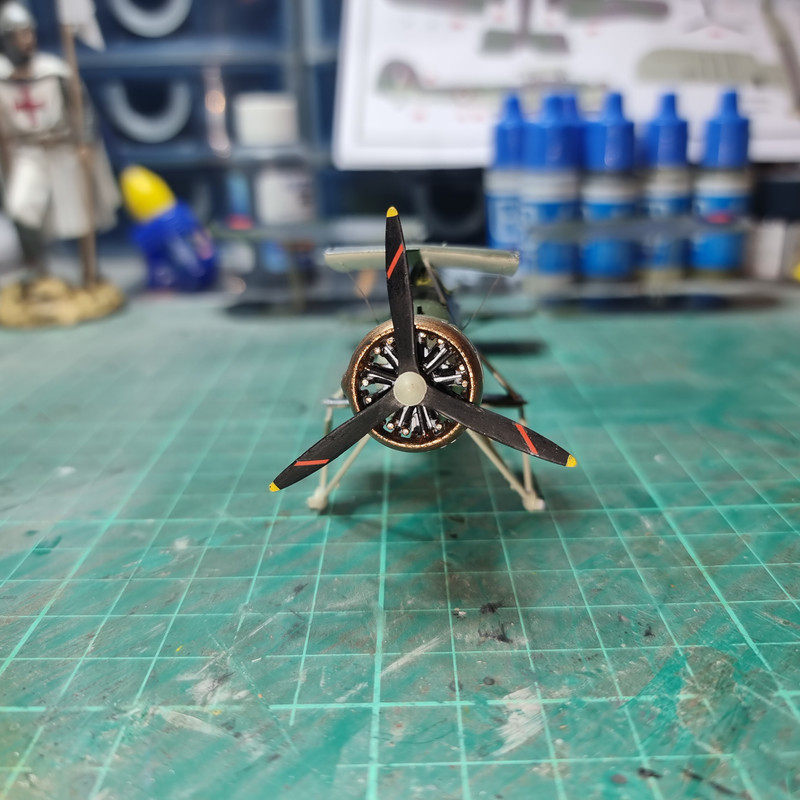
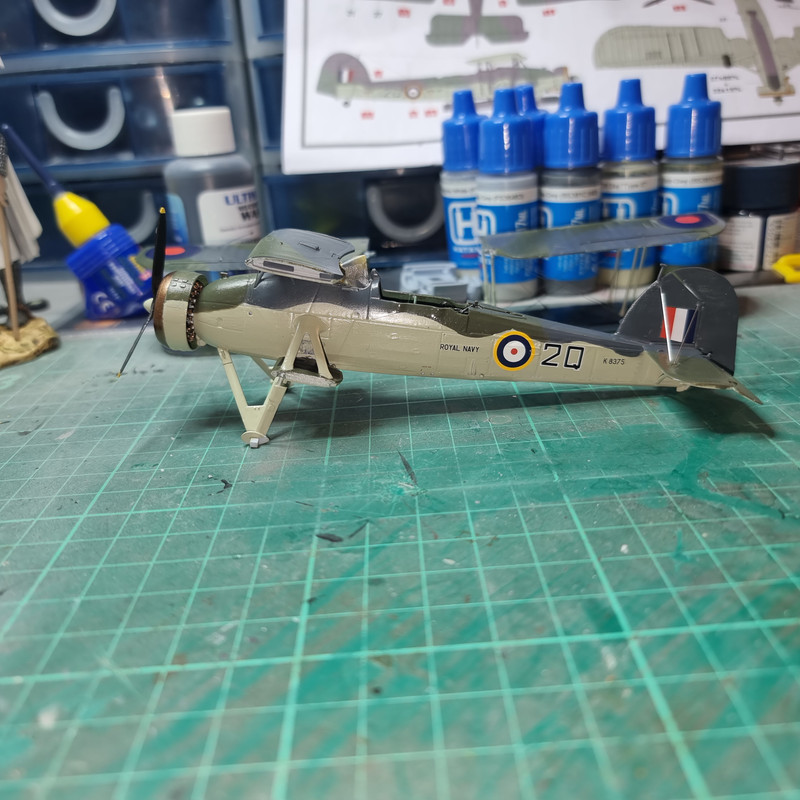
Got some paint issues to sort out then everything gets a coat of gloss top coat and the decals can go on followed by a satin top coat. Then I can assemble the wings to the fuselage....
Re: Bomber Build 4 - Fairey Swordfish
Posted: Tue May 30, 2023 3:04 am
by RangerNeil
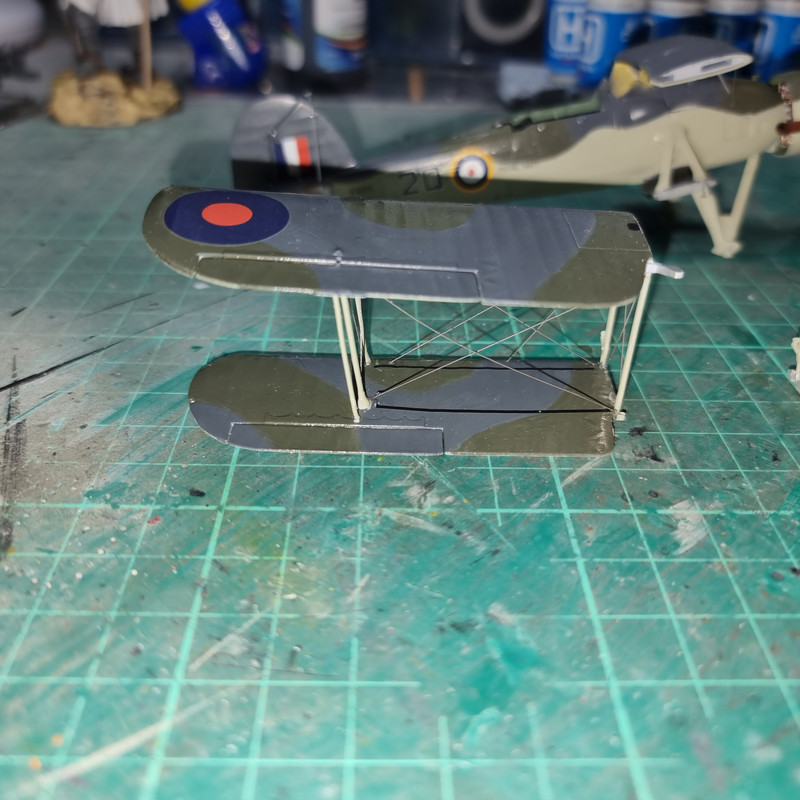
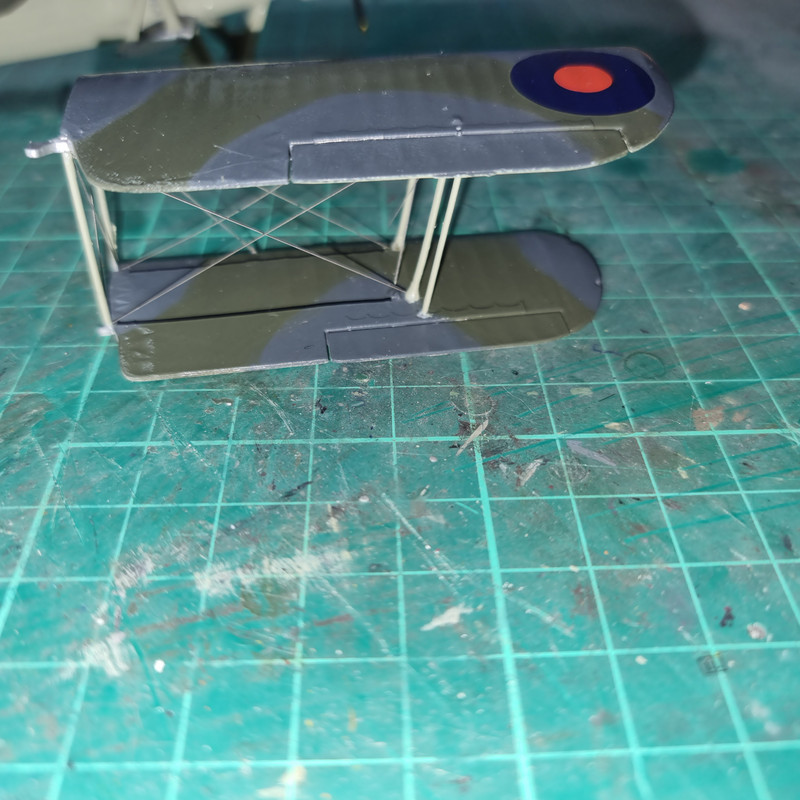
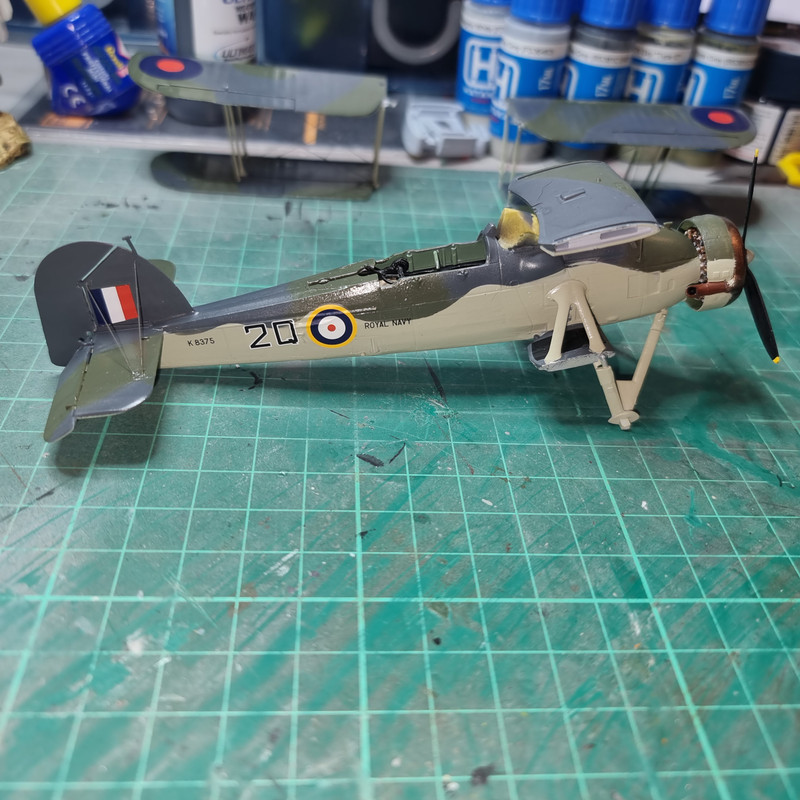
Decals are on!!! Add to the lessons learnt:
* Apply any decals that sit inside the flying wires before adding them!!
Getting those black lines down inside the flying wires was a nightmare. But its all done now and drying overnight. I'll check the fuselage roundels tomorrow morning to make sure they've conformed properly and if they have its time for a coat of matt clear coat and then assembly can continue.
Have I observed before that insomnia is a right royal PITA?
Re: Bomber Build 4 - Fairey Swordfish
Posted: Tue May 30, 2023 6:35 am
by digger303
Insomnia maybe the way to get all the kits in a stash built

Re: Bomber Build 4 - Fairey Swordfish
Posted: Wed May 31, 2023 9:54 pm
by dogsbody
RangerNeil wrote: Thu Apr 27, 2023 1:32 pm
Oddly though the rear gun should be a single weapon and the old kit had this in better detail. The new one being built has a twin gun set up which are basically blobs of shape, no detail at all.....
I think you are quite mistaken! I've just looked through the instructions of 6 variations of this kit that Airfix has so far released and not one mentions or shows more than the single gun.
Other than this point, your build so far looks great!
Chris
Re: Bomber Build 4 - Fairey Swordfish
Posted: Wed May 31, 2023 10:46 pm
by ForeverPlasticKits
The Swordfish isn't the best plane of WW2 but whatever, it did her duty specially against german heavy battleships! Nice build on this lovely kit.

Re: Bomber Build 4 - Fairey Swordfish
Posted: Thu Jun 01, 2023 1:36 am
by RangerNeil
dogsbody wrote: Wed May 31, 2023 9:54 pm
RangerNeil wrote: Thu Apr 27, 2023 1:32 pm
Oddly though the rear gun should be a single weapon and the old kit had this in better detail. The new one being built has a twin gun set up which are basically blobs of shape, no detail at all.....
I think you are quite mistaken! I've just looked through the instructions of 6 variations of this kit that Airfix has so far released and not one mentions or shows more than the single gun.
Other than this point, your build so far looks great!
Chris
You are correct sir!! I mistook the supports for the mount as the actual gun itself. The instructions I have show the gun being fitted as one of the final operations and I hadn't looked that far ahead.
Re: Bomber Build 4 - Fairey Swordfish
Posted: Thu Jun 01, 2023 9:15 pm
by RangerNeil
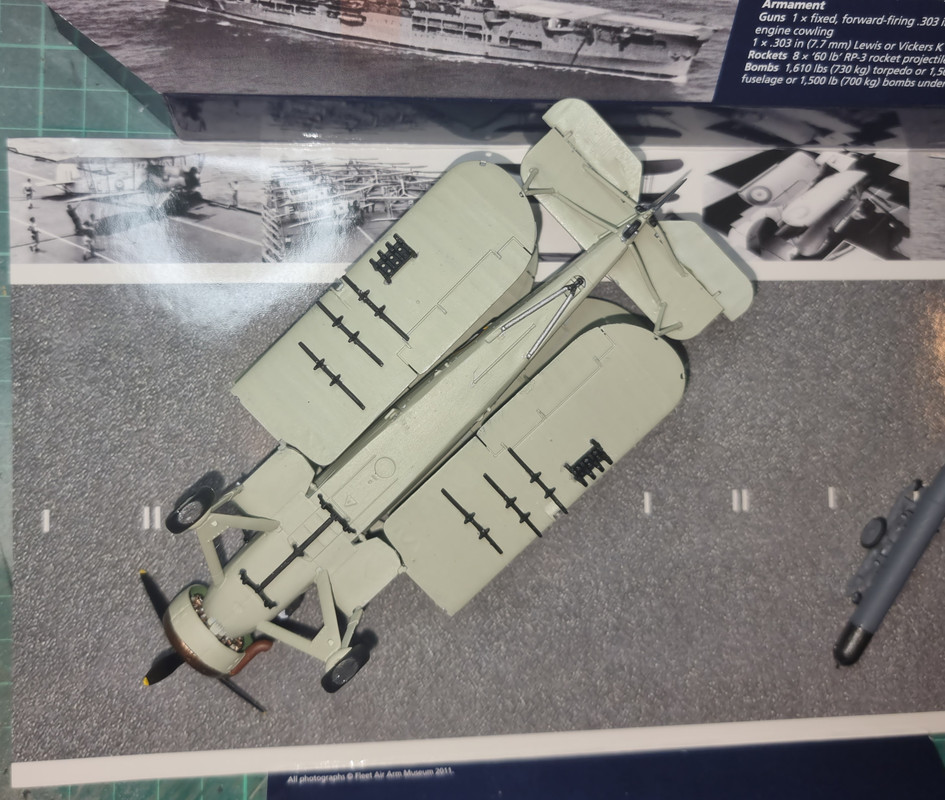
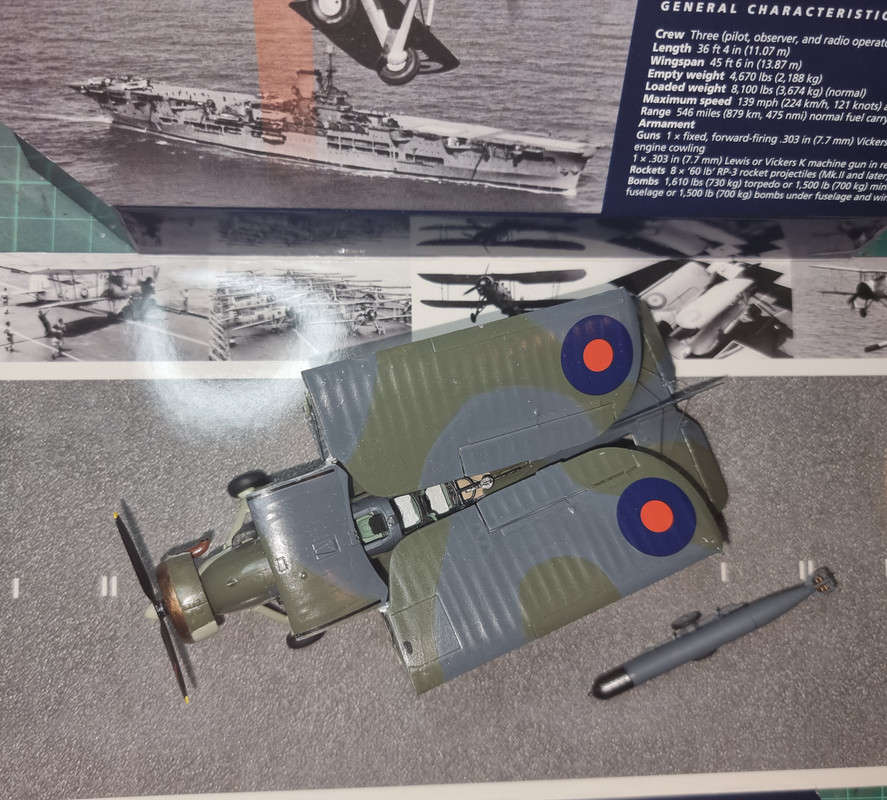
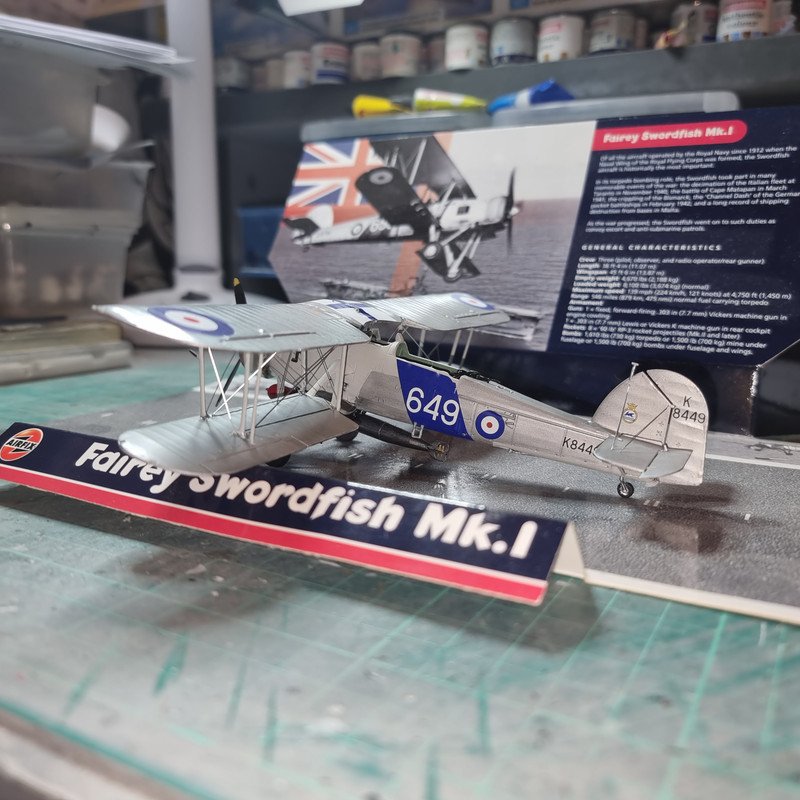
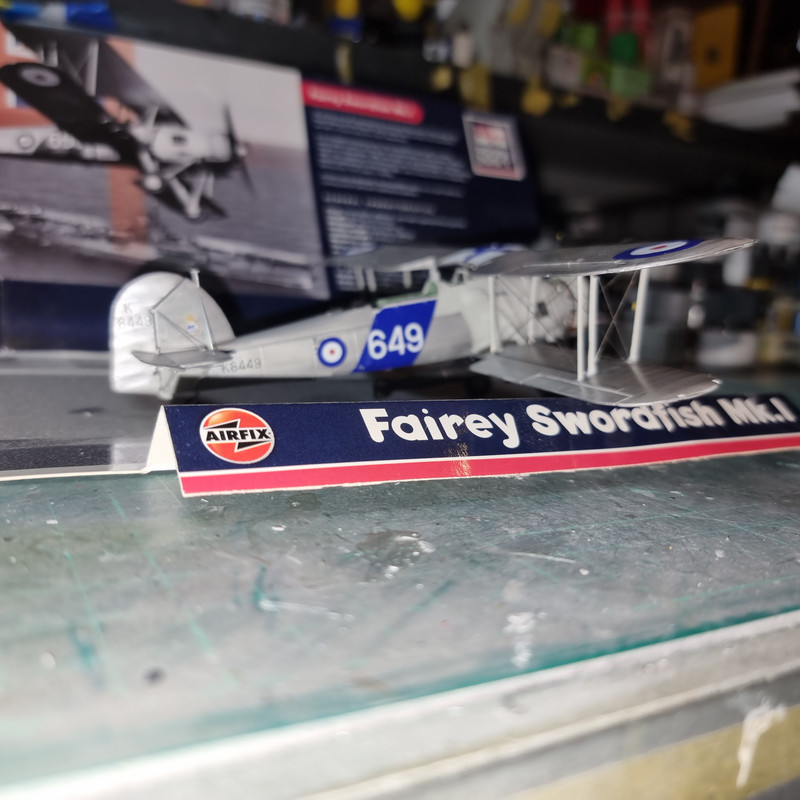
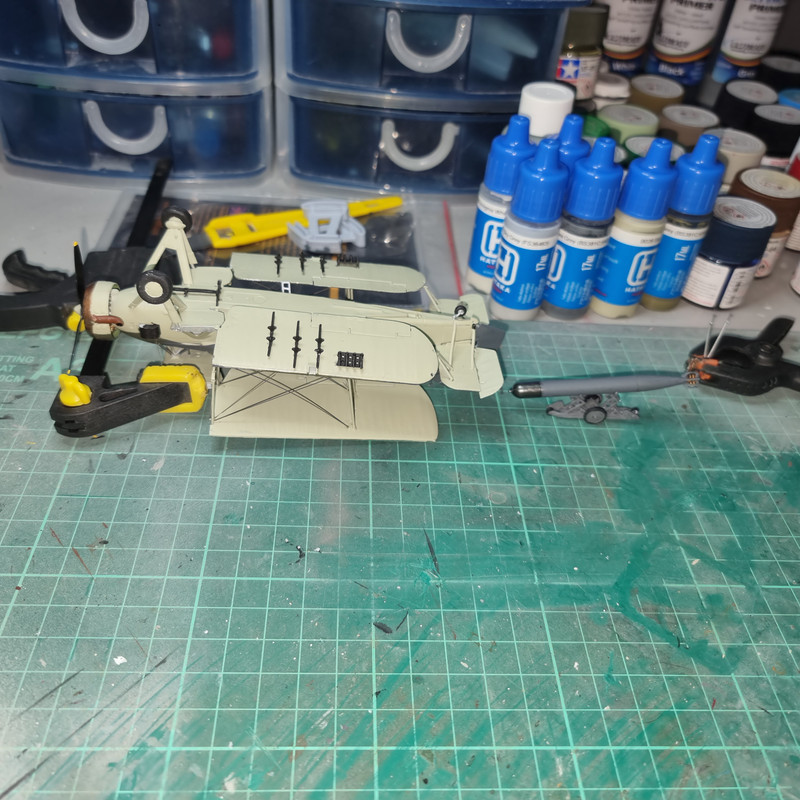
Wings are on in the folded position - a fiddly job as the only positive locator is the upper hinge. The lower is a little nub that sort of fits into a little pocket on the lower wing stub and the rear catches are butt-joined to the underside of the tailplane. But I got there in the end.
The clamp is there because the end cap on one side of the upper centre wing suction would not sit flat. So there are just the odds and ends to do now - arrester hook, rear gun and its finished.
Re: Bomber Build 4 - Fairey Swordfish
Posted: Fri Jun 02, 2023 12:51 am
by digger303
Re: Bomber Build 4 - Fairey Swordfish
Posted: Fri Jun 02, 2023 1:42 am
by RangerNeil
Re: Bomber Build 4 - Fairey Swordfish
Posted: Fri Jun 02, 2023 6:27 am
by digger303
Re: Bomber Build 4 - Fairey Swordfish
Posted: Fri Jun 02, 2023 12:55 pm
by RangerNeil
Thanks for the kind words chaps
Much appreciated!!
Re: Bomber Build 4 - Fairey Swordfish
Posted: Fri Jun 02, 2023 6:10 pm
by BigWall
It came out great! I like it with the wings folded up. A sister with the wings extended would be nice as well.
Re: Bomber Build 4 - Fairey Swordfish
Posted: Sat Jun 03, 2023 12:57 am
by RangerNeil
BigWall wrote: Fri Jun 02, 2023 6:10 pm
It came out great! I like it with the wings folded up. A sister with the wings extended would be nice as well.
Thanks for the kind words.
I am pleased with how the wings folded look turned out too.
I've been perusing eBay today looking for another to build rigged for flight and "bombed up" as it were.....
Re: Bomber Build 4 - Fairey Swordfish
Posted: Sun Dec 03, 2023 9:43 pm
by RangerNeil
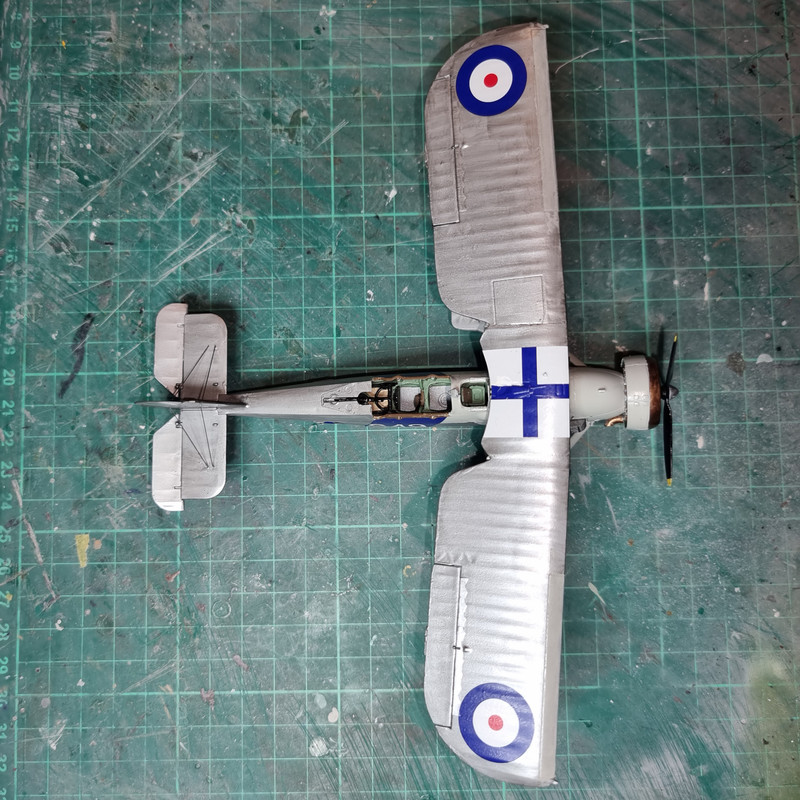
Lost patience with the Mil's tonight and remembered I'd put the flight rigged Swordfish aside as the Helicopter build started because I'd been waiting for the PE rigging to arrive. It had arrived a while back but the Mi-V-12 was taking all my time.
Anyways, I dug the Stringbag out tonight and started adding the rigging wires.
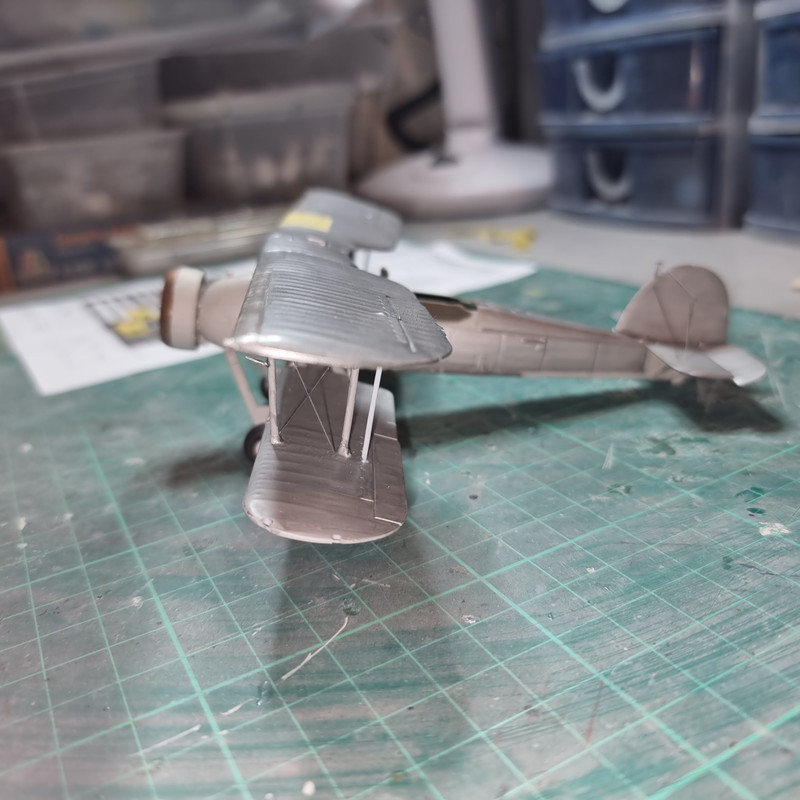
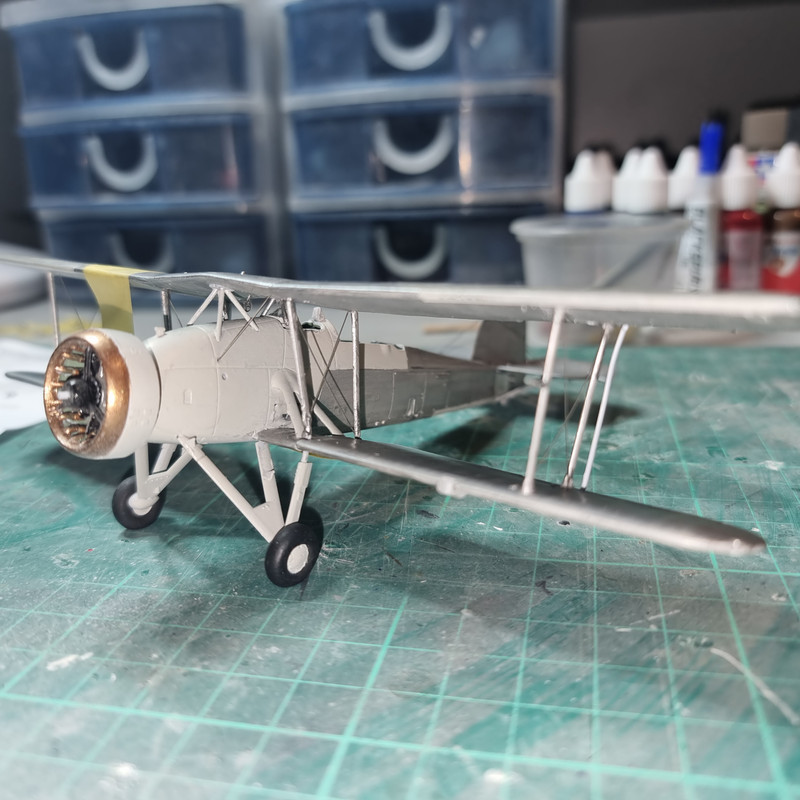
Just the main wires to add and then decals.
Didn't add the build pictures because until now its been the same as the folded wings version.
Re: Bomber Build 4 - Fairey Swordfish
Posted: Sun Dec 03, 2023 11:59 pm
by digger303
Re: Bomber Build 4 - Fairey Swordfish
Posted: Mon Dec 04, 2023 7:52 am
by Stokesy44
Sorry I missed this. Lovely build, the rigging adds that extra quality and it looks superb.
Re: Bomber Build 4 - Fairey Swordfish
Posted: Mon Dec 04, 2023 3:37 pm
by Tomcat64
Another catch up job for me too
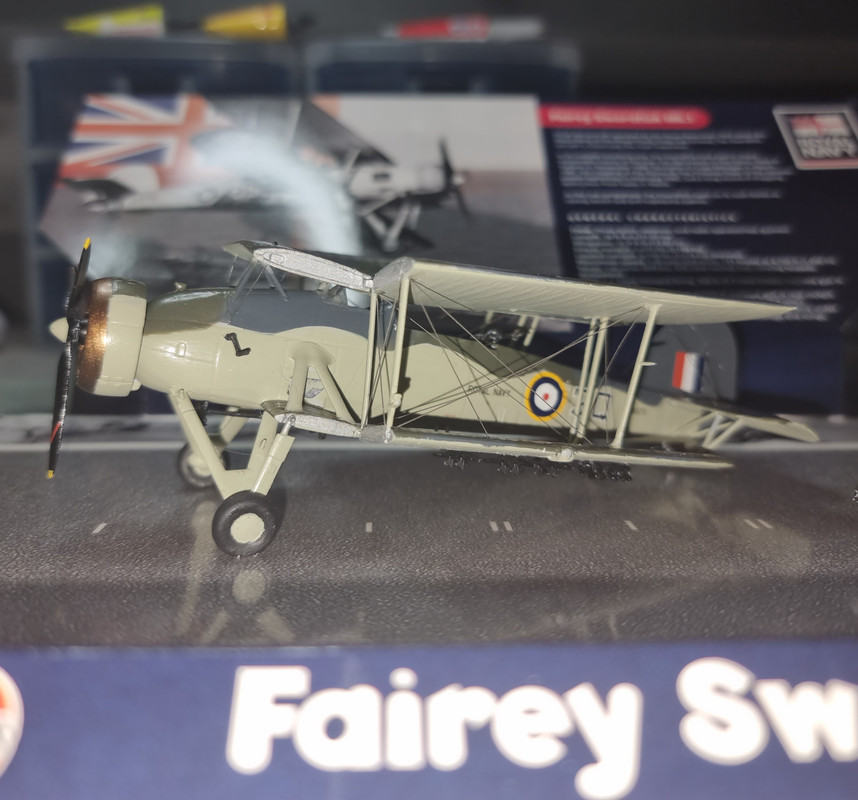
The finished one with the folded wings looks superb, looking forward to seeing the flight-rigged one finished up now

Re: Bomber Build 4 - Fairey Swordfish
Posted: Wed Dec 06, 2023 1:03 am
by RangerNeil
Re: Bomber Build 4 - Fairey Swordfish
Posted: Fri Dec 08, 2023 2:53 pm
by Tomcat64
Nice!
Great to see the two competely different schemes for contrast
Re: Bomber Build 4 - Fairey Swordfish
Posted: Fri Dec 08, 2023 5:37 pm
by smokeriderdon
Well done sir! Looks great.
Re: Bomber Build 4 - Fairey Swordfish
Posted: Fri Dec 08, 2023 10:16 pm
by DRUMS01
Looks really nice! One of these days I'm going to build one of those
Good work my friend
Re: Bomber Build 4 - Fairey Swordfish
Posted: Fri Dec 08, 2023 10:58 pm
by digger303
DRUMS01 wrote: Fri Dec 08, 2023 10:16 pm
Looks really nice! One of these days I'm going to build one of those
Good work my friend
Me too
Re: Bomber Build 4 - Fairey Swordfish
Posted: Sat Dec 09, 2023 1:41 am
by RangerNeil
Tomcat64 wrote: Fri Dec 08, 2023 2:53 pm
Nice!
Great to see the two competely different schemes for contrast
smokeriderdon wrote: Fri Dec 08, 2023 5:37 pm
Well done sir! Looks great.
DRUMS01 wrote: Fri Dec 08, 2023 10:16 pm
Looks really nice! One of these days I'm going to build one of those
Good work my friend
digger303 wrote: Fri Dec 08, 2023 10:58 pm
DRUMS01 wrote: Fri Dec 08, 2023 10:16 pm
Looks really nice! One of these days I'm going to build one of those
Good work my friend
Me too
Thank you all for the kind words - they are much appreciated.
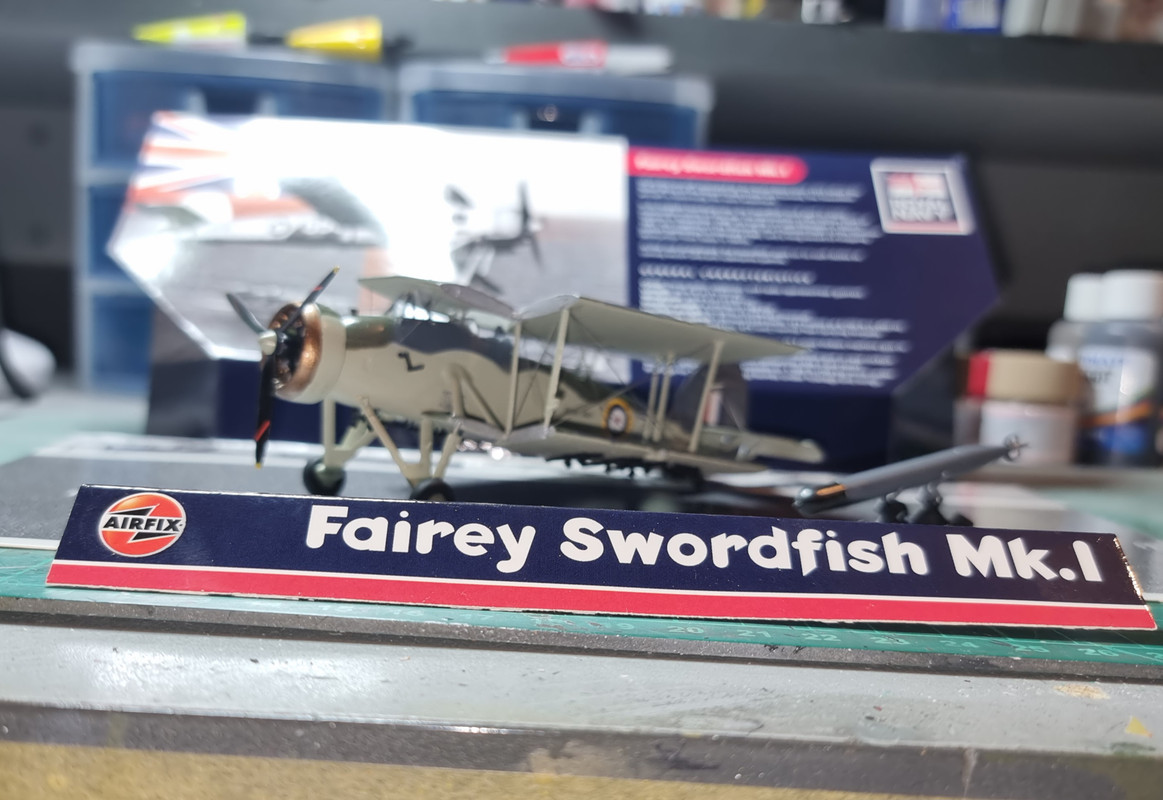
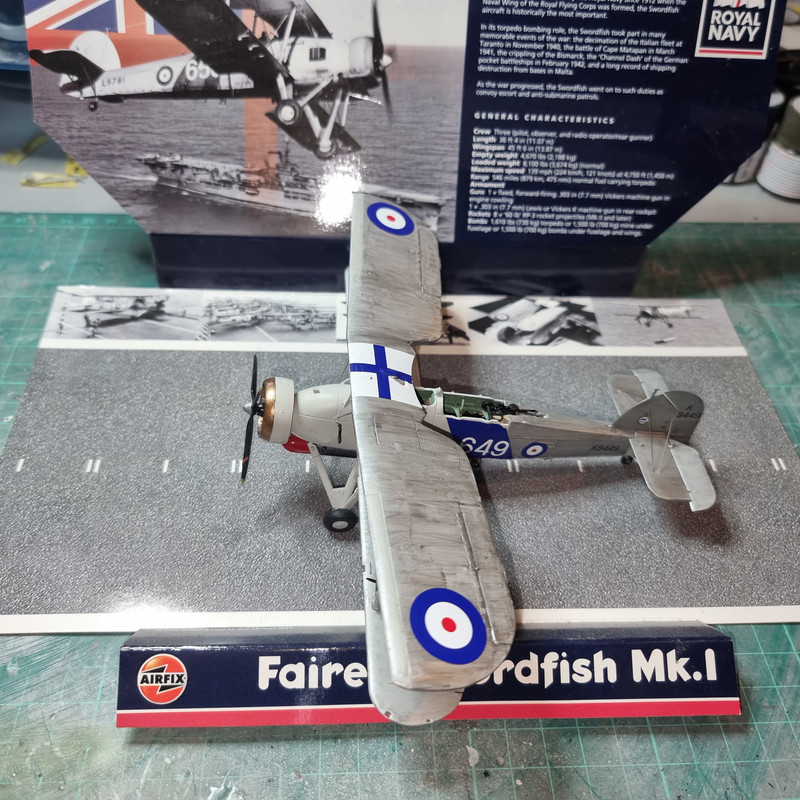
Today a final coat of satin varnish was applied and the masking removed from the windscreen and side glazing so I am now calling this one done!