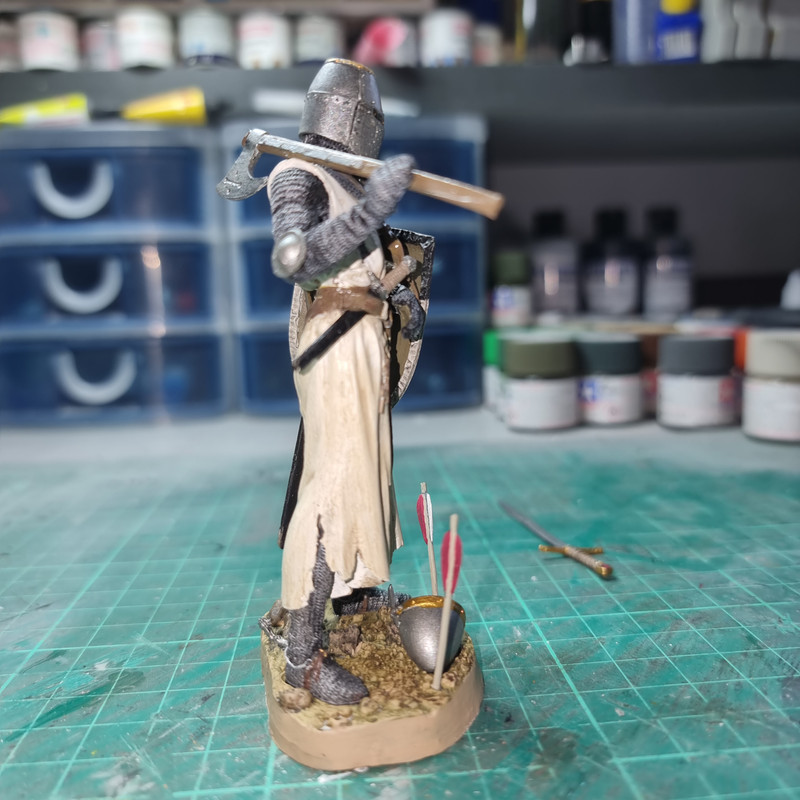
The - kits? - for my entry arrived today. Bear in mind the caveat when reading this that I have NEVER done this before.
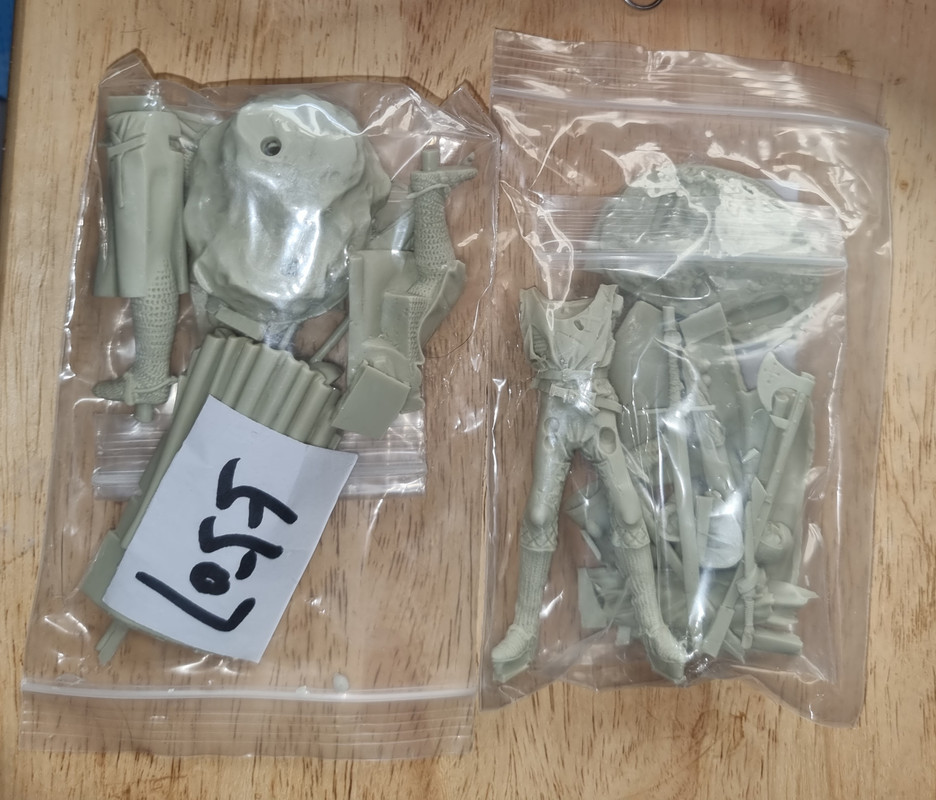
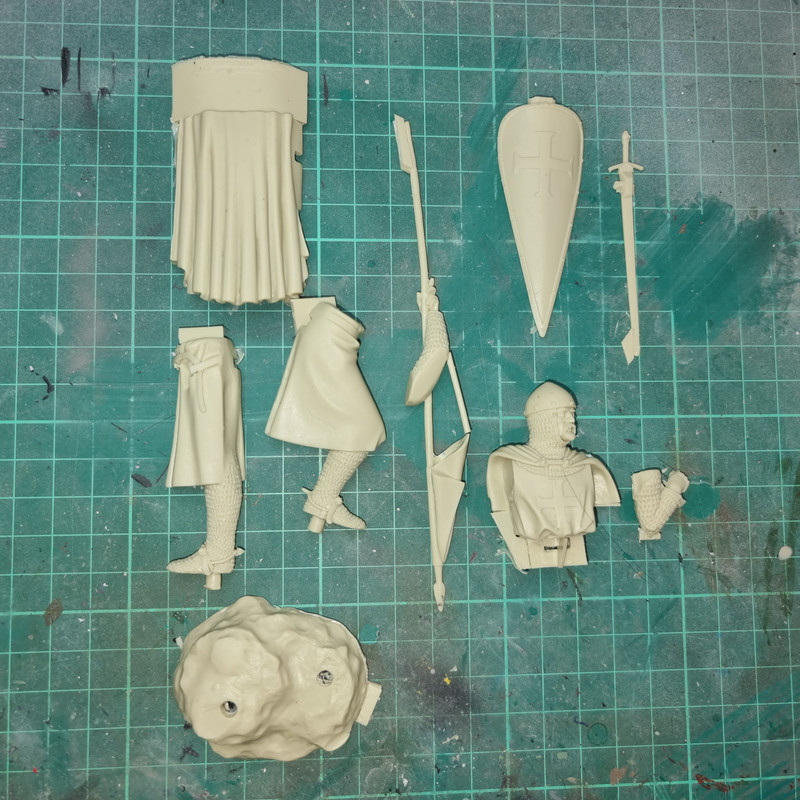
These are the kits as delivered:
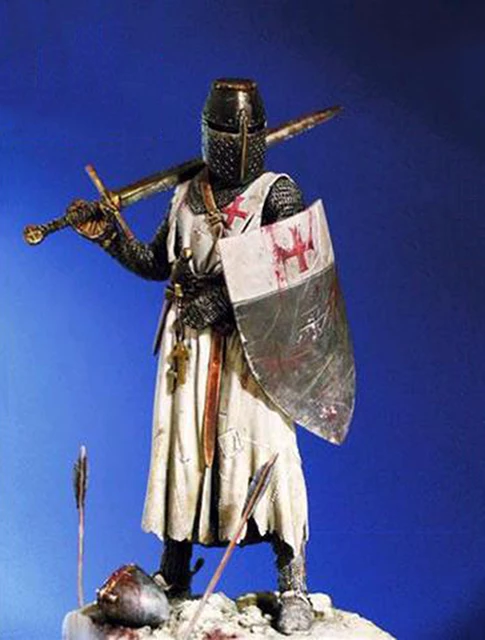
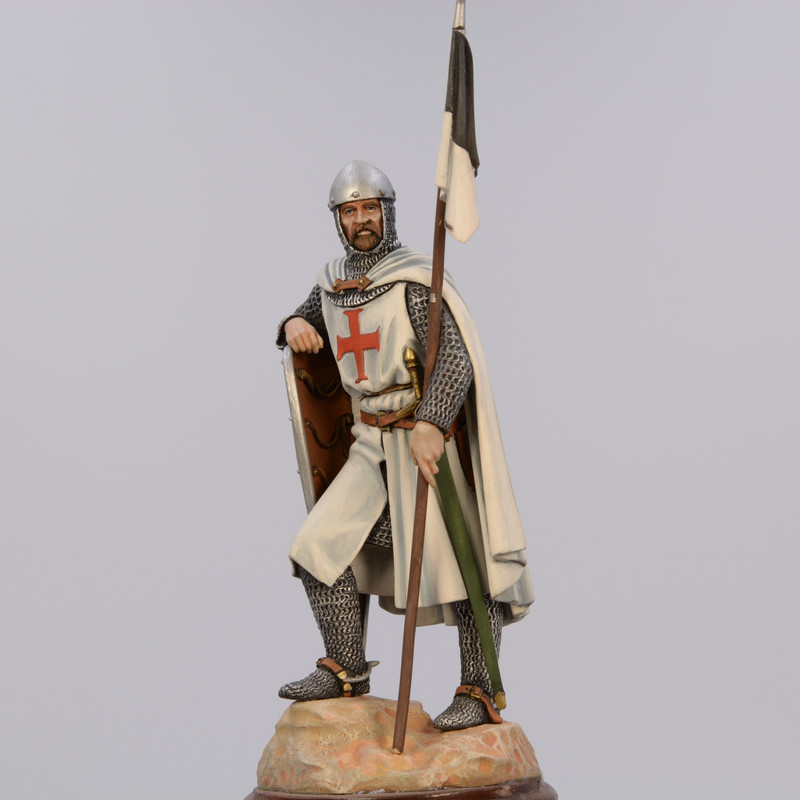
Which are supposed to look like this:
What they wil actually look like is anybodys guess!! One is a Templar Knight of the 1100's, the other a Knight of the 1300's - Hence the "First and Last".
Going to be quite an interesting learning experience!!
Re: My entry..... The first and the last
Posted: Thu May 04, 2023 7:02 pm
by Twokidsnosleep
Oh cool!
Will you make the coconuts too???
Re: My entry..... The first and the last
Posted: Thu May 04, 2023 7:26 pm
by KalebB
Like Twokids, I instantly thought of Monty Python
Can't wait to see what you do with them Neil
Re: My entry..... The first and the last
Posted: Thu May 04, 2023 9:09 pm
by RangerNeil
Well - it's going to be a while before anyone see's anything, got to finish the current projects on the go.
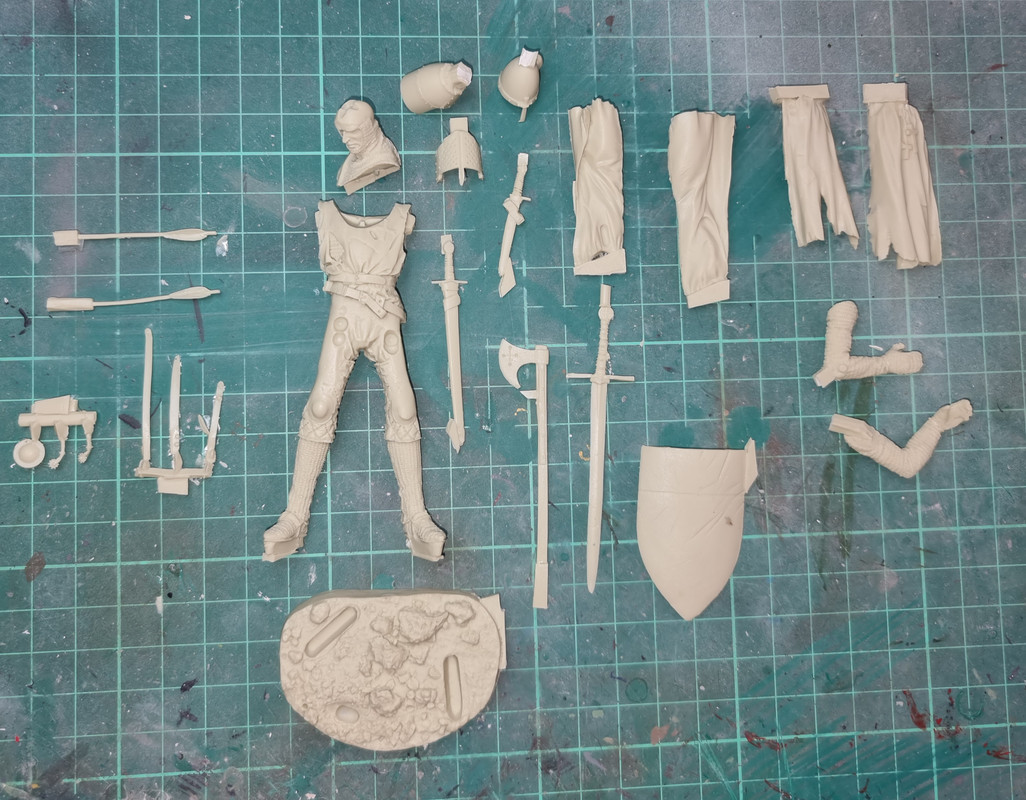
However - just as a taster - here's the unboxing (unbagging??)......
First one.
Second one.
As you can see - when I do start there is going to be a LOT of cleaning up to be done before anything else can happen. And just to add to the mix - neither came with assembly instructions or images. Not an issue with the first but there are a fair few bits with no apparent location.
Re: My entry..... The first and the last
Posted: Fri May 05, 2023 1:07 am
by digger303
Re: My entry..... The first and the last
Posted: Fri May 05, 2023 2:43 am
by Twokidsnosleep
KalebB wrote: Thu May 04, 2023 7:26 pm
Like Twokids, I instantly thought of Monty Python
Can't wait to see what you do with them Neil
Absolutely Python!
I am keeping an eye out for figures, have to make a Python Black Knight dio now
KalebB wrote: Thu May 04, 2023 7:26 pm
Like Twokids, I instantly thought of Monty Python
Can't wait to see what you do with them Neil
Absolutely Python!
I am keeping an eye out for figures, have to make a Python Black Knight dio now
"Tis but a scratch!"
I do think the dio will be missing limbs
Re: My entry..... The first and the last
Posted: Mon May 08, 2023 3:09 am
by RangerNeil
And so it begins...... <cue dramatic music!!>
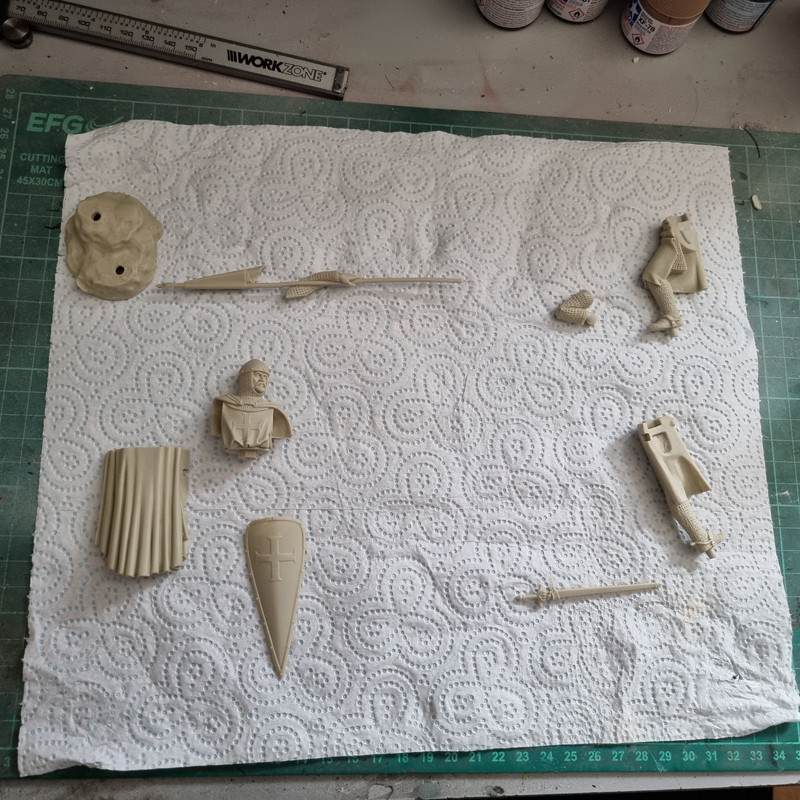
I've made a start on the first figure tonight - and by start I mean 2 hours of cleaning up..... Right now we are this stage:
Still got a chunk to clean off inside the top of the shield. I think tomorrow I'll try using a rotary tool with a burr (wearing a face mask) to get that out. This is the simplest of the two and already I can see I am going go needsome slow action CA adhesive as getting things to line up is a drawn out affair!!
Re: My entry..... The first and the last
Posted: Mon May 08, 2023 8:01 am
by Tomcat64
That's a couple of great looking Templars although it looks like clean up has been (is being) a pain.
If you haven't done it already I'd suggest giving them a wash with water & a small squirt of washing up liquid, then rinsing in clean water before trying to glue anything together - just make sure you've got the plug in the drainhole!
Re: My entry..... The first and the last
Posted: Mon May 08, 2023 10:47 am
by digger303
I might do some silly like enter this too......I don't like it
Re: My entry..... The first and the last
Posted: Mon May 08, 2023 11:45 am
by RangerNeil
Tomcat64 wrote: Mon May 08, 2023 8:01 am
That's a couple of great looking Templars although it looks like clean up has been (is being) a pain.
If you haven't done it already I'd suggest giving them a wash with water & a small squirt of washing up liquid, then rinsing in clean water before trying to glue anything together - just make sure you've got the plug in the drainhole!
That's the plan. I thought - rightly or wrongly - the best approach would be to clean all the waste material and make sure it all fits then give it a good scrub in a bowl of warm soapy water then a wash under the tap. First though I need to get the excess waste out of the back of the shield and find out why the two legs won't join properly. They provided a raised lug one side in the shape of a heater shield that should match up with a recess in the other side - only the raised lug had a massive amount of waste on it needing to be cut & carved off. The two parts sort of fit - but not well enough so still work to do.
Then we get to the part I'm actually dreading - the painting!!!
digger303 wrote: Mon May 08, 2023 10:47 am
I might do some silly like enter this too......I don't like it
Go for it Digger!! I could do with company in this insanity!!!
Tomcat64 wrote: Mon May 08, 2023 8:01 am
That's a couple of great looking Templars although it looks like clean up has been (is being) a pain.
If you haven't done it already I'd suggest giving them a wash with water & a small squirt of washing up liquid, then rinsing in clean water before trying to glue anything together - just make sure you've got the plug in the drainhole!
That's the plan. I thought - rightly or wrongly - the best approach would be to clean all the waste material and make sure it all fits then give it a good scrub in a bowl of warm soapy water then a wash under the tap. First though I need to get the excess waste out of the back of the shield and find out why the two legs won't join properly. They provided a raised lug one side in the shape of a heater shield that should match up with a recess in the other side - only the raised lug had a massive amount of waste on it needing to be cut & carved off. The two parts sort of fit - but not well enough so still work to do.
Yep spot on - I'd missed that there was still some clean up to do
Re: My entry..... The first and the last
Posted: Mon May 08, 2023 9:54 pm
by DRUMS01
Nice choices for the figures Neal, I like them both. Did you get them from China?
The reason I ask is they look exactly like how my figures were delivered (in a bag within a cardboard box. No images, instructions, or paint call-outs).
Regardless, they look like they will be a fun build.
Re: My entry..... The first and the last
Posted: Mon May 08, 2023 11:06 pm
by RangerNeil
DRUMS01 wrote: Mon May 08, 2023 9:54 pm
Nice choices for the figures Neal, I like them both. Did you get them from China?
The reason I ask is they look exactly like how my figures were delivered (in a bag within a cardboard box. No images, instructions, or paint call-outs).
Regardless, they look like they will be a fun build.
Yes - both came from China. Cardboard box, bubble wrap sleeve with the two figures inside..
Finished the clean-up today - I really HATE wearing face masks but with Resin its best I believe?
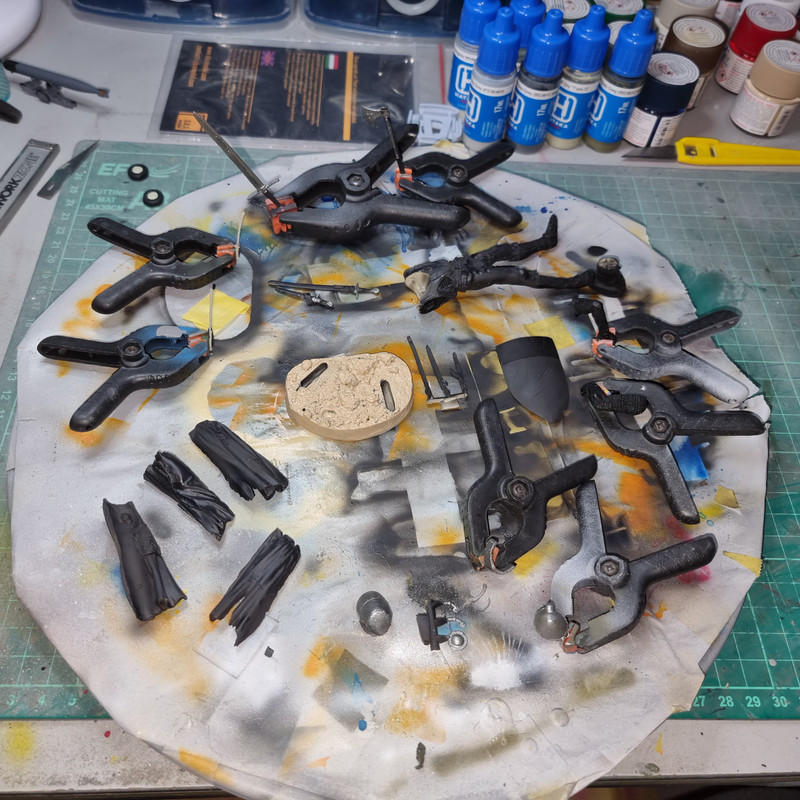
The legs and torso are assembled and everything has a coat of primer. White for the robes, black for the chainmail, helmet and skin.
Going to need a little bit of filler where the torso meets the legs but otherwise so far its not too bad.
Re: My entry..... The first and the last
Posted: Tue May 09, 2023 11:30 am
by Garion77
If you don't want to wear a mask when cutting or sanding use water and paper tissue under it (on top of workbench). Damp the paper tissue also so the dust stays on it. I also wear gloves. But may be the water trick isn't enough for a big resin model like yours. The problem with mask is that you have to wear the proper one or it's like having nothing on... I use them at work. and they all have charts for what they are for.
Can't wait to see them fully painted ! Never done figures either.
Re: My entry..... The first and the last
Posted: Thu May 11, 2023 1:22 am
by RangerNeil
A little bit more done......
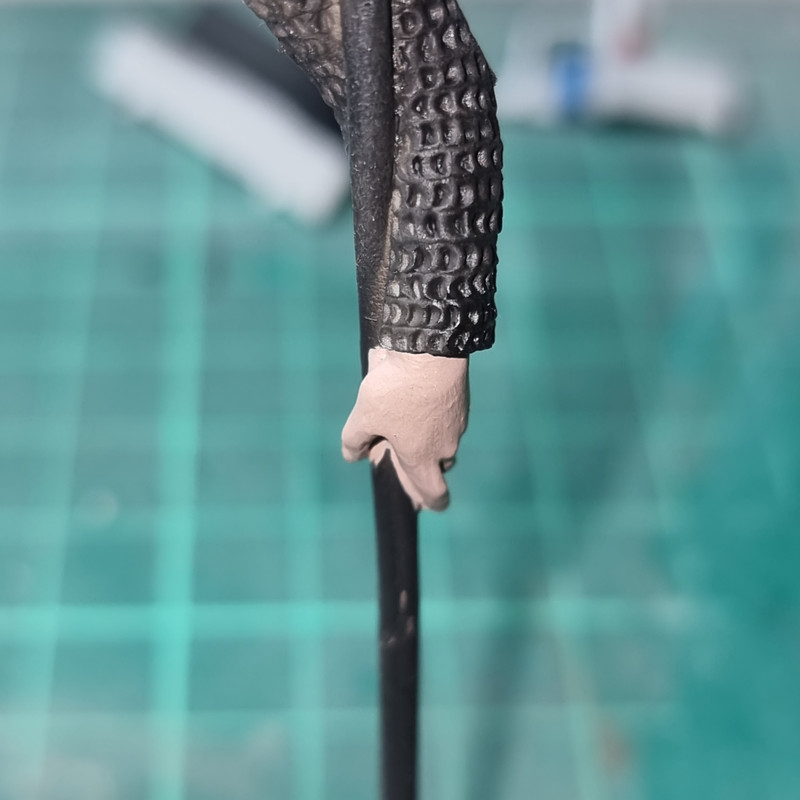
I tried going for a tanned skin look - 4 drops Vallejo Basic Skintone (70815) + 1 drop Ammo Figures Red Brown (F532). Not sure its worked or not - opinions please!!
Re: My entry..... The first and the last
Posted: Thu May 11, 2023 2:17 am
by KalebB
Steadily moving along! I enjoy the skin tone you have come up with
Re: My entry..... The first and the last
Posted: Fri May 12, 2023 1:55 am
by BigWall
I think the skin tone looks good. Maybe add some strategic washes to make it look like there is more detail than what's there for the hand?
Re: My entry..... The first and the last
Posted: Fri May 12, 2023 2:26 am
by RangerNeil
BigWall wrote: Fri May 12, 2023 1:55 am
I think the skin tone looks good. Maybe add some strategic washes to make it look like there is more detail than what's there for the hand?
Thanks for that - I'll give that a try. Hands would have been dirty back then.
Apart from sticking things together this figure business is all new to me so any and all advice is more than welcome.
Re: My entry..... The first and the last
Posted: Mon May 22, 2023 10:41 pm
by RangerNeil
Little more done today. Most of the time spent on getting the lower half of the cloak to fit. It was, quite frankly, dire - fitted where it touched. Some work with sanding sticks reshaped it to the point the fit was acceptable, just needing a touch of filler.
Other works included covering the black primer on with dark grey. When that dries I'll try dry-brushing silver over the top to see how it looks. I've no idea if it will work so we'll see - its a steep learning curve right now. I'm leaving the shading on the cloak & surcoat till later as I'm still reading up on this. I did start picking out the leather belt and lance in dark brown to start with.
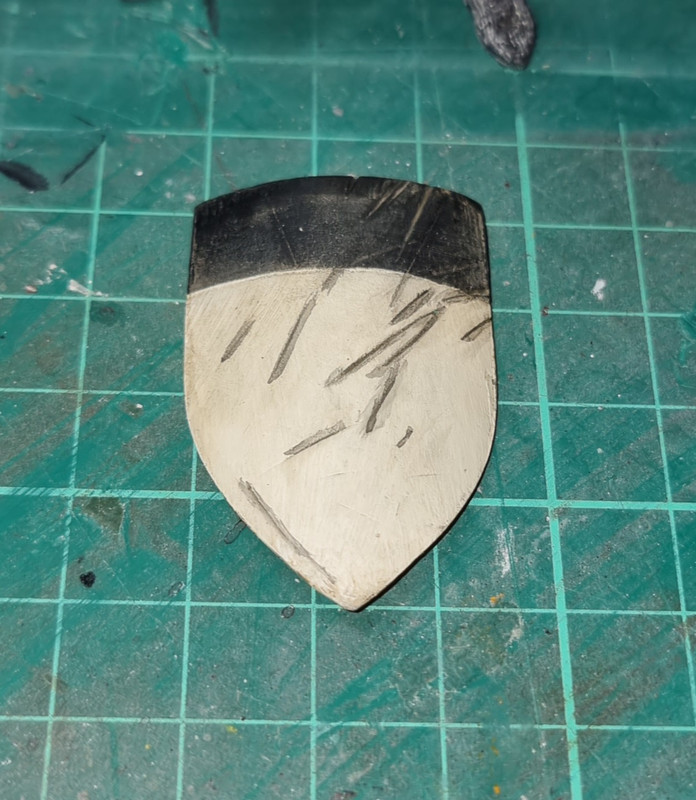
Also made a start on the shield. I used deck tan as the basis of the wood interior face and matt black for the top half of the outer face.
Re: My entry..... The first and the last
Posted: Tue May 23, 2023 1:27 am
by KalebB
That will look absolutely cool when it's done, the figure overall is just darn interesting to look at
Re: My entry..... The first and the last
Posted: Tue May 23, 2023 11:38 pm
by RangerNeil
So - I had a go at the dry-brushing today. An interesting exercise. I'd appreciate the group wisdom/comments on how it turned out please?
I did manage to find a seam on the shoulder that escaped the clean-up process....
Re: My entry..... The first and the last
Posted: Wed May 24, 2023 1:13 am
by digger303
There's always one or that escape me always.
Re: My entry..... The first and the last
Posted: Thu May 25, 2023 9:42 pm
by BigWall
I think the dry brushing is looking good. The silver is there but still left the darker areas in the rings
Re: My entry..... The first and the last
Posted: Fri May 26, 2023 1:20 am
by RangerNeil
BigWall wrote: Thu May 25, 2023 9:42 pm
I think the dry brushing is looking good. The silver is there but still left the darker areas in the rings
Thanks for the good words - I have to admit I am completely in the dark doing this!!
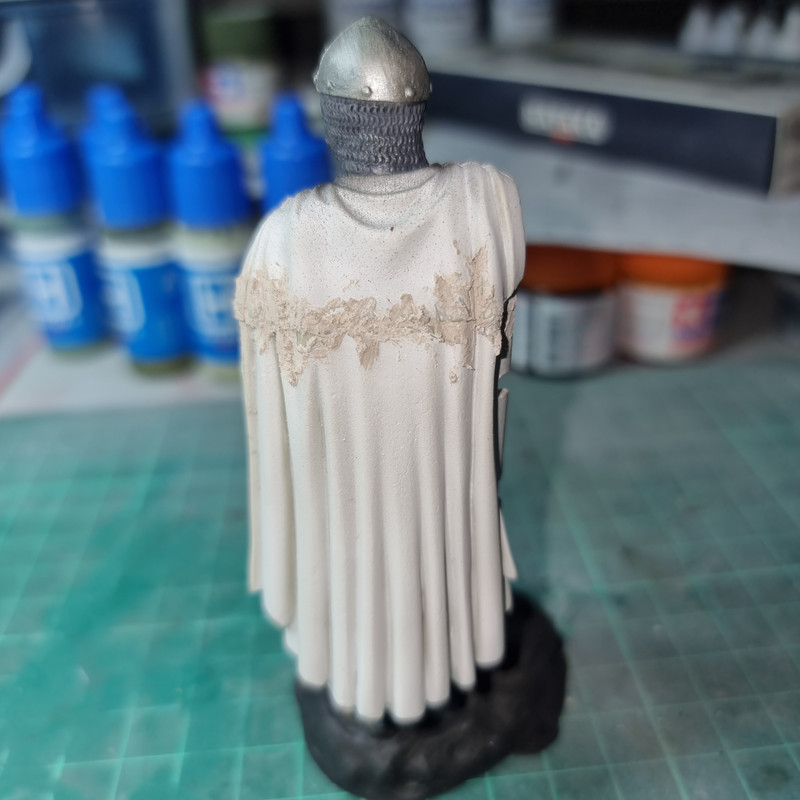
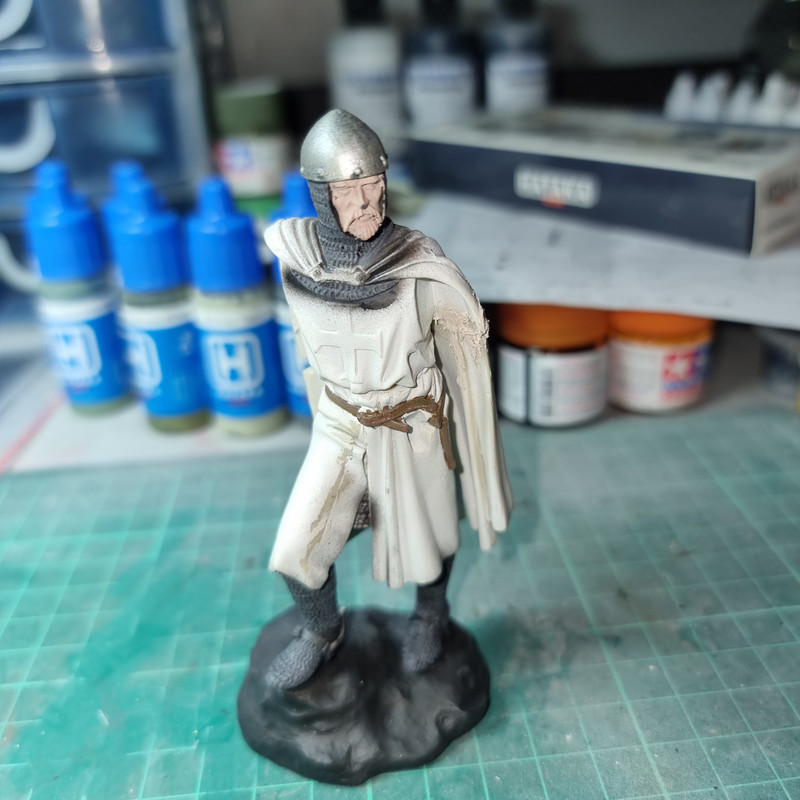
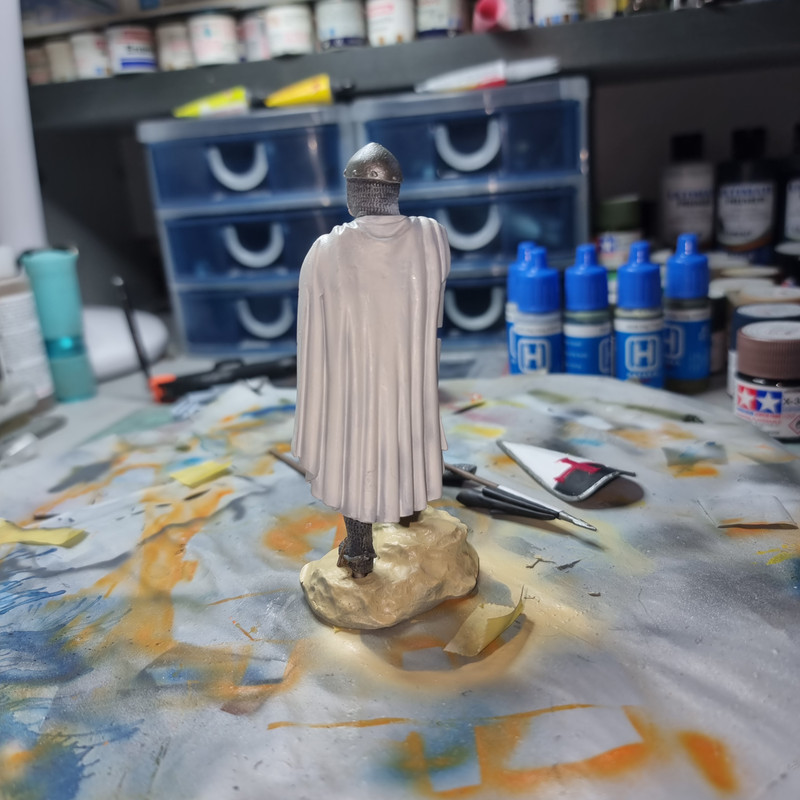
Tried something else today. Having watched a few YT videos by people who know what they are doing I had a go at the cloak and surcoat. First operation was to airbrus a dark grey into the deptsh ofthe folds and allow it to dry. Then I thinned down some Vallejo "Off White" (about a 60/40 mix) and airbrushed that over the top. Having first gotten rid of those seam lines on the shoulders. This is the end result:
I - think - it worked. Again opinions would be welcomed!
And any advice on doing it better.
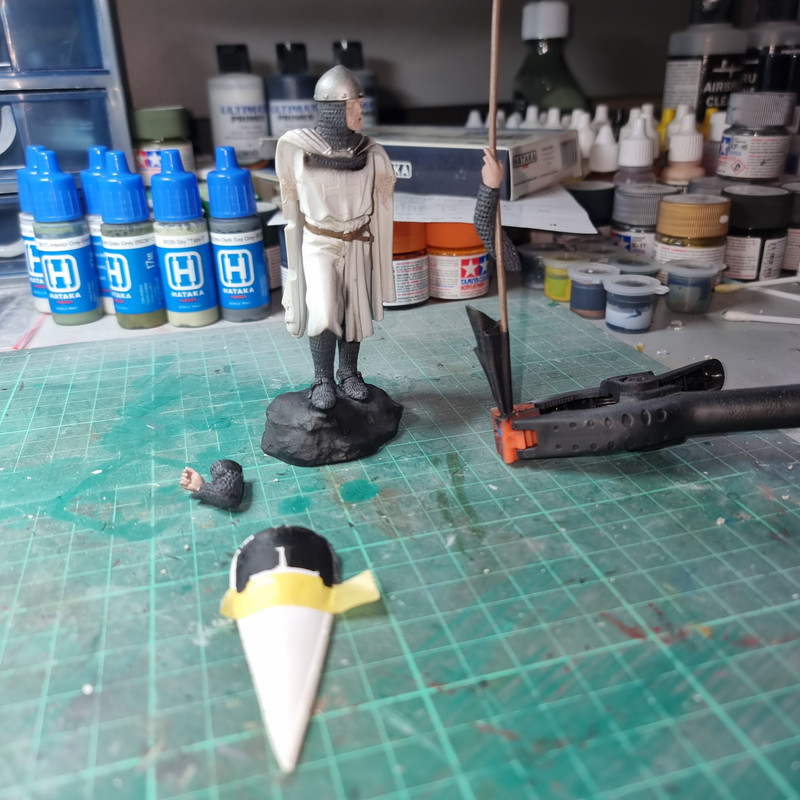
The shield and sword are more or less complete, sheild needs some work to sharpen the Templar Cross and the buckles need picking out on the sword. All the completed illystrations shoow a green scabbard for the sword - however the Rule forbade such indulgences, equipment was meant to be plain and serviceable. I still need to work out how the flag (known as a "Beacent") would look in those folds. I am thinking the best solution is to make one out of paper and fold it as seen on the lance.....
Re: My entry..... The first and the last
Posted: Fri May 26, 2023 11:09 am
by Garion77
I think it came out just as desired ! you paid attention to the videos ! seeing your work get me more tempted trying my hand at one finally.
Re: My entry..... The first and the last
Posted: Fri May 26, 2023 8:16 pm
by ForeverPlasticKits
Very sympathetic figurines,templar knights are not so popular among the modelism world, i can't wait to see the next steps!
Re: My entry..... The first and the last
Posted: Fri May 26, 2023 10:00 pm
by RangerNeil
ForeverPlasticKits wrote: Fri May 26, 2023 8:16 pm
Very sympathetic figurines,templar knights are not so popular among the modelism world, i can't wait to see the next steps!
Not exactly popular - period. Too many take the lies told by Phillip of France in his bid to get the order dissolved (thus losing the massive debt he owed to the Order as well as getting his hands on their treasury) as the gospel truth these days. He got the debt wiped but not the treasury as that was shipped somewhere prior to the dissolution. What he did get was the highly dubious honour of becoming the start of the Friday the 13th curse ....
Quickie history lesson
The Vatican issued a partial redemption a century or so after the death of the then Grand Master Jacque de Molay. Basically it said the order was not guilty of the more extreme charges laid by Phillip as the means of extracting the "confessions" were highly dubious. A Partial Redemption because they weren't daft - a full papal redemption would have meant all the property & possessions seized by various monarchs on the dissolution would be liable to return as well as damages for the dead etc. So as well as being partial it wasn't exactly broadcast to all and sundry. And you thought fake news was a modern thing....
In the UK alone there are/were 57 locations including the spot in the centre of London now inhabited by lawyers. Most were fairly extensive agricultural sites as evidenced by the barns at Cressing Temple in Essex.
In fairness to the English King, Edward, he was just interested in grabbing the property - he left the Knights, Sargeants & lay brothers alone
Back to the model - I spent some time today "tidying up" edges of varying things and trying to sort the base out. No photos though. I think the next day or so is going to be much the same.....
Re: My entry..... The first and the last
Posted: Sat May 27, 2023 1:09 am
by digger303
Yeah they got a rough deal there's no doubt about that.
I think you doing really well on the figure and I'm going to pinch some of those techniques....
I am wondering though whether it might have been better to do the face first. If you are not happy with it you could just strip it back and have another crack, but if you do all the other first you have so much invested in that making a decision on stripping it back is harder.
Course you could just nail it straight off and I would be " all hail King Neil long live the King a god in our lifetime" "
Not saying you can't or won't
No Pressure
ForeverPlasticKits wrote: Fri May 26, 2023 8:16 pm
Very sympathetic figurines,templar knights are not so popular among the modelism world, i can't wait to see the next steps!
Not exactly popular - period. Too many take the lies told by Phillip of France in his bid to get the order dissolved (thus losing the massive debt he owed to the Order as well as getting his hands on their treasury) as the gospel truth these days. He got the debt wiped but not the treasury as that was shipped somewhere prior to the dissolution. What he did get was the highly dubious honour of becoming the start of the Friday the 13th curse ....
Quickie history lesson
The Vatican issued a partial redemption a century or so after the death of the then Grand Master Jacque de Molay. Basically it said the order was not guilty of the more extreme charges laid by Phillip as the means of extracting the "confessions" were highly dubious. A Partial Redemption because they weren't daft - a full papal redemption would have meant all the property & possessions seized by various monarchs on the dissolution would be liable to return as well as damages for the dead etc. So as well as being partial it wasn't exactly broadcast to all and sundry. And you thought fake news was a modern thing....
In the UK alone there are/were 57 locations including the spot in the centre of London now inhabited by lawyers. Most were fairly extensive agricultural sites as evidenced by the barns at Cressing Temple in Essex.
In fairness to the English King, Edward, he was just interested in grabbing the property - he left the Knights, Sargeants & lay brothers alone
Back to the model - I spent some time today "tidying up" edges of varying things and trying to sort the base out. No photos though. I think the next day or so is going to be much the same.....
Thanks for this history page, i know this political episode and the king Philippe paid the highest price for this "forfeiture".
Re: My entry..... The first and the last
Posted: Sun May 28, 2023 9:26 pm
by RangerNeil
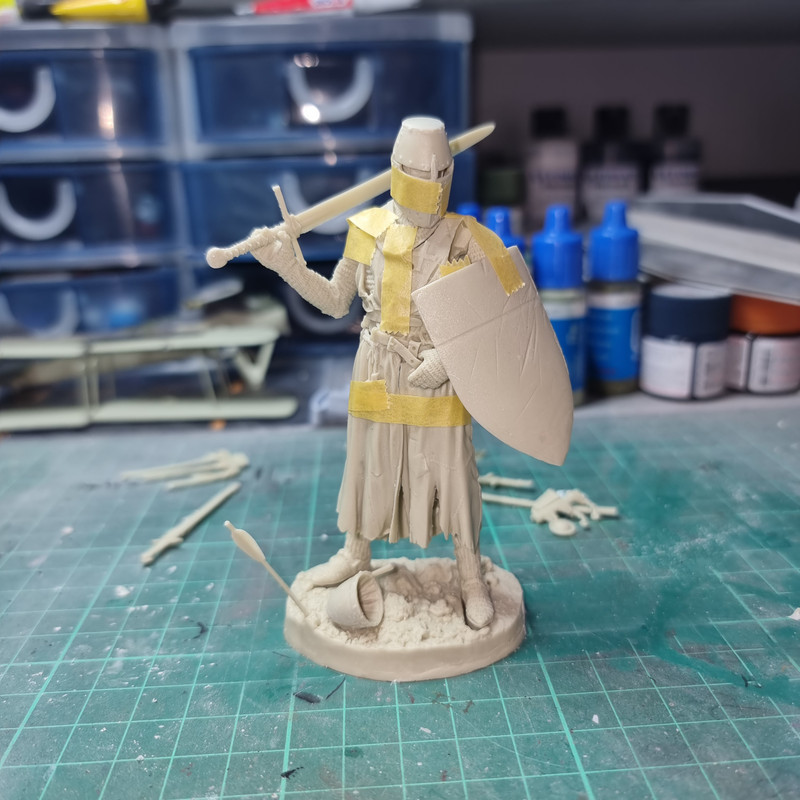
I thought I'd better have a look at cleaning up Figure #2 - the last of the era.
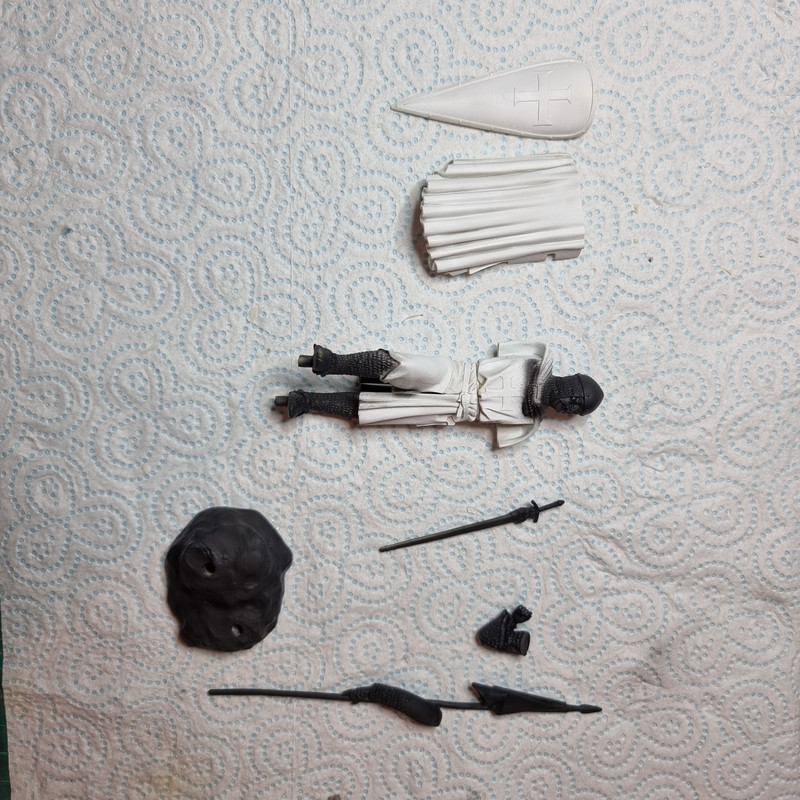
Mouldings are nice and crisp - but the amount of excess material that had to be leaned off was not fun ...
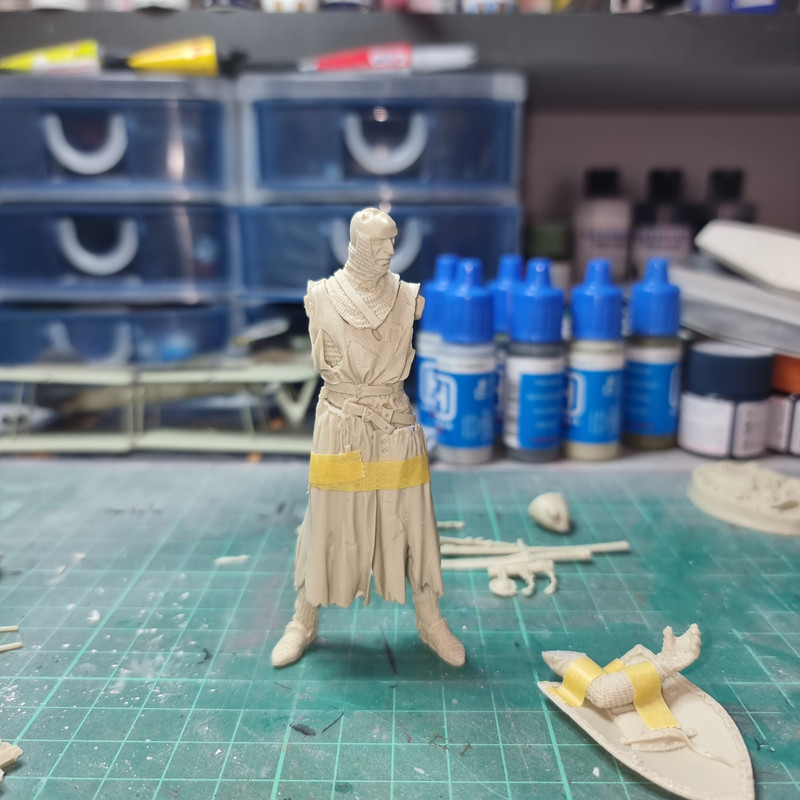
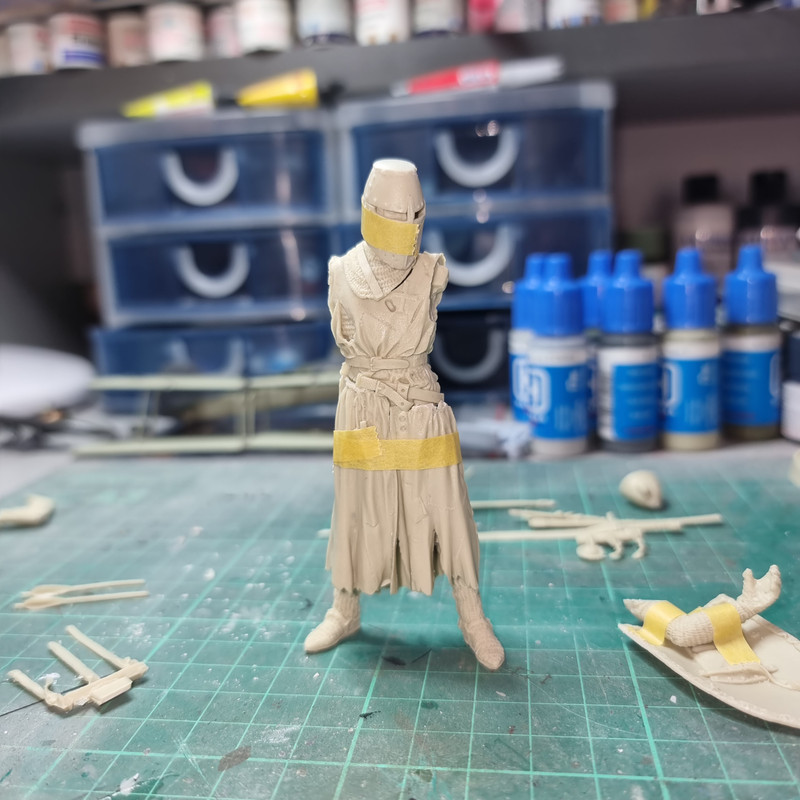
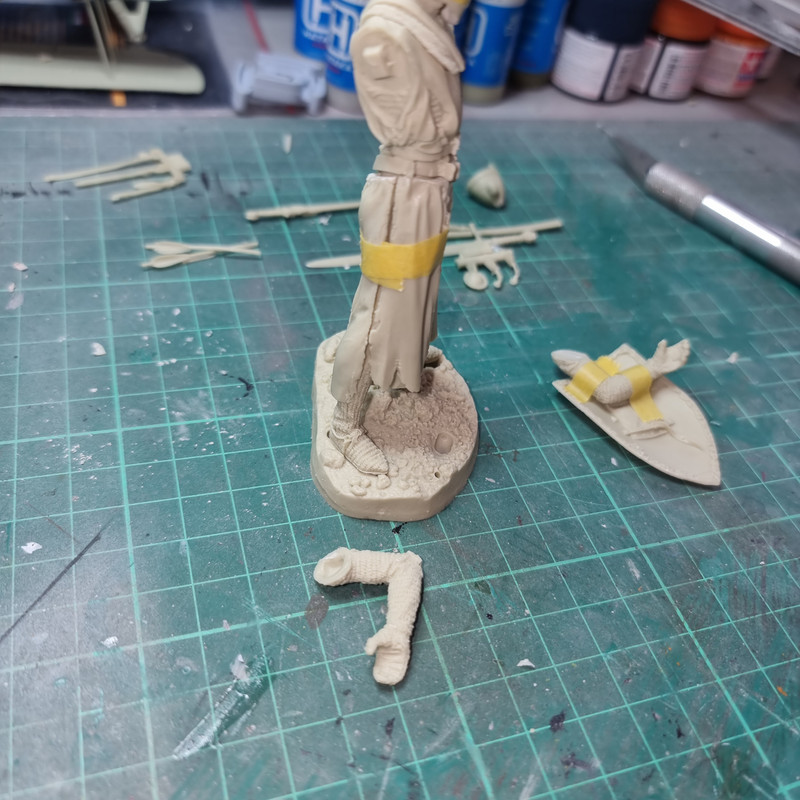
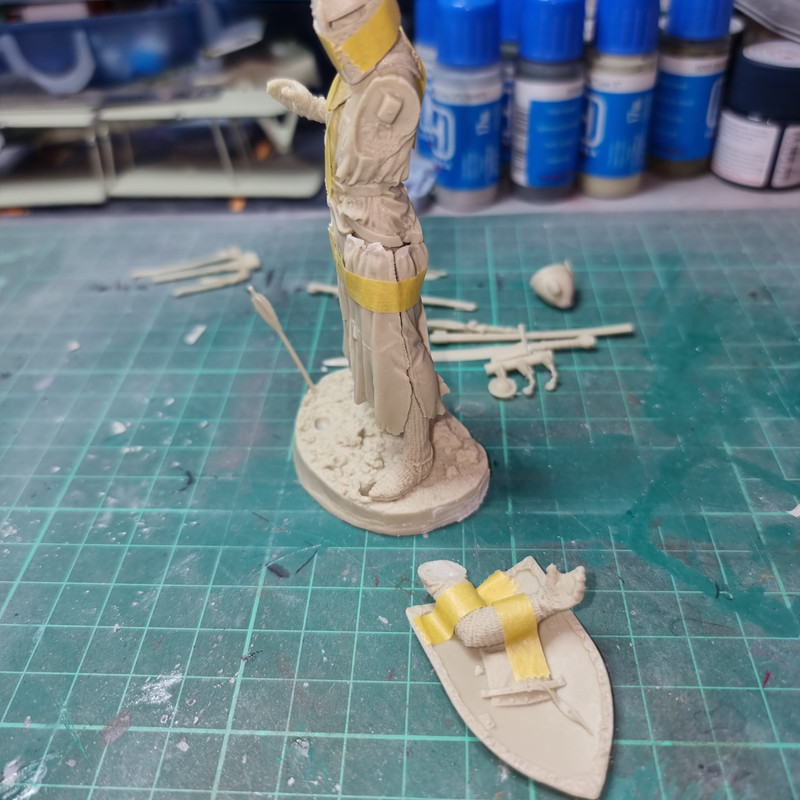
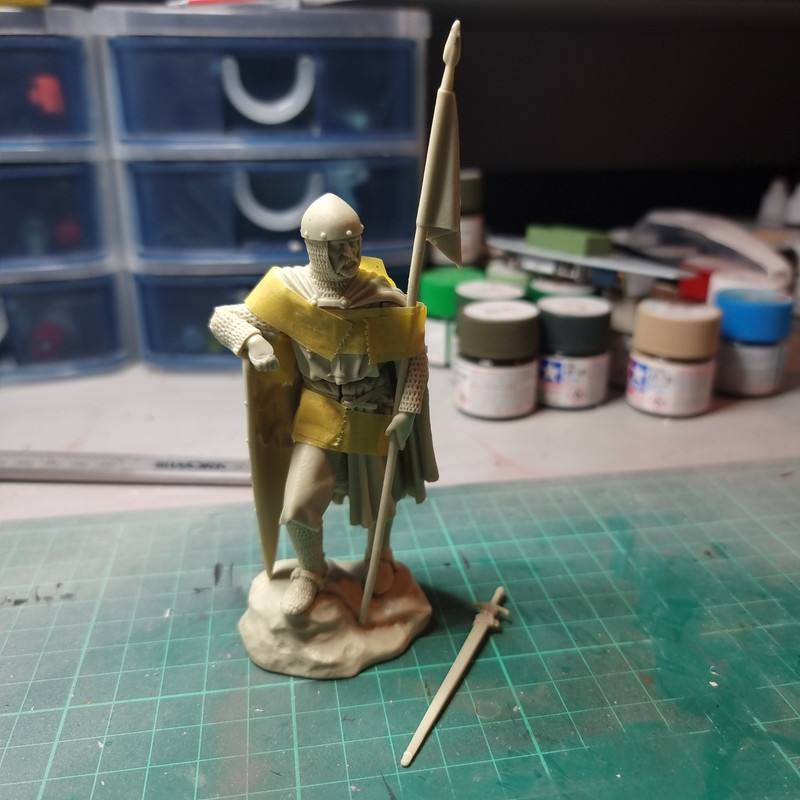
First impression is that nothing really fits as it should. The lower part of the surcoat is in 4 pieces and this is going to require serious fettling to get them to sit right both around around the waist and together - but thats par for the course I guess. On the plus side there is minimal skin/face painting to do as the figure is wearing mail gauntlets and the helmet is the late Crusader Great Helm.
Not sure about the fit of the head piece either - but then as there are no instructions it might just be the way I placed it during the trials.. The back and front of the yoke stand proud of the torso at the moment..
One arm - the sword arm has a rectangular locating block on the figure - but a blob of a hole in the arm. Whilst the shield arm still has a locating block on the figure the arm itself has no locating bhole because the moulding "sprue" has filled it in.
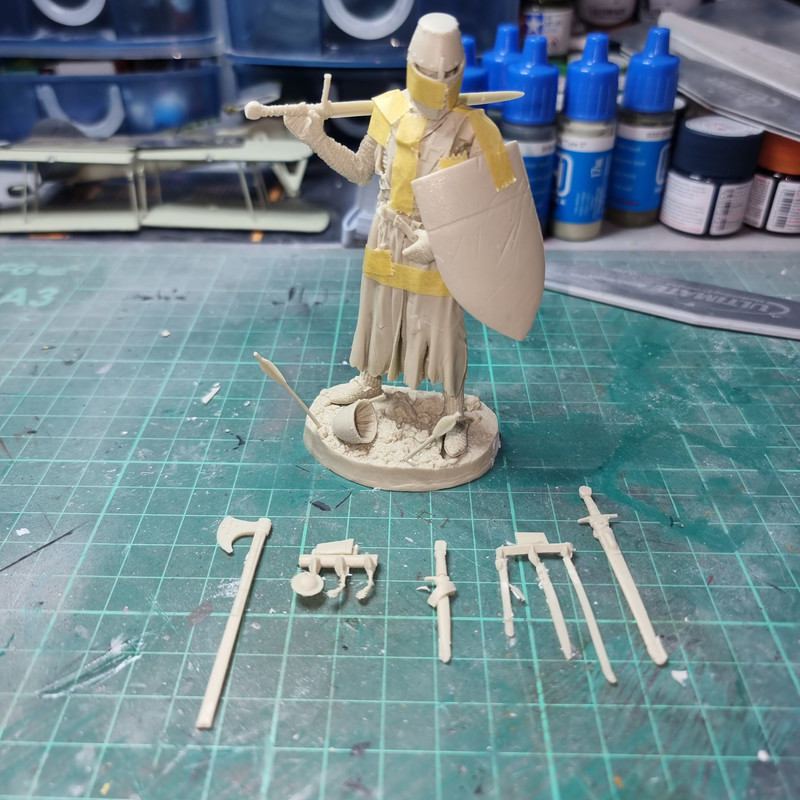
Fully assembled the figure looks thus:
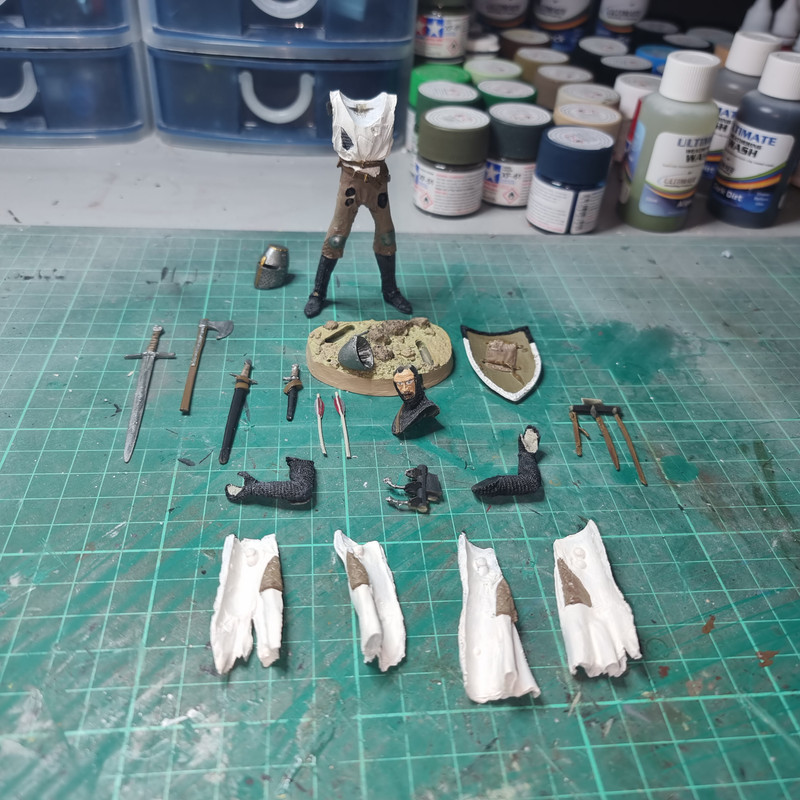
There are a lot of spare weapons though - especially the Dane Ax and Arming Sword given the figure is holding a Long Sword....
Next step is a scrub in warm soapy water to get rid of the release agent. Then a coat of black primer.
Re: My entry..... The first and the last
Posted: Mon May 29, 2023 1:19 am
by digger303
Got a full head of steam up on these figures now. Maybe you might be thinking of adding some more to the collection and entries ?
Re: My entry..... The first and the last
Posted: Mon May 29, 2023 2:06 am
by RangerNeil
digger303 wrote: Mon May 29, 2023 1:19 am
Got a full head of steam up on these figures now. Maybe you might be thinking of adding some more to the collection and entries ?
Ummmmm...... NO!!! No, no, no, no....... How's that for emphasis?
Give me aircraft or armour any day. Or Sci-Fi.........
Oh gawd - I just remembered - theres an Angel pilot in the stash....
Re: My entry..... The first and the last
Posted: Mon May 29, 2023 3:04 am
by Twokidsnosleep
I really like the chain mail and dry brushing therein
Simple face painting guide from YouTube I found helpful….if you need
Re: My entry..... The first and the last
Posted: Mon May 29, 2023 6:04 am
by digger303
Twokidsnosleep wrote: Mon May 29, 2023 3:04 am
I really like the chain mail and dry brushing therein
Simple face painting guide from YouTube I found helpful….if you need
That's really helpful Scott, thanks
I like the way he explains it, very easy to listen too and get what he's saying.
Re: My entry..... The first and the last
Posted: Mon May 29, 2023 7:38 am
by Stokesy44
There's a good DIY store just round the corner from me. You can bulk buy filler there, cos man alive, that figure's gonna need it!
With a bit of love, it could be an awesome build. If you only make one figure in all your hobby years then make it an awesome one so you can tell everyone you found it not enough of a challenge for you!
Re: My entry..... The first and the last
Posted: Mon May 29, 2023 10:39 pm
by RangerNeil
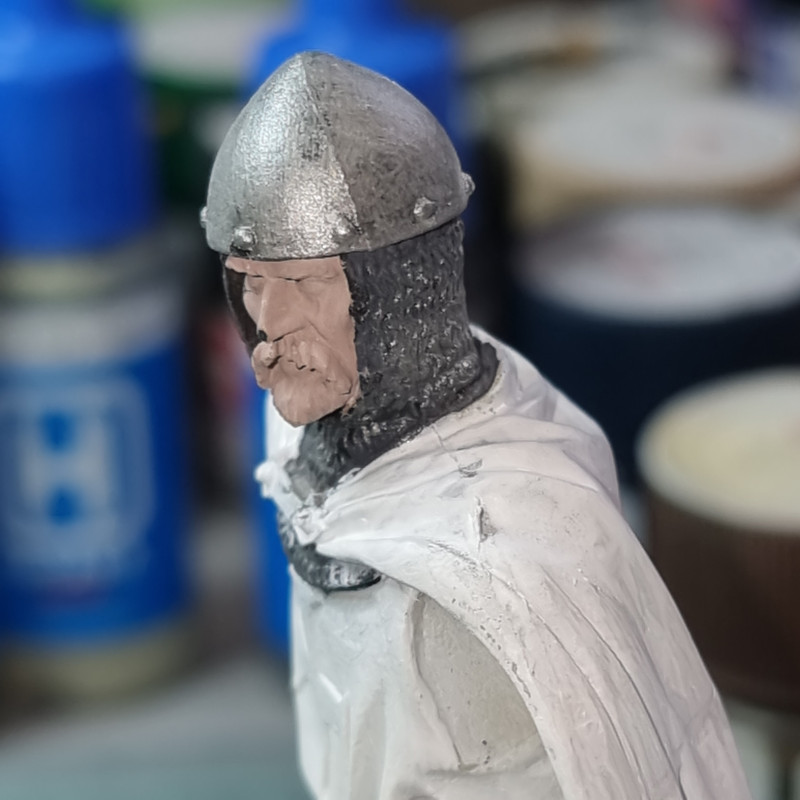
Had another go at the "First" today. I saw a clip on-line that suggested a thin pale layer of skin tone over a darker one would look good on a European figure - so I tried it and I think it did actually work!
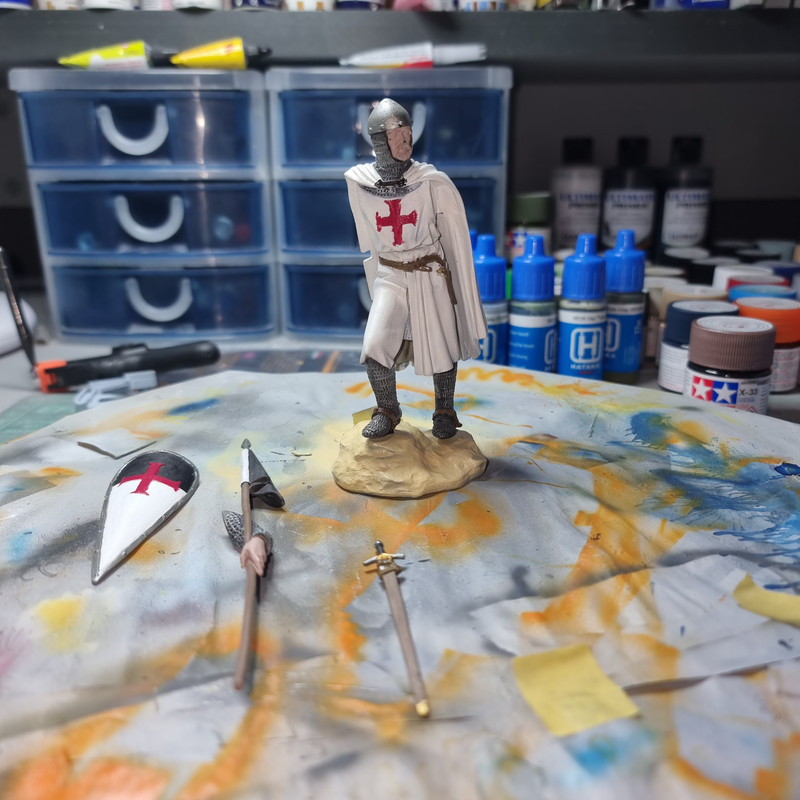
Also had a dry run at the assembly process. The base had some washes applied followed by a matt top coat and once that had dried every thing was "plugged" in.
Next step is actually sticking things together!!.
Re: My entry..... The first and the last
Posted: Tue May 30, 2023 2:56 am
by digger303
Figure looks awesome. Maybe a wash on the face might be good?
Re: My entry..... The first and the last
Posted: Tue May 30, 2023 3:11 am
by RangerNeil
digger303 wrote: Tue May 30, 2023 2:56 am
Figure looks awesome. Maybe a wash on the face might be good?
Yes, I was thinking face and hands to give them that "lived in" look - they are too clean for Mediaeval times right now. Probably after assembly though so I dont rub it off getting things in place!
I am quite pleased with how the base turned out - I used the same sand colour I used on the D30 then played with 3 different colour washes - light earth, algae and dark earth. Will probably use either the dirt or light earth for the face and hands.
Re: My entry..... The first and the last
Posted: Tue May 30, 2023 7:27 pm
by RangerNeil
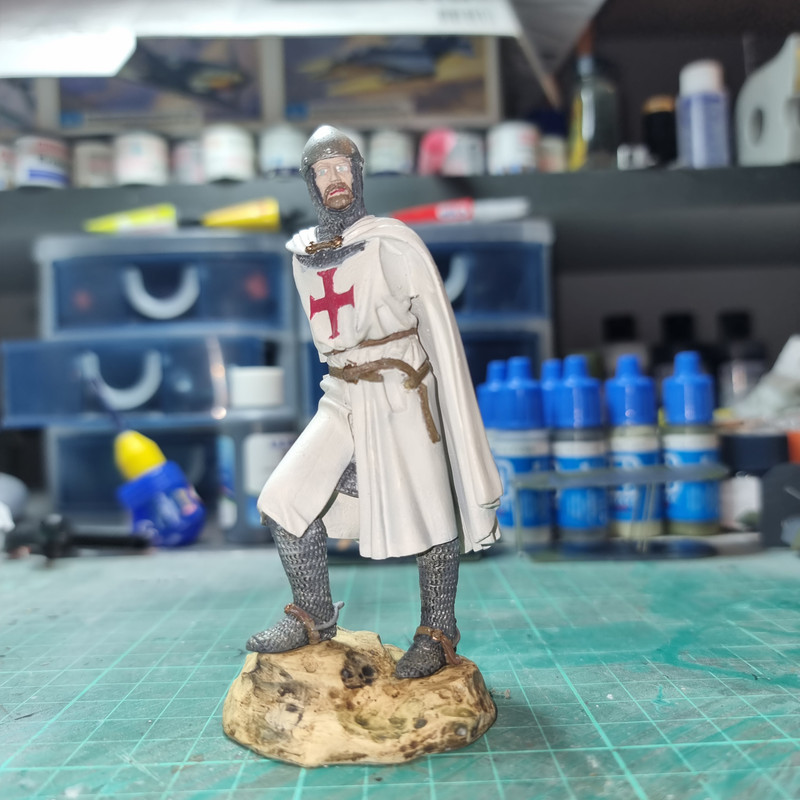
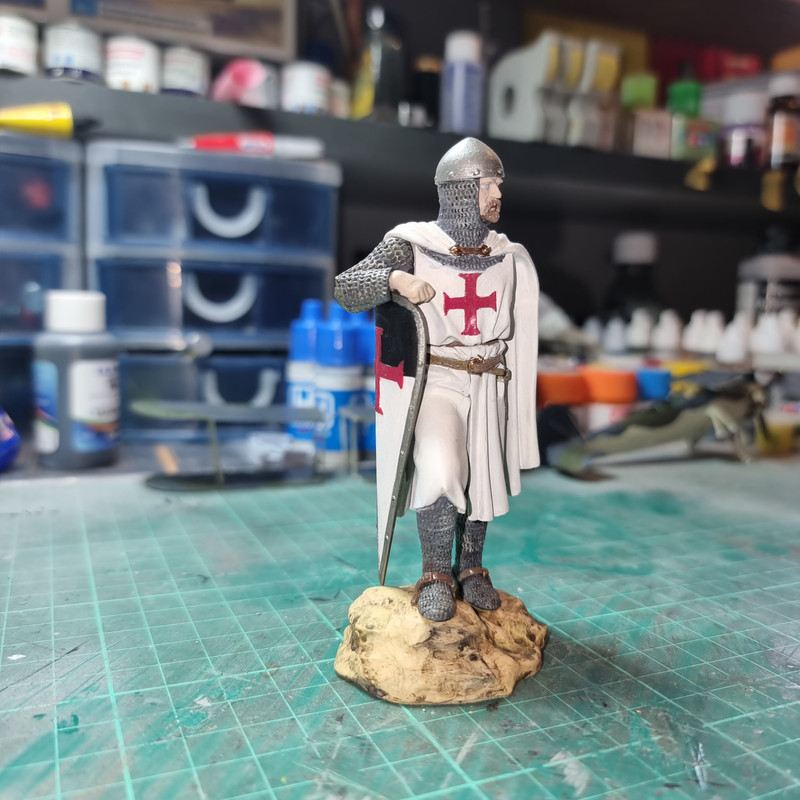
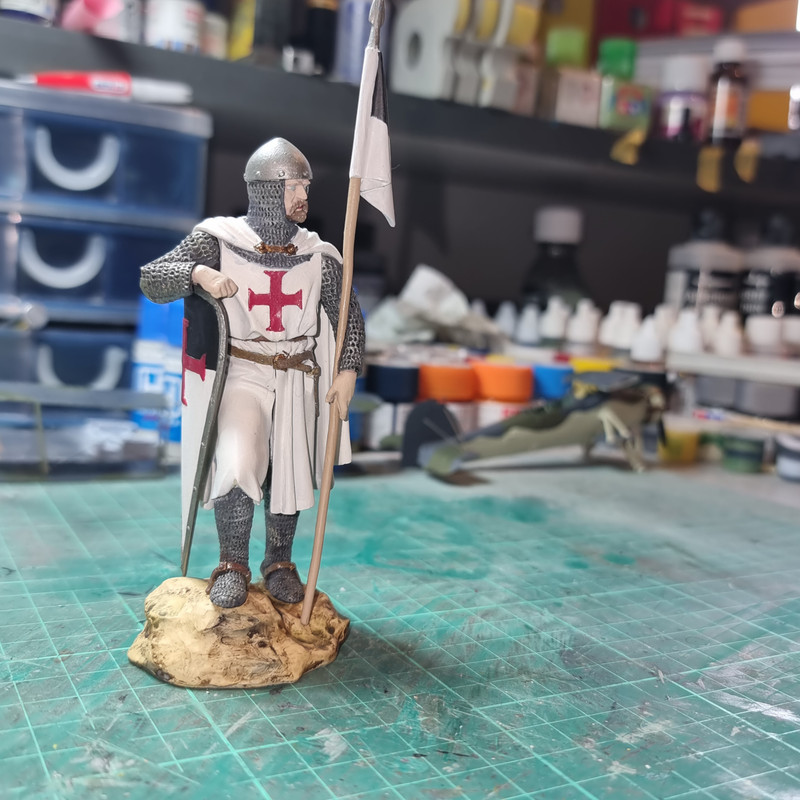
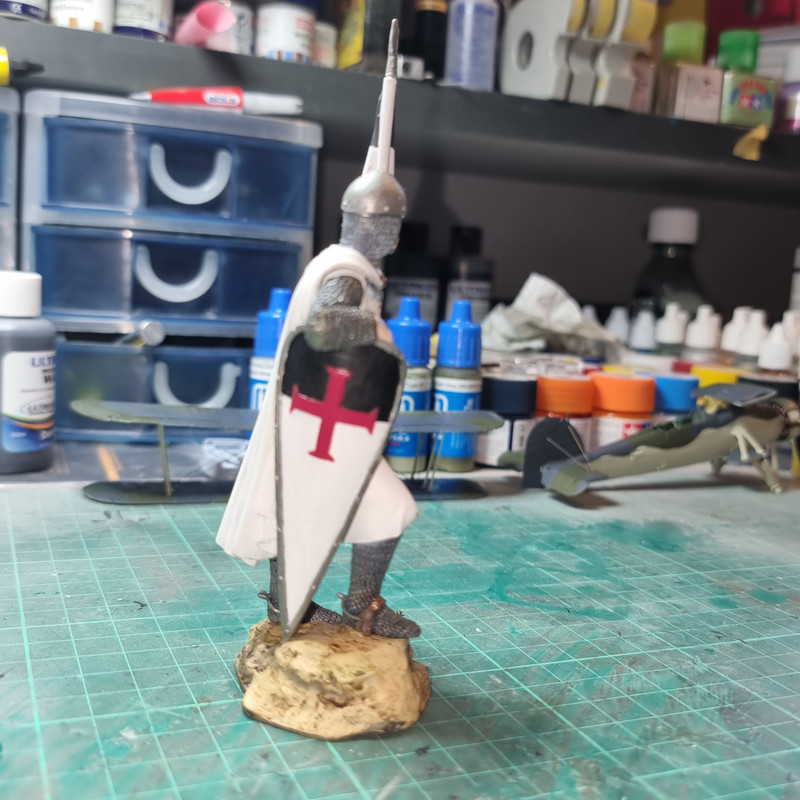
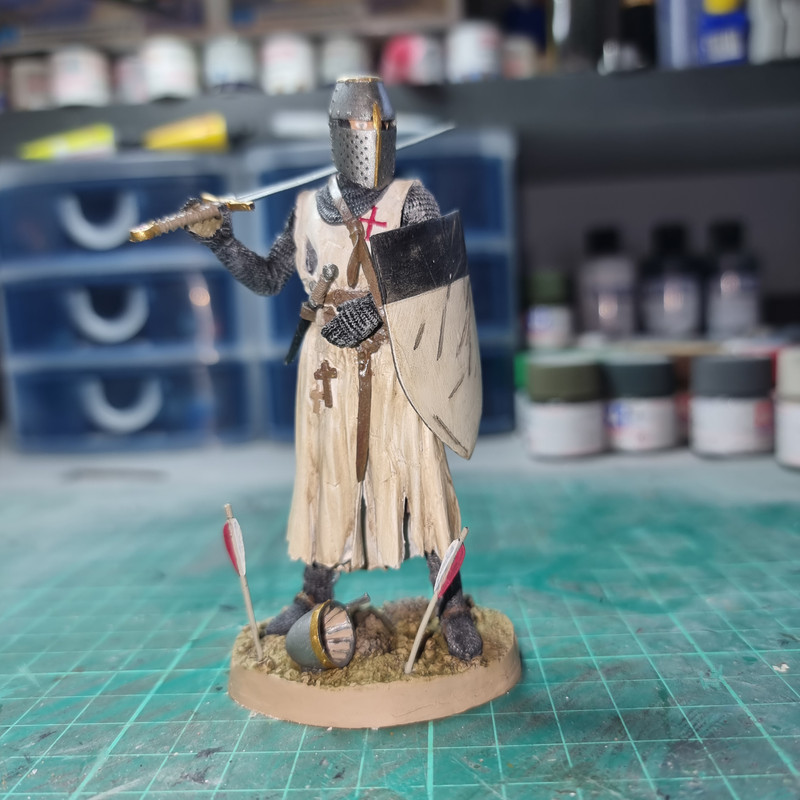
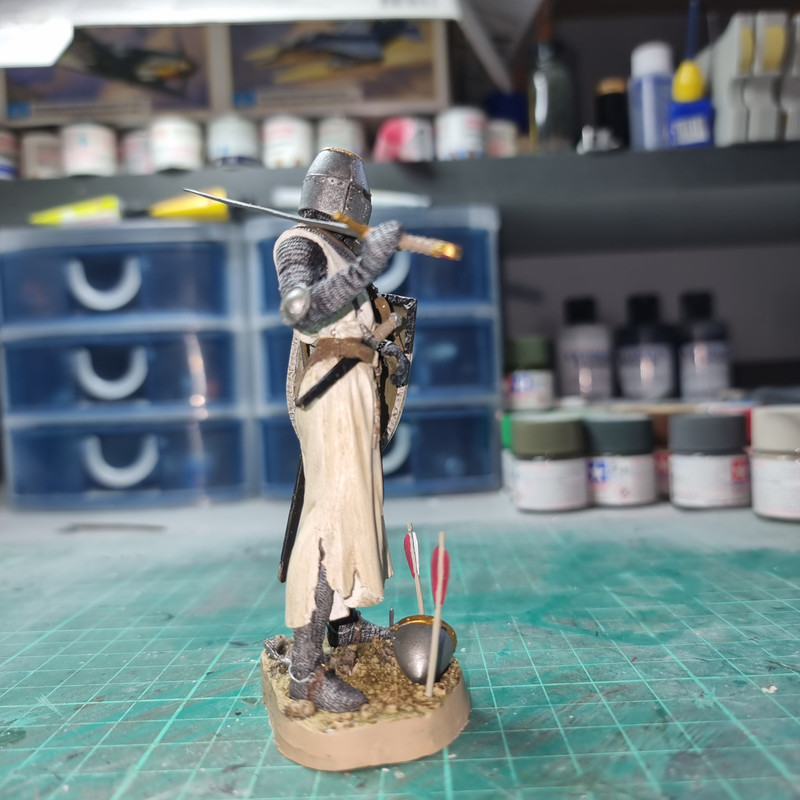
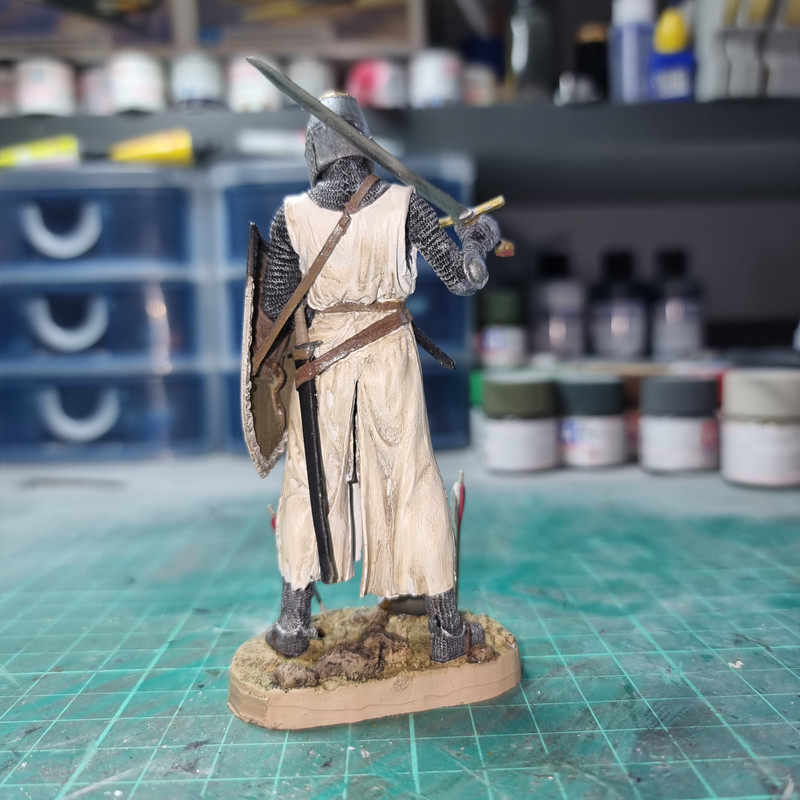
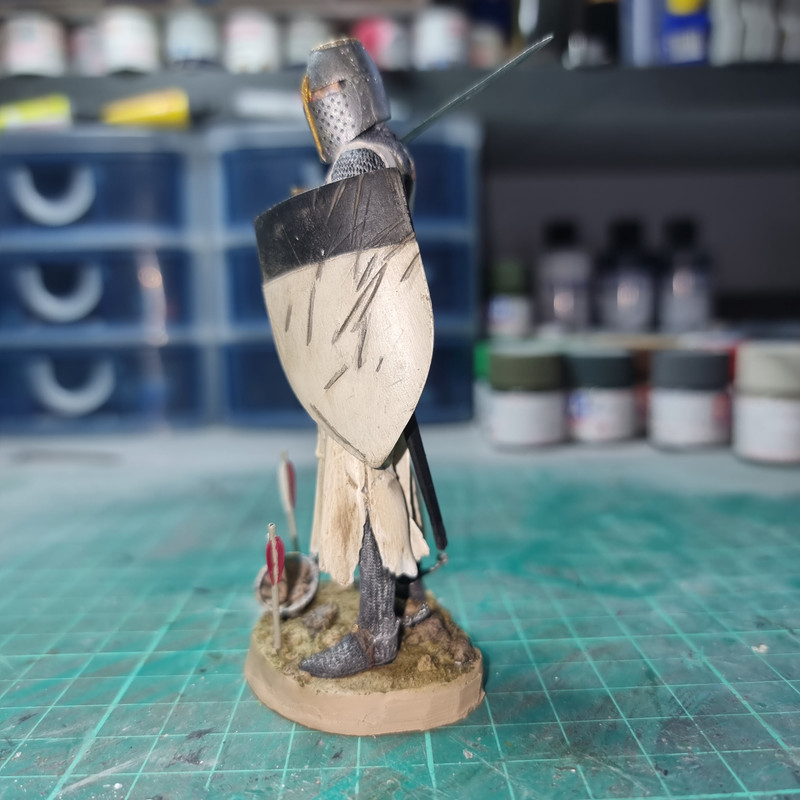
OK - I'm declaring the first one completed - photos in the reveal section as per. I assembled the complete figure today and then applied a "Light Earth" wash to the face and hands. Certainly looked a lot better! I may go back and tweak the eyes a bit in the future - not sure yet.
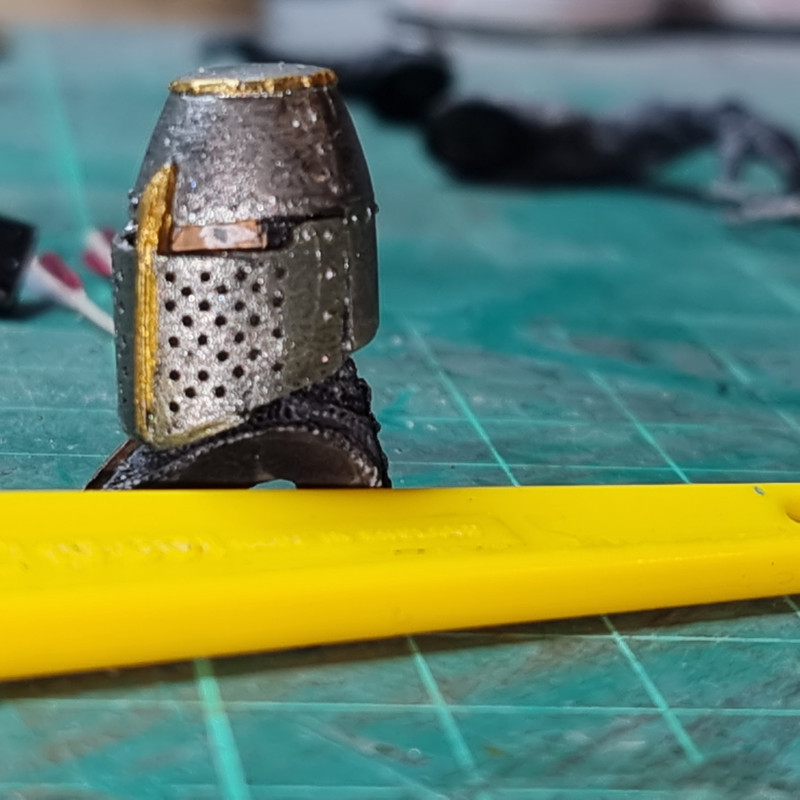
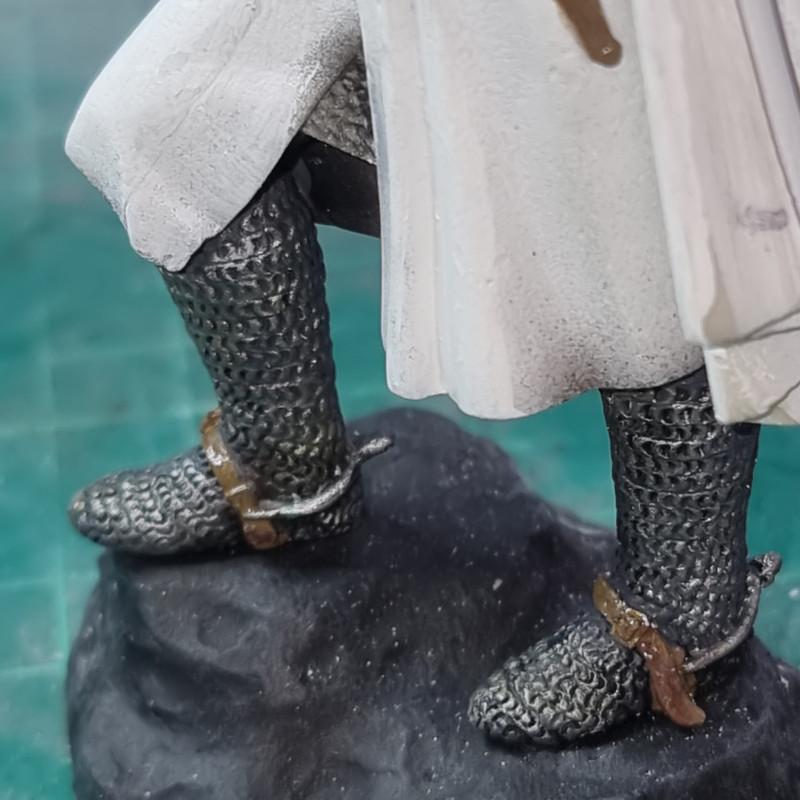
Then it was on to the Last - the 13th C figure. After a wash and scrub in soapy water then a rinse everything got a coat of Ultimate Black primer that was allowed to dry. Then the chain mail areas were given a coat of flat black that was worked into the links ready for a coat of dark grey over the surface followed by dry brushing with silver. Metal parts got a coat of Vallejo " Oily Steel" whilst the base unit got a base coat of Light Stone.
Re: My entry..... The first and the last
Posted: Sat Jun 03, 2023 1:41 am
by RangerNeil
Some more progress tonight......
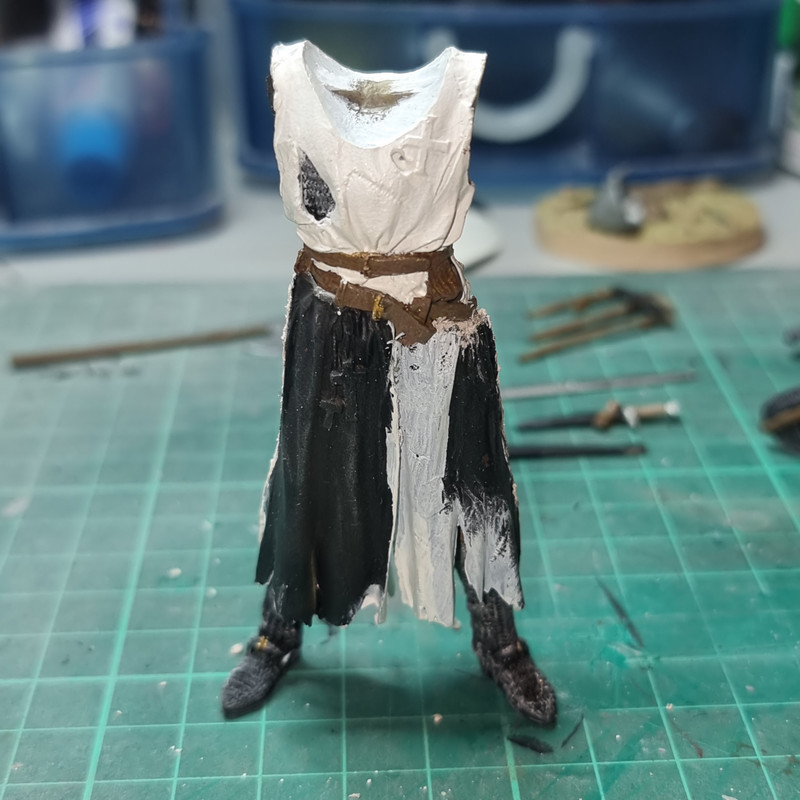
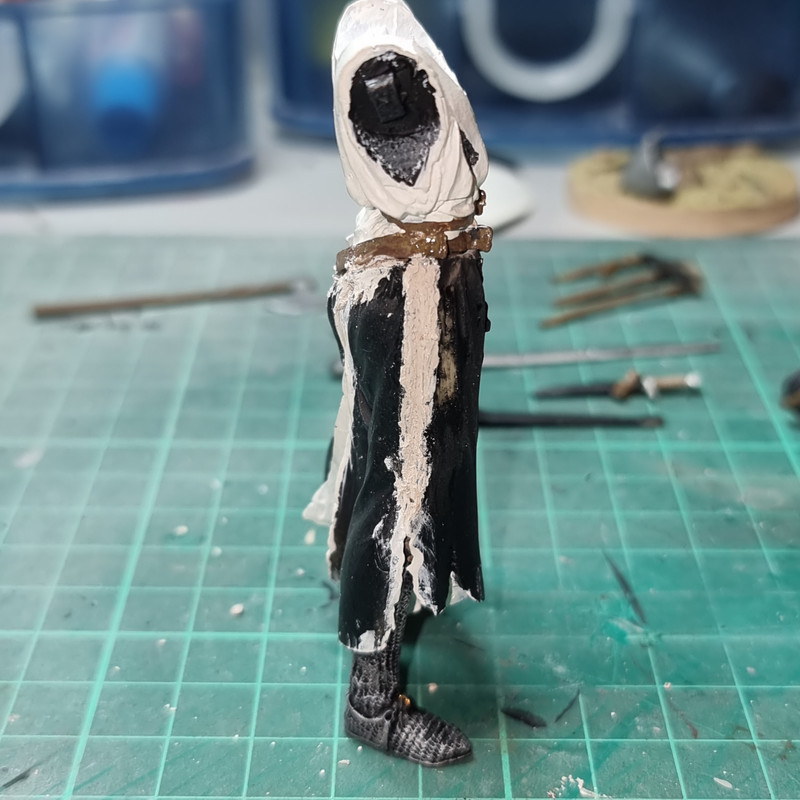
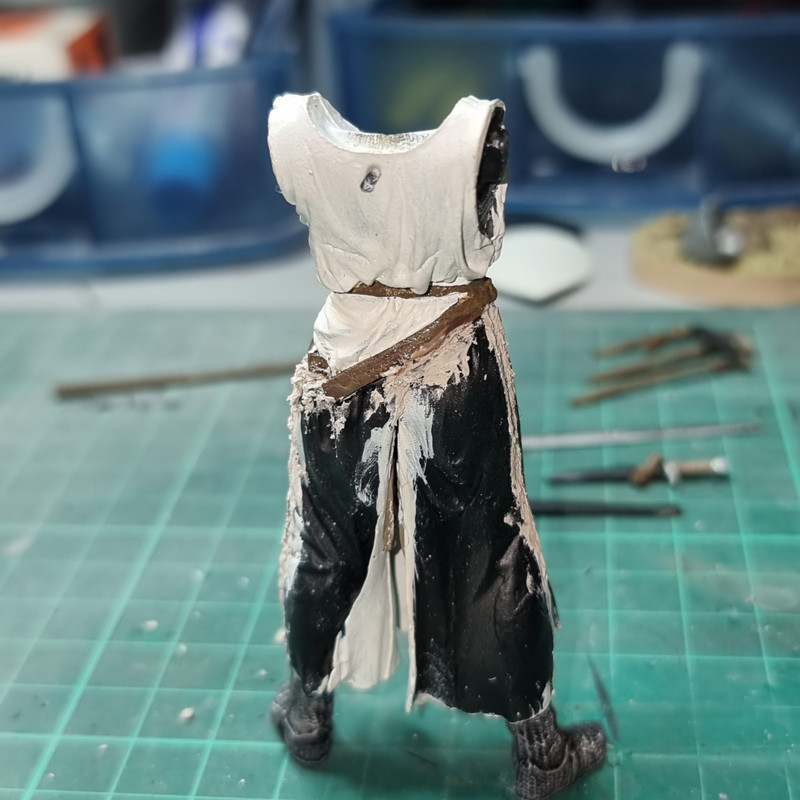
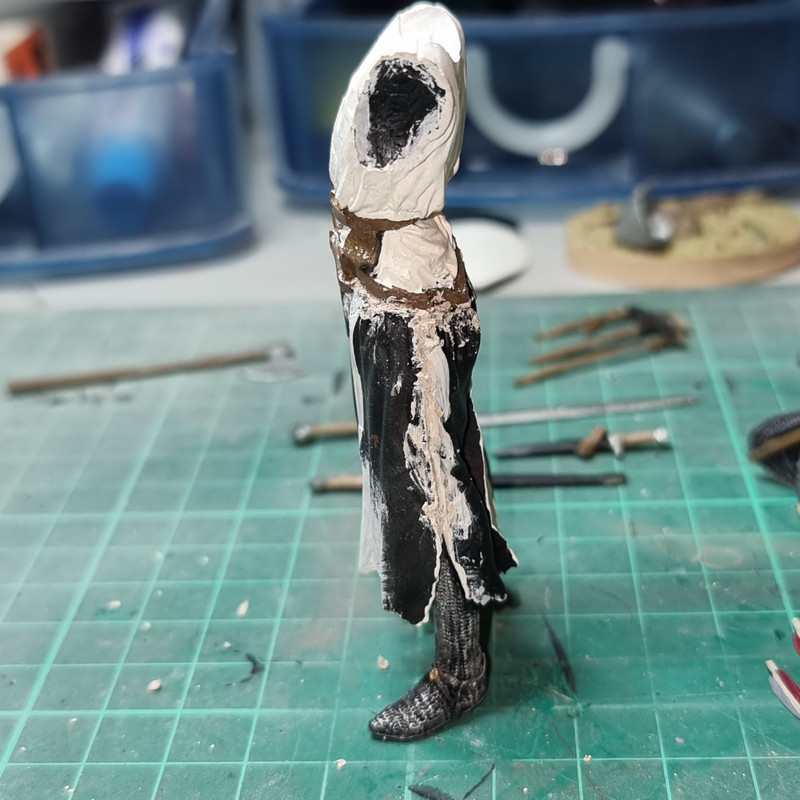
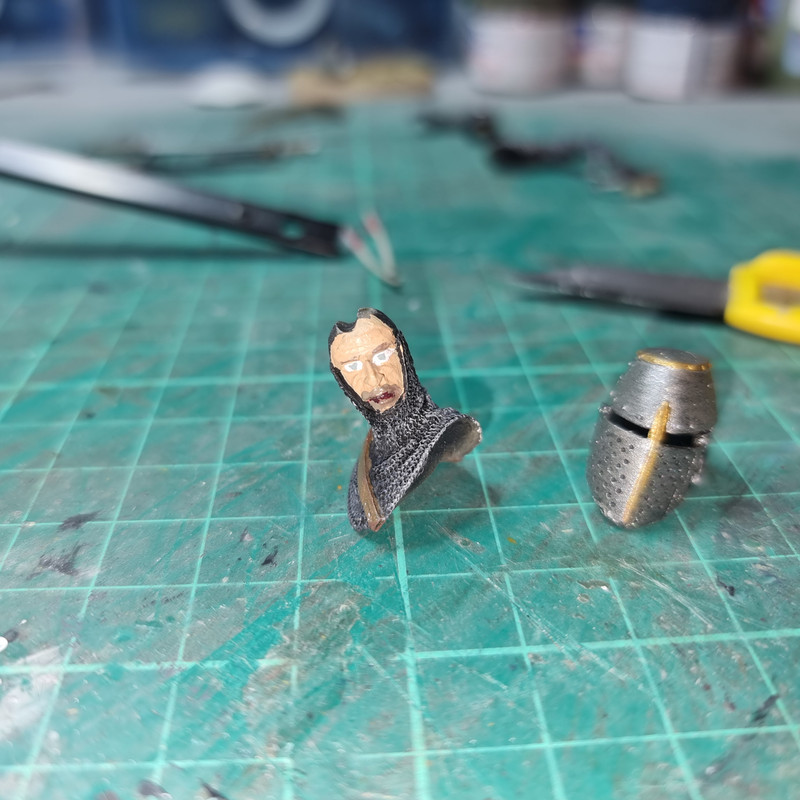
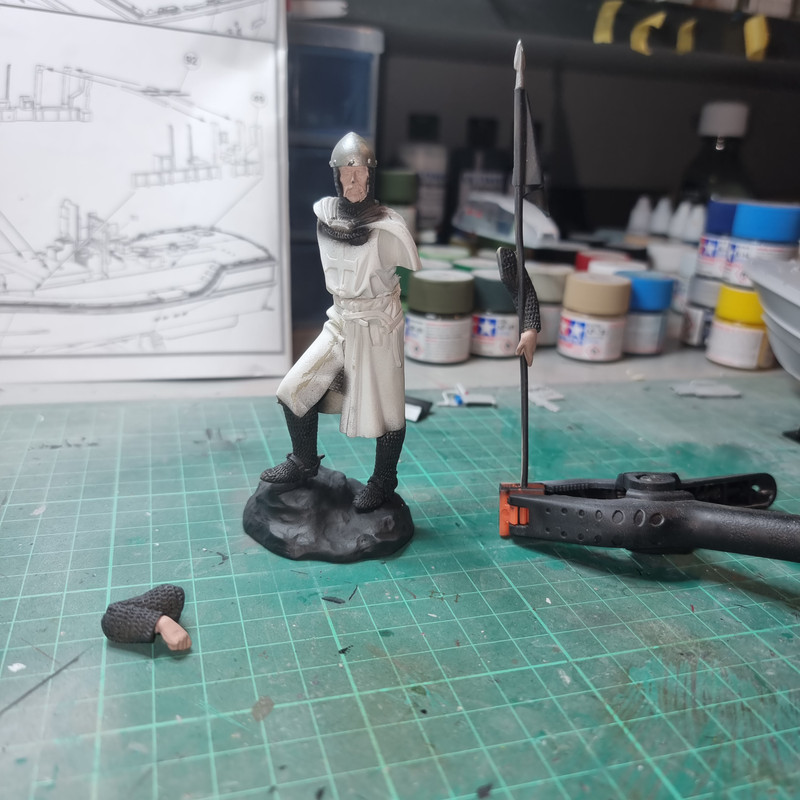
Most of the pre-assembly painting is now completed:
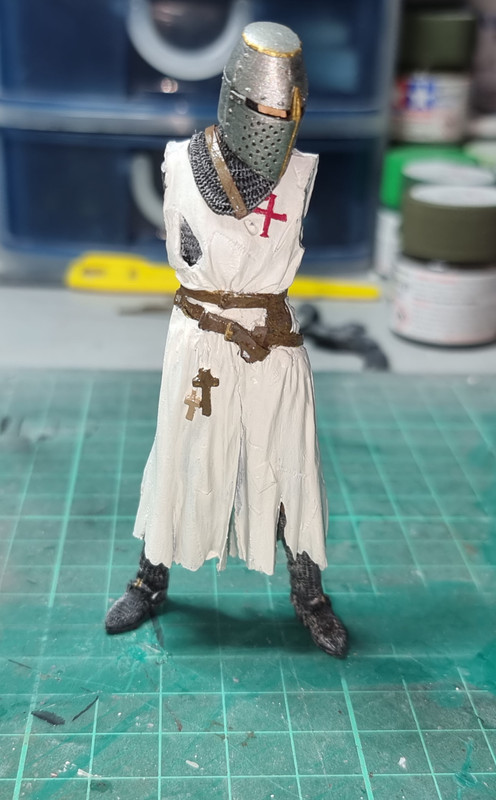
So I moved onto the first steps in assembly - the "skirts" of the surcoat. Stokesy predicted it would need a LOT of filler - he wasn't wrong!! Talk about fits where it touches. This is the result of tonights work:
Nothing insurmountable - just lots and lots of sanding to do.
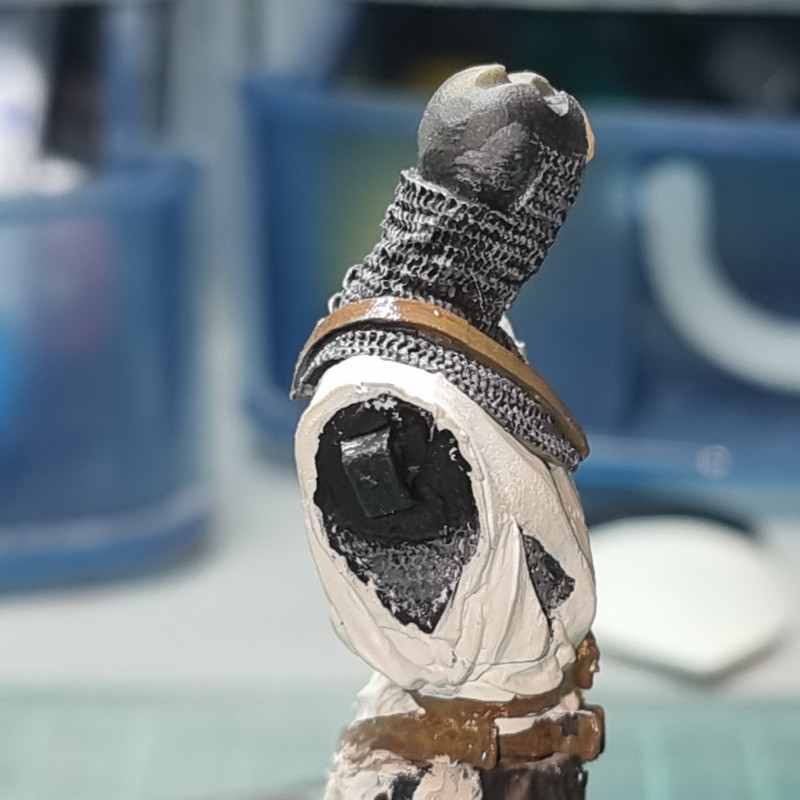
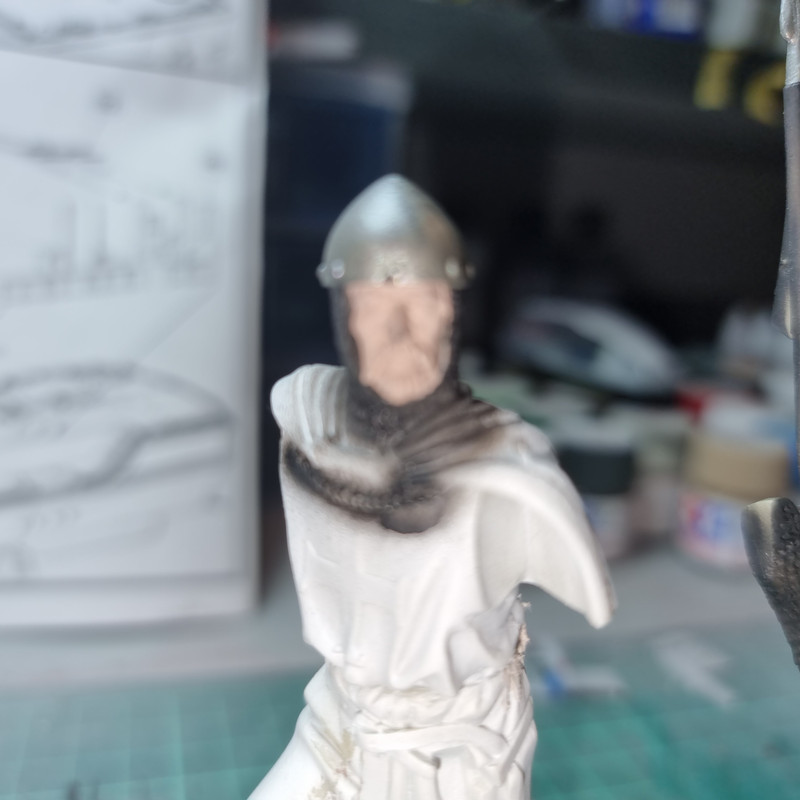
The head, though, is a different matter..... Images of the finished item suggest the front and back lower edges should line up with the chest & back of the body.
They don't!!
Right now all I can think of doing is making a saw cut up the centre and then clamping the head to body so the clamp pulls the lower edges into approximately the right place. If anyone has a better idea - I am all ears!!!
Speaking of the head - I didn't spend too much time on the face because, with the Great Helm on, you cannot see it.
Re: My entry..... The first and the last
Posted: Sat Jun 03, 2023 2:51 am
by digger303
I know nothing about scupting figures, but to me I don't think you can touch the head due to all that chain mail and resin won't bend or compress.
So to me it seems like you would have to build up the back on the shoulders.
However now I'm sitting back and rethinking it and had the thought. Maybe you can hollow out the inside of the should neck area on the head. Heat it up a lot and after making a neat cut, perhaps vee-ing it. Push the chain mail back in for a neater fit plus adding some epoxy to the shoulders to gap fill.
Silly idea...maybe I don't know.
Re: My entry..... The first and the last
Posted: Sat Jun 03, 2023 3:43 am
by BigWall
Very disappointing! I haven't worked with resin much, it looks like it's too thick to heat up in hot water and trying to bend it into shape though.
Re: My entry..... The first and the last
Posted: Sat Jun 03, 2023 10:14 am
by RangerNeil
BigWall wrote: Sat Jun 03, 2023 3:43 am
Very disappointing! I haven't worked with resin much, it looks like it's too thick to heat up in hot water and trying to bend it into shape though.
May be worth trying - thanks!! I didn't realise resin will respond like plastic to heat... Doh ...
Its OK at the shoulders, just that the lower ends are splayed out. The head itself is an inverted, flattened, "U" shape underneath that thins out towards those lower edges.
Re: My entry..... The first and the last
Posted: Sat Jun 03, 2023 8:52 pm
by RangerNeil
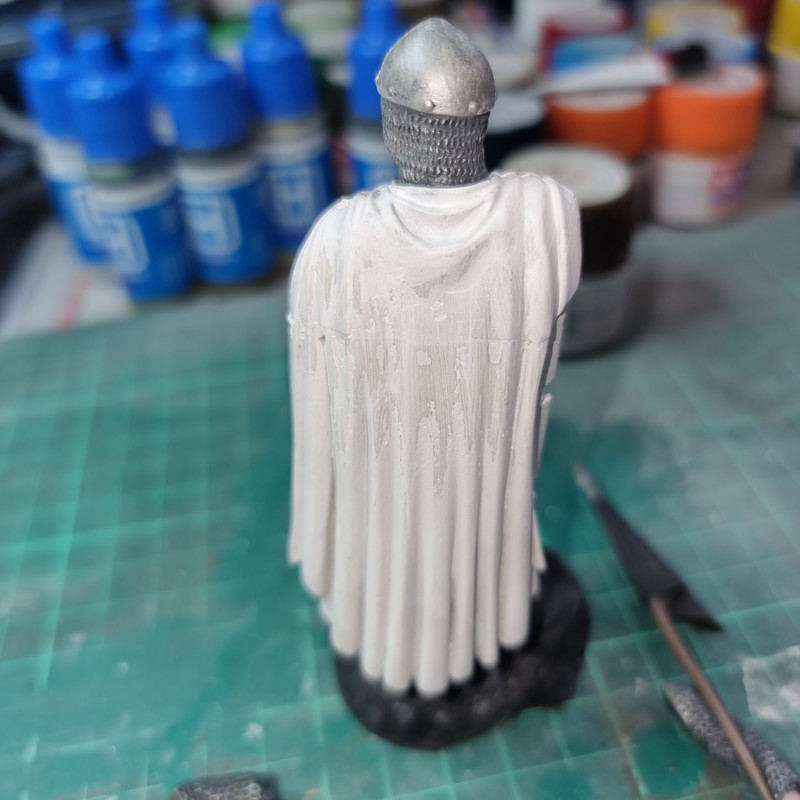
Had a long bash today - got the skirts of the surcoat sorted. Leaving thee figure to dry overnight tben a rub down with a very fine sander before applying the final thin top coat. Followed by a dirt wash when dry
I think I have cracked the head issue too - the coife is meant to appear to lay over the surcoat, not under, and placing the head just so does this.
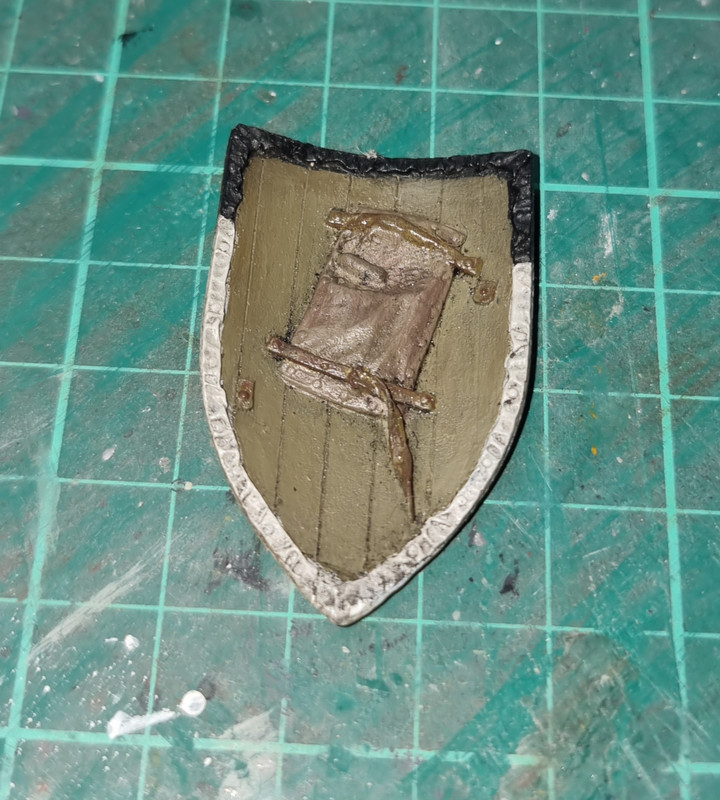
The sheild is more or less done - I used a panel liner to highlight the cuts on the outer face followed by a diet wash. On the inside I scribed the lines in for the wood panels that form the sheild and, after painting gave it a dark wash to highlight the seams.
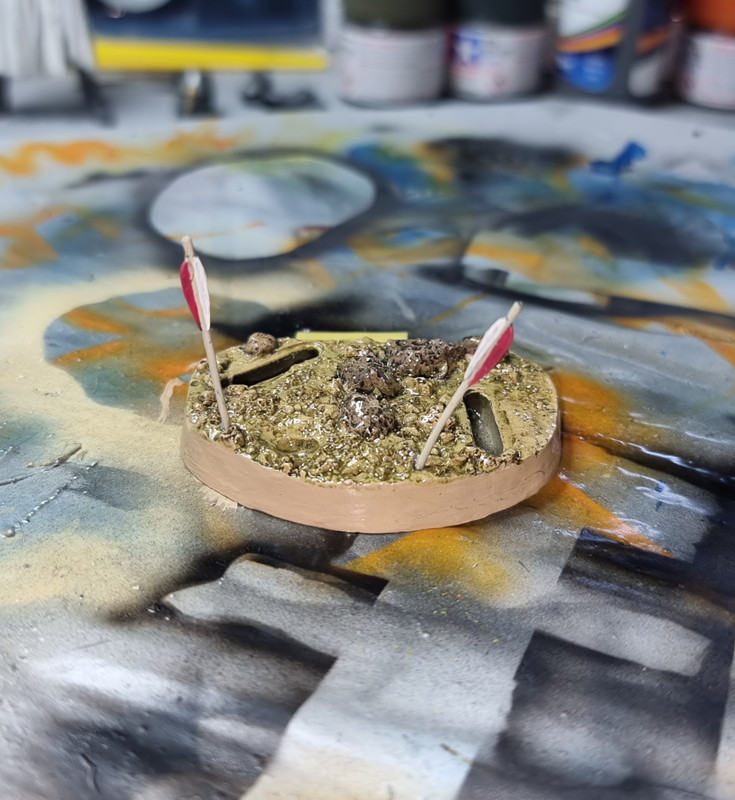
Lastly the base was completed, arrows added, and given a coat of matt varnish!
Re: My entry..... The first and the last
Posted: Sat Jun 03, 2023 10:47 pm
by ForeverPlasticKits
Nice paint, the white close is so realistic!
Re: My entry..... The first and the last
Posted: Sun Jun 04, 2023 12:21 am
by BigWall
It's looking nice!
Re: My entry..... The first and the last
Posted: Sun Jun 04, 2023 12:54 am
by RangerNeil
Many thanks Gents
I'm glad I did the other one first - had I started on this one I'd never have finished either!!
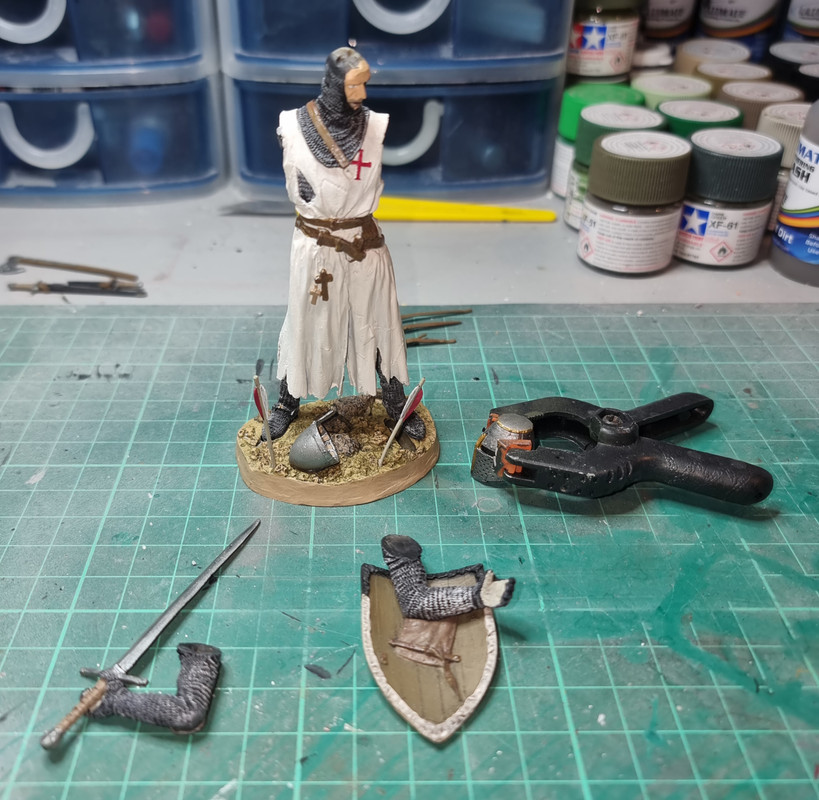
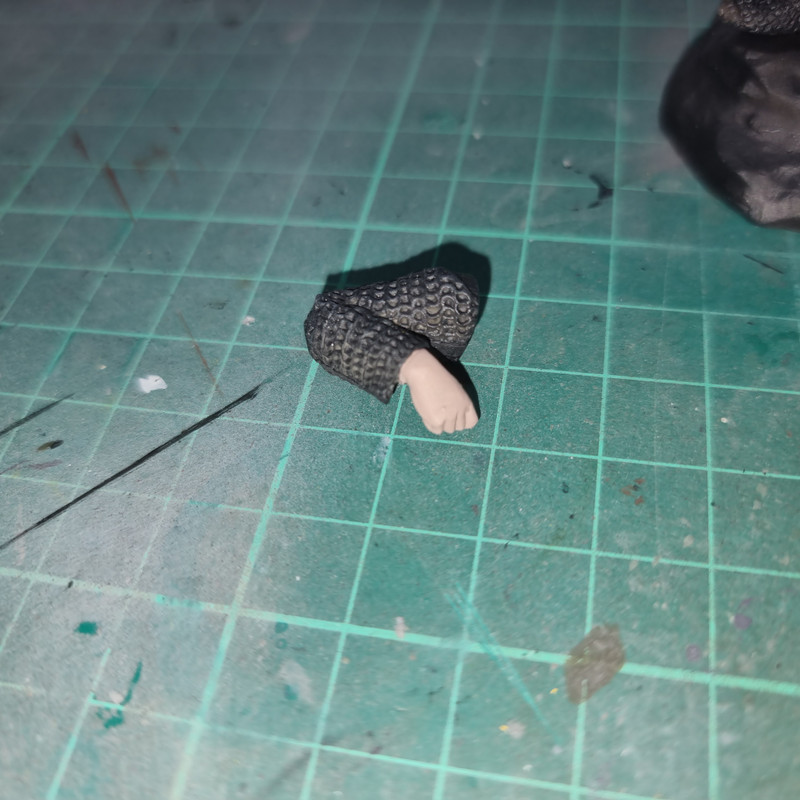
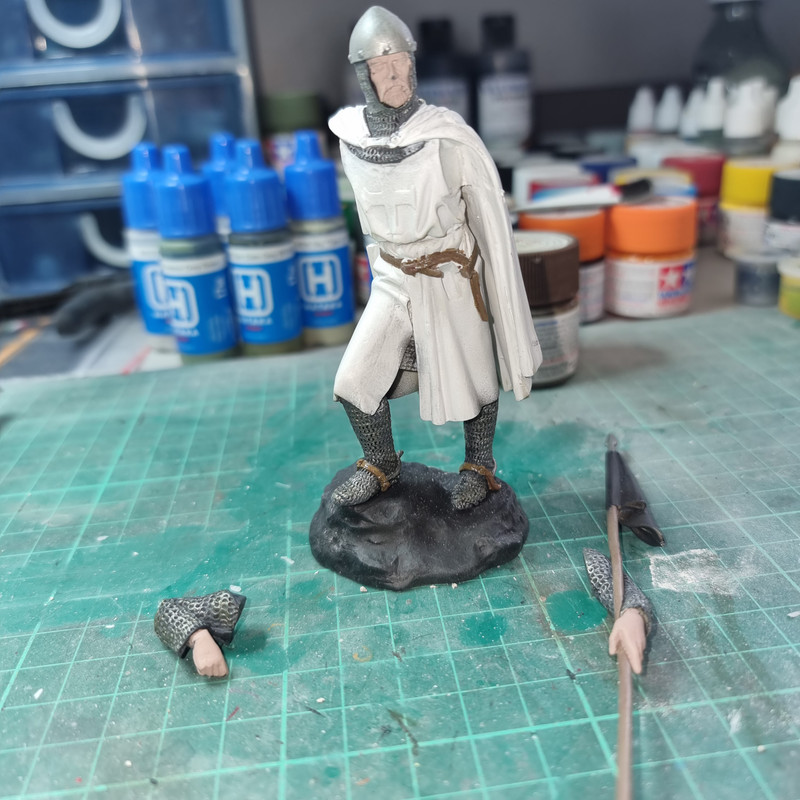
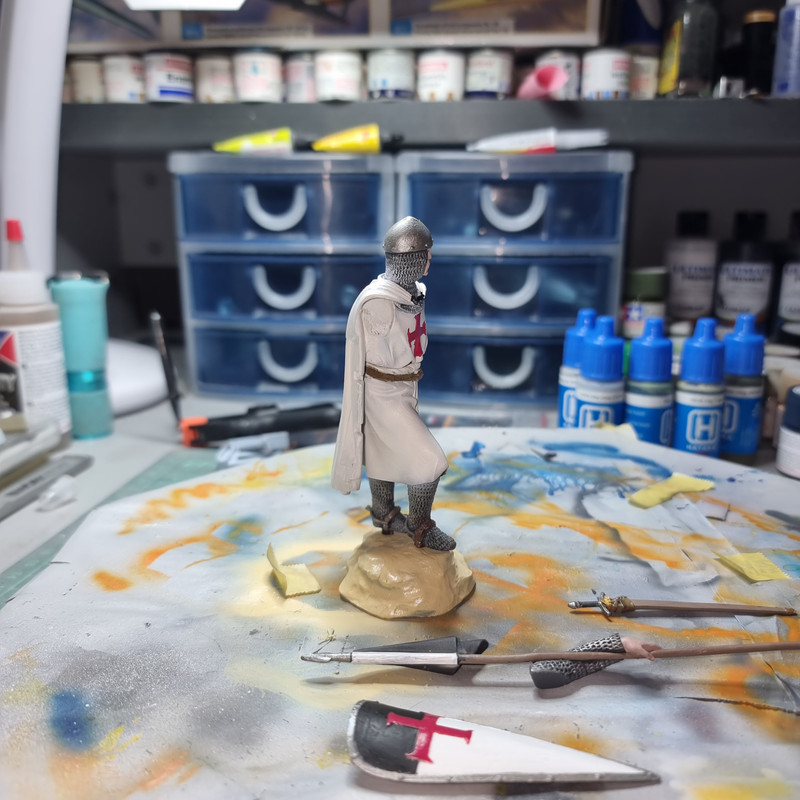
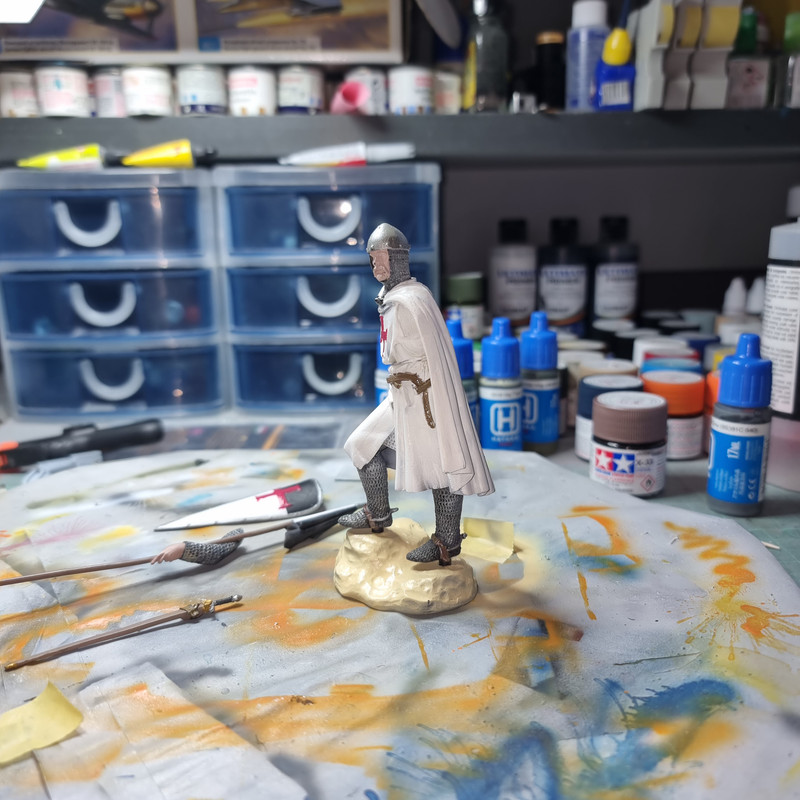
Anyways - this is the state of play at end of day....
Re: My entry..... The first and the last
Posted: Sun Jun 04, 2023 2:46 am
by digger303
RangerNeil wrote: Sun Jun 04, 2023 12:54 am
Many thanks Gents
I'm glad I did the other one first - had I started on this one I'd never have finished either!!
Anyways - this is the state of play at end of day....
Onward and upward...
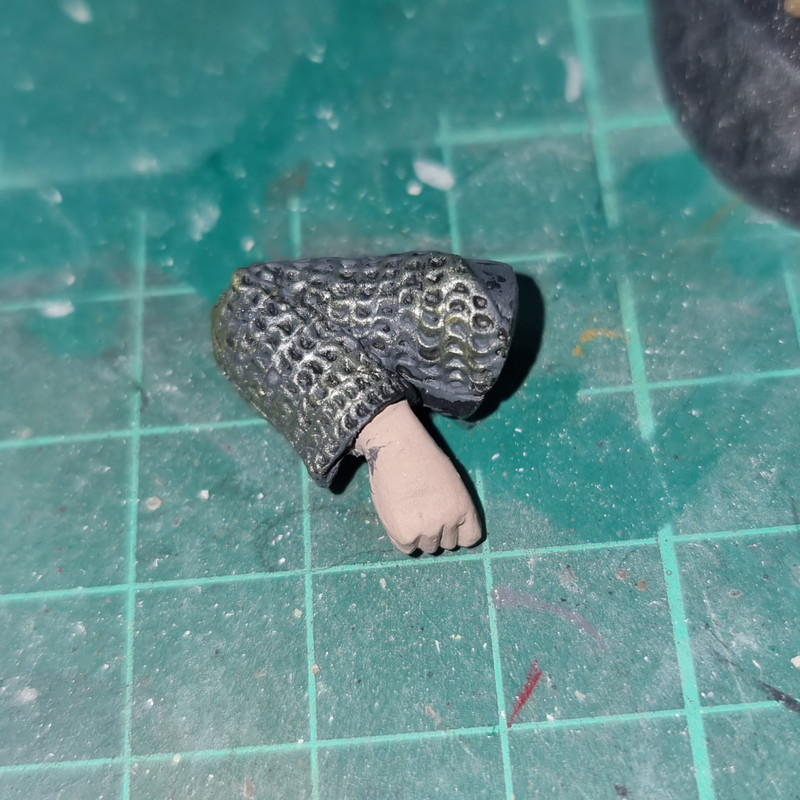
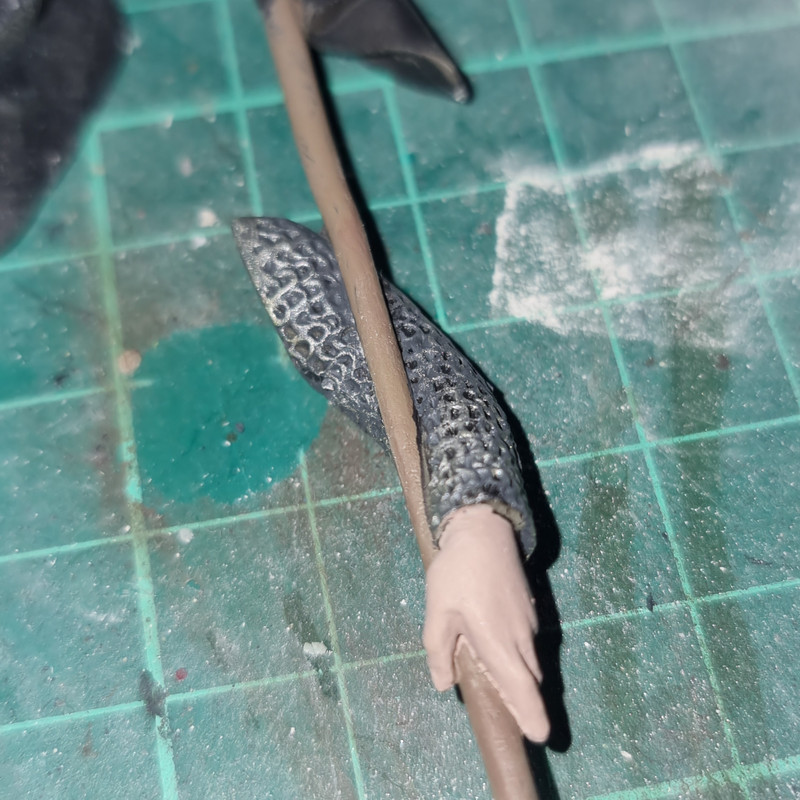
Reminds me of Monty python again when he kept getting limbs removed and was still going to fight..
Re: My entry..... The first and the last
Posted: Sun Jun 04, 2023 8:39 pm
by RangerNeil
Figure assembly more or less complete - can't decide whether to use the ax or the longsword for the final look.
Meantime everything else that should be on is and once everything is dry the next step is finishing off. This, however entails learning how to do dried blood - splats, smears and spatter and getting the colour right.....






 seeing your work get me more tempted trying my hand at one finally.