Page 1 of 1
Ford Trimotor - vintage Airfix 1/72 - Photos added
Posted: Sat Jun 10, 2023 12:19 am
by RangerNeil
Re: Ford Trimotor - vintage Airfix 1/72
Posted: Sat Jun 10, 2023 1:02 am
by digger303
A interesting kit, I do hope it's all there.

Re: Ford Trimotor - vintage Airfix 1/72 - Photos added
Posted: Sat Jun 10, 2023 7:43 pm
by KalebB
Hopefully no parts are missing! Will be a cool lil plane once done
Re: Ford Trimotor - vintage Airfix 1/72 - Photos added
Posted: Sat Jun 10, 2023 11:45 pm
by RangerNeil
Cheers guys. So far - so good - he says touching every bit of wood to hand!!

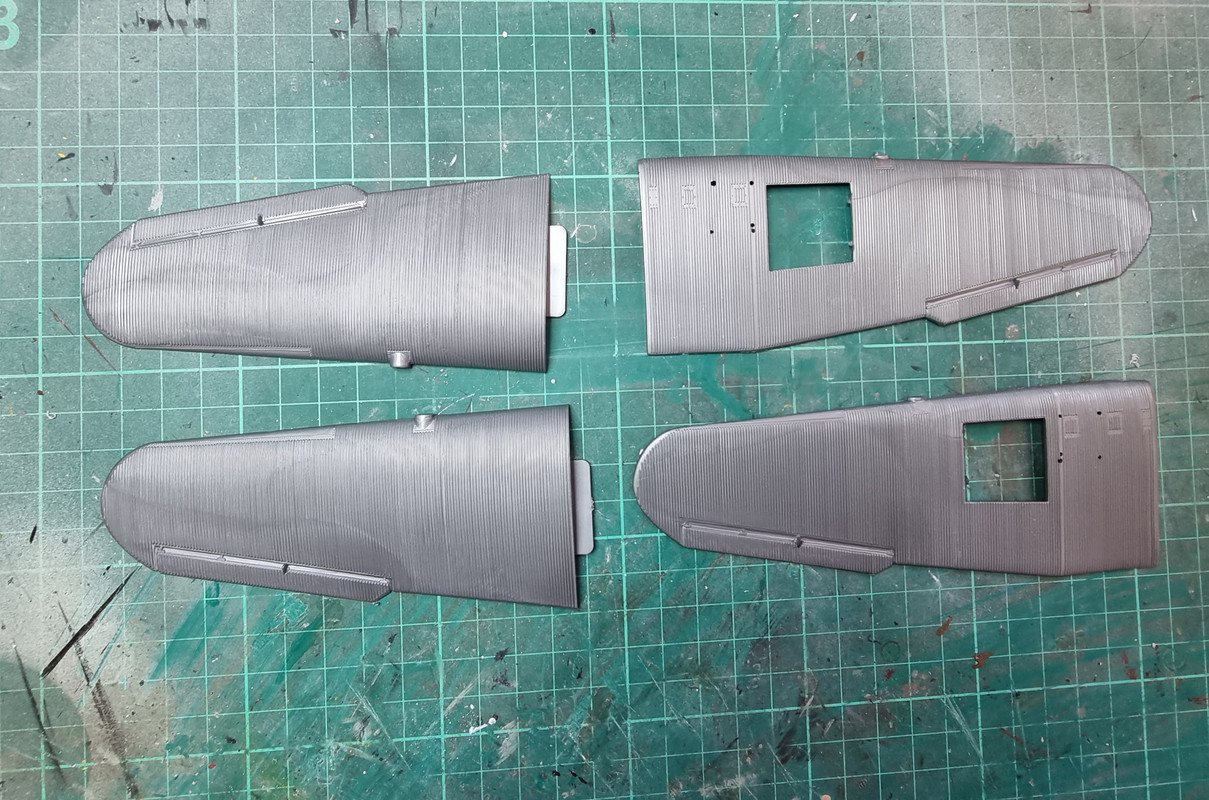
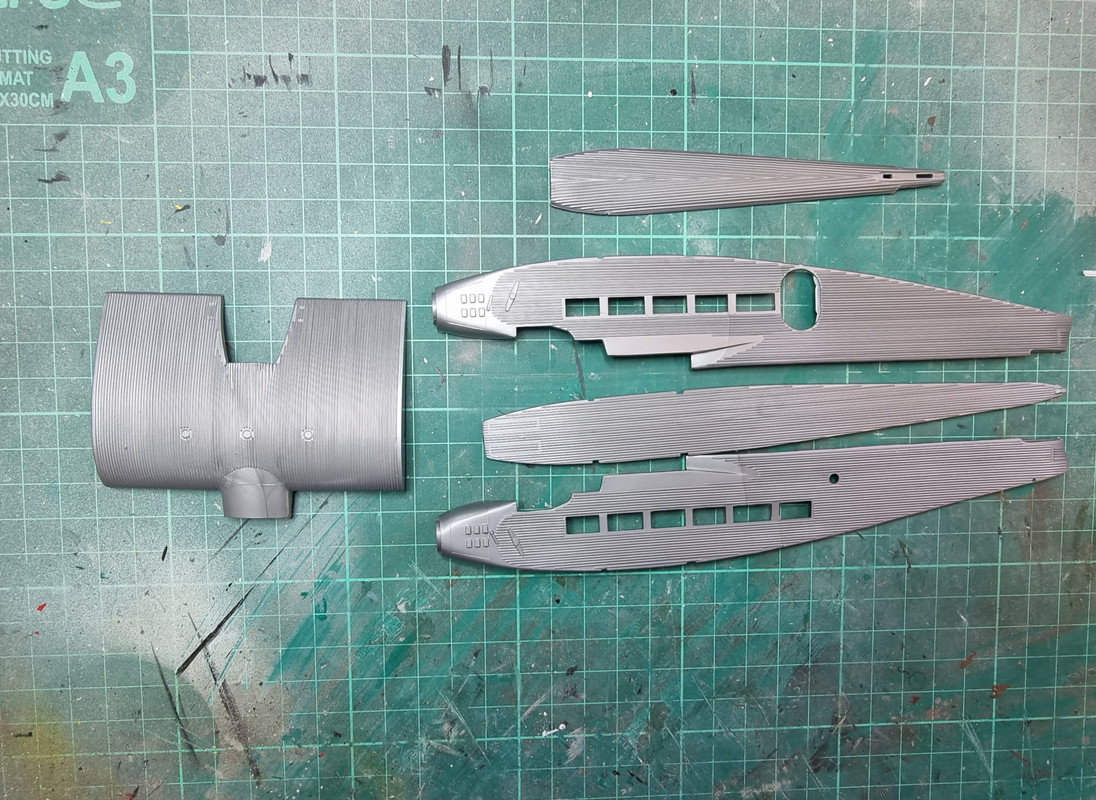
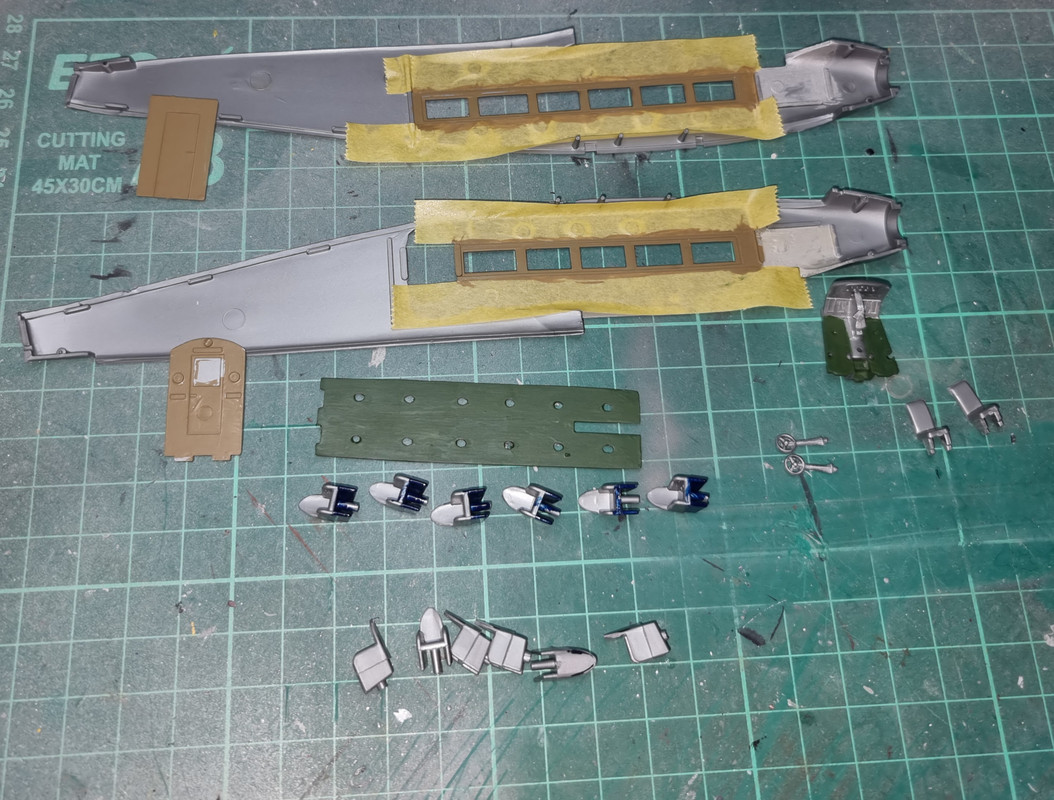
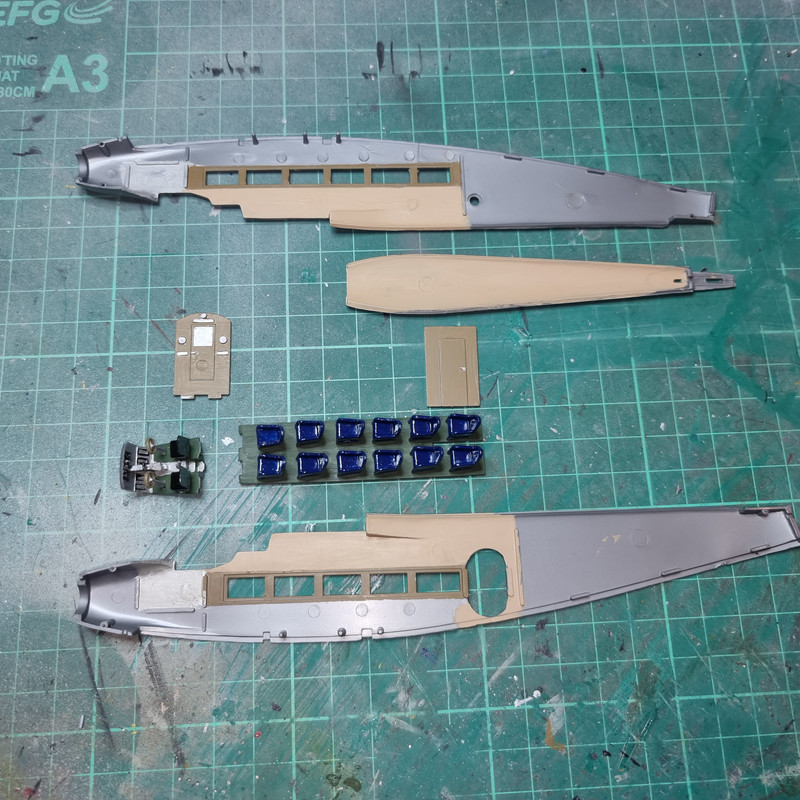
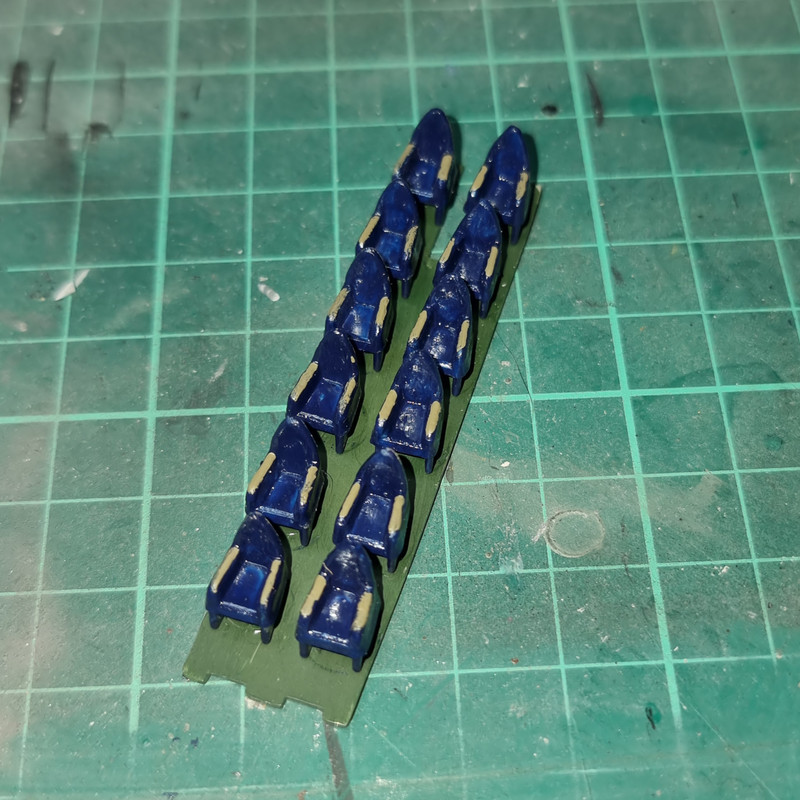
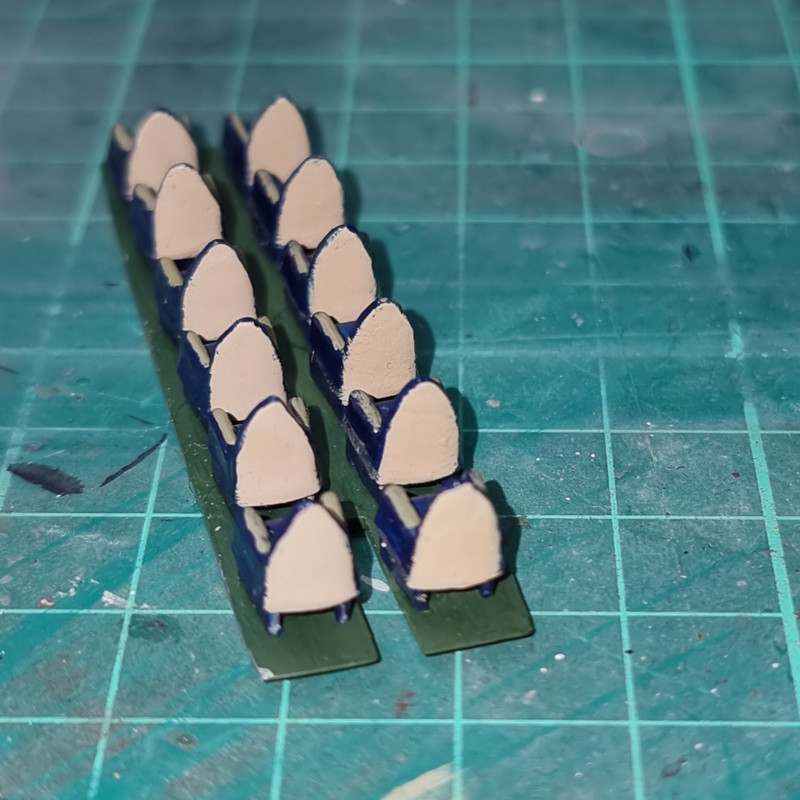
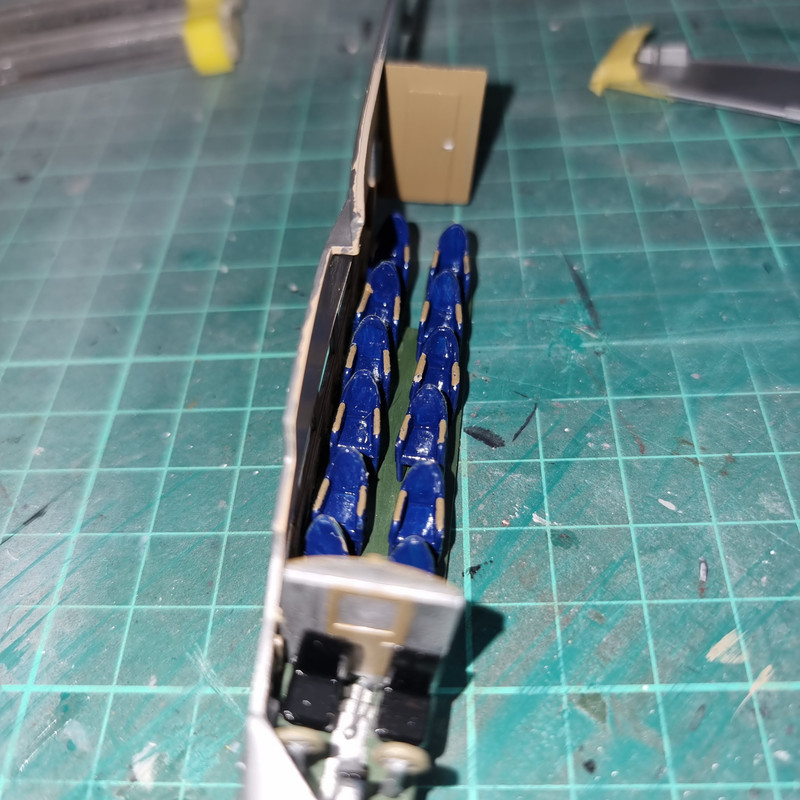
Got the fuselage all together. Not the simplest of jobs as its a 4 part constuction. Hopefully its gone together square! And first photo shows how the seat backs were reprofiled. I got the colour scheme from web photos of Trimotor interiors.
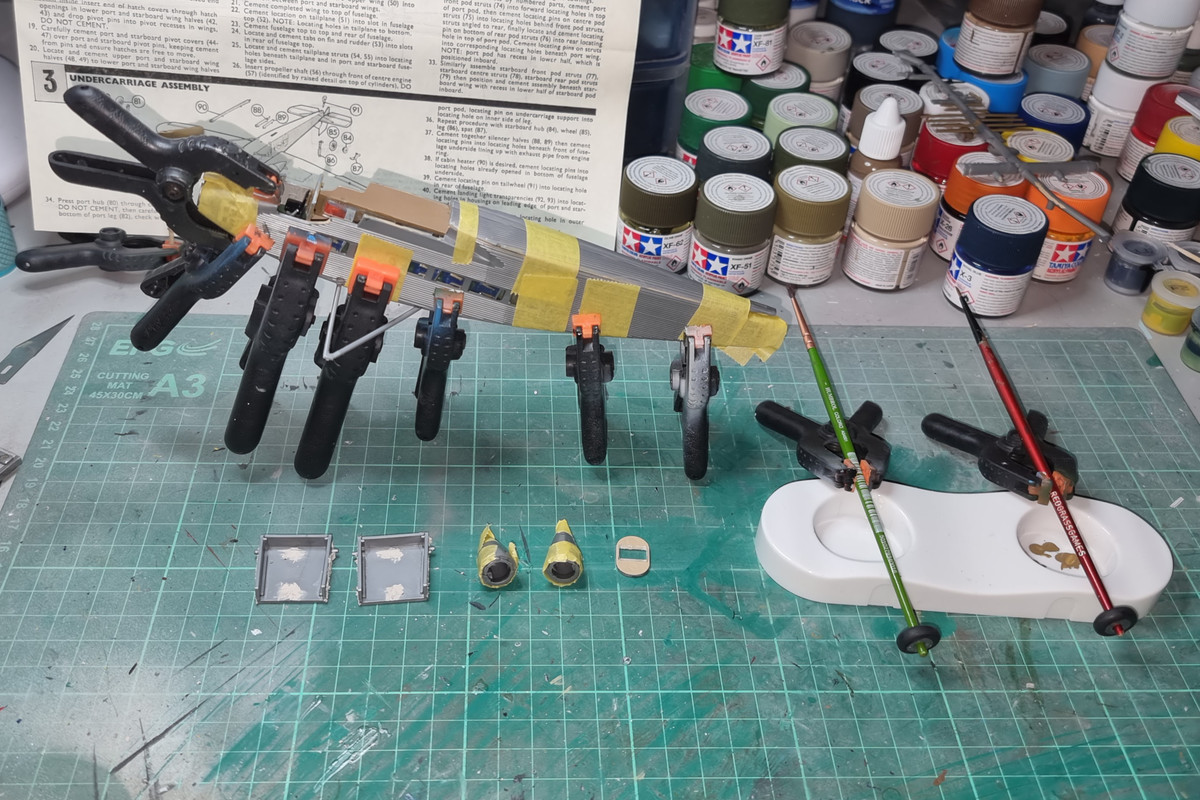
As of tonight the fuselae is more or less done the luggage panniers in the wings are assembled as are the two outboard engine pods. These were a pig as no clamp would hold them, just kept slipping off.....
Re: Ford Trimotor - vintage Airfix 1/72 - Photos added
Posted: Sun Jun 11, 2023 2:07 am
by digger303
Re: Ford Trimotor - vintage Airfix 1/72 - Photos added
Posted: Mon Jun 12, 2023 1:32 am
by RangerNeil
Re: Ford Trimotor - vintage Airfix 1/72 - Photos added
Posted: Mon Jun 12, 2023 1:52 am
by digger303
Re: Ford Trimotor - vintage Airfix 1/72 - Photos added
Posted: Mon Jun 12, 2023 2:22 am
by Twokidsnosleep
Ahh there we go
Pics installed

Re: Ford Trimotor - vintage Airfix 1/72 - Photos added
Posted: Mon Jun 12, 2023 3:28 pm
by RangerNeil
Twokidsnosleep wrote: Mon Jun 12, 2023 2:22 am
Ahh there we go
Pics installed
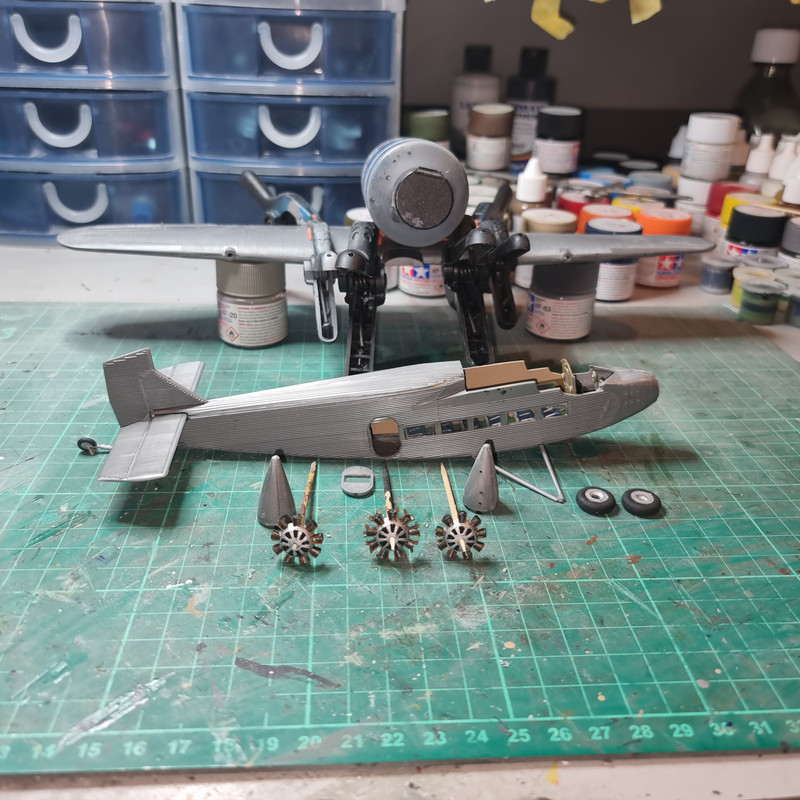
Indeed - status at close of play @ 02:20 Hrs this morning
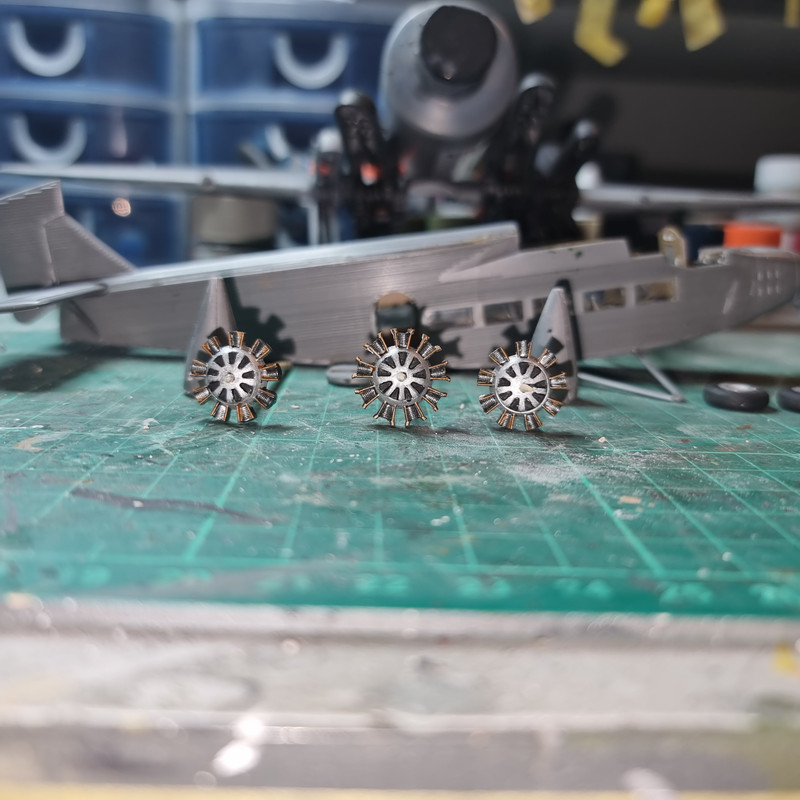
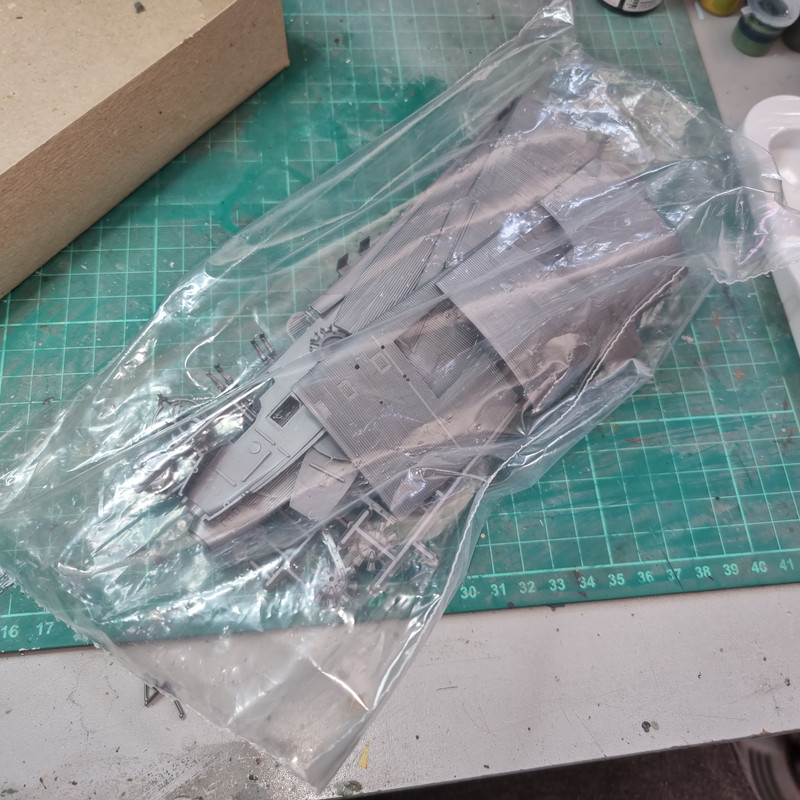
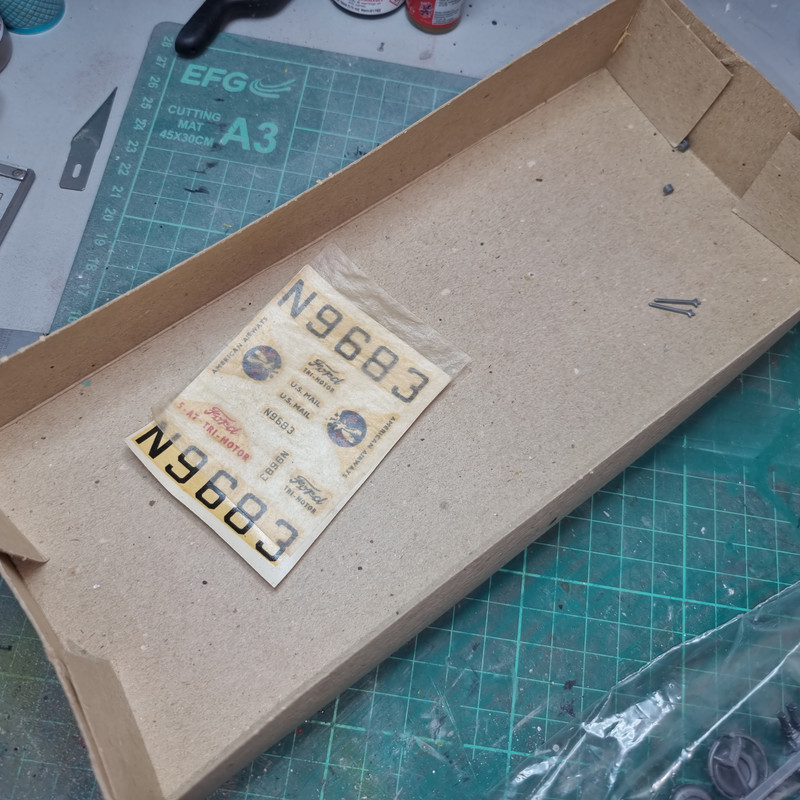
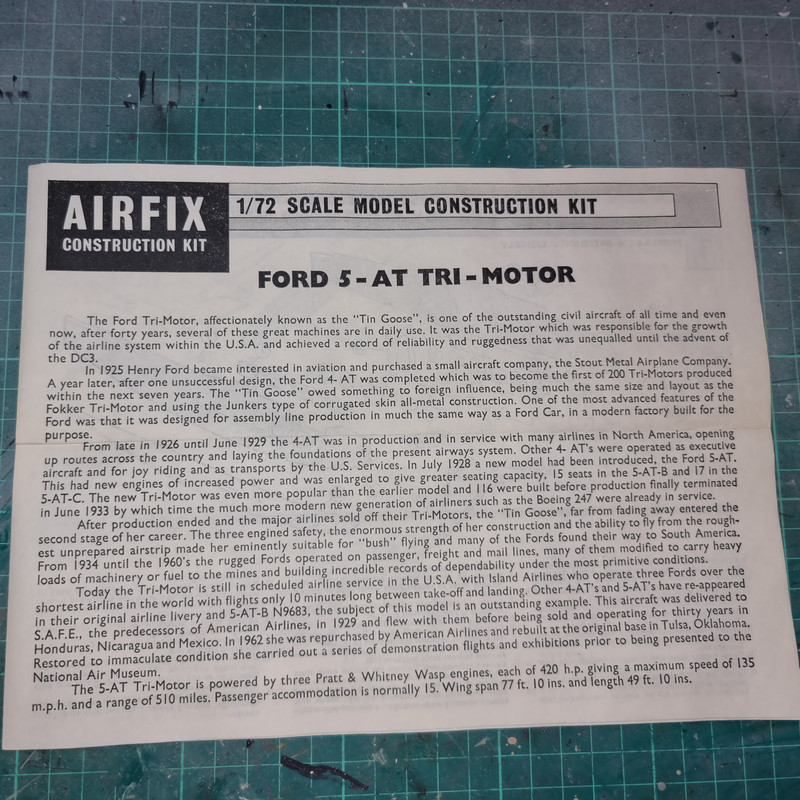
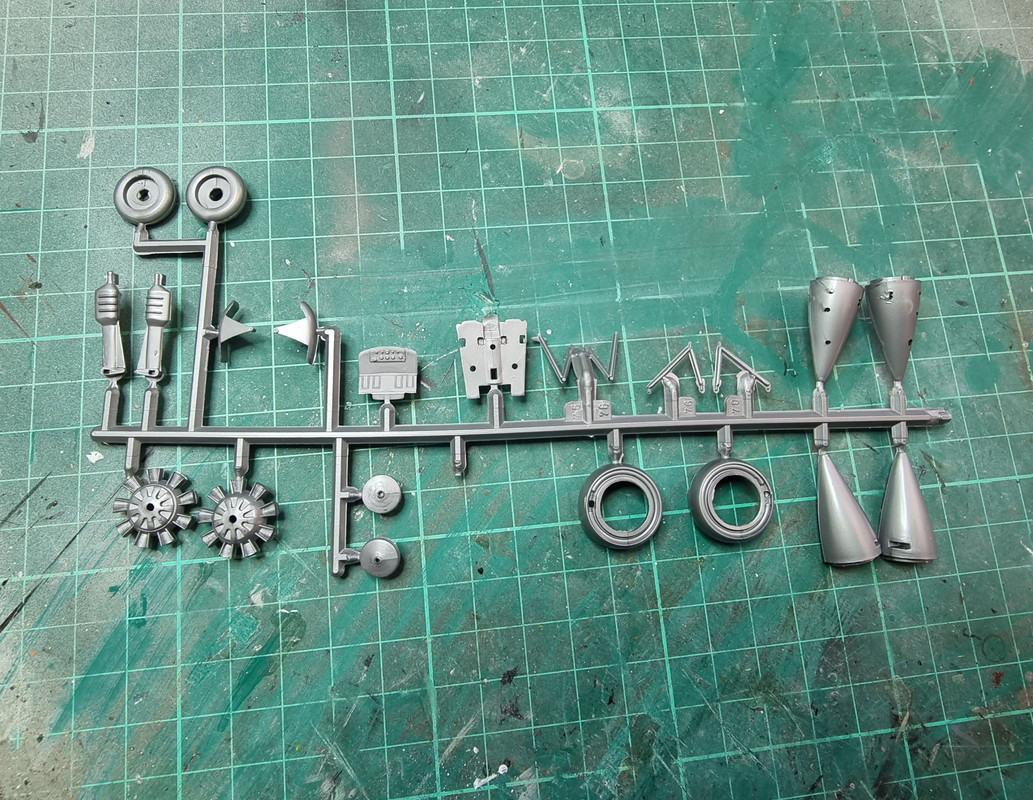
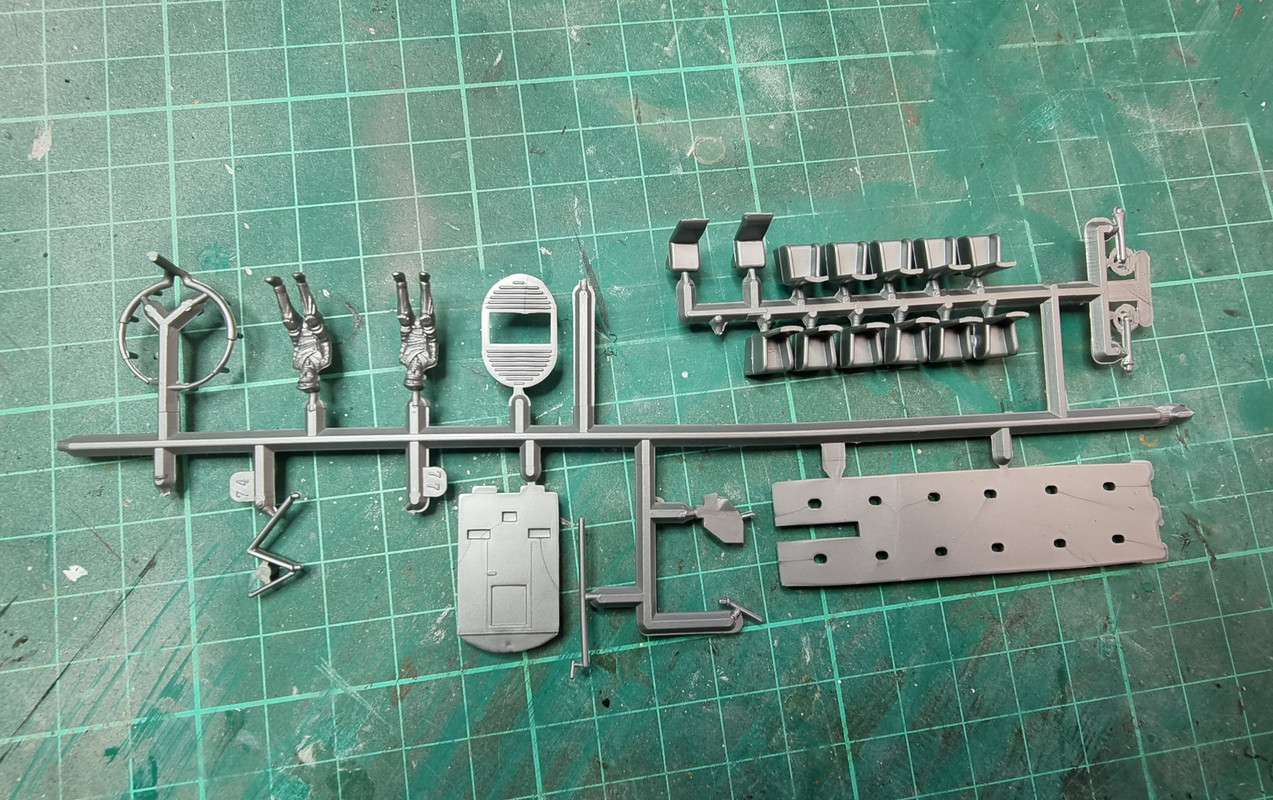
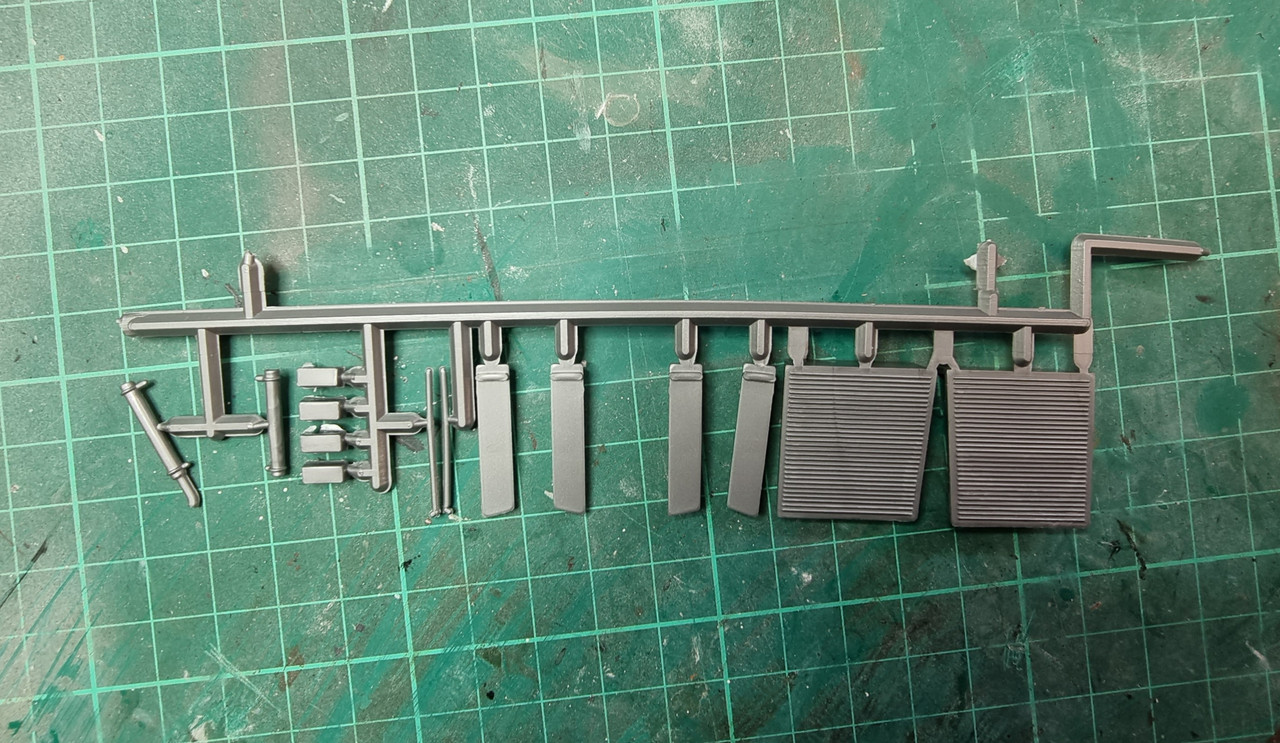
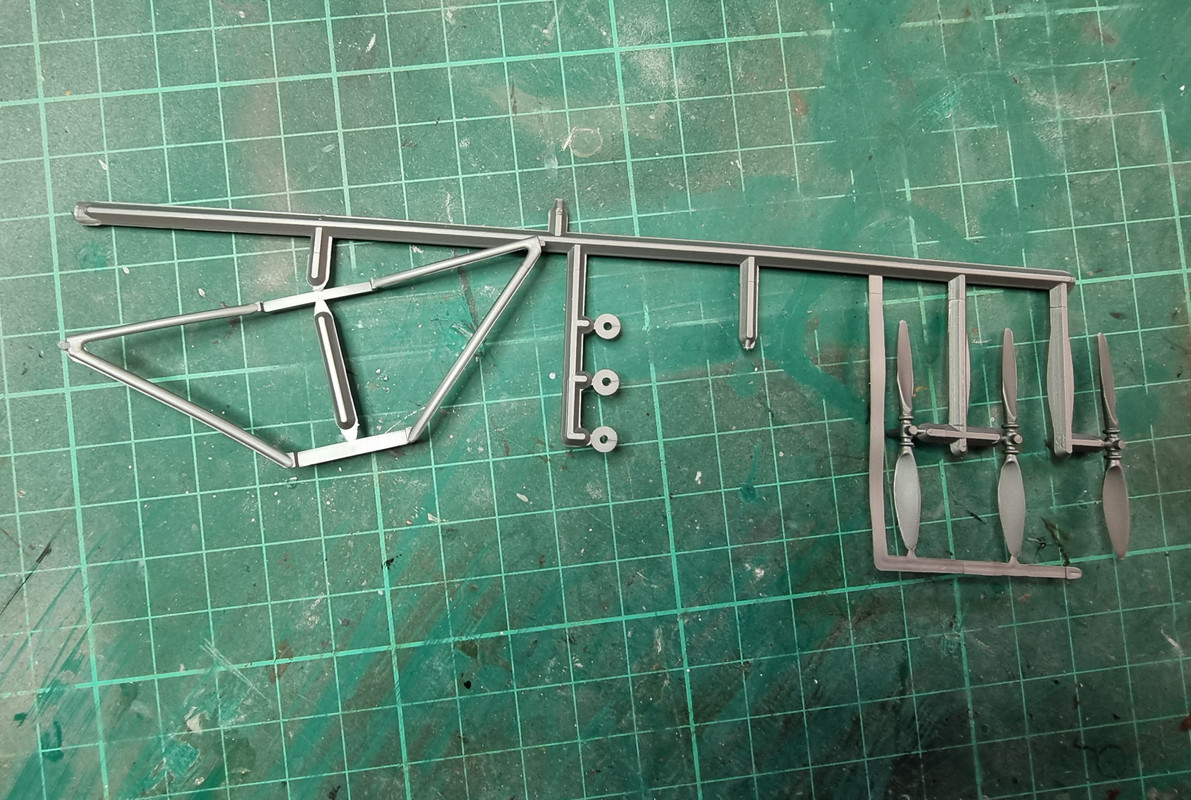
And this is the second one that arrived:
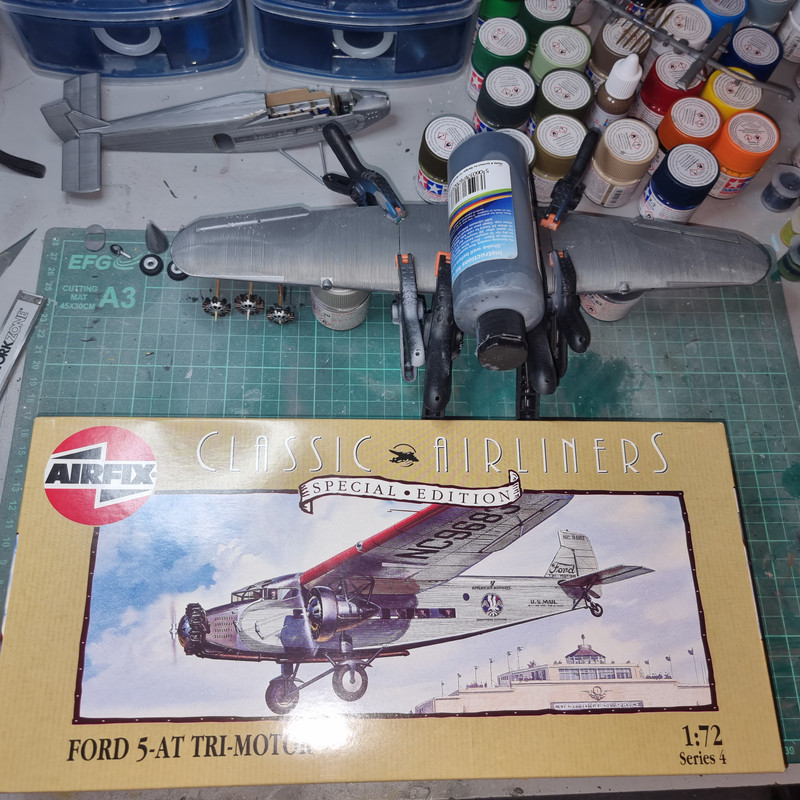
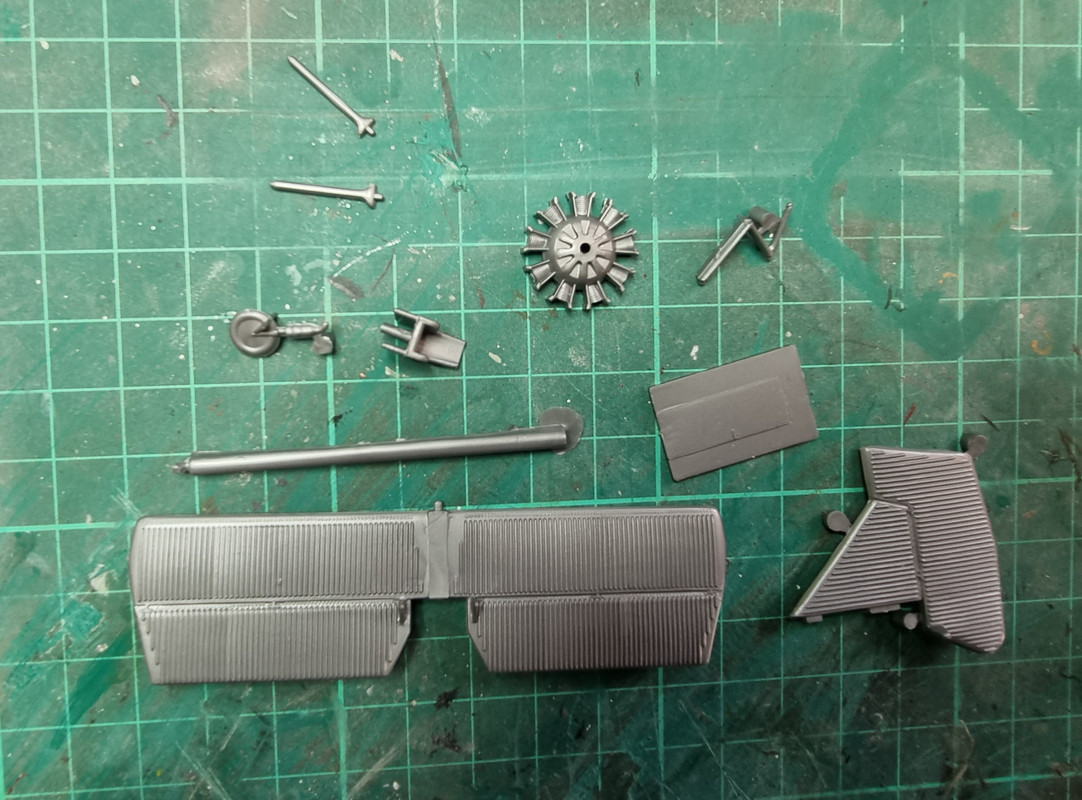
Box was still sealed in cellophane from new - but this is how Airfix shipped parts back then:
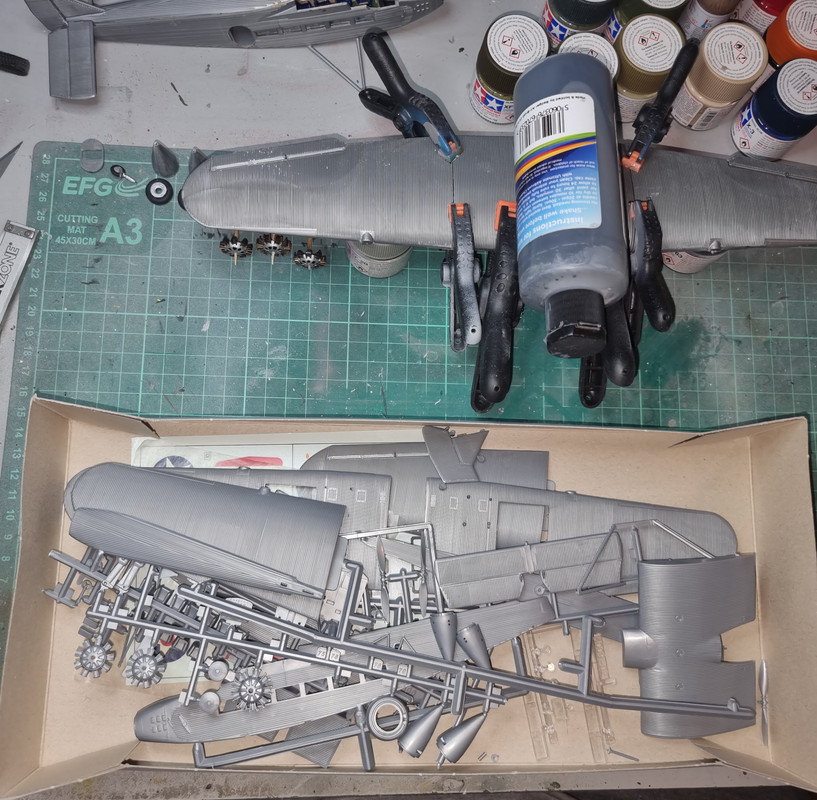
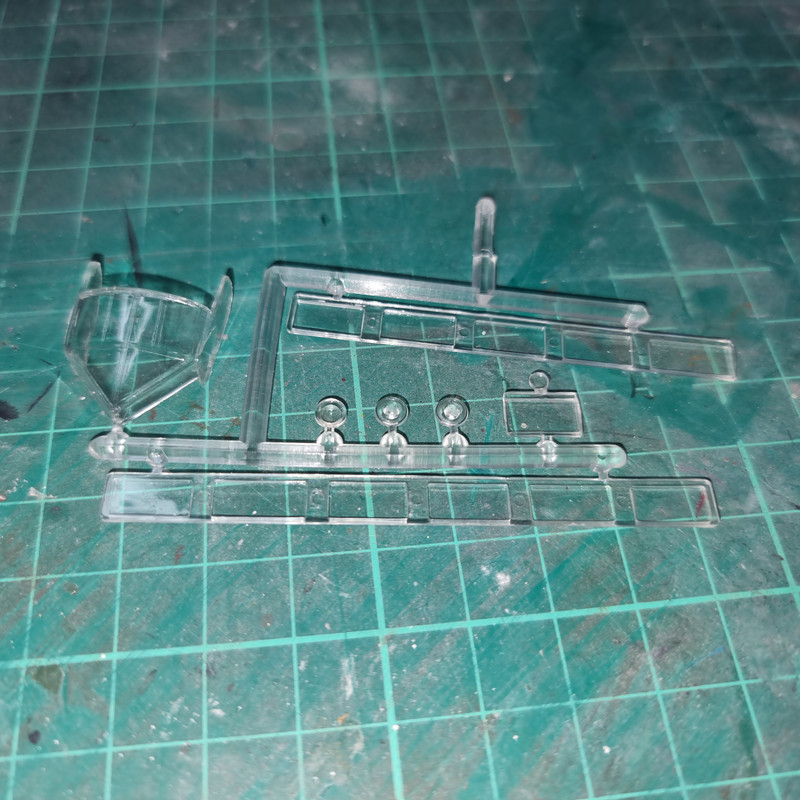
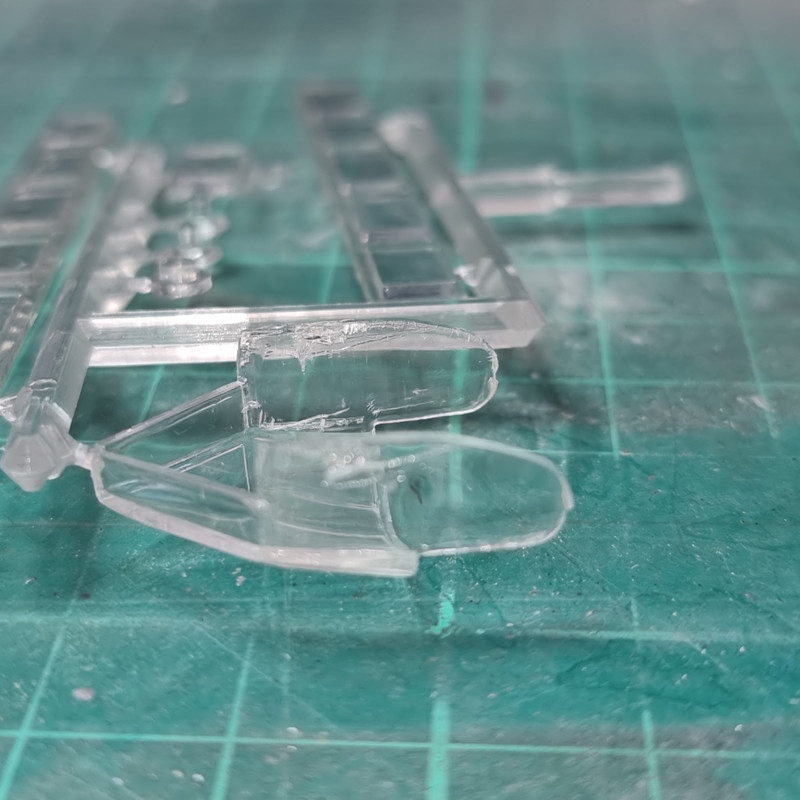
No bags at all for anything. I thought at first the cockpit glazing was missing - but I found it trapped in one of the wing sections.......
Re: Ford Trimotor - vintage Airfix 1/72 - Photos added
Posted: Tue Jun 13, 2023 1:13 am
by digger303
Re: Ford Trimotor - vintage Airfix 1/72 - Photos added
Posted: Wed Jun 14, 2023 2:52 am
by RangerNeil
Re: Ford Trimotor - vintage Airfix 1/72 - Photos added
Posted: Wed Jun 14, 2023 5:44 am
by digger303
Re: Ford Trimotor - vintage Airfix 1/72 - Photos added
Posted: Wed Jun 14, 2023 10:26 am
by RangerNeil
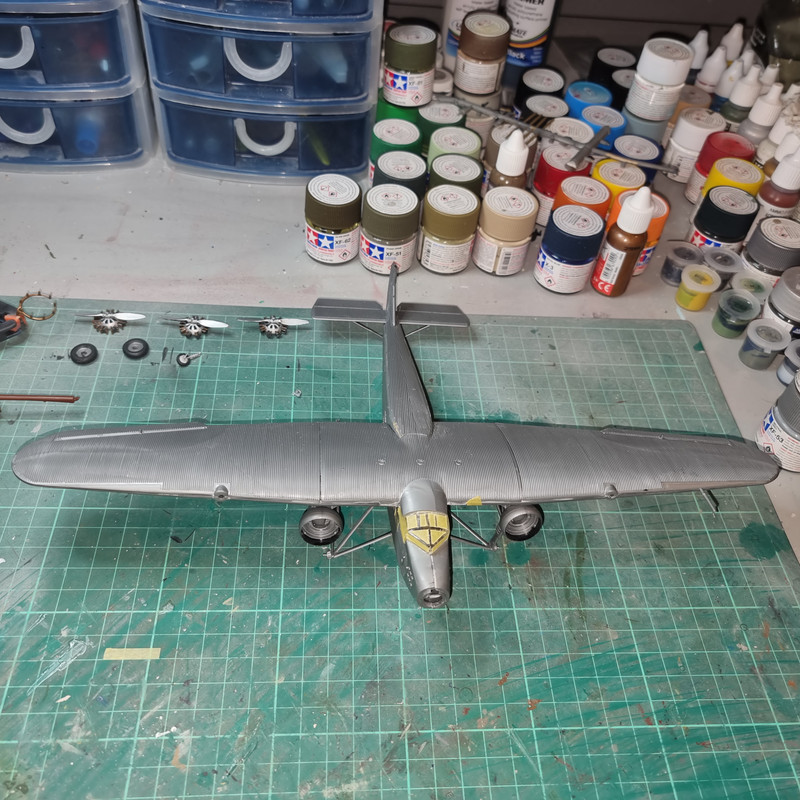
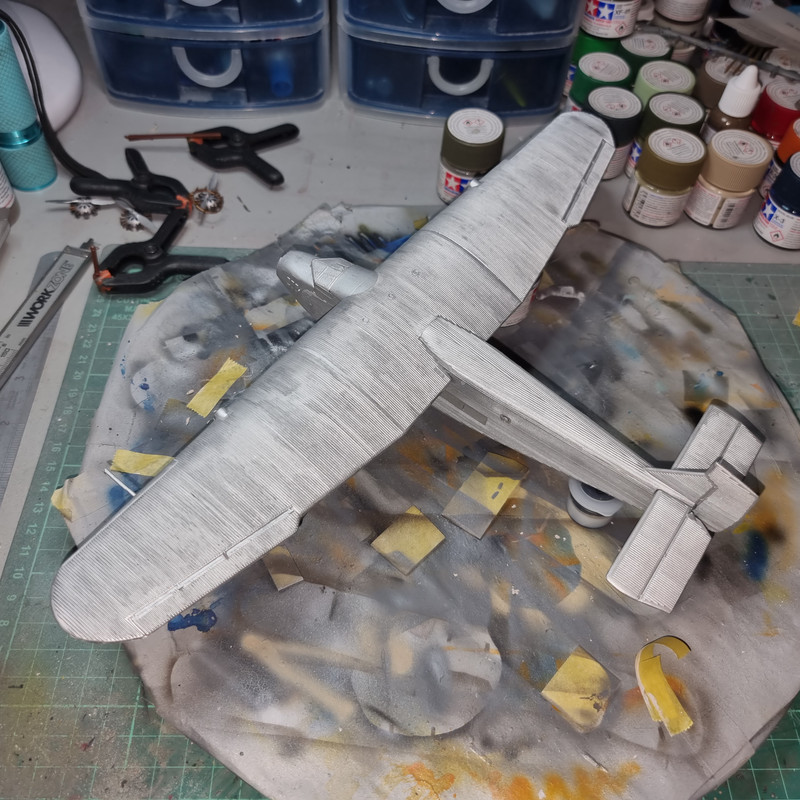
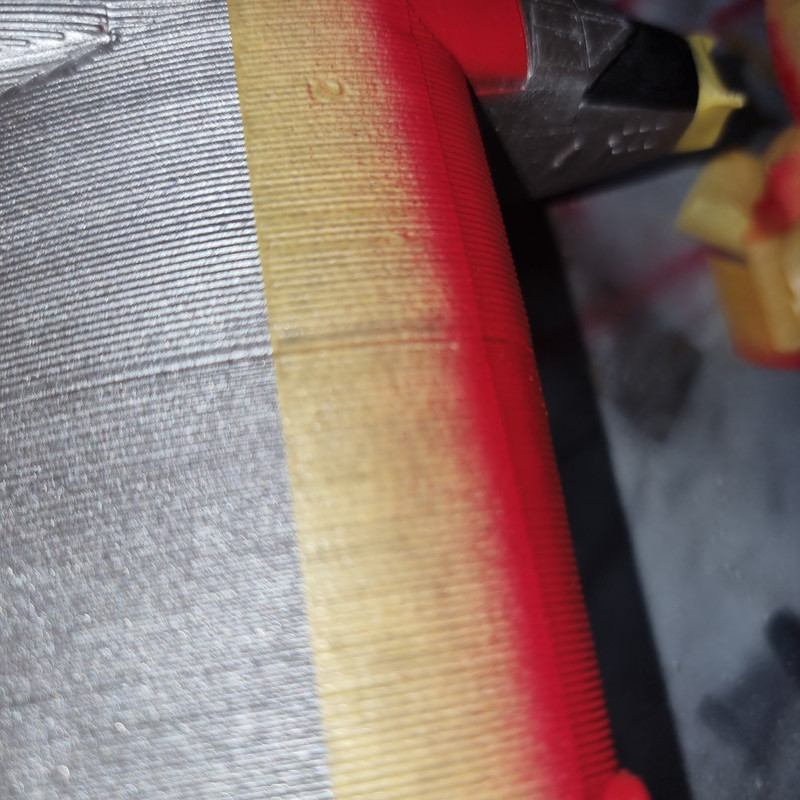
And thats with an airbrush!!

That corrugated skin is a PITA in so many ways......
Re: Ford Trimotor - vintage Airfix 1/72 - Photos added
Posted: Wed Jun 14, 2023 10:38 am
by digger303
RangerNeil wrote: Wed Jun 14, 2023 10:26 am
And thats with an airbrush!!
That corrugated skin is a PITA in so many ways......
I wasn't having a go at you. I like the tonal variation I was thinking that your going to whack another coat on and tone it down to get a very interesting weathered effect.
Re: Ford Trimotor - vintage Airfix 1/72 - Photos added
Posted: Wed Jun 14, 2023 10:39 pm
by RangerNeil
digger303 wrote: Wed Jun 14, 2023 10:38 am
RangerNeil wrote: Wed Jun 14, 2023 10:26 am
And thats with an airbrush!!
That corrugated skin is a PITA in so many ways......
I wasn't having a go at you. I like the tonal variation I was thinking that your going to whack another coat on and tone it down to get a very interesting weathered effect.
Correct for 10 points....
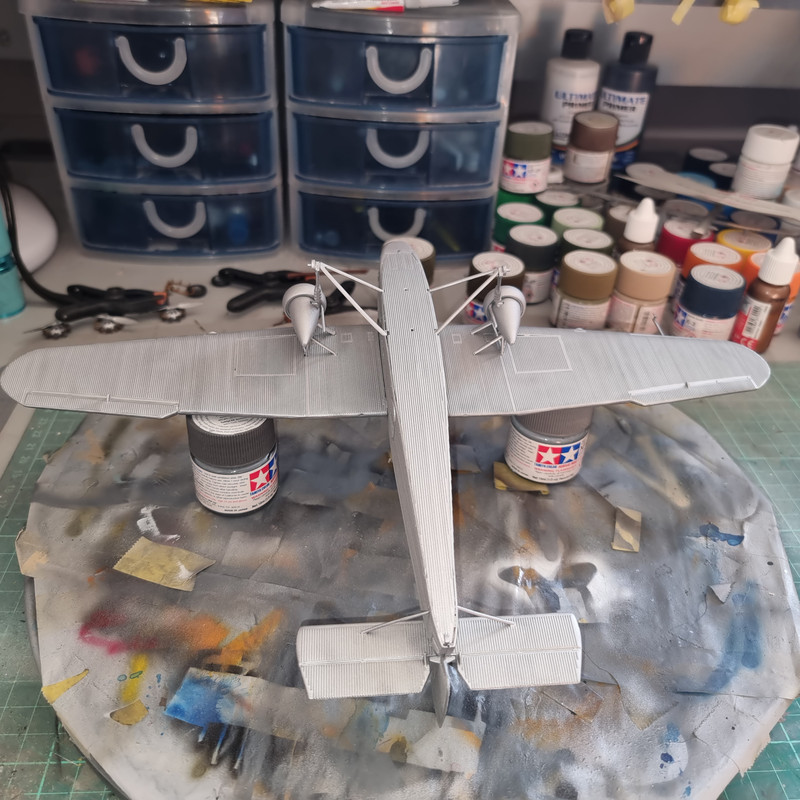
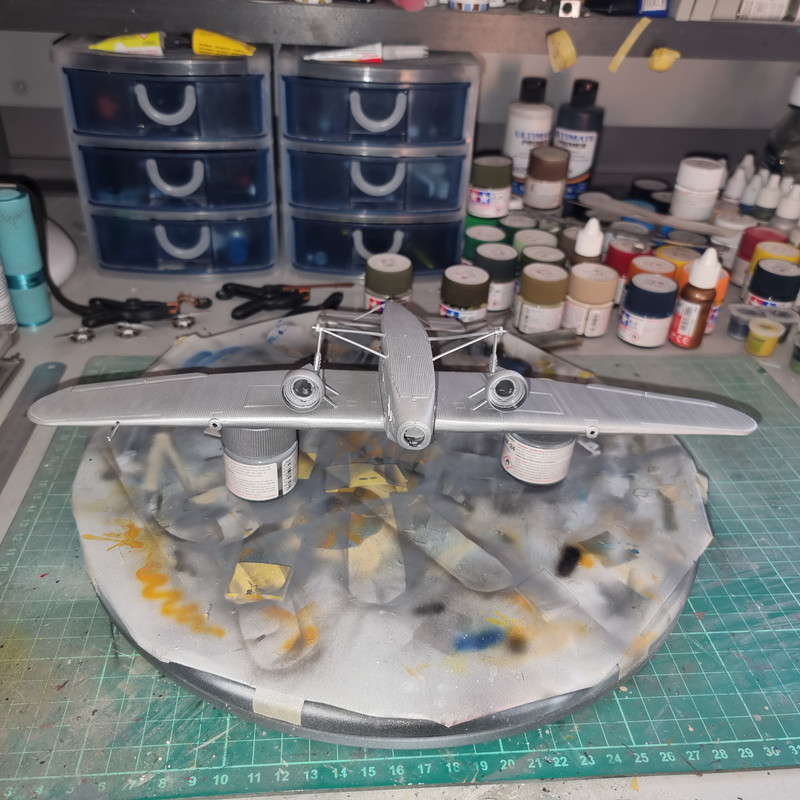
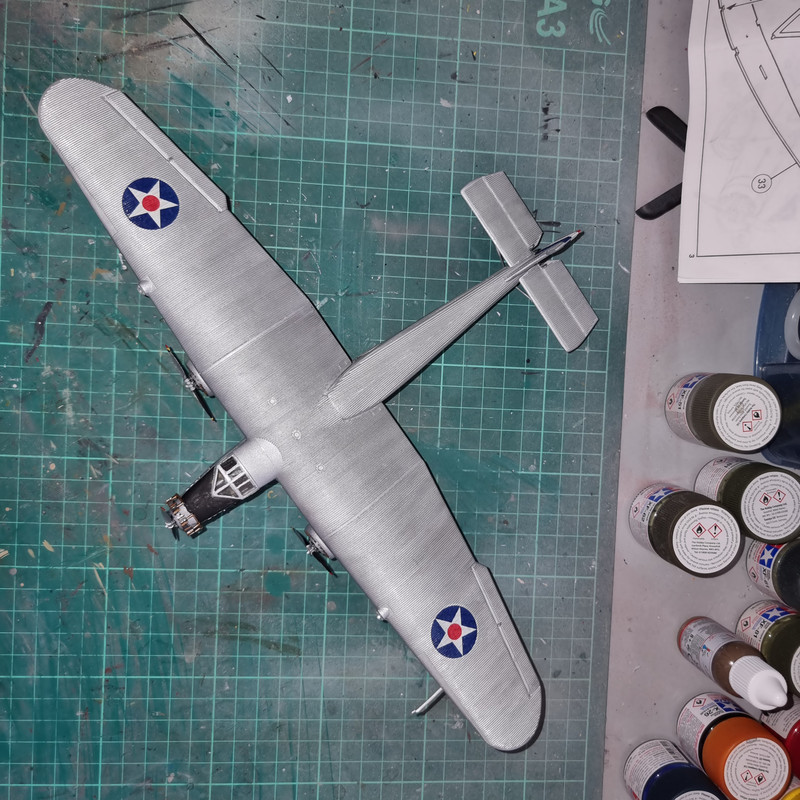
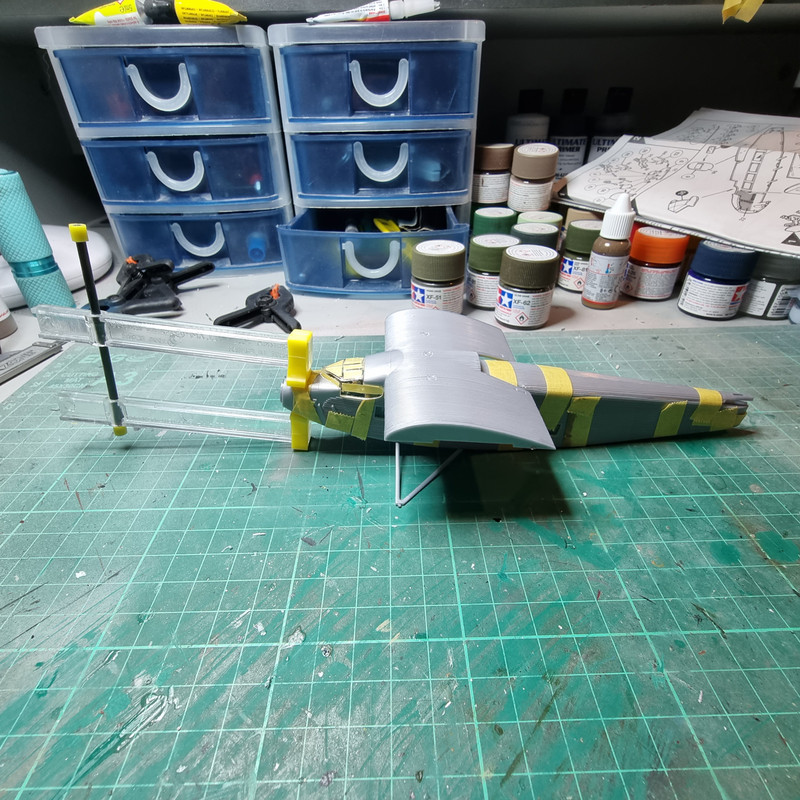
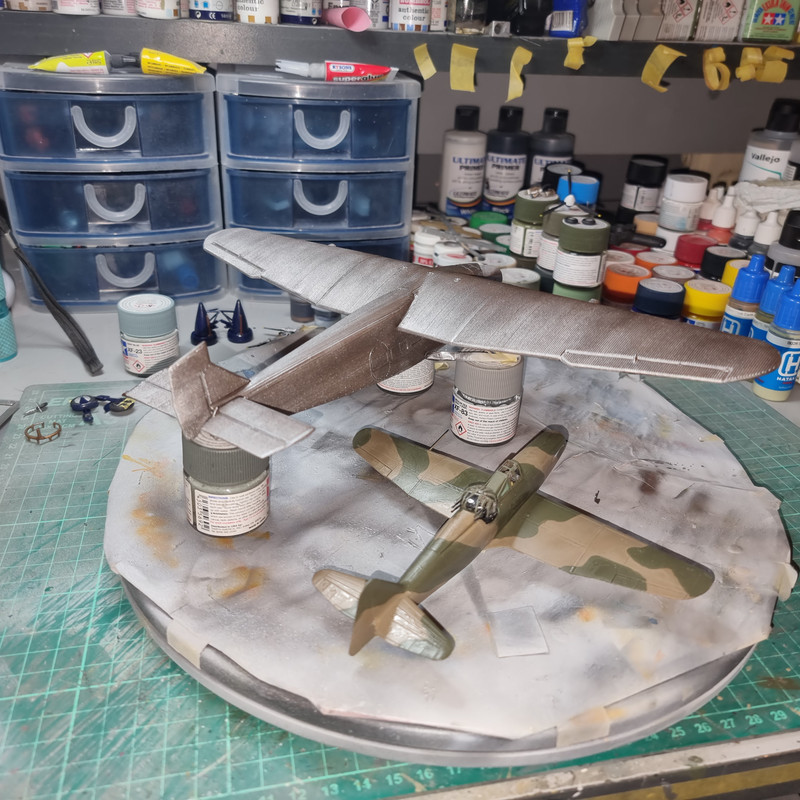
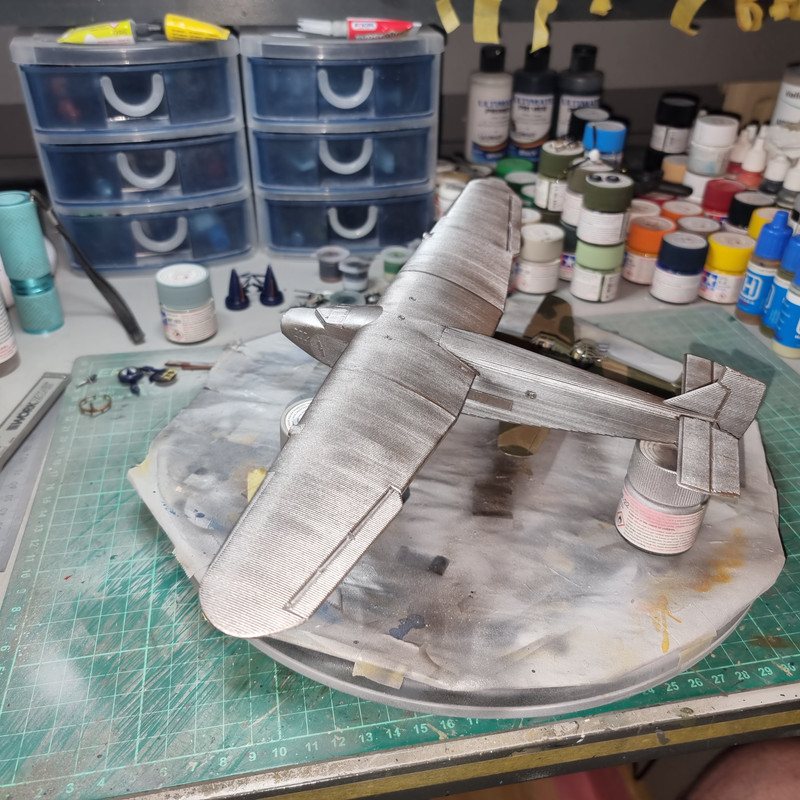
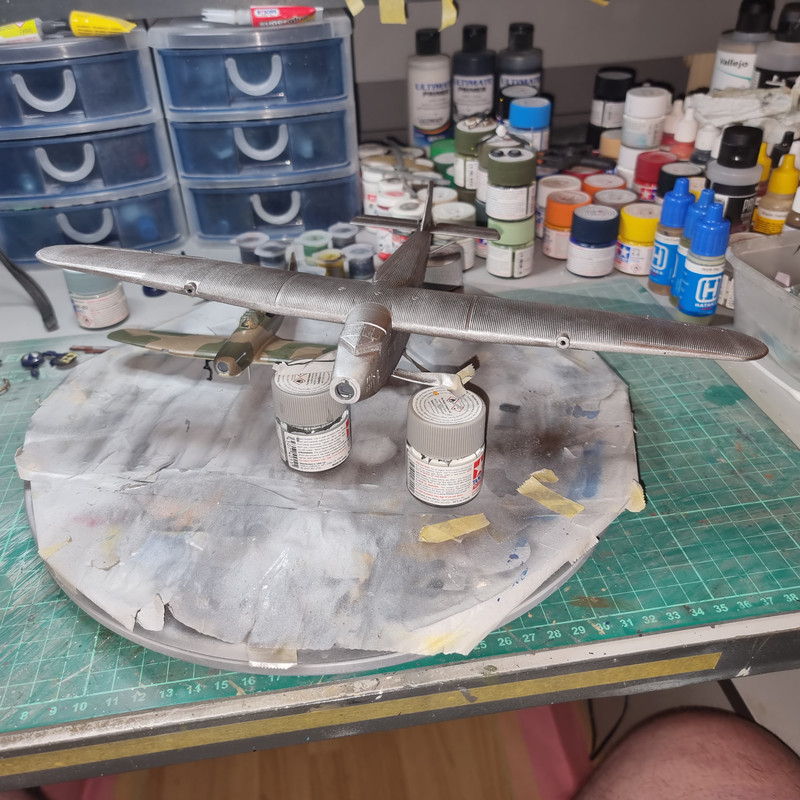
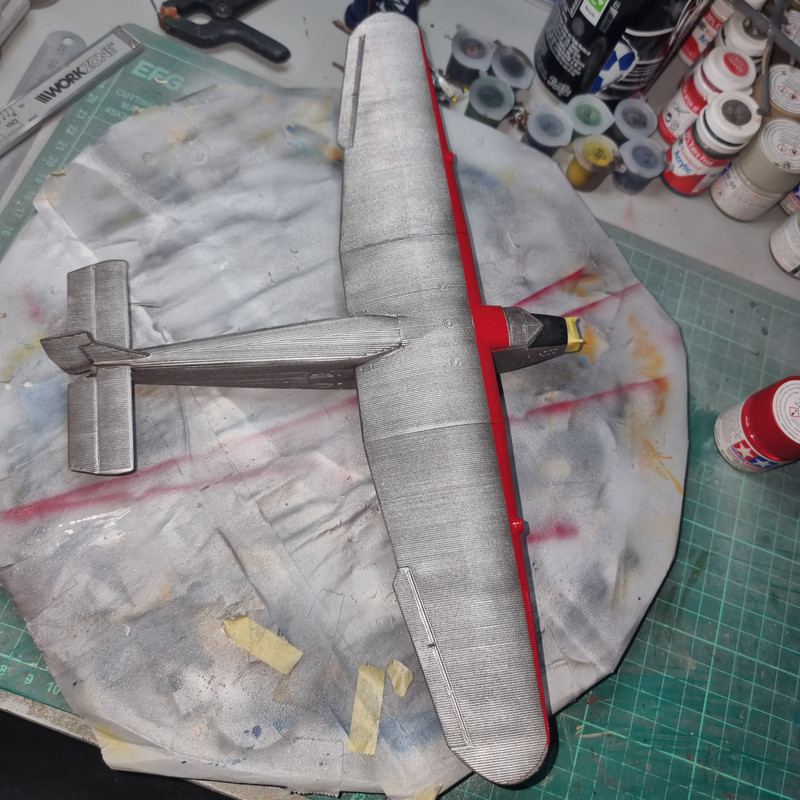
Needs a second coat on the upper surfaces - I'm laying it on in 4 passes, each pass at 90⁰ to the last. As you can see - it still leaves an odd finish.......
Re: Ford Trimotor - vintage Airfix 1/72 - Photos added
Posted: Thu Jun 15, 2023 12:55 am
by DRUMS01
Hi Neil... Been watching you tackle this one. I believe I had this model kit in the early 70's. Back then with my lack of experience and patience it did not come out real well. On the opposite side of the spectrum, you build while demanding, seems to be coming along well. Keep it up!
Re: Ford Trimotor - vintage Airfix 1/72 - Photos added
Posted: Thu Jun 15, 2023 2:34 pm
by RangerNeil
DRUMS01 wrote: Thu Jun 15, 2023 12:55 am
Hi Neil... Been watching you tackle this one. I believe I had this model kit in the early 70's. Back then with my lack of experience and patience it did not come out real well. On the opposite side of the spectrum, you build while demanding, seems to be coming along well. Keep it up!
Many thanks for the kind words
Second top coat is on. Looks a bit better now, just waiting for a new gloss top coat to arrive.
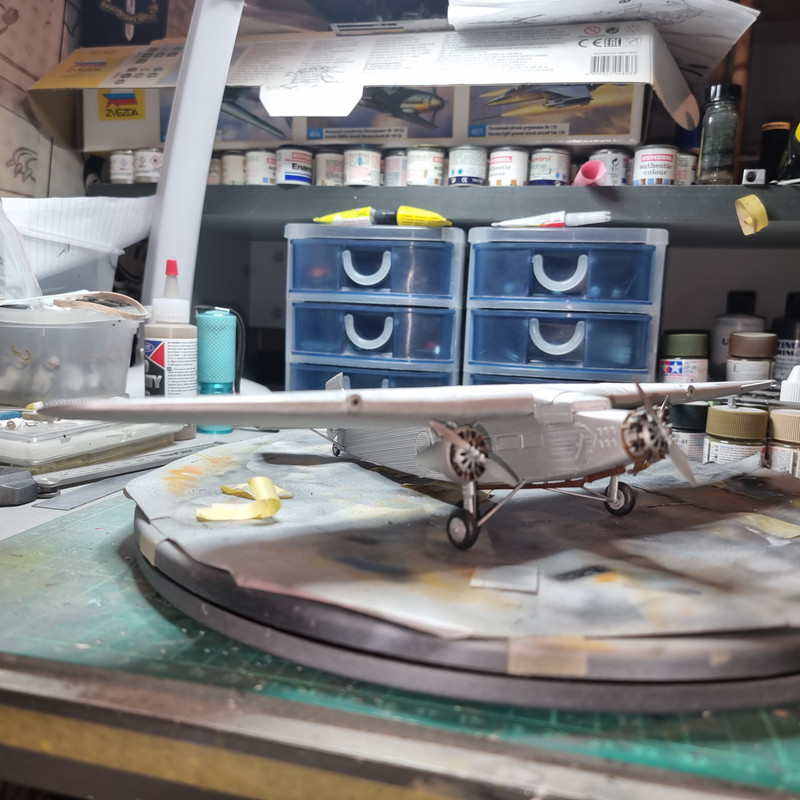
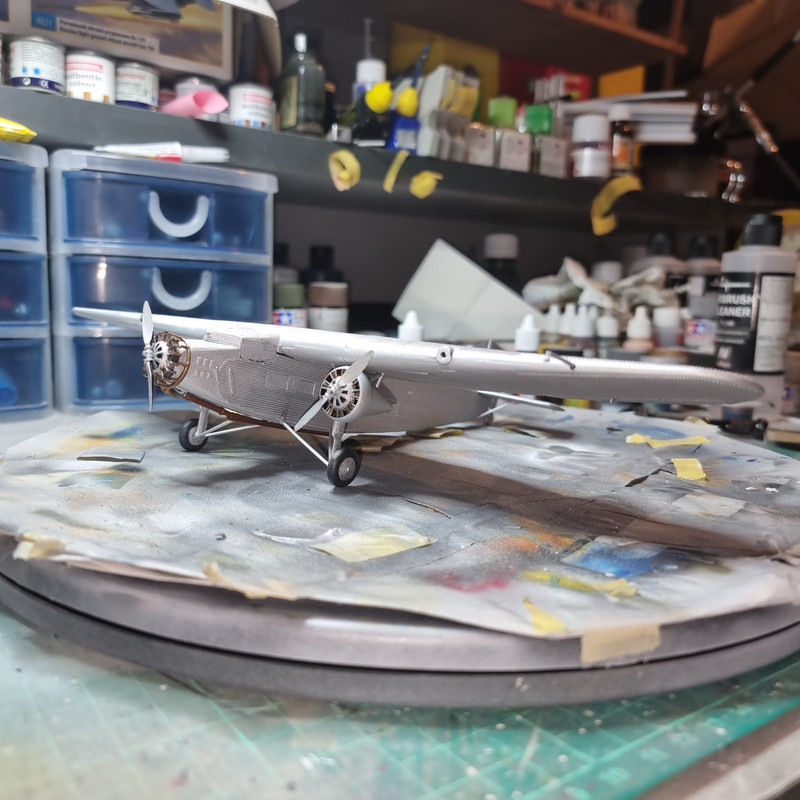
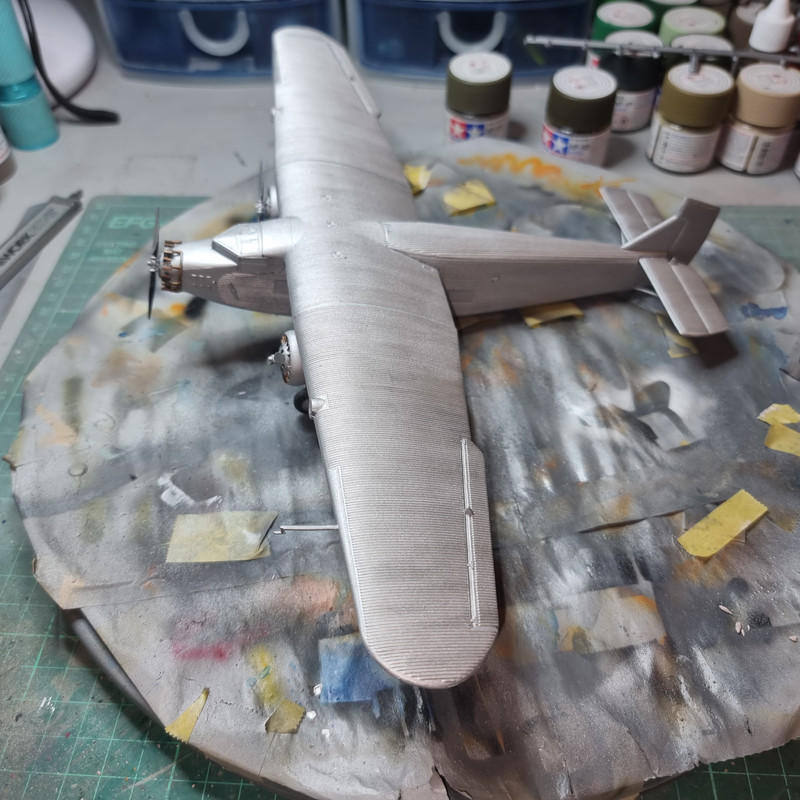
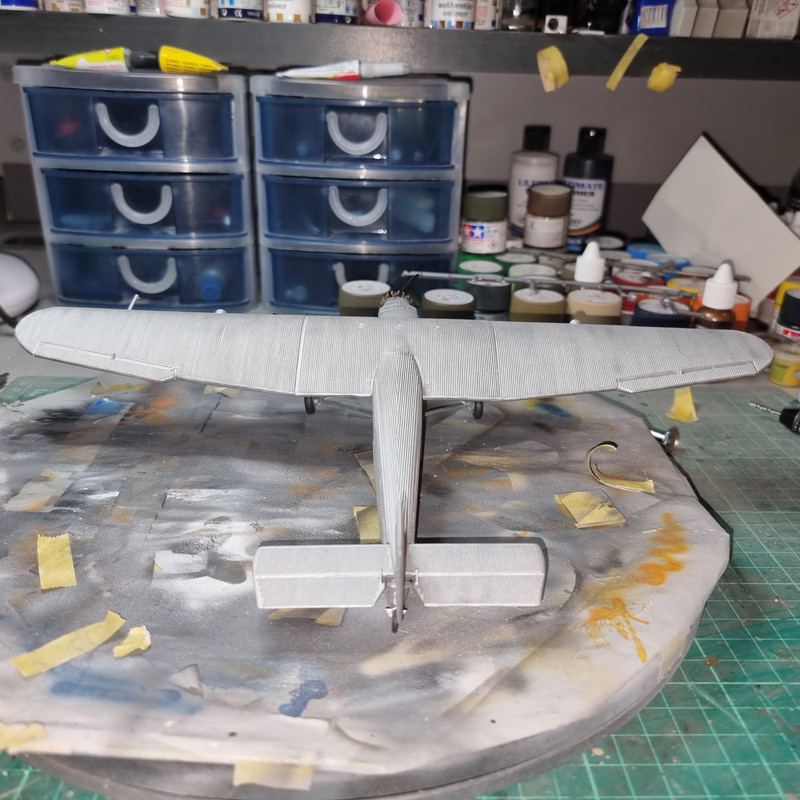
So whilst waiting work starts on Trimotor Number 2. This will use the airline markings and - hopefully will incorporate the lessons learnt on build #1. Fingers crossed.
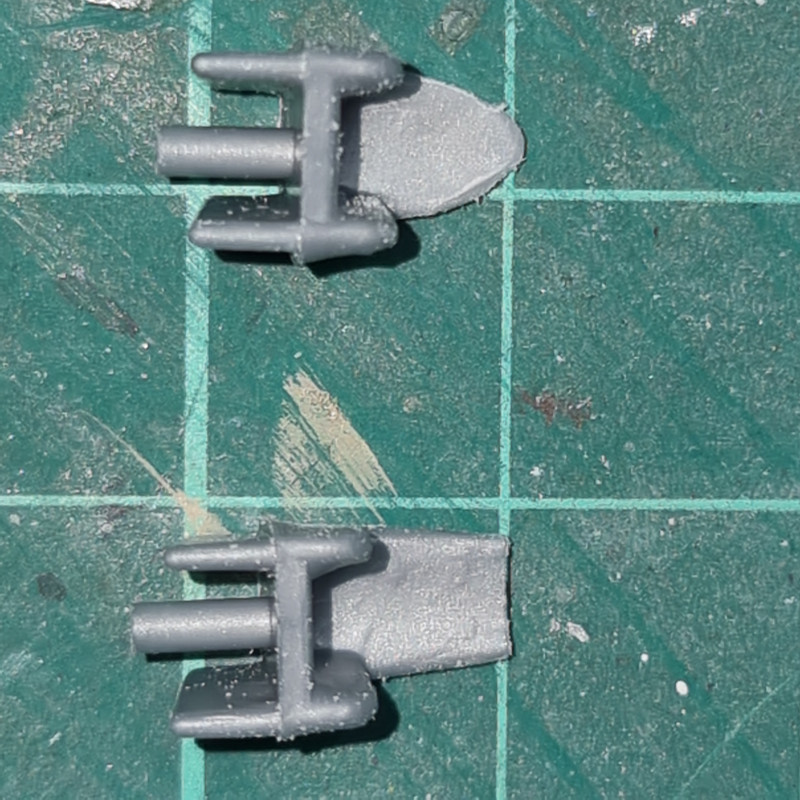
First step is modifying the seat backs to the correct profile as was done on build #1. Top one is the modified one.
Re: Ford Trimotor - vintage Airfix 1/72 - Photos added
Posted: Thu Jun 15, 2023 2:57 pm
by digger303
Re: Ford Trimotor - vintage Airfix 1/72 - Photos added
Posted: Thu Jun 15, 2023 5:04 pm
by RangerNeil
Cheers Digger
I was thinking of doing a Ju-52 in Lufthansa markings to go with the Trimotors. Best of luck with yours.
This one the main issues are:
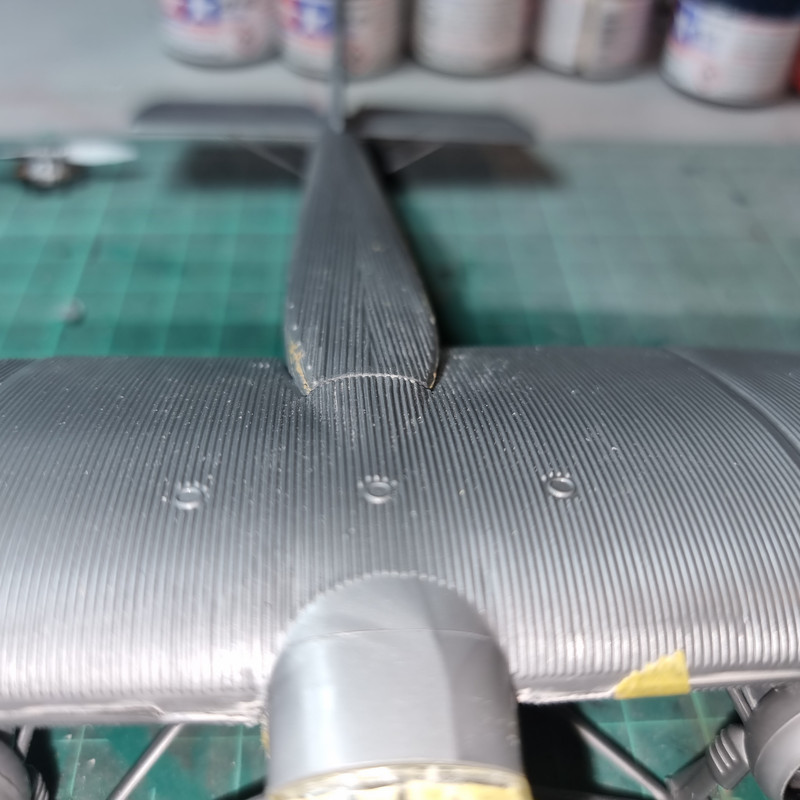
* The join between the wing centre section and the cabin roof
* The undercarriage stuts being too wide, holding the fuselage sides apart.
The latter is an easy fix - cut a section out of the strip running across the fuselage floor.
I am thinking for the first it might be worth trying to join the wing section and fuselage top BEFORE adding it to the fuselage sides to see if I can lose that join line.
Re: Ford Trimotor - vintage Airfix 1/72 - Photos added
Posted: Thu Jun 15, 2023 10:46 pm
by RangerNeil
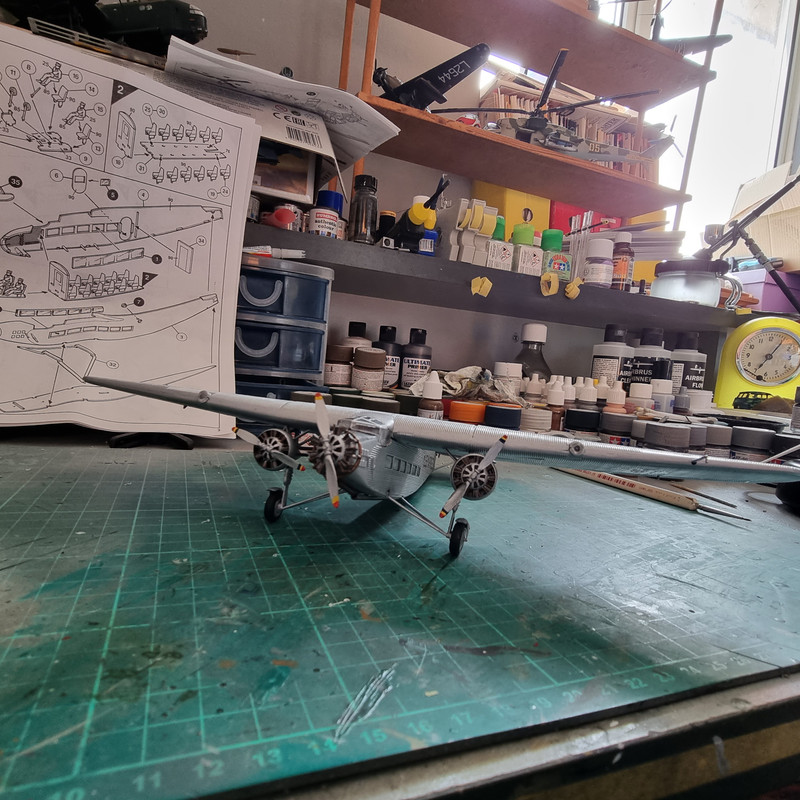
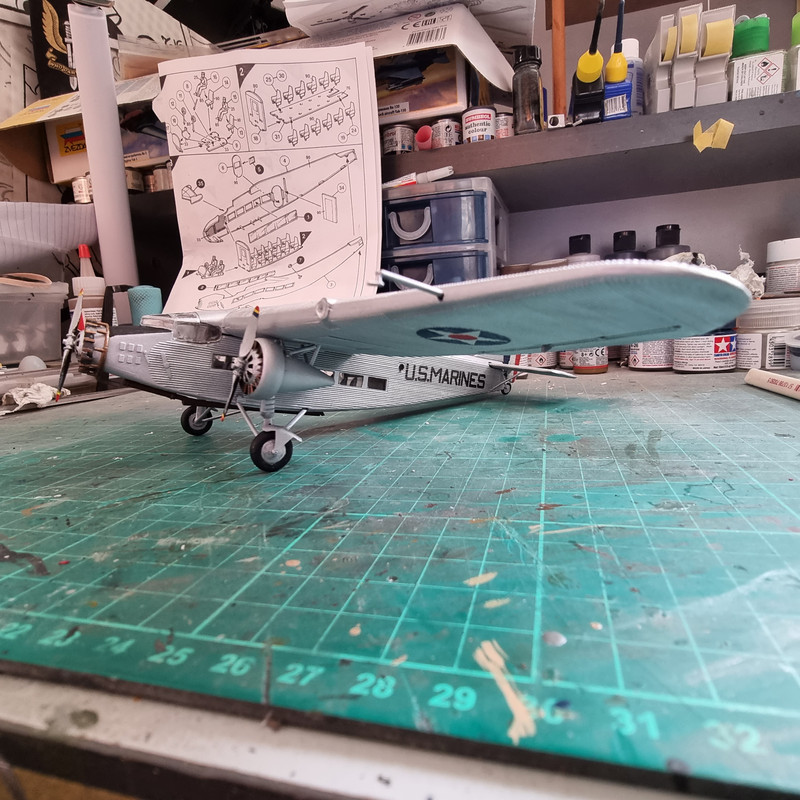
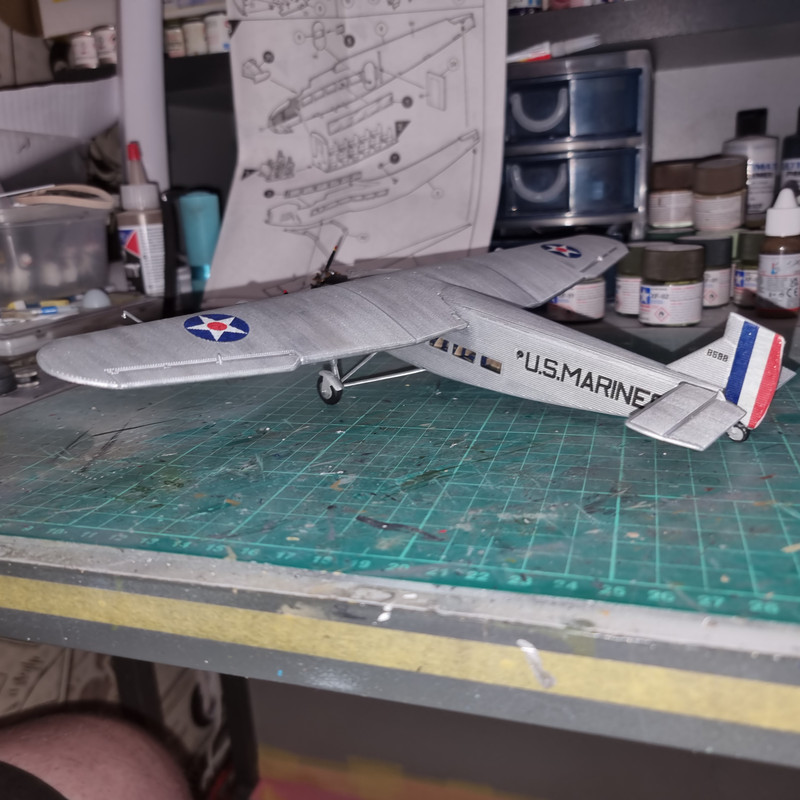
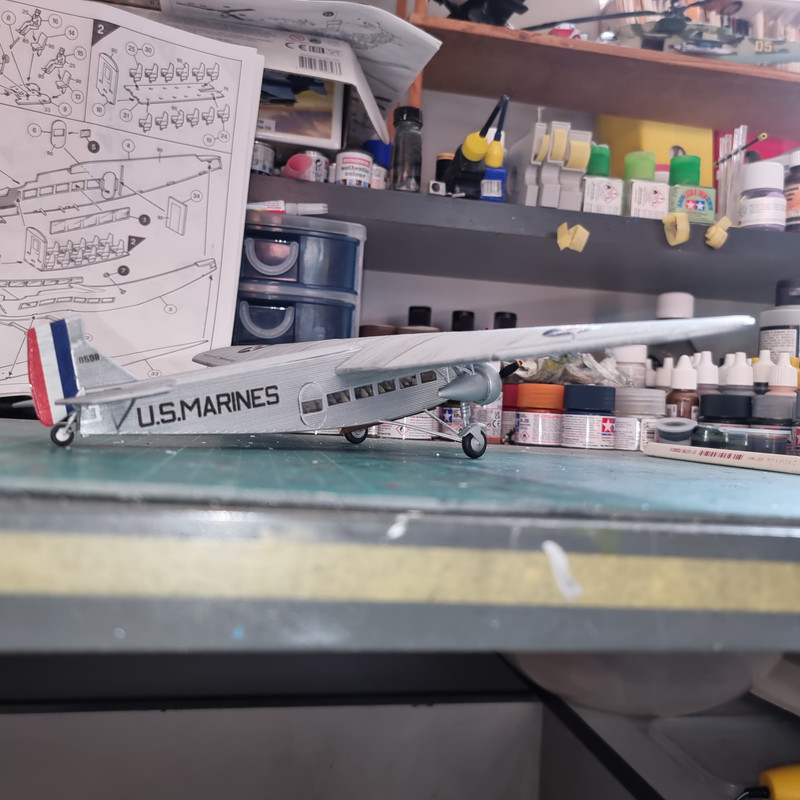
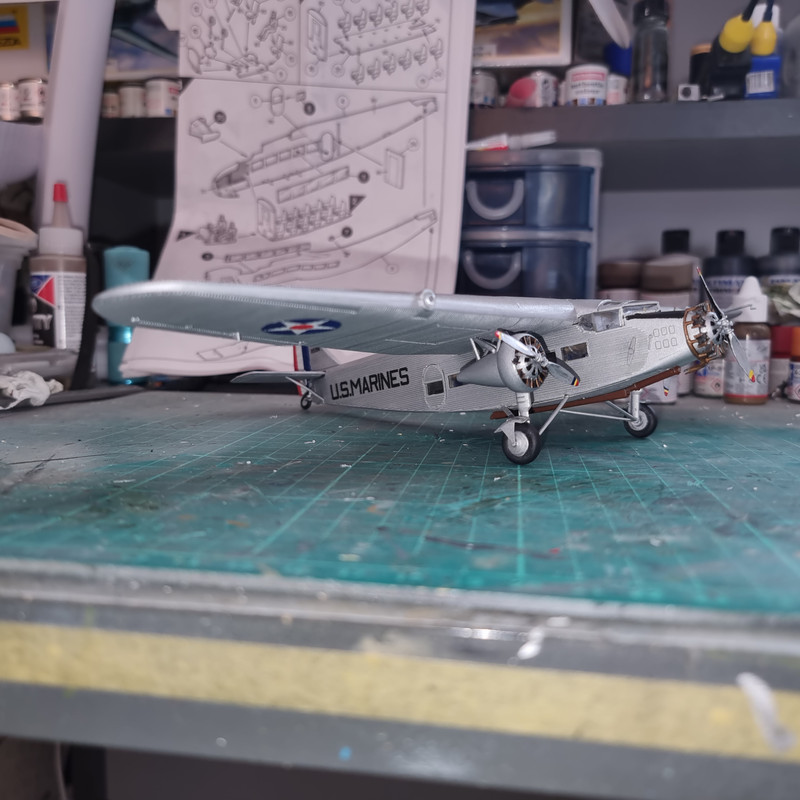
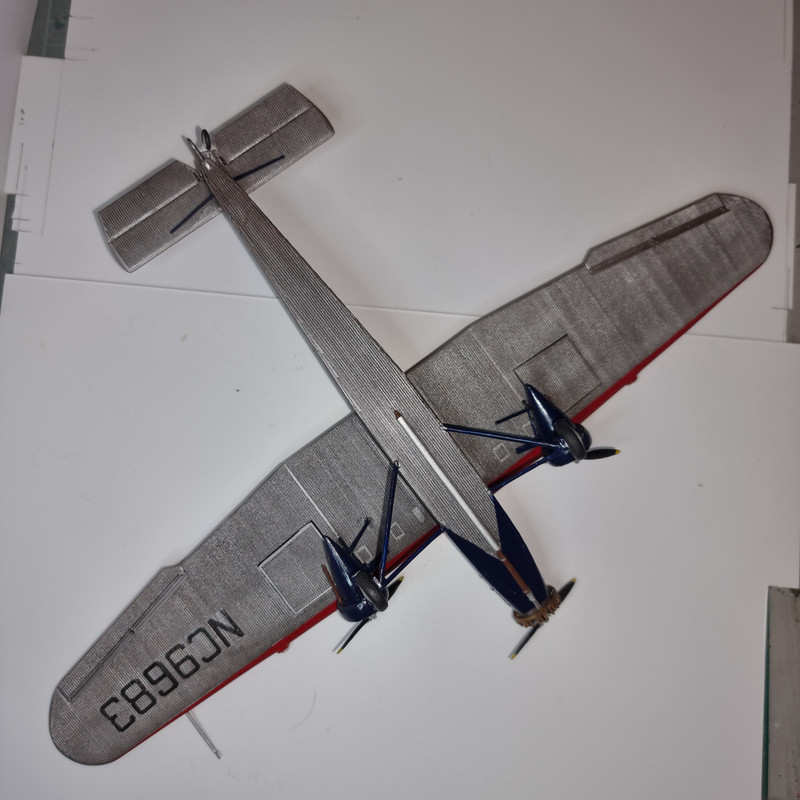
Gloss coat on over the second coat of Flat Aluminium and then the decals applied to build #1.
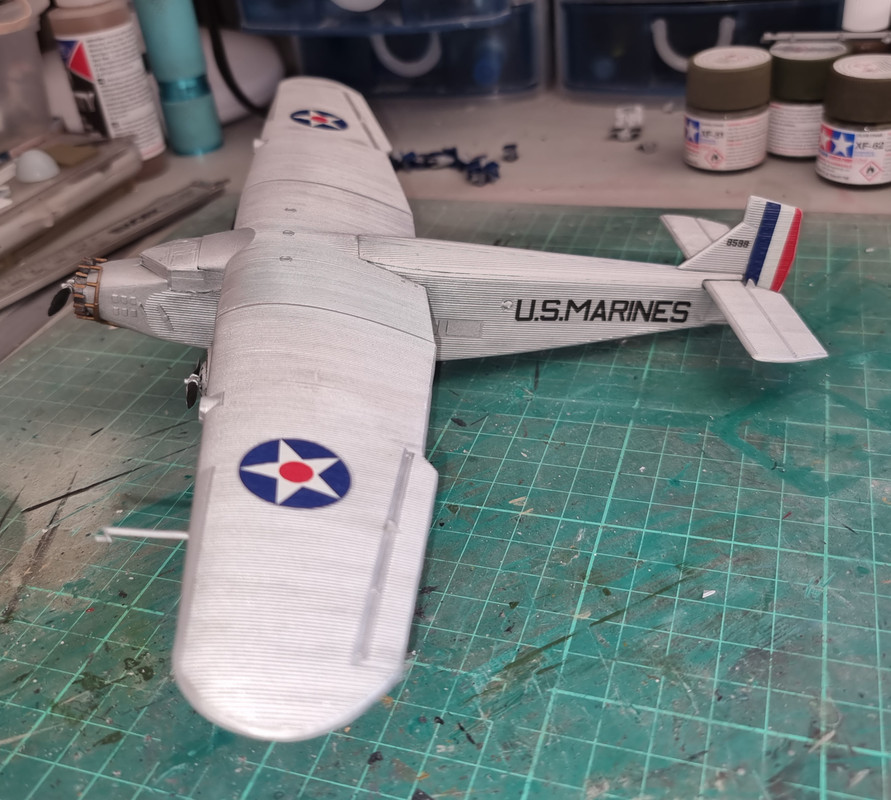
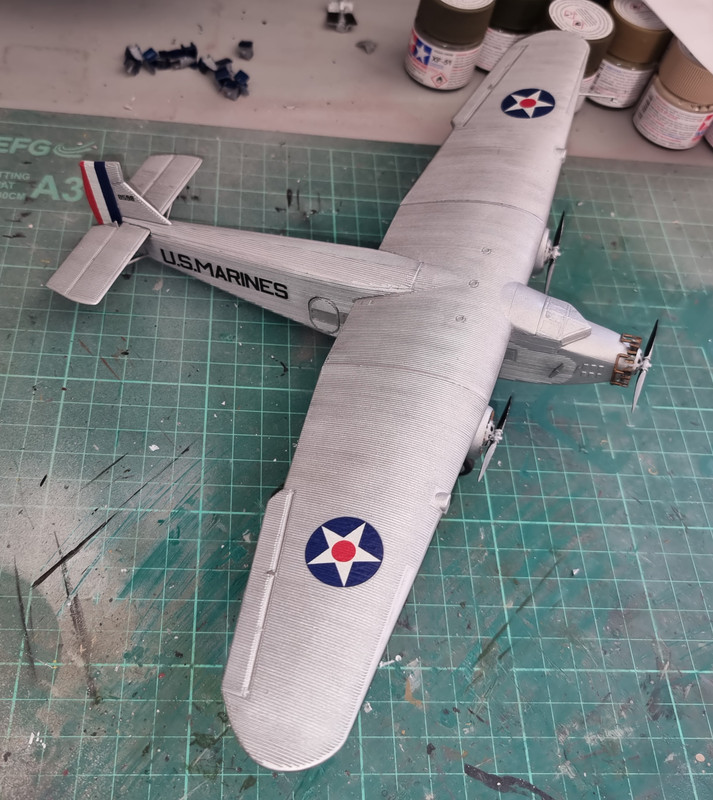
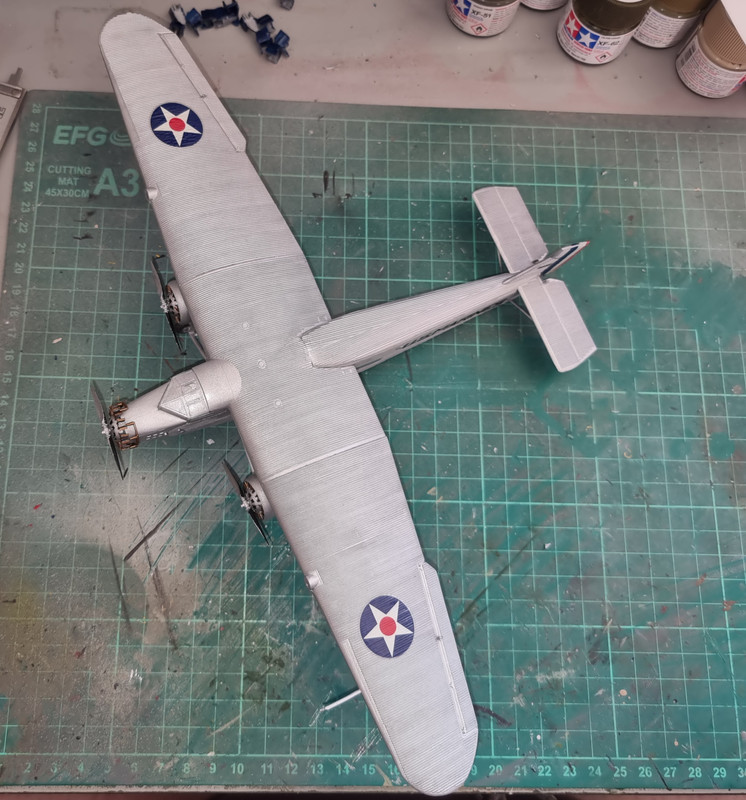
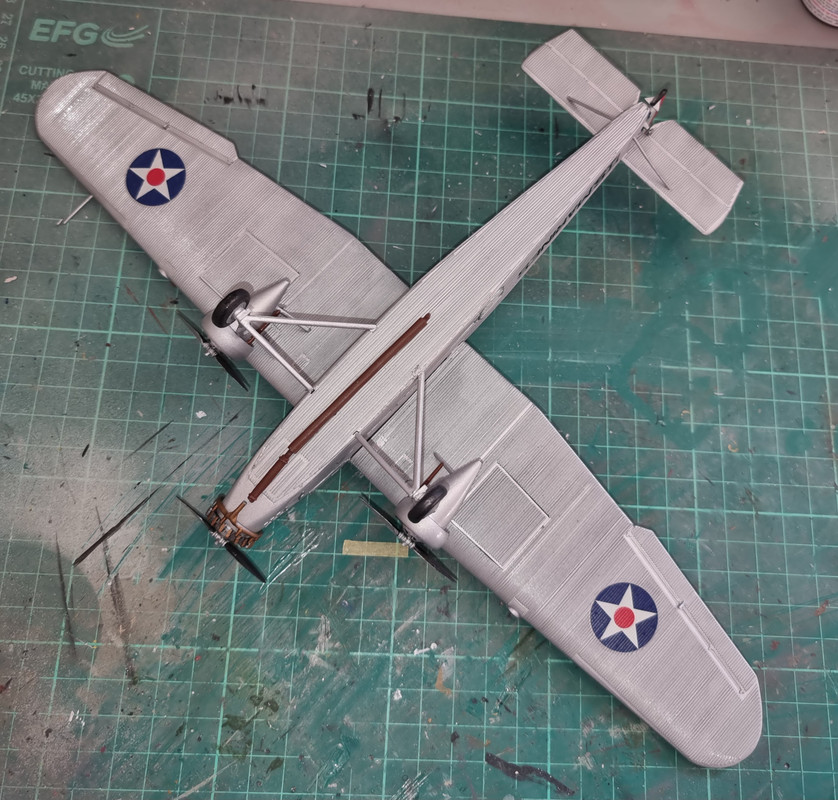
Just needs a gloss coat over the decals and the masking removed and it will be finished.
Meanwhile the build of Number 2 continues.
Re: Ford Trimotor - vintage Airfix 1/72 - Photos added
Posted: Fri Jun 16, 2023 12:57 am
by cor
That one looks great. Nice model
Re: Ford Trimotor - vintage Airfix 1/72 - Photos added
Posted: Fri Jun 16, 2023 2:08 am
by RangerNeil
cor wrote: Fri Jun 16, 2023 12:57 am
That one looks great. Nice model
Many thanks - crunch will be when the masking comes off!!!
So - Build #2!
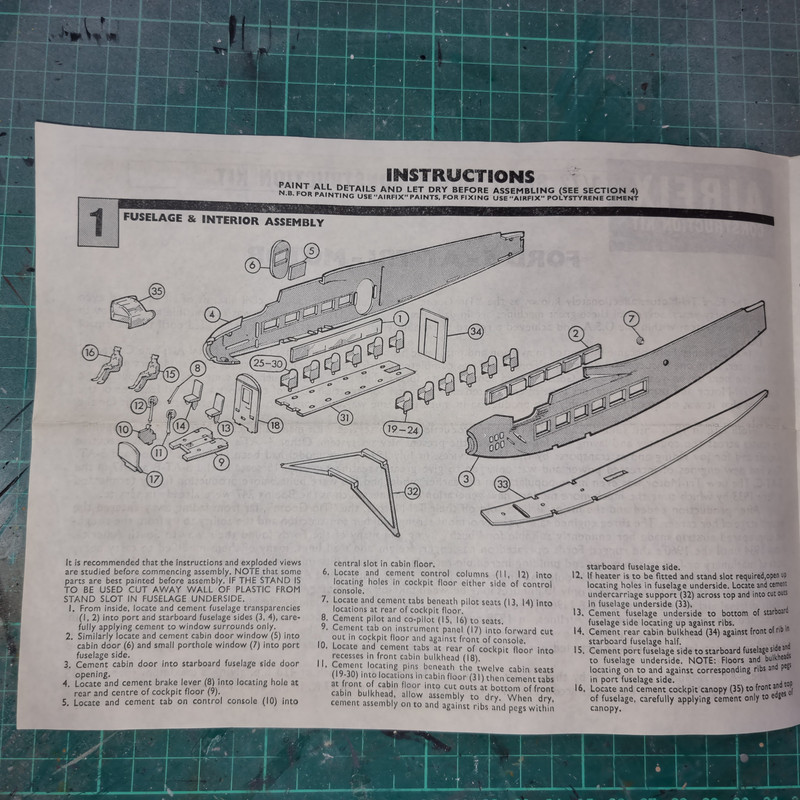
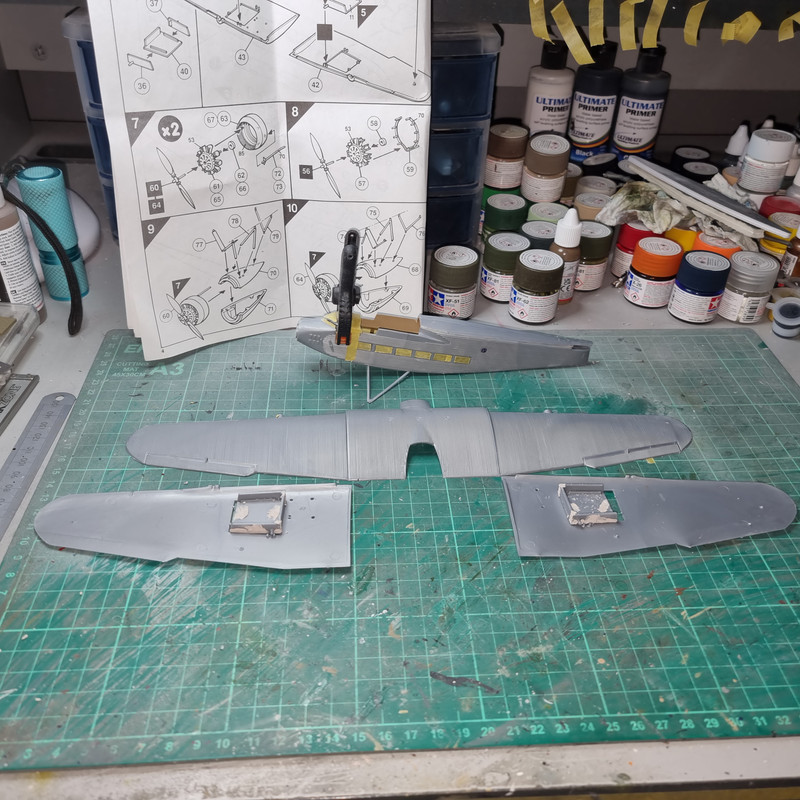
First lesson learnt was the undercarriage supports inside the fuselage are too wide. Used "as is" the undercarriage struts push the body sides out.
Solution: Cut 3mm out of the internal supports and use CA to secure the two pieces in place. This gives a MUCH neater join.
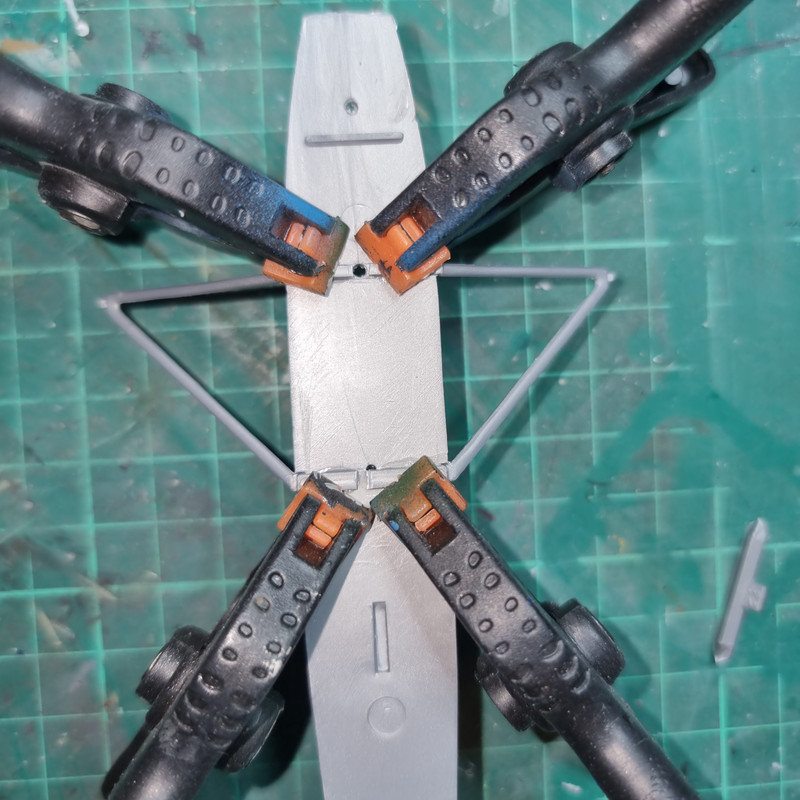
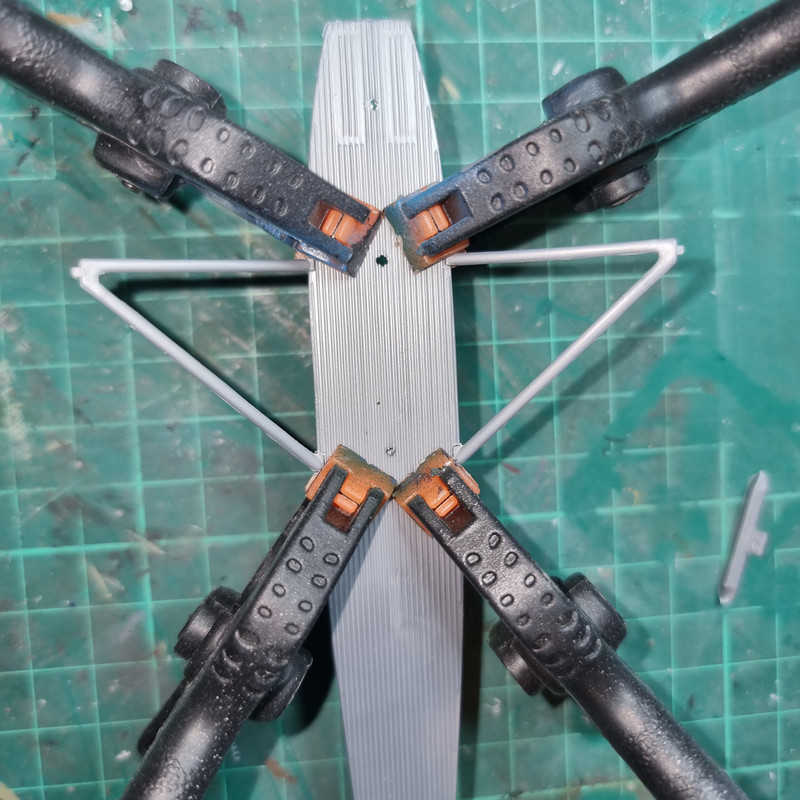
This in turn results in a neater, tidier fuselage assembly (only dry fit at this stage):
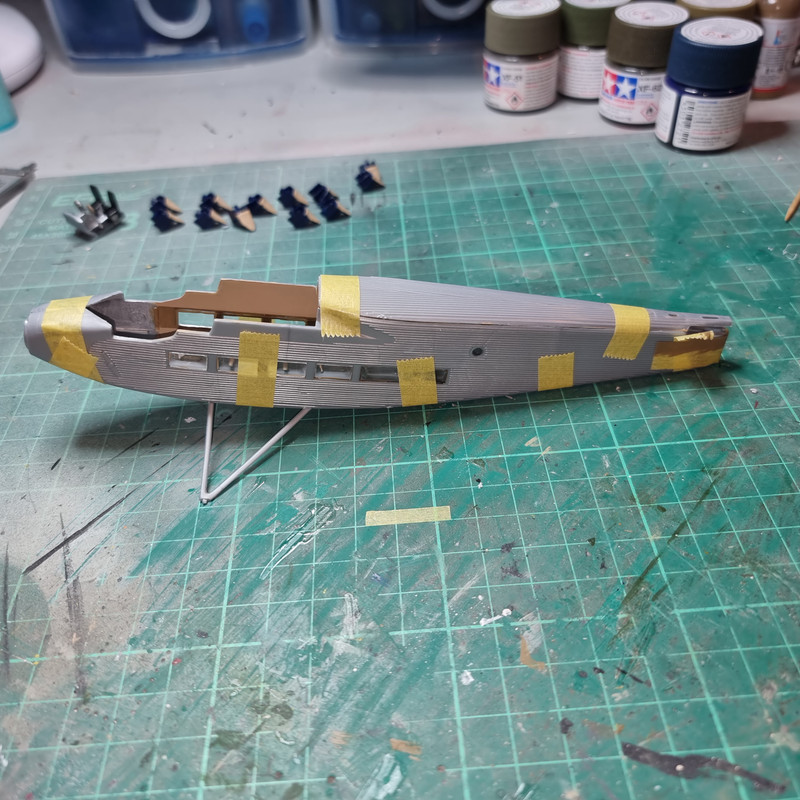
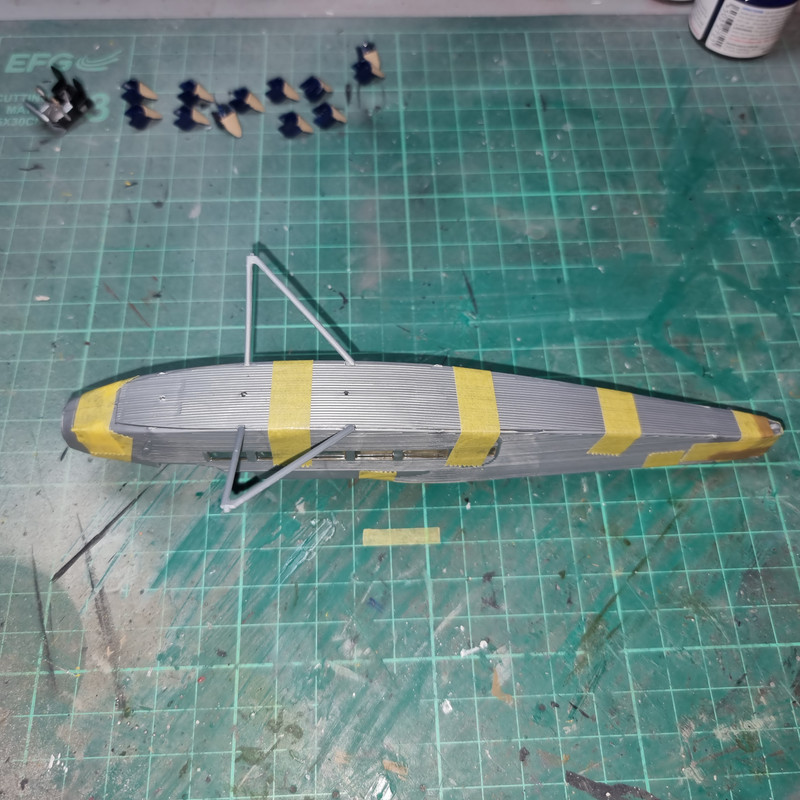
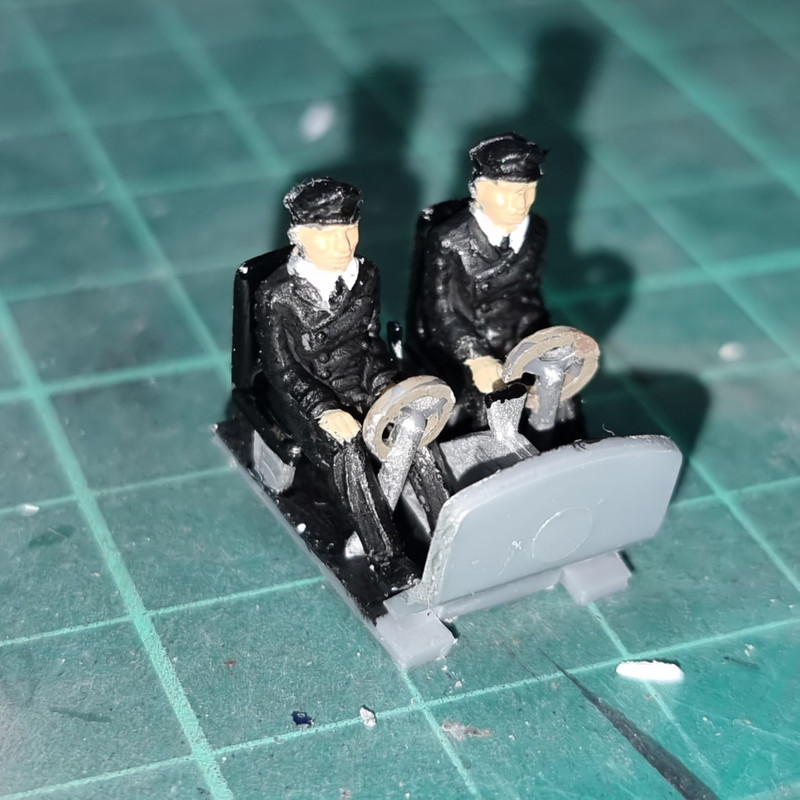
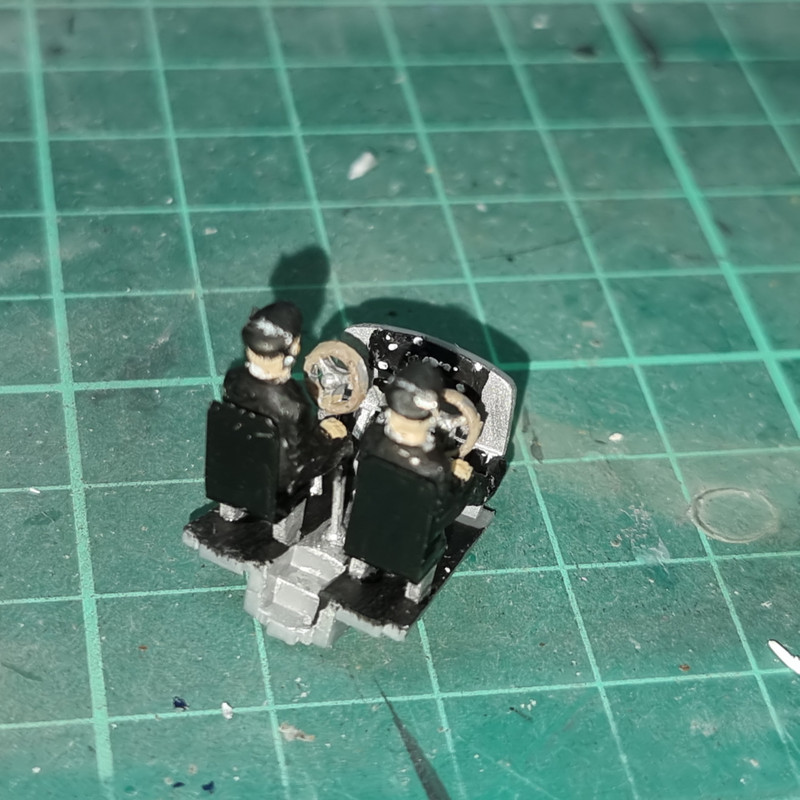
Other work includes almost finishing the flight deck:
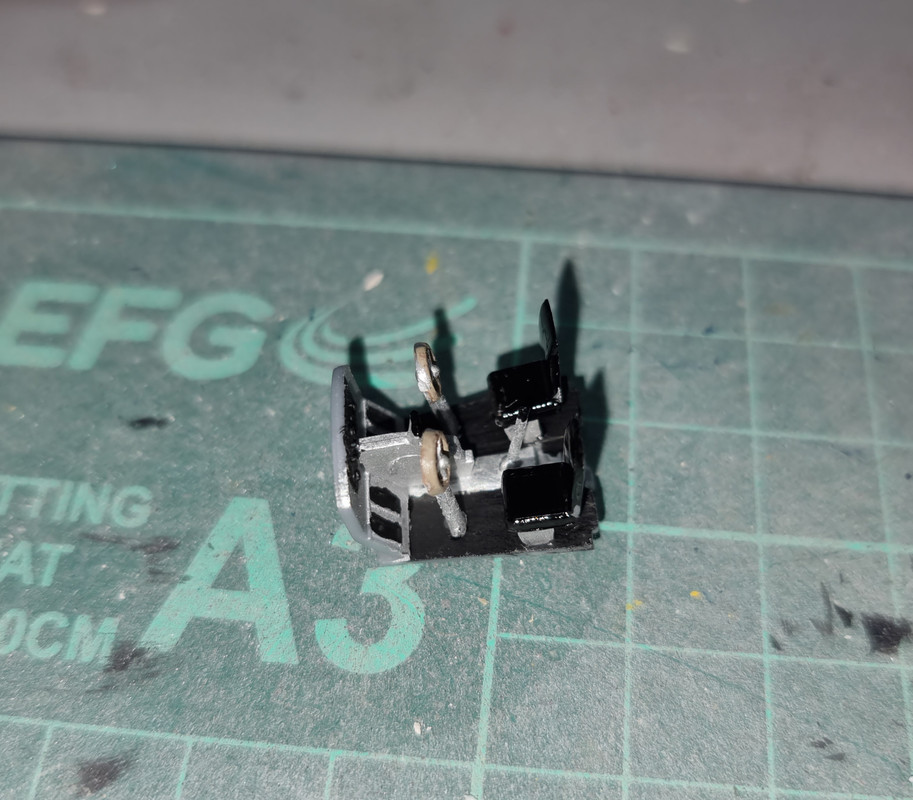
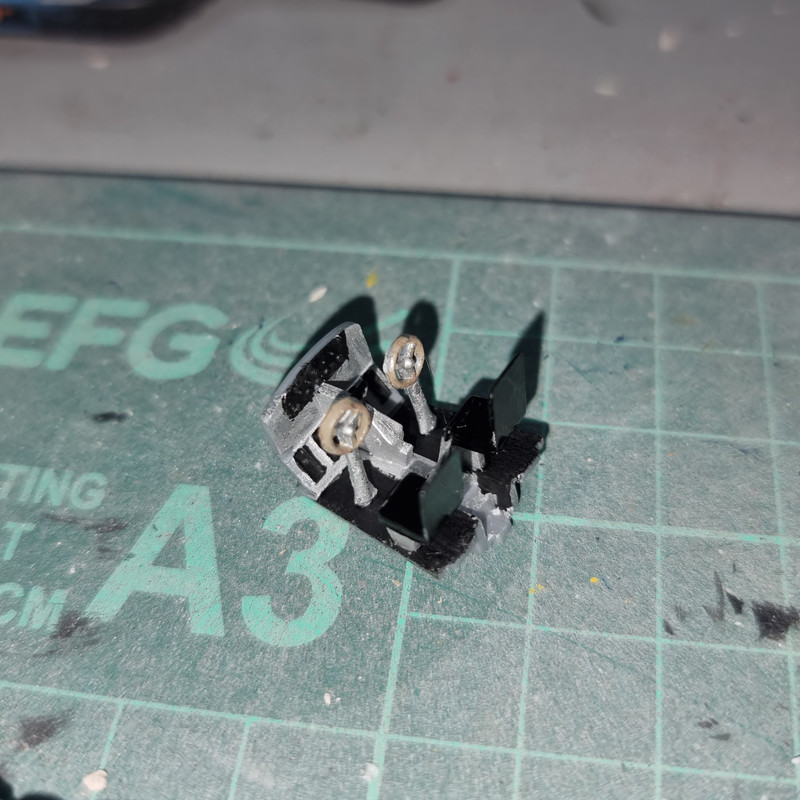
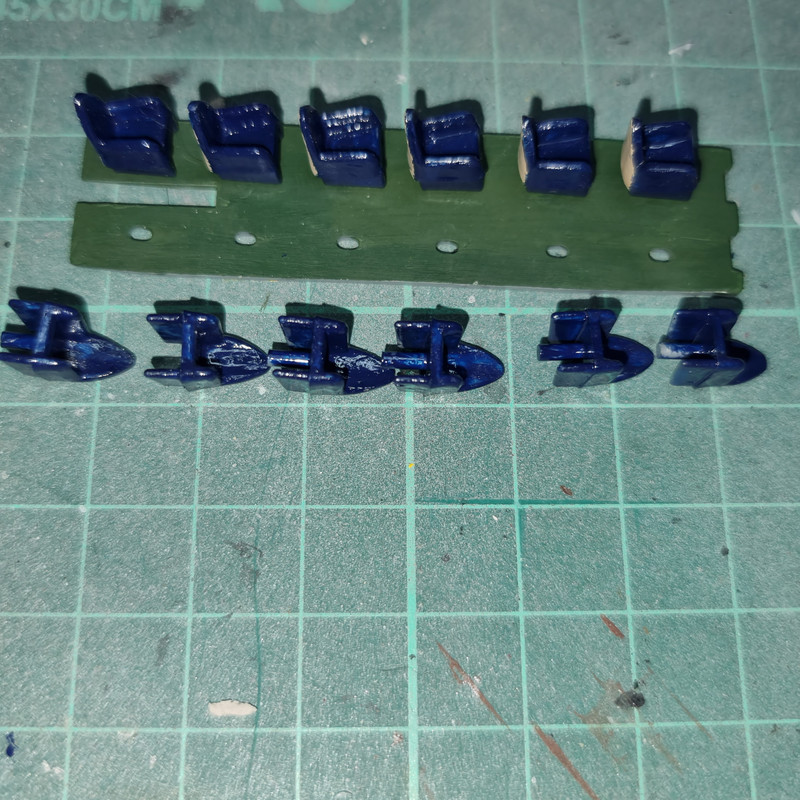
And cracking on with the passenger compartment:
Re: Ford Trimotor - vintage Airfix 1/72 - Photos added
Posted: Fri Jun 16, 2023 5:46 am
by digger303
Re: Ford Trimotor - vintage Airfix 1/72 - Photos added
Posted: Tue Jun 20, 2023 2:53 am
by RangerNeil
Re: Ford Trimotor - vintage Airfix 1/72 - Photos added
Posted: Tue Jun 20, 2023 5:05 am
by digger303
Re: Ford Trimotor - vintage Airfix 1/72 - Photos added
Posted: Wed Jun 21, 2023 10:31 am
by RangerNeil
Progressings.....
I am convinced Tamiya X1 gloss black hates me and air brushes - it always dries matt unless I let the paint pool by moving the air brush very slowly. So I end up using a hairy stick anyway. Think I might investigate other makes.....
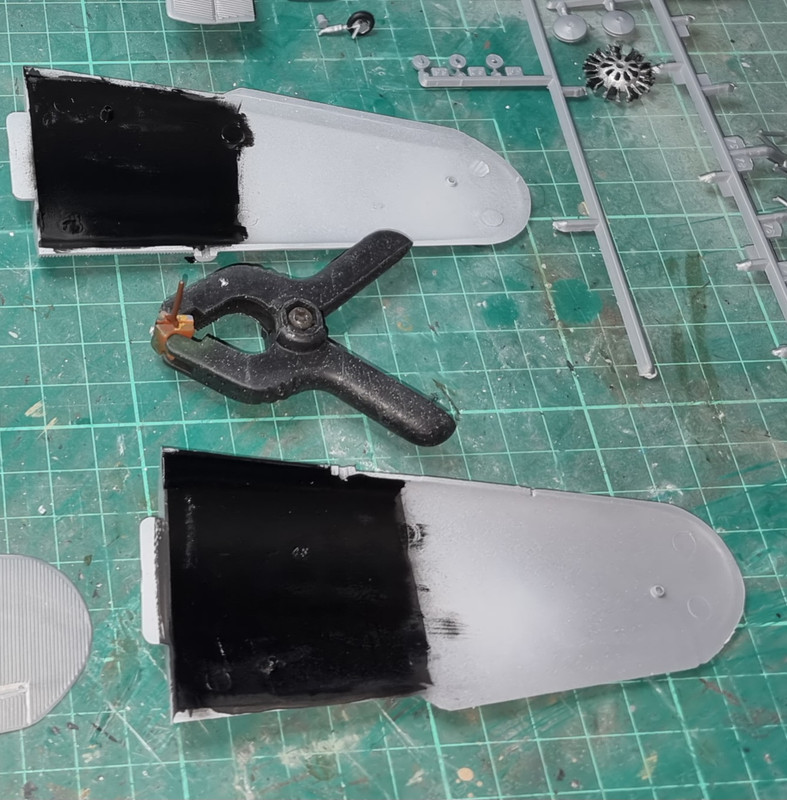
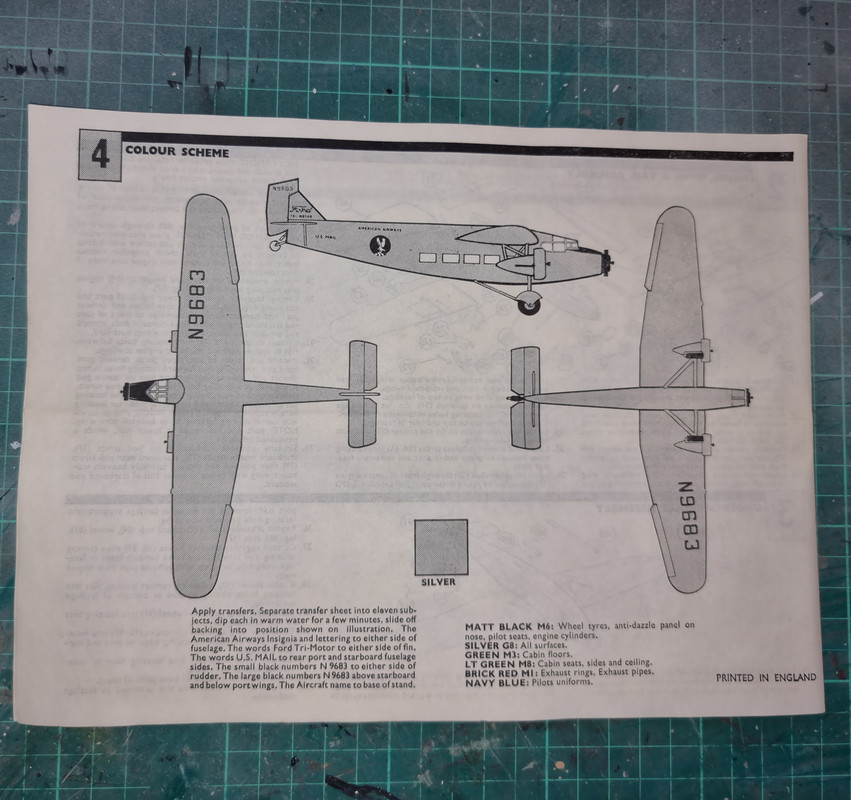
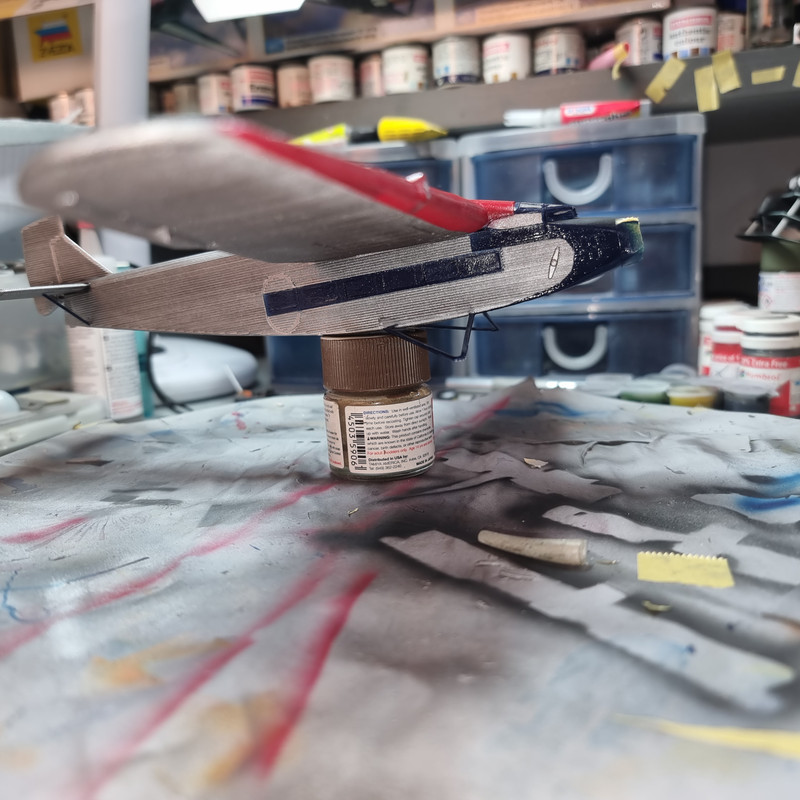
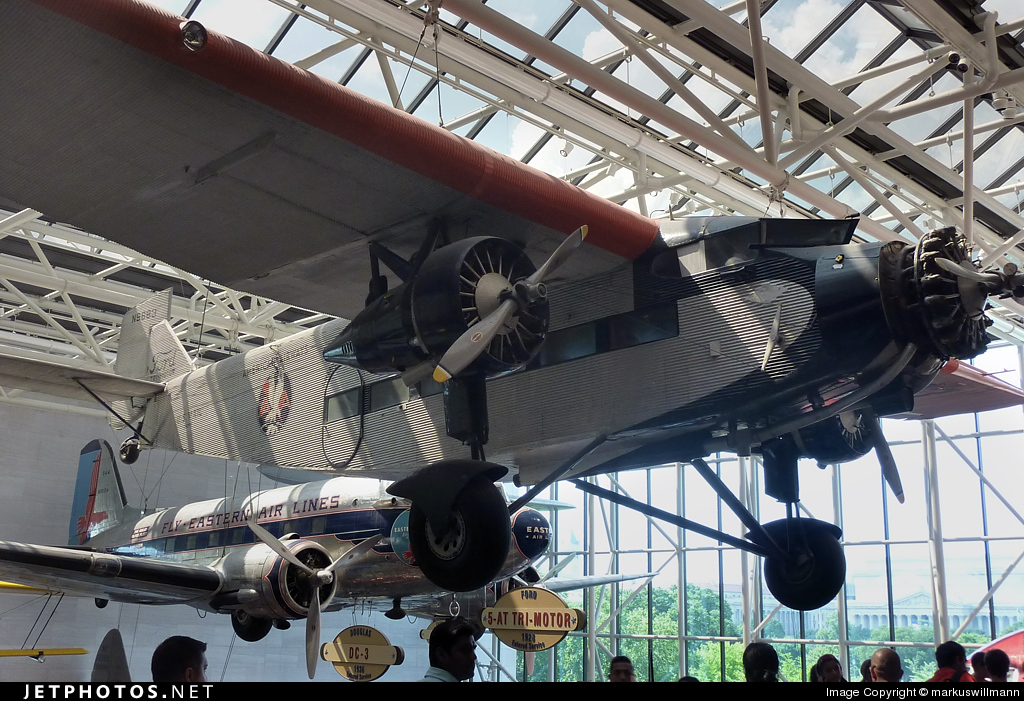
Reason I mention this - to me - highly annoying issue is the Airfix paint guide for this model specifies gloss balck for the trim colour. However, black trim on a 1930's American airliner struck me as odd so a quick google turned up a Trimotor 5AT in the US National Aerospace Museum actually in American Airways colours/markings.

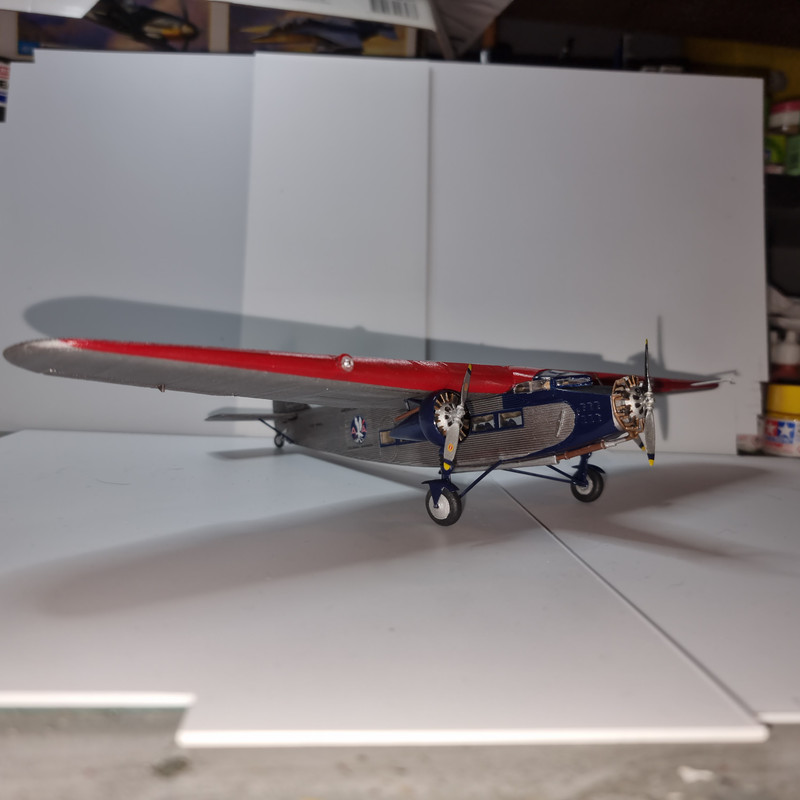
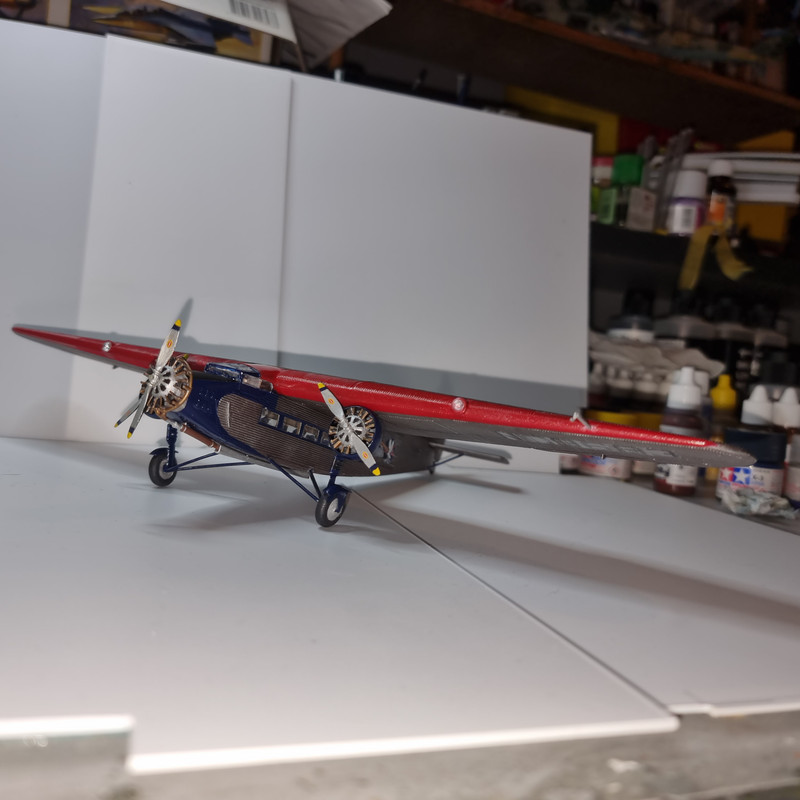
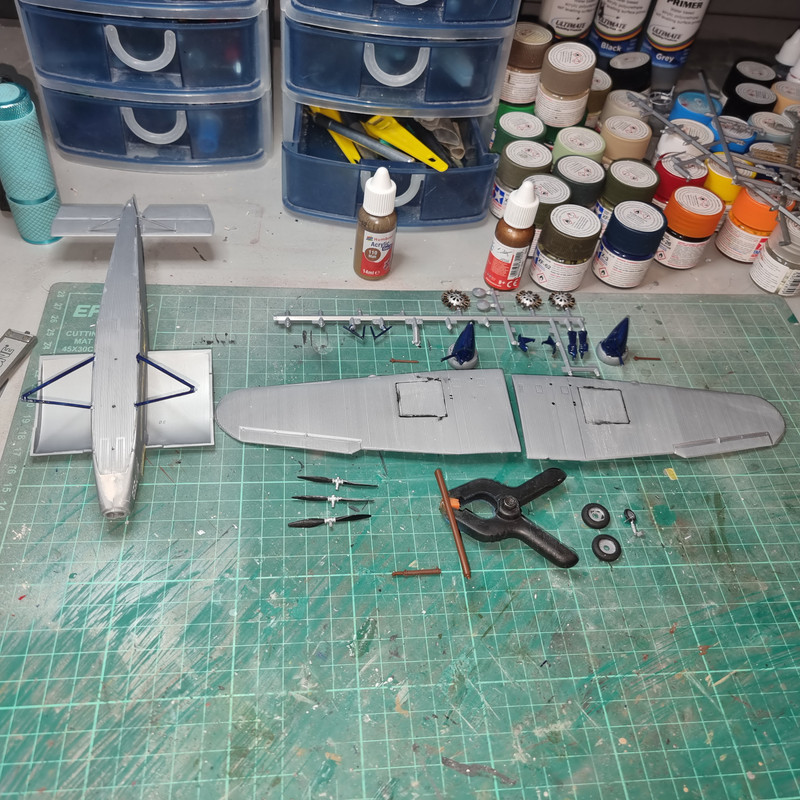
As can clearly be seen the trim colour is actually a royal blue. And the leading edges of the wings are red - as per the box art for the kit but oddly not shown in the painting guide. So I've gone with the royal blue and it looks good too
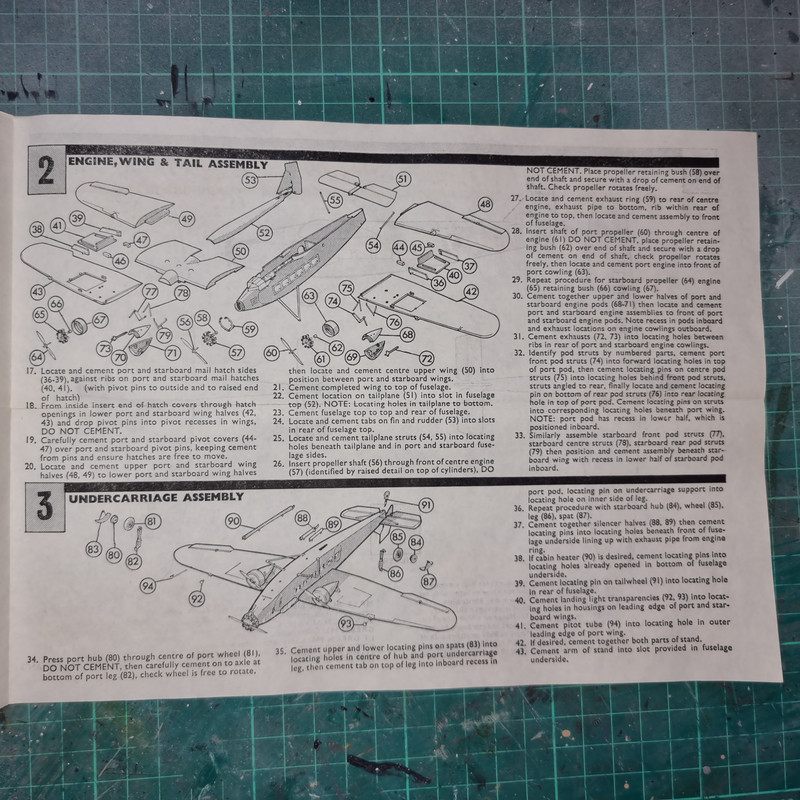
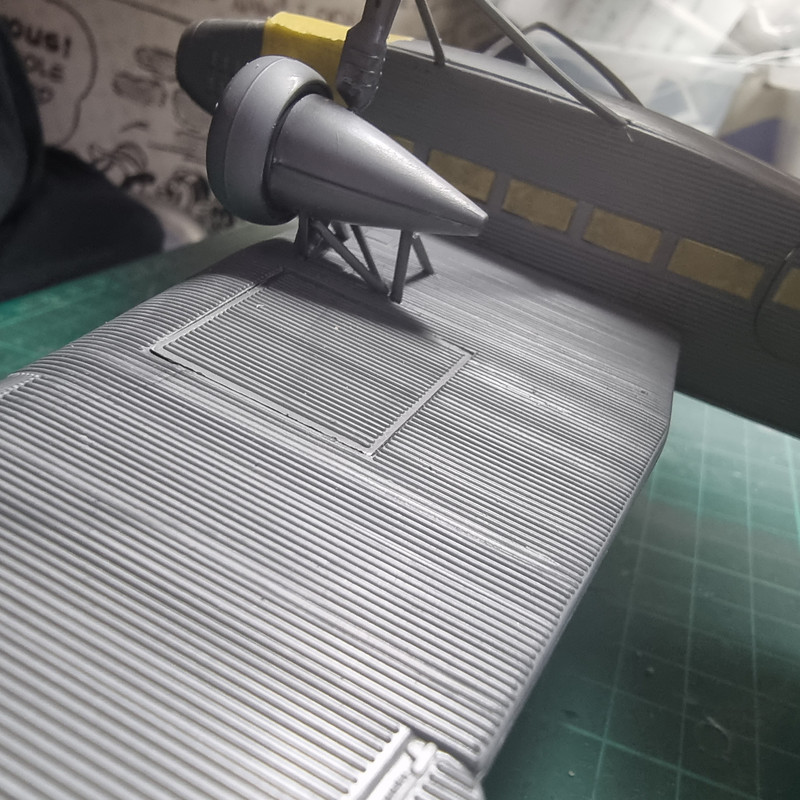
In keeping with the "bin the instructions" thus far the next step was to build the engine & strut assemblies off the wings, dry fitting them to the loose outer wings until the adhesive had set. Next step is sand the joins between upper and lower wing pieces before joining the wings to the centre section and then sanding that join.
Re: Ford Trimotor - vintage Airfix 1/72 - Photos added
Posted: Wed Jun 21, 2023 10:48 am
by digger303
RangerNeil wrote: Wed Jun 21, 2023 10:31 am
Progressings.....
I am convinced Tamiya X1 gloss black hates me and air brushes - it always dries matt unless I let the paint pool by moving the air brush very slowly. So I end up using a hairy stick anyway. Think I might investigate other makes.....
Reason I mention this - to me - highly annoying issue is the Airfix paint guide for this model specifies gloss balck for the trim colour. However, black trim on a 1930's American airliner struck me as odd so a quick google turned up a Trimotor 5AT in the US National Aerospace Museum actually in American Airways colours/markings.
As can clearly be seen the trim colour is actually a royal blue. And the leading edges of the wings are red - as per the box art for the kit but oddly not shown in the painting guide. So I've gone with the royal blue and it looks good too
In keeping with the "bin the instructions" thus far the next step was to build the engine & strut assemblies off the wings, dry fitting them to the loose outer wings until the adhesive had set. Next step is sand the joins between upper and lower wing pieces before joining the wings to the centre section and then sanding that join.
What are you using to thin the black paint with ?
Re: Ford Trimotor - vintage Airfix 1/72 - Photos added
Posted: Thu Jun 22, 2023 3:39 pm
by RangerNeil
digger303 wrote: Wed Jun 21, 2023 10:48 am
<snipped>
What are you using to thin the black paint with ?
Straight from the bottle after a minute on the paint shaker. Seems to be the same viscosity as all the other Tamiya paints which go on well. Compressor is set at 27 PSI.
Hataka and Ammo paints are a thinner viscosity but also go well on this setting. Its just the Tamiya gloss black thats a pig!!
Re: Ford Trimotor - vintage Airfix 1/72 - Photos added
Posted: Fri Jun 23, 2023 12:04 am
by digger303
RangerNeil wrote: Thu Jun 22, 2023 3:39 pm
digger303 wrote: Wed Jun 21, 2023 10:48 am
<snipped>
What are you using to thin the black paint with ?
Straight from the bottle after a minute on the paint shaker. Seems to be the same viscosity as all the other Tamiya paints which go on well. Compressor is set at 27 PSI.
Hataka and Ammo paints are a thinner viscosity but also go well on this setting. Its just the Tamiya gloss black thats a pig!!
I always thin all my paint and with Tamiya and Mr Hobby I use Mr Hobby levelling thinner.
Goes on so smooth 50/50 or 60/40 is what I mix at most of the time it's fairly forgiving.
Re: Ford Trimotor - vintage Airfix 1/72 - Photos added
Posted: Fri Jun 23, 2023 12:24 pm
by RangerNeil
digger303 wrote: Fri Jun 23, 2023 12:04 am
RangerNeil wrote: Thu Jun 22, 2023 3:39 pm
digger303 wrote: Wed Jun 21, 2023 10:48 am
<snipped>
What are you using to thin the black paint with ?
Straight from the bottle after a minute on the paint shaker. Seems to be the same viscosity as all the other Tamiya paints which go on well. Compressor is set at 27 PSI.
Hataka and Ammo paints are a thinner viscosity but also go well on this setting. Its just the Tamiya gloss black thats a pig!!
I always thin all my paint and with Tamiya and Mr Hobby I use Mr Hobby levelling thinner.
Goes on so smooth 50/50 or 60/40 is what I mix at most of the time it's fairly forgiving.
Cheers Digger - will give that a try.!!
Re: Ford Trimotor - vintage Airfix 1/72 - Photos added
Posted: Fri Jun 23, 2023 10:00 pm
by RangerNeil
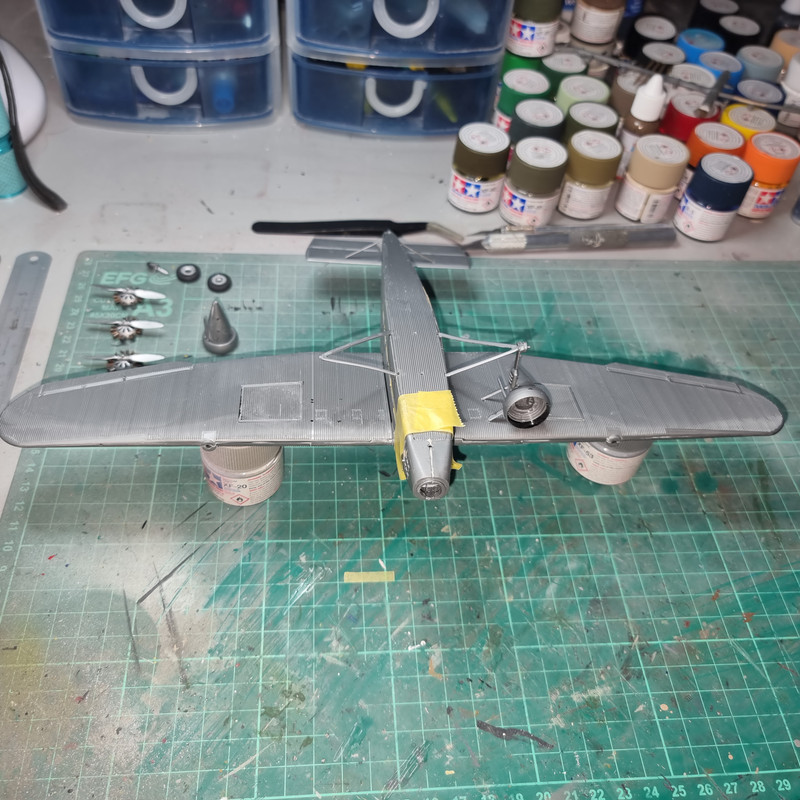
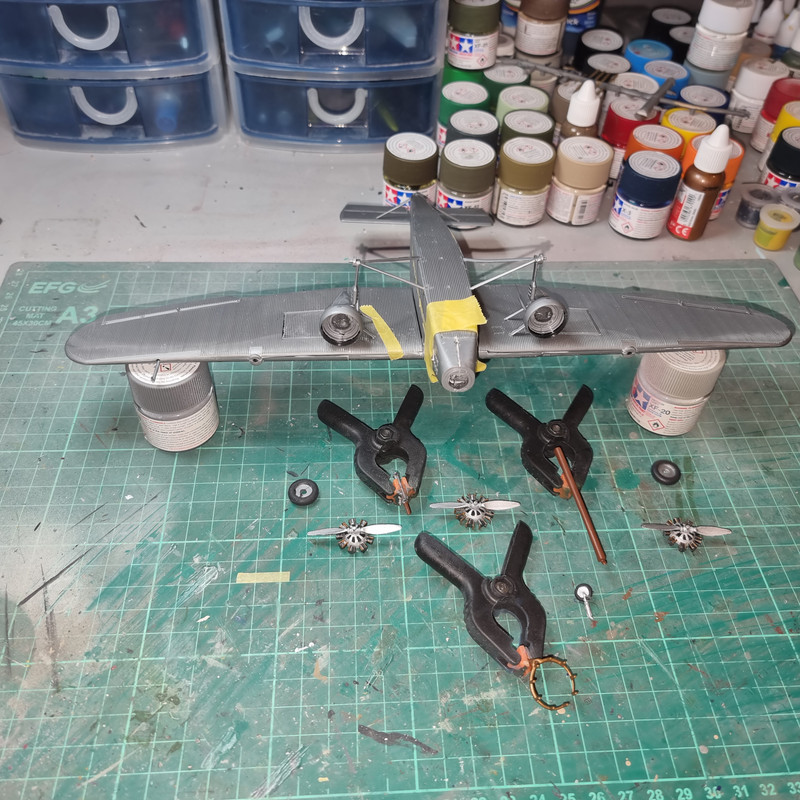
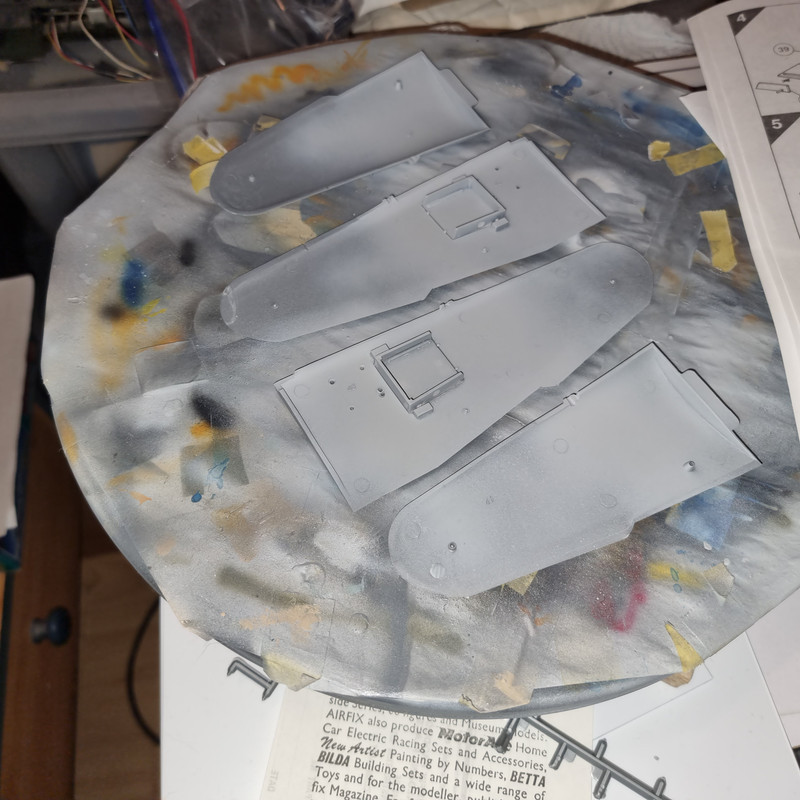
Whole plane got a coat of Tamiya Surfacer/Primer last night.
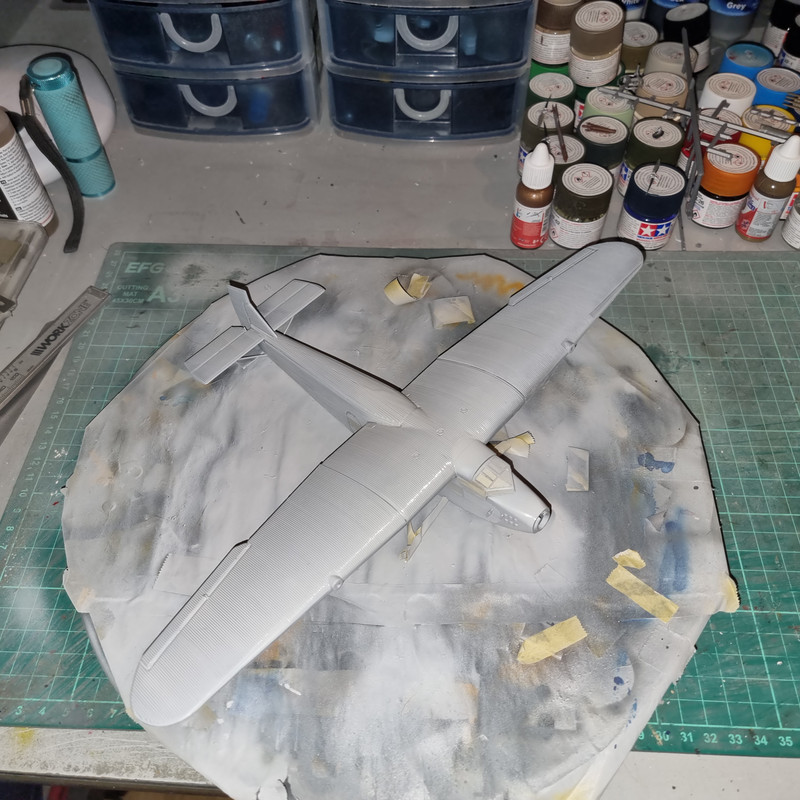
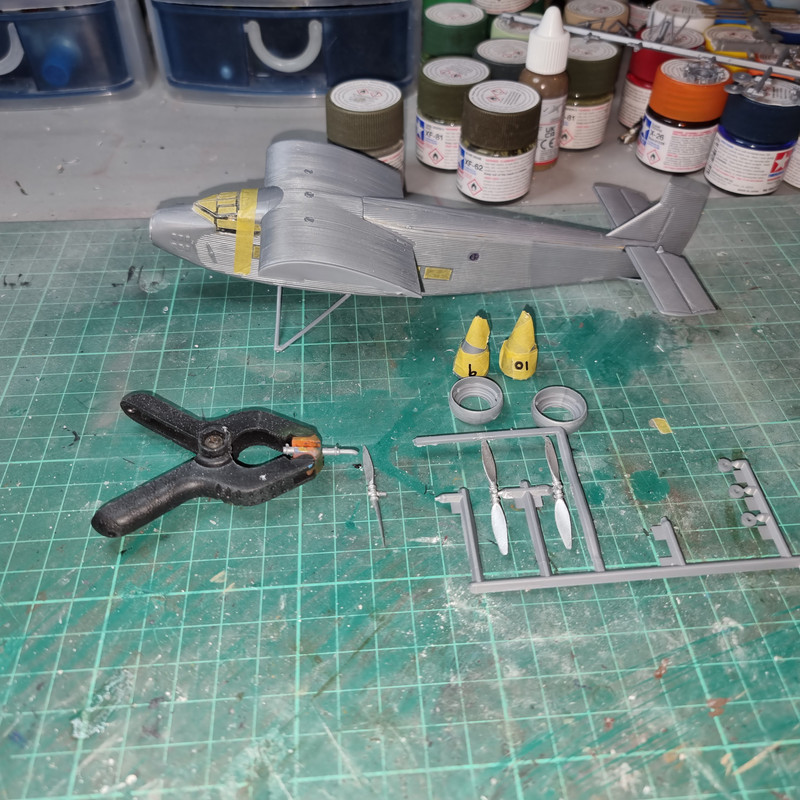
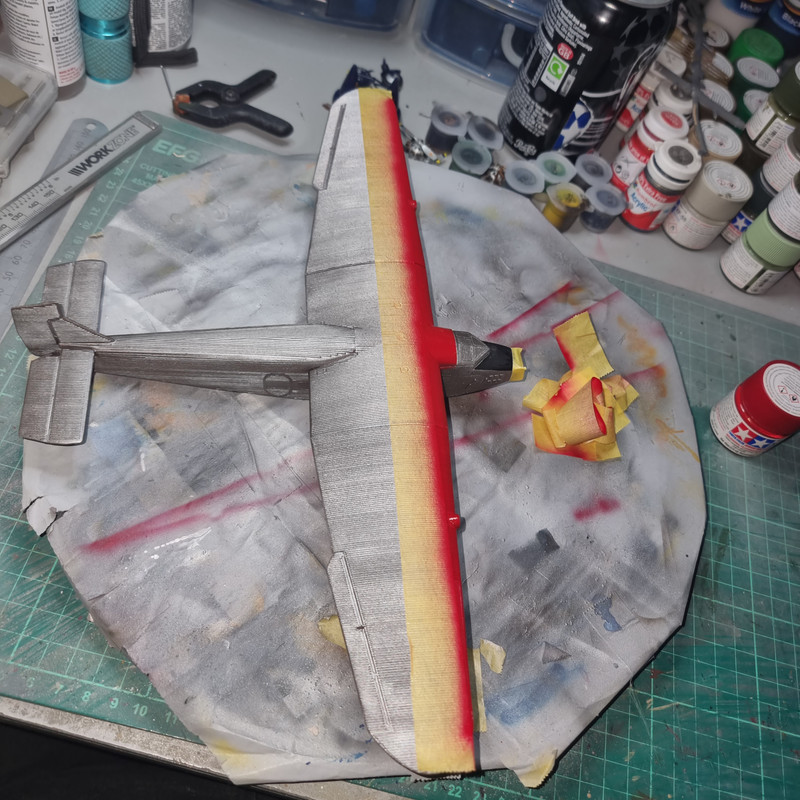
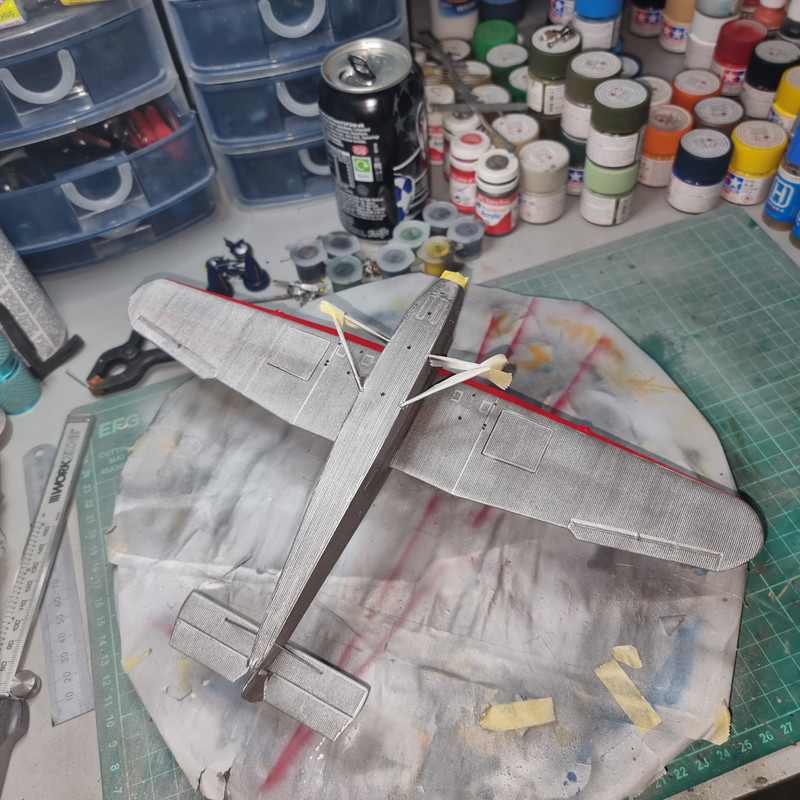
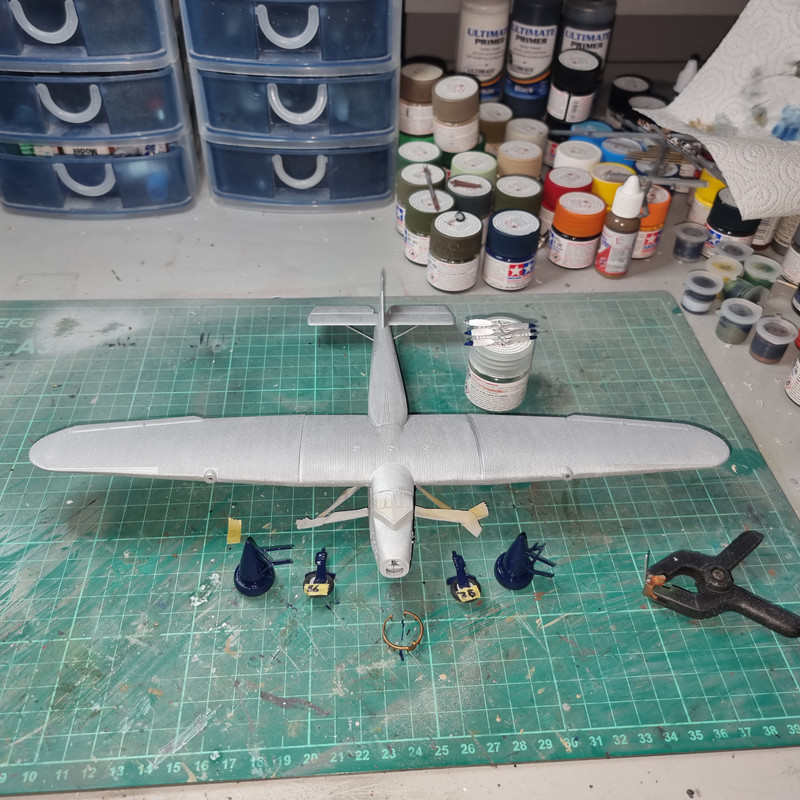
First coat of Tamiya XF16 flat aluminium went on today - and I promptly ran out so had to order a new bottle. Which means work has to stop until it arrives. I've also invested an an AK Natural Metal set - be interesting to see how that looks.....
Engine pods and undercarriage have had a coat of Royal Blue and are read to.fit once the aluminium paint, red stripe on the wing leading edge and fuselage trim colours are done.
Re: Ford Trimotor - vintage Airfix 1/72 - Photos added
Posted: Mon Jun 26, 2023 12:40 pm
by RangerNeil
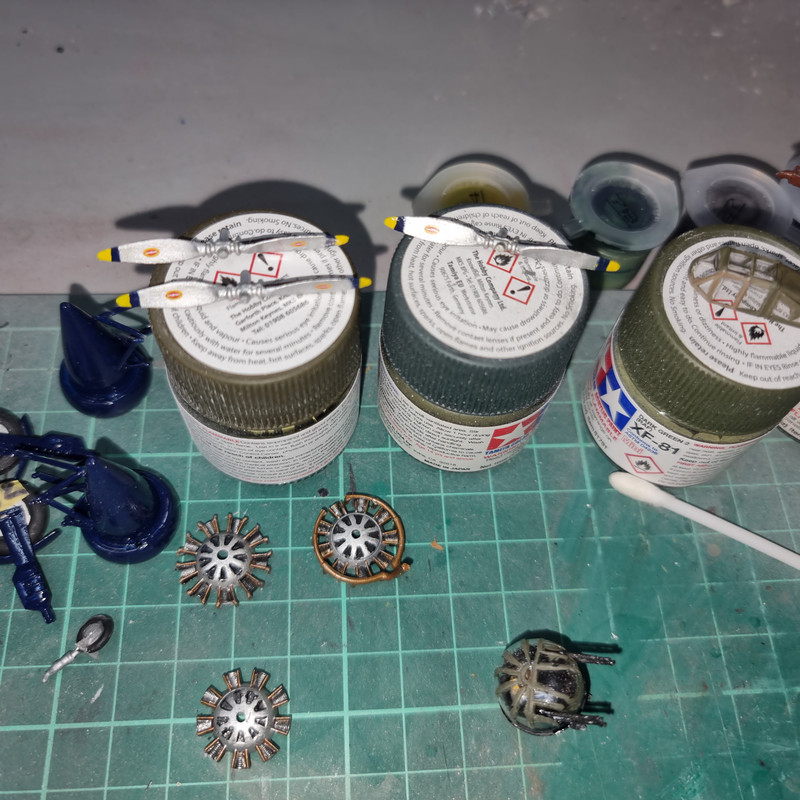
Either I m cursed or karma is paying back big time!!

Last night I cut out 6 propeller decals and laid them on the table, face up, in 3 rows of 2.
Applied 5 of them, went for number 6 and it has vanished - no sign of it anywhere.....
Re: Ford Trimotor - vintage Airfix 1/72 - Photos added
Posted: Wed Jun 28, 2023 1:31 am
by RangerNeil
Re: Ford Trimotor - vintage Airfix 1/72 - Photos added
Posted: Wed Jun 28, 2023 1:57 am
by digger303
Re: Ford Trimotor - vintage Airfix 1/72 - Photos added
Posted: Wed Jun 28, 2023 8:59 am
by psmithmags
Great job Neil
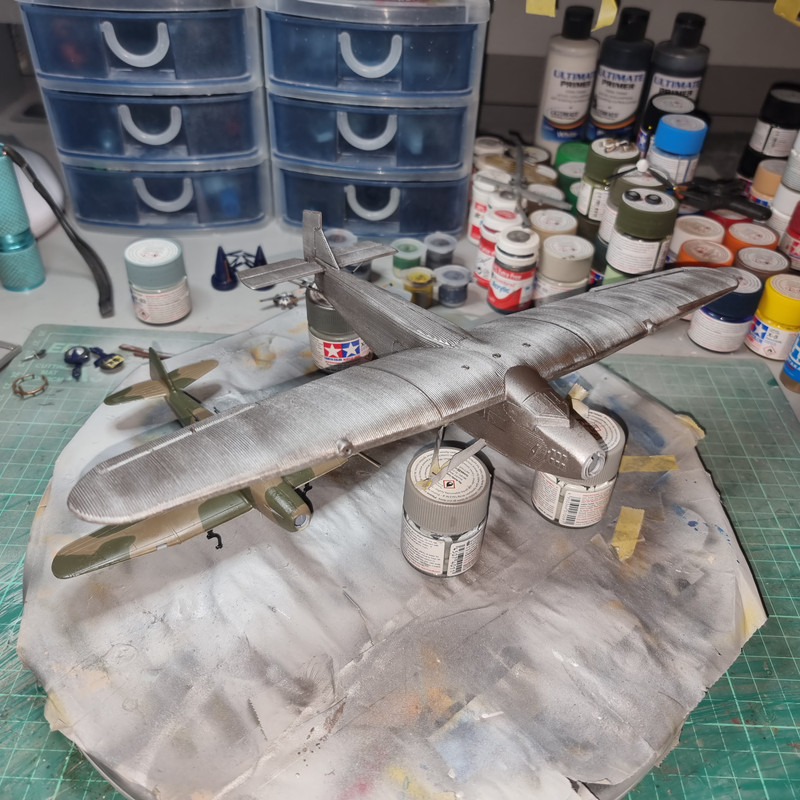
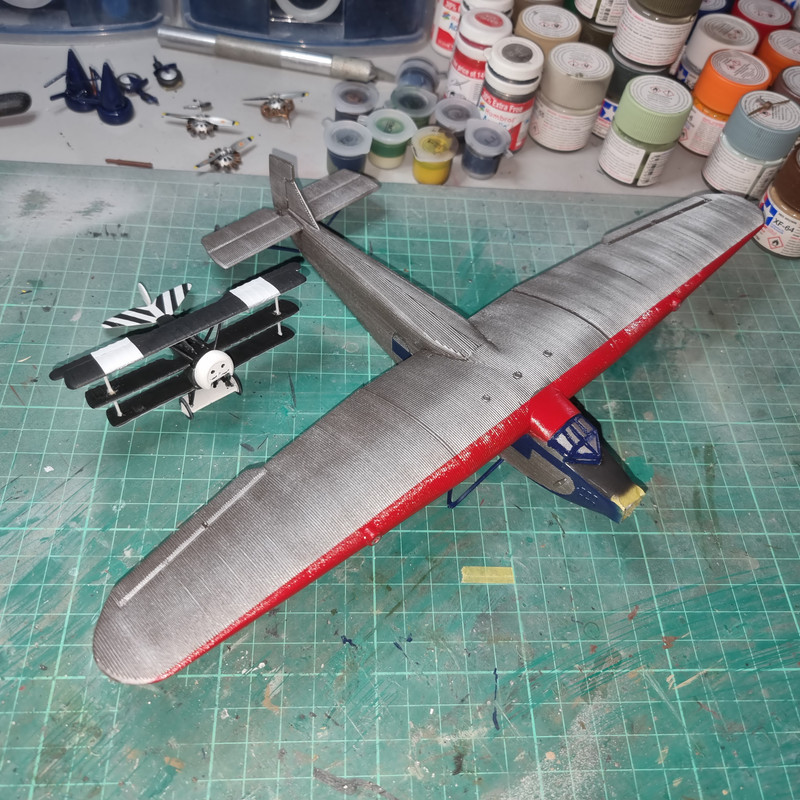
Using the Boulton Paul as reference, you can see just how large this is. How did you get on with building the Boulton Paul? I really enjoyed doing mine, turned out canny as well. I think I have the opposite jinx to you though, my problem lies with Tamiya white (or white in general)as opposed to the black.
Re: Ford Trimotor - vintage Airfix 1/72 - Photos added
Posted: Wed Jun 28, 2023 3:01 pm
by RangerNeil
psmithmags wrote: Wed Jun 28, 2023 8:59 am
Great job Neil
Using the Boulton Paul as reference, you can see just how large this is. How did you get on with building the Boulton Paul? I really enjoyed doing mine, turned out canny as well. I think I have the opposite jinx to you though, my problem lies with Tamiya white (or white in general)as opposed to the black.
The Defiant was a joy to build, no filling needed at at all, just a little sanding required - primarily on the turret base as it was too big to fit into the hull. It was so good I am going to get another to finish in the night fighter scheme.
I don't have a problem spraying white through an airbrush - but its a nightmare using a hairy stick!!
Re: Ford Trimotor - vintage Airfix 1/72 - Photos added
Posted: Wed Jun 28, 2023 3:42 pm
by psmithmags
The Defiant was a joy to build, no filling needed at at all, just a little sanding required - primarily on the turret base as it was too big to fit into the hull. It was so good I am going to get another to finish in the night fighter scheme.
I don't have a problem spraying white through an airbrush - but its a nightmare using a hairy stick!!
[/quote]
Glad you enjoyed the Defiant build, I bet it'll look superb in the night fighter scheme (when it get done.) That's probably where I'm going wrong with the white. My brain was in the 'if its this bad with a brush, it'll be a mare with an airbrush' mode so I have tried to avoid using white in this way. I'll have to give it a go
Re: Ford Trimotor - vintage Airfix 1/72 - Photos added
Posted: Sat Jul 01, 2023 2:04 am
by RangerNeil
Re: Ford Trimotor - vintage Airfix 1/72 - Photos added
Posted: Sat Jul 01, 2023 5:48 am
by digger303
Re: Ford Trimotor - vintage Airfix 1/72 - Photos added
Posted: Sat Jul 01, 2023 9:21 pm
by RangerNeil
Nope.
I forgot to cover the areas of wing behind the masking tape and wound up with the back half of the wings - upper and lower - a faint red colour....

Not making that mistake again......
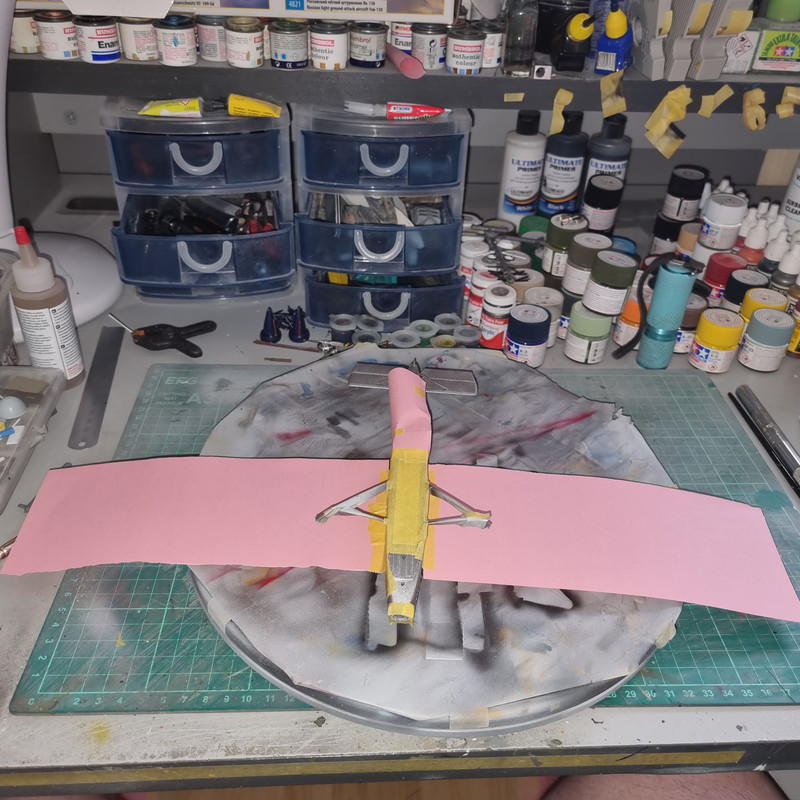
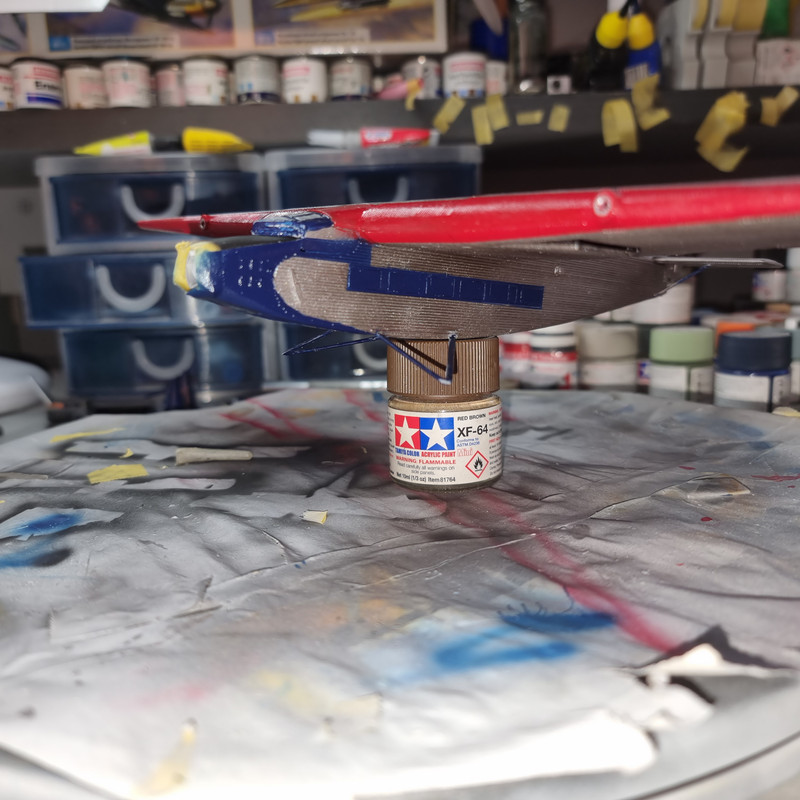
Today saw the first of the Royal Blue body accent colour going on - the strip along and around the cabin windows. And the tail plane struts....
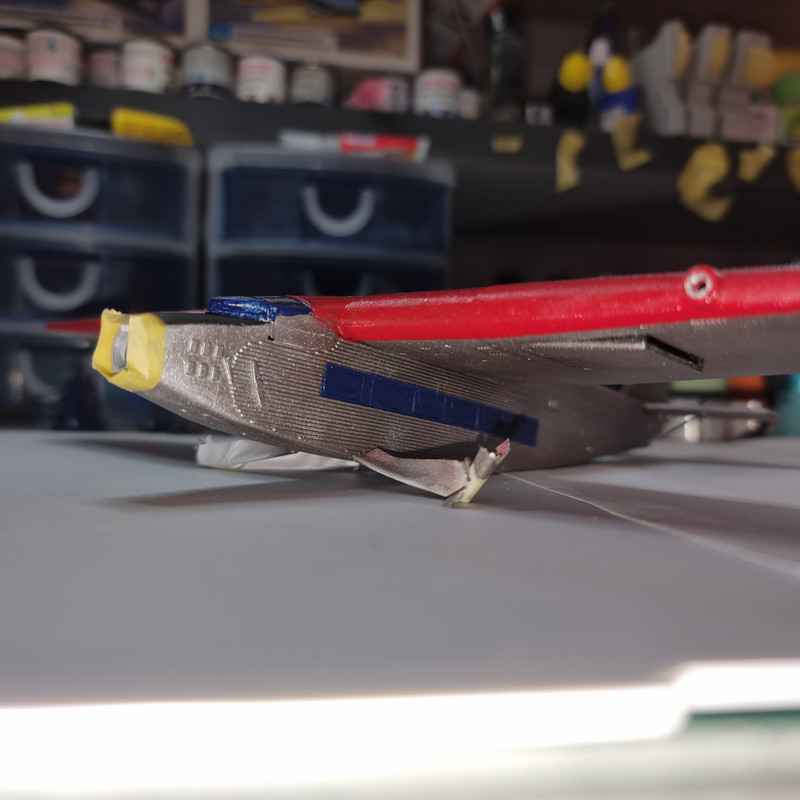
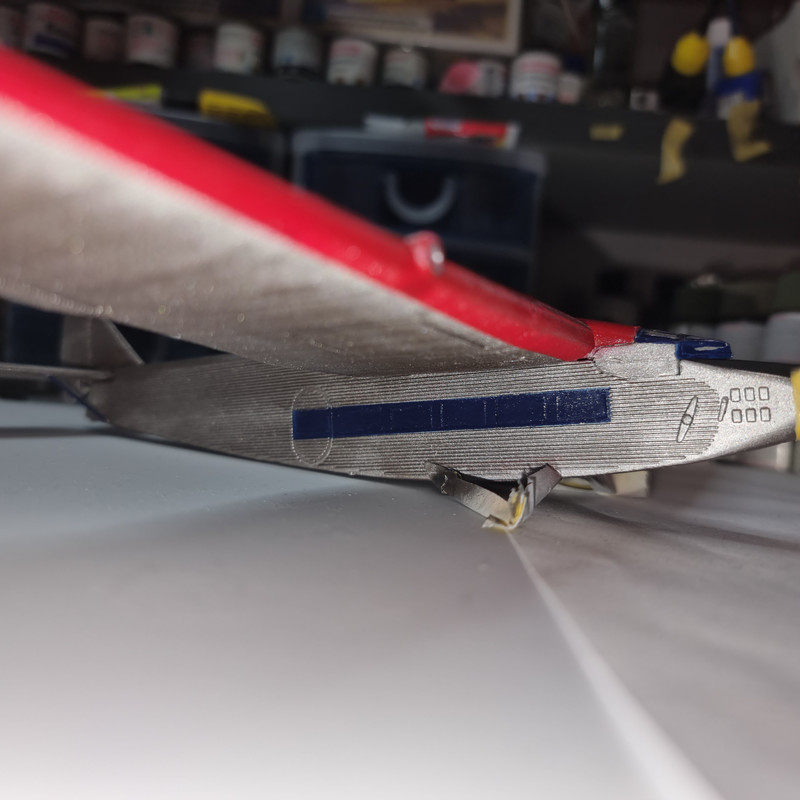
Still got to work out how to mask the nose up..... Giving me a headache is this!!
The one in the Smithsonian looks like this:
Re: Ford Trimotor - vintage Airfix 1/72 - Photos added
Posted: Sun Jul 02, 2023 1:16 am
by digger303
Re: Ford Trimotor - vintage Airfix 1/72 - Photos added
Posted: Sun Jul 02, 2023 9:33 pm
by RangerNeil
Re: Ford Trimotor - vintage Airfix 1/72 - Photos added
Posted: Mon Jul 03, 2023 1:53 am
by digger303
Re: Ford Trimotor - vintage Airfix 1/72 - Photos added
Posted: Mon Jul 03, 2023 1:09 pm
by RangerNeil
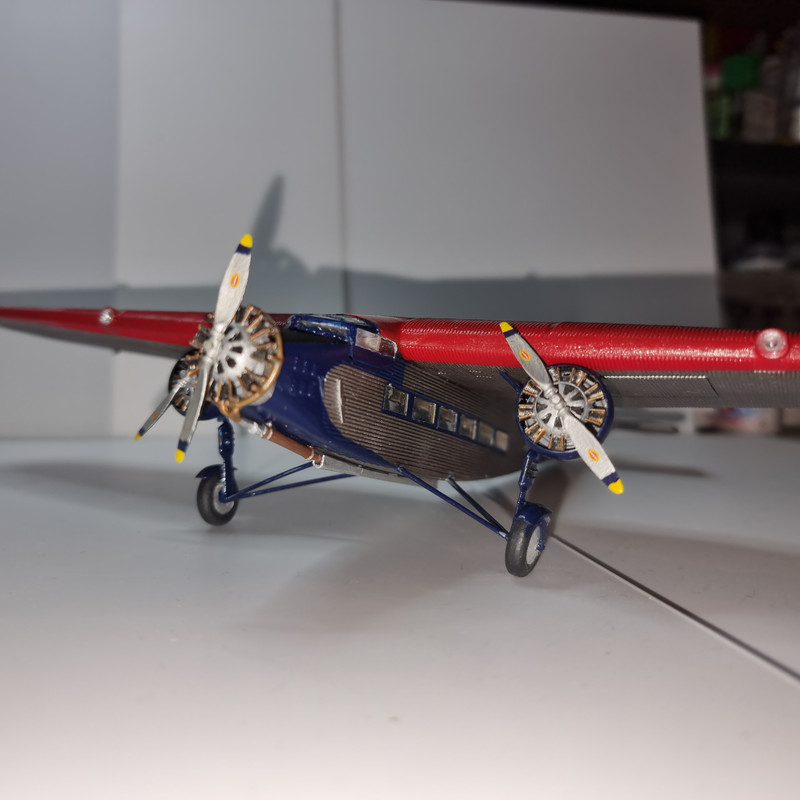
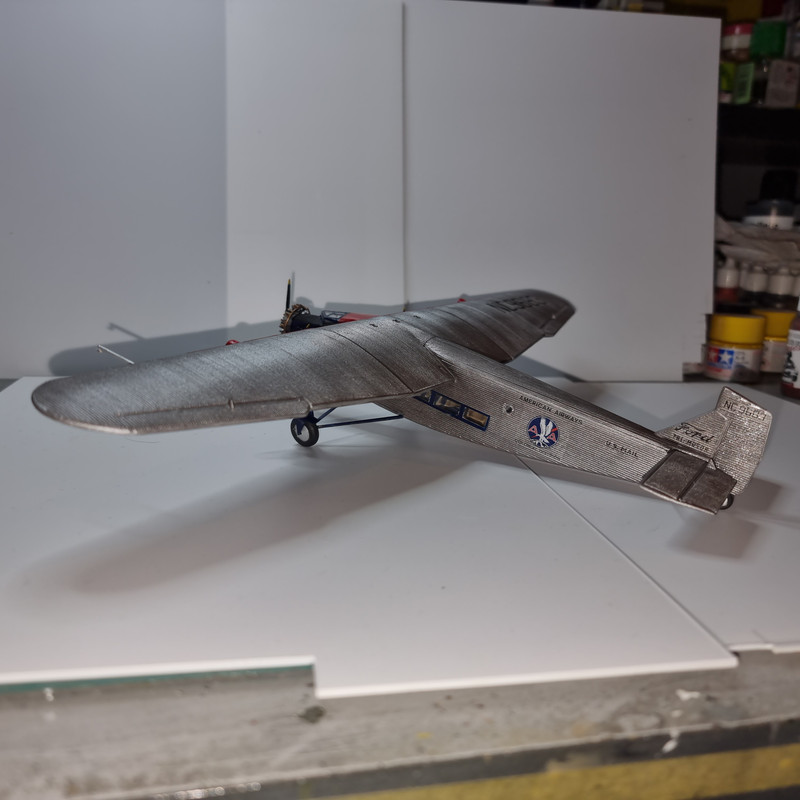
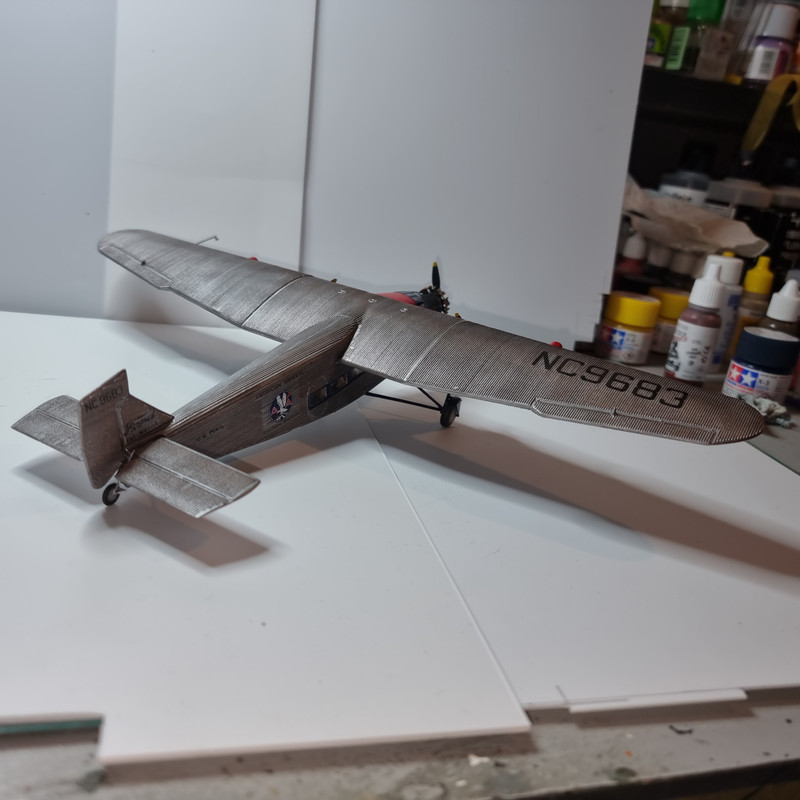
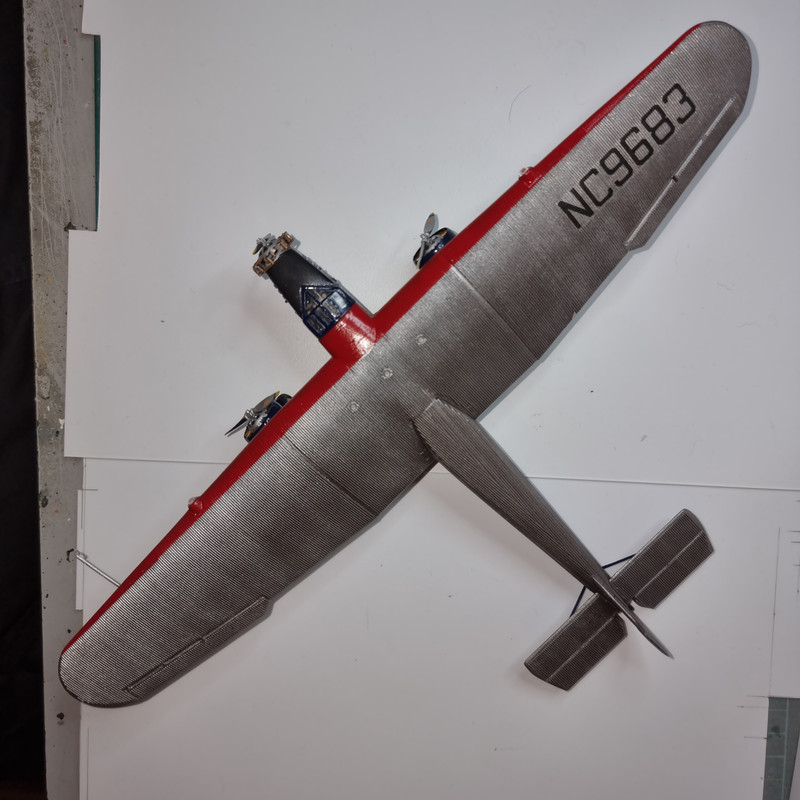
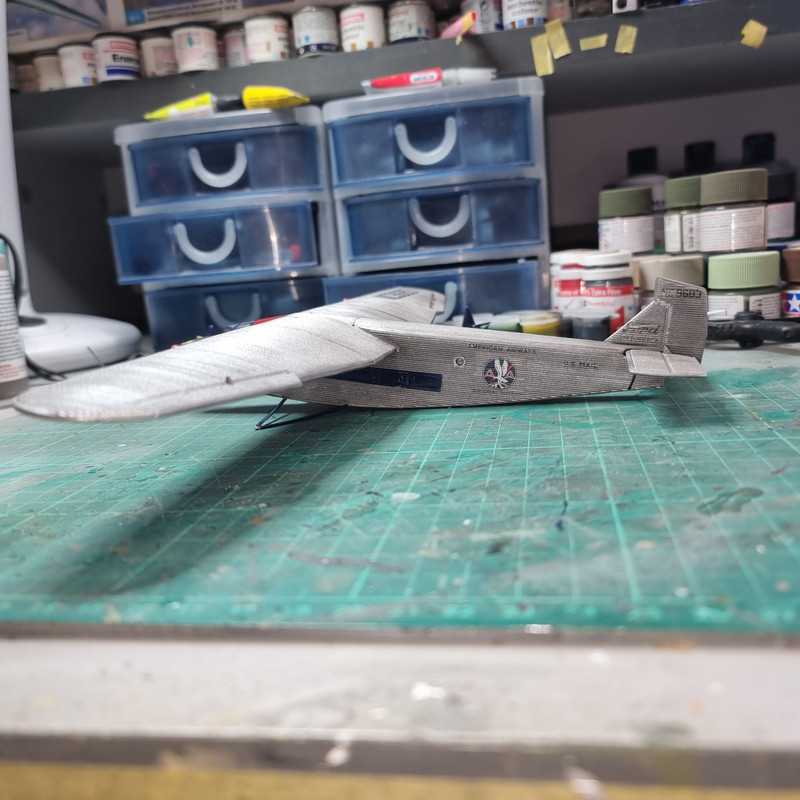
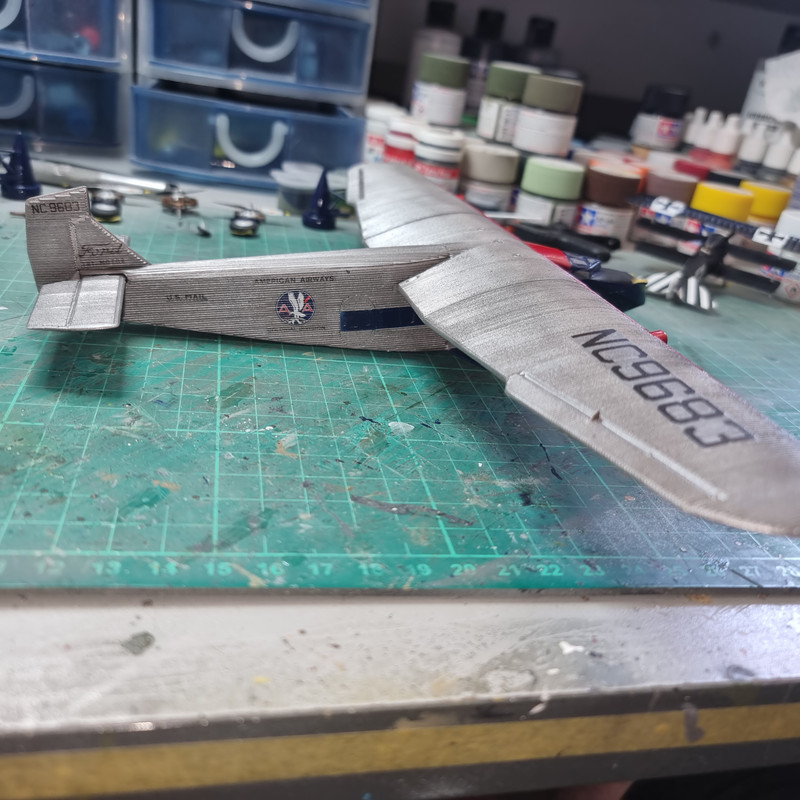
Decals are on and drying. I want to see how well they've conformed to that corrugated skin before moving onto the next step . I suspect more application of Microsol might be needed......
Re: Ford Trimotor - vintage Airfix 1/72 - Photos added
Posted: Tue Jul 04, 2023 2:34 am
by RangerNeil
Re: Ford Trimotor - vintage Airfix 1/72 - Photos added
Posted: Tue Jul 04, 2023 5:45 am
by digger303