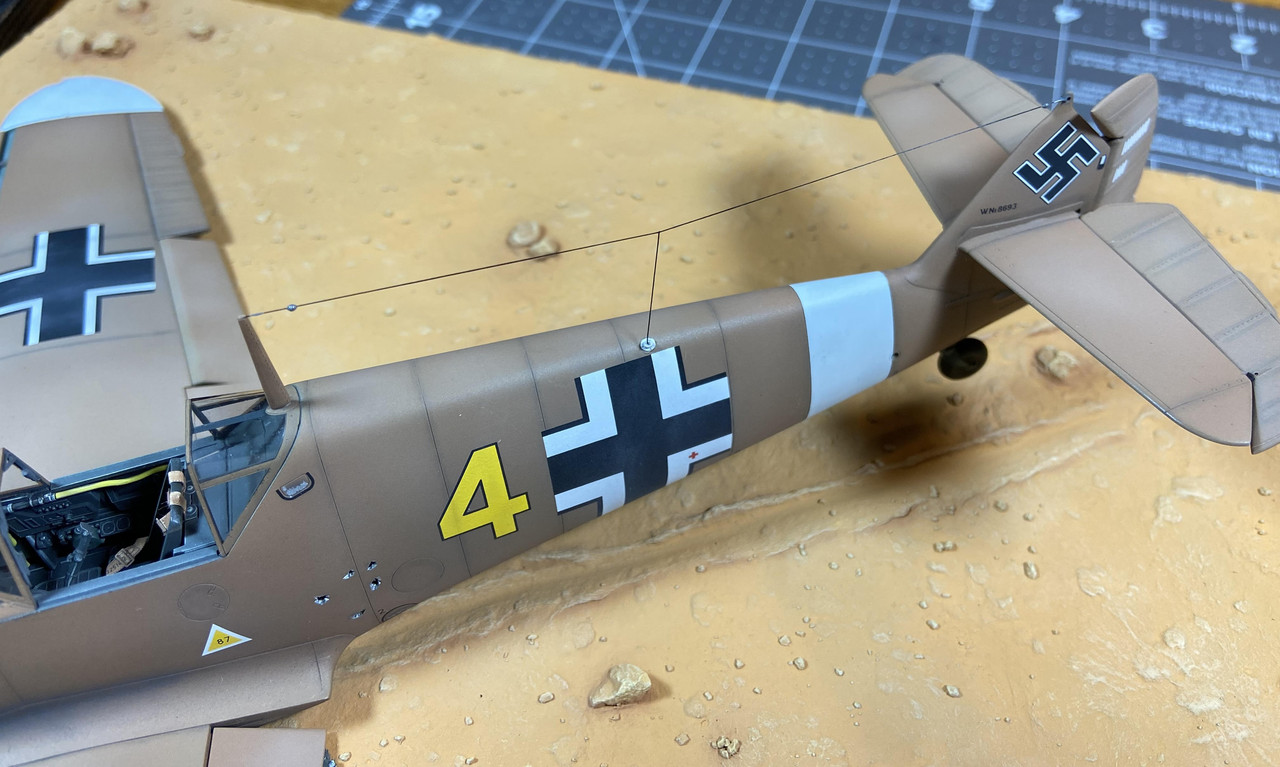
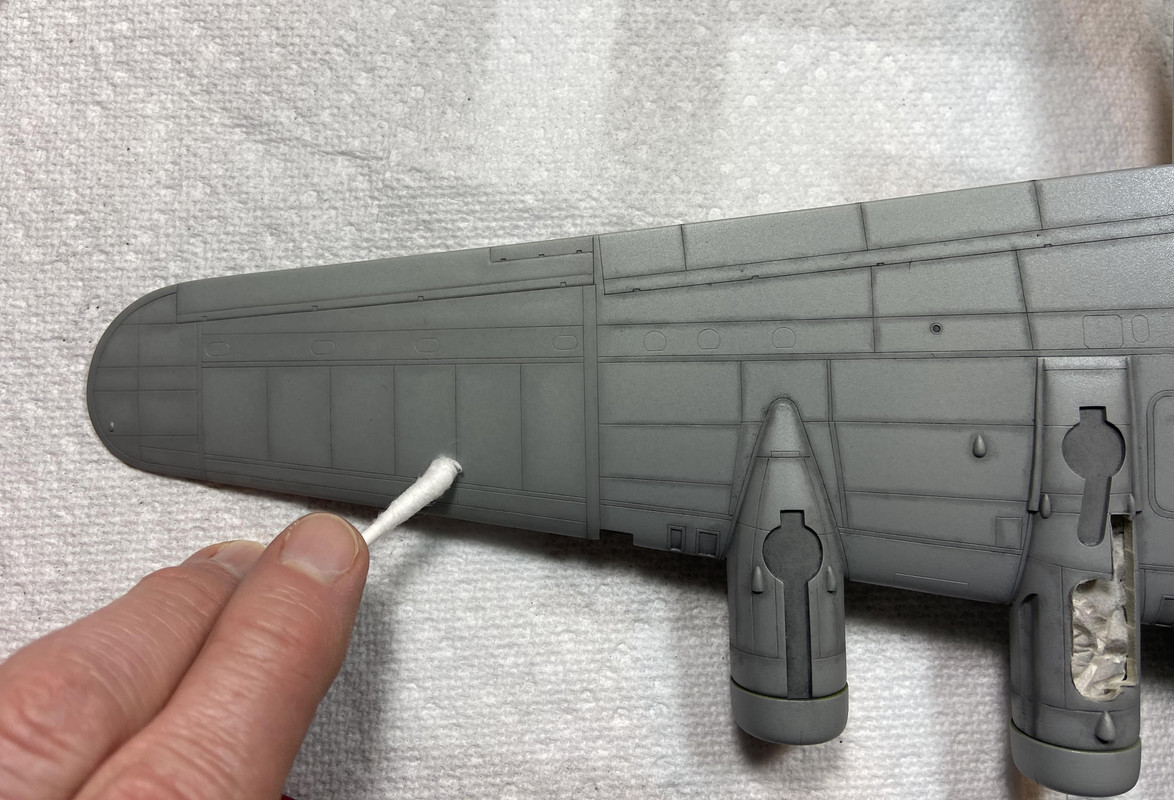
Souvenir Hunters: 1/32 BF-109F Desert Crash Diorama-N. Africa 1942 (Aircraft Only)
Posted: Sat Oct 07, 2023 7:29 pm
Fellow Modelers,
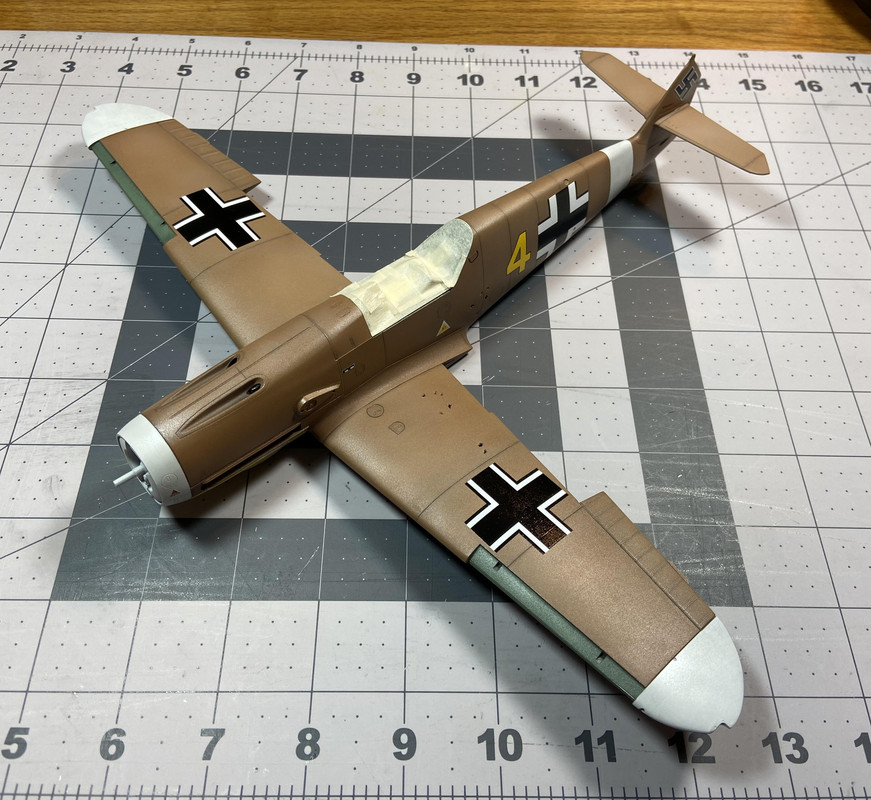
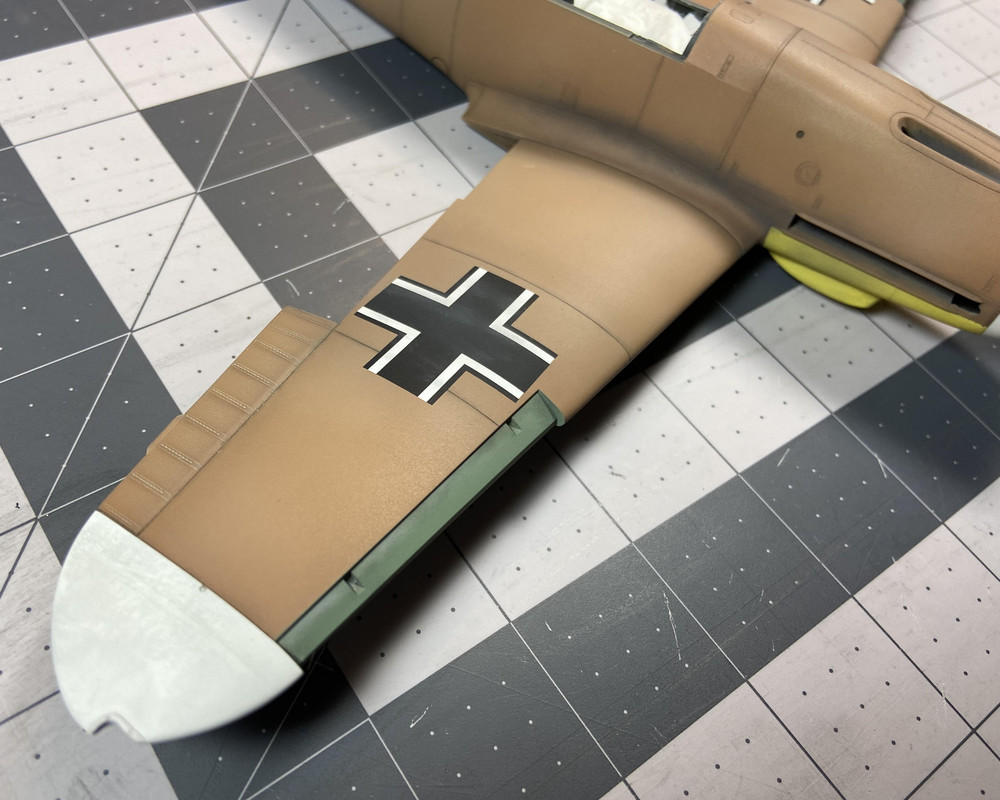
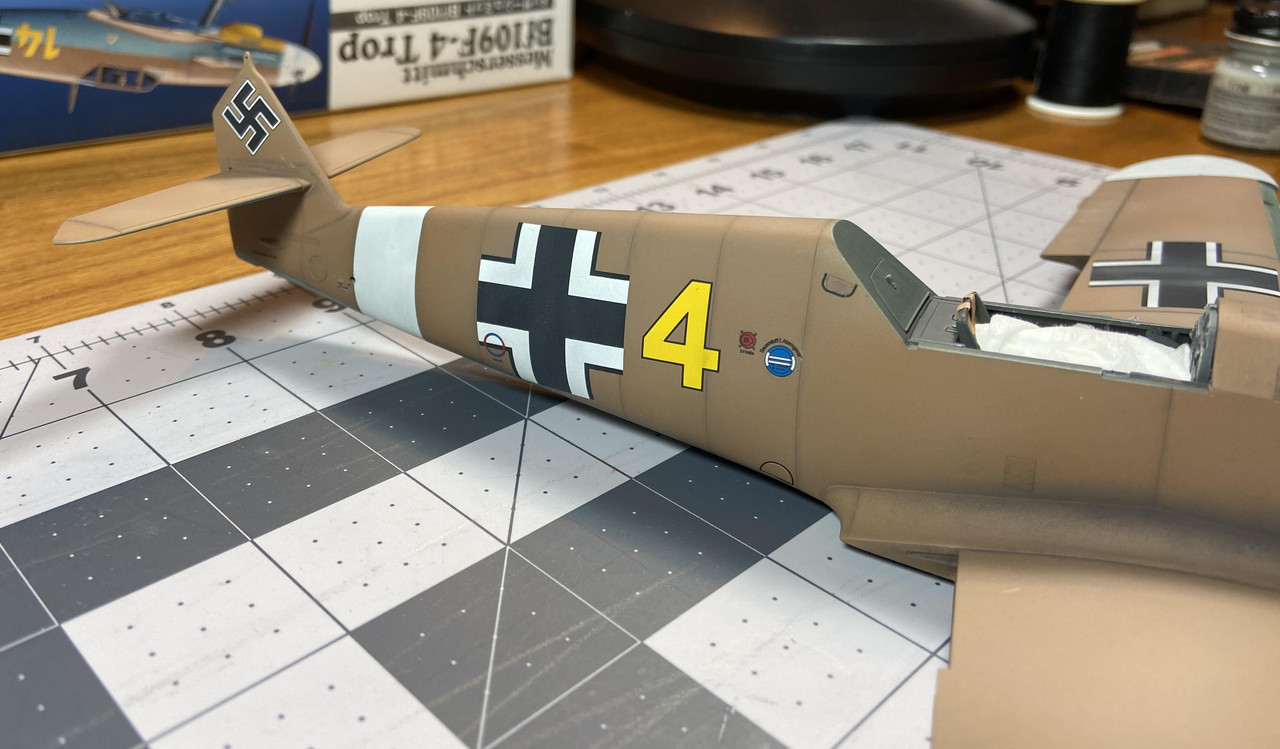
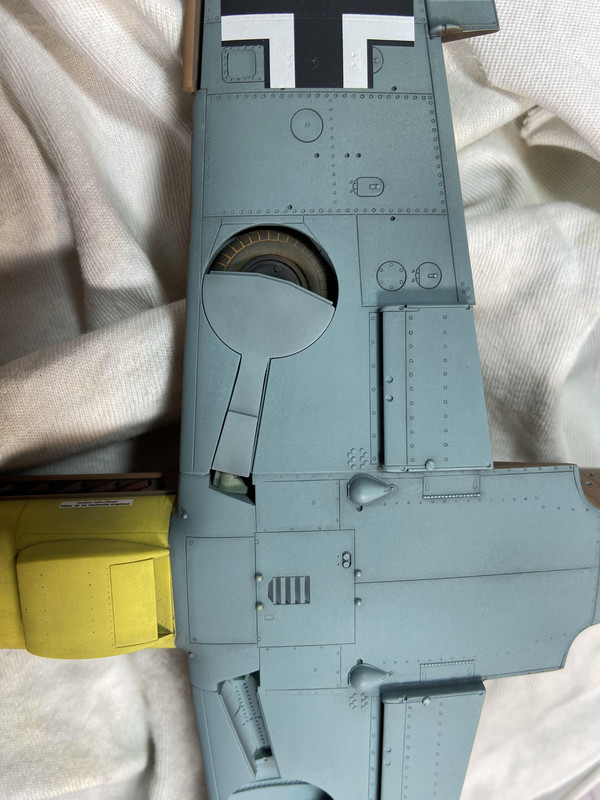
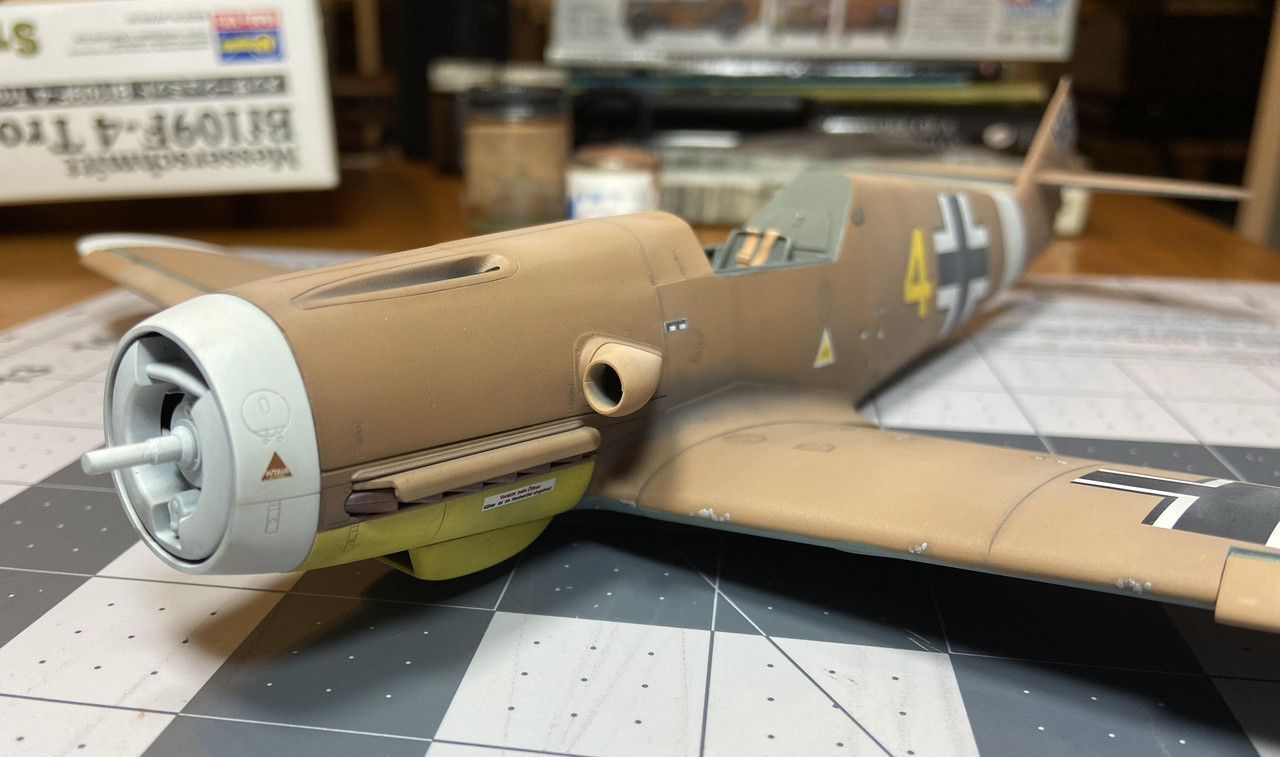
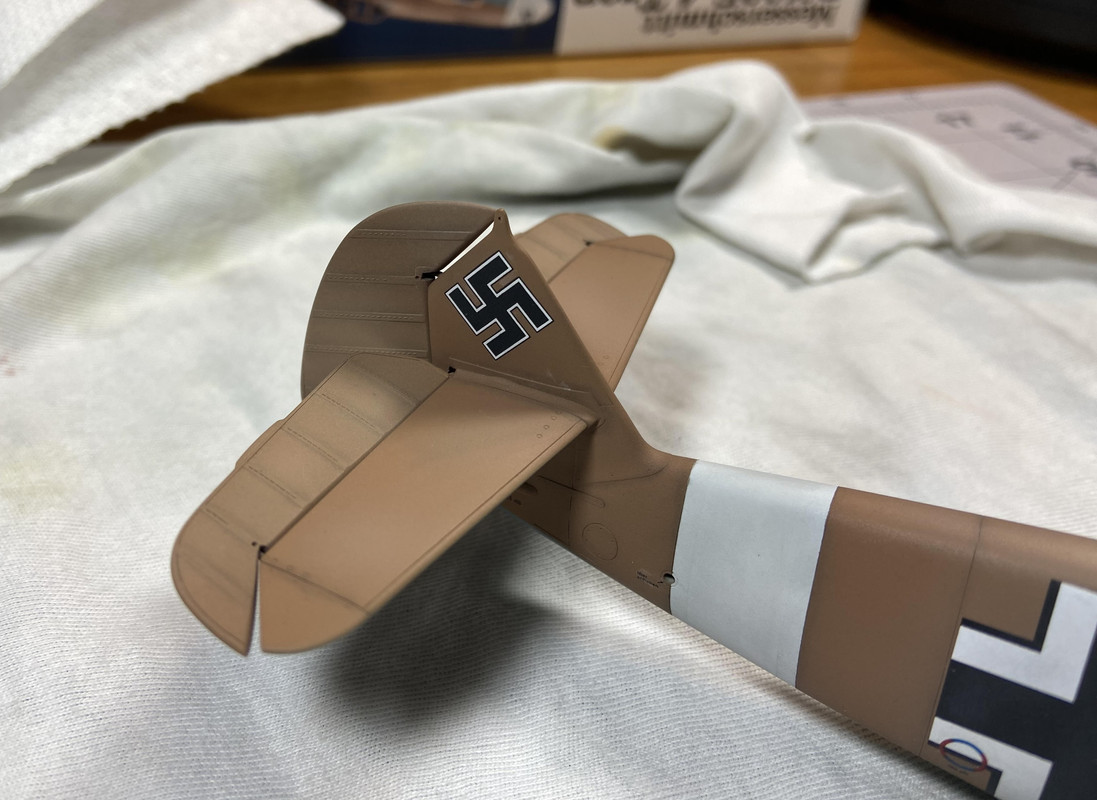
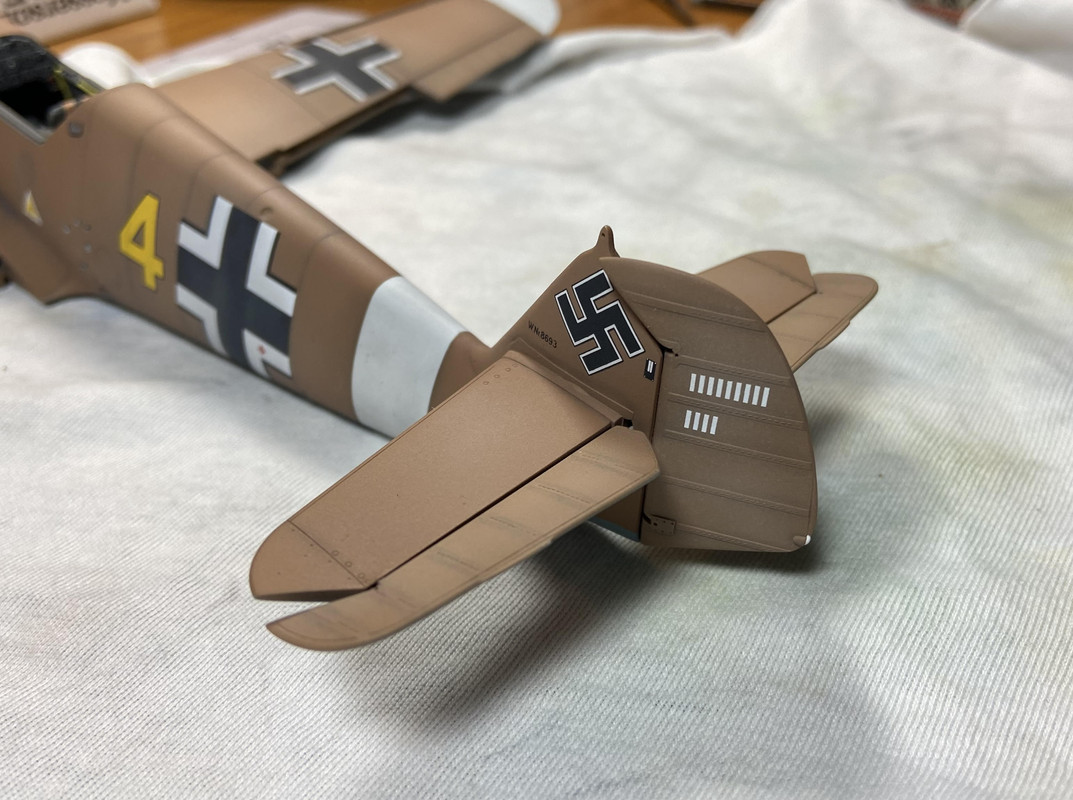
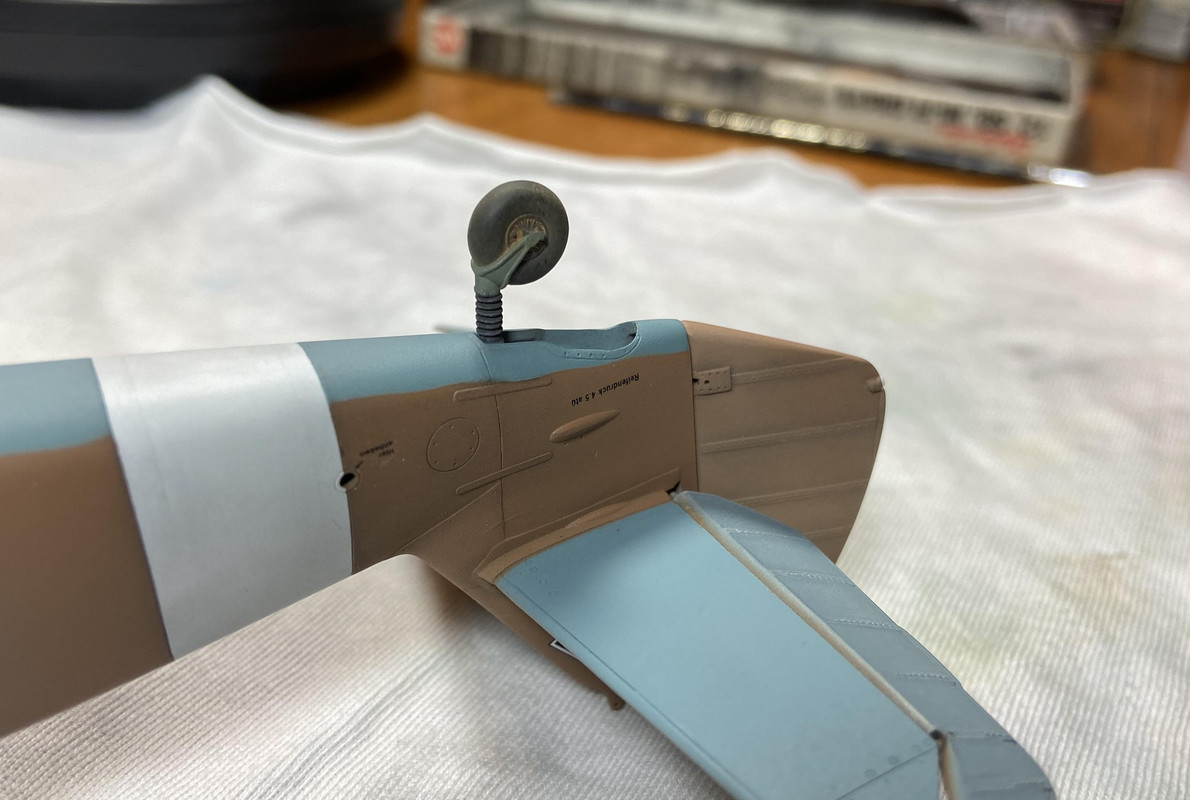
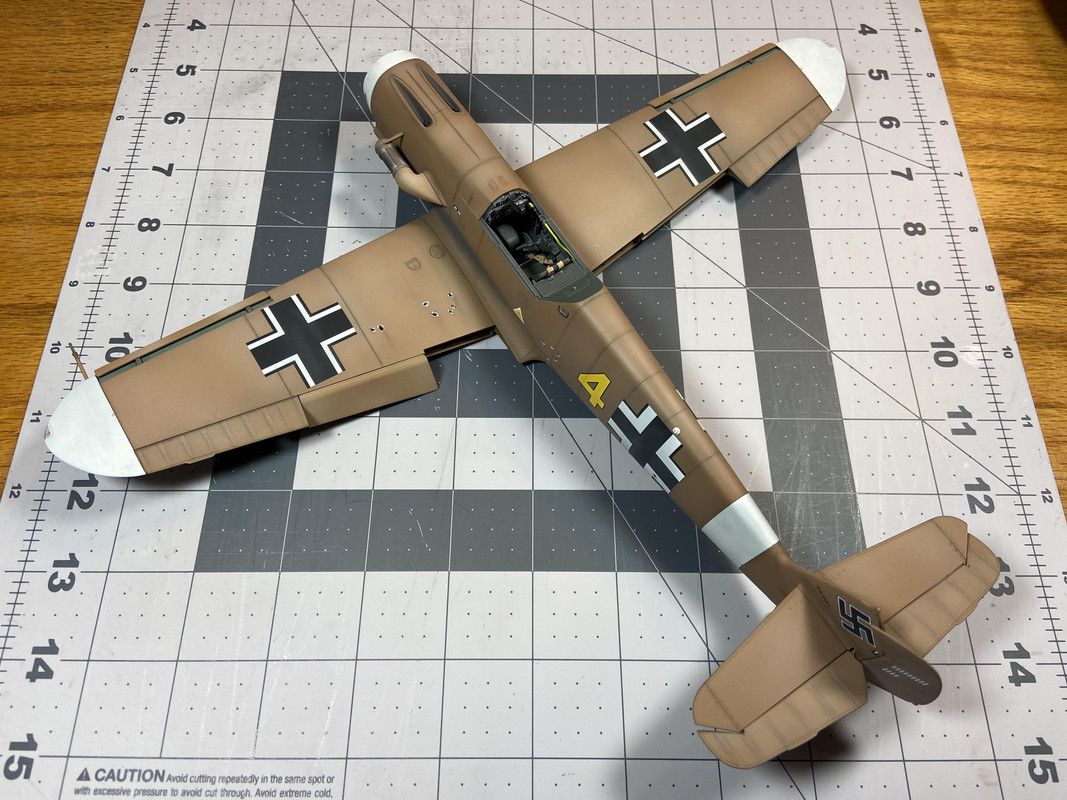
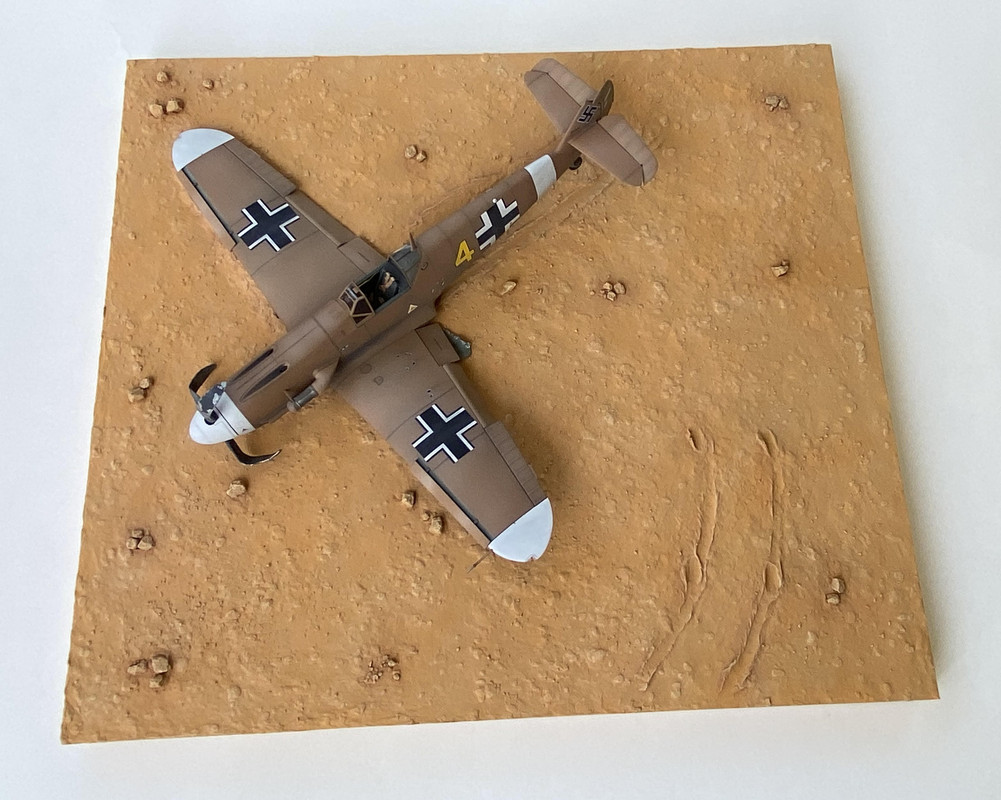
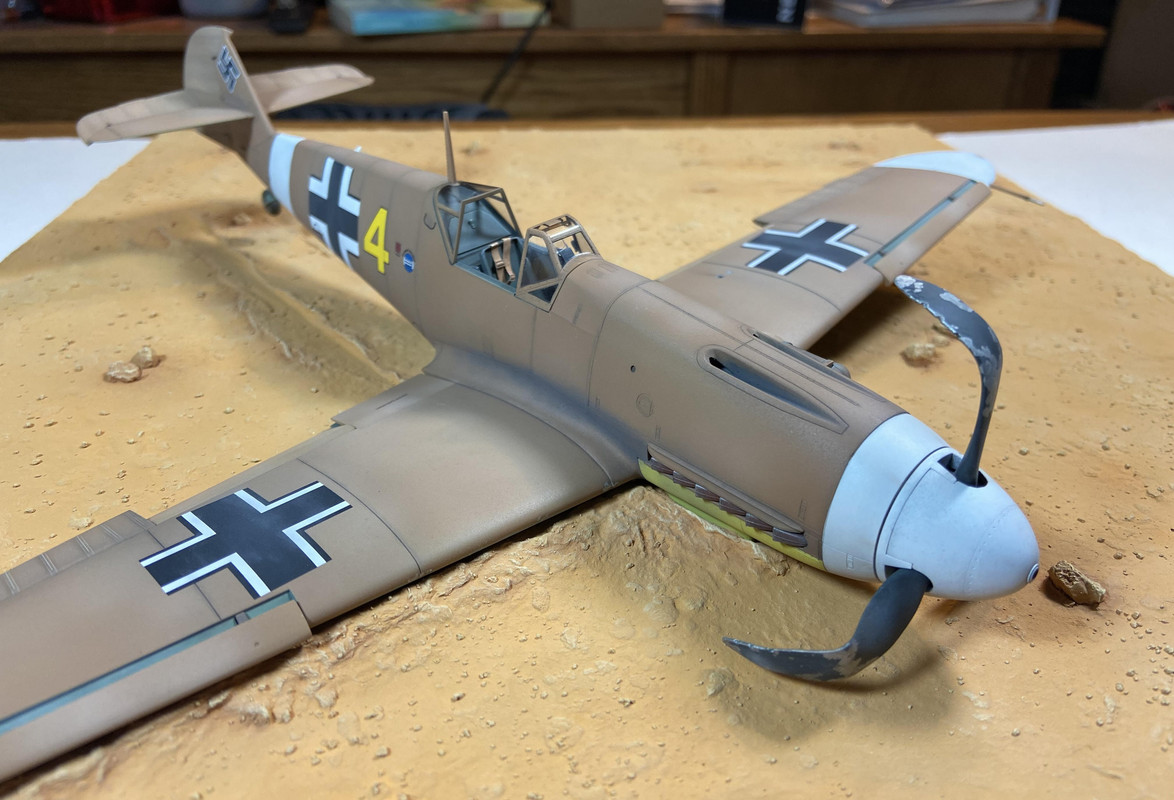
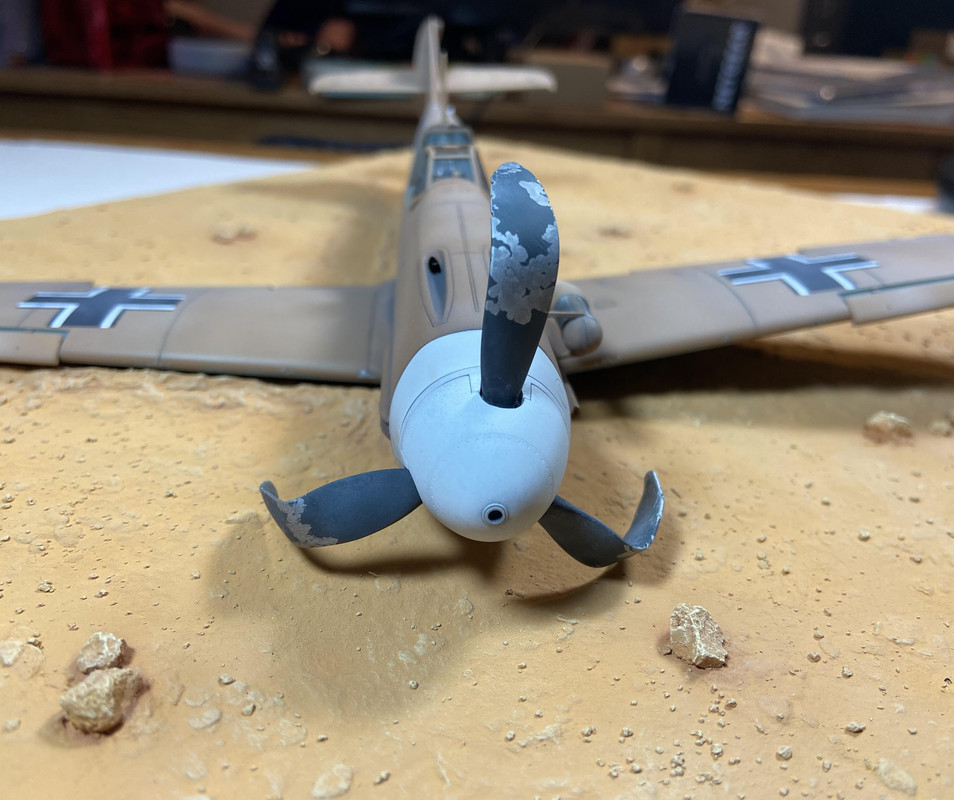
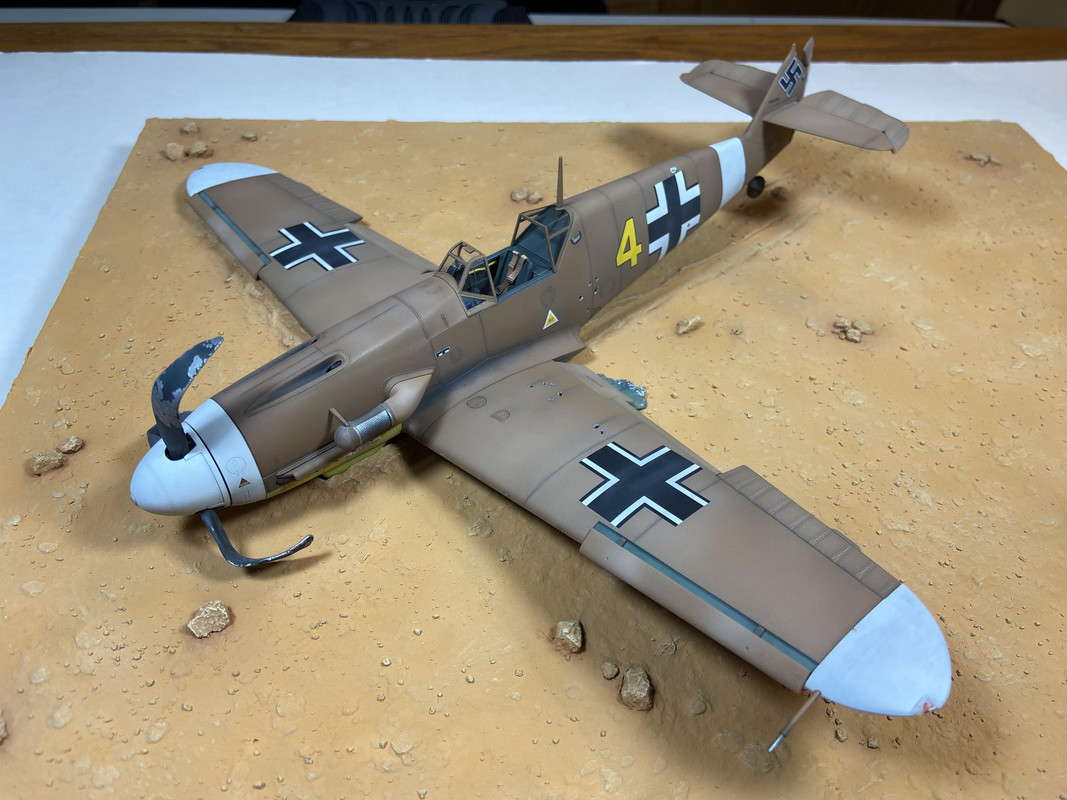
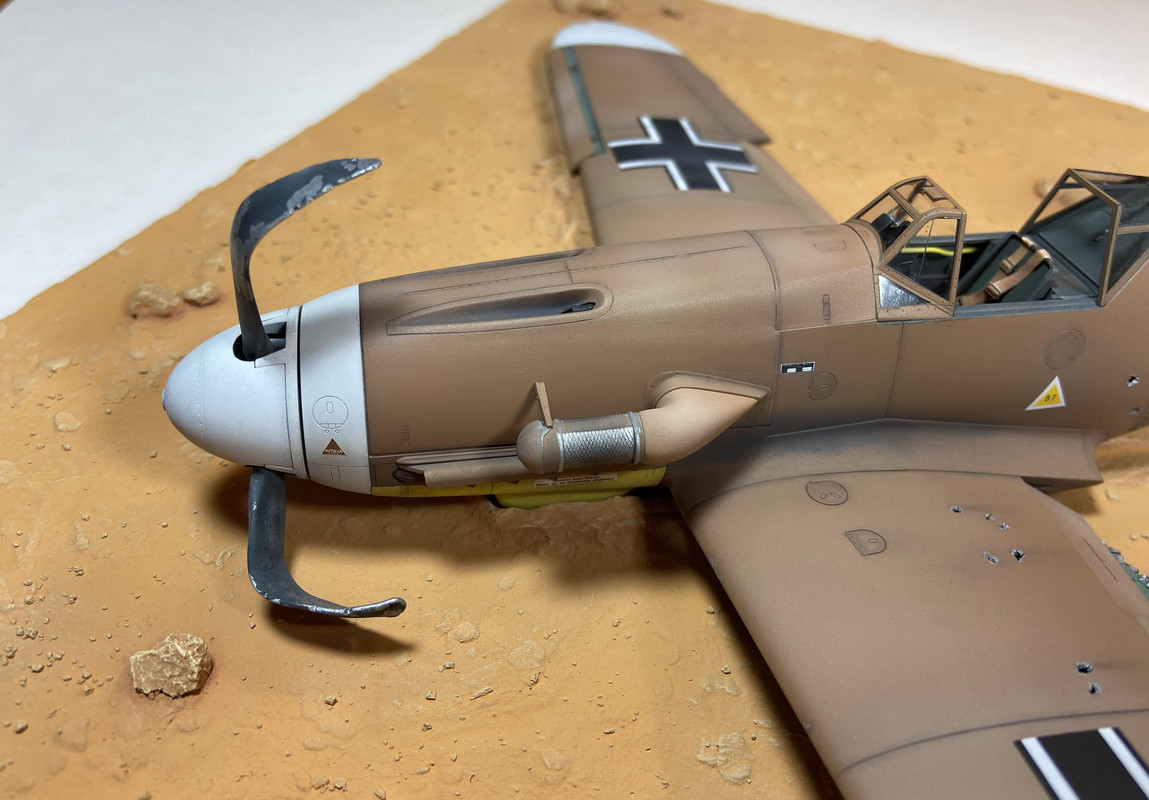
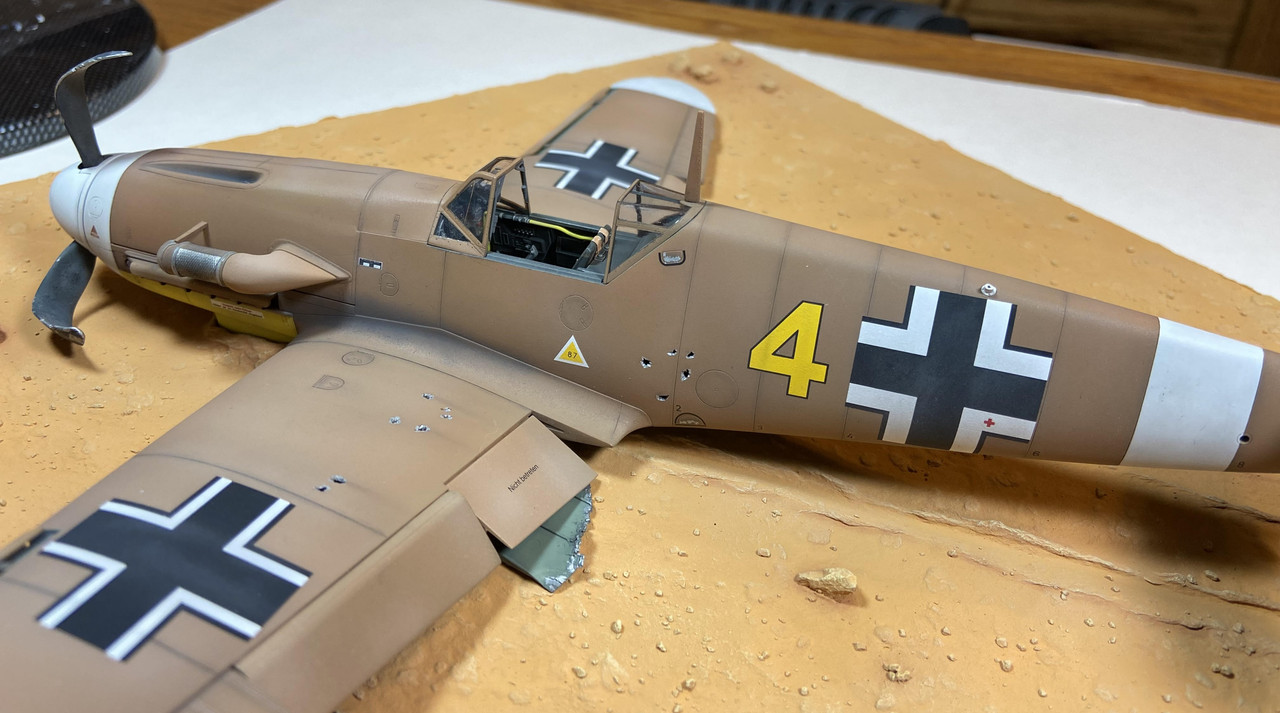
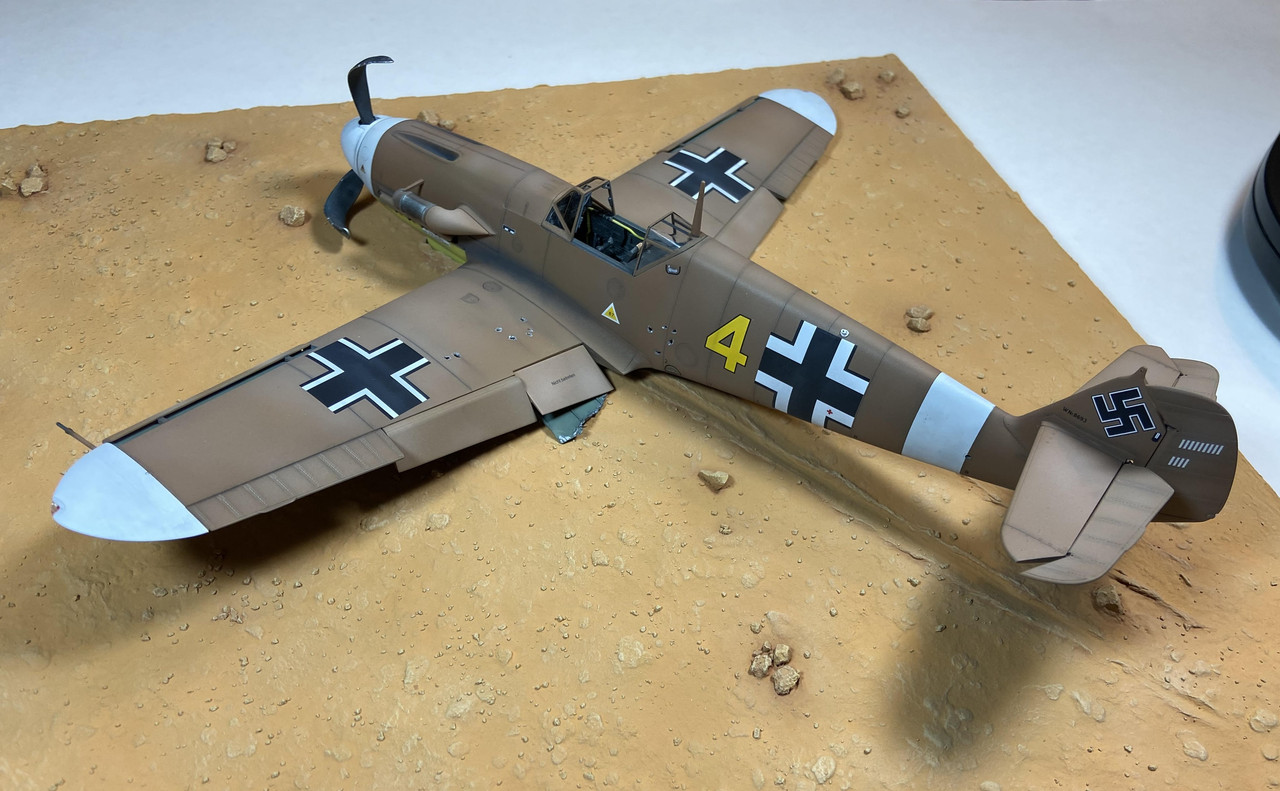
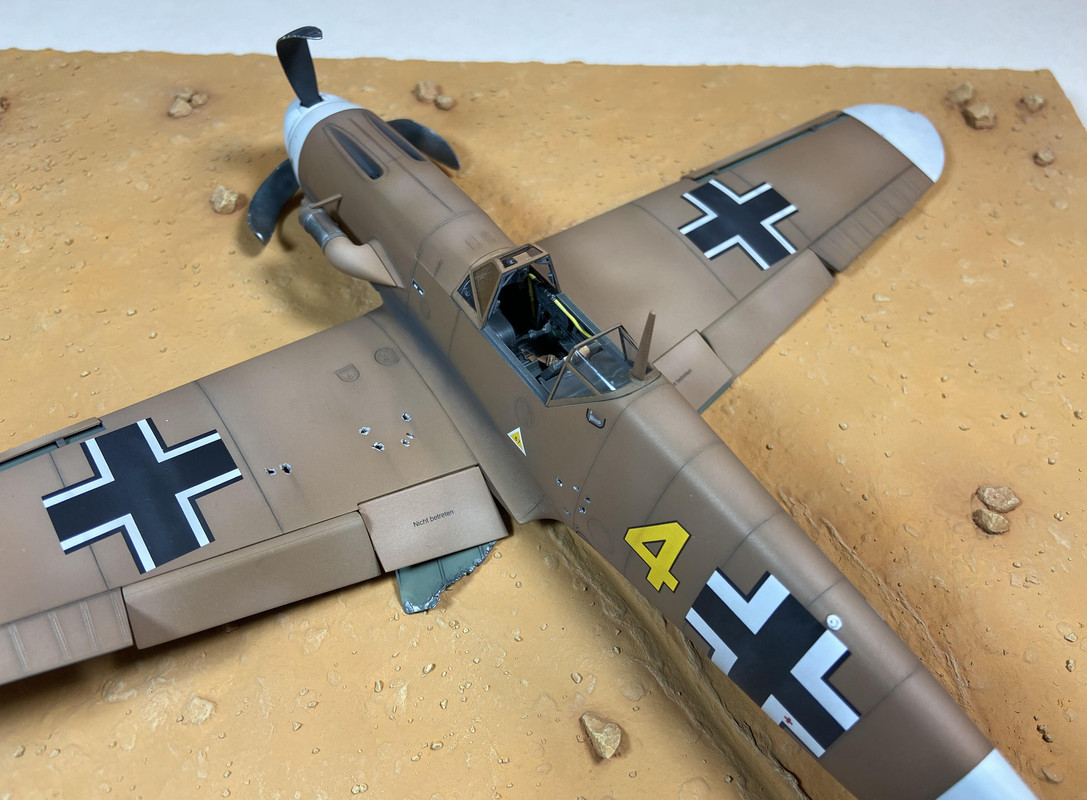
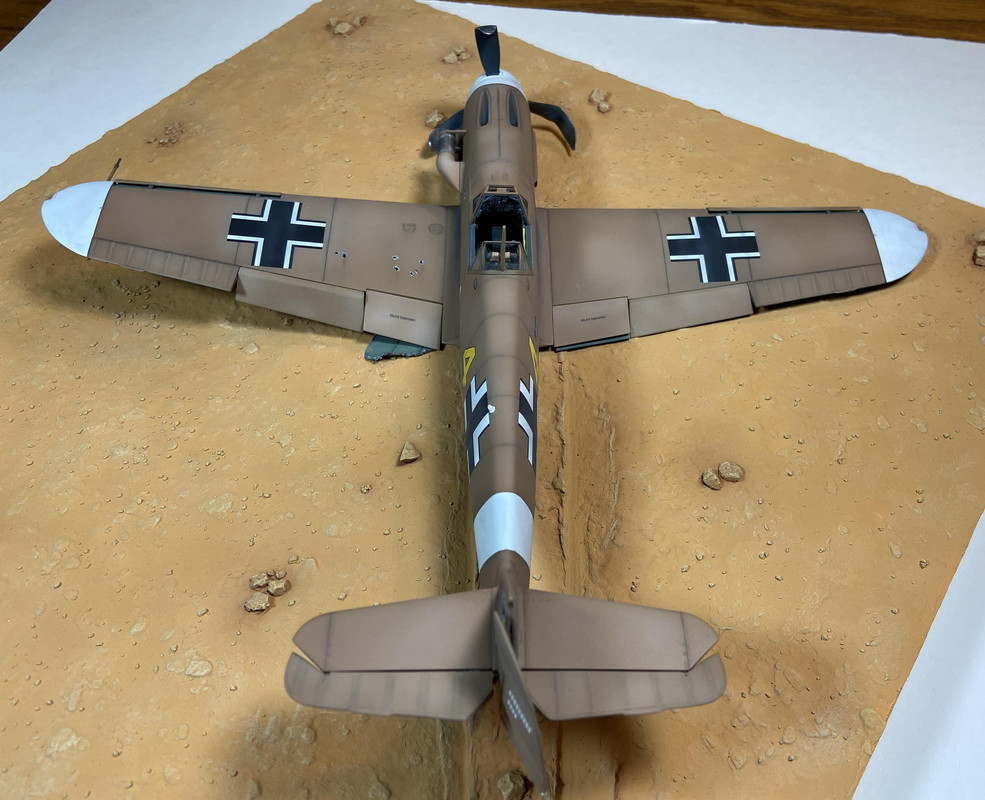
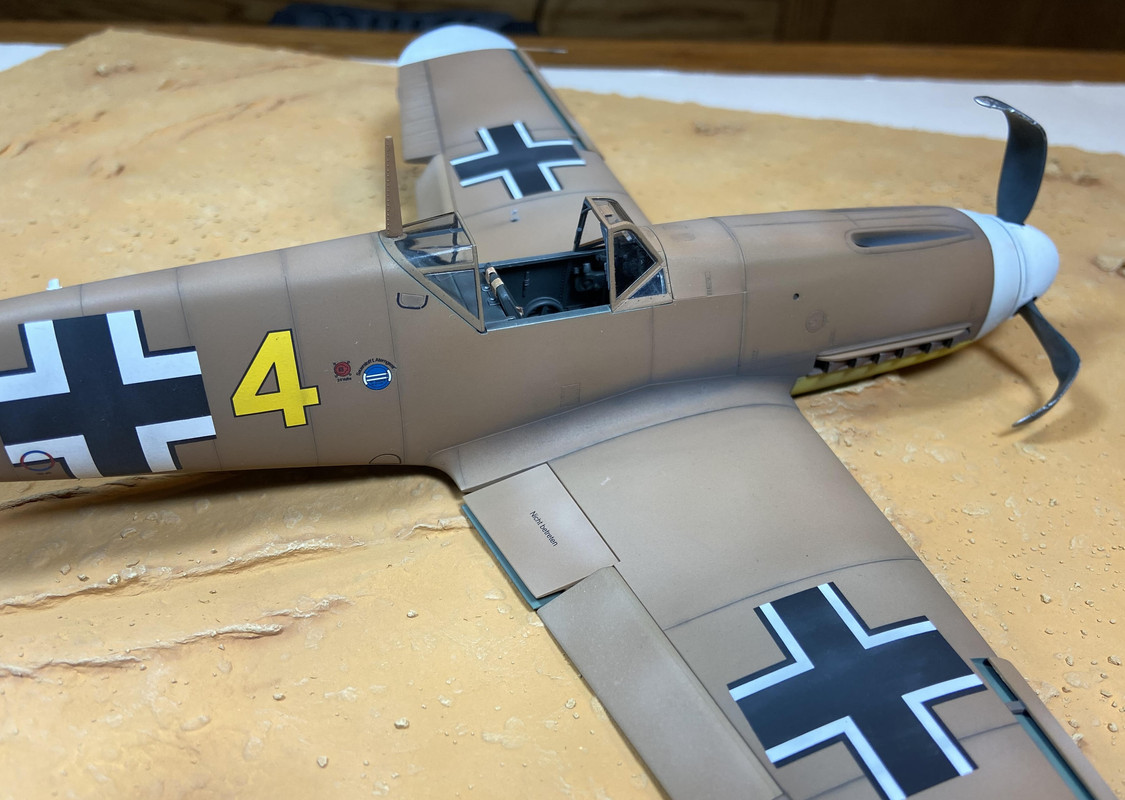
My latest project will be creating a 1/32 scale North African desert diorama that will include a base, a crashed BF-109 Messerschmitt airplane, a small British transport vehicle and a few British 8th Infantry figures. Construction of the airplane is the only part covered in this thread. The other construction parts of the diorama will be included in another section.
I have always been intrigued by World War II dioramas showing frontline infantry soldiers picking through crashed enemy aircraft for souvenirs to take back home. Although these scenes do not include intense action, they do provide good storytelling and reflection. I do not have an exact layout established in my head, but have purchased the kits, accessories and research books I plan on using. I will work out all the final, smaller details as the build progresses.
A description of the diorama setup is listed below:
The time period is set around February 1942. A Gruppe III/JG27 BF-109F-4 Trop airplane has been damaged in air combat with RAF Tomahawks (P-40B/C) and Kittyhawks (P-40D/E) and made a forced landing deep behind the British lines. The unfortunate Experten Luftwaffe pilot has been captured and taken away for processing to a POW camp. A lull in the ground fighting has allowed several curious British infantry soldiers to borrow a Tilly utility transport vehicle to make a quick trip to the crash site to “officially” look for valuable maps or other documents but “unofficially” gather souvenirs to carry back to their basecamp. Welcome to my diorama Progress Build titled Souvenir Hunters.
Figures 11a through 11i: To help in my build I searched the Internet for images of forced landed BF-109 aircraft and found the following photos for reference
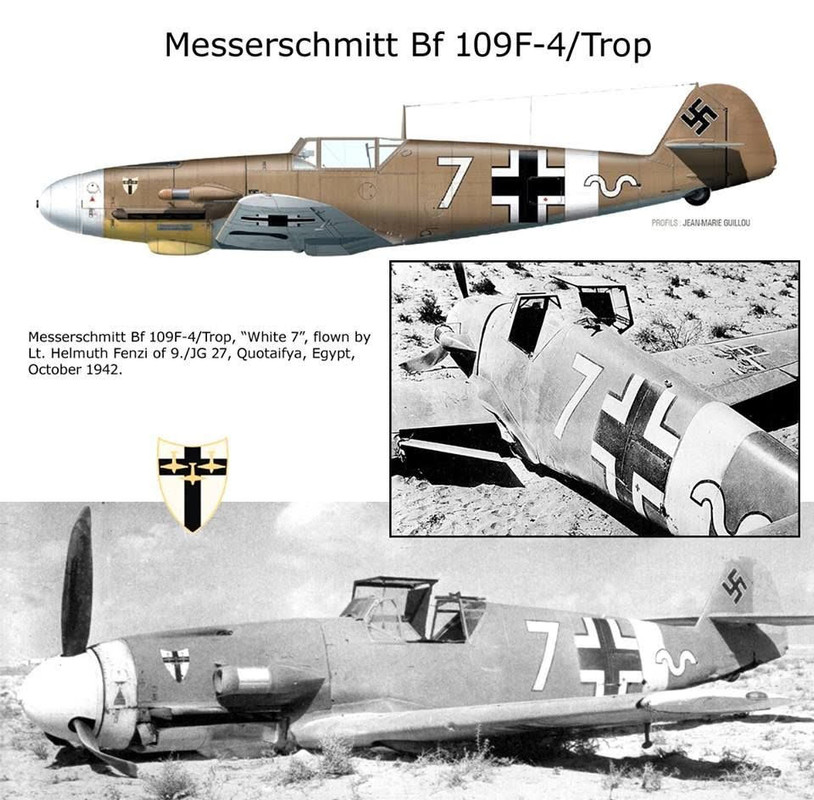
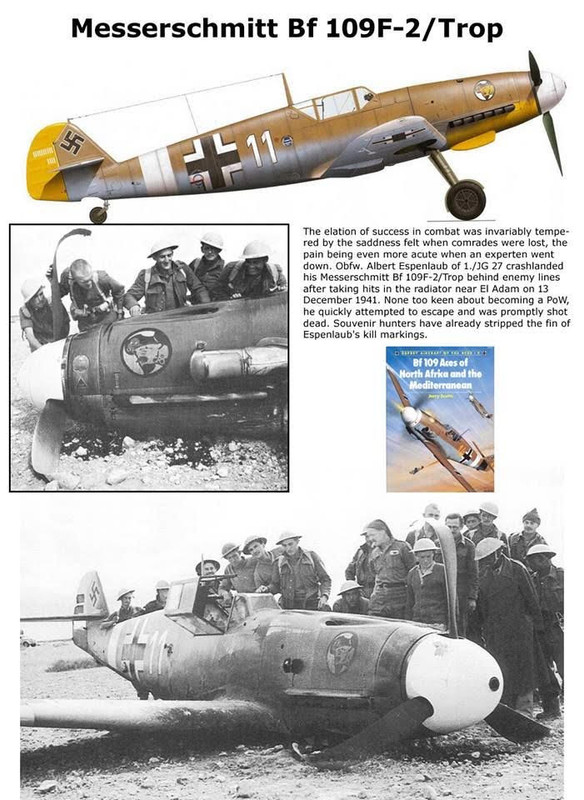
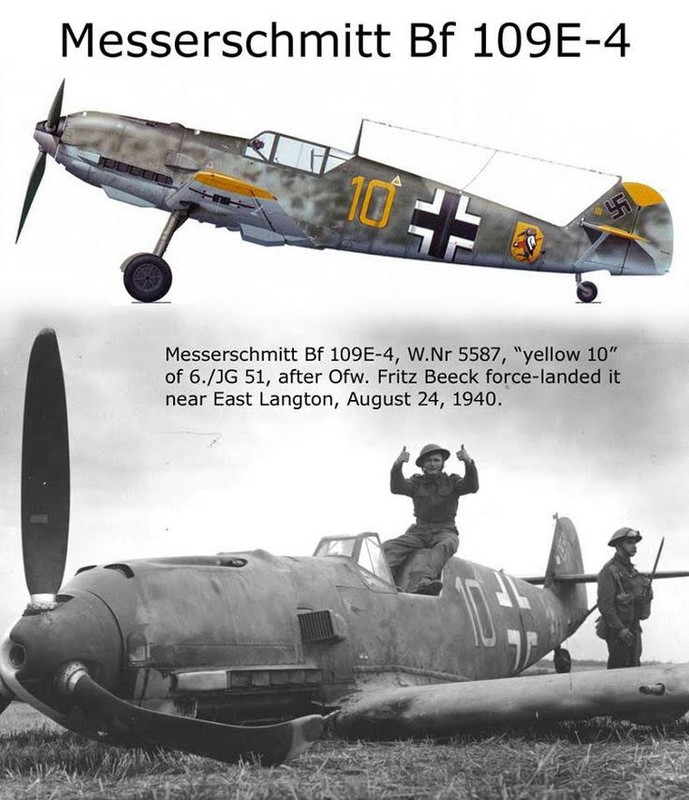
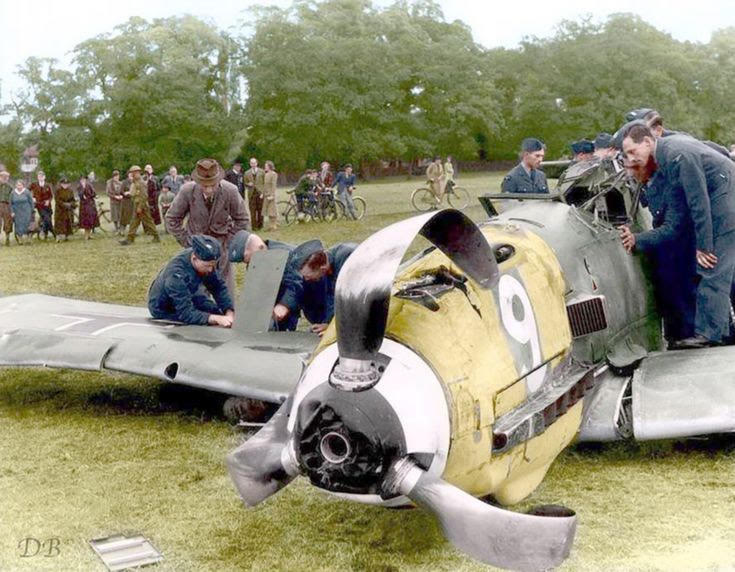
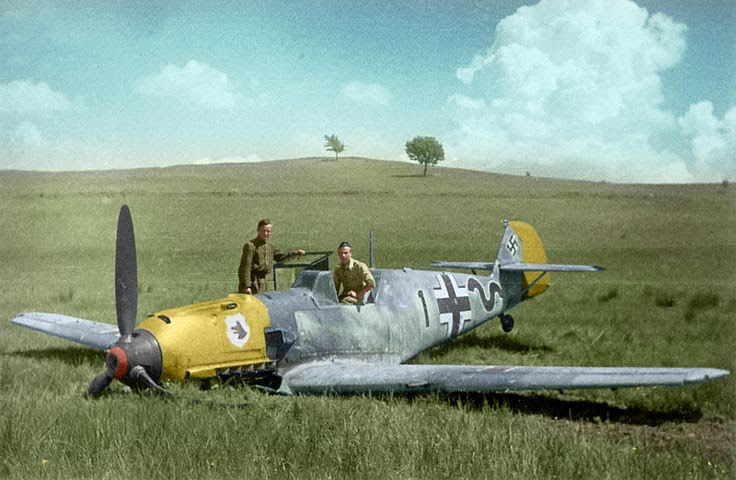
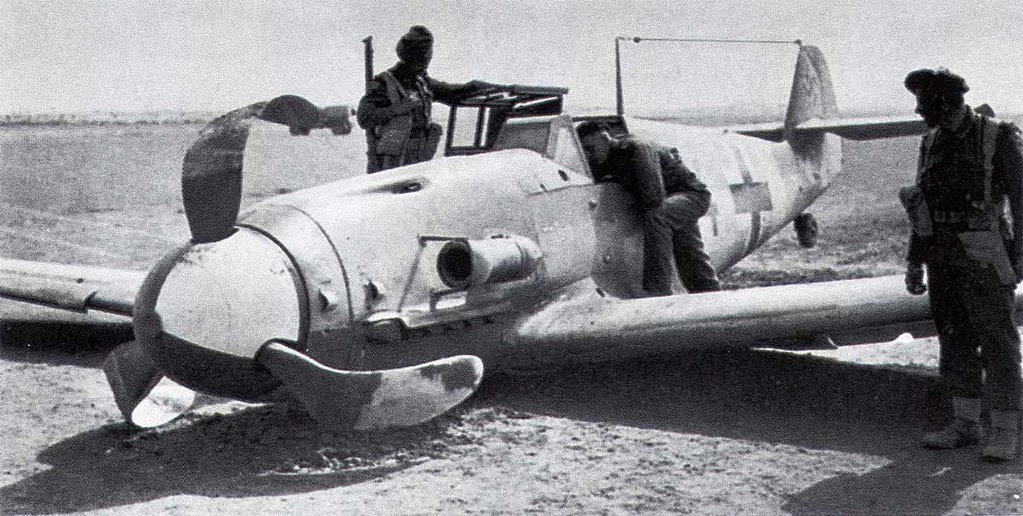
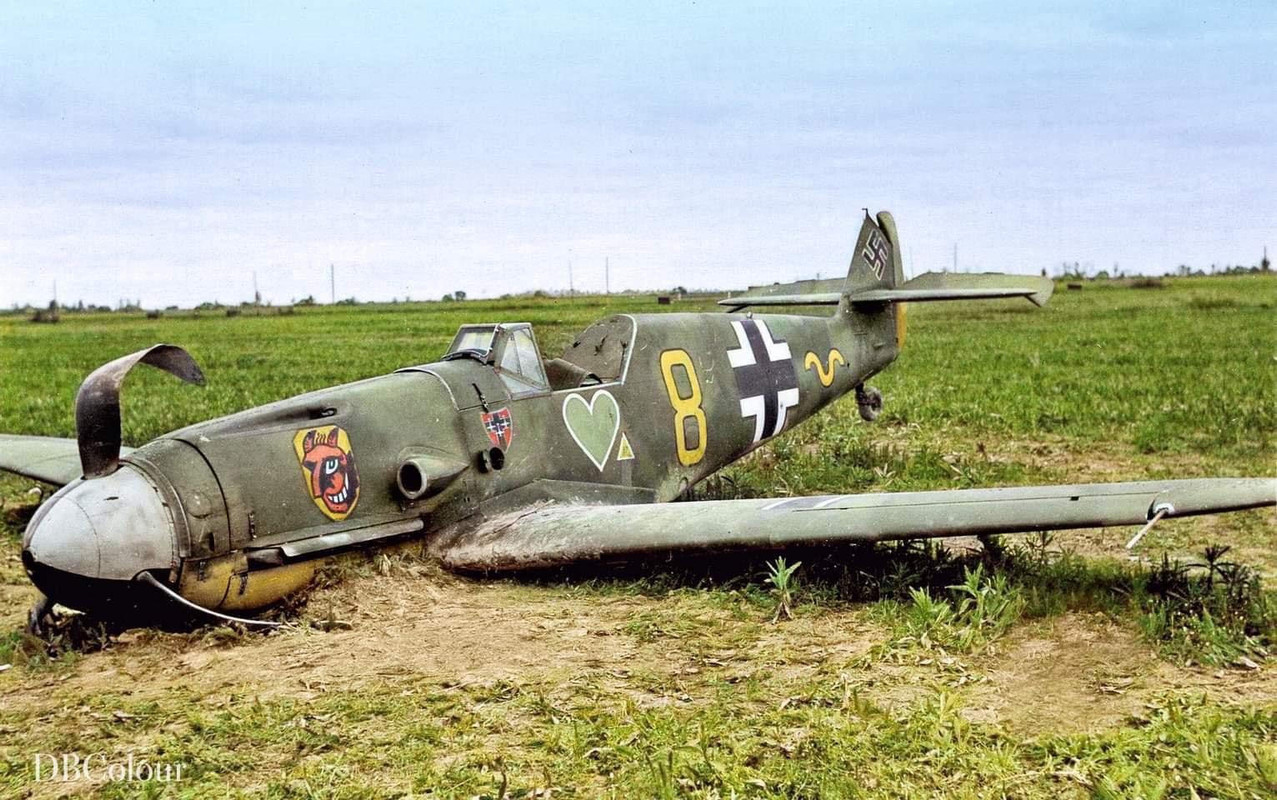
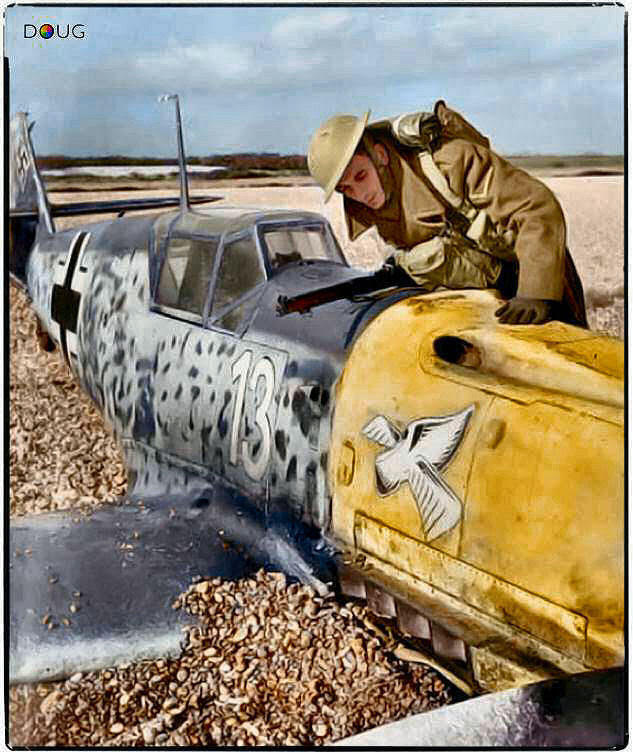
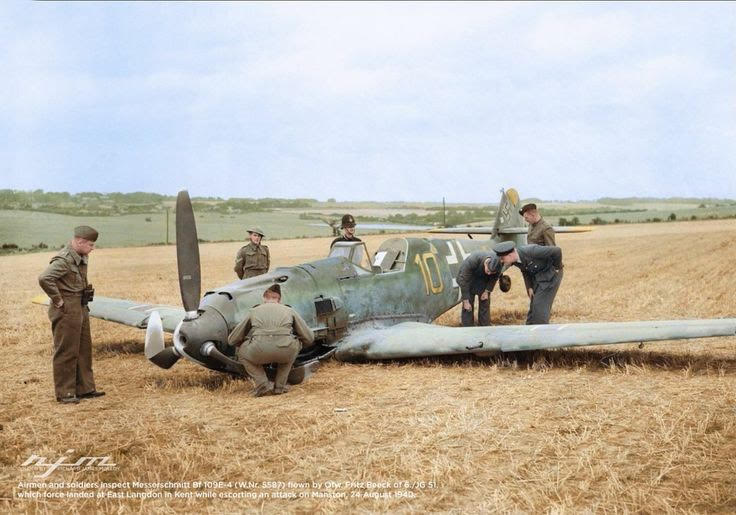
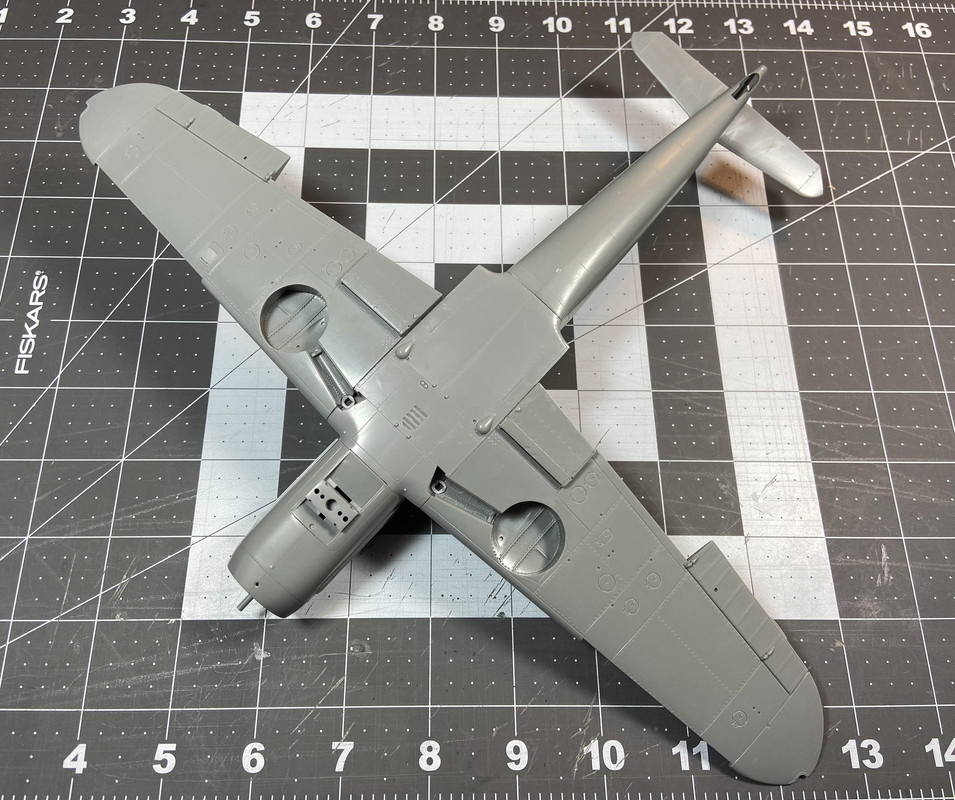
Figure 001: The Hasegawa kit was selected to build the airplane. I have never built it but understand it is the best 1/32 BF-109F kit available.
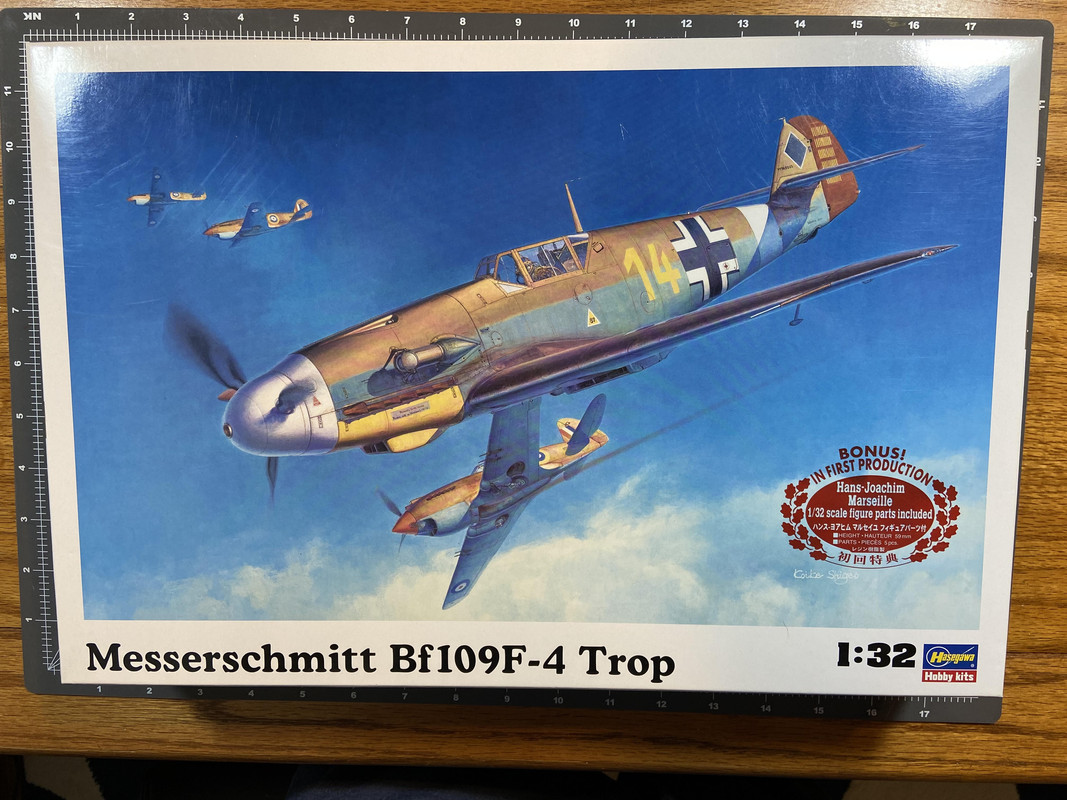
Figure 002: I purchased these Lifelike Decals to replace the kit decals even though I am not building any aircraft flown by Marseille.
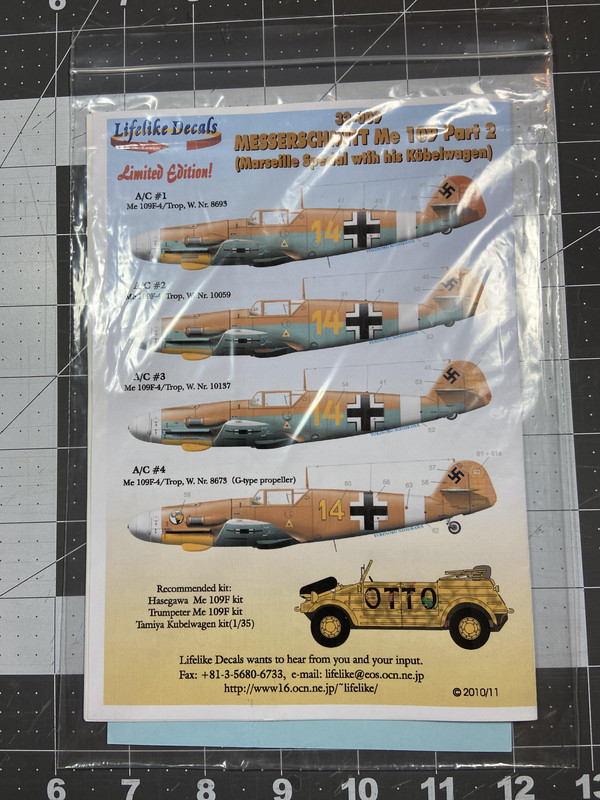
Figure 003: This vinyl Montex painting mask set was selected because they include interior and exterior pieces.
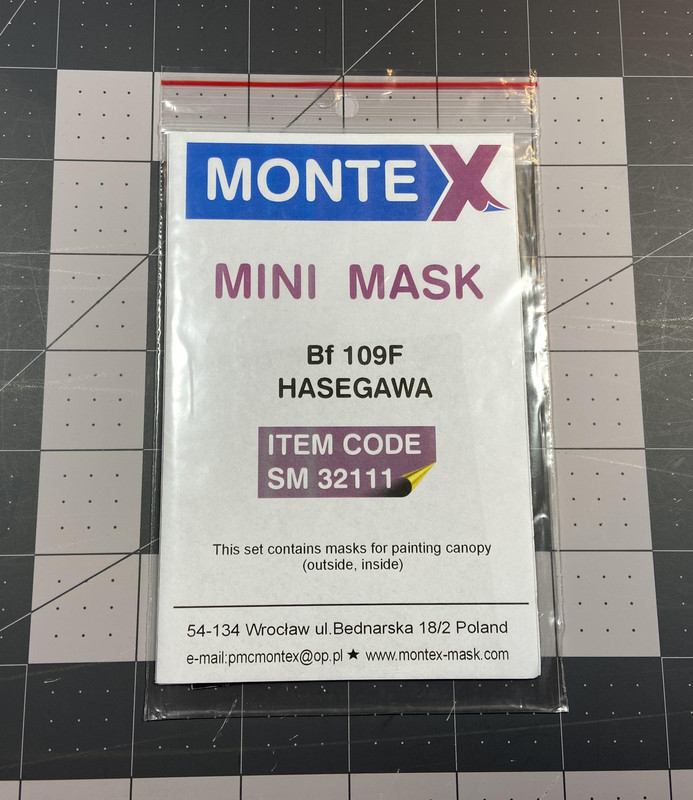
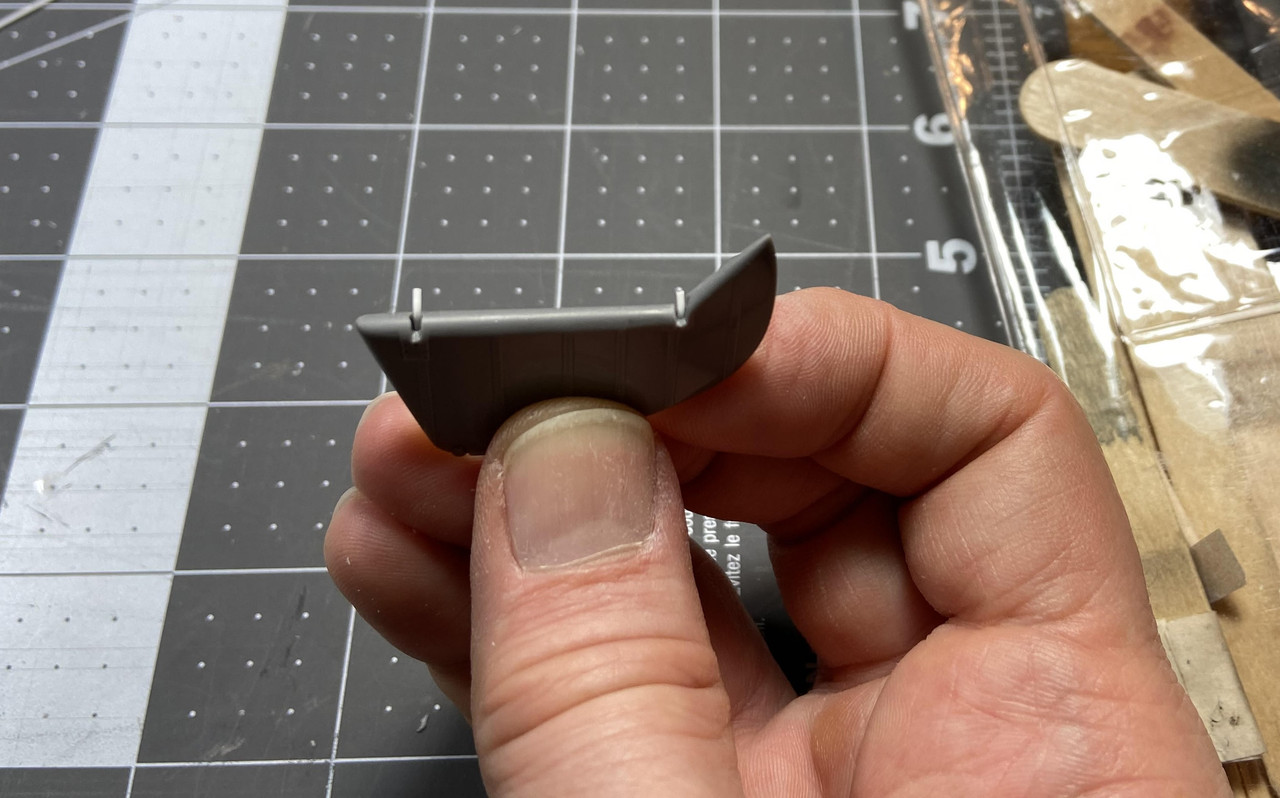
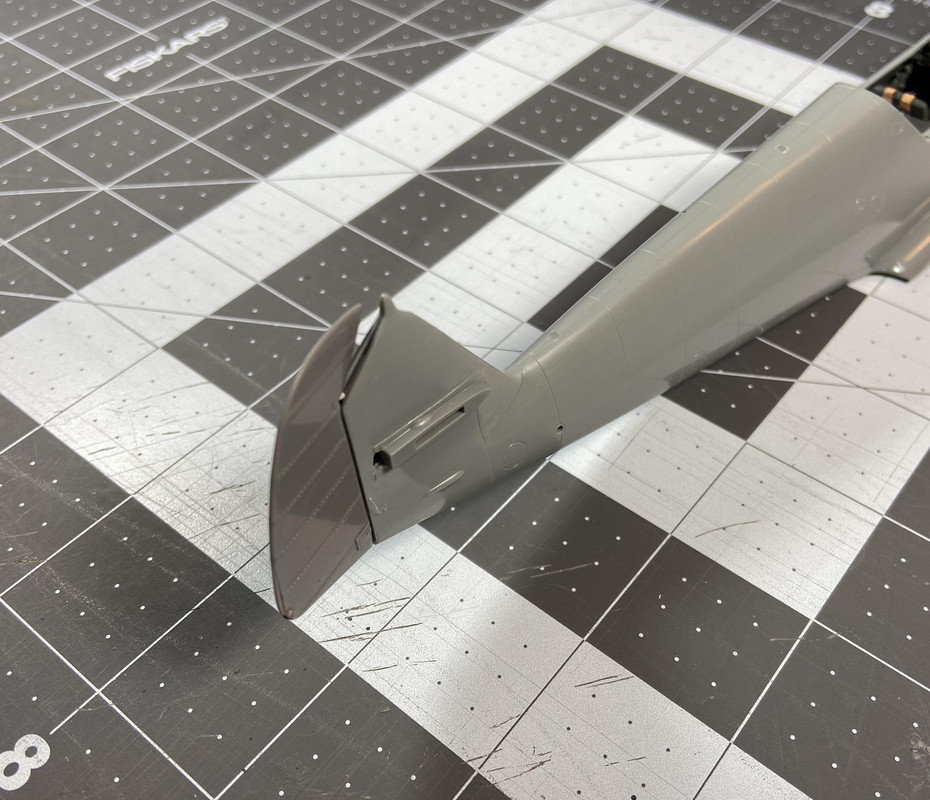
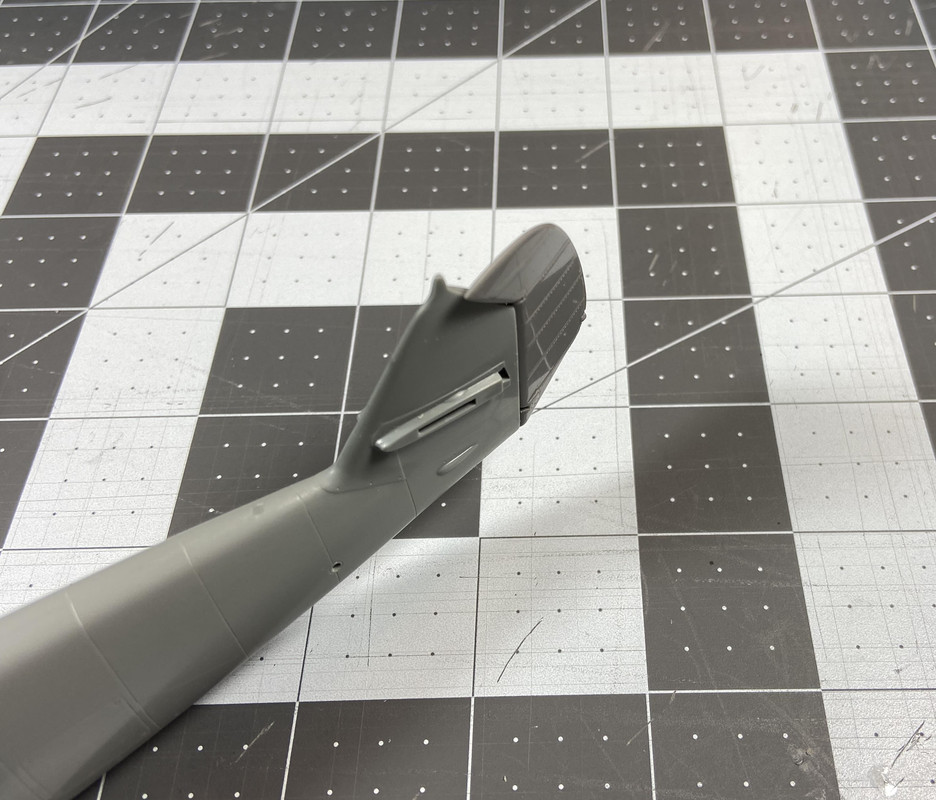
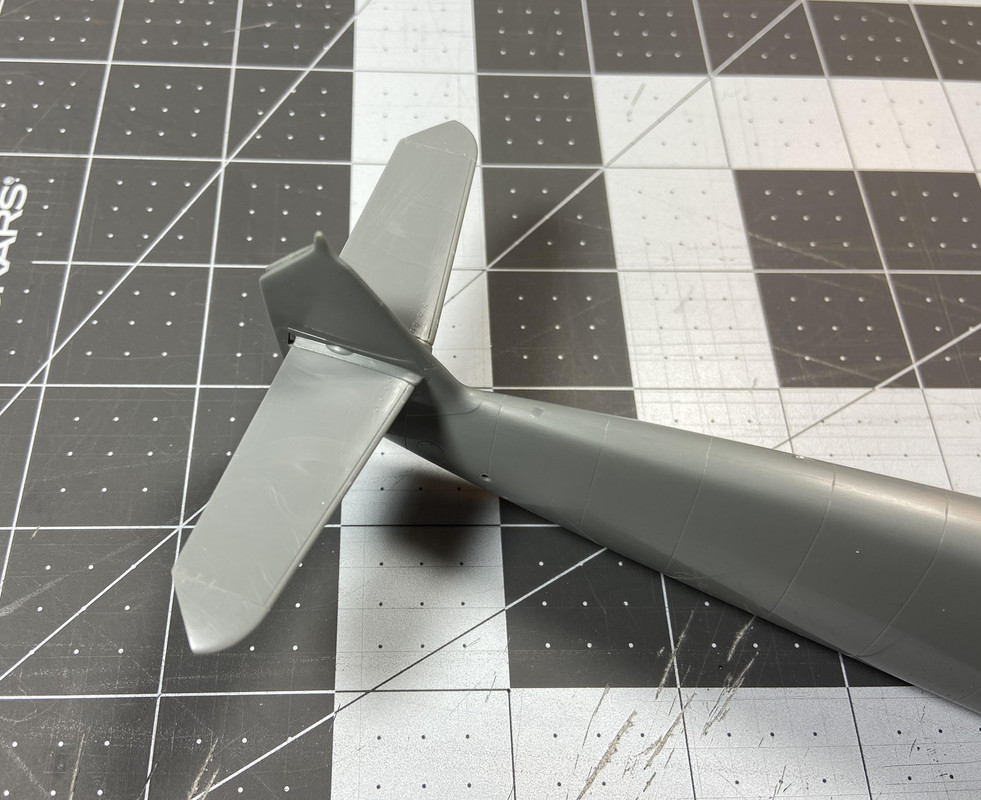
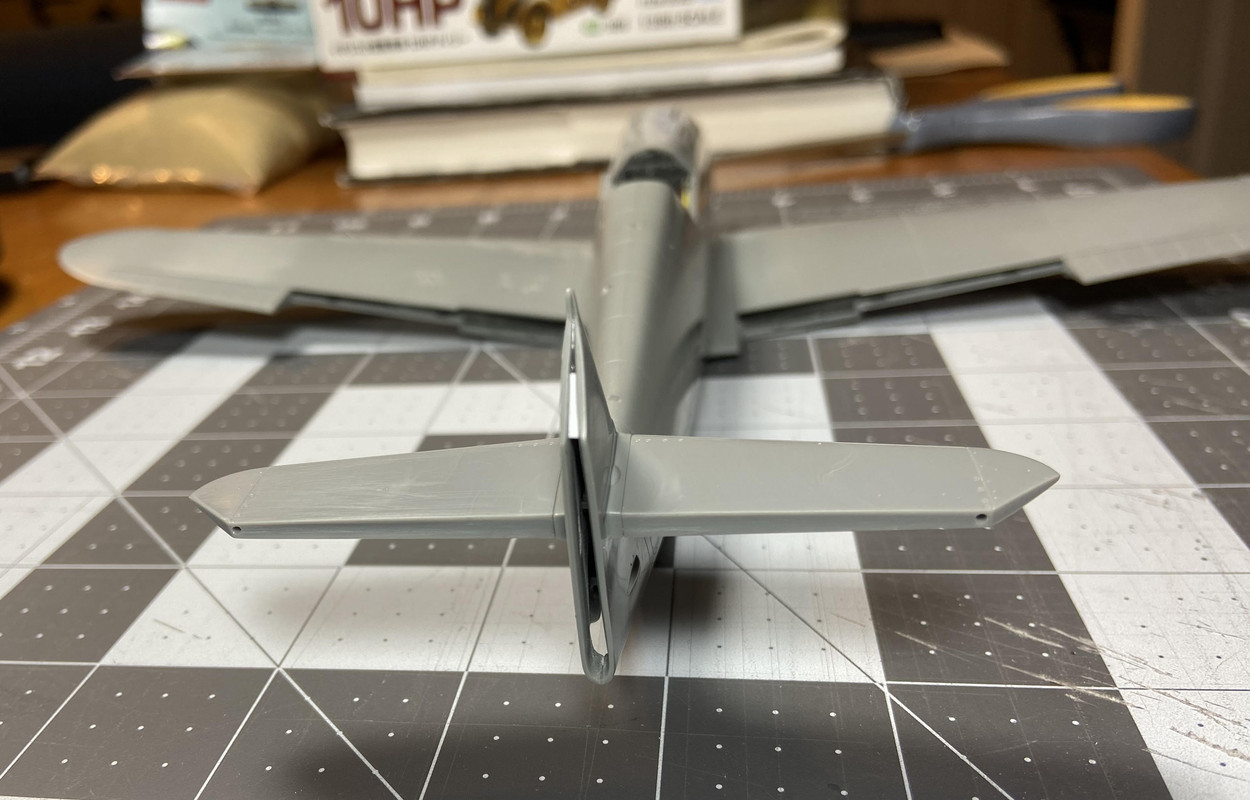
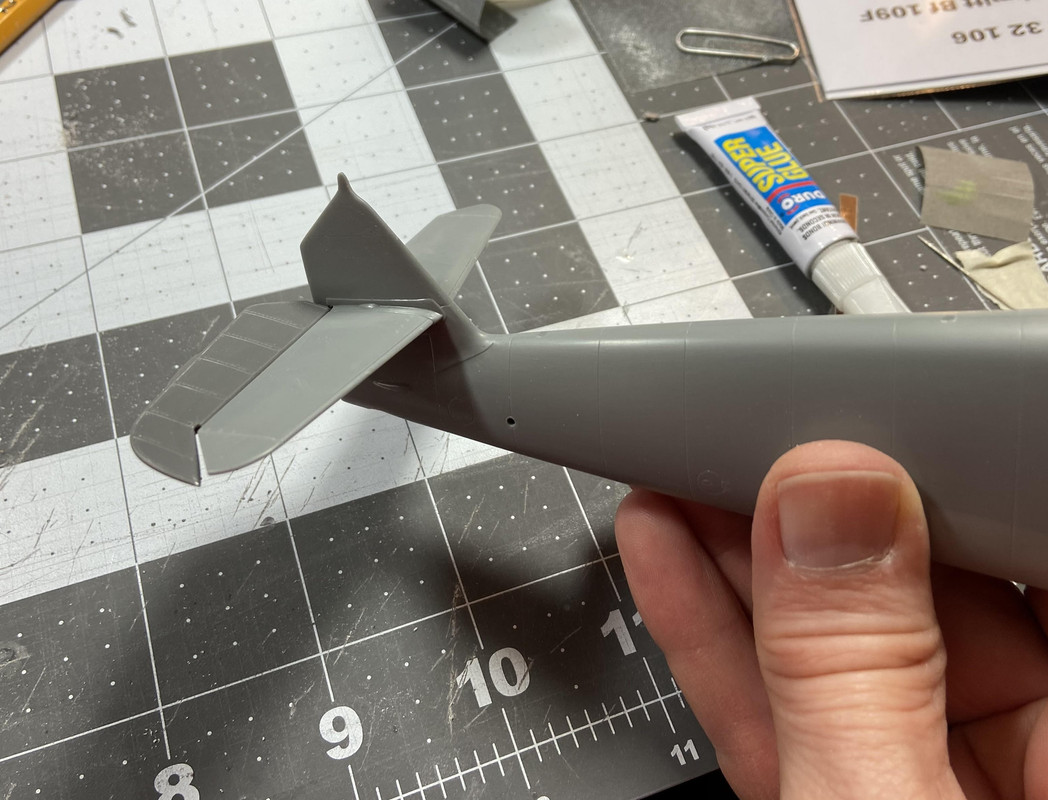
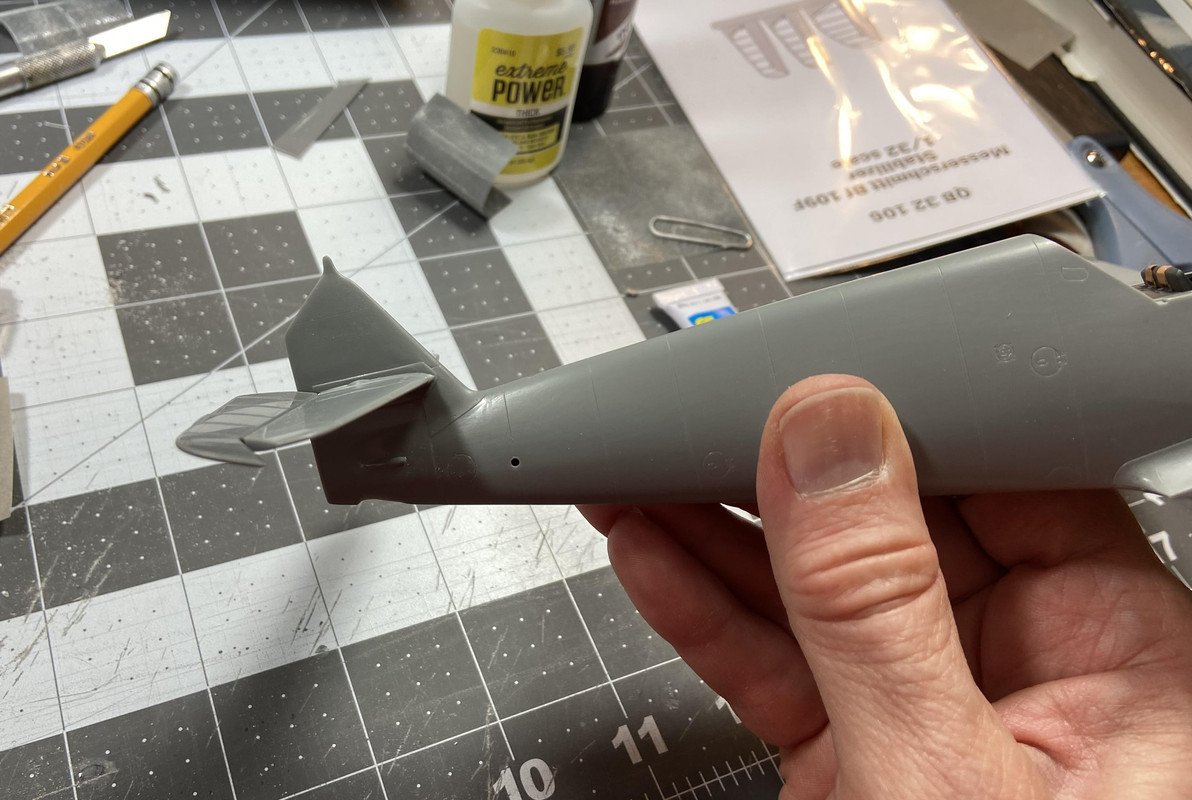
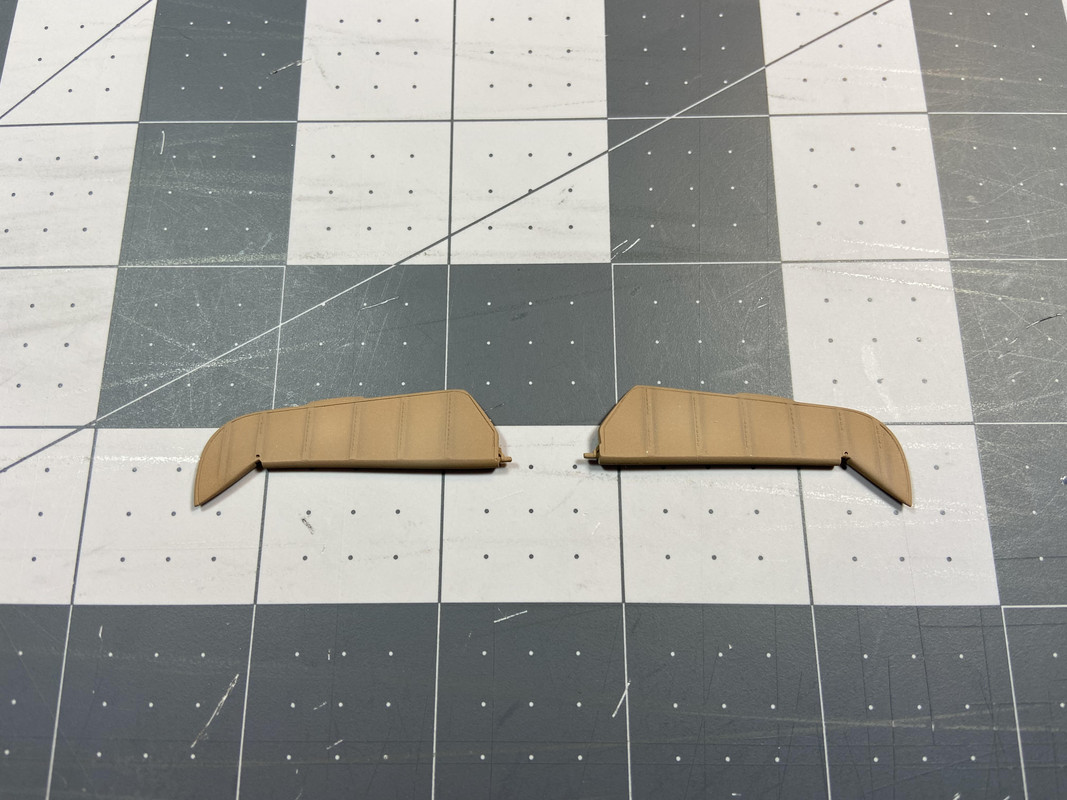
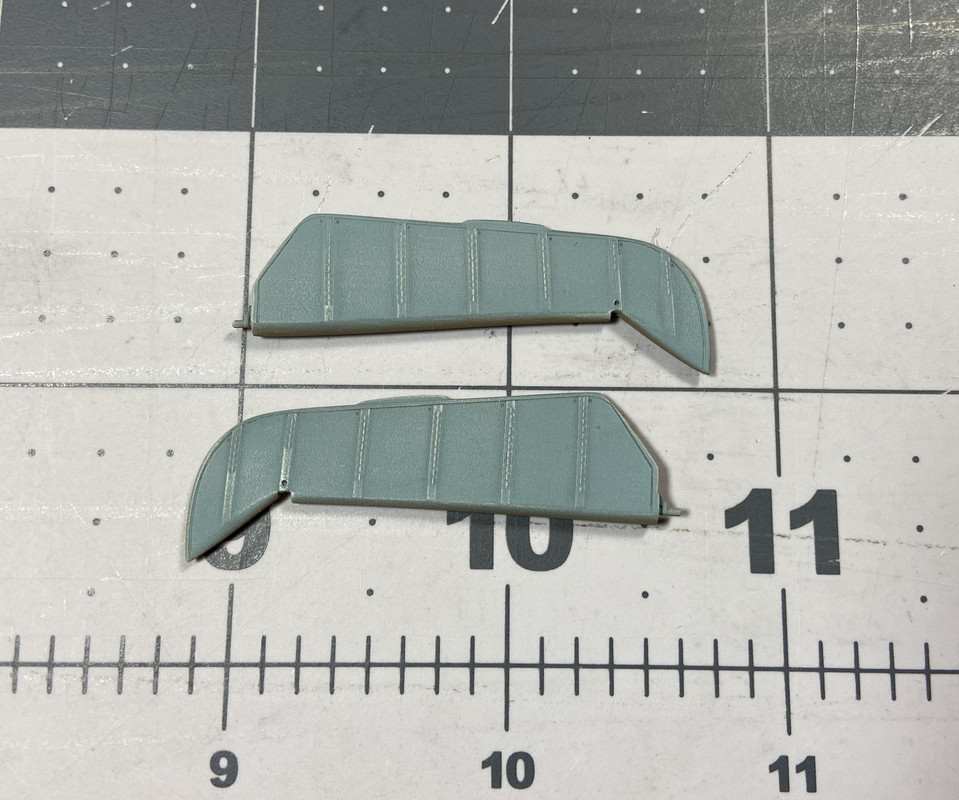
Figure 004: This Quickboost replacement rudder/stabilizer set will allow me to place them at dramatic crash angles.
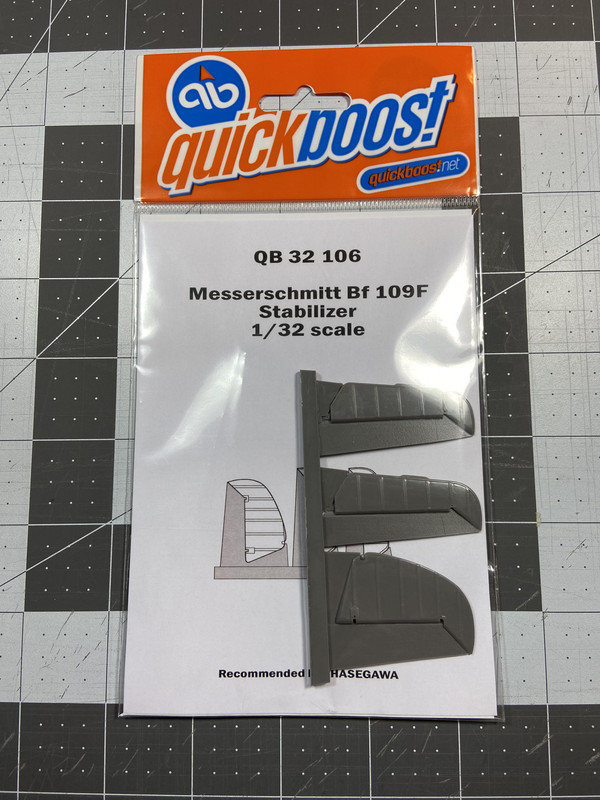
Figure 011: These book references will hopefully be helpful in the building the airplane as well as other details of the diorama.
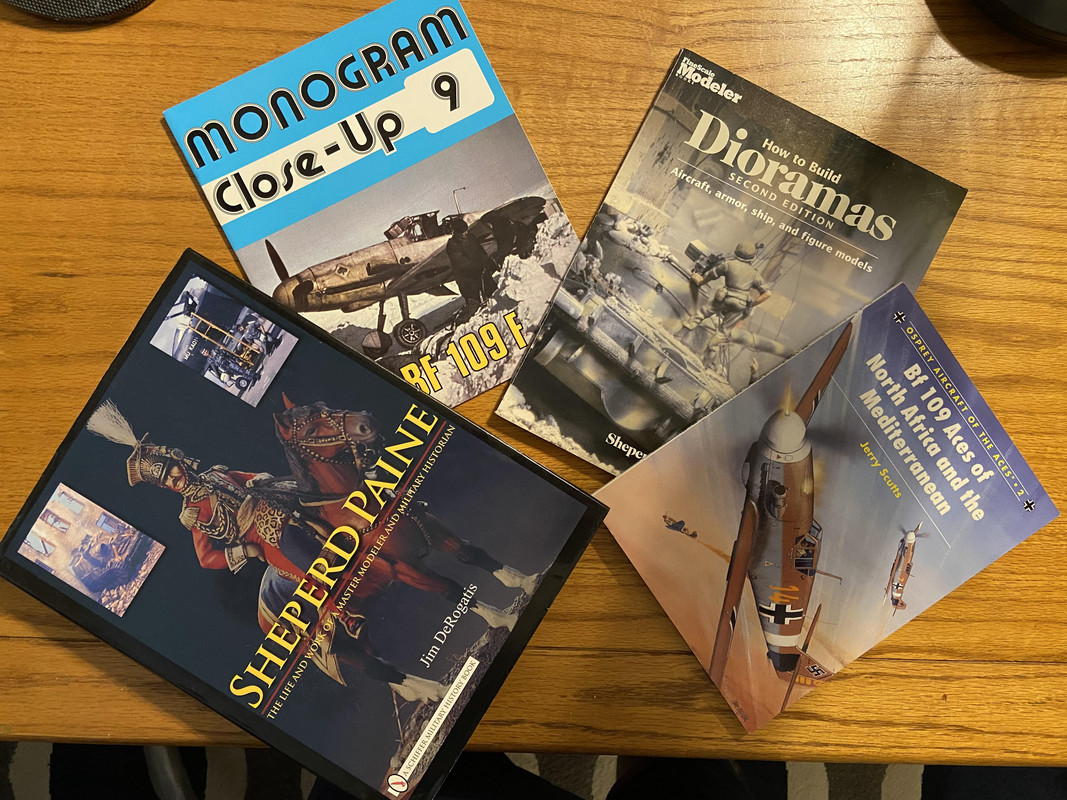
Figure 012: The first kit modification was custom fitting a very thin styrene piece to help cover the horrible seam line at the bottom of the split canopy seat.
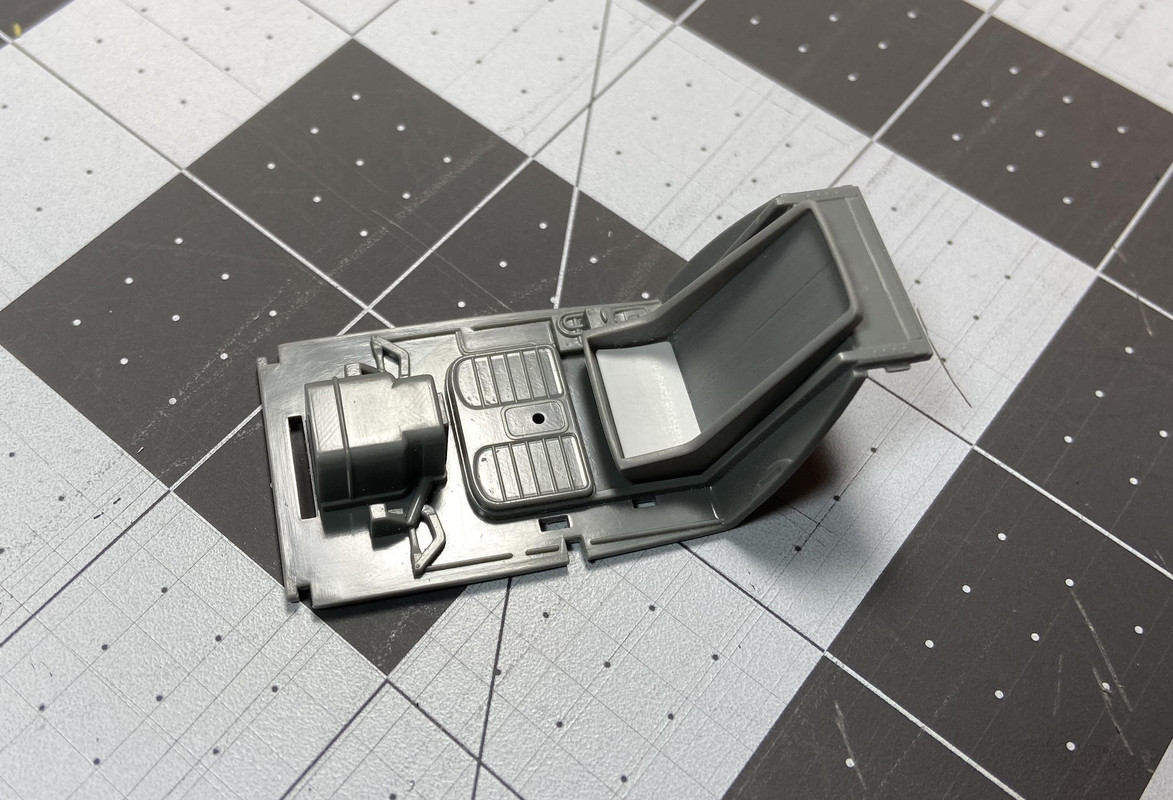
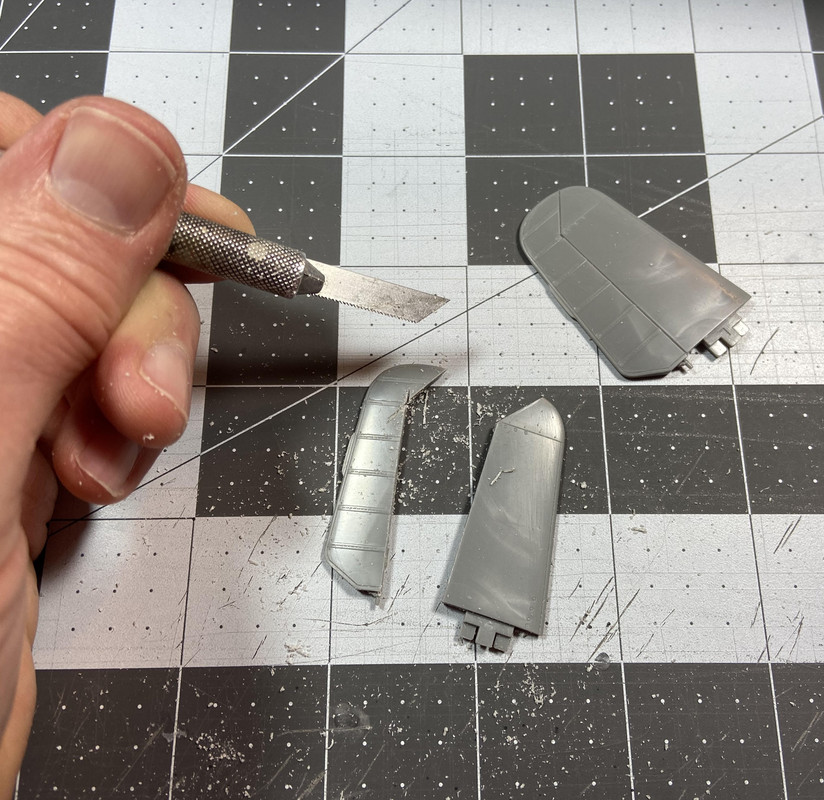
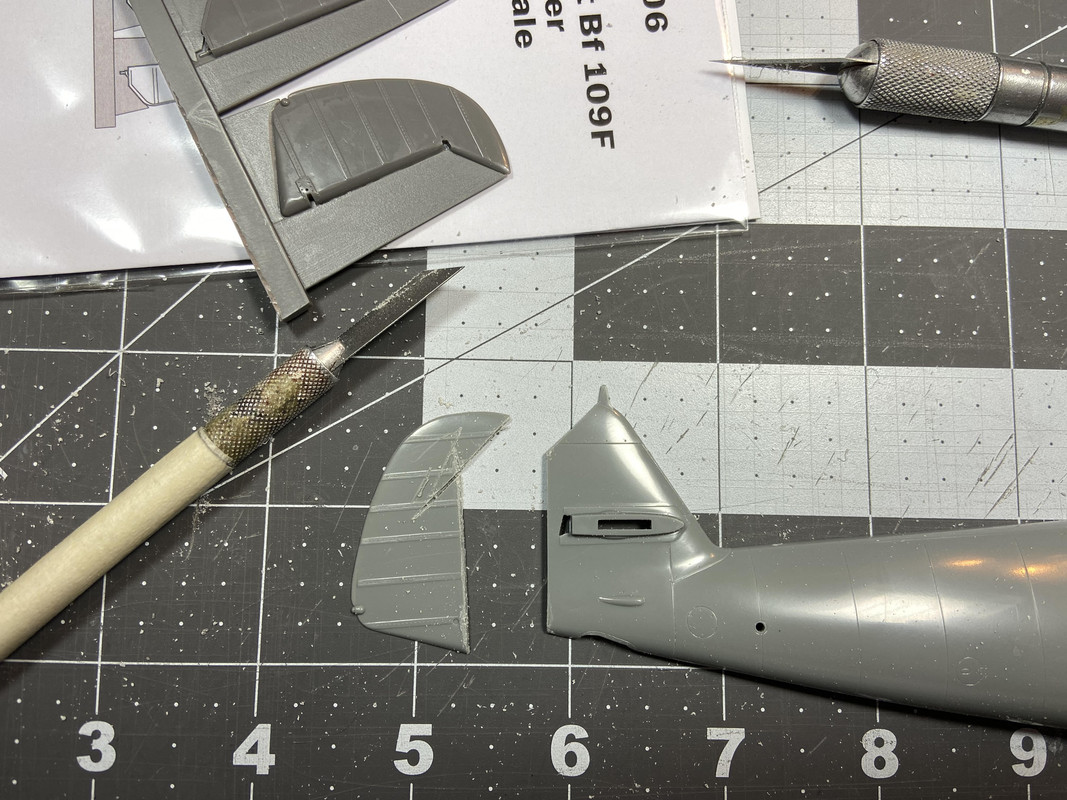
Figure 013: The kit rudder was cut away so work could begin to get the fuselage halves together.
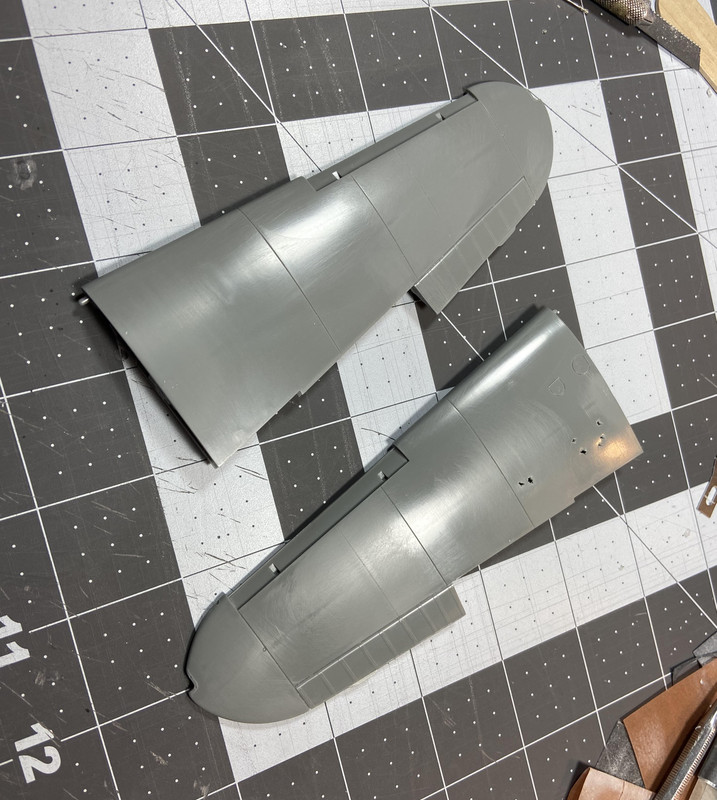
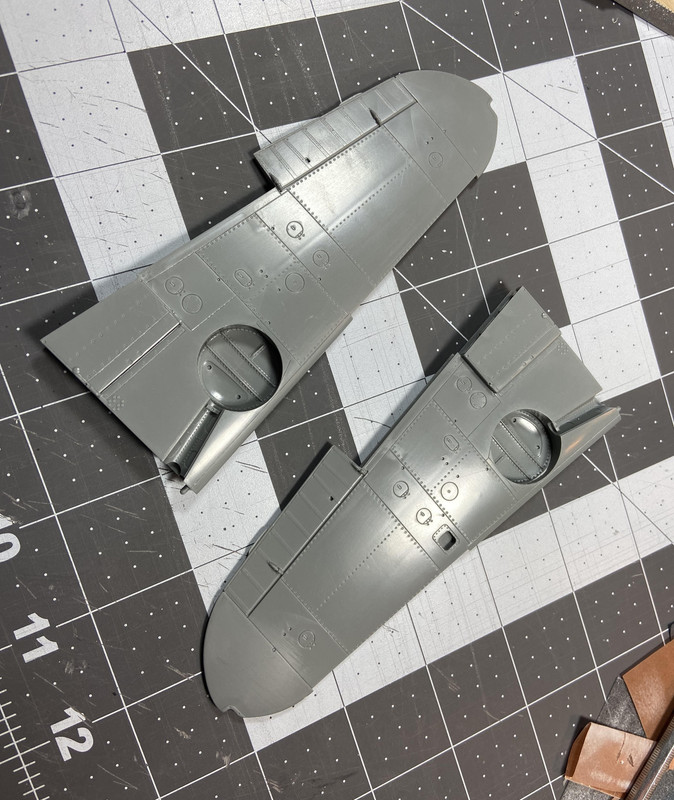
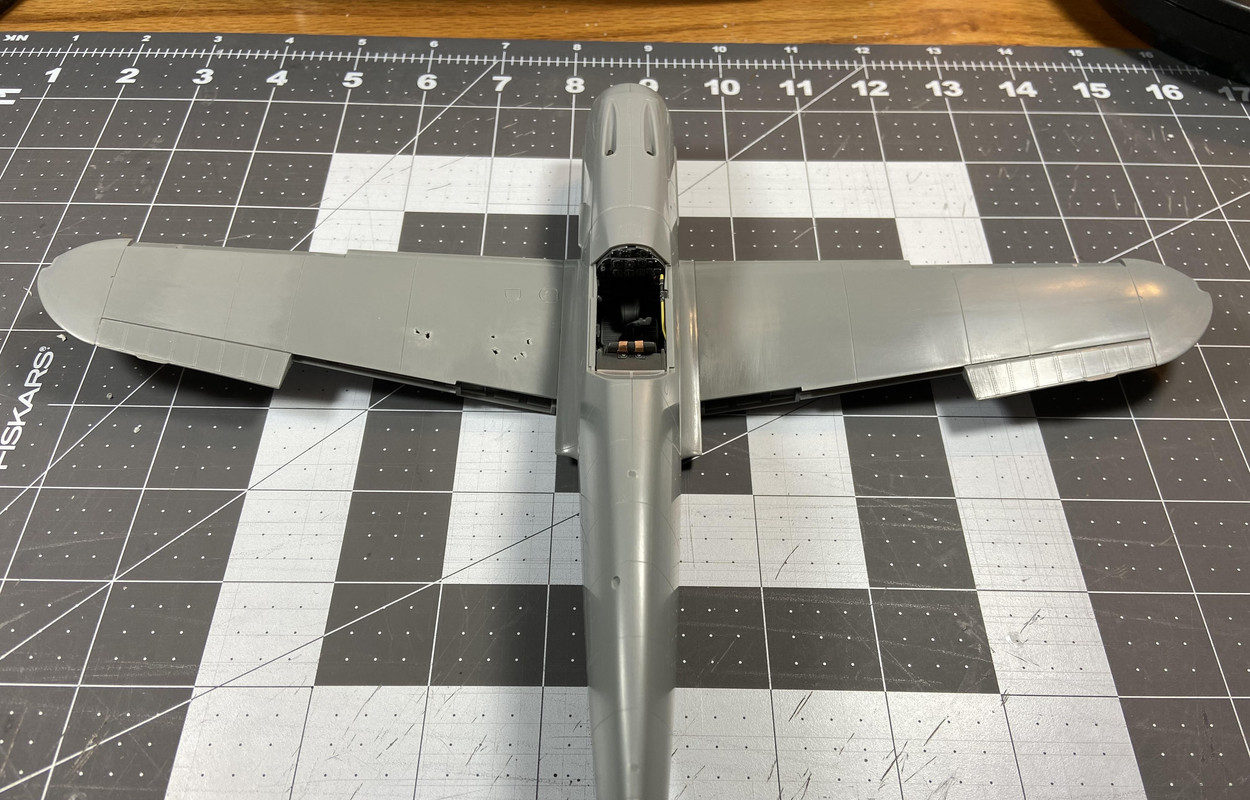
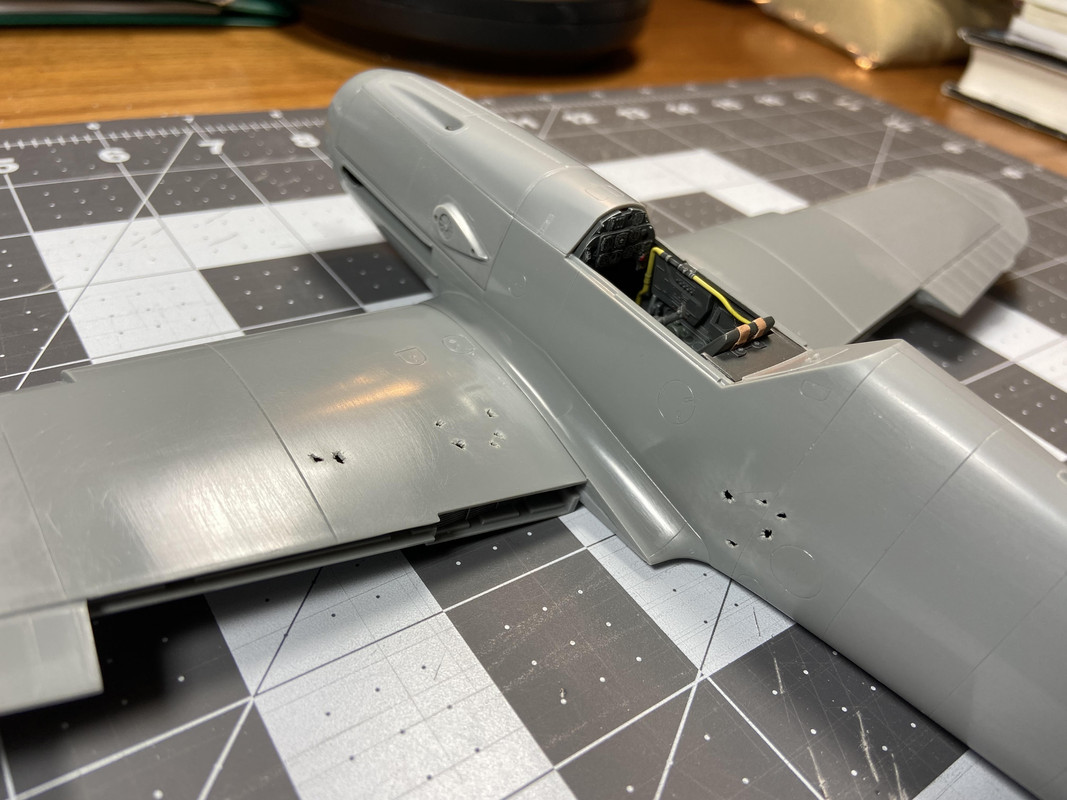
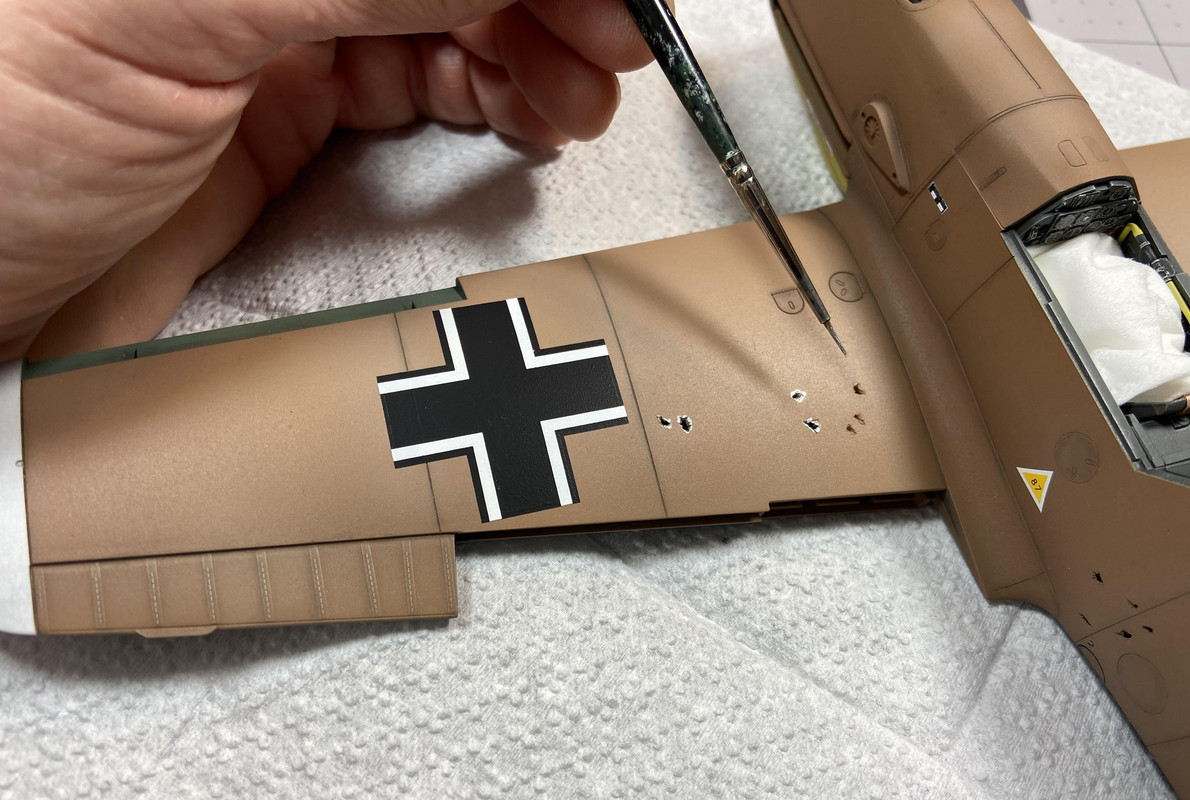
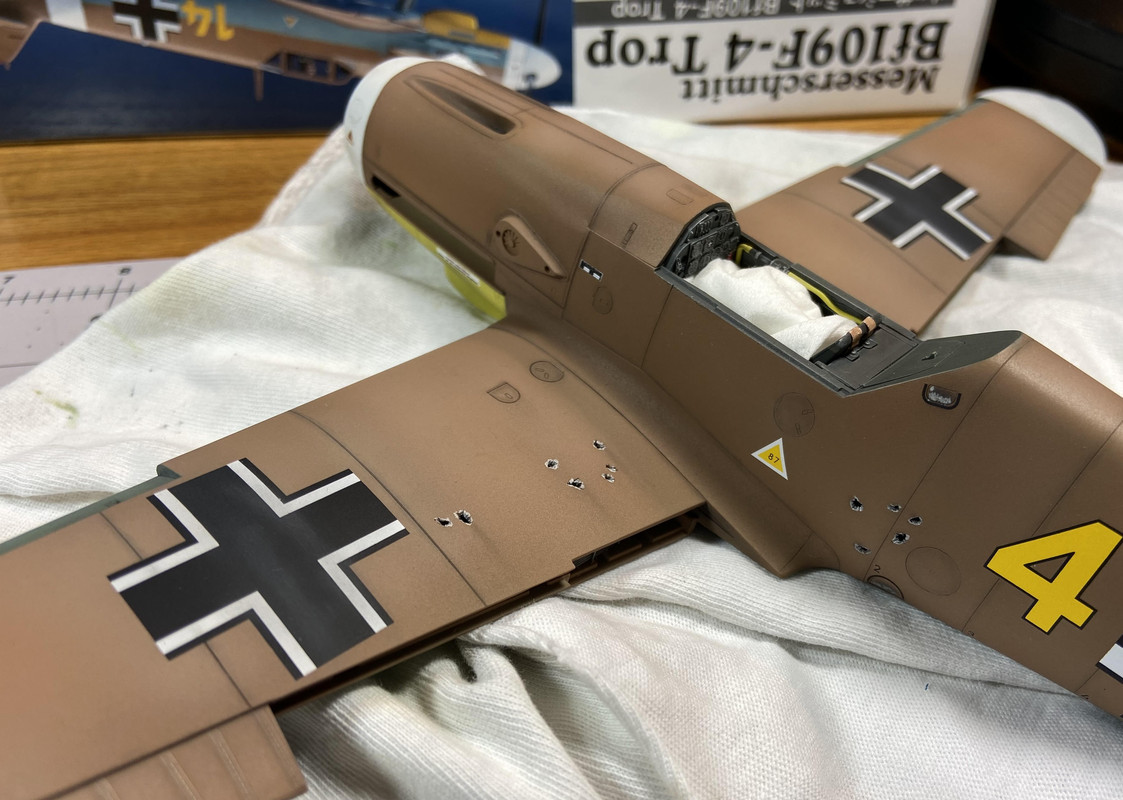
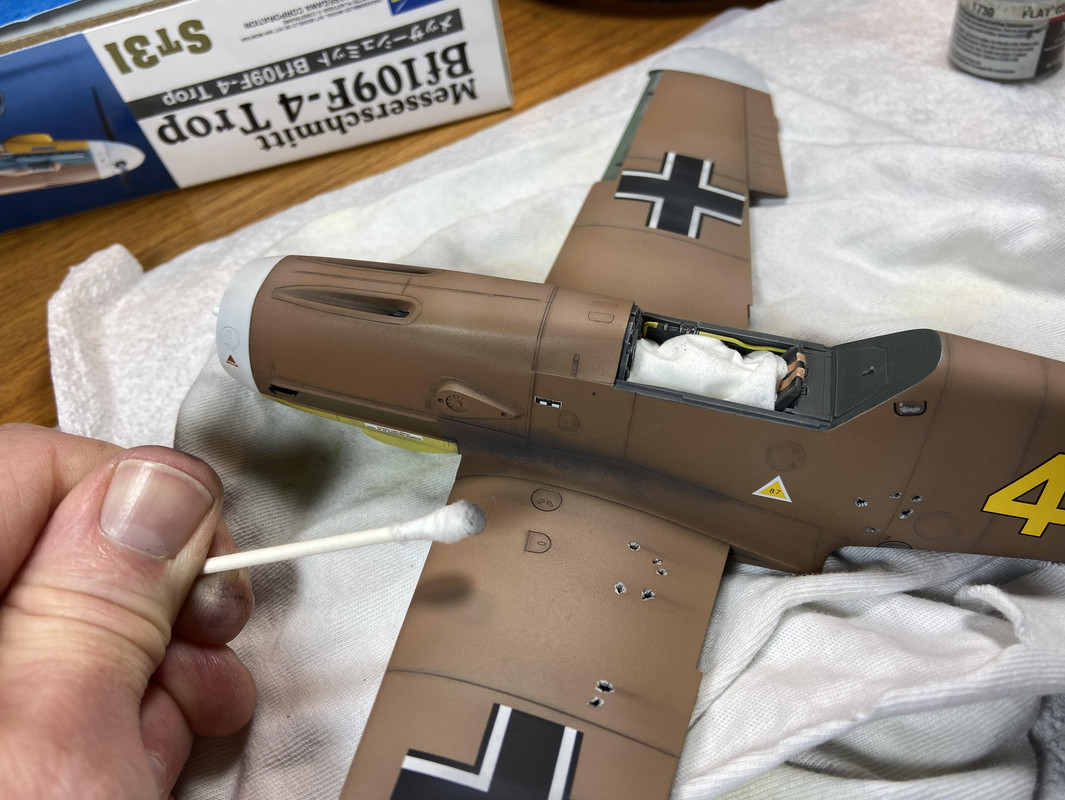
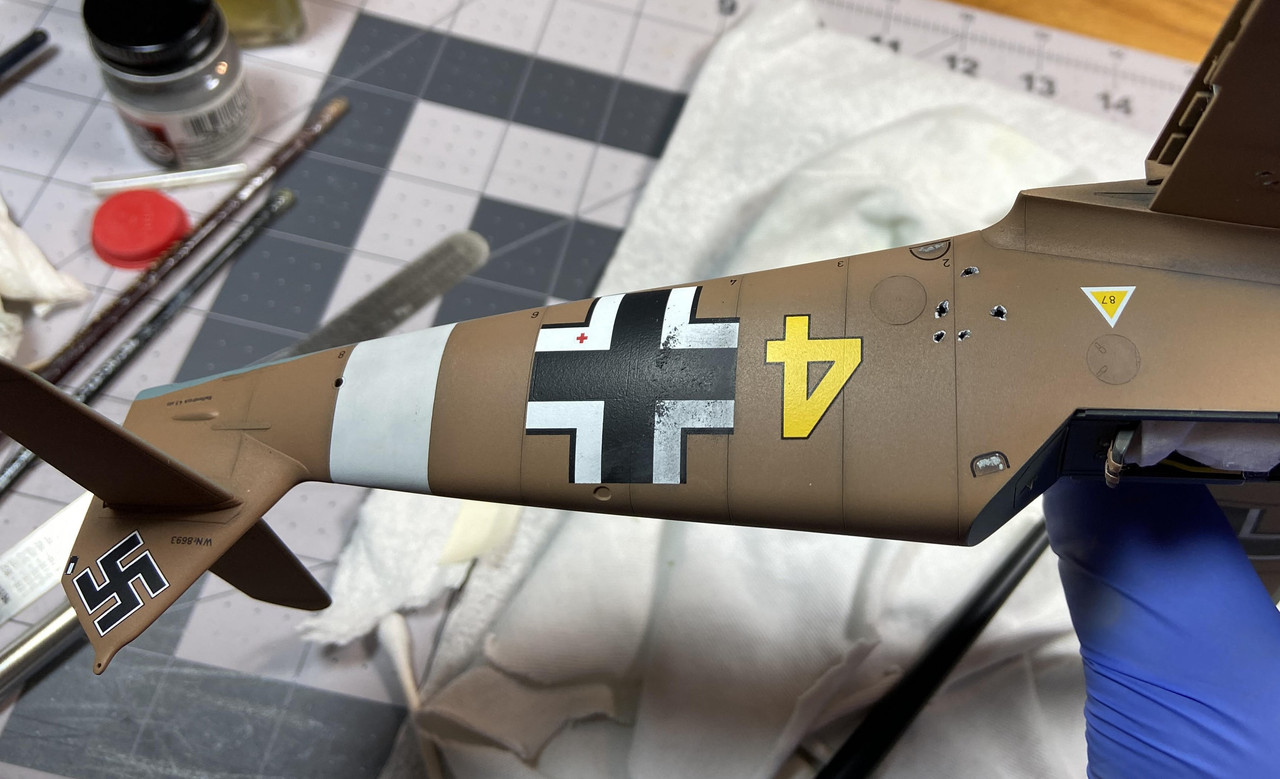
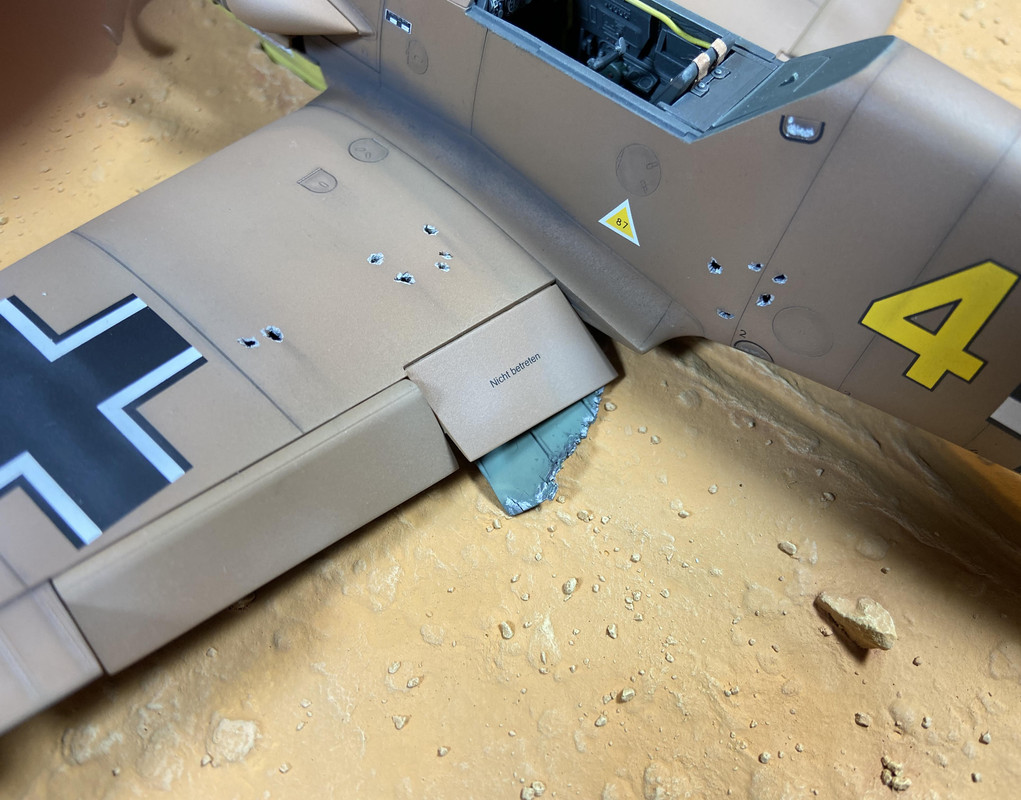
Figures 014 and 15: I wanted to show bullet hole damage to make it clear the BF-109 was forced down by air combat, but I did not want it to be overly dramatic. I marked these areas on the left wing and left fuselage. The corresponding interior areas were marked off since grinding down the plastic was done from this side.
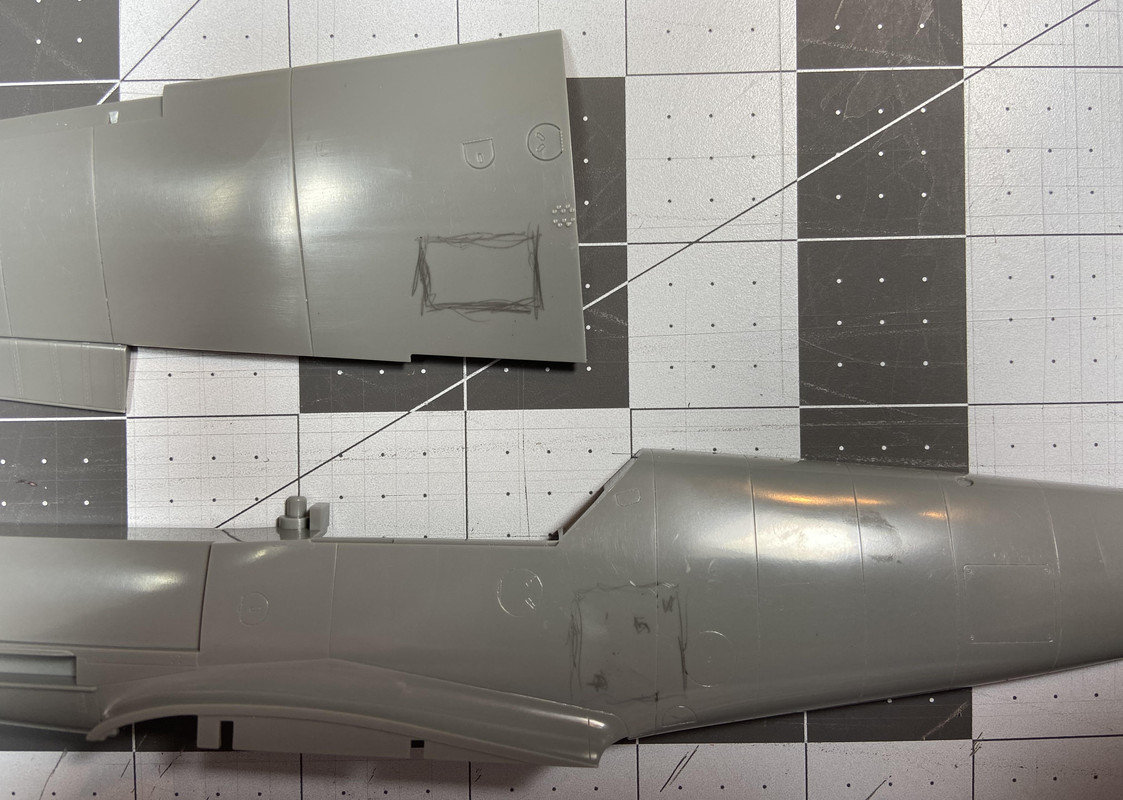
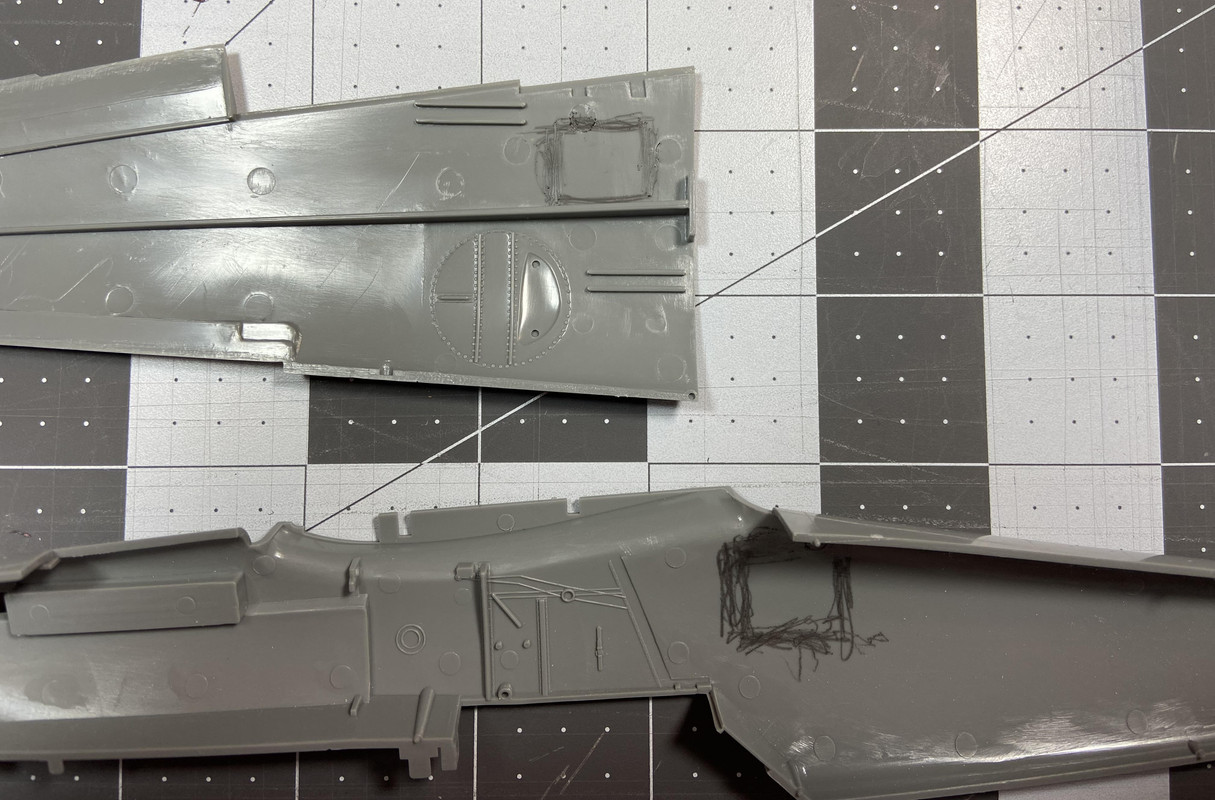
Figure 016: The photo shows the Dremel bit I bought to thin down the plastic.
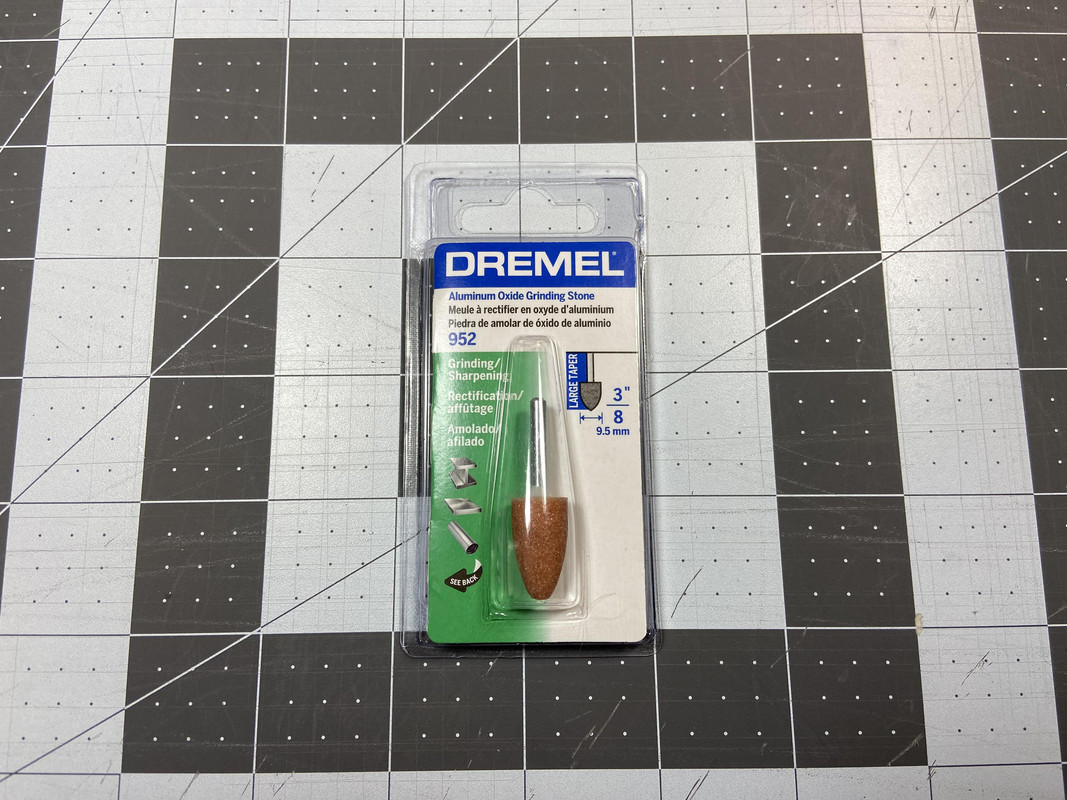
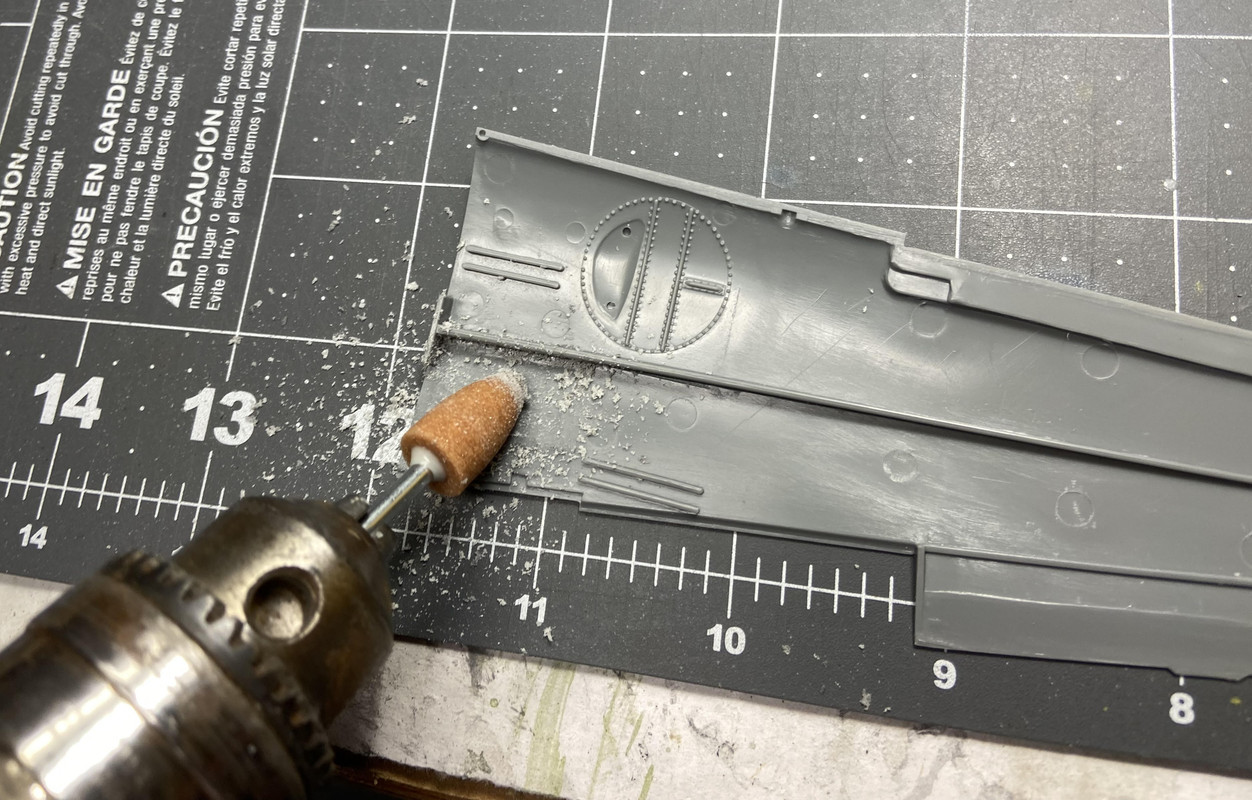
Figure 017: The bit was attached to my power drill then the plastic was carefully thinned down a little bit at a time.
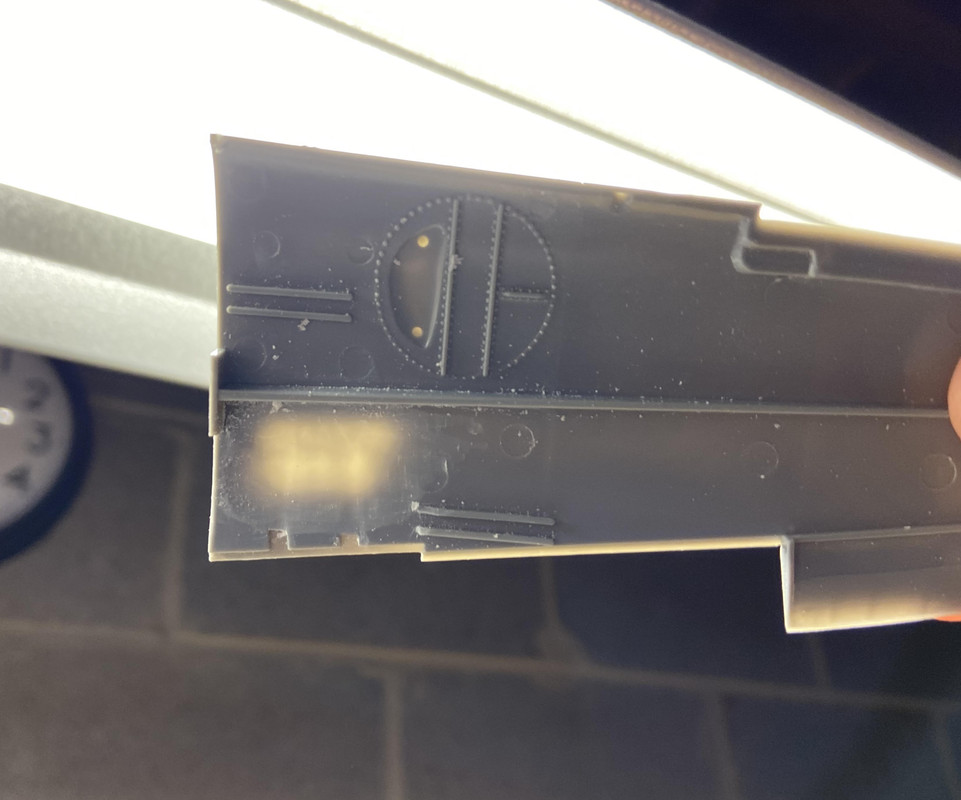
Figures 018-019: I held the parts up to an overhead light to help me determine when they were thin enough.
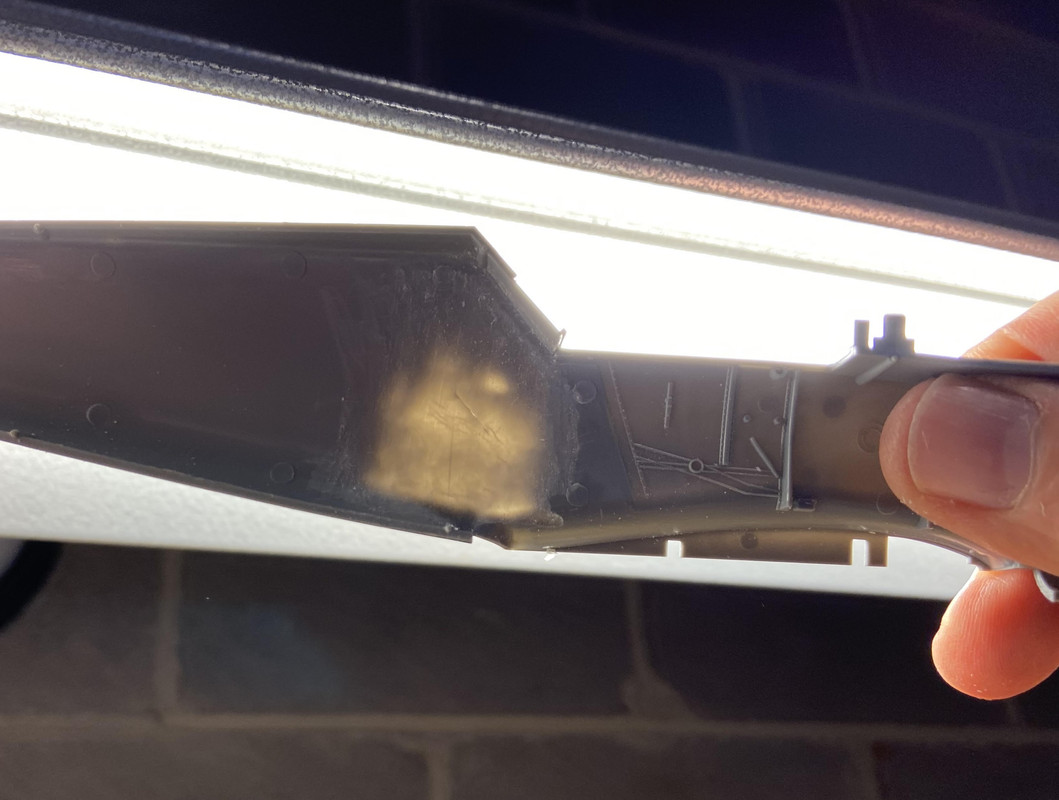
Figures 020 and 021: Here are views of the damage after the plastic was gouged with an X-acto knife. The goal here was to try and make each hole look a little different.
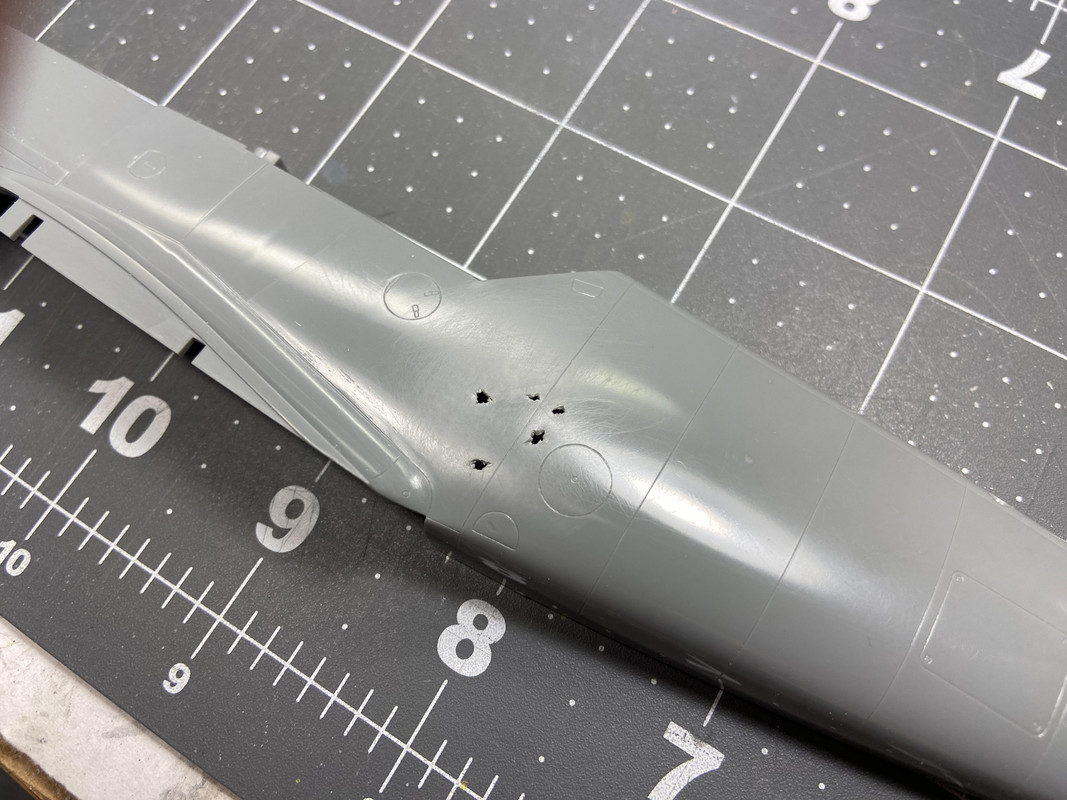
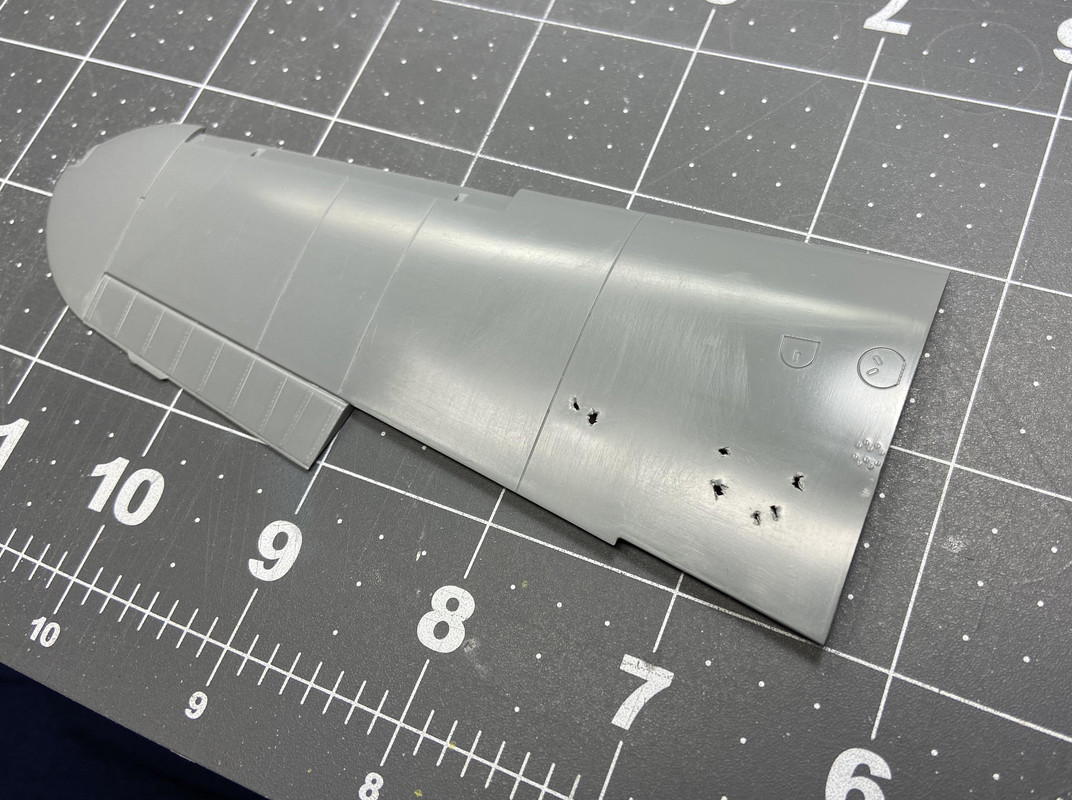
Figure 022: The right side of the cockpit is shown after painting and assembly. Almost everything was painted RLM66 (black gray) then gently dry-brushed with steel color.
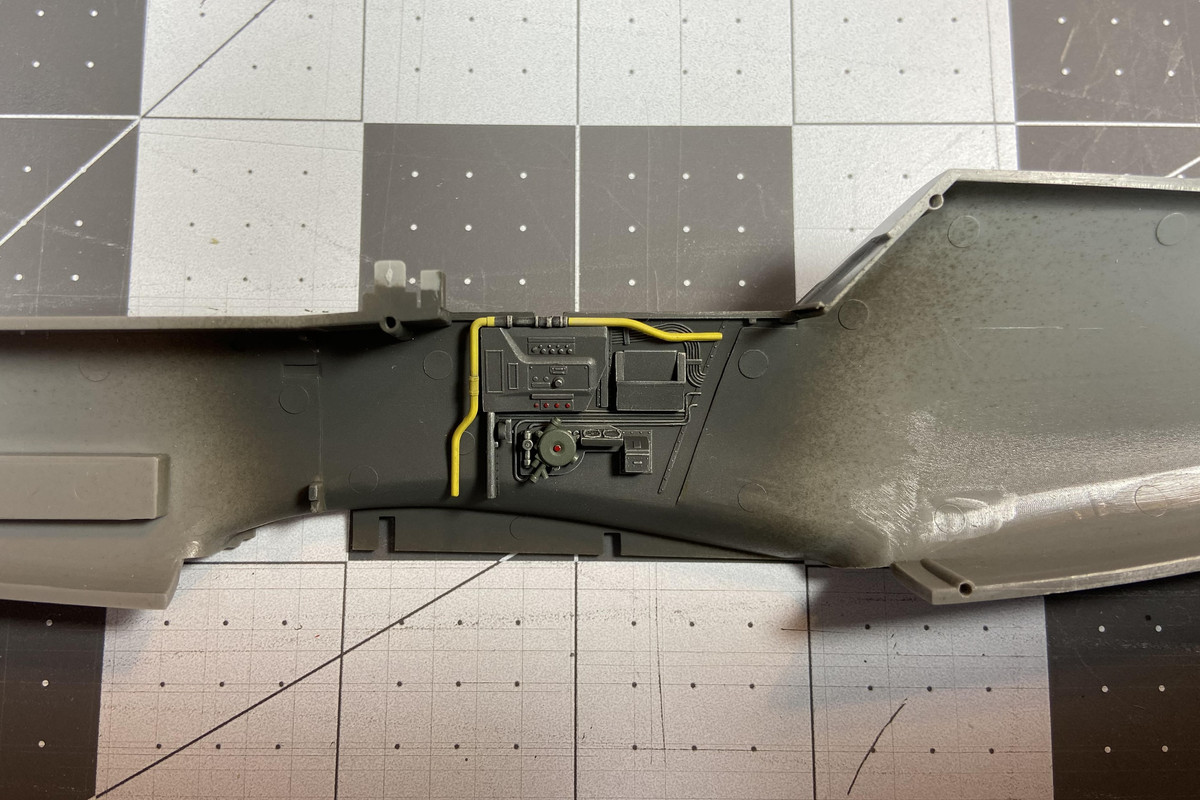
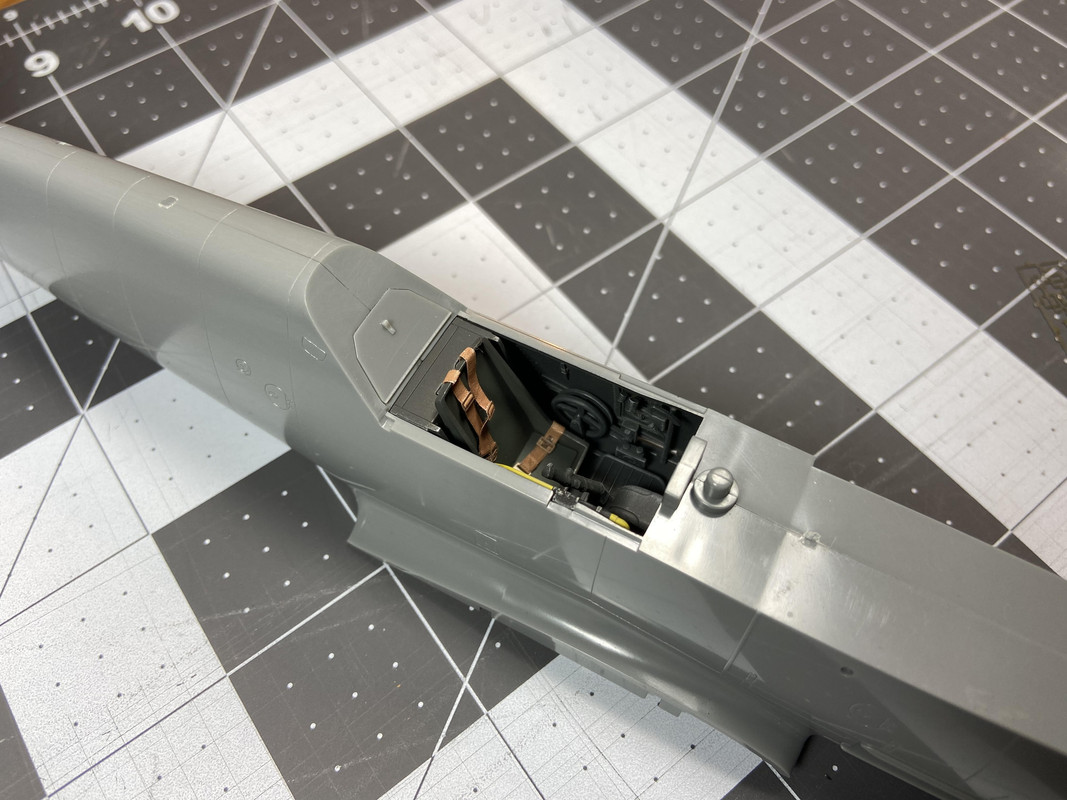
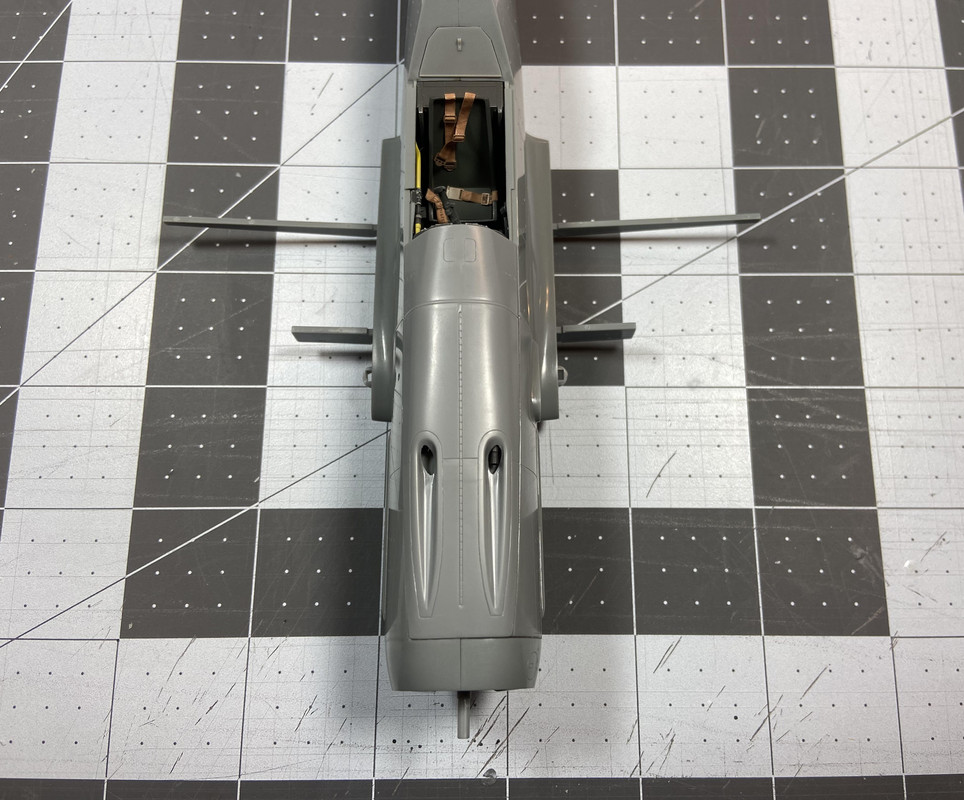
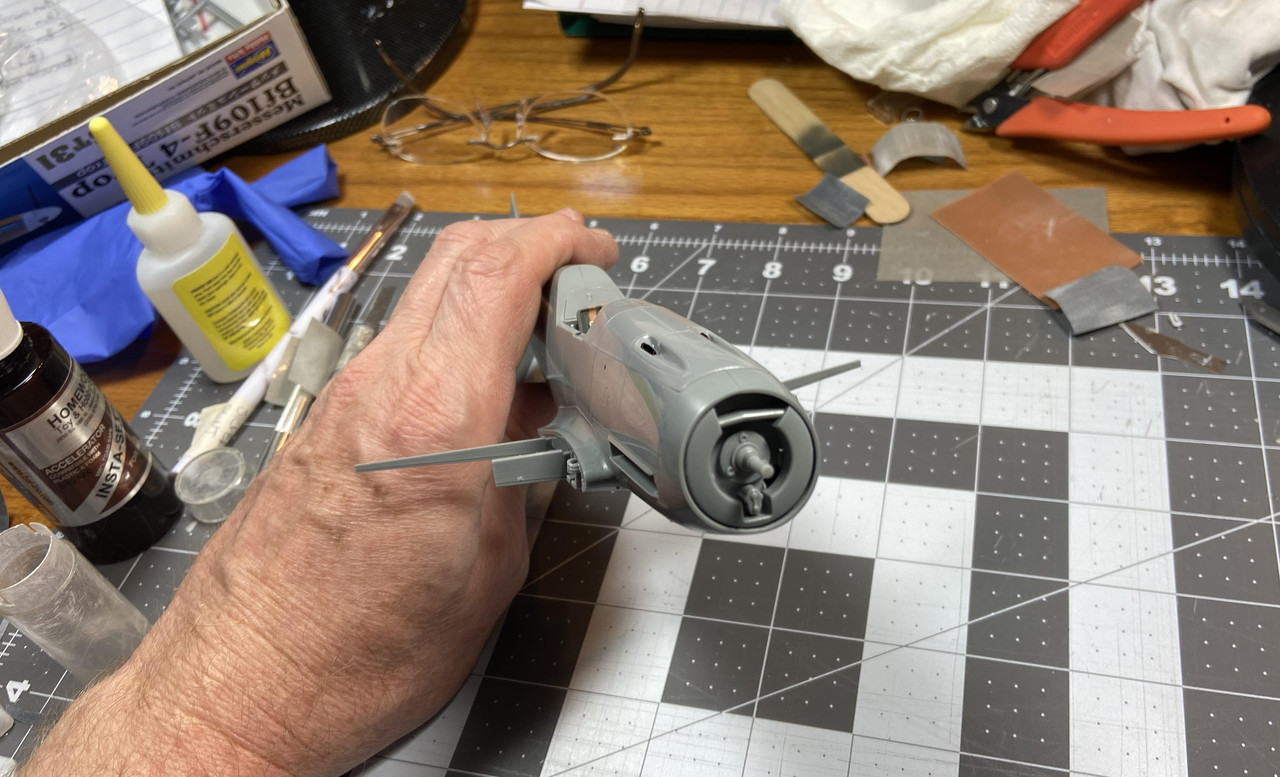
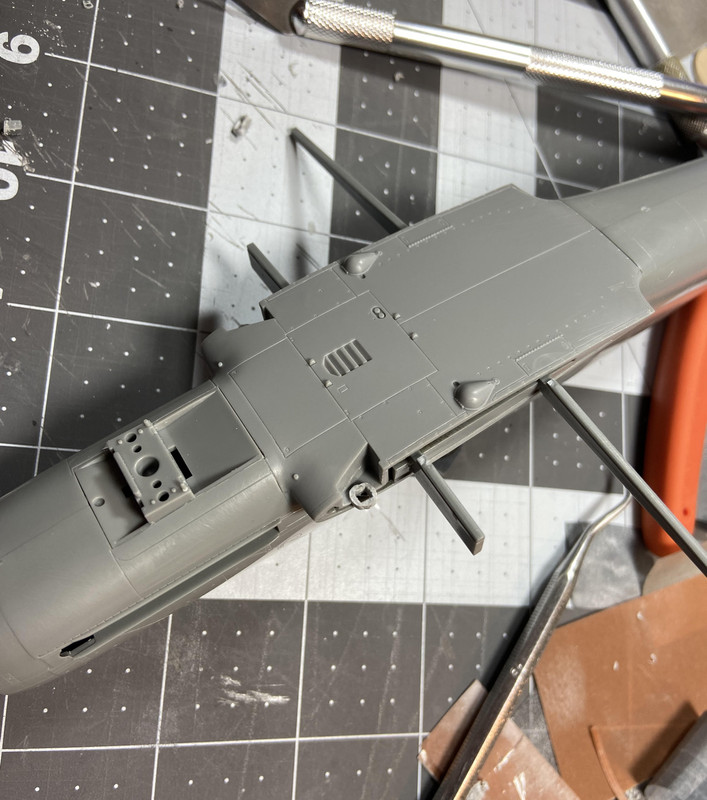
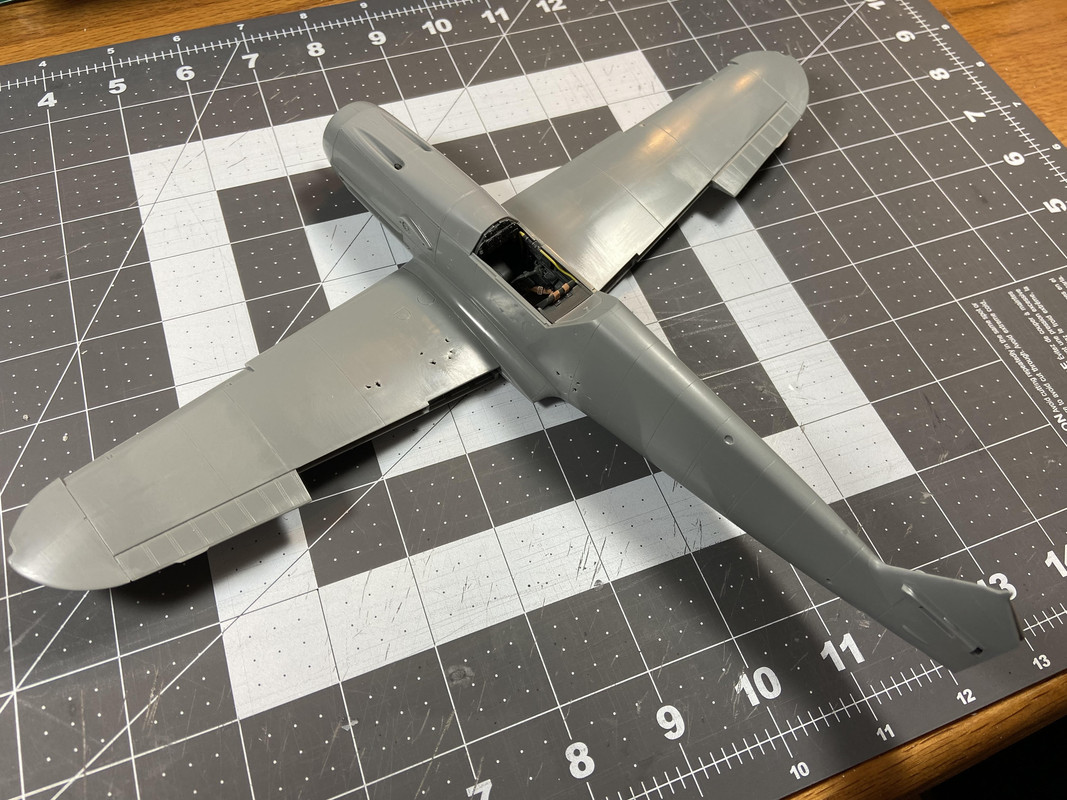
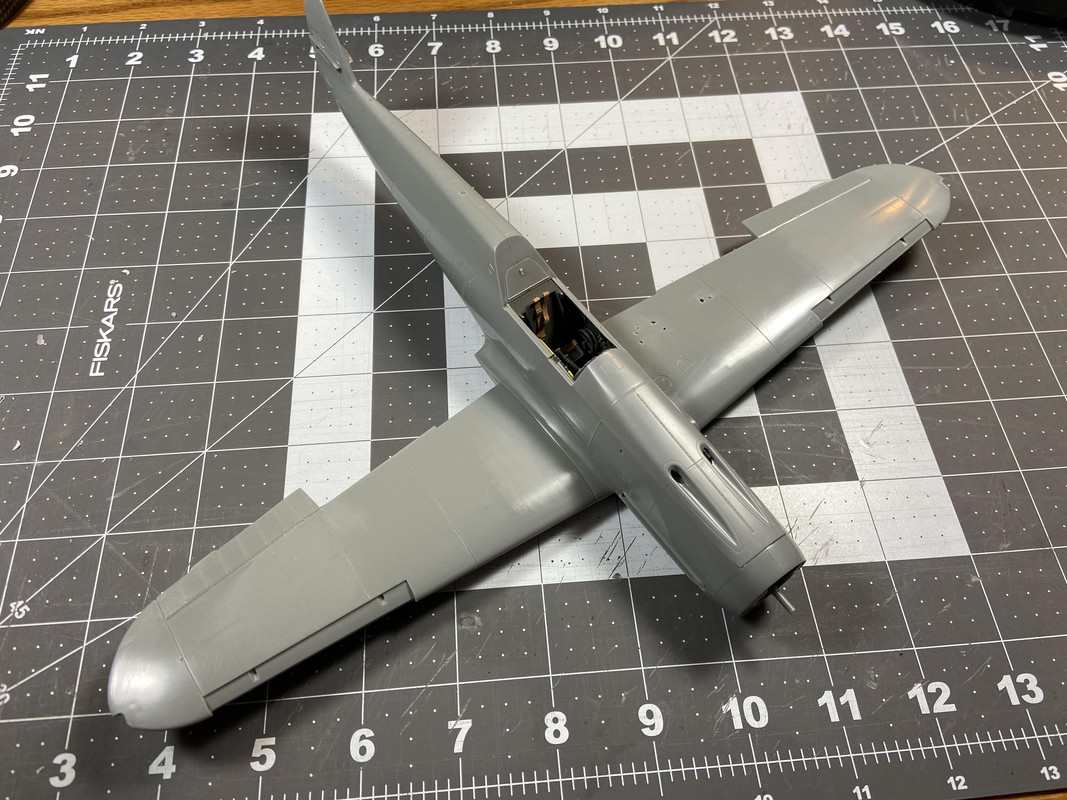
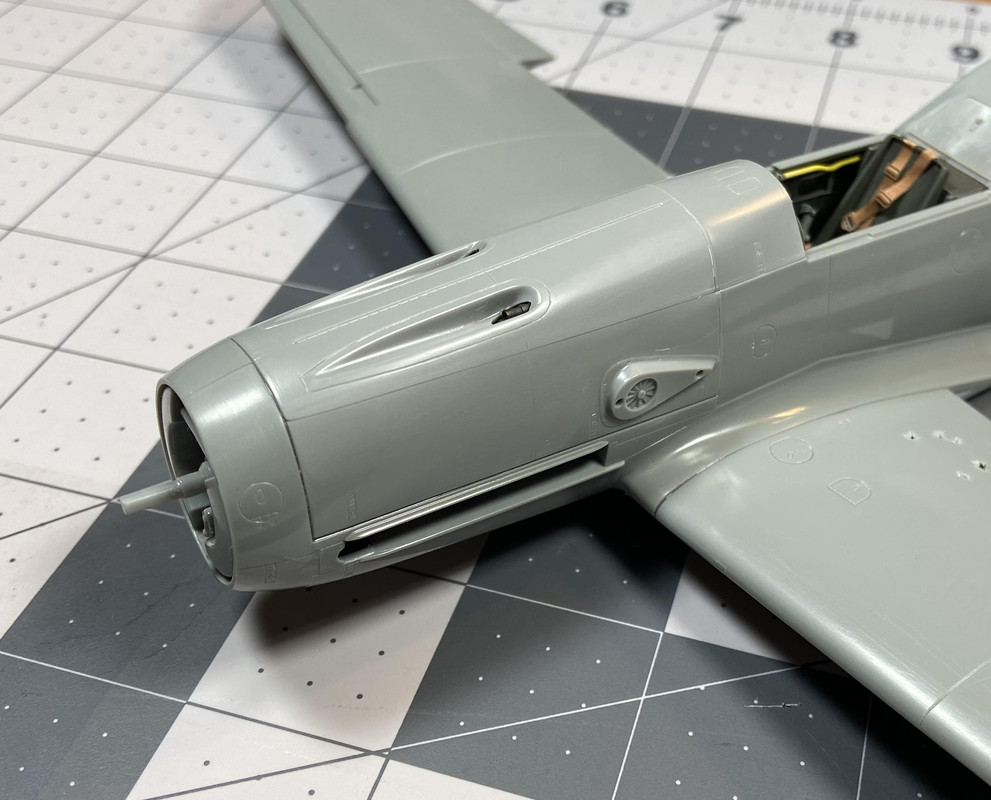
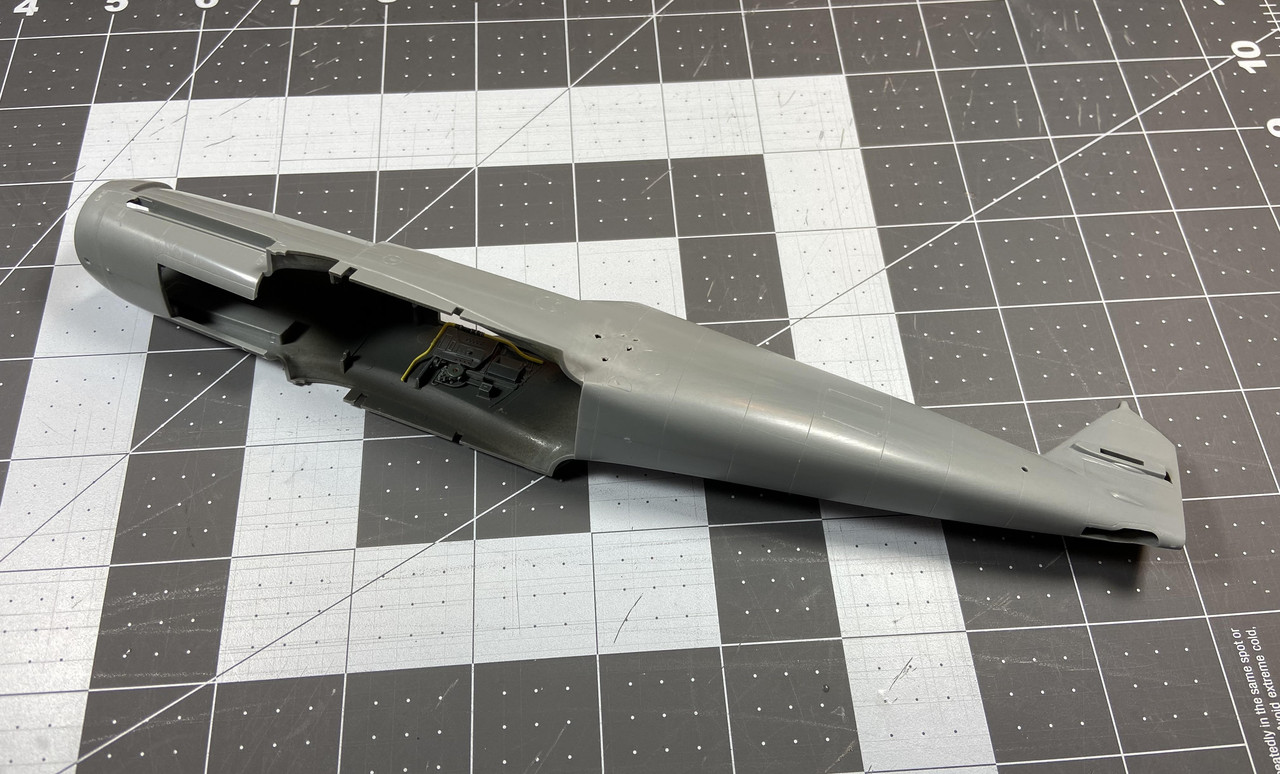
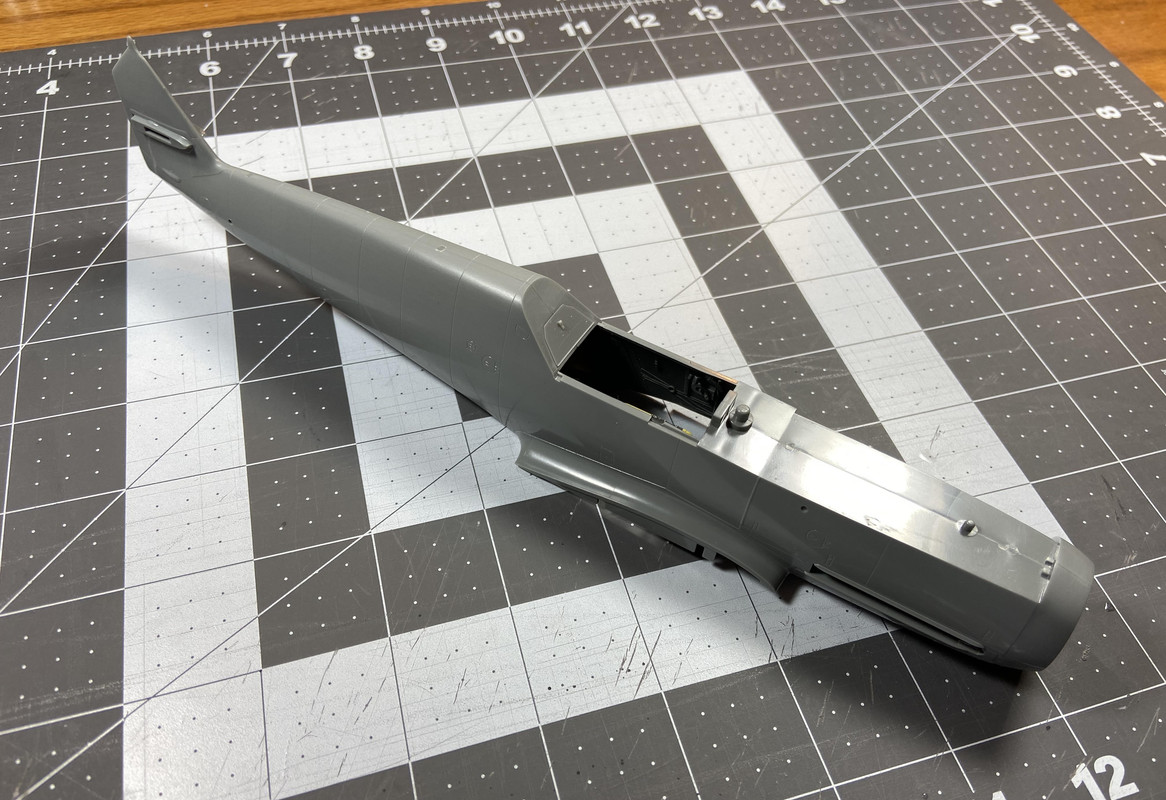
Figures 023 and 024: One of the great things about this kit is the cockpit assembly can be added after the fuselage halves are assembled-which makes building it easier. My only gripe so far is several of the left and right fuselage panel lines were slightly mis-matched at the join. I had to do a fair amount of work to get all of them to line up the way I though they should be.
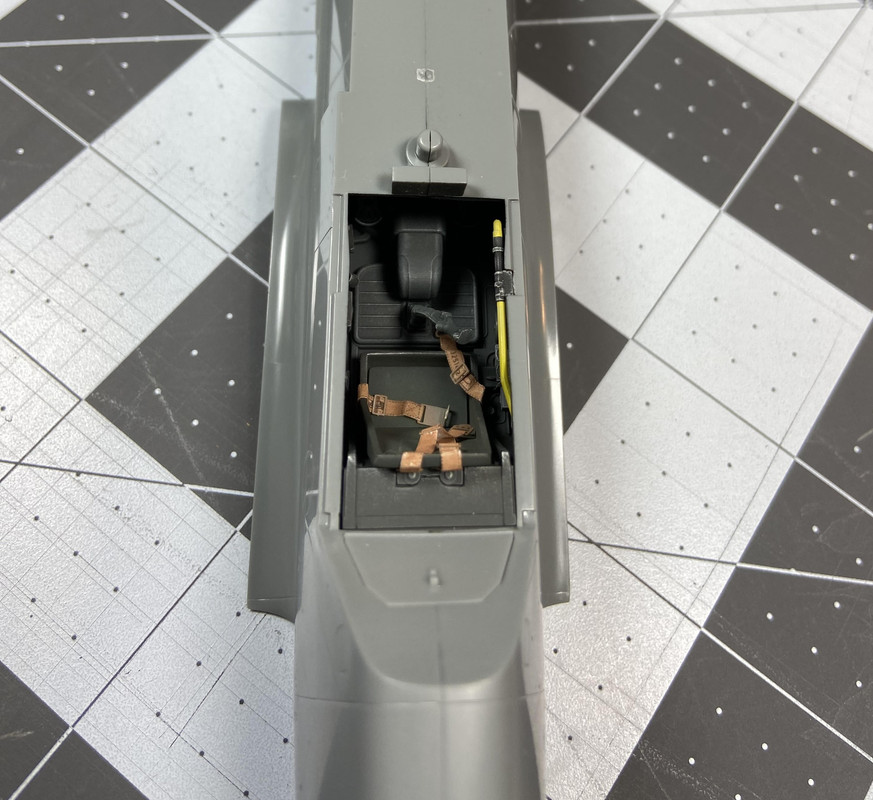
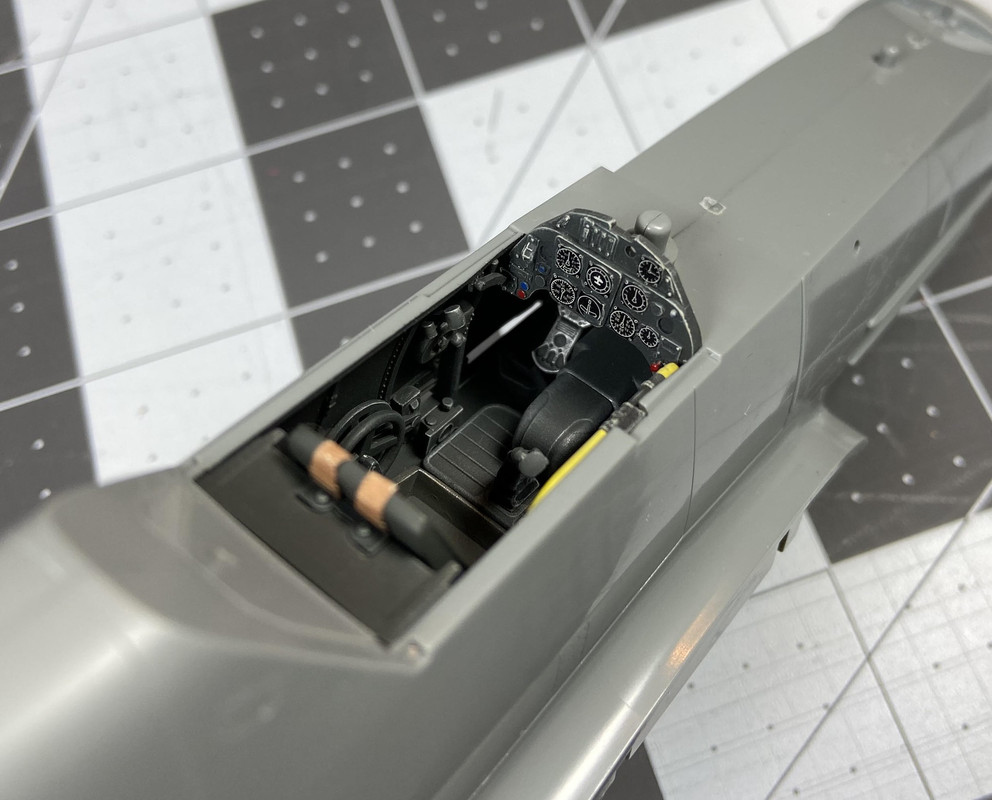
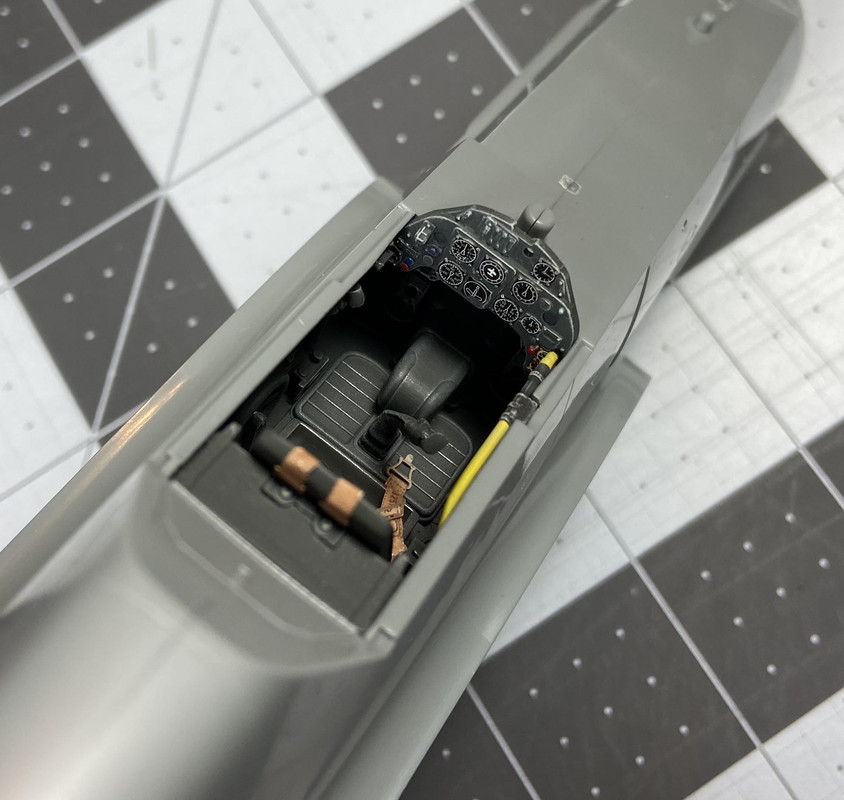
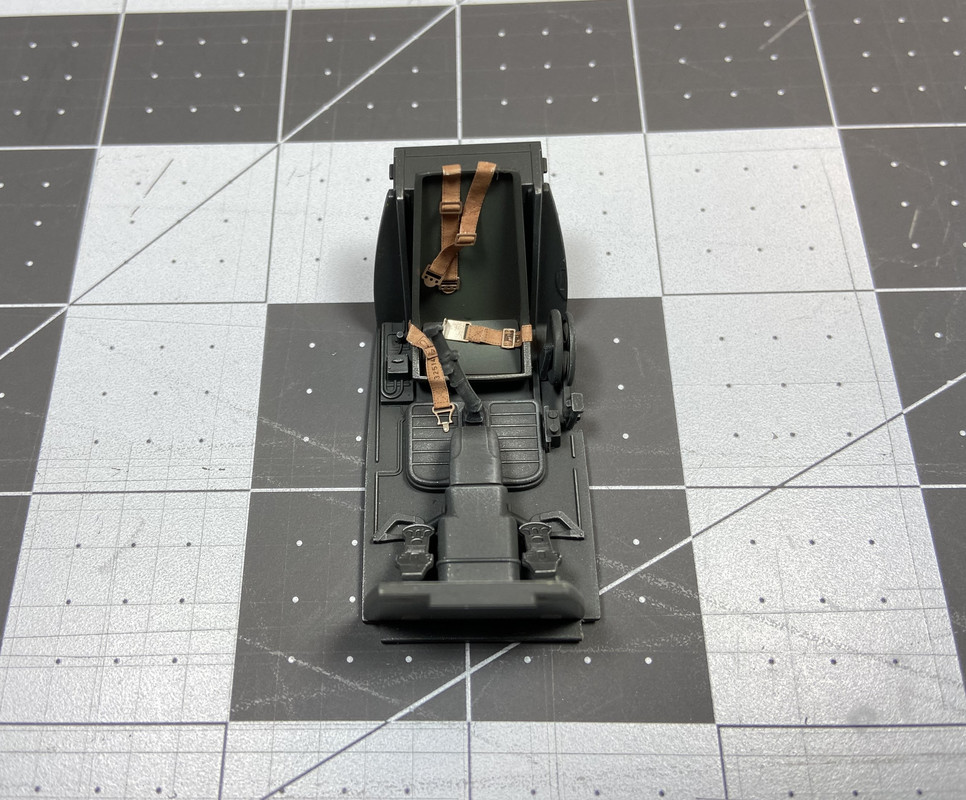
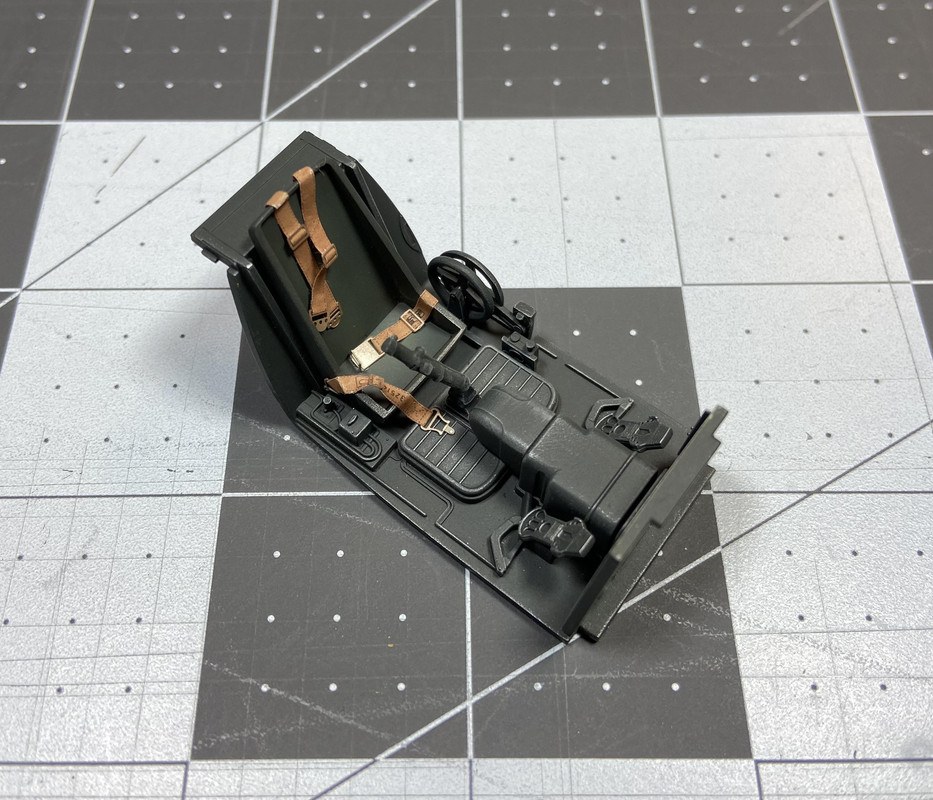
Figures 025 and 026: Here are two photos of the finished cockpit. Once again almost everything was painted RLM66 then carefully dry-brushed with steel color. HGW Models photo-etch seatbelt parts were used and really look good. Before any Luftwaffe experts jump on me here, I will admit a couple of photo-etched parts are missing from the seatbelts. I used leftovers from an old set and it did not have every single piece. Note the joystick was angled to match how the replacement rudder and stabilizers will be positioned.
Until next time...
Phillip1
My latest project will be creating a 1/32 scale North African desert diorama that will include a base, a crashed BF-109 Messerschmitt airplane, a small British transport vehicle and a few British 8th Infantry figures. Construction of the airplane is the only part covered in this thread. The other construction parts of the diorama will be included in another section.
I have always been intrigued by World War II dioramas showing frontline infantry soldiers picking through crashed enemy aircraft for souvenirs to take back home. Although these scenes do not include intense action, they do provide good storytelling and reflection. I do not have an exact layout established in my head, but have purchased the kits, accessories and research books I plan on using. I will work out all the final, smaller details as the build progresses.
A description of the diorama setup is listed below:
The time period is set around February 1942. A Gruppe III/JG27 BF-109F-4 Trop airplane has been damaged in air combat with RAF Tomahawks (P-40B/C) and Kittyhawks (P-40D/E) and made a forced landing deep behind the British lines. The unfortunate Experten Luftwaffe pilot has been captured and taken away for processing to a POW camp. A lull in the ground fighting has allowed several curious British infantry soldiers to borrow a Tilly utility transport vehicle to make a quick trip to the crash site to “officially” look for valuable maps or other documents but “unofficially” gather souvenirs to carry back to their basecamp. Welcome to my diorama Progress Build titled Souvenir Hunters.
Figures 11a through 11i: To help in my build I searched the Internet for images of forced landed BF-109 aircraft and found the following photos for reference
Figure 001: The Hasegawa kit was selected to build the airplane. I have never built it but understand it is the best 1/32 BF-109F kit available.
Figure 002: I purchased these Lifelike Decals to replace the kit decals even though I am not building any aircraft flown by Marseille.
Figure 003: This vinyl Montex painting mask set was selected because they include interior and exterior pieces.
Figure 004: This Quickboost replacement rudder/stabilizer set will allow me to place them at dramatic crash angles.
Figure 011: These book references will hopefully be helpful in the building the airplane as well as other details of the diorama.
Figure 012: The first kit modification was custom fitting a very thin styrene piece to help cover the horrible seam line at the bottom of the split canopy seat.
Figure 013: The kit rudder was cut away so work could begin to get the fuselage halves together.
Figures 014 and 15: I wanted to show bullet hole damage to make it clear the BF-109 was forced down by air combat, but I did not want it to be overly dramatic. I marked these areas on the left wing and left fuselage. The corresponding interior areas were marked off since grinding down the plastic was done from this side.
Figure 016: The photo shows the Dremel bit I bought to thin down the plastic.
Figure 017: The bit was attached to my power drill then the plastic was carefully thinned down a little bit at a time.
Figures 018-019: I held the parts up to an overhead light to help me determine when they were thin enough.
Figures 020 and 021: Here are views of the damage after the plastic was gouged with an X-acto knife. The goal here was to try and make each hole look a little different.
Figure 022: The right side of the cockpit is shown after painting and assembly. Almost everything was painted RLM66 (black gray) then gently dry-brushed with steel color.
Figures 023 and 024: One of the great things about this kit is the cockpit assembly can be added after the fuselage halves are assembled-which makes building it easier. My only gripe so far is several of the left and right fuselage panel lines were slightly mis-matched at the join. I had to do a fair amount of work to get all of them to line up the way I though they should be.
Figures 025 and 026: Here are two photos of the finished cockpit. Once again almost everything was painted RLM66 then carefully dry-brushed with steel color. HGW Models photo-etch seatbelt parts were used and really look good. Before any Luftwaffe experts jump on me here, I will admit a couple of photo-etched parts are missing from the seatbelts. I used leftovers from an old set and it did not have every single piece. Note the joystick was angled to match how the replacement rudder and stabilizers will be positioned.
Until next time...
Phillip1
 Looking really good!