Page 1 of 1
Tiger build #5 - Sturm Tiger
Posted: Mon Feb 12, 2024 11:27 pm
by RangerNeil
As the Jagd Tiger build is now on hold pending delivery of its tracks we move on to Tiger build #5 - the Sturm Tiger.
This is Tamiya's offering on the subject. Basic but accurate, it looks and feels like an old release.
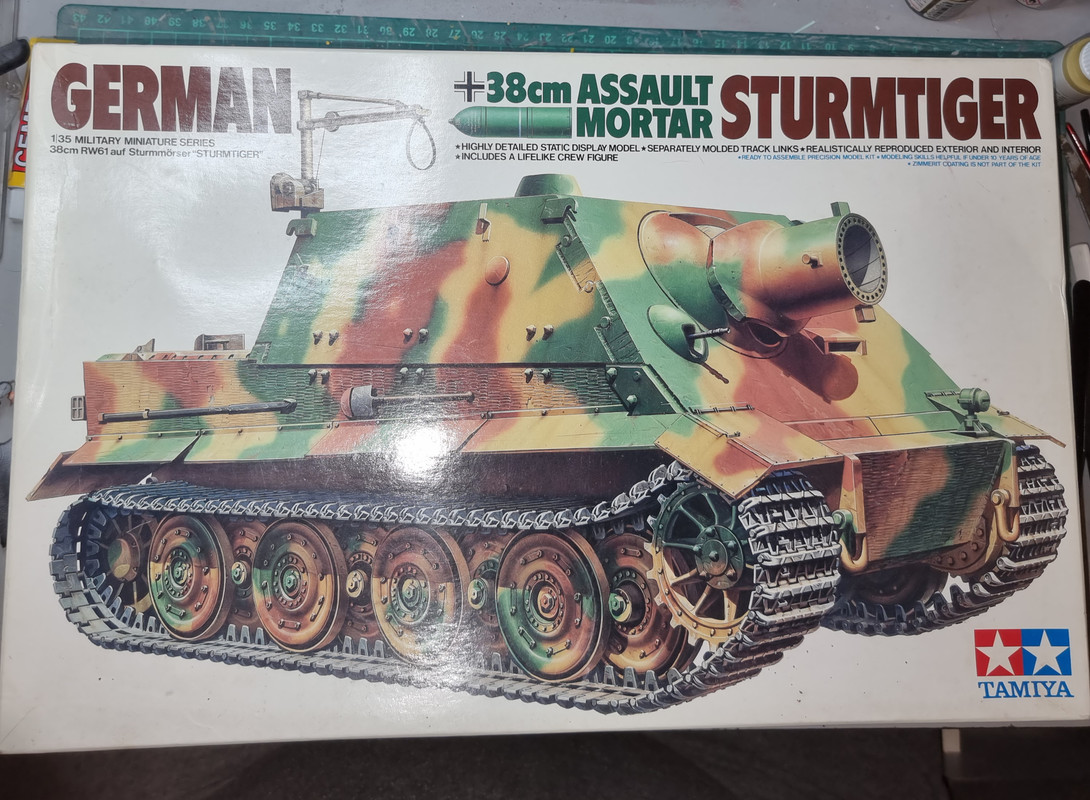
The Sturm Tiger - or more accurately the "Sturmmörserwagen 606/4 mit 38 cm RW 61" was based on the production Tiger 1 chassis with the turret removed and replaced with an armoured casemate. Only 18 were built, intended for use in the seige of Stalingrad, they were too late, seeing action in the battles of the Bulge and the Reichswald as well as the Warsaw Uprising. Only 2 of the 18 survive, one in the Deutsches Panzermusem and one in Kubinka. A third was taken to the UK for evaluation post war but cut up for scrap - only the 380mm mortar remains at Bovington tank museum.
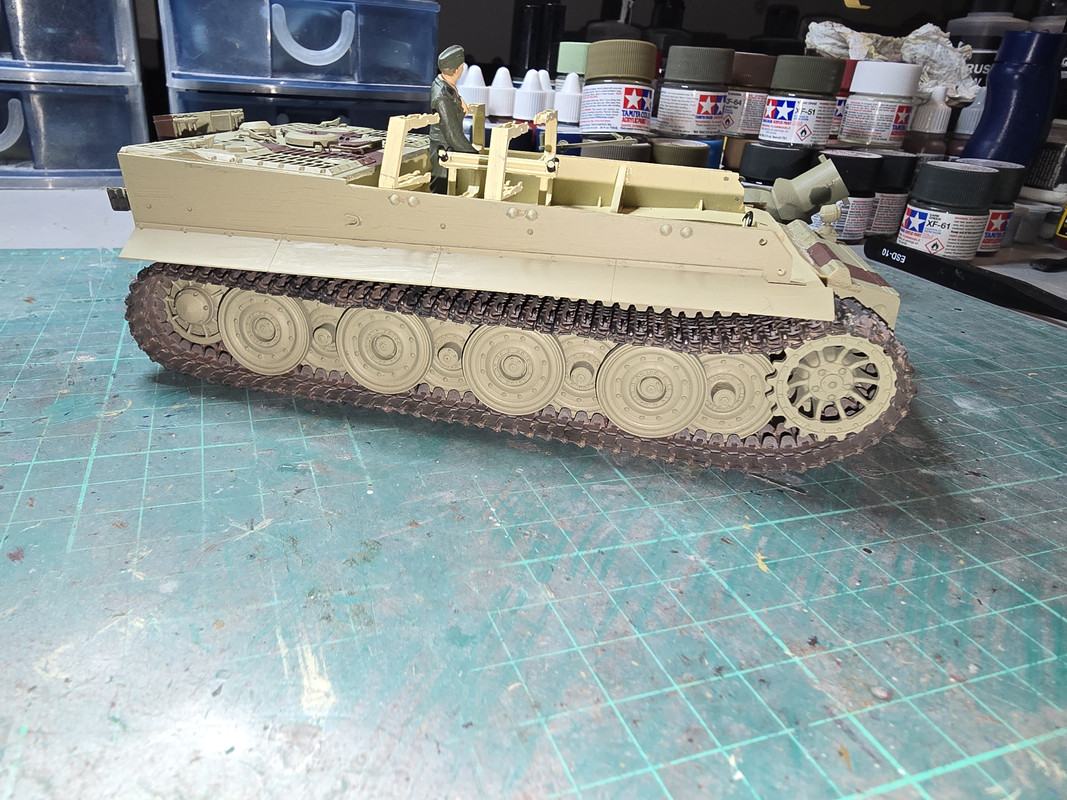
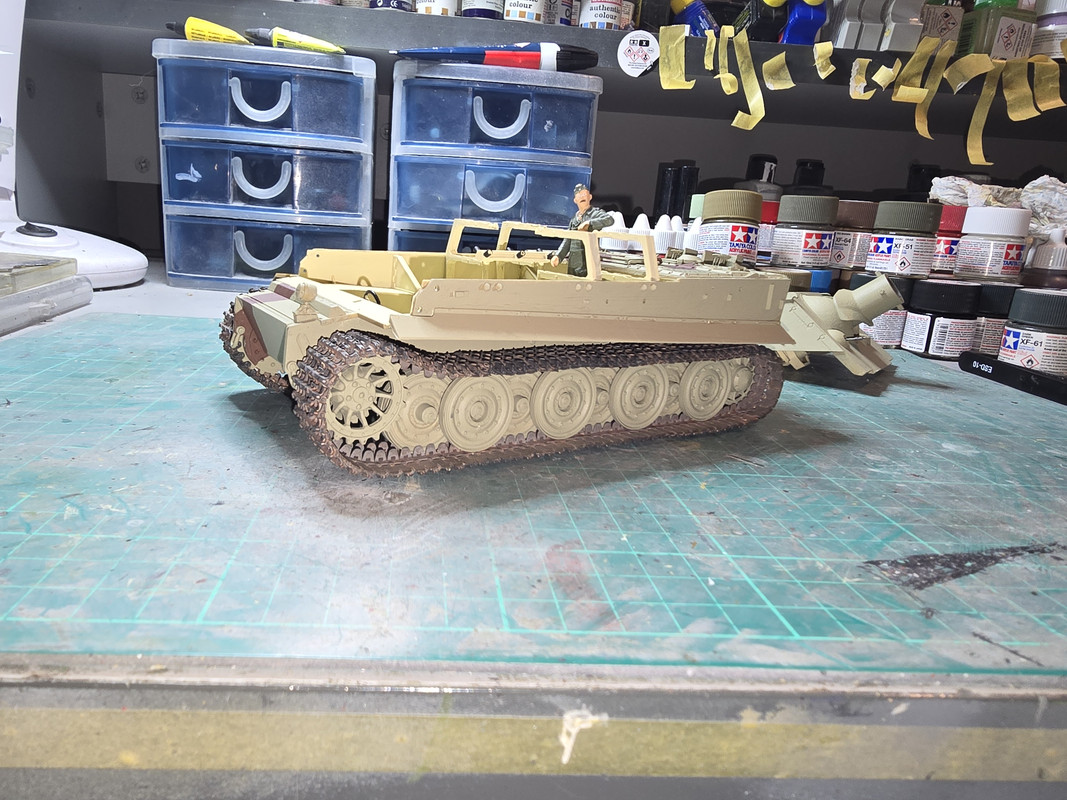
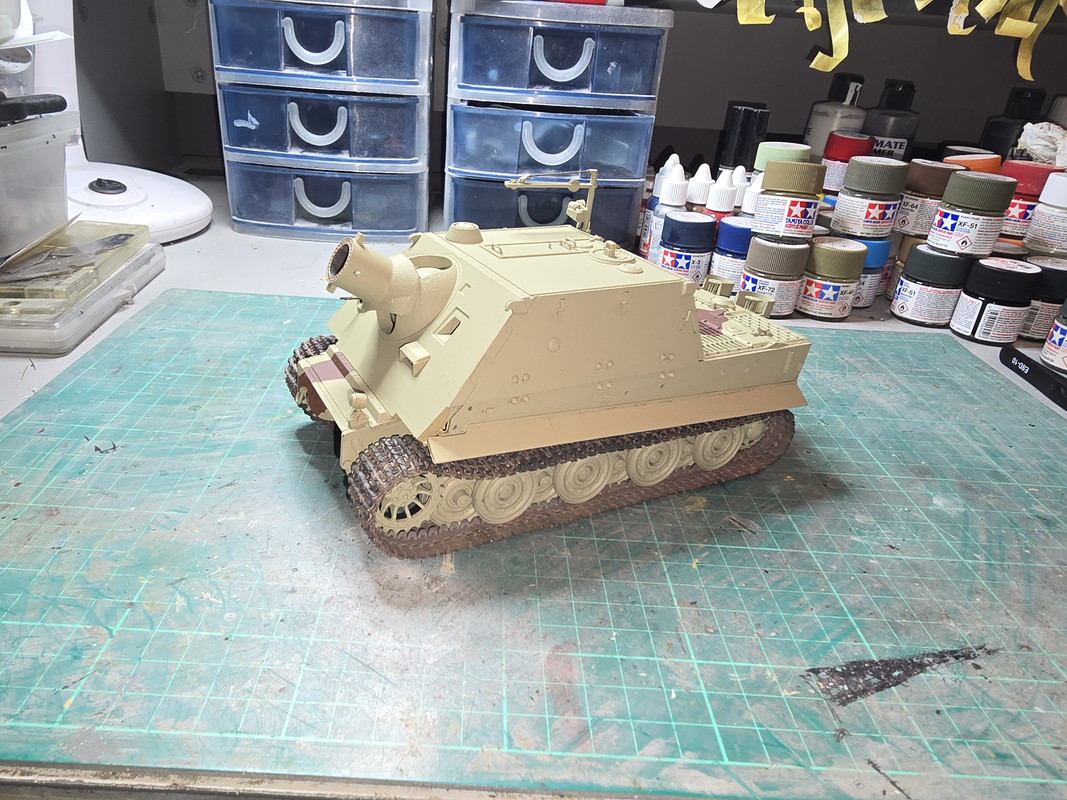
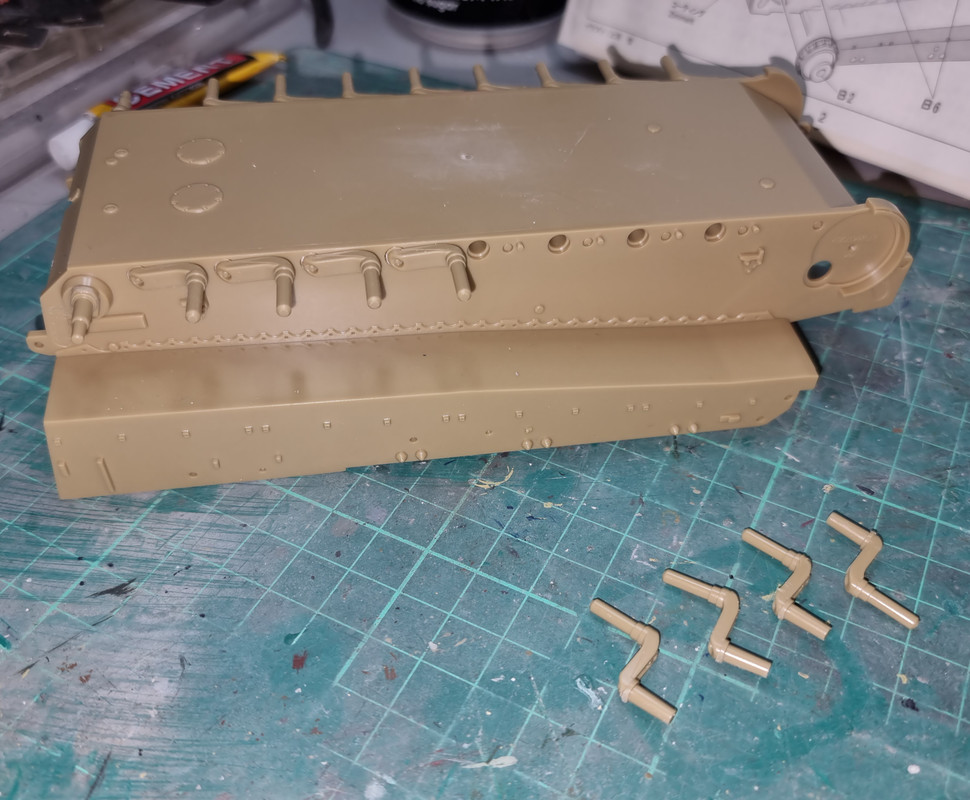
First step as with all the Tigers is fitting the suspension to the lower hull. The Idler arms are located by half-circle pins into matching sockets. The road wheel arms are just pins located for orientation by smaller pins at their ends:
As the Sturm Tigers never entered service until after August 1944 I think the later version of Dunkelgelb would be more appropriate for this build. Looking at the photos of the one in the Kubinka museum it would appear to confirm this.
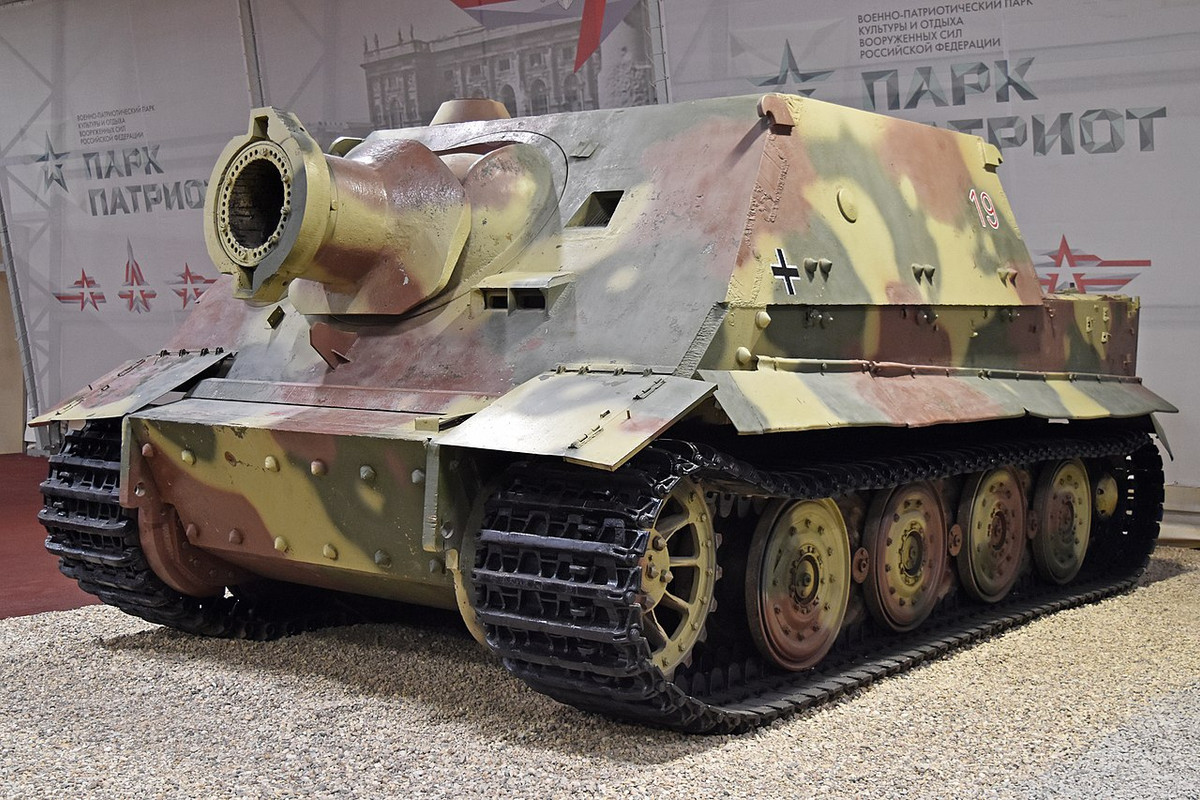 (Image copyright A. Wilson, Stilton, Peterborough,UK)
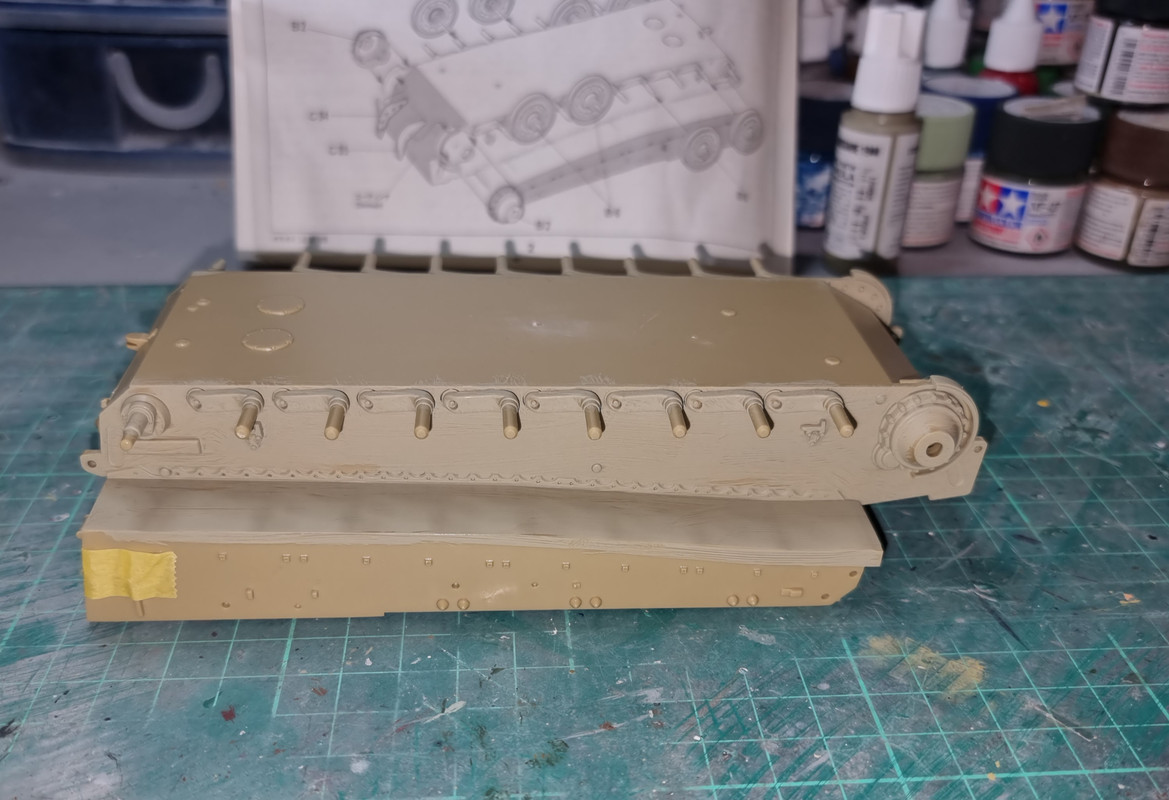
The tape in the photo is holding the back panel in whilst the adhesive sets.
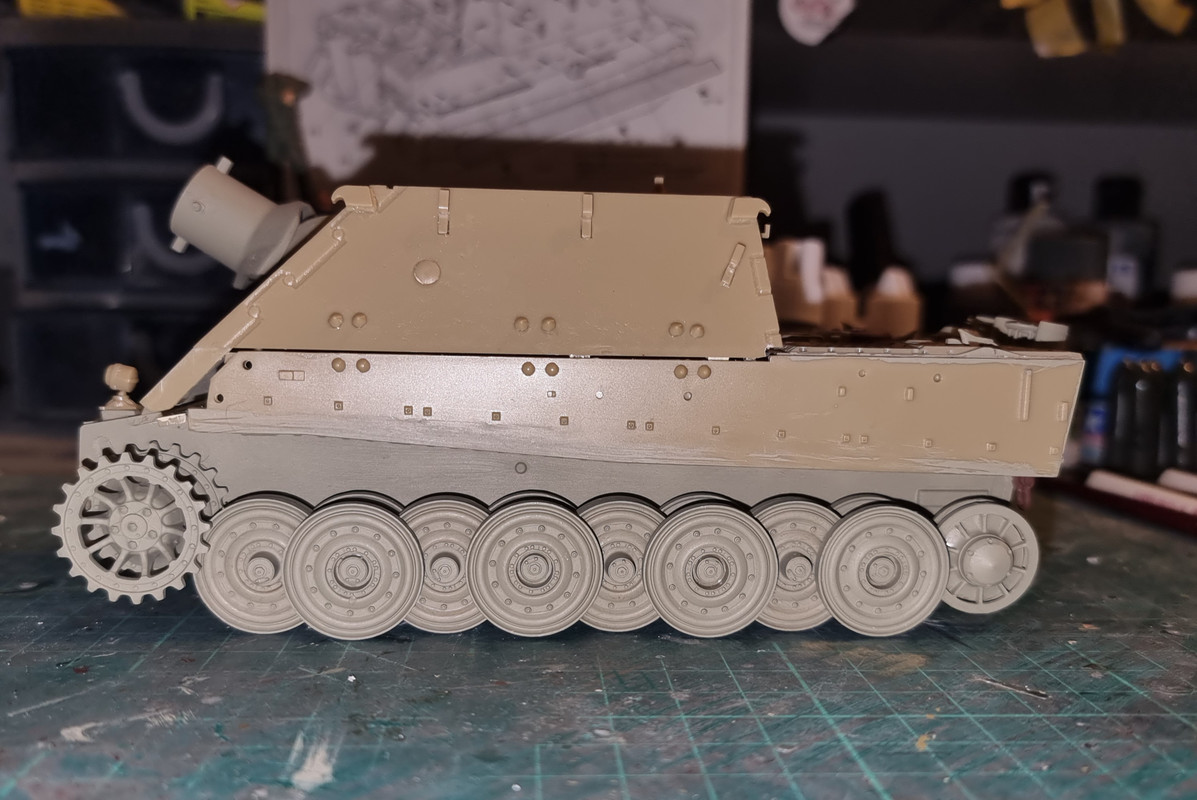
Next step is assembly of the road wheels, idlers and drive sprockets once the paint has dried.
Re: Tiger build #5 - Sturm Tiger
Posted: Mon Feb 12, 2024 11:31 pm
by digger303
Re: Tiger build #5 - Sturm Tiger
Posted: Tue Feb 13, 2024 11:07 pm
by RangerNeil
As usual with Tamiya the build process continues apace. This particular kit is showing its age, the upper hull is stamped 1989 and so far there has been a fair bit of minor flash on small parts like handles and one major incident on the fighting compartment floor. It was easy enough to clean off, just out of character for Tamiya.
The other out of character incident is the rear bulkhead is too tall by maybe 0.5mm and thus is preventing the engine deck sitting properly. I've checked and rechecked - its sitting in the right poisition as is the floor under it. So some sanding will be required there once its all set.
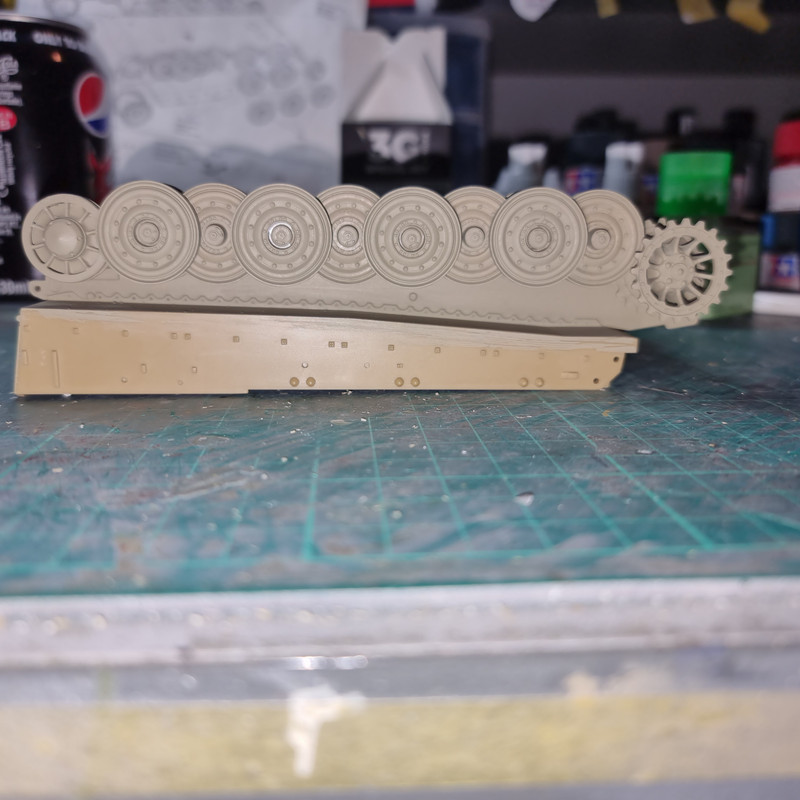
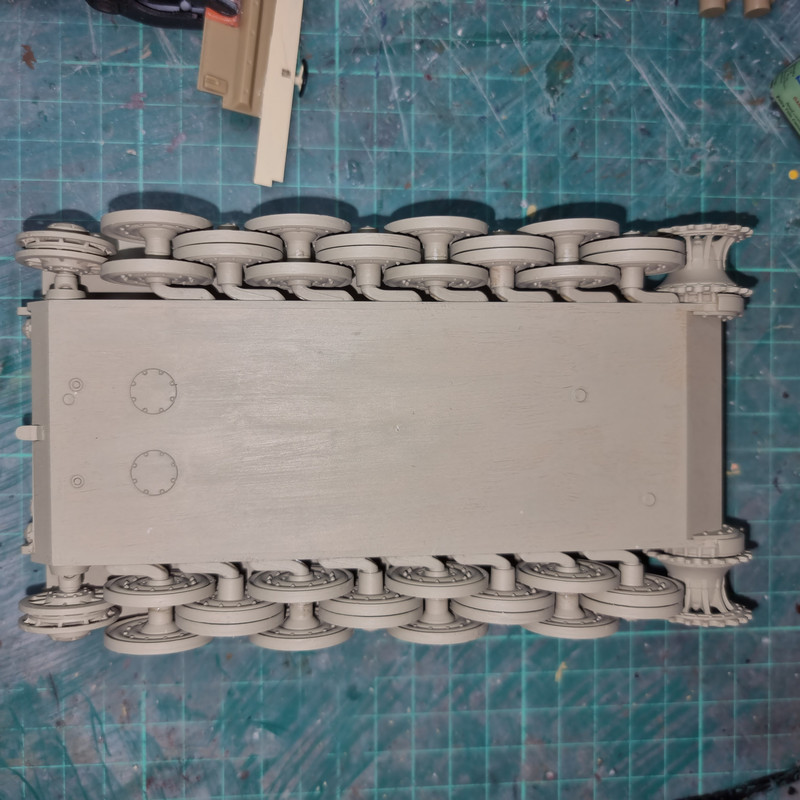
Today saw the road wheels, idlers and drive sprockets go on after touching up the paint where the sprue attachment points had been cleaned off:
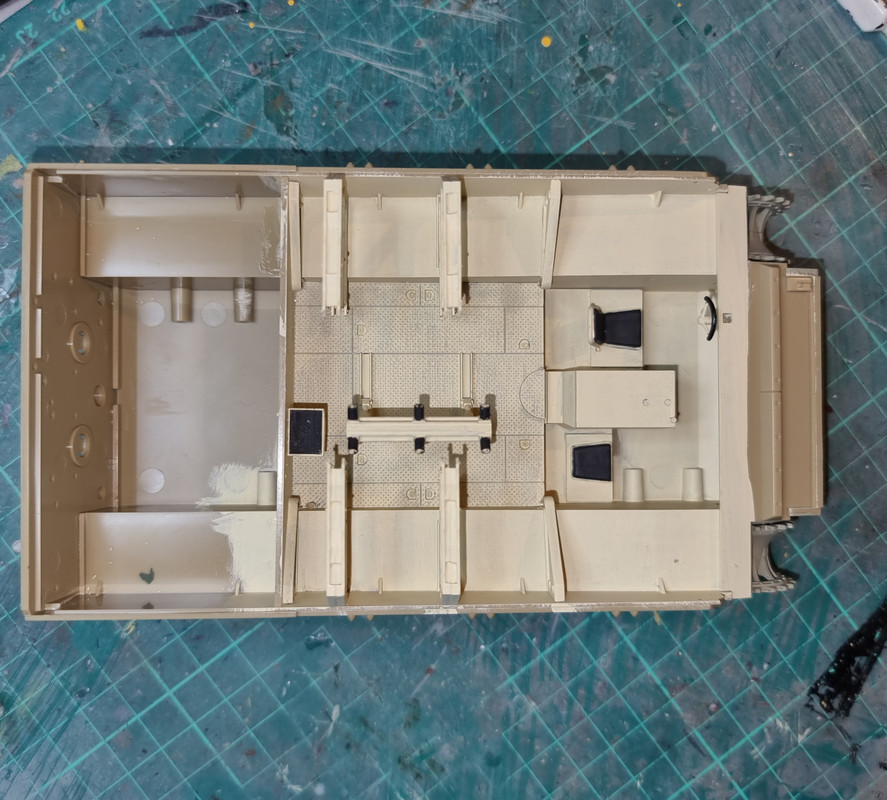
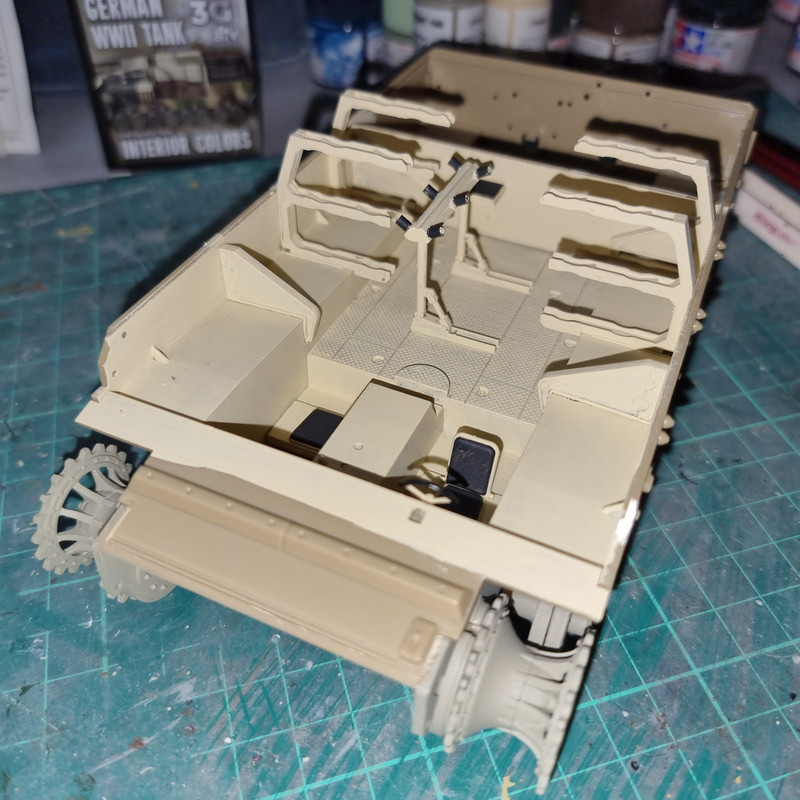
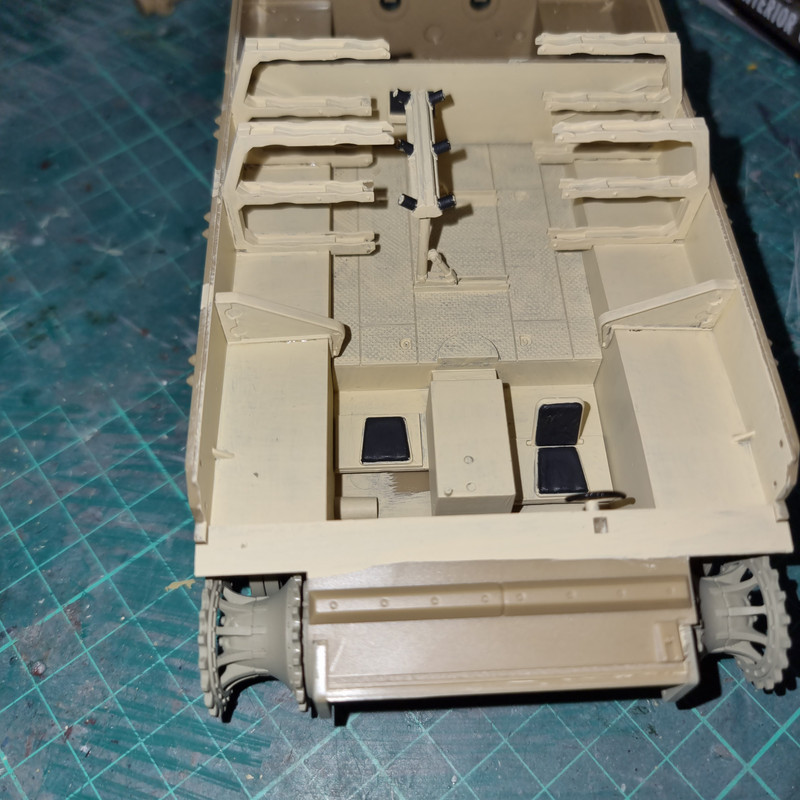
Then the interior got fitted (this one DOES have at least a partial interior!!):
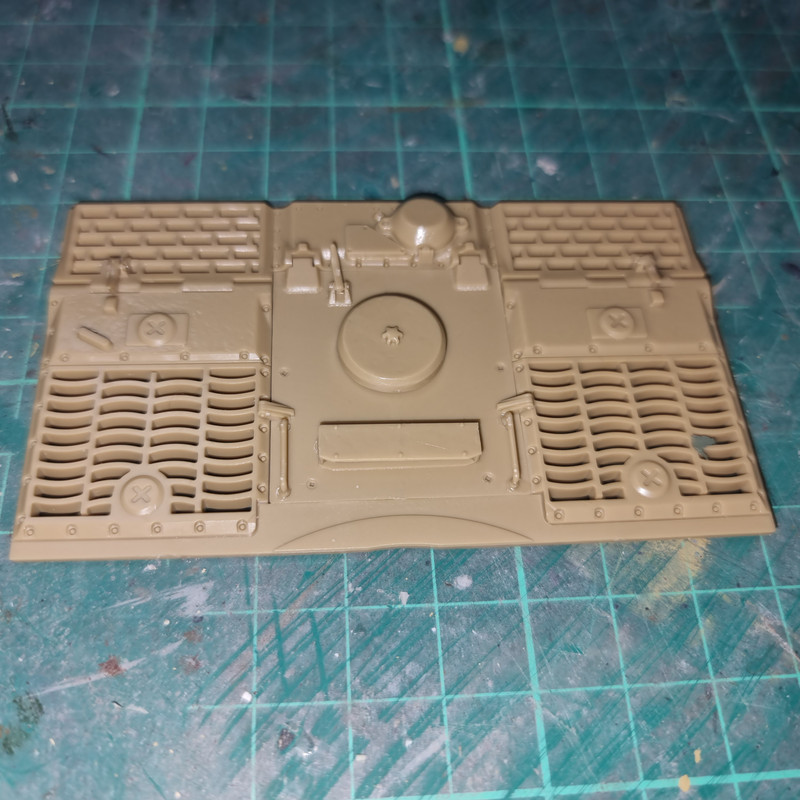
Followed by assembling the engine deck:
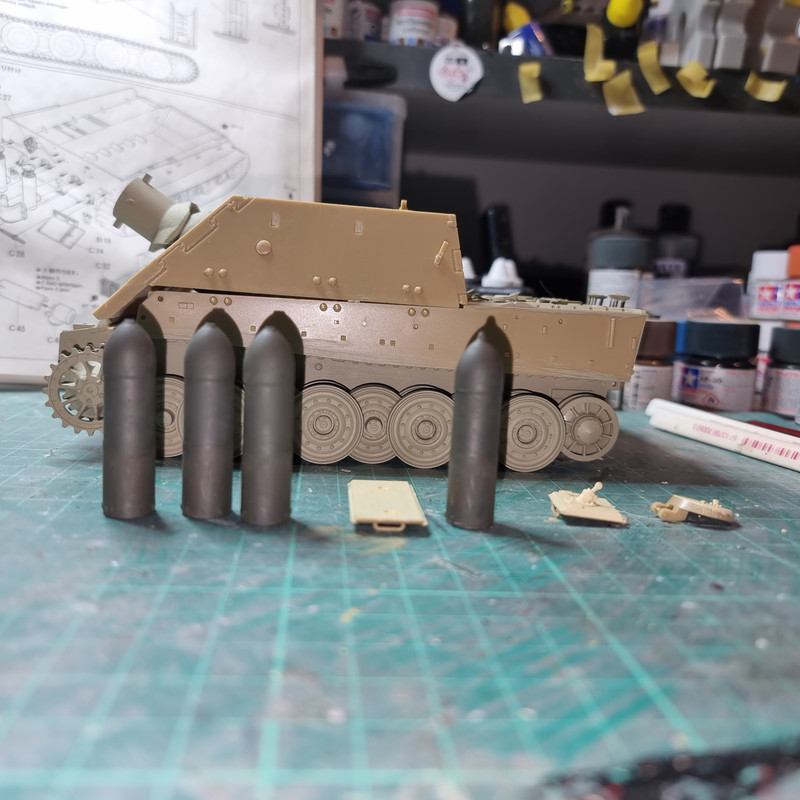
And then the 380mm rounds. 3 are unfused to go in the ready use racks, 1 is fused and goes onto the loading rollers. These are not small by any stretch of the imagination!!
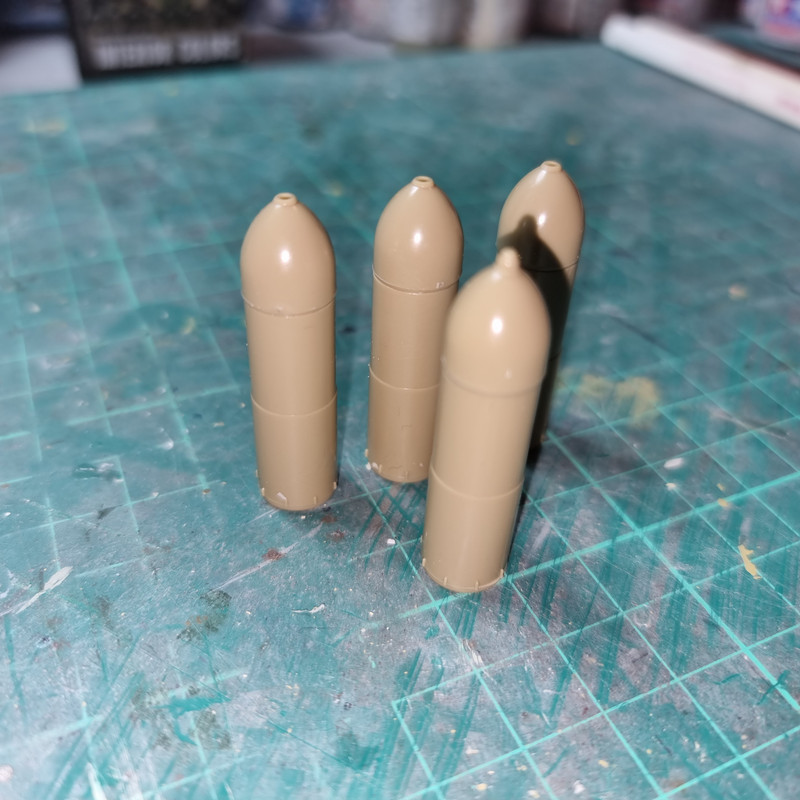
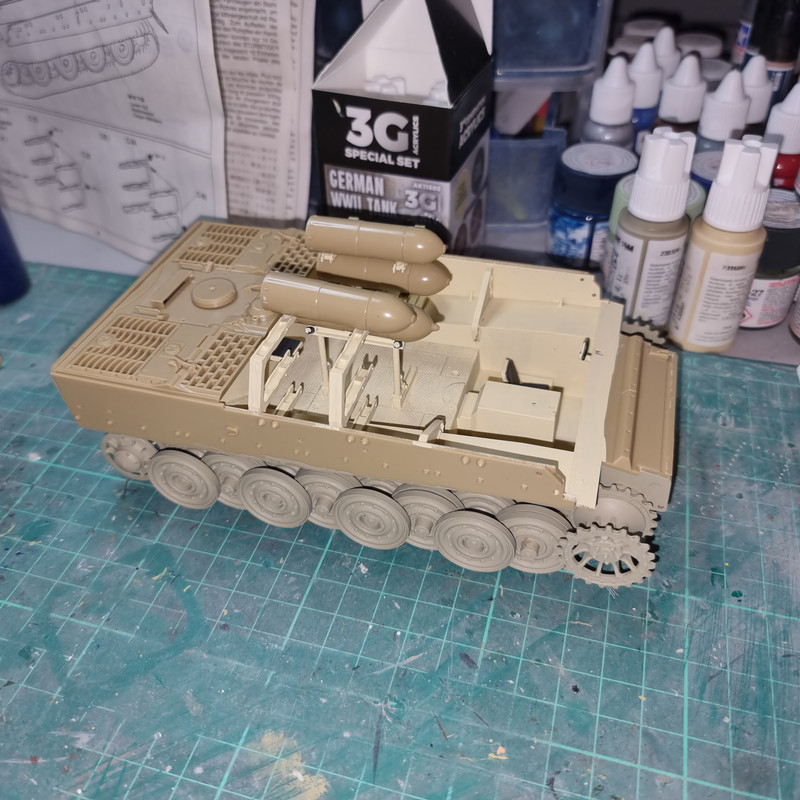
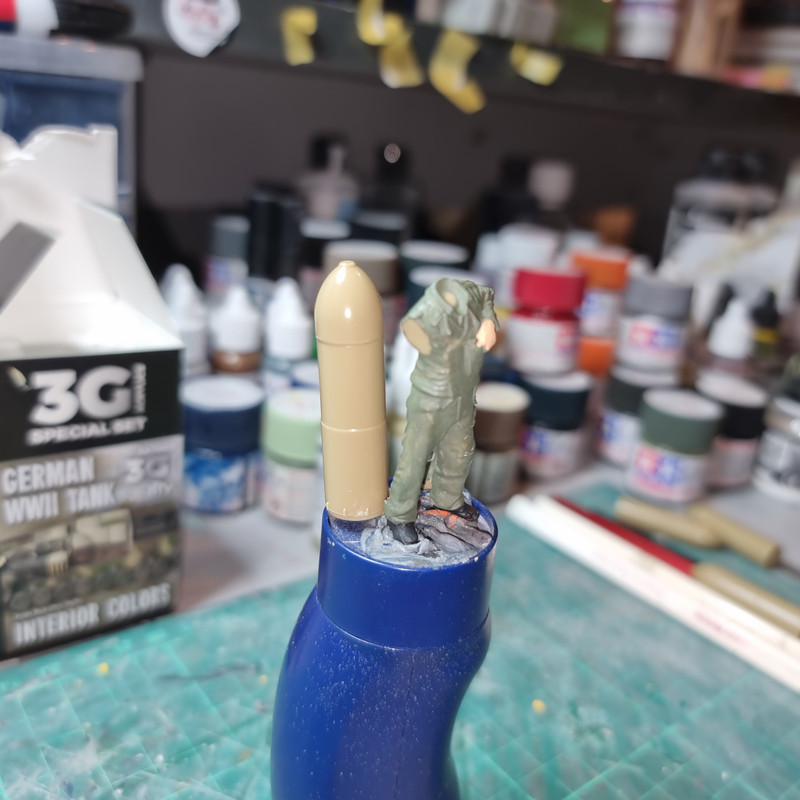
And just for a size comparison

So at close of play the situation is this:
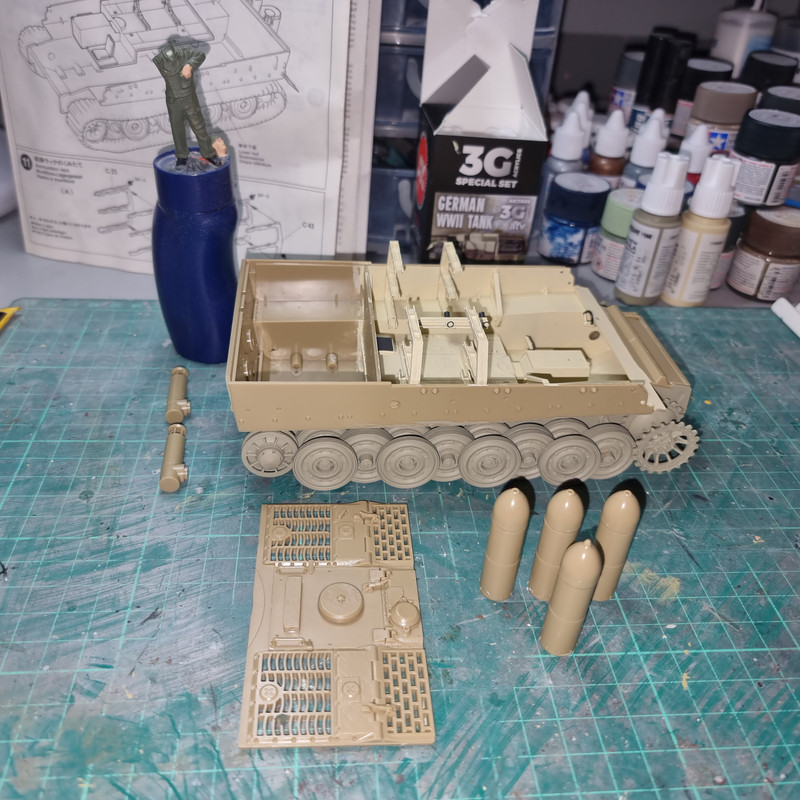
* Interior is complete.
* Engine deck is complete.
* All running gear is on, ready for the tracks.
* Ammunition is assemble ready for painting.
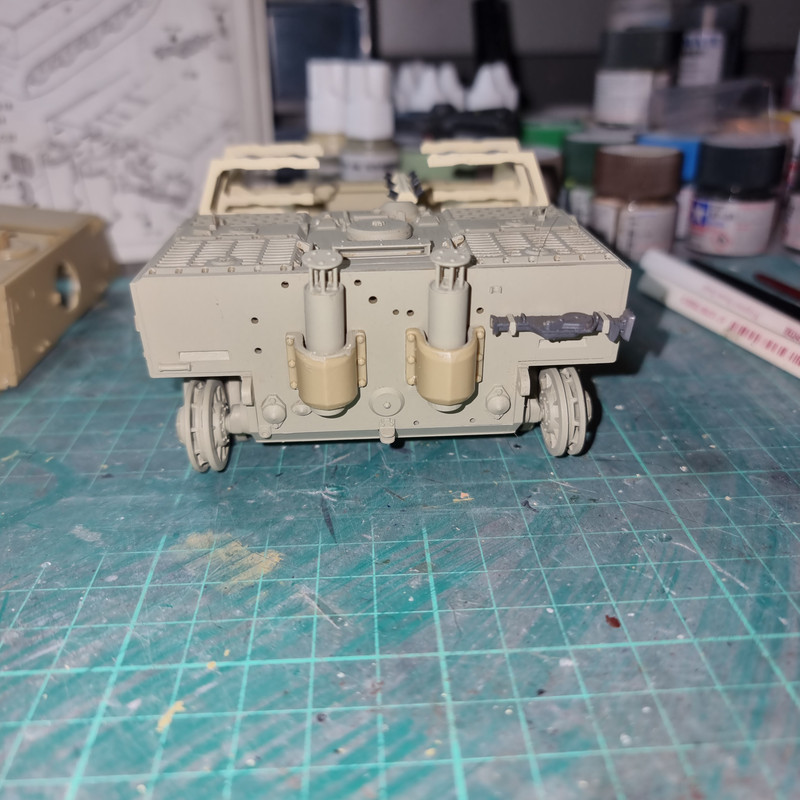
* Exhaust stacks are complete ready to start assembly of rear panel.
* Work started on painting crew figure.
Getting close to deciding on whether or not I want to add the side skirts. The hull has the mounting brackets moulded on for display without the skirts; if I want to add them then I will need to trim the brackets off. Decisions, decisions.....

Re: Tiger build #5 - Sturm Tiger
Posted: Wed Feb 14, 2024 2:19 am
by digger303
Re: Tiger build #5 - Sturm Tiger
Posted: Thu Feb 15, 2024 7:48 am
by Stokesy44
Nice work so far. I have the RFM version of this in the stash.

Re: Tiger build #5 - Sturm Tiger
Posted: Thu Feb 15, 2024 12:48 pm
by RangerNeil
Yeah, its been a good build so far. If I compare it to the Tamiya King Tiger giving that a 10 then I'd rate the Sturm Tiger as an 8 solely because of the amount of flash and that rear bulkhead sitting fractionally too proud.
I'd rate the Takom Jagd Tiger as another 10, possibly 10+ if it weren't for a lack of clarity in the instructions as to how sub-assemblies go together and a tendency to omit/miss part numbers off the diagrams.
As for the speed - you have to remember I'm now retired so I' ve got free time 7 days a week and the wife has bowel cancer - in remission but with unpleasant side effects from the radio- & chemo-therapy - so I rarely get out. Which means I literally spend hours at the bench trying to stay sane by keeping the mind occupied. Usually I can be found building/sanding/painting till 2 or 3 in the morning then up.again at 08:00.
Stokesy44 wrote: Thu Feb 15, 2024 7:48 am
Nice work so far. I have the RFM version of this in the stash.
Thanks
Is the RFM verison the one with the full interior? If so thats one I'm looking for. Can never have too many Tigers....
Re: Tiger build #5 - Sturm Tiger
Posted: Thu Feb 15, 2024 3:06 pm
by Garion77
You have to many projects at the same time ! I can't keep up !
Keep on the great work
Re: Tiger build #5 - Sturm Tiger
Posted: Thu Feb 15, 2024 6:49 pm
by Stokesy44
RangerNeil wrote: Thu Feb 15, 2024 12:48 pm
Stokesy44 wrote: Thu Feb 15, 2024 7:48 am
Nice work so far. I have the RFM version of this in the stash.
Thanks
Is the RFM verison the one with the full interior? If so thats one I'm looking for. Can never have too many Tigers....
I have the one with the semi-detailed fighting compartment only. I do have another RFM Tiger and that's got the full monty!
Re: Tiger build #5 - Sturm Tiger
Posted: Fri Feb 16, 2024 12:52 am
by digger303
Stokesy44 wrote: Thu Feb 15, 2024 6:49 pm
RangerNeil wrote: Thu Feb 15, 2024 12:48 pm
Stokesy44 wrote: Thu Feb 15, 2024 7:48 am
Nice work so far. I have the RFM version of this in the stash.
Thanks
Is the RFM verison the one with the full interior? If so thats one I'm looking for. Can never have too many Tigers....
I have the one with the semi-detailed fighting compartment only. I do have another RFM Tiger and that's got the full monty!
I've got the AFV sturm and a few ordinary Dragon tigers. The only Tiger I've built thus far is the Zvezda one where the tools won't fit on..

Re: Tiger build #5 - Sturm Tiger
Posted: Fri Feb 16, 2024 7:46 am
by Stokesy44
digger303 wrote: Fri Feb 16, 2024 12:52 am
I've got the AFV sturm and a few ordinary Dragon tigers. The only Tiger I've built thus far is the Zvezda one where the tools won't fit on..
Zvezda?
Ouch.
Re: Tiger build #5 - Sturm Tiger
Posted: Fri Feb 16, 2024 10:02 am
by digger303
Stokesy44 wrote: Fri Feb 16, 2024 7:46 am
digger303 wrote: Fri Feb 16, 2024 12:52 am
I've got the AFV sturm and a few ordinary Dragon tigers. The only Tiger I've built thus far is the Zvezda one where the tools won't fit on..
Zvezda?
Ouch.
https://www.scalemates.com/kits/zvezda- ... -e--170213
Looks good enough over all though.
I can't be hi jacking Neils thread anymore .....well until next time...
Re: Tiger build #5 - Sturm Tiger
Posted: Fri Feb 16, 2024 11:41 am
by RangerNeil
digger303 wrote: Fri Feb 16, 2024 10:02 am
Stokesy44 wrote: Fri Feb 16, 2024 7:46 am
digger303 wrote: Fri Feb 16, 2024 12:52 am
I've got the AFV sturm and a few ordinary Dragon tigers. The only Tiger I've built thus far is the Zvezda one where the tools won't fit on..
Zvezda?
Ouch.
https://www.scalemates.com/kits/zvezda- ... -e--170213
Looks good enough over all though.
I can't be hi jacking Neils thread anymore .....well until next time...
No probs mate - always good to know which ones to avoid!!!
Latest update - couple of steps forward - and sadly one back!
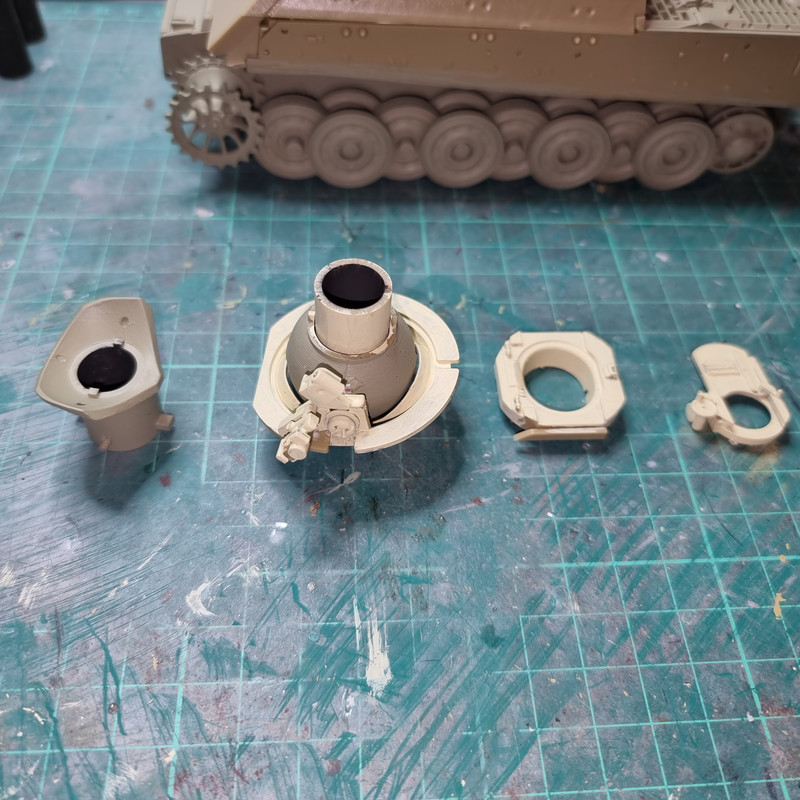
Forwards first - the honkin' great main weapon, the 380mm mortar, starts assembly. First the component parts:
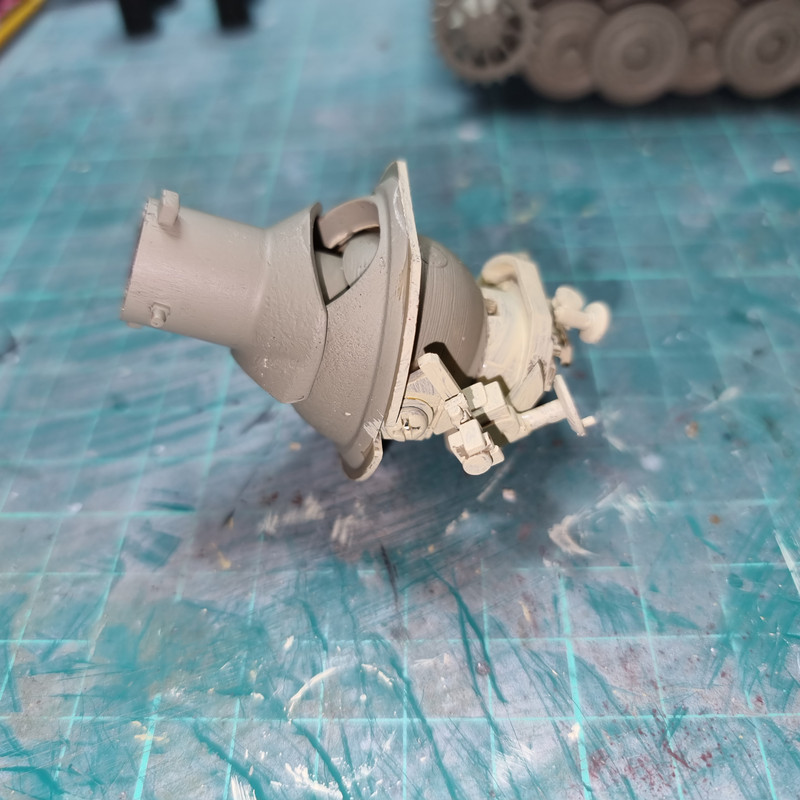
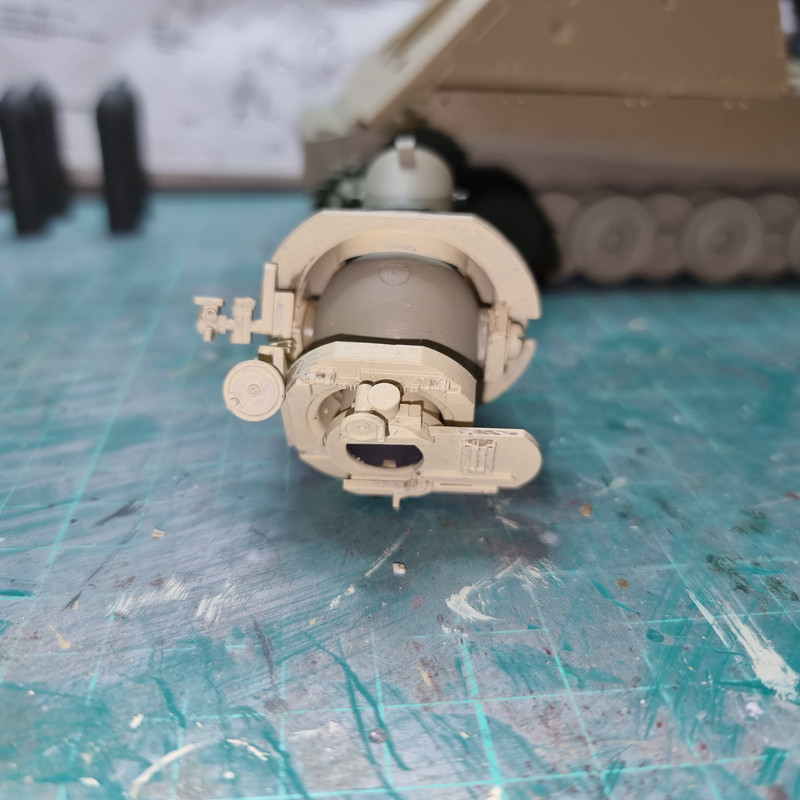
And as an assembly:
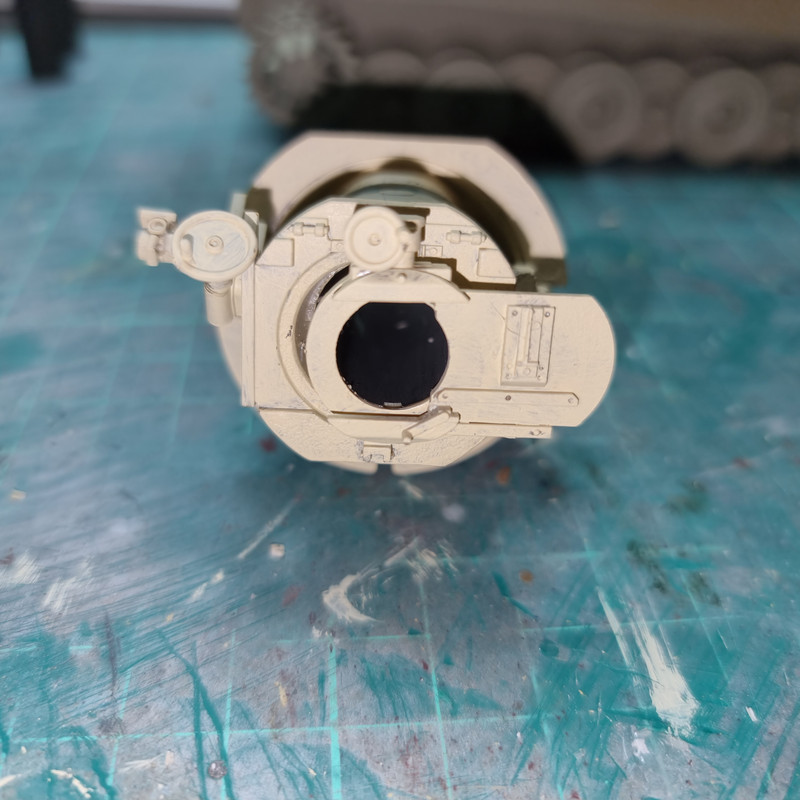
Back panel assembly has started:
Moving onto the casemate - the escape hatch is on and will be left in the open position so the insides can be seen:
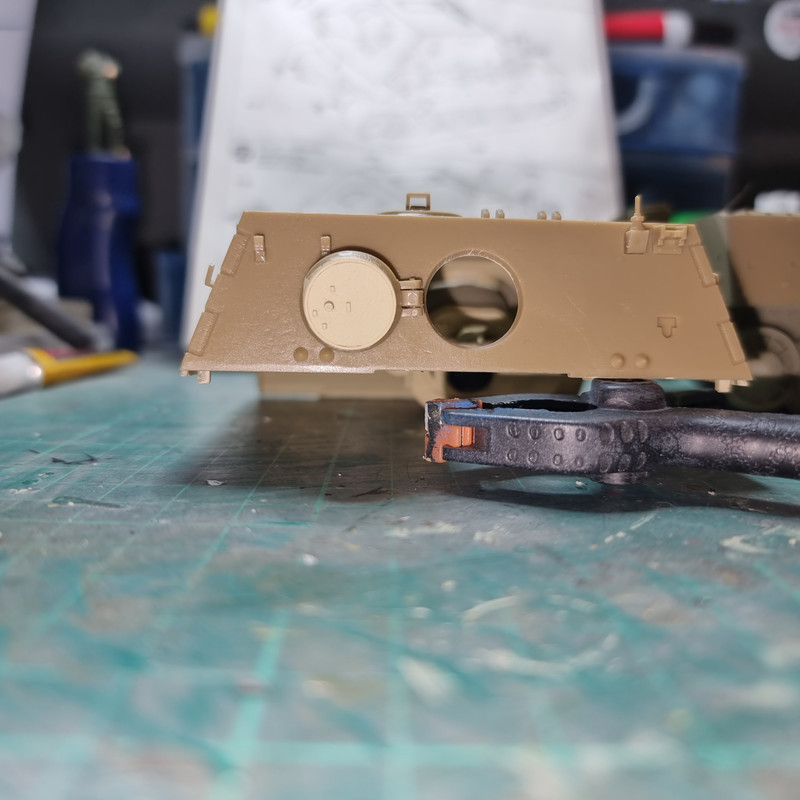
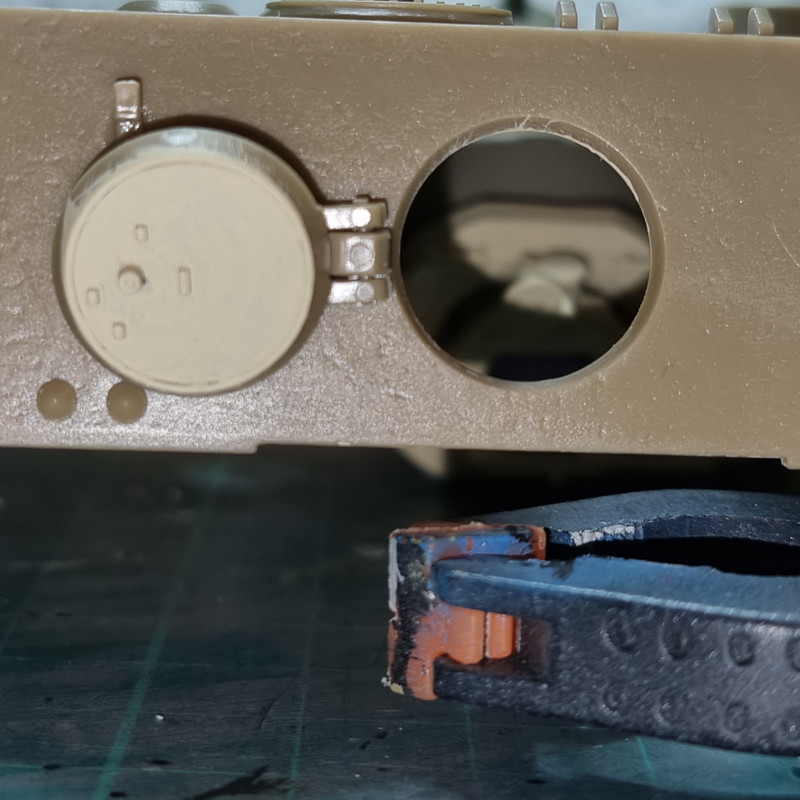
So at close of play we have the casemate ready to fit, ammunition ready for a coat of gloss to have decals applied, main and minor loading hatches read to fit.
And now we come to the step backwards - and it might be a biggie!!!

Rent-a dummy here

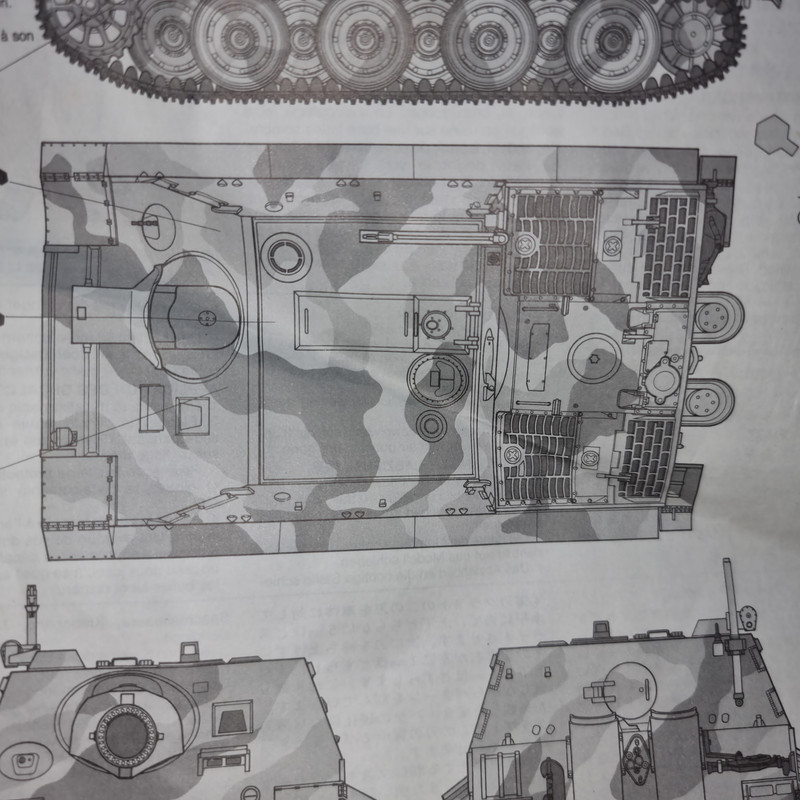
has managed to fit the engine deck the wrong way round so the casemate will not fit...
The way it should be:
And the way it is:
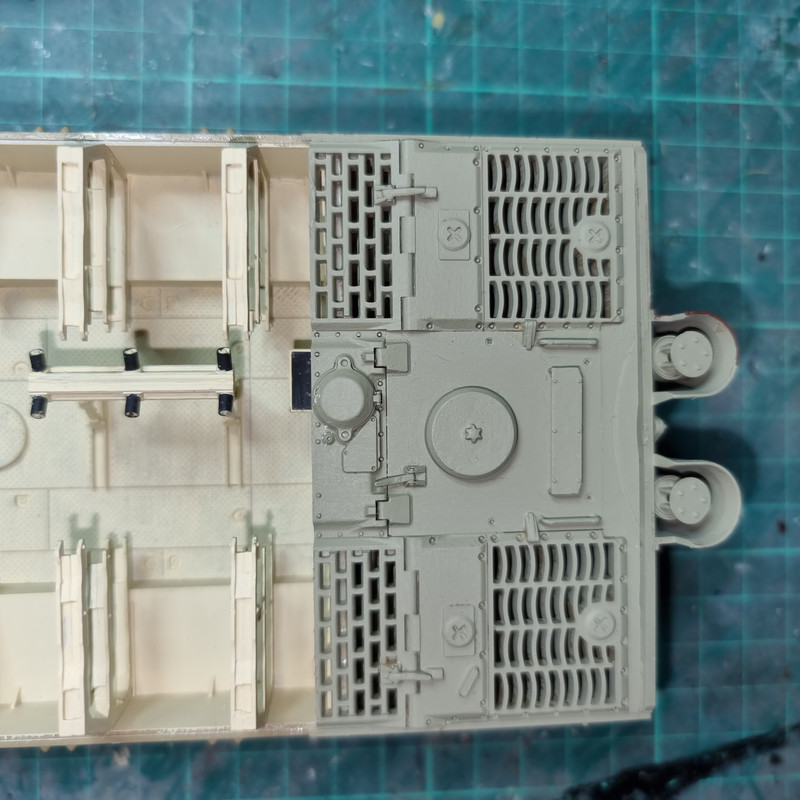
I need to get that decking off and rotated 180⁰ but so far its proving impossible to budge. So any suggestions would be much appreciated......
Re: Tiger build #5 - Sturm Tiger
Posted: Sat Feb 17, 2024 1:10 am
by RangerNeil
Success - I manged to get a jewellers screwdriver between the engine deck and the rear compartment then by dint of VERY slow levering manage to pry the front half free and up. Then carefully worked the rest loose and out. So the engine dÿeck is now on the right way around and the casemate seats properly.
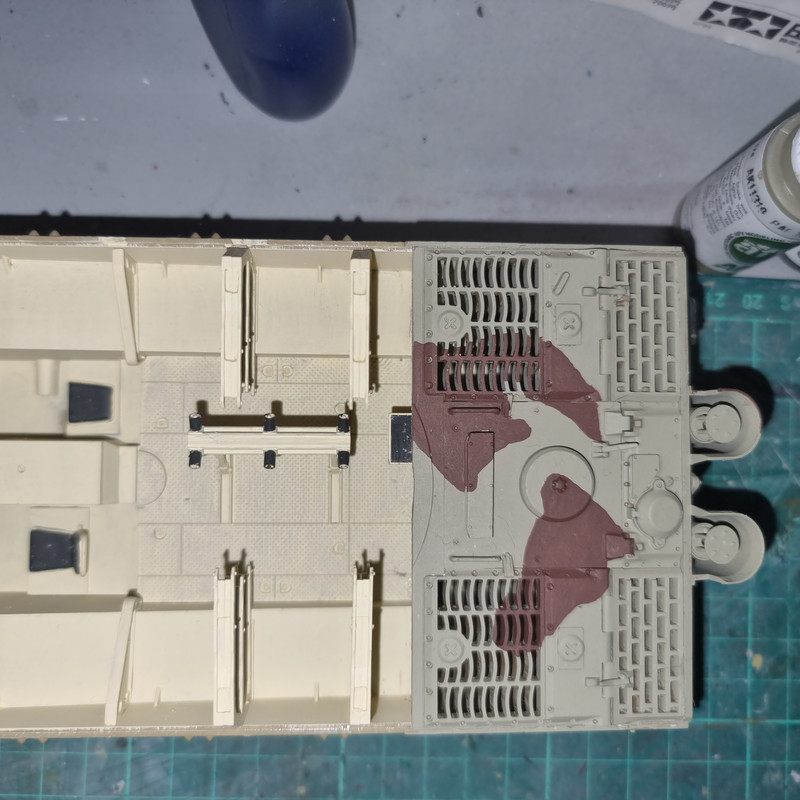
Not so good news is the decals are so old they are FUBAR - first ones I tried just disintegrated in the warm water
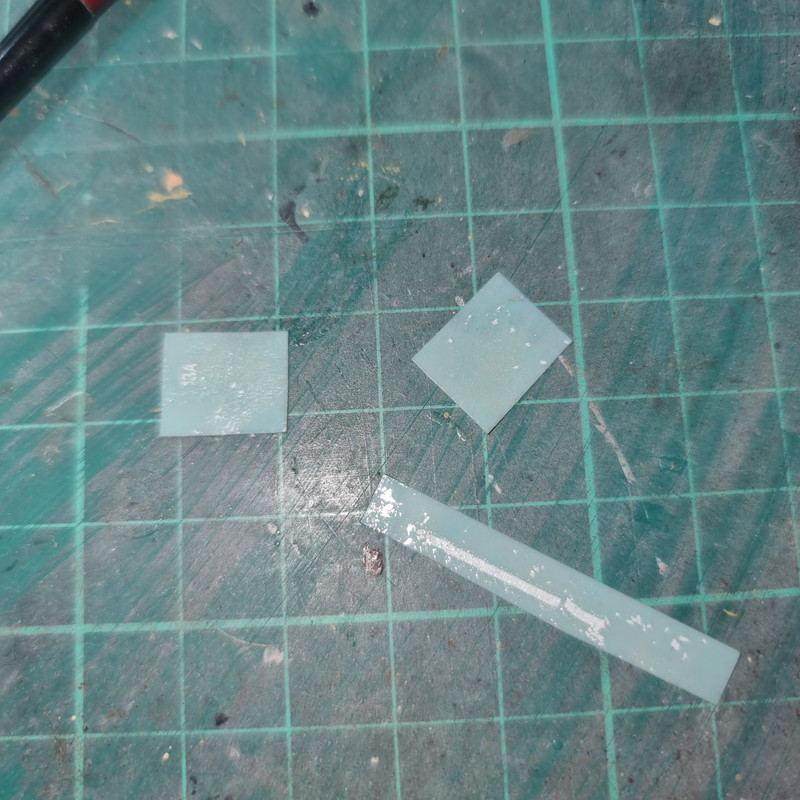
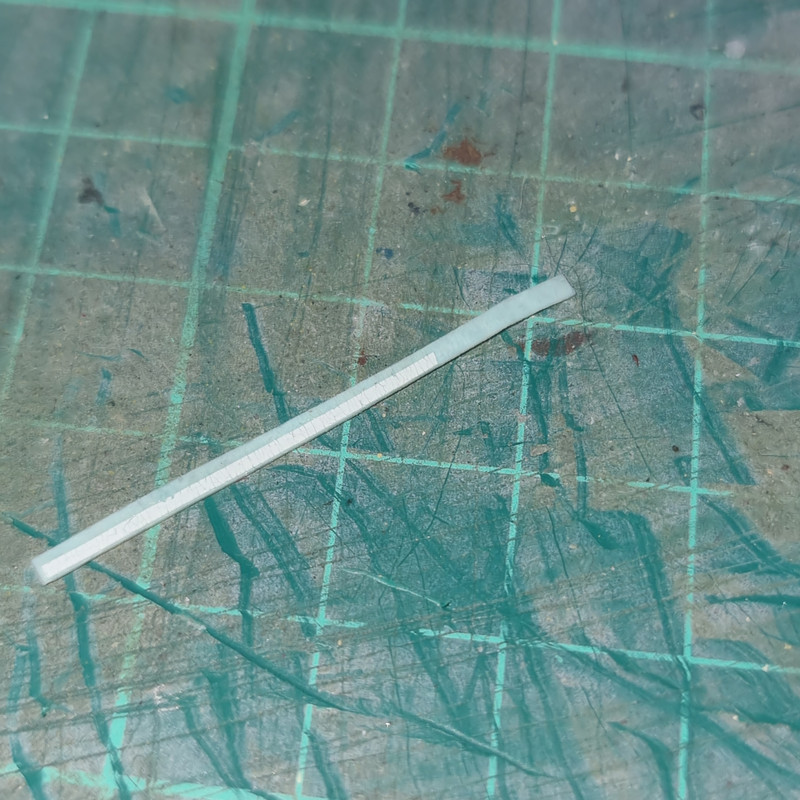
So I tried using Microscale on them, left it 20 minutes and tried again.- now they won't release from the backing sheet!! The long strip just broke into larger pieces, the stencilling won't budge at all. Stripes aren"t a problem they can be masked and painted. The stencilling IS a problem though.
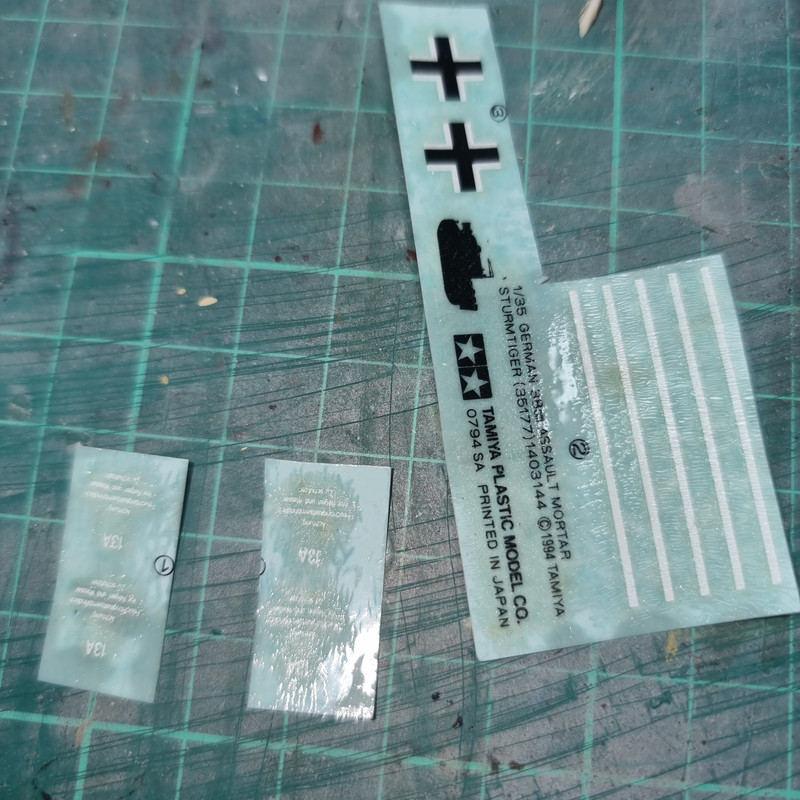
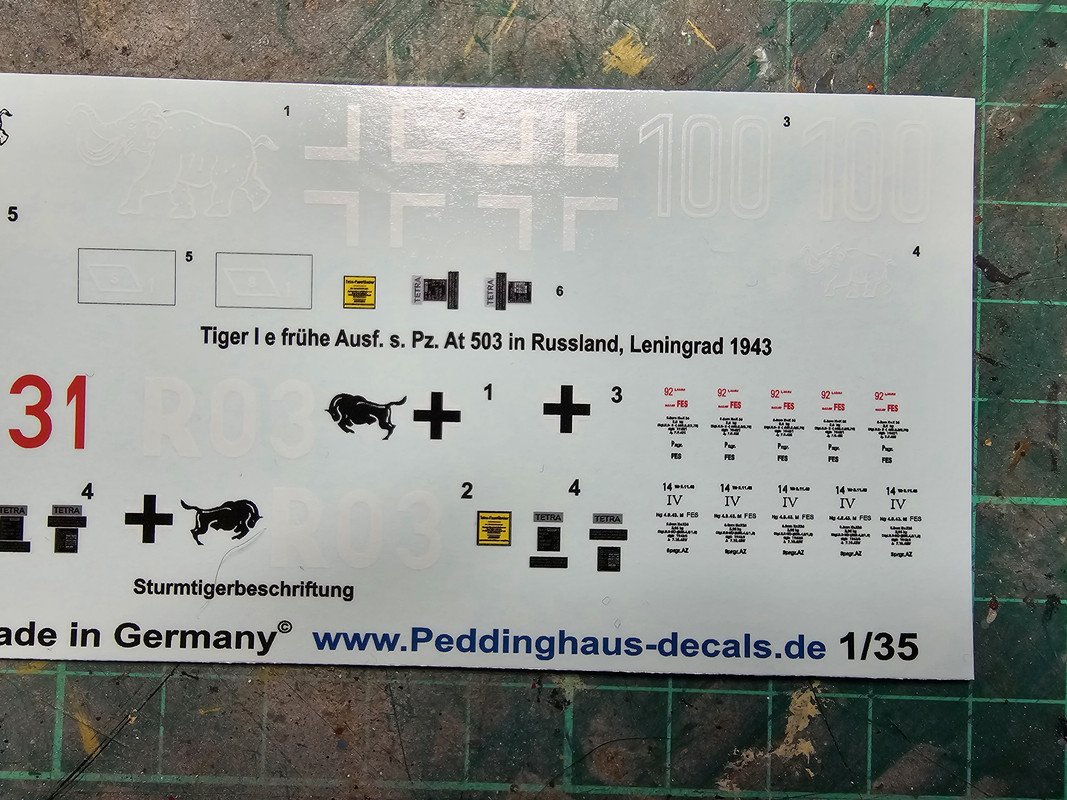
Fortunately I found a set of after-market decals that look to include these stencils. Made by Pedinghaus, code PED3234 - only superhobby were stocking them- and they estimate delivery will be around April 5th!! A long wait ... Still - hopefully the Friuhl tracks will be here before then so that woll give me a break from rubbing the Mil and the Rotodyne down.
Re: Tiger build #5 - Sturm Tiger
Posted: Sat Feb 17, 2024 3:27 am
by digger303
I have heard that "Krylon Acrylic Crystal Clear High Gloss" sprayed over old decals is the best for holding them together, unfortunately it is at least here a bit pricey at $40 per spray can if you can find it.
I need to get some really as some of my kits the decals are getting old and a can of spray should be cheaper than trying to find replacement sets.
Well done getting the deck apart without damage. Isn't it the way when you want a good bond you can't get one or when you don't need a super strong one they are really stuck well.
Re: Tiger build #5 - Sturm Tiger
Posted: Sat Feb 17, 2024 8:03 am
by Stokesy44
Nice casting texture on the hull. That gun looks like something off a steam punk kit, very funky design.
Re: Tiger build #5 - Sturm Tiger
Posted: Sat Feb 17, 2024 3:50 pm
by RangerNeil
digger303 wrote: Sat Feb 17, 2024 3:27 am
I have heard that "Krylon Acrylic Crystal Clear High Gloss" sprayed over old decals is the best for holding them together, unfortunately it is at least here a bit pricey at $40 per spray can if you can find it.
I need to get some really as some of my kits the decals are getting old and a can of spray should be cheaper than trying to find replacement sets.
Well done getting the deck apart without damage. Isn't it the way when you want a good bond you can't get one or when you don't need a super strong one they are really stuck well.
Not heard of that before, will have to have a look for it!!
Stokesy44 wrote: Sat Feb 17, 2024 8:03 am
Nice casting texture on the hull. That gun looks like something off a steam punk kit, very funky design.
Trust the Germans to come up with the weird and wonderful - that actually worked!!!
This will be the last status report for a while at least until either the tracks or the decals arrive.
Masked up the 380mm rounds this morning and airbrushed the white bands.
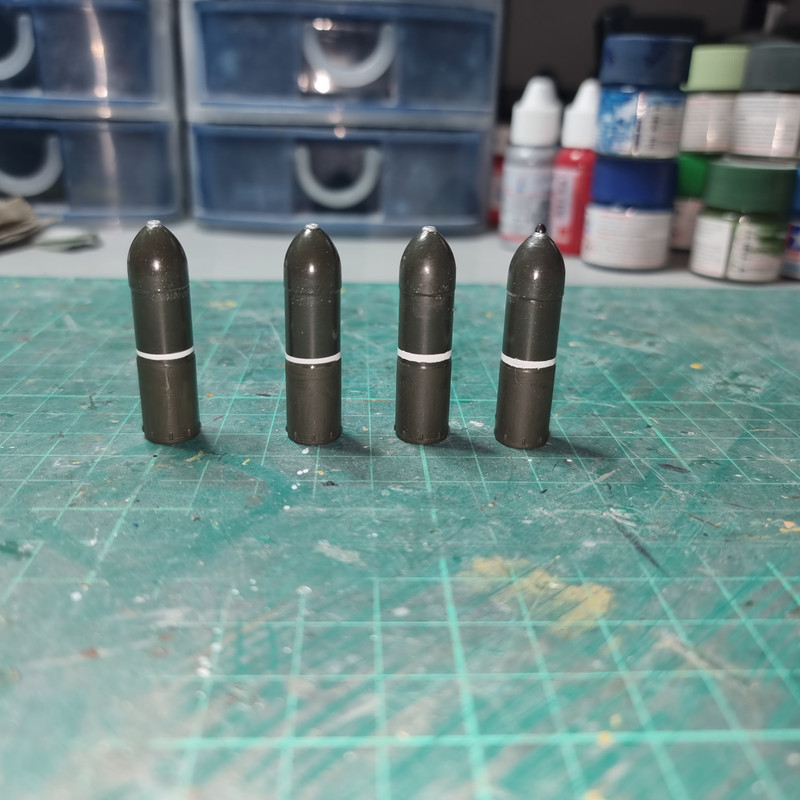
Should have used the wider tape as the bases had to be redone as will the noses.
Re: Tiger build #5 - Sturm Tiger
Posted: Thu Feb 22, 2024 2:38 pm
by RangerNeil
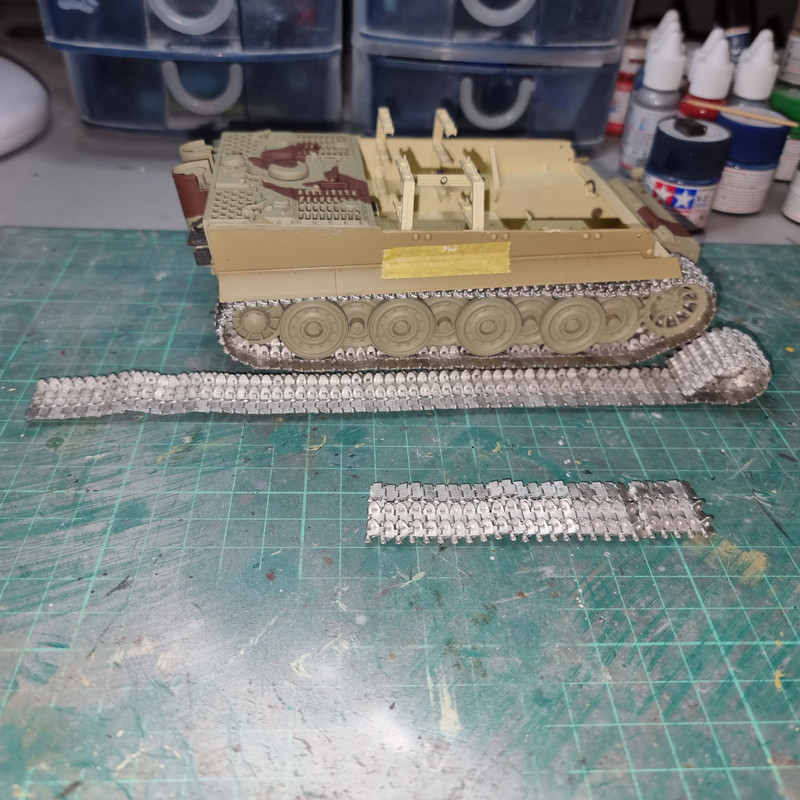
Tracks are going on to this Tiger now. One complete, one half done, once thats done too its wait for the burnishing fluid - and decals.......
Re: Tiger build #5 - Sturm Tiger
Posted: Thu Feb 22, 2024 3:06 pm
by digger303
Re: Tiger build #5 - Sturm Tiger
Posted: Sun Mar 03, 2024 11:11 pm
by RangerNeil
Tracks are awaiting extra, remedial, paintwork now. Meantime I heard from the shop selling the replacement decals, they expect deliver around March 27th.
Re: Tiger build #5 - Sturm Tiger
Posted: Thu Mar 07, 2024 11:31 pm
by RangerNeil
Re: Tiger build #5 - Sturm Tiger
Posted: Fri Mar 08, 2024 7:47 am
by Stokesy44
Tracks look good and the hull looks nice and boxey. Quite a beast
Re: Tiger build #5 - Sturm Tiger
Posted: Sun Mar 10, 2024 1:36 pm
by digger303
Re: Tiger build #5 - Sturm Tiger
Posted: Fri Apr 12, 2024 11:16 pm
by RangerNeil
Decals having arrived it was time to crack on with the Sturm Tiger...
But - as always - there was a problem. This is the set for the Sturm Tiger (decal set includes another 5 Tiger 1's):
And this is the total extent of the application instructions....
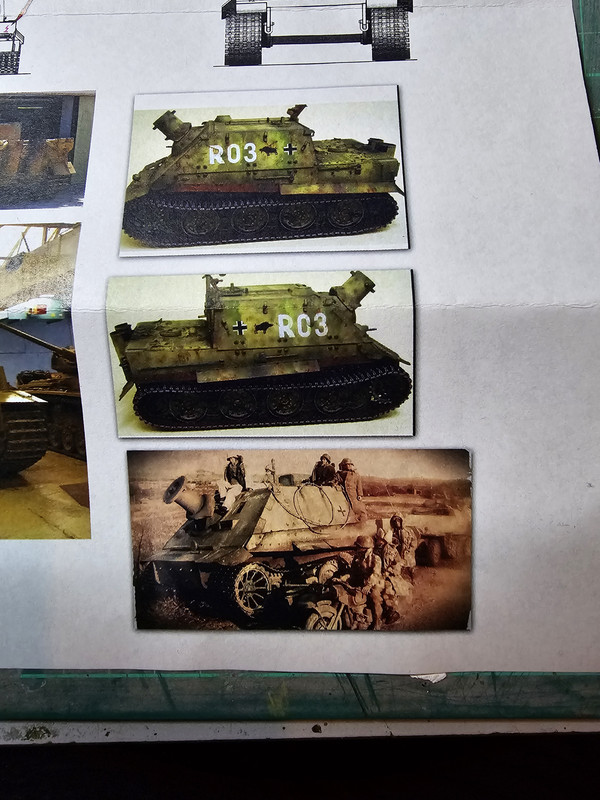
But installed it looks like this:
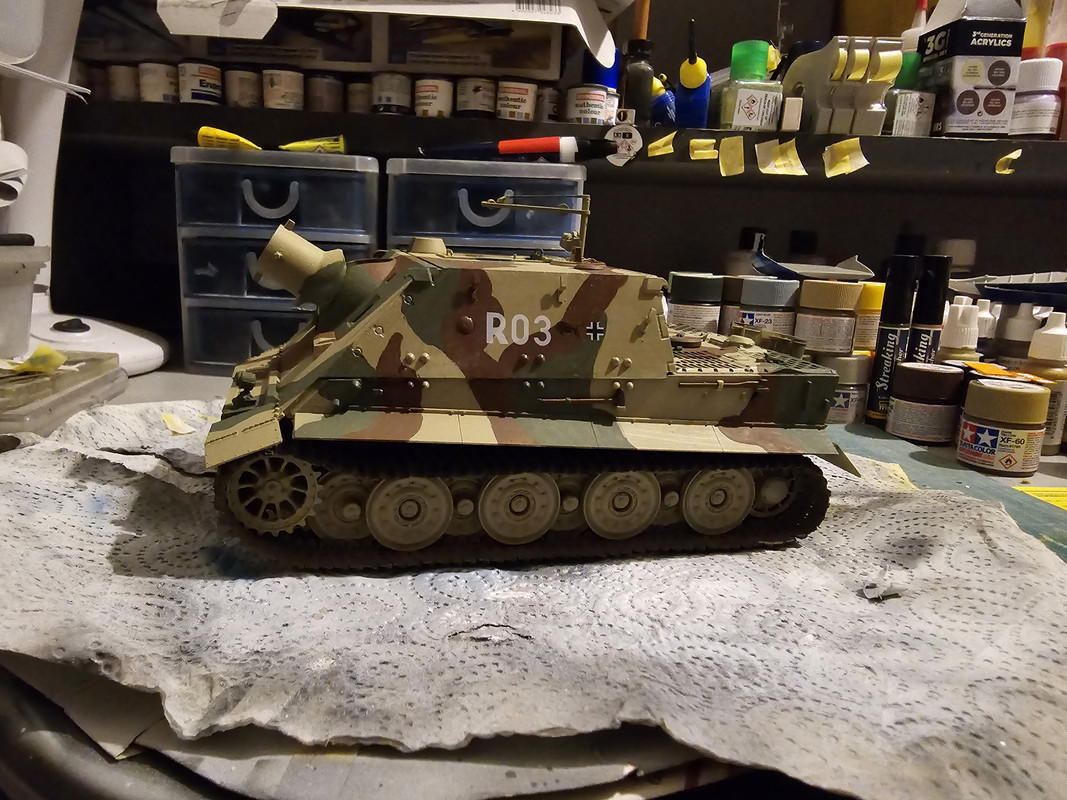
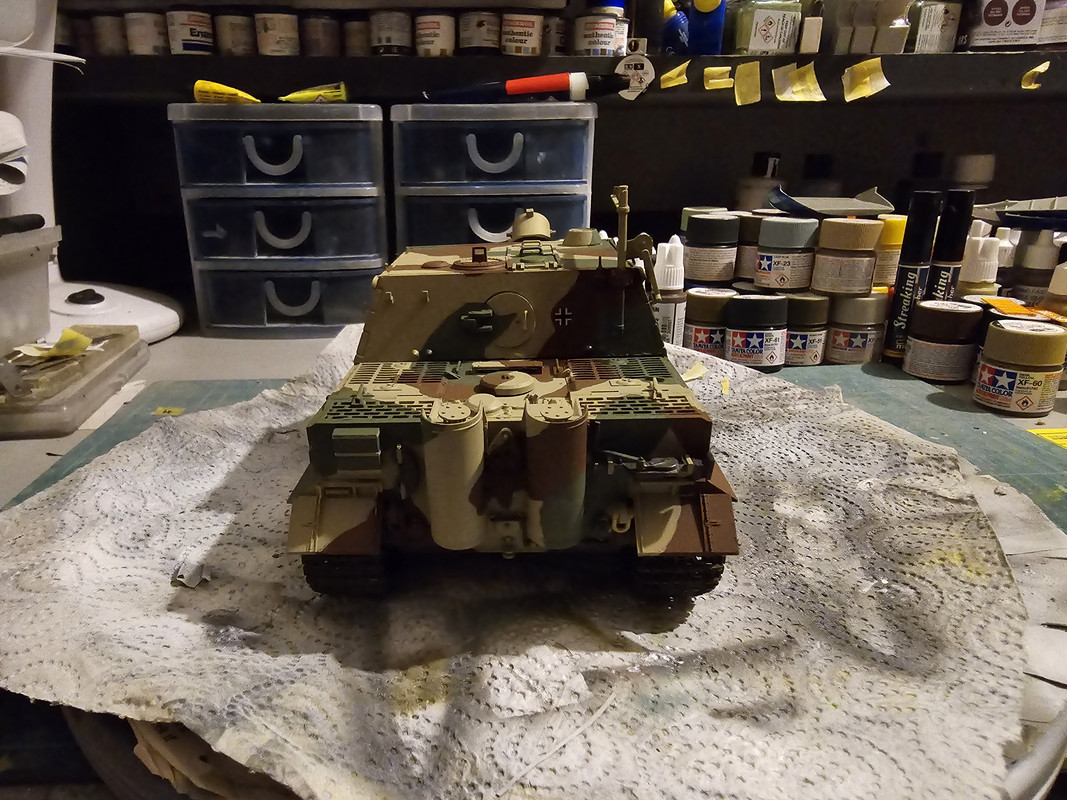
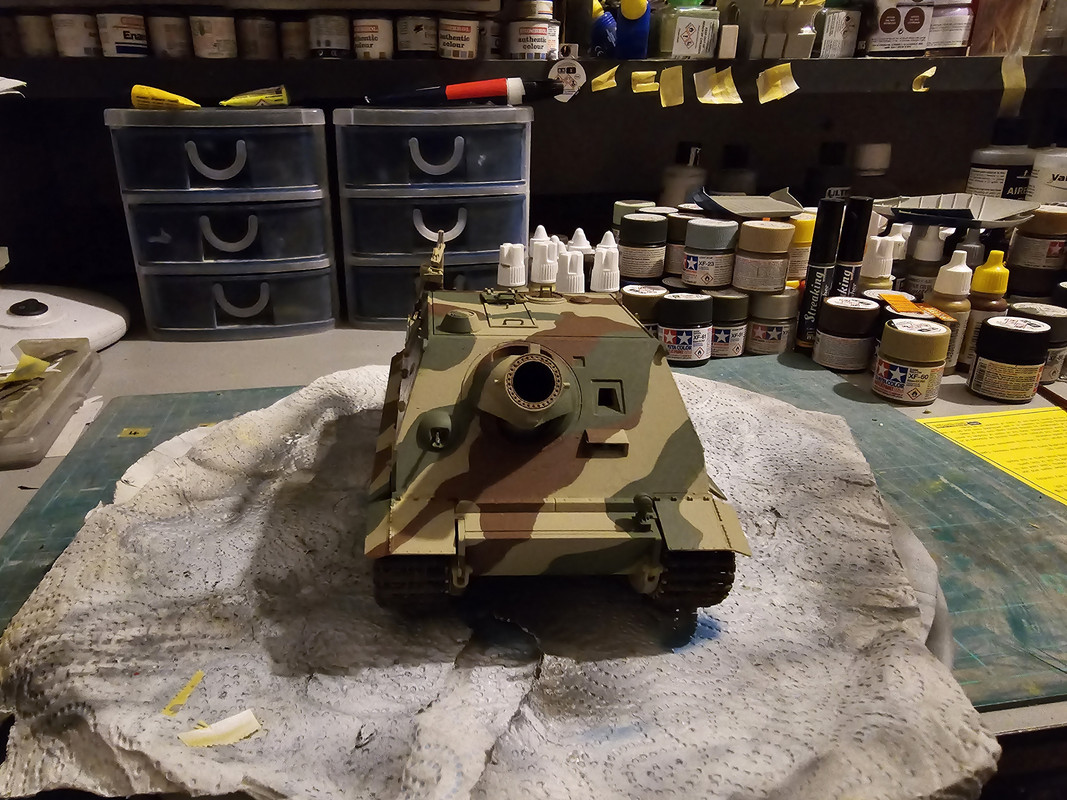
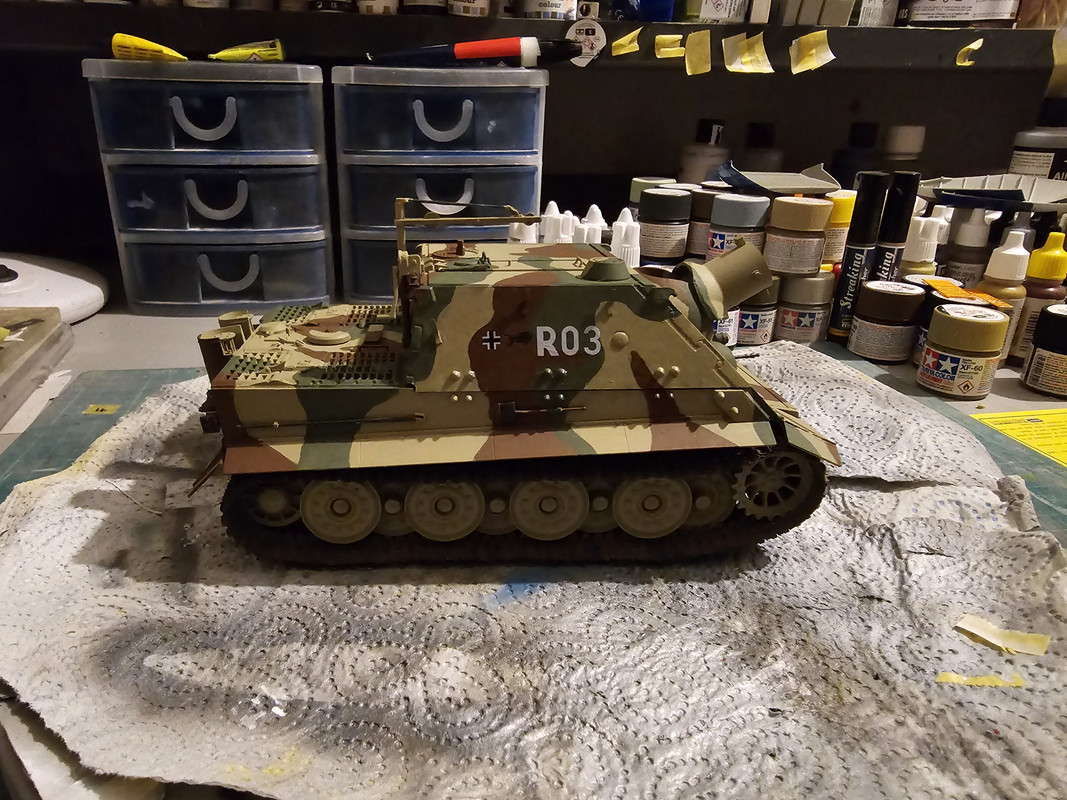
Now had a coat of matt clearcoat and is drying.
Re: Tiger build #5 - Sturm Tiger
Posted: Sat Apr 13, 2024 5:24 am
by digger303
Re: Tiger build #5 - Sturm Tiger
Posted: Sat Apr 13, 2024 8:24 am
by Stokesy44
Good work, cant wait to see how you batter and weather it up!

Re: Tiger build #5 - Sturm Tiger
Posted: Sat Apr 13, 2024 3:24 pm
by RangerNeil
Thanks guys.
This one is for my "display" of the Tiger family - just got the Mid- and Late- production Tiger 1's to do to complete it.
I've got another Sturm Tiger on order and that one will look like its gone through the mangler once finished -probably in a small diorama setting.