Page 1 of 1
Imperial 109
Posted: Sun May 12, 2024 2:31 am
by RangerNeil
Had any one ever read this book about the adventures of the crew & passengers of an Imperial Airways C Class flying boat? If not I can recommend it.
Anyways there was I sitting looking at the off-cut from the base of the big Mil 's display wondering what I could do with it when my eyes caught this book on the bookshelves and the cogs started tirning. Slowly I grant you but turning nonetheless.
I got to thinking - could I modify a Mk 1 Sunderland into a C Class? A quick nose on Scalemate revealed no conversion kits - BUT- CMK had a resin & PE release of the C Class in their books and Hannants had two in stock. Now they have one...

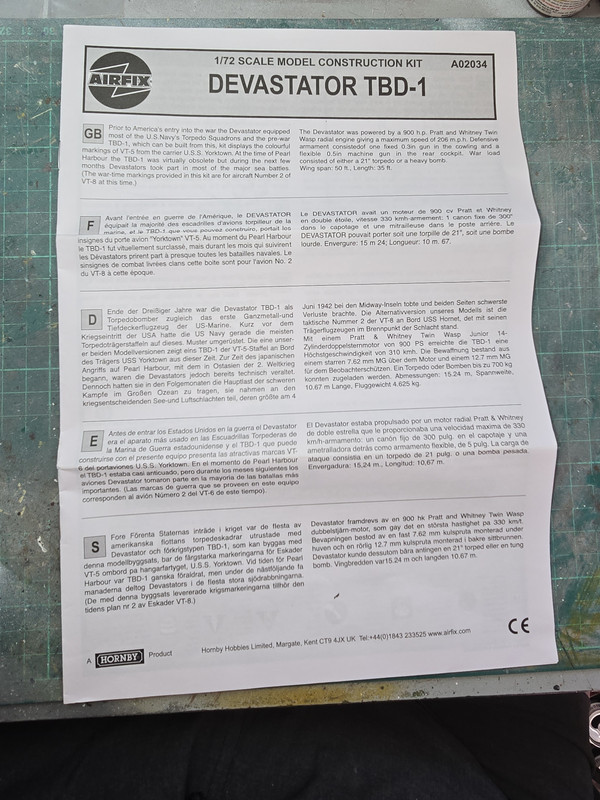
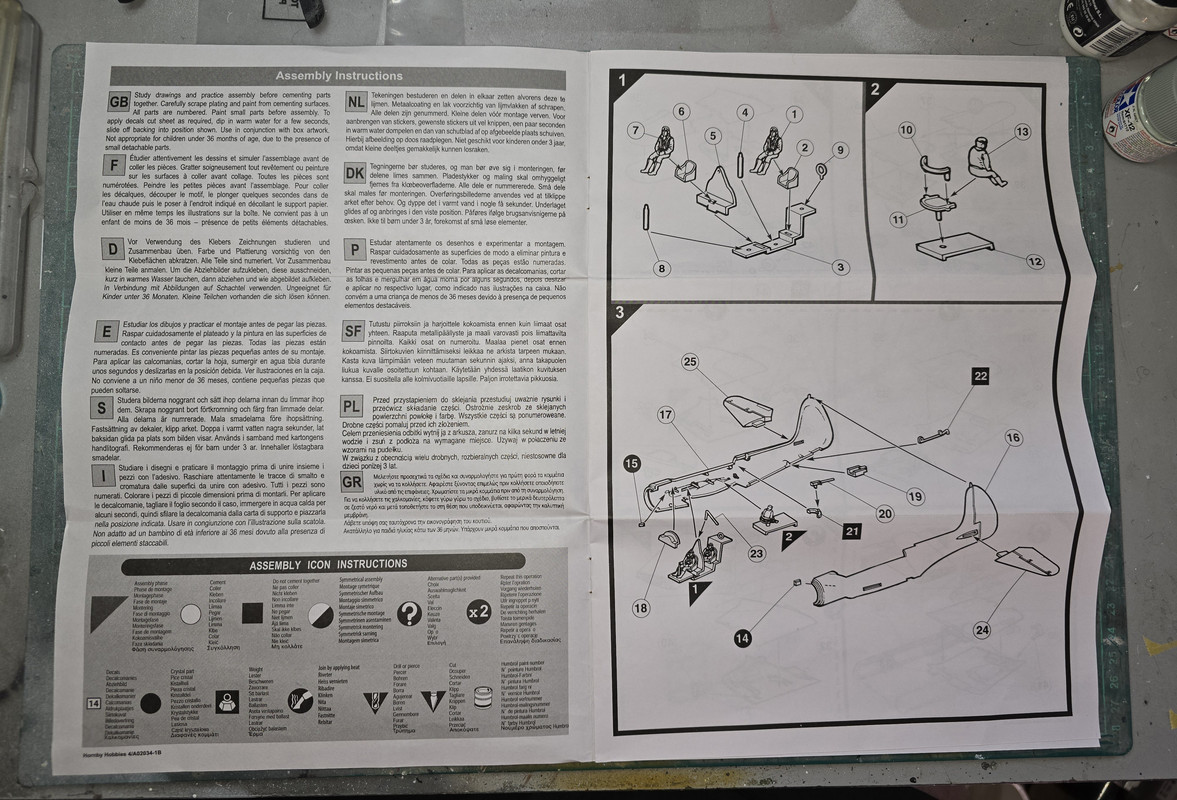
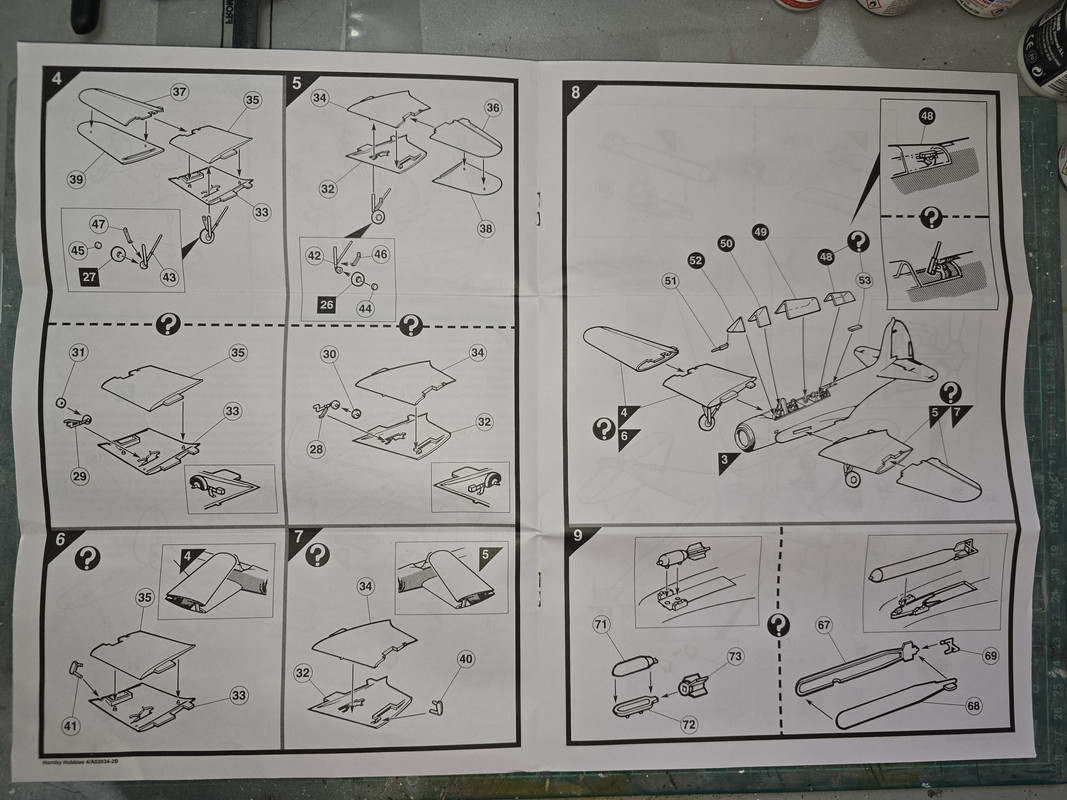
Digging on the dreaded Ebay got me the Airfix S6 float plane racer and their TBD-1 Devastator. All feature in the closes pages of the book as 109 becomes a bullion flight trans-Atlantic and - suspend all belief in reality a moment - a baddie in the US buys an S6B, cuts the wings open and installs a pair of 50 cals in each wing. Reality says he could never have bought one and first time they were fired the recoil would make the wings fold as their structure wasn't designed to cope - but this is a fiction story so.....
I am thinking a dio showing the C Class having landed on a lake, the S6 behind it being blown up onto a muddy bank by the C Class's prop wash and one of the TBD-1's, sent to intercept the fighter, passing overhead.
Watch this space!! (And read the book - it really is good)
Re: Imperial 109
Posted: Sun May 12, 2024 6:04 am
by digger303
RangerNeil wrote: Sun May 12, 2024 2:31 am
Had any one ever read this book about the adventures of the crew & passengers of an Imperial Airways C Class flying boat? If not I can recommend it.
Anyways there was I sitting looking at the off-cut from the base of the big Mil 's display wondering what I could do with it when my eyes caught this book on the bookshelves and the cogs started tirning. Slowly I grant you but turning nonetheless.
I got to thinking - could I modify a Mk 1 Sunderland into a C Class? A quick nose on Scalemate revealed no conversion kits - BUT- CMK had a resin & PE release of the C Class in their books and Hannants had two in stock. Now they have one...
Digging on the dreaded Ebay got me the Airfix S6 float plane racer and their TBD-1 Devastator. All feature in the closes pages of the book as 109 becomes a bullion flight trans-Atlantic and - suspend all belief in reality a moment - a baddie in the US buys an S6B, cuts the wings open and installs a pair of 50 cals in each wing. Reality says he could never have bought one and first time they were fired the recoil would make the wings fold as their structure wasn't designed to cope - but this is a fiction story so.....
I am thinking a dio showing the C Class having landed on a lake, the S6 behind it being blown up onto a muddy bank by the C Class's prop wash and one of the TBD-1's, sent to intercept the fighter, passing overhead.
Watch this space!! (And read the book - it really is good)
From 2009 ...bit of a long shot and not sure if it's the right one.
"I am now offering the above conversion kit, for those of you who have an Airfix Sunderland kit lying about that doesn’t know what to do with itself. The resin kit includes a tapered nose, pointy tail turret plug, dorsal turret plug, and P&W engines. Also included is a small three-view plan, 1/1 fuselage diagram with window locations, and basic directions. All you have to add are some B-17/B-24 props, some tubing for stacks, some .060″ sheet styrene, and loads of patience, (plus the cost of the kit.) The cost is US$40.00, plus postage. If interested, drop me a line here, or get me directly at:
dkopher@wt.net "
Re: Imperial 109
Posted: Sun May 12, 2024 6:44 am
by Stokesy44
Sounds like a mammoth task


Re: Imperial 109
Posted: Sun May 12, 2024 3:56 pm
by RangerNeil
digger303 wrote: Sun May 12, 2024 6:04 am
From 2009 ...bit of a long shot and not sure if it's the right one.
"I am now offering the above conversion kit, for those of you who have an Airfix Sunderland kit lying about that doesn’t know what to do with itself. The resin kit includes a tapered nose, pointy tail turret plug, dorsal turret plug, and P&W engines. Also included is a small three-view plan, 1/1 fuselage diagram with window locations, and basic directions. All you have to add are some B-17/B-24 props, some tubing for stacks, some .060″ sheet styrene, and loads of patience, (plus the cost of the kit.) The cost is US$40.00, plus postage. If interested, drop me a line here, or get me directly at:
dkopher@wt.net "
Thanks for the pointer Digger - I 've actually got one of these on order from Hannants though:
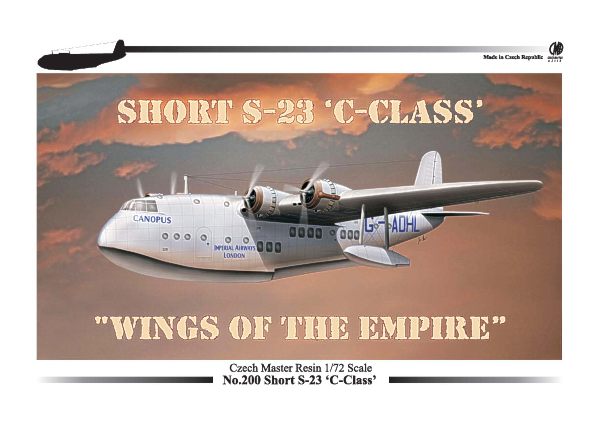
A complete 1/72 scale C Class in resin, Edouard pe and clear parts by Czech Master Resin - Kit # CMR72-200. Its got quite good reviews online. This is an example:
https://www.internetmodeler.com/scalemo ... t_S-23.php
Together with these from the dread auction site of spousal infamy:
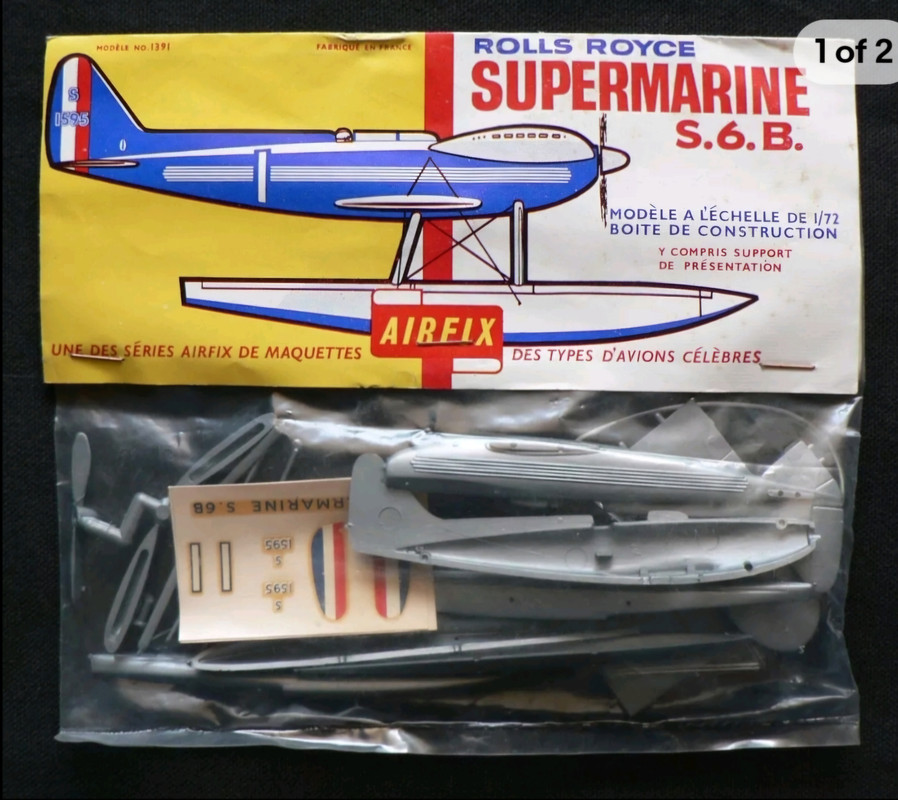
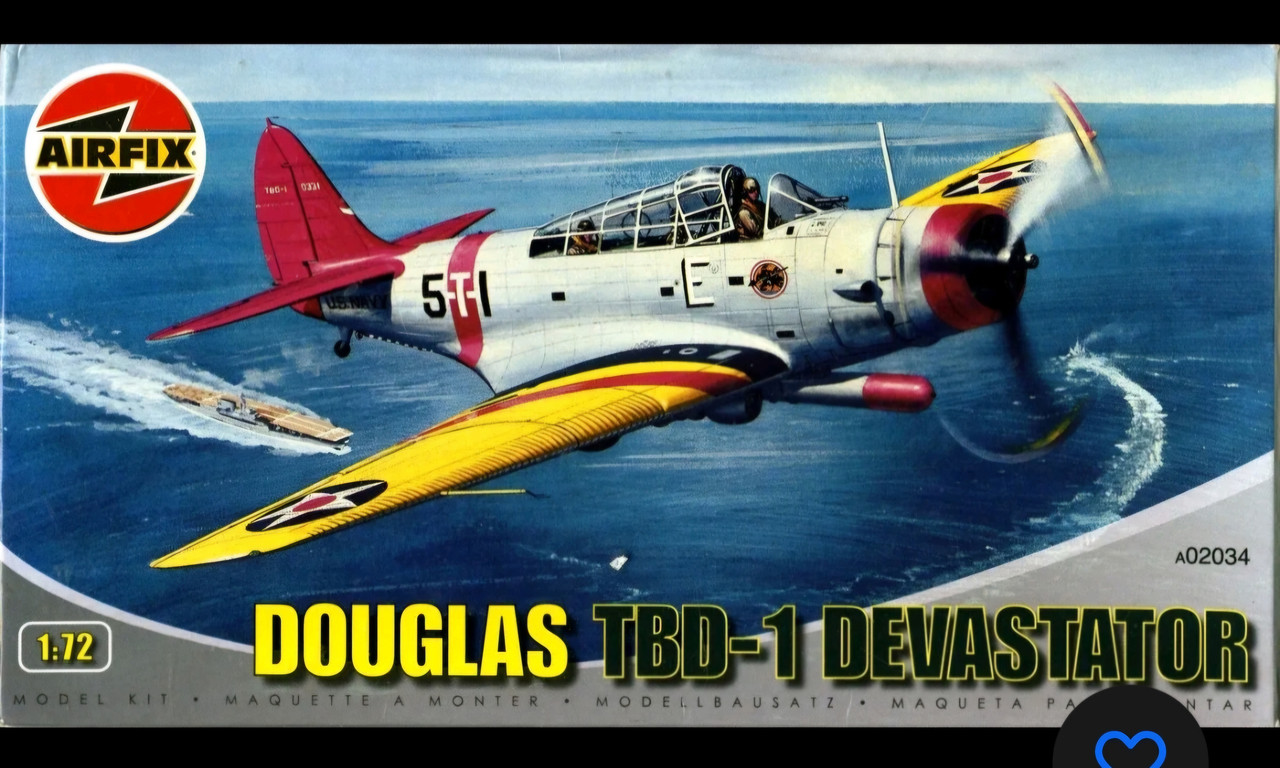
These are the three aircraft in the closing pages of the book.
Definitely going to be a BIG jobbie - not least because it will require the creation of a water diorama base and thuse use of poured resin - which I've never done before!!! If I say that quickly I don't question my sanity!!

Re: Imperial 109
Posted: Mon May 13, 2024 1:19 am
by digger303
RangerNeil wrote: Sun May 12, 2024 3:56 pm
digger303 wrote: Sun May 12, 2024 6:04 am
From 2009 ...bit of a long shot and not sure if it's the right one.
"I am now offering the above conversion kit, for those of you who have an Airfix Sunderland kit lying about that doesn’t know what to do with itself. The resin kit includes a tapered nose, pointy tail turret plug, dorsal turret plug, and P&W engines. Also included is a small three-view plan, 1/1 fuselage diagram with window locations, and basic directions. All you have to add are some B-17/B-24 props, some tubing for stacks, some .060″ sheet styrene, and loads of patience, (plus the cost of the kit.) The cost is US$40.00, plus postage. If interested, drop me a line here, or get me directly at:
dkopher@wt.net "
Thanks for the pointer Digger - I 've actually got one of these on order from Hannants though:
A complete 1/72 scale C Class in resin, Edouard pe and clear parts by Czech Master Resin - Kit # CMR72-200. Its got quite good reviews online. This is an example:
https://www.internetmodeler.com/scalemo ... t_S-23.php
Together with these from the dread auction site of spousal infamy:
These are the three aircraft in the closing pages of the book.
Definitely going to be a BIG jobbie - not least because it will require the creation of a water diorama base and thuse use of poured resin - which I've never done before!!! If I say that quickly I don't question my sanity!!
I understand now, best of luck with finding what your after no doubt it's out there somewhere.

Re: Imperial 109
Posted: Thu May 16, 2024 1:40 pm
by RangerNeil
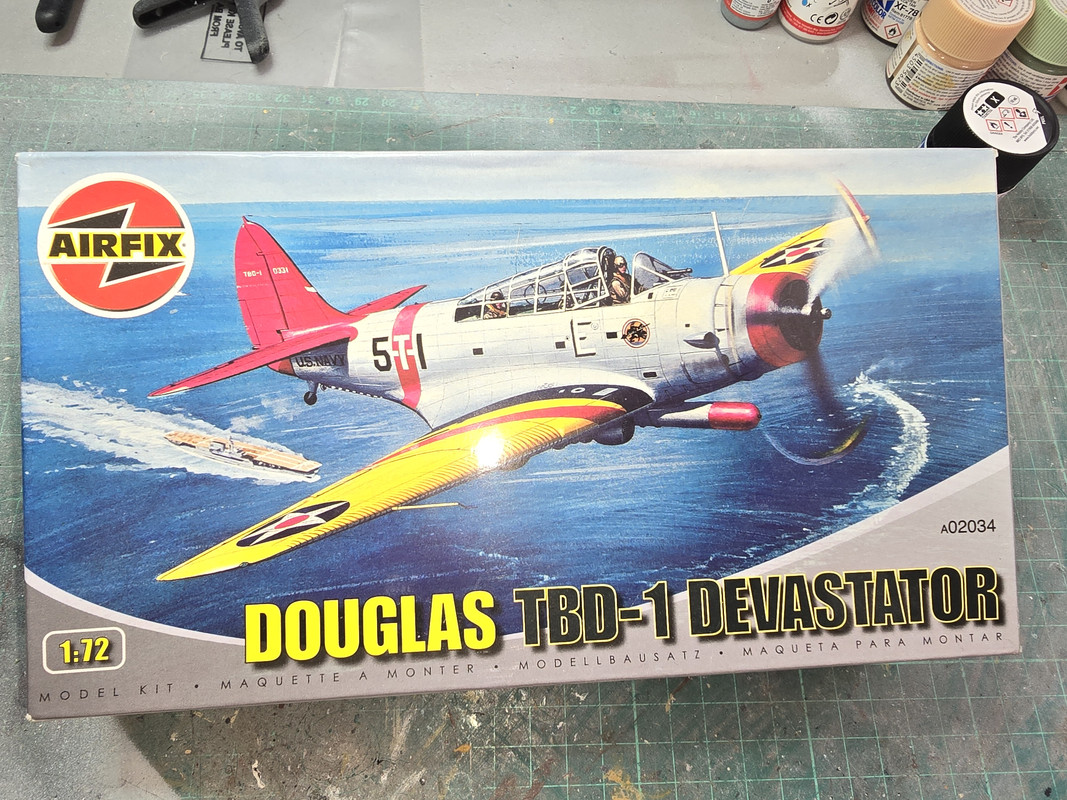
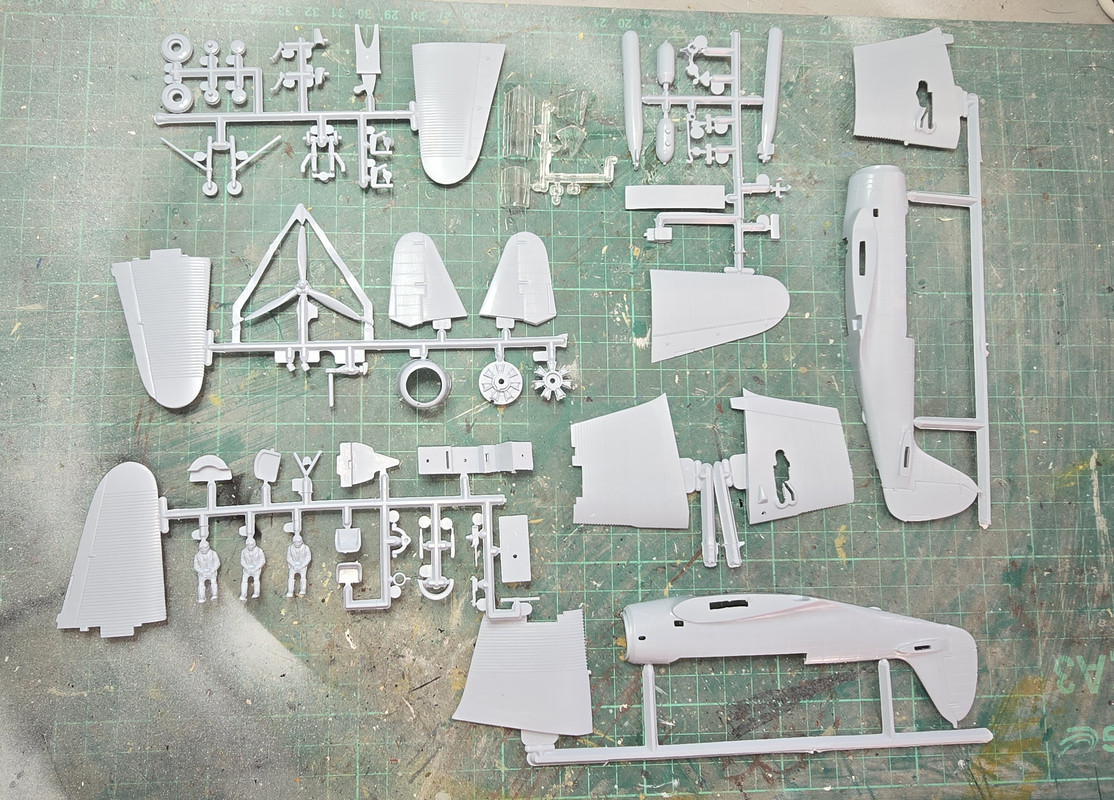
First two kits have arrived ready for when the Mil build finishes:
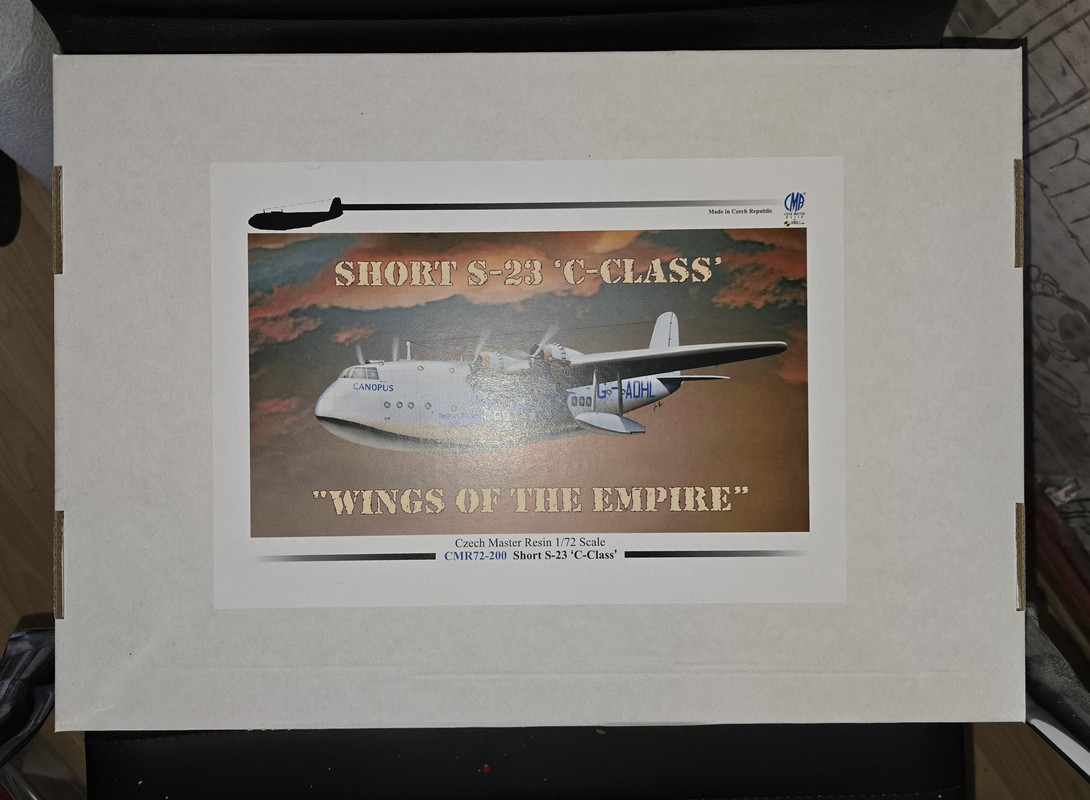
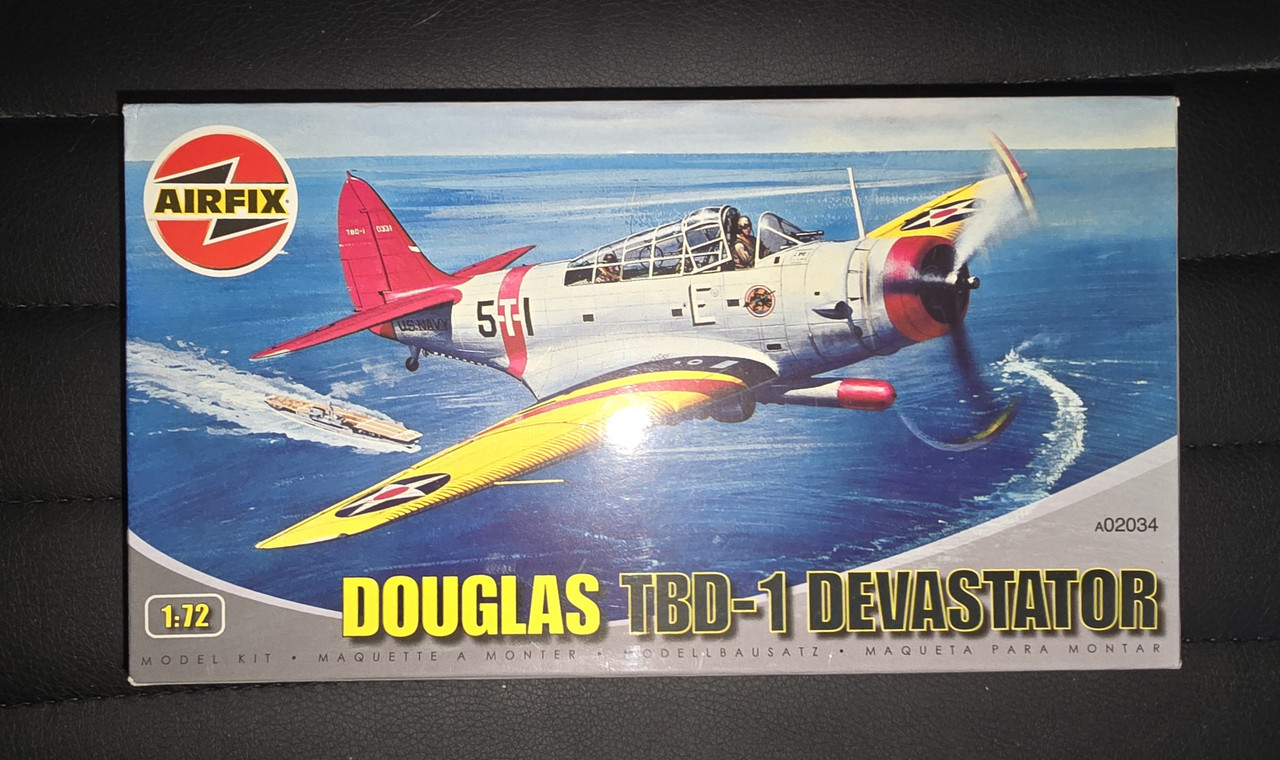
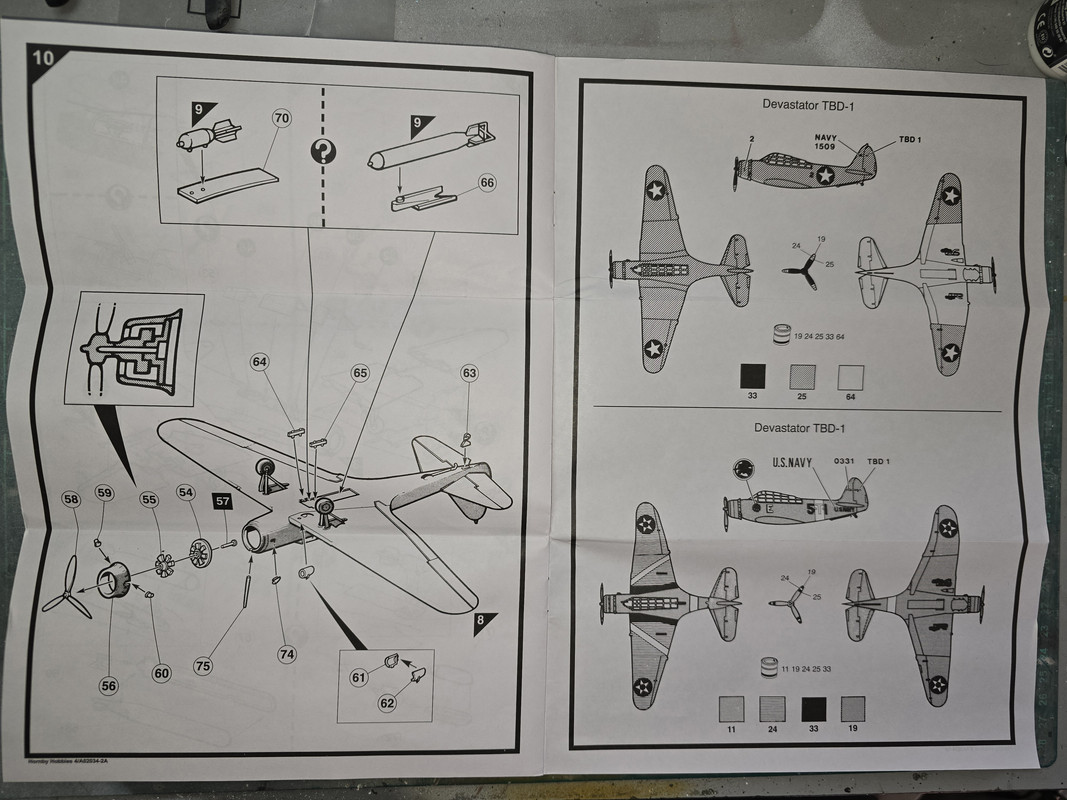
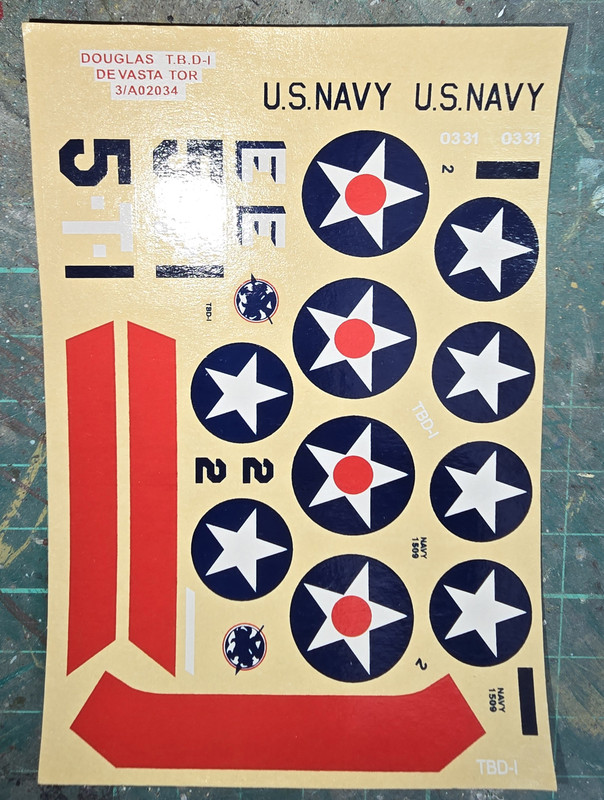
Not sure about the state of the decals in the TBD-1, this one might need another visit to Hannants for a modern decal set for pre-war TBD-1's. In the book they are Marine Corps aircraft, but a quick look on line says the Marines never operated this type in the pre-war years so the choice is either go with Navy markings or fudge up some mythical Marine markings. Going to need some thought!
The S3's are good though. I think I might have to bend things a bit though, the fictional S3 in the book is G-ADHO "Carerina", the font used for the kit decals is not one I've seen before so unless I can find a way of replicating it I might have to use G-ADHL "Canopus". Got to give this some serous thought too!!!
Nothing is ever simple...
Re: Imperial 109
Posted: Mon Jul 08, 2024 1:41 pm
by RangerNeil
Running out of display space and needed something small. So I've made a start on the S6 component of this planned dio.
These are the instructions (all in French!!)
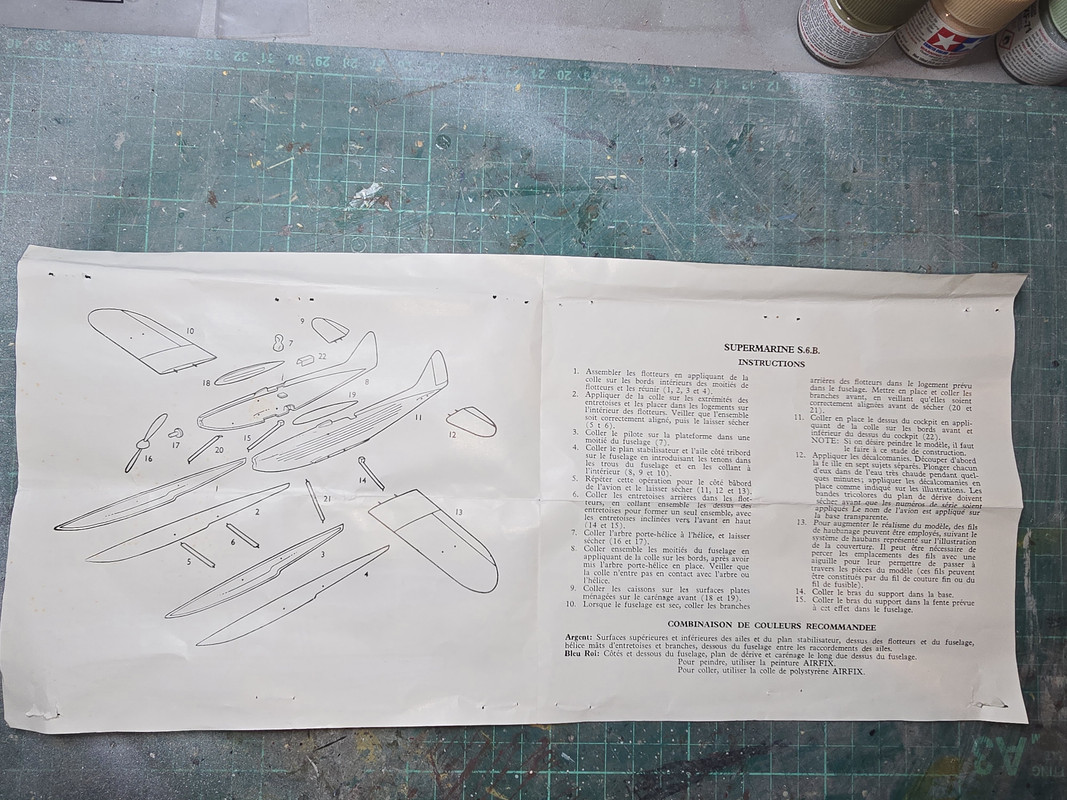
Thanks to Google Translate the English reads:
SUPERMARINE S.6.B.
INSTRUCTIONS
1. Assemble the floats by applying glue to the inside edges of the float halves and joining them together (1, 2, 3 and 4).
2. Apply glue to the ends of the spacers and place them in the slots on the inside of the floats. Make sure the assembly is correctly aligned, then let it dry (5 t 6).
3. Paste the driver on the platform in a half of the fuselage (7).
4. Glue the stabilizer plane and the wing on the starboard side to the fuselage by inserting the tenons into the holes in the fuselage and gluing them inside (8, 9 and 10).
5. Repeat this operation for the port side of the aircraft and allow it to dry (11, 12 and 13).
6. Glue the rear spacers into the floats, gluing the tops of the spacers to form a single assembly, with the spacers angled forward at the top (14 and 15).
7. Glue the propeller shaft to the propeller, and leave to dry (16 and 17).
8. Glue the fuselage halves together by applying glue to the edges, after putting the propeller shaft in place. Make sure that the glue does not come into contact with the shaft or the propeller.
9. Glue the boxes to the flat surfaces provided on the front fairing (18 and 19).
10. When the fuselage is dry, glue the rear branches of the floats in the housing provided in the fuselage. Position and glue the front branches, ensuring they are correctly aligned before drying (20 and 21)
11. Glue the cockpit top in place by applying glue to the front and bottom edges of the cockpit top (22). NOTE: If you wish to paint the model, you must do it at this stage of construction.
12. Apply decals. First cut the sheet into seven separate subjects. Immerse each of them in very hot water for a few minutes; Apply decals in place as shown in illustrations. The tricolor stripes of the drift plan must dry before the serial numbers are applied The name of the aircraft is applied to the transparent base.
13. To increase the realism of the model, guying wires can be used, following the guying system shown in the cover illustration. It may be necessary to drill out the wire locations with a needle to allow them to move to through the model parts (these wires can be made of fine sewing thread or fuse thread).
14. Glue the support arm into the base.
15. Glue the support arm into the slot provided for this purpose in the fuselage.
COMBINATION
Silver: Upper and lower surfaces of the wings and stabilizer plane, top ,propeller masts with spacers and branches, underside of the fuselage between the wing connections. Royal Blue: Sides and underside of the fuselage, fin plane and fairing along the top
To paint, use AIRFIX paint. To glue, use AIRFIX polystyrene glue.
Gotta love the wonders of modern technology... Especially as my French is virtually non-existent!
Anyways - on to the actual build. This is the sprue!
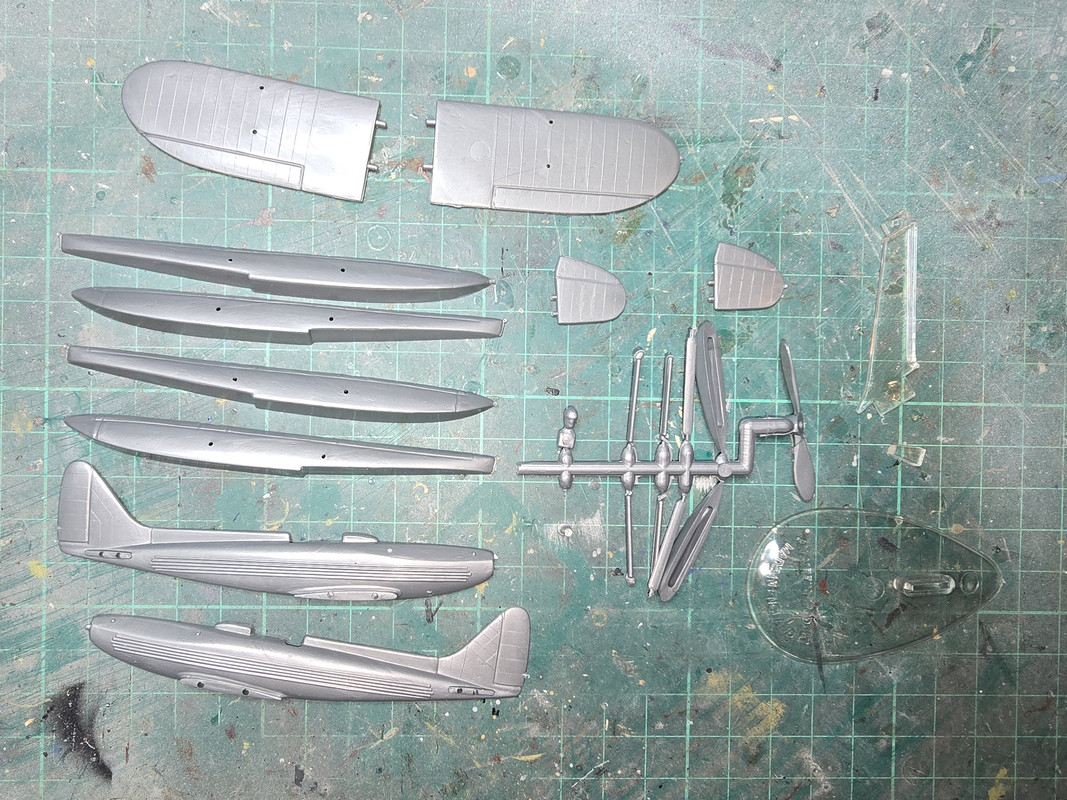
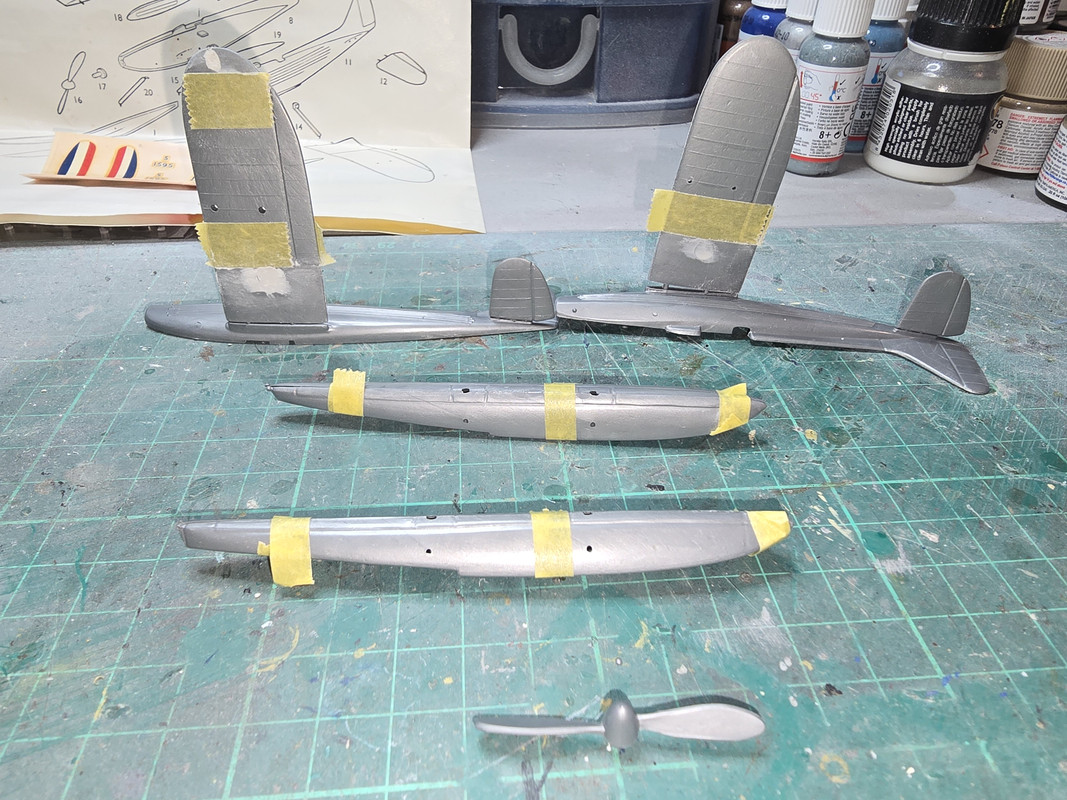
Again its a very basic kit! 22 parts plus a stand (that dates it, doesn't it?) First op as described above was joining the float halves. Sounds easy - wasn't. Absolutely no location methods so it was a case of align by eye and feel then tape and TET. They were then set aside to dry.
Next up - the wings and tail planes. The tail planes were OK but both wings had ejector pin marks either side - fortunately not on the ribbed sectìon and one had a "scar" on a tip where it had seemingly been pulled off a sprue, also fortunately missing the ribbed section, so that had to filled too. Again these were set aside overnight.
Final step for the night was the prop. Fitting the pin in the back then sitting it in a fuselage half revealed the pin was some 3mm too long so that was cut down until it was a good fit then the pin was secured in the hub with Contacta.
Re: Imperial 109
Posted: Mon Jul 08, 2024 3:35 pm
by digger303
RangerNeil wrote: Thu May 16, 2024 1:40 pm
First two kits have arrived ready for when the Mil build finishes:
Not sure about the state of the decals in the TBD-1, this one might need another visit to Hannants for a modern decal set for pre-war TBD-1's. In the book they are Marine Corps aircraft, but a quick look on line says the Marines never operated this type in the pre-war years so the choice is either go with Navy markings or fudge up some mythical Marine markings. Going to need some thought!
The S3's are good though. I think I might have to bend things a bit though, the fictional S3 in the book is G-ADHO "Carerina", the font used for the kit decals is not one I've seen before so unless I can find a way of replicating it I might have to use G-ADHL "Canopus". Got to give this some serous thought too!!!
Nothing is ever simple...
Nice Empire flying boat.
I think the float plane ver of the TB-1 and there was only one was used to test torpedoes, but I'm not totally sure about that.
Re: Imperial 109
Posted: Mon Jul 08, 2024 4:21 pm
by RangerNeil
digger303 wrote: Mon Jul 08, 2024 3:35 pm
RangerNeil wrote: Thu May 16, 2024 1:40 pm
First two kits have arrived ready for when the Mil build finishes:
Not sure about the state of the decals in the TBD-1, this one might need another visit to Hannants for a modern decal set for pre-war TBD-1's. In the book they are Marine Corps aircraft, but a quick look on line says the Marines never operated this type in the pre-war years so the choice is either go with Navy markings or fudge up some mythical Marine markings. Going to need some thought!
The S3's are good though. I think I might have to bend things a bit though, the fictional S3 in the book is G-ADHO "Carerina", the font used for the kit decals is not one I've seen before so unless I can find a way of replicating it I might have to use G-ADHL "Canopus". Got to give this some serous thought too!!!
Nothing is ever simple...
Nice Empire flying boat.
I think the float plane ver of the TB-1 and there was only one was used to test torpedoes, but I'm not totally sure about that.
In the book there are a pair of TBD-1's involved (both get shot down although one rams the S6 mid-air thus saving the C class - both normal versions but described as US Marines aircraft. Research indicates the USMC never operated TBD-1's pre war so I'll stick with the USN markings when I get around to it.
Re: Imperial 109
Posted: Tue Jul 09, 2024 2:39 am
by RangerNeil
Sanded the filler on the ejection pin marks and the scarred wing tip tonight then fitted them to the fuselage halves:
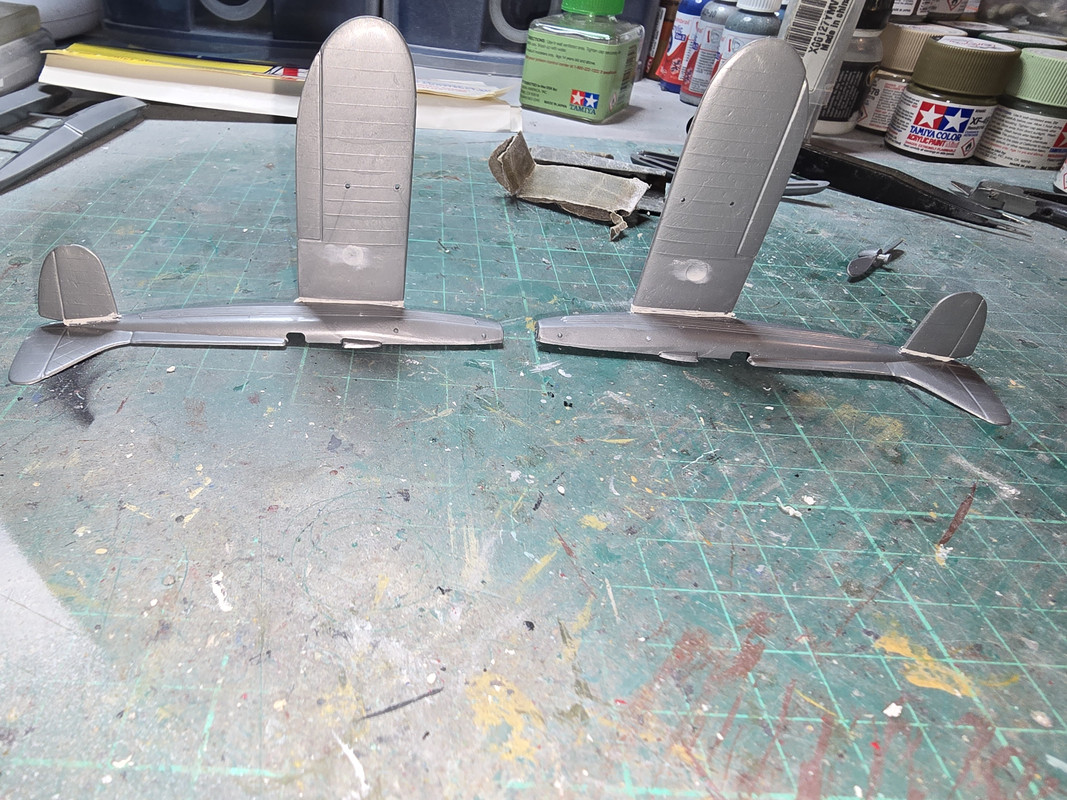
Then filled and sanded the wing and tail plane roots before joining the two fuselage halves together. There was an issue with the joining, Airfix provide 2 locating pins, one forward,one aft. Oh good thinks I - an easy join. WRONG!!

Locate the aft pin and the forwards one won't. Locate the aft one and the forwards one won't go in. Doh!!!

experimenting found if the aft pin were located everything else lined whereas if the forward one was then everything was out by a couple of mm or thereabouts. So - I cut the front pin off!
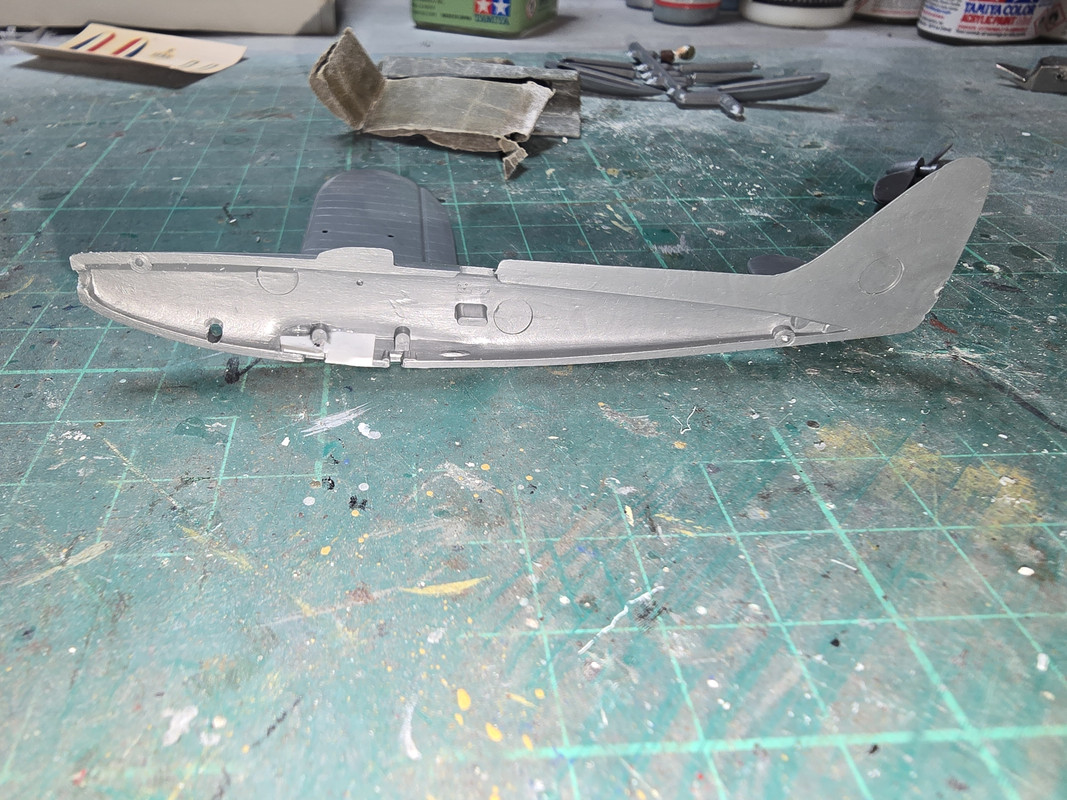
And joined the fuselage halves:
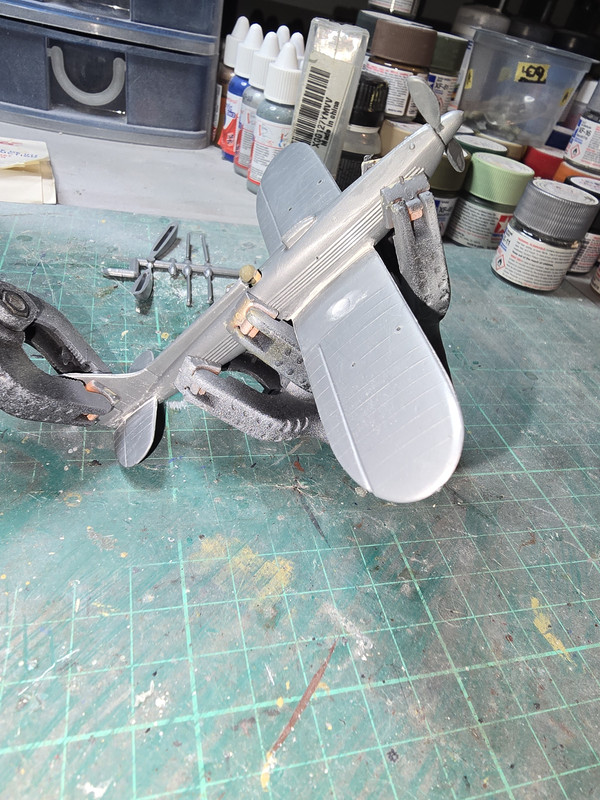
I also joined the pair of floats up using the horizontal brace pair:
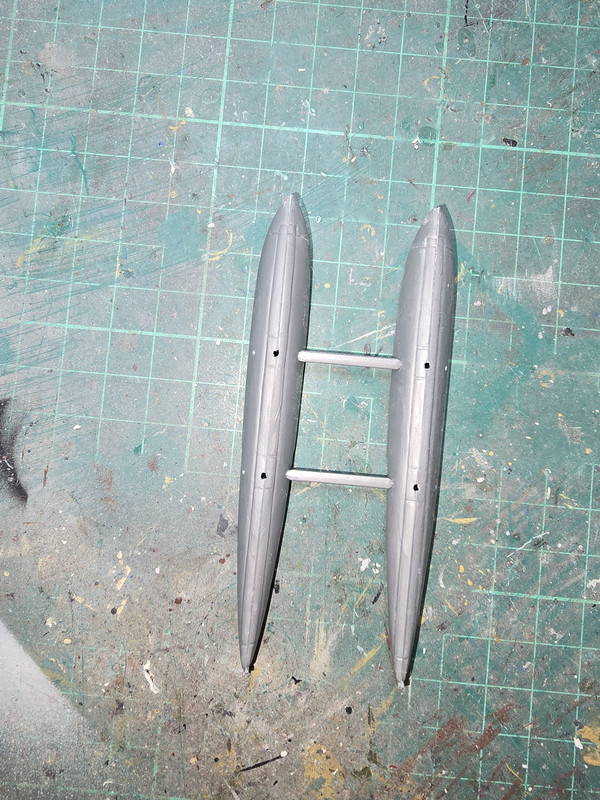
We are getting there slowly but surely !!!
Re: Imperial 109
Posted: Tue Jul 09, 2024 6:05 am
by digger303
Re: Imperial 109
Posted: Tue Jul 09, 2024 9:28 am
by RangerNeil
Its a very old kit Digger - according to Scalemates it was first released in 1957, the artwork on this one dates to 1959!! I was 3 then so the kit is over 64 years old!!! If it were to be released on new tooling today I'm sure it would be far higher quality inside and out. I'm counting myself lucky it was only the wings that had ejector pin parks on visible surfaces.
Re: Imperial 109
Posted: Tue Jul 09, 2024 10:36 am
by digger303
Re: Imperial 109
Posted: Tue Jul 09, 2024 10:54 am
by RangerNeil
What ones? And, more importantly, how much? I could be open to an SE5a and/or an Albatross Scout at the right price!
Re: Imperial 109
Posted: Tue Jul 09, 2024 3:20 pm
by digger303
RangerNeil wrote: Tue Jul 09, 2024 10:54 am
What ones? And, more importantly, how much? I could be open to an SE5a and/or an Albatross Scout at the right price!
Well they aren't cheap, but maybe with the currency factor it might be good for you.Can't see any SE5'S or scouts , but there is a couple of Albatross's.
https://spruefinders.com.au/collections ... -32?page=1
Re: Imperial 109
Posted: Thu Jul 11, 2024 1:14 am
by RangerNeil
More progress.The two cylinder head covers are now on and the slight gaps filled.
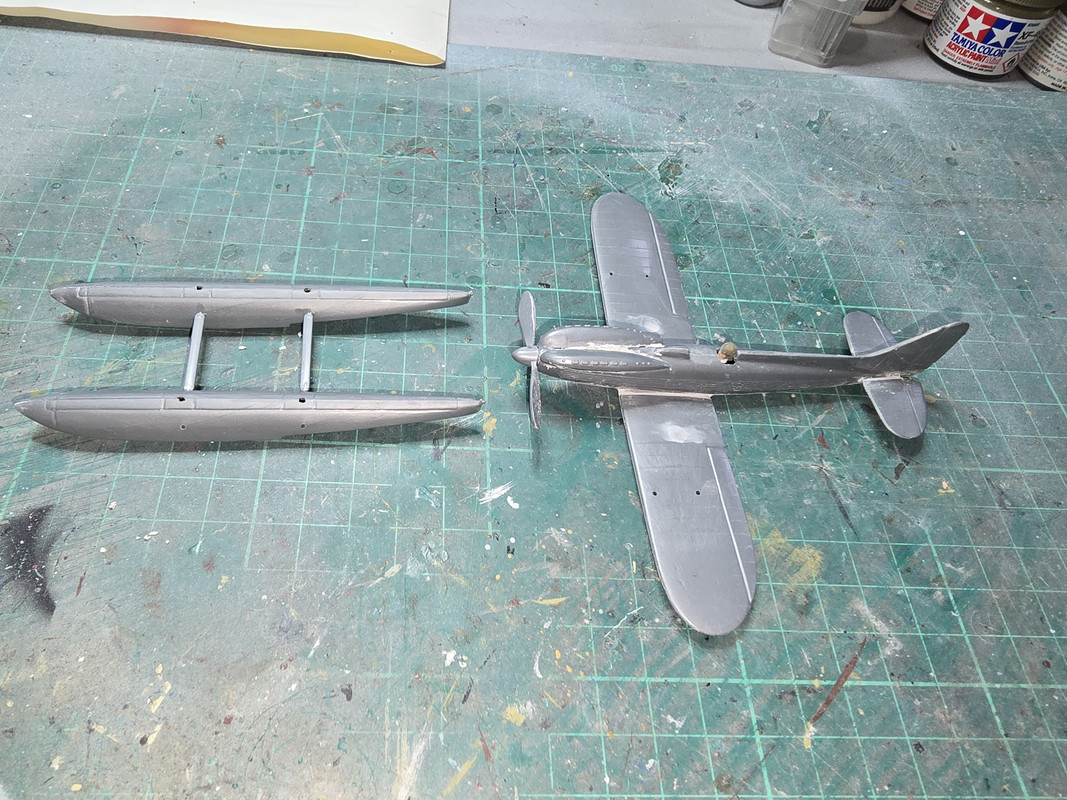
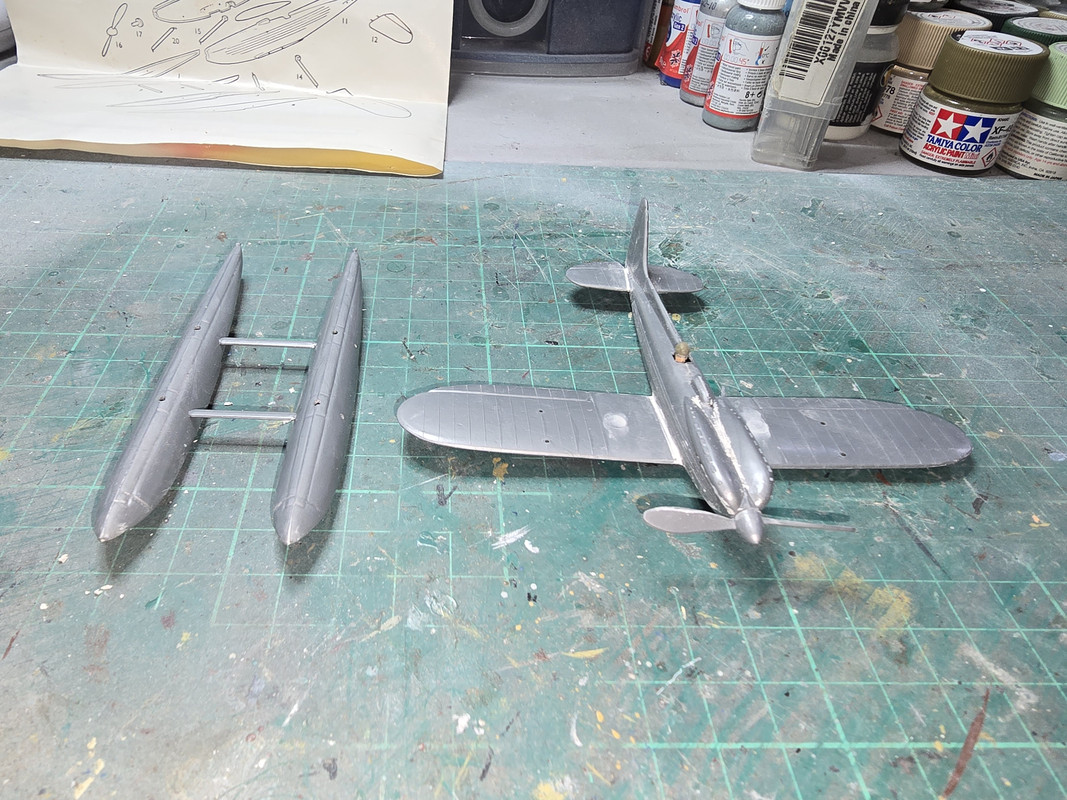
The support struts are fitted to the fuselage:
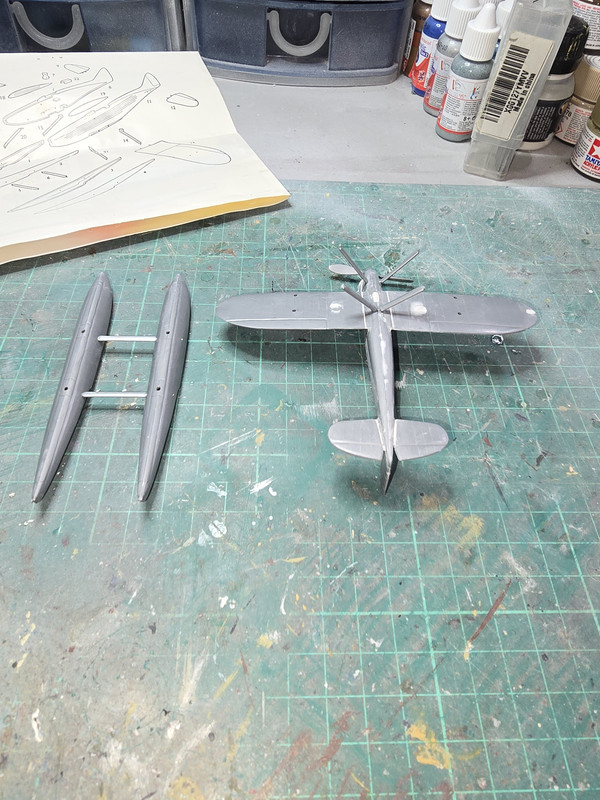
And I found another slight problem - the rear struts were missing the locating pins to go in the floats!! I'm thinking it may be a "short shot issue. But it needed fixing so a couple of VERY small pieces of plastic rod later... (it looks ugly but remember they won't be seen)
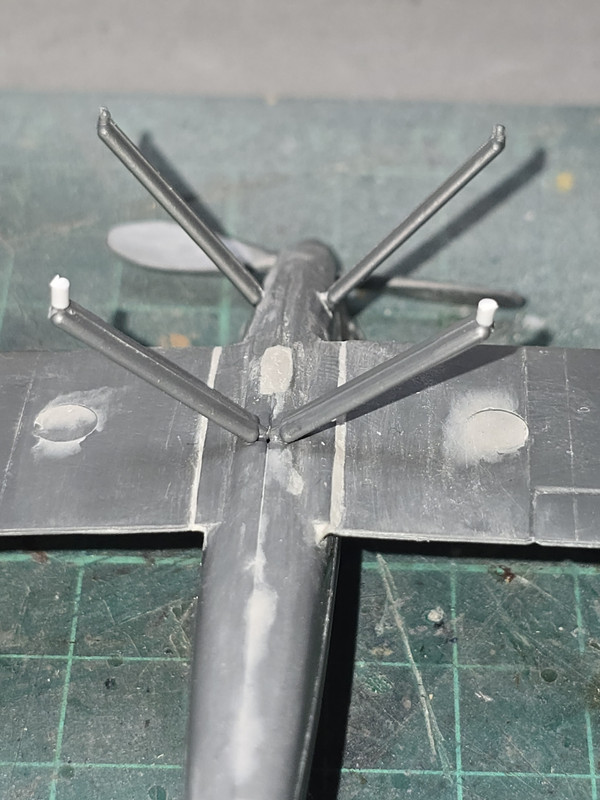
And just to prove they work - dry fit only for now....
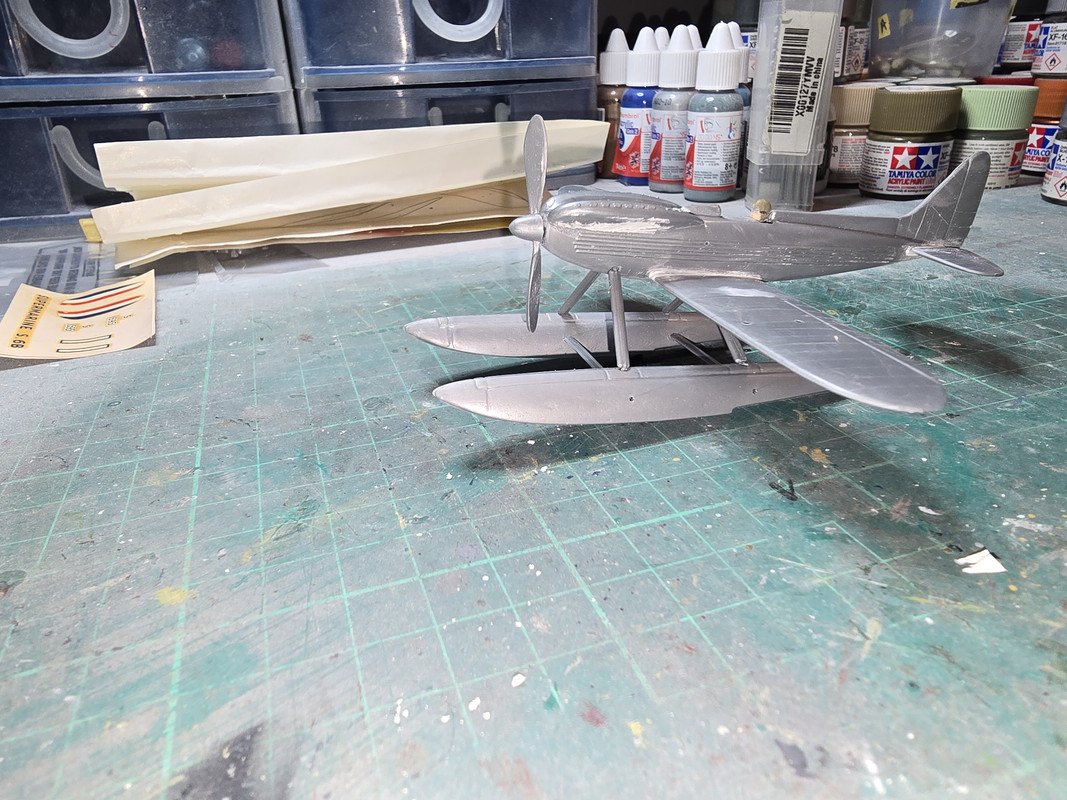
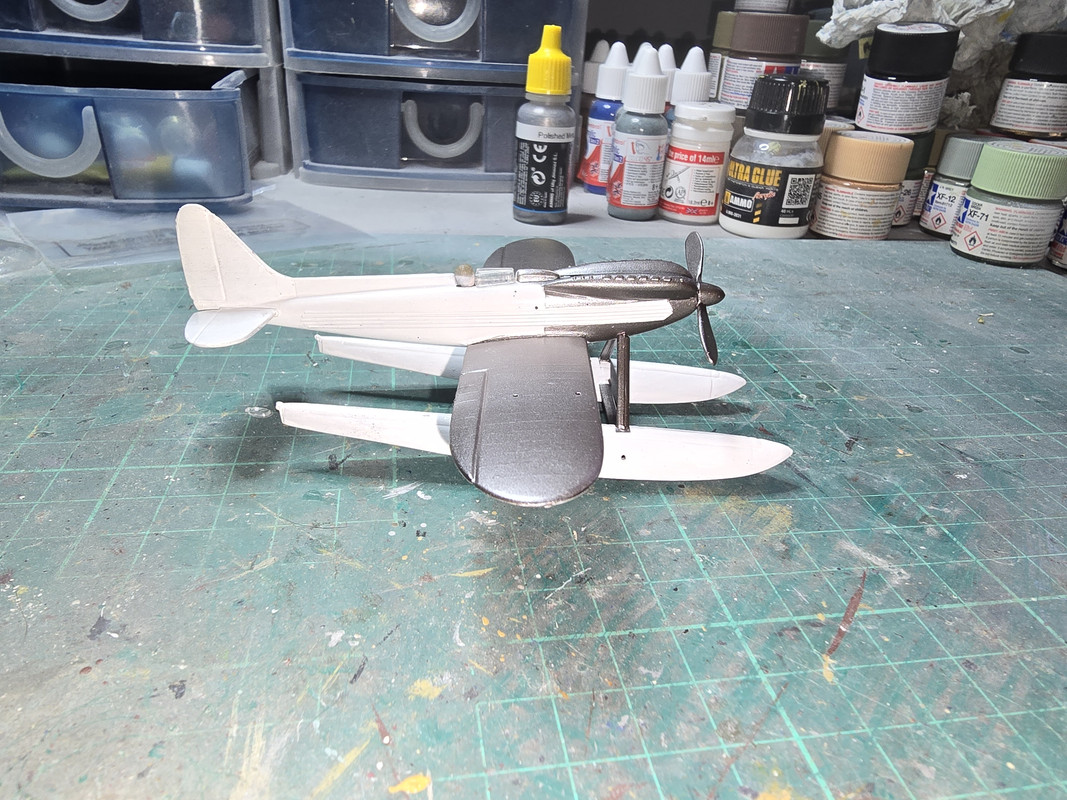
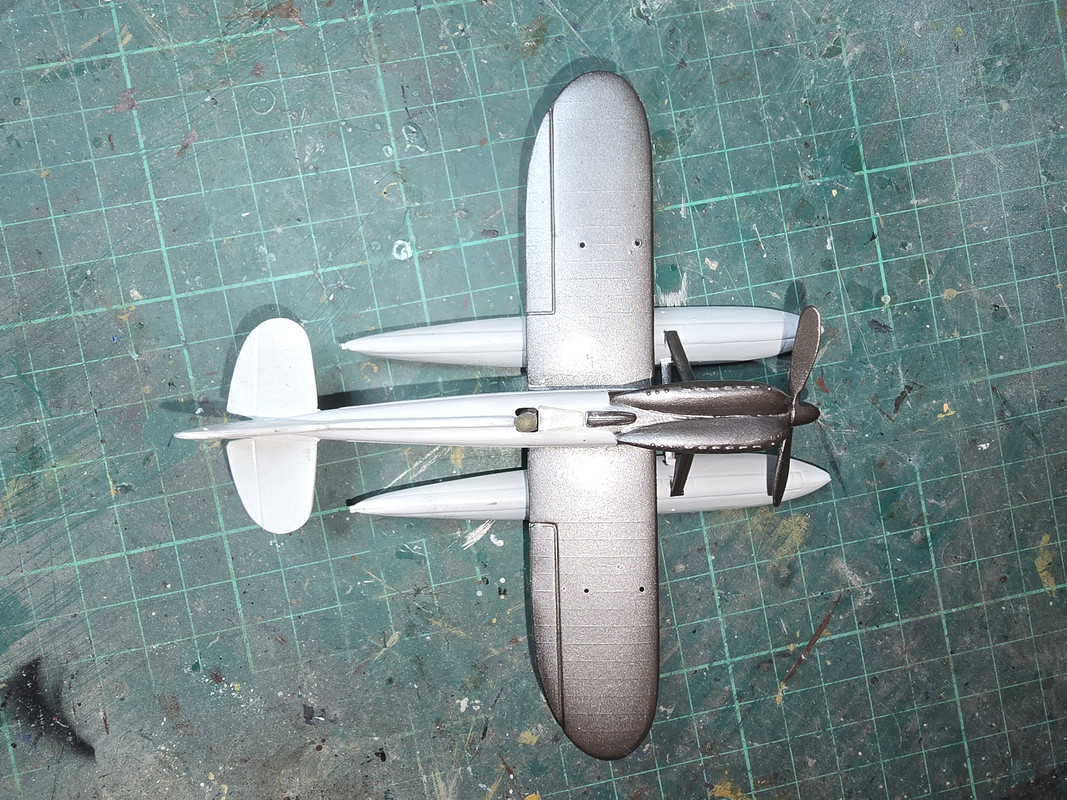
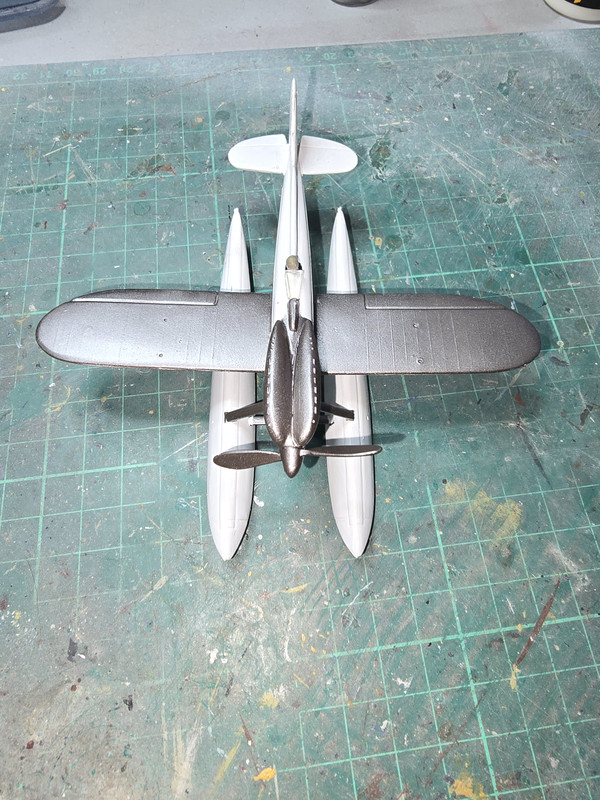
Next is to make sure all the sanded areas are flush and smooth and then prime it. As we are building to the book description, not the Schneider Trophy winner the paint scheme will differ from the instruction. To quote:
"The nose, float struts and upper wing surfaces were all plated with polished Duralamin,the remainder of her body glistened a freshly painted white.
Oh yes - and before priming each upper wing will need a hatch scribed into it and two holes drilled in the leading edges each side as the bad guy in the book (well - one of them anyway) fits a pair of 0.50 cal guns to each wing. Belief in reality needs to suspended at this point as I don't think the wing structures on a Schneider cup racer would stand the recoil stresses of any MG, let alone a 0.50 cal.
No markings will be carried either as none are described in the book.
Re: Imperial 109
Posted: Sun Jul 14, 2024 3:01 am
by RangerNeil
S6 masked up ready for a coat of gloss black before the "polished Duralamin" top coat. I've absolutely no idea what that should look like so I plan on using Tamiya's " Chrome Silver".
Unless anyone has a better idea??
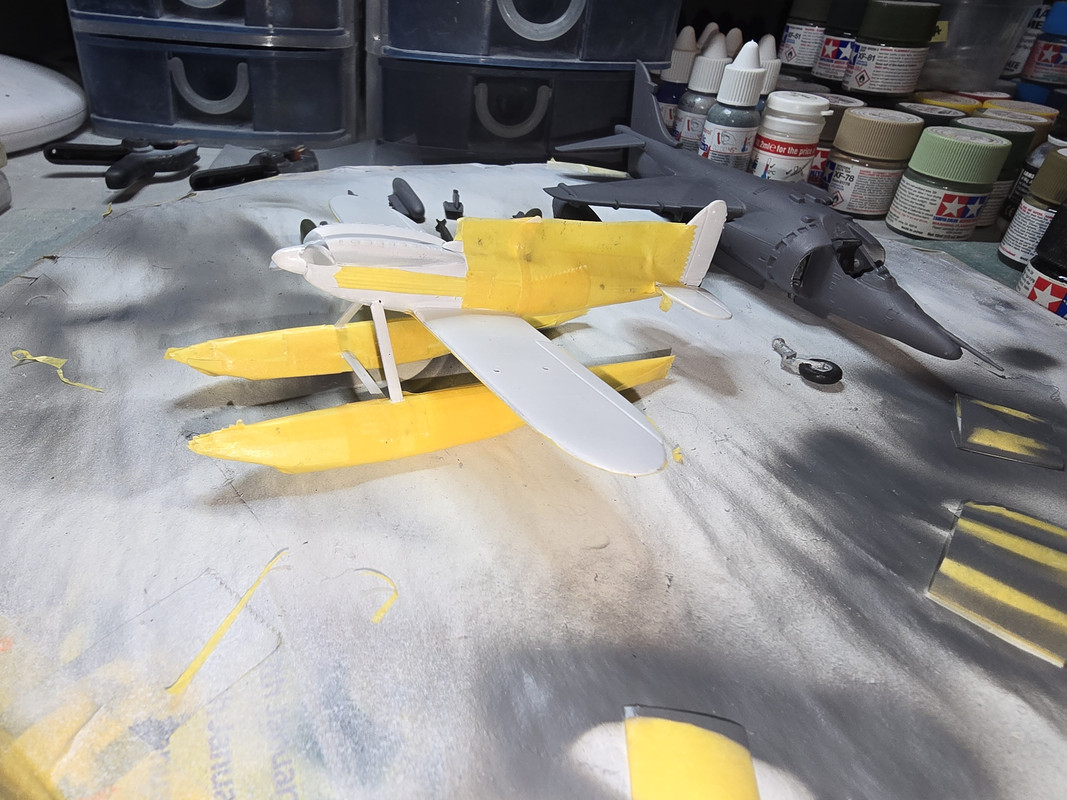
(Ignore the background.....

)
Re: Imperial 109
Posted: Sun Jul 14, 2024 8:42 am
by digger303
It's a mix of gold and dark aluminium in my eyes. Pure silver wouldn't be the same.
https://thecombatcompany.com/products/a ... raluminium
Re: Imperial 109
Posted: Sun Jul 14, 2024 10:23 am
by RangerNeil
Thanks Digger, will have a look for that over here!!
Re: Imperial 109
Posted: Mon Jul 15, 2024 1:47 am
by Twokidsnosleep
Love the flying boat kit
Super interesting project
Re: Imperial 109
Posted: Mon Jul 15, 2024 10:47 pm
by RangerNeil
Re: Imperial 109
Posted: Fri Jul 19, 2024 1:59 pm
by RangerNeil
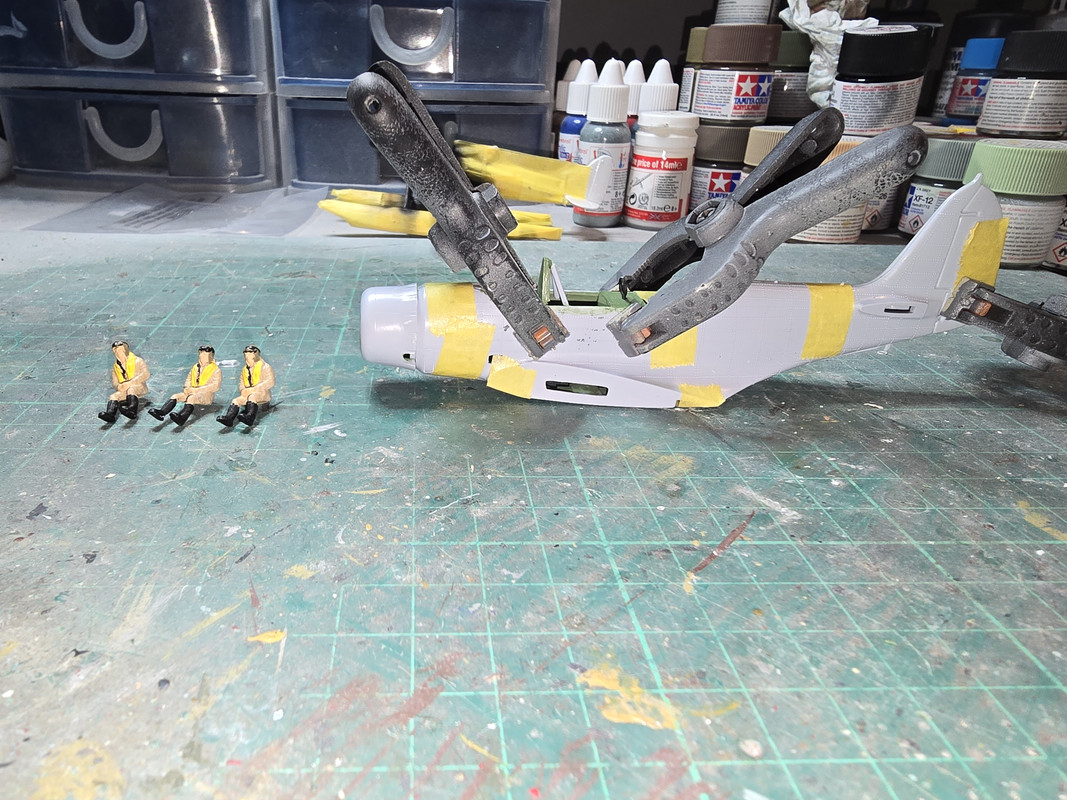
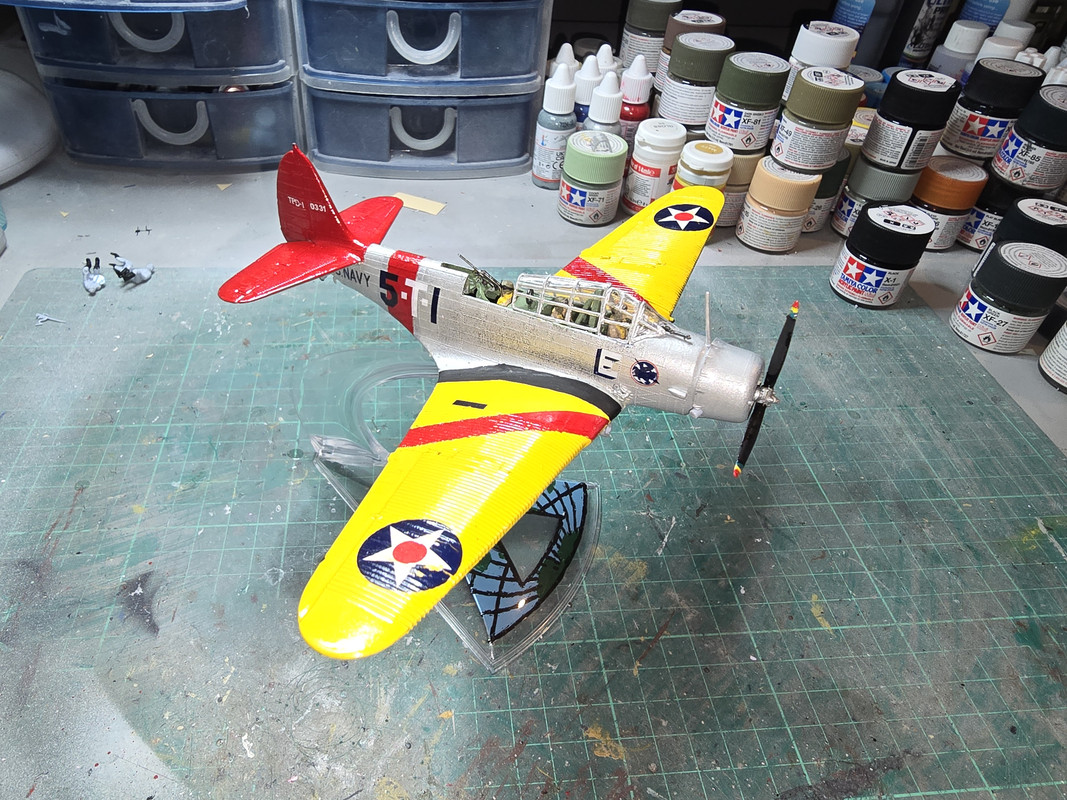
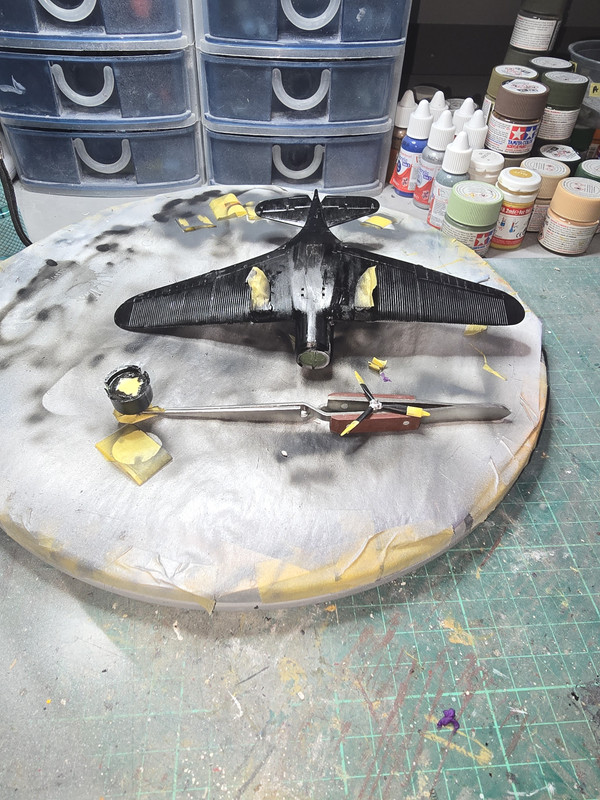
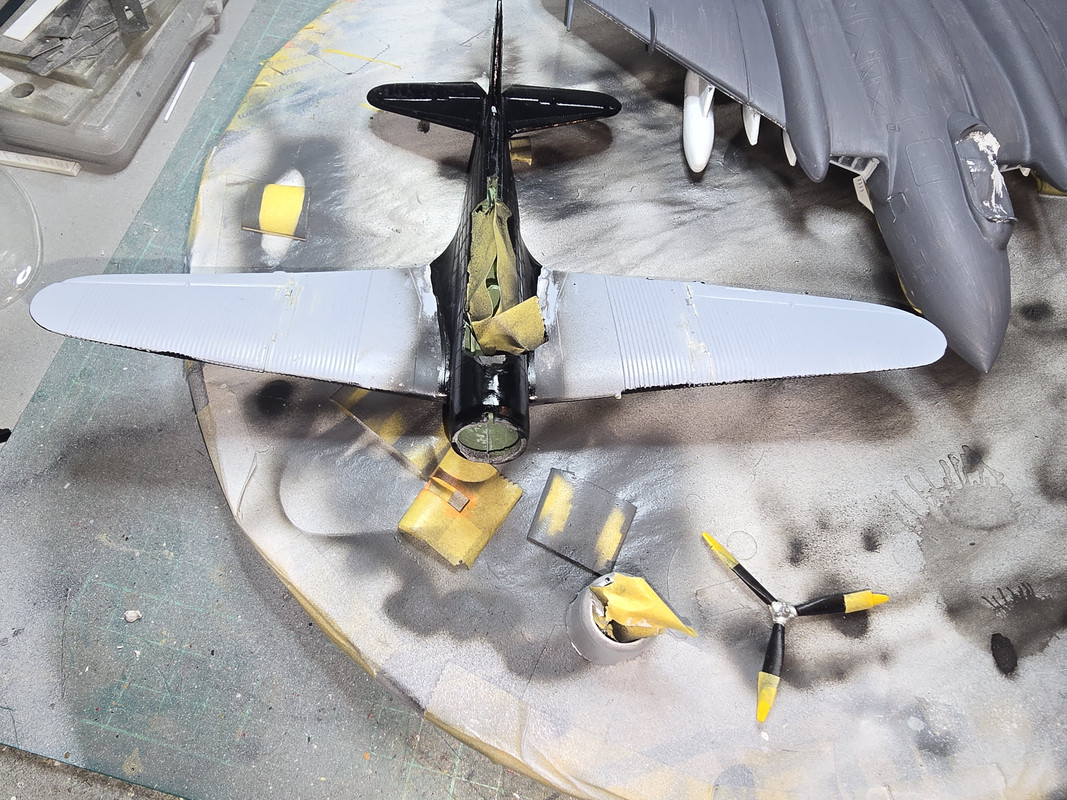
Fuselage and underside of tbe wings of the TBD-1 are primed and coated in gloss black ready for the Silver (Aluminium) top coat. Next job is to remask and prime the upper wings in Grey ready for the Yellow top coat.
Re: Imperial 109
Posted: Fri Jul 19, 2024 10:09 pm
by RangerNeil
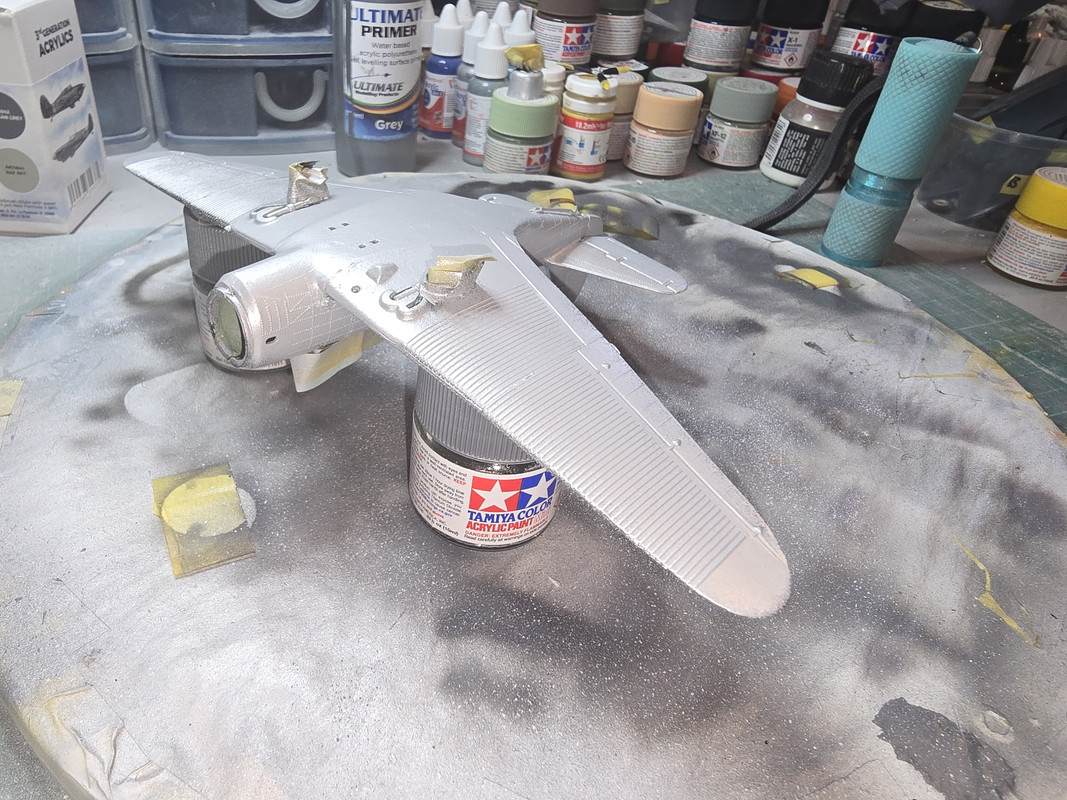
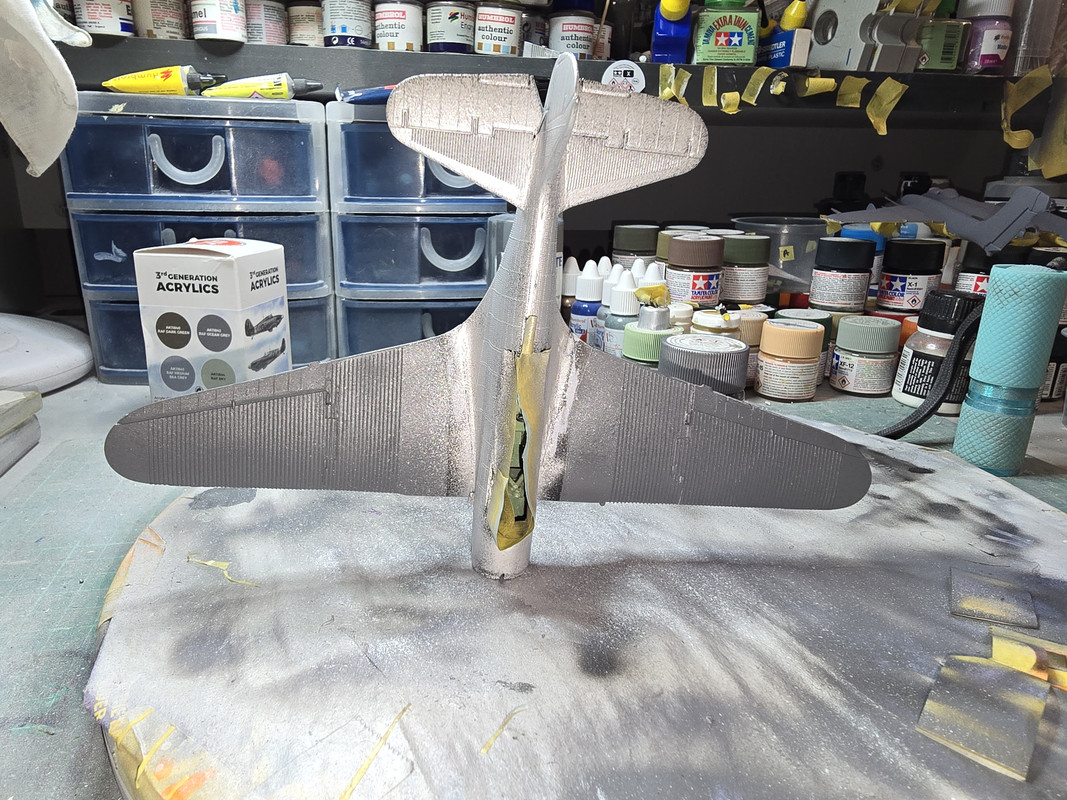
Aluminium went on the TBD-1 - and murphys law struck.again!! The Sea Vixen went perfectly. Cleaned the airbrush out from the Deep Sea Grey, went to do the Aluminium - and the damn airbrush started splattering. Checked all the usual things, no joy, so in desparation cranked the pressure up to 30 psi. That made it better but not perfect.
Re: Imperial 109
Posted: Sat Jul 20, 2024 9:23 pm
by RangerNeil
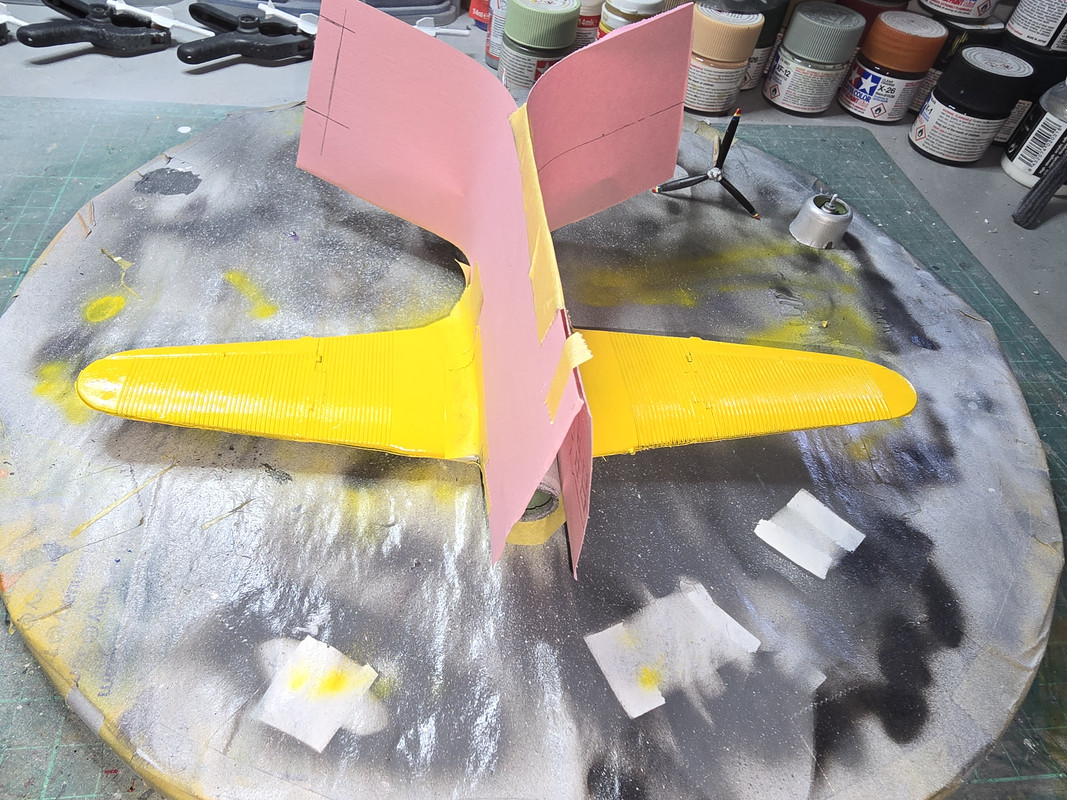
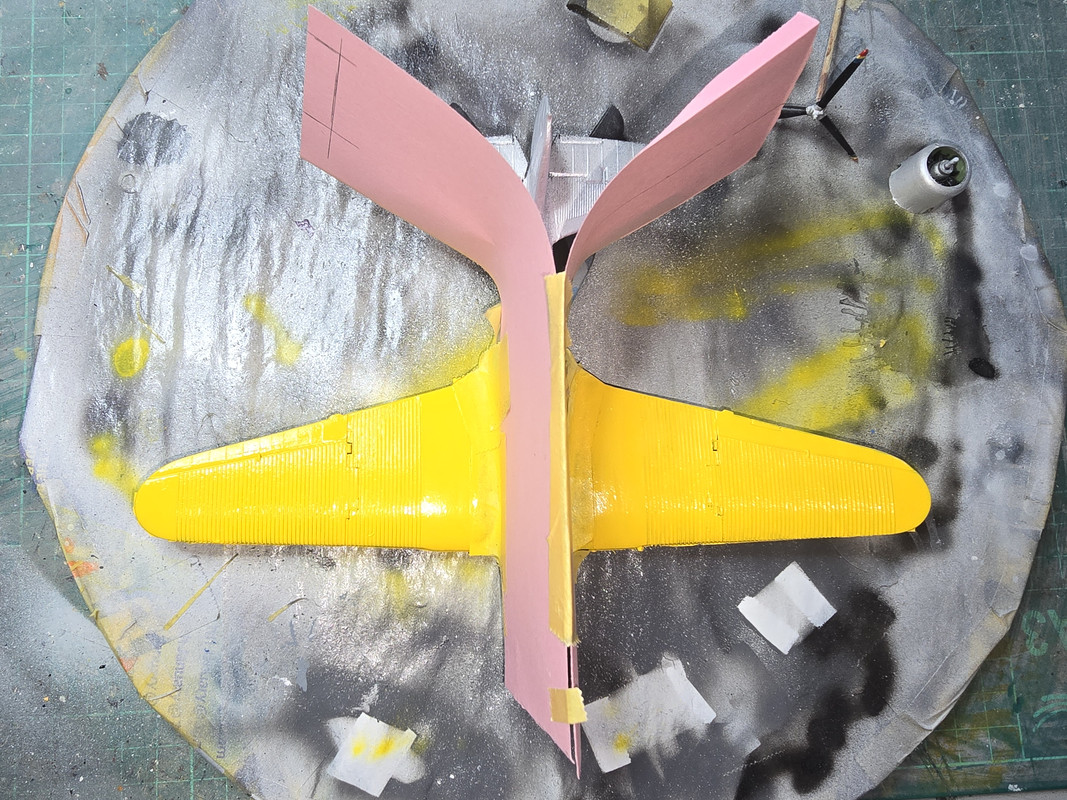
Time for the yellow on the upper wings. What a god-awful job!! Theres 6 coats been applied in the photo and I'm still not happy, that ridged skin is the devil to get an even coat on.
Re: Imperial 109
Posted: Sun Jul 21, 2024 1:49 am
by digger303
Re: Imperial 109
Posted: Sun Jul 21, 2024 2:19 am
by Twokidsnosleep
Nice paintwork coming through here
I like the pilots, very well done
Re: Imperial 109
Posted: Mon Jul 22, 2024 3:29 am
by RangerNeil
Twokidsnosleep wrote: Sun Jul 21, 2024 2:19 am
Nice paintwork coming through here
I like the pilots, very well done
Many thanks
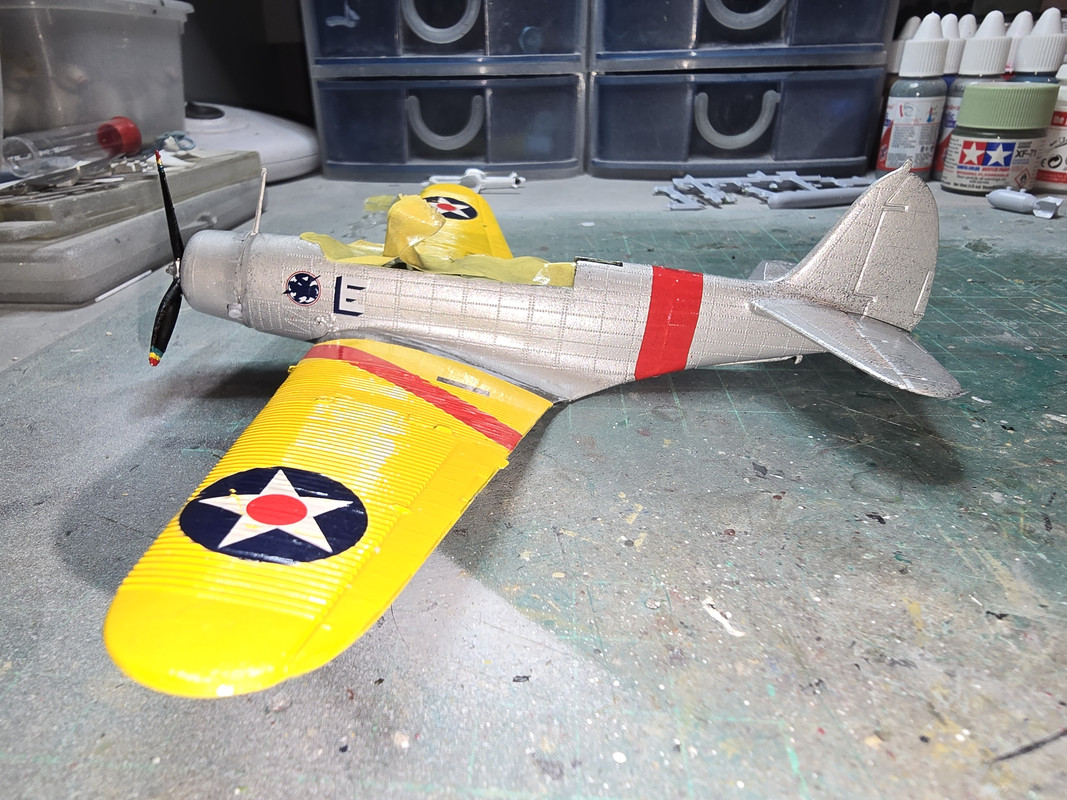
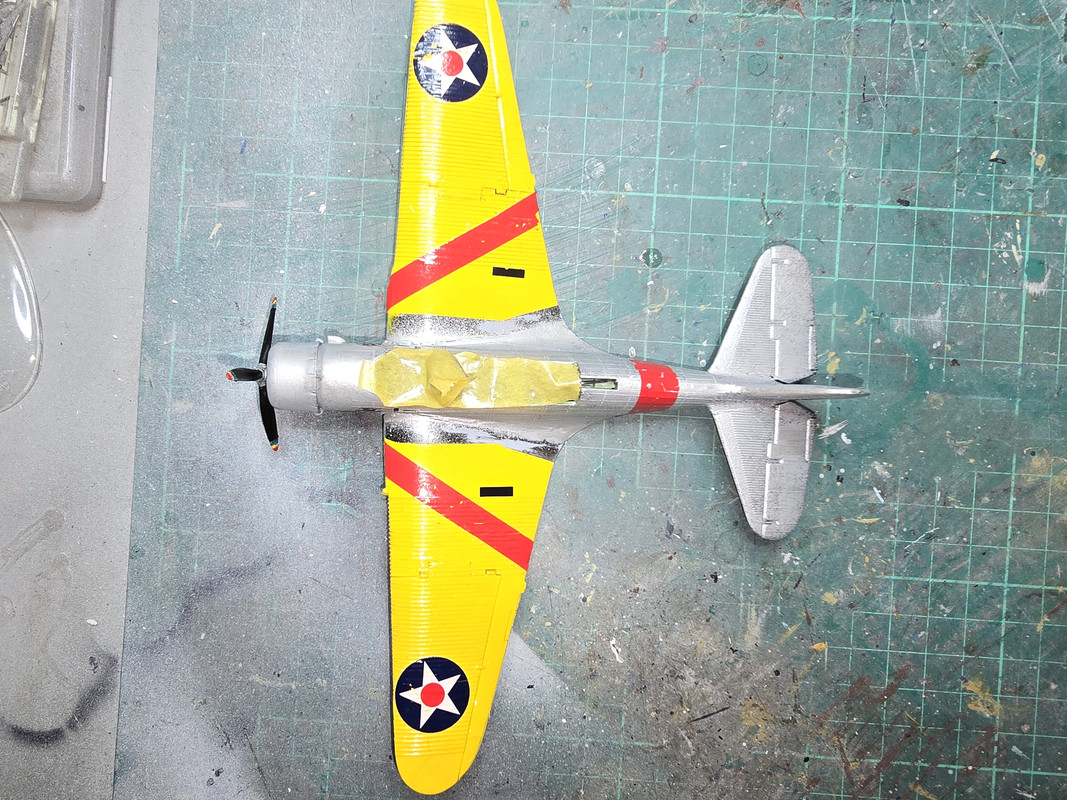
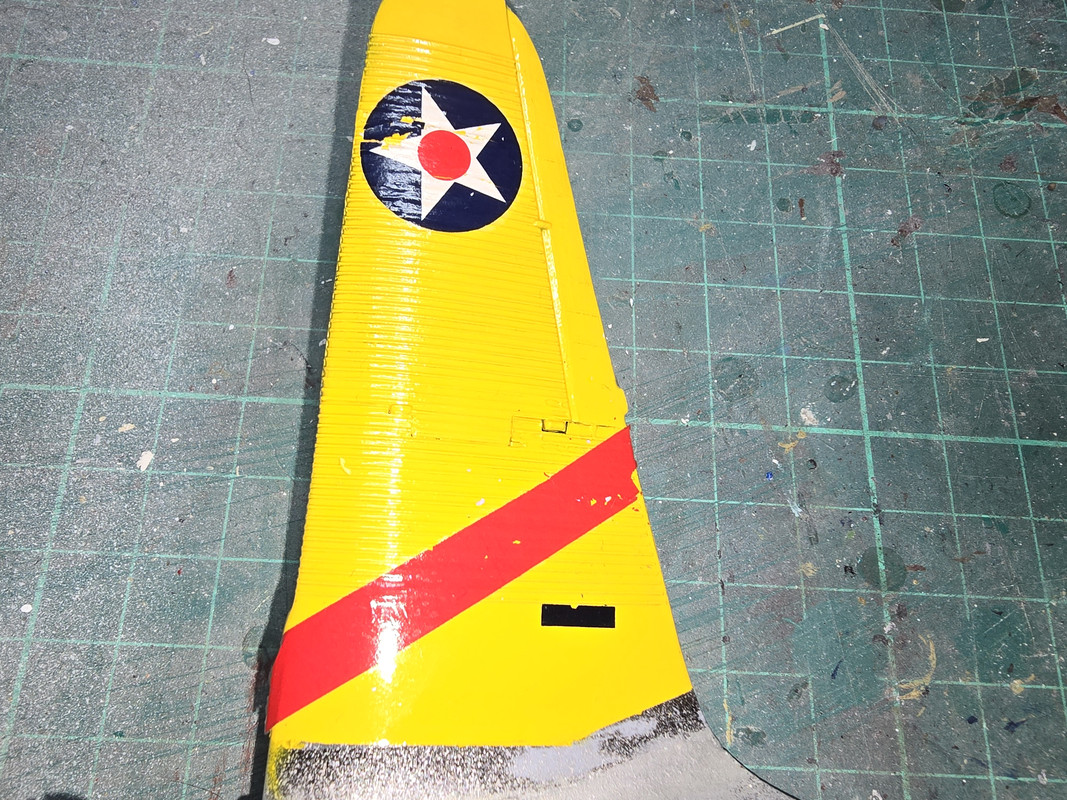
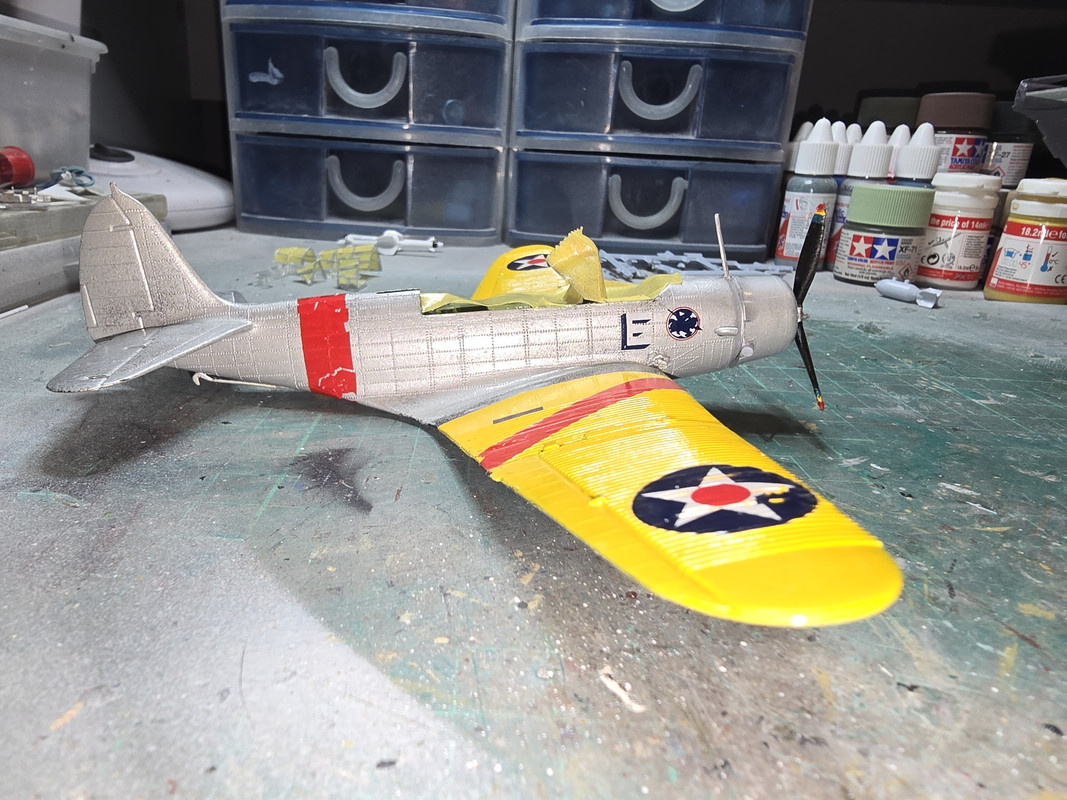
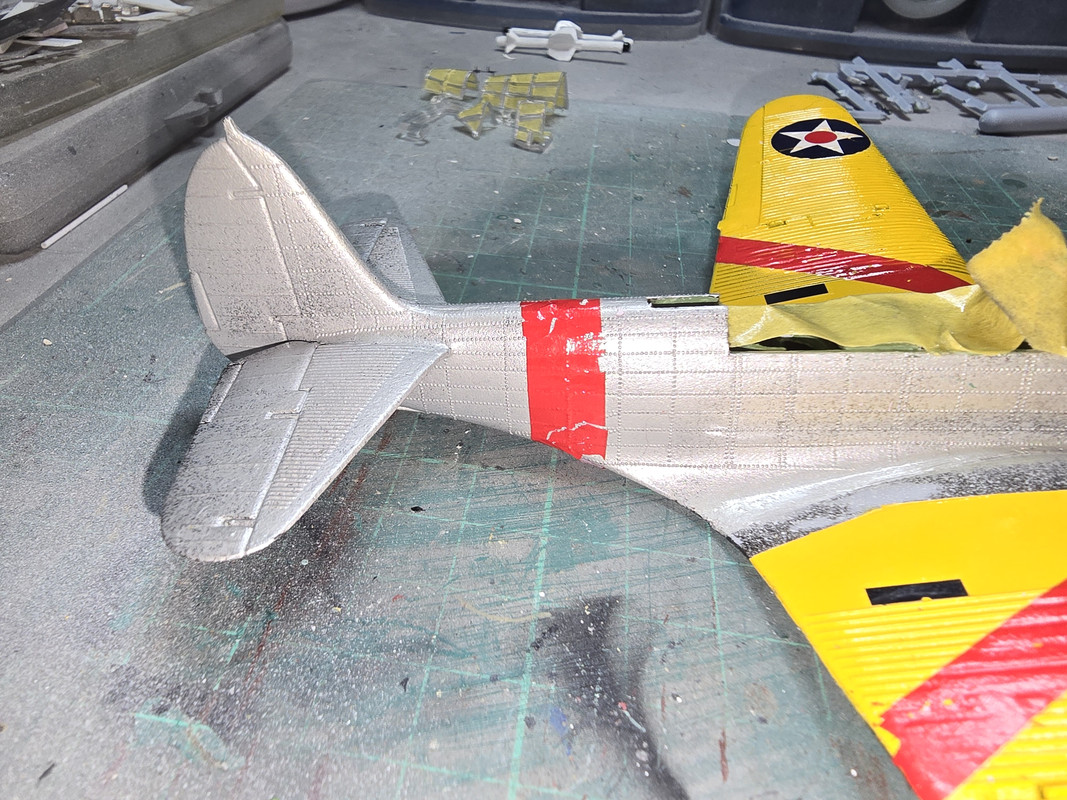
Started applying the decals tonight -and Karma bits again.

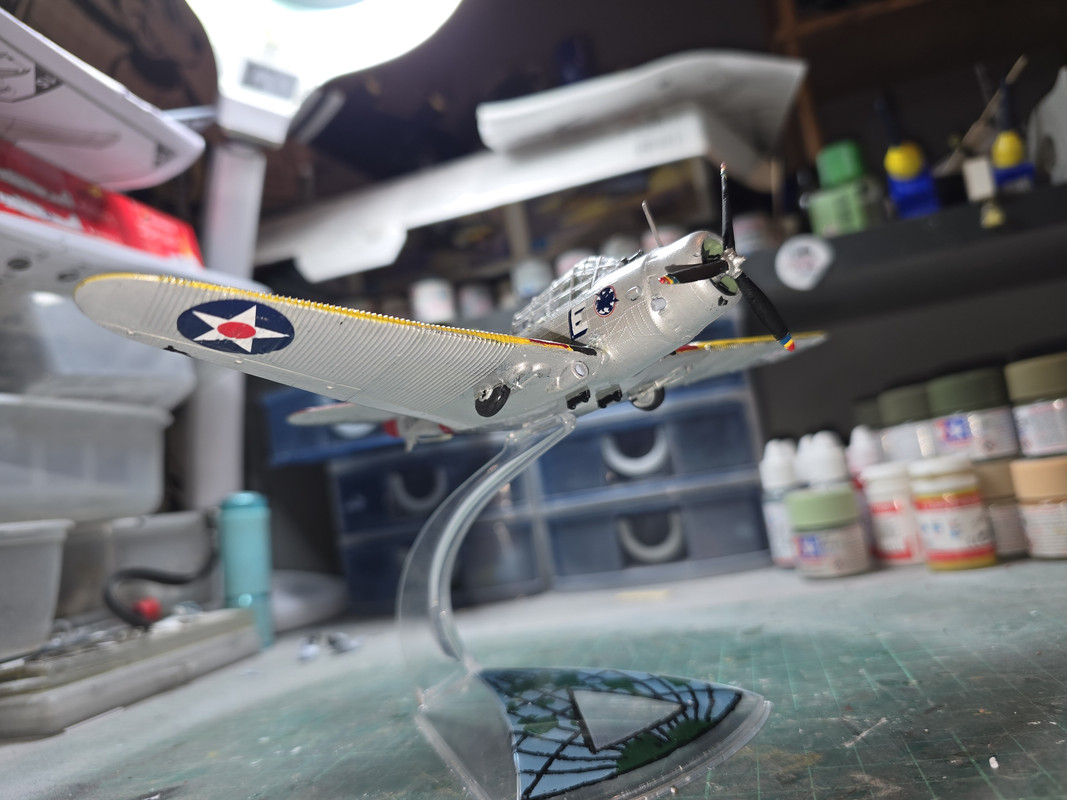
The red stripes tore - first when sliding off the backing paper (despite almost detaching from it in the water!) and then again when I was squeezing the air bubbles out with a cotton bud. I really think I am going to have to re-gloss it, re-maskit and spray those stripes. Not sure how I am going to fix
those roundels though other than scraping them off and sourcing replacements!
Re: Imperial 109
Posted: Mon Jul 22, 2024 4:07 am
by digger303
Re: Imperial 109
Posted: Mon Jul 22, 2024 2:24 pm
by RangerNeil
I've given the wings and fuselage another coat of gloss clear coat. When its fully dry in a day or so I'll mask the wing and fuselage stripes up and spray them red. For the rest of the unapplied decals I have some Microscale to try. Still leaves that wing roundel though. I really think thats going to need a replacement/aftermarket one I think.
Re: Imperial 109
Posted: Tue Jul 23, 2024 12:29 pm
by RangerNeil
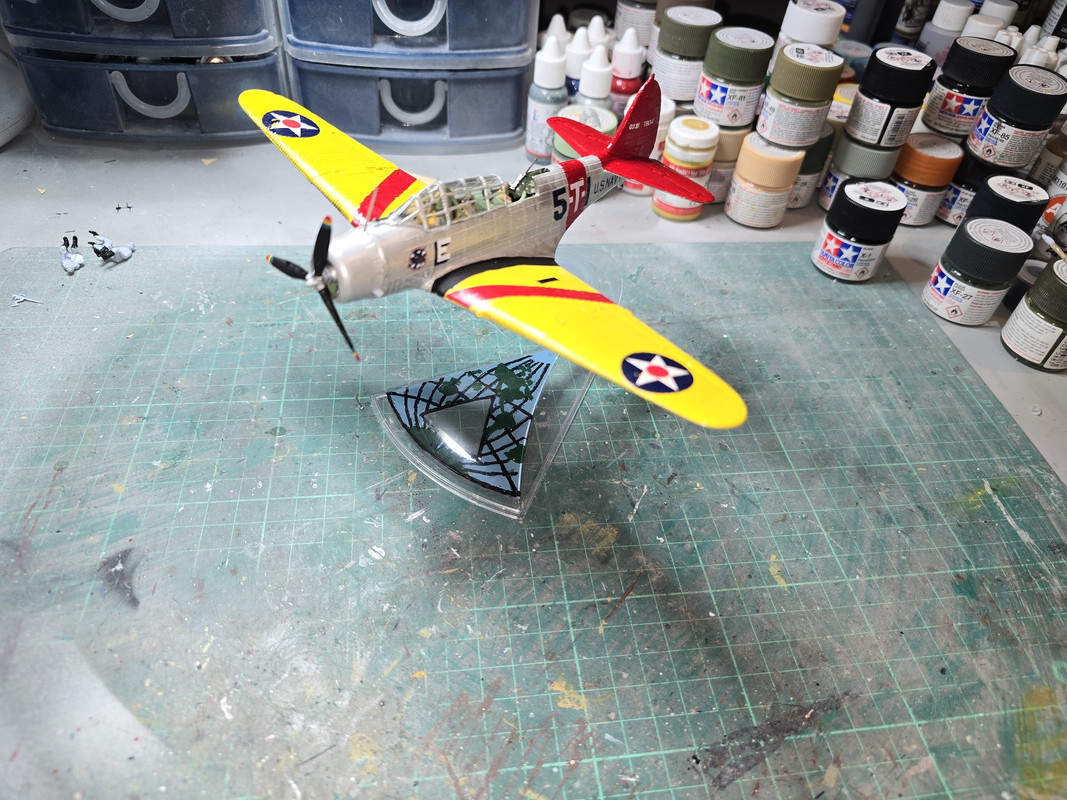
So - I masked up the wing & fuselage stripes, picked off what I could with a toothpick then tried a soak in the red bottle of Microset/sol. That got some more off and then I sanded the remaining rough edges down bfore applying red paint. I used a brush as the missus would have gone spare if I'd powered the compressor up at midnight Interestingly the box art showed the tail plane painted red too but the paint instructions had it silver. Decals for the fin and rudder are in white text which would have been almost invisible on silver so I did the tail red too.
The remaining decals have been given a coat of Microscale so hopefully no more tearing.
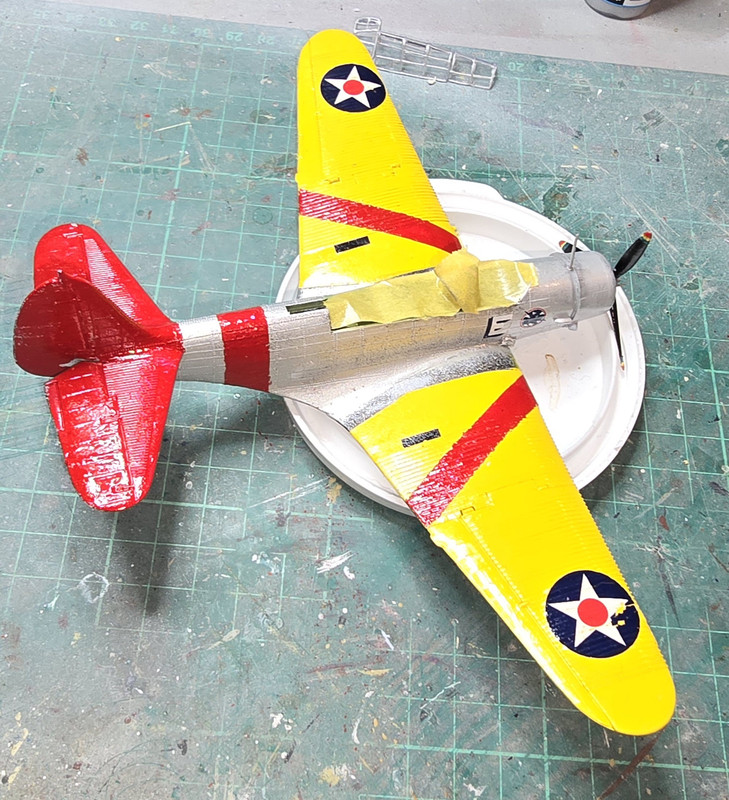
I have to admit to not being satisfied with this one so I'm thinking of doing another one. The only other 1/72 TBD-1 I can find is by Valom so anyone got any thoughts on the quality of their kits???
*** EDIT ***
Apparently HobbyBoss are releasing a 1/72 TBD-1 towards the end of the year so I pre-ordered one.
Re: Imperial 109
Posted: Wed Jul 24, 2024 4:11 am
by digger303
Valom are short run kits much the same as special hobby ones that require a bit of work and missing some details , but turn out ok is what I've heard.
Re: Imperial 109
Posted: Wed Jul 24, 2024 8:50 am
by RangerNeil
digger303 wrote: Wed Jul 24, 2024 4:11 am
Valom are short run kits much the same as special hobby ones that require a bit of work and missing some details , but turn out ok is what I've heard.
Thanks Digger. I was going to order one - then, out of the bjue, got an email from on of the UK model shops saying that Hobby Boss are bringing out a 1/72 TBD-1 in Q4. As their 1/48 version get really good reviews I've pre ordered one of those.
Re: Imperial 109
Posted: Wed Jul 24, 2024 10:15 pm
by RangerNeil
Re: Imperial 109
Posted: Thu Jul 25, 2024 1:45 am
by digger303