Page 1 of 1
Hemingway Kits Knurling Tool
Posted: Mon Oct 07, 2024 10:03 am
by MrBowcat
Morning all,
So I've had my mill for a few months now, the lathe I've had around 4 years. Since I've had the mill I've been busy learning how to use it and decided it was time to actually build something useful. Hemingway supply kits to model engineers, including engines and locomotives, but also sell a number of tooling projects. I already have a purchased knurling tool, but it's not very good, and this clamping style that I'm building should work a lot better.
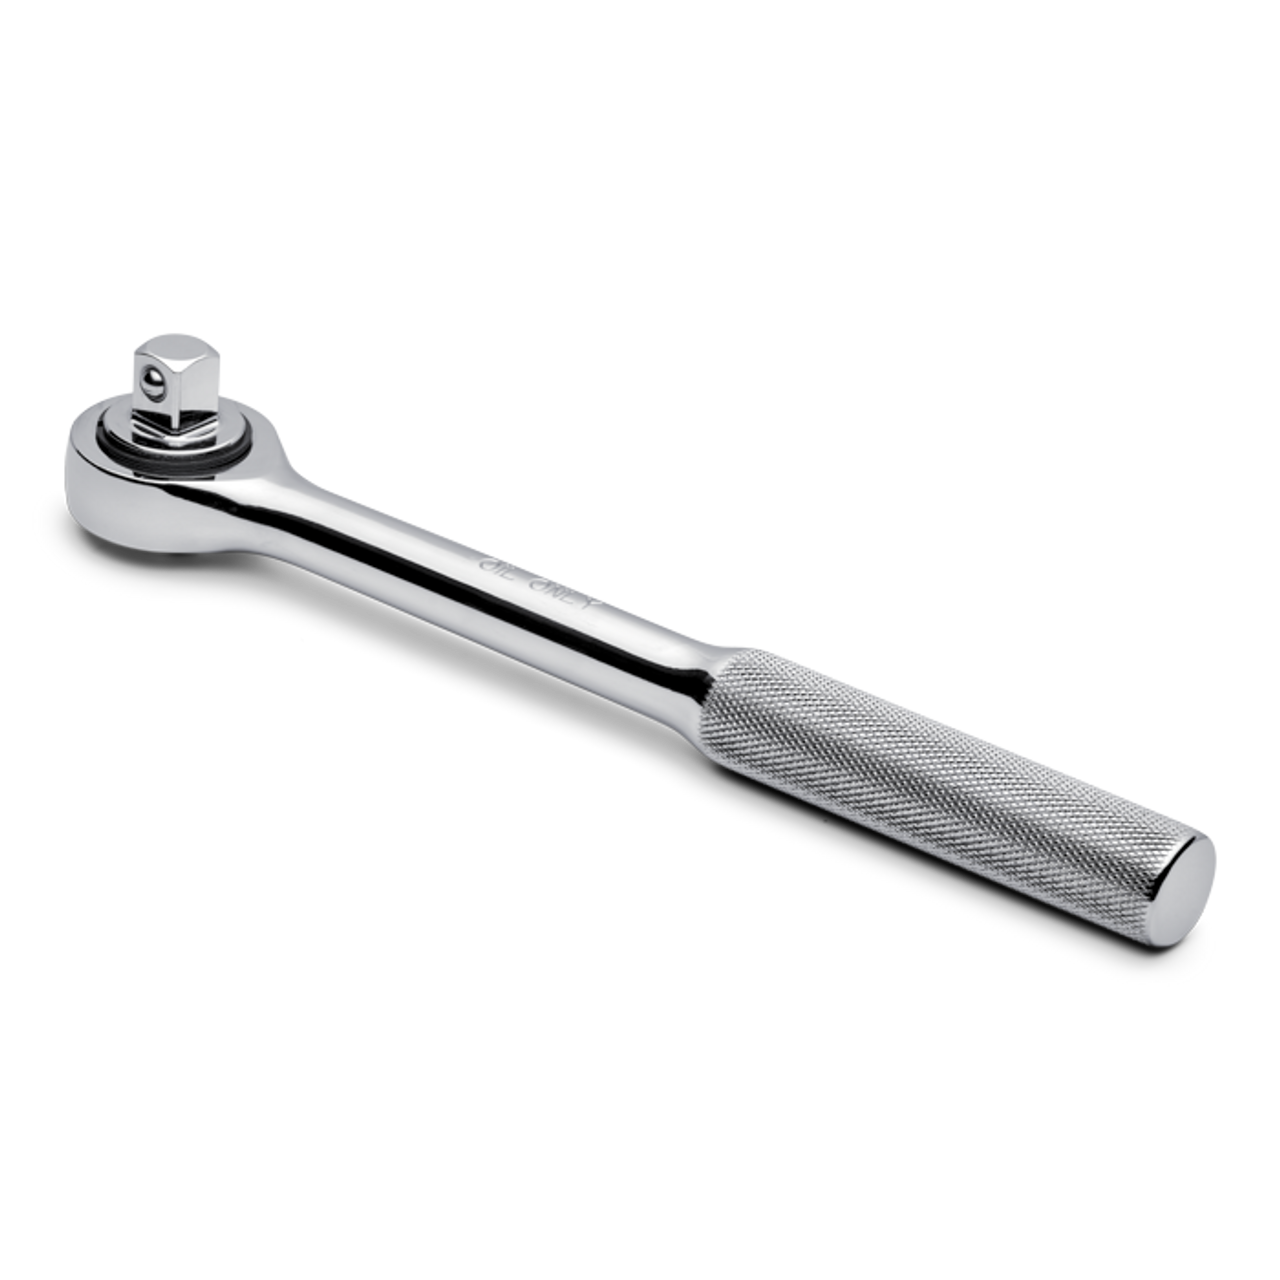
For anyone who doesn't know knurling is the imprinted pattern often found on tool handles, like this:
On to the kit, the box art:

The instructions:

The sprues:


I spent some time on the instructions, this is the first time I've used proper engineering drawings and it took some time to decipher them, particularly as they are in Imperial and I work in Metric.
The first step is the main body, which are the side plates and a spacer block. All parts were machined to dimension, and a number of holes drilled, and in some cases tapped. Two further holes were drilled and reamed to precise dimension which will later take the arm pivots. The rear corners were also knocked off, this will be the operator side so lessens the chance of injury.


The final step to this part is the tool block, this is simply an extension to allow the tool to be mounted to the tool post.


And that little lot took around 6 hours! What I have learned from machining is that most of the time is spent fixturing and measuring, and a small amount actually drilling or cutting.
I am very pleased with the progress however, everything fit perfectly, and is square and true and all the holes lined up perfectly, so I'm doing something right.
Next up are the arms which are far more complex pieces with a number of features to be machined.
Re: Hemingway Kits Knurling Tool
Posted: Mon Oct 07, 2024 2:06 pm
by digger303
Re: Hemingway Kits Knurling Tool
Posted: Mon Oct 07, 2024 2:44 pm
by MrBowcat
Cheers Digger.

Yep, there's lot's of "Thing to make" on the list, some will require a lot more experience and no doubt more tooling.
I'm already looking at rotary tables and boring heads for an operation required in the very near future.
Re: Hemingway Kits Knurling Tool
Posted: Tue Oct 08, 2024 12:01 am
by RangerNeil
MrBowcat wrote: Mon Oct 07, 2024 2:44 pm
Cheers Digger.
Yep, there's lot's of "Thing to make" on the list, some will require a lot more experience and no doubt more tooling.
I'm already looking at rotary tables and boring heads for an operation required in the very near future.
If you haven't already got one you might want to look at Indexing Heads too. Very useful devices on mills.
Re: Hemingway Kits Knurling Tool
Posted: Tue Oct 08, 2024 3:12 am
by Twokidsnosleep
Cool
One of these is definitely on my list of stuff for my little lathe
A few ways to knurl if I remember correctly
Re: Hemingway Kits Knurling Tool
Posted: Tue Oct 08, 2024 8:57 am
by MrBowcat
Cheers guys.
Re: Hemingway Kits Knurling Tool
Posted: Mon Oct 14, 2024 11:58 am
by MrBowcat
Morning all.
I've been out in the workshop working on the arms. The first steps were just to machine to dimension and drop a couple of holes in each arm, one for the pivot to the main body, and the other for the knurling wheels.
While everything was still square I decided to tackle a feature that I wasn't looking forward to, a shallow scallop in each arm.

This would be easy to do on the milling machine with either a rotary table or boring head, unfortunately I have neither. I had a good think about it and decided the only way I could do this was on the lathe with a boring bar, the issue being how to fixture the parts. I think I came up with an elegant solution.


I milled some 10mm plate and used the existing holes in the arms to attach them to the plate. I also added a centre drill hole in the middle to allow the part to be dialled in precisely.
Centre drills form a 60 degree cone for the purpose of adding a live- or dead- centre for support. For my purposes by adding an extension between my live centre and the work piece in the chuck I could dial in on the extension to get everything centred. Better still, I managed to get it to within 0.005mm (5/1000 of a millimetre), or about 2 ten thousandths of an inch.


The boring went quite well, surface finish could be better but should clean up with some emery. To be honest it's not too critical, there will be some brass parts riding in the scallops but they won't be high friction.


With that done and the edges tidied up with a small file the parts were taken to final dimension and a slot milled through each one. This was a little tricky as the slots are angled out at 10 degrees each end.


Last couple of operations for the arms are the slots for the knurling wheels, but before that the radii need adding to each end of the arms. Again, this would be an easy job with a rotary table, but I don't have one. I could just grind in the radii with a belt sander, the actual curves are not too critical, but I wanted to try and do better. With this in mind I turned to an old school technique and made some filing buttons.
Essentially these are turned from steel to the required diameter and a hole drilled through the middle the same size as the holes in the part. These are then bolted through on either side of the part and act as a guide for filing the curve. The clever bit is that they are made from O1 tool steel which is heat treatable, so after heating to around 800C they are quenched in oil and come out glass hard, meaning the file will skate over them.


I will remove most of the material on the mill first, then just file down to the buttons, hopefully leaving a perfect curve.
Re: Hemingway Kits Knurling Tool
Posted: Tue Oct 15, 2024 12:58 am
by digger303
Re: Hemingway Kits Knurling Tool
Posted: Tue Oct 15, 2024 7:12 am
by Stokesy44
Amazing stuff. I've no idea what it is but its amazing.
You guys and your tools! Its a whole level beyond anything I've traditionally seen as part of the hobby. Great stuff.
Re: Hemingway Kits Knurling Tool
Posted: Tue Oct 15, 2024 11:03 am
by MrBowcat
Cheers guys.
Re: Hemingway Kits Knurling Tool
Posted: Wed Oct 16, 2024 9:24 am
by MrBowcat
Morning all.
Just a quick update, I took most of the unwanted material off on the mill, then hand filed down to the buttons.


The buttons worked perfectly. I did have to stone the sides a little, the sections where I had milled the slots were a little tight in the main body, I will clean these up with sandpaper before final assembly.
Re: Hemingway Kits Knurling Tool
Posted: Wed Oct 16, 2024 11:10 am
by digger303
Re: Hemingway Kits Knurling Tool
Posted: Mon Oct 21, 2024 9:25 am
by MrBowcat
Morning all.
Getting close to the end of this now, finished some more parts over the weekend.
I started with the pins for the arms and knurling wheels, these were turned from 1/4" drill rod, with the two for the knurling wheels tapped through for M3 hex bolts. These still need to be heat treated before final assembly.

I then moved on to the parts that ride in the scallops machined in to the arms earlier. This starts of as round bar and has a 5mm hole drilled through. The middle was then milled out and one hole opened up to 1/4", the other tapped for M6. The stock was then put in the lathe and the two parts parted off.


The last part of this weekend was the leadscrew which is just 1/4" rod, turned down to 6mm in a couple of sections and threaded M6.

And this is how it looks now. What cant be seen is a spring between the two arms that goes around the lead screw. When the nut is tightened the spring allows the arms to move together the same amount and the scallop parts allow everything to move without binding. The nut is just temporary as the next part is the adjustment knob, but the tool will function in it's current form.

Re: Hemingway Kits Knurling Tool
Posted: Mon Oct 21, 2024 11:32 am
by digger303
Re: Hemingway Kits Knurling Tool
Posted: Mon Oct 21, 2024 2:21 pm
by MrBowcat
If you find the kit I'll give it a go.

Re: Hemingway Kits Knurling Tool
Posted: Mon Oct 28, 2024 9:43 am
by MrBowcat
Re: Hemingway Kits Knurling Tool
Posted: Mon Oct 28, 2024 9:57 am
by digger303
Re: Hemingway Kits Knurling Tool
Posted: Mon Oct 28, 2024 11:33 am
by MrBowcat
Cheers Digger,
The wheels came from a knurling tool I had bought ages ago but was very poor (cheap). The actual wheels though were fine, and yes had been hardened.
The advantage of this tool is that it clamps down vertically, the purchased one I have (and the single wheel variant you mentioned) work by pushing laterally into the work (it's fed in with the cross slide), which is very hard on the spindle bearings. This version won't do that.


