Page 1 of 1
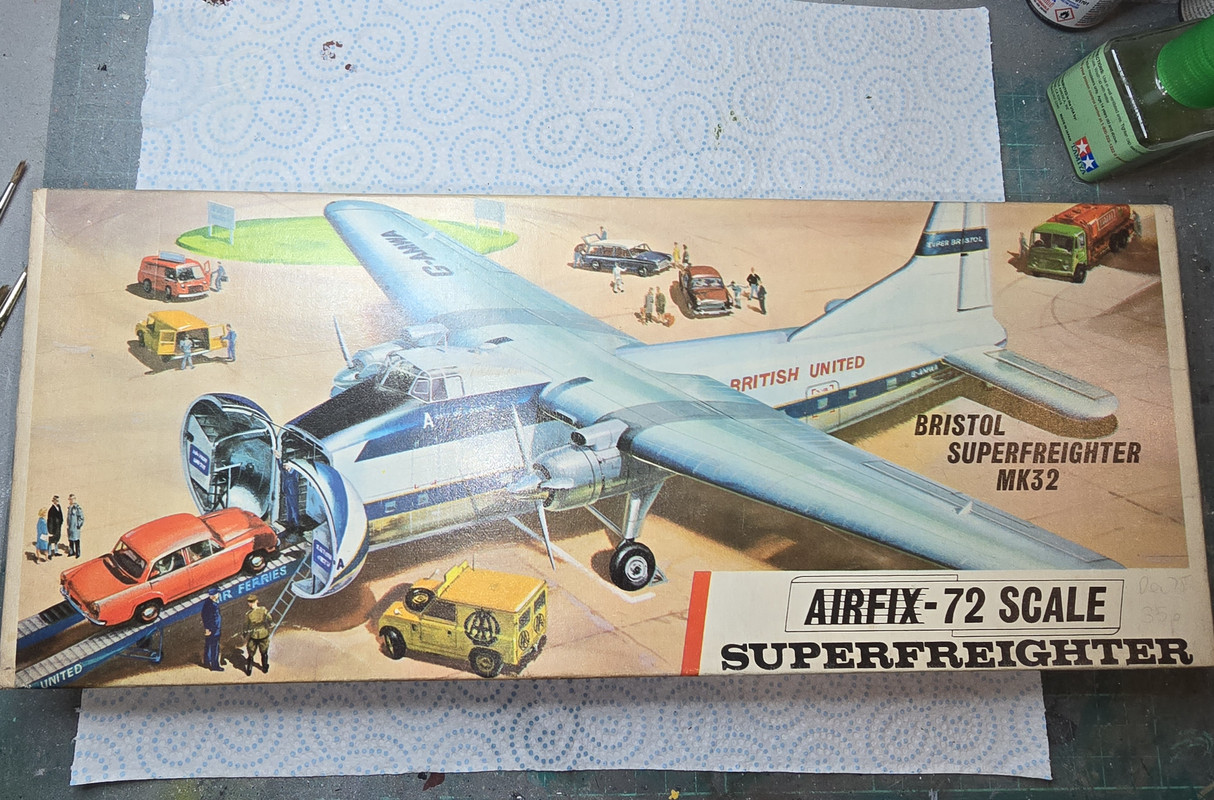
Bristol Superfreighter
Posted: Sat Oct 04, 2025 1:52 am
by RangerNeil
Re: Bristol Superfreighter
Posted: Sun Oct 05, 2025 3:23 am
by RangerNeil
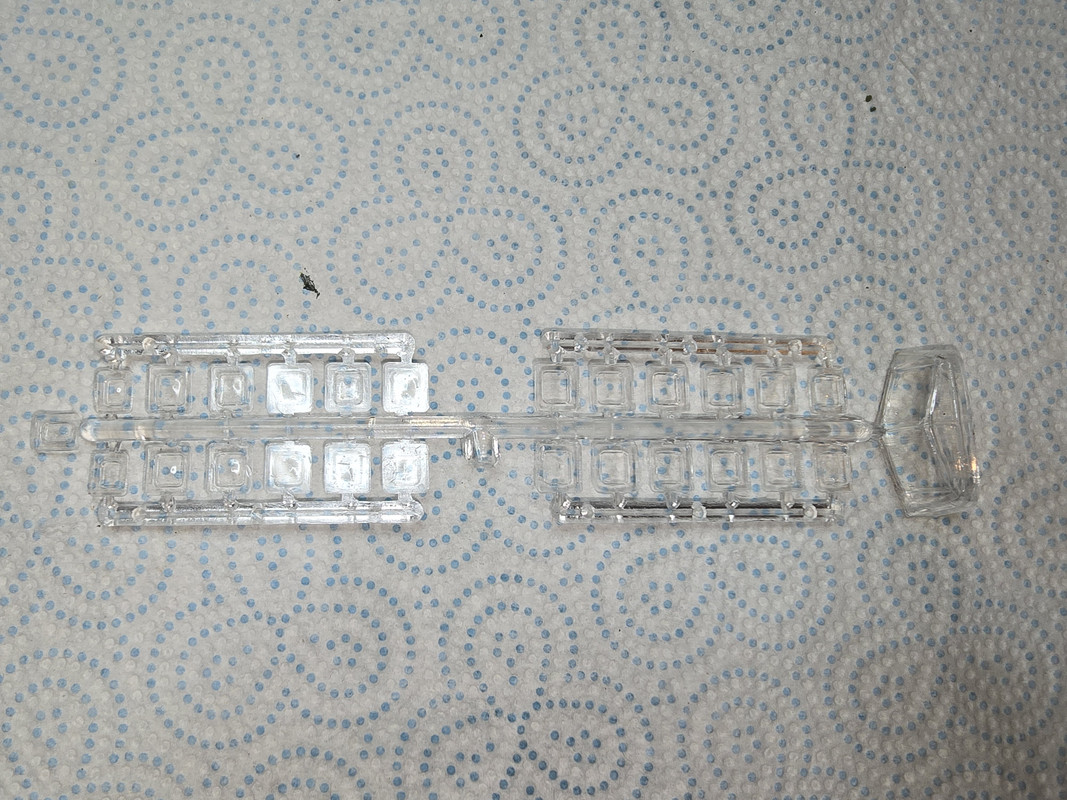
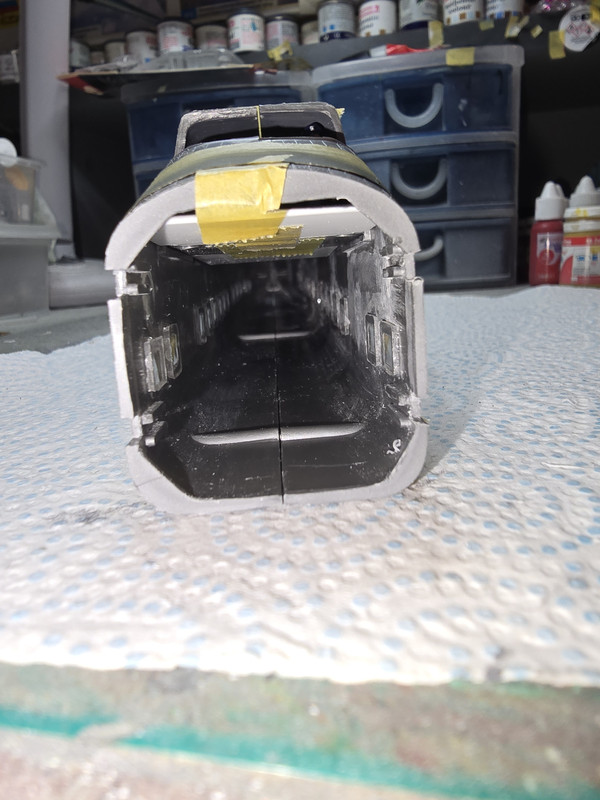
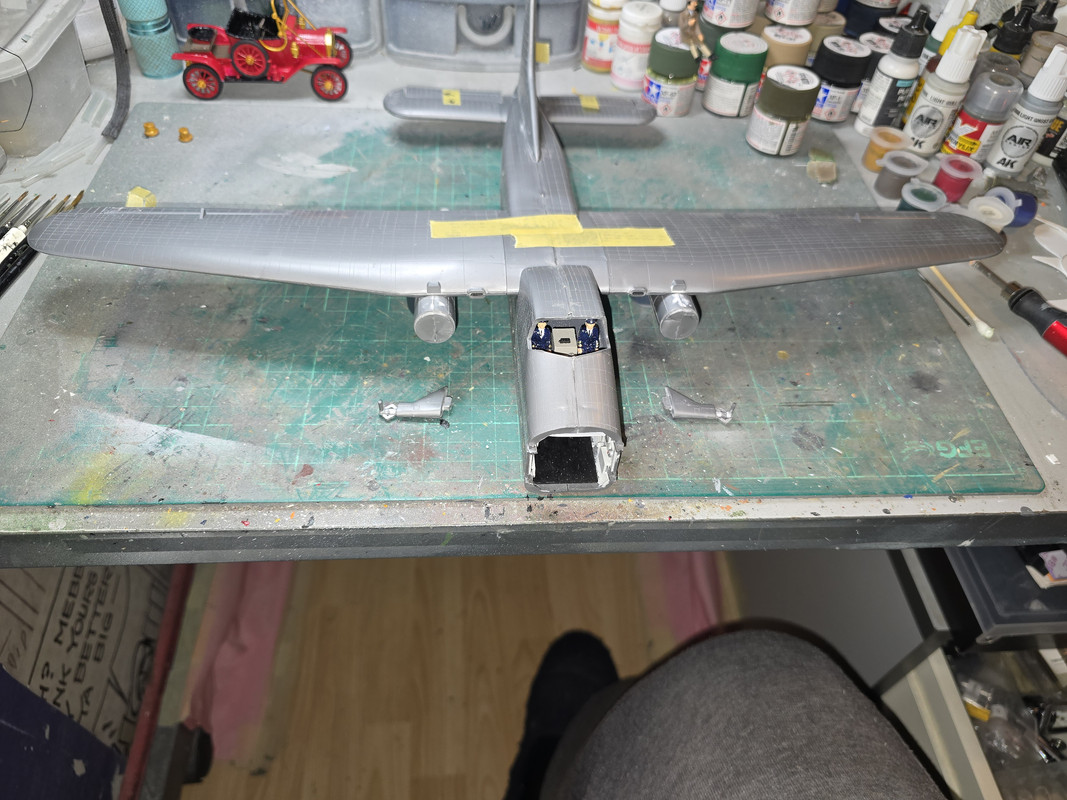
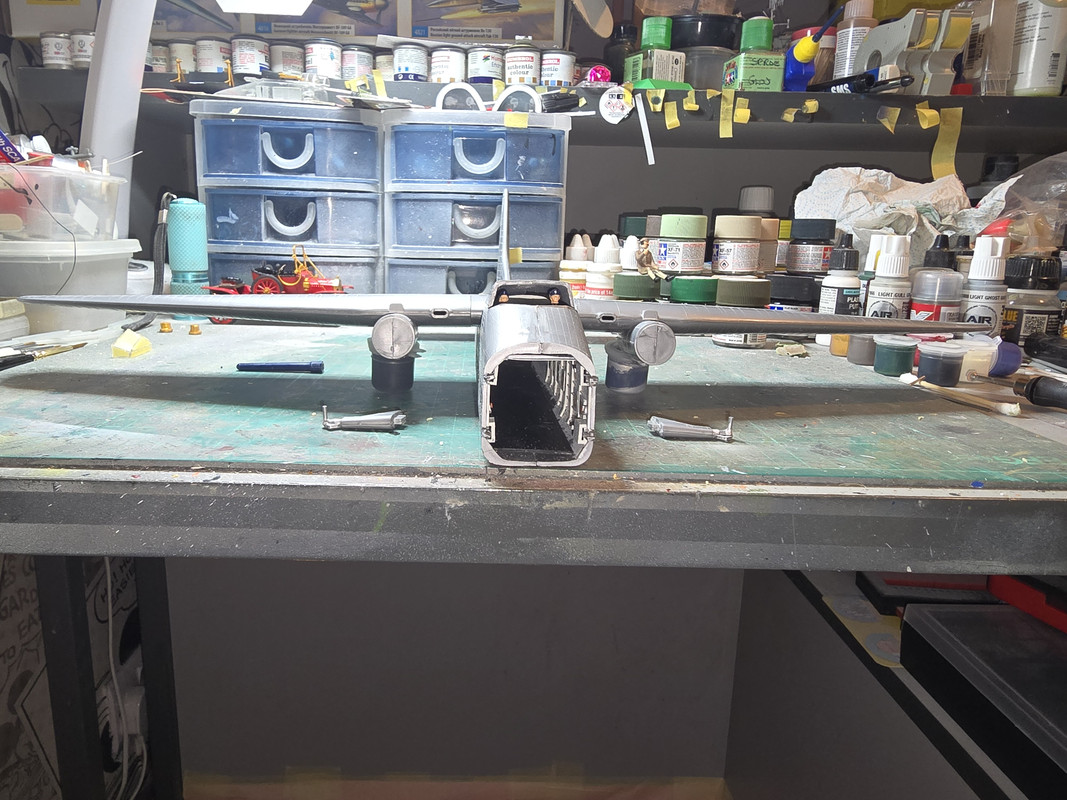
First stages of the build was to add all the cabin windows. Before doing this I had a quick look at how much fuselage was visible internally with the doors open - the short answer is a LOT!
So its obvious some sort of internal detailing will need to be added.
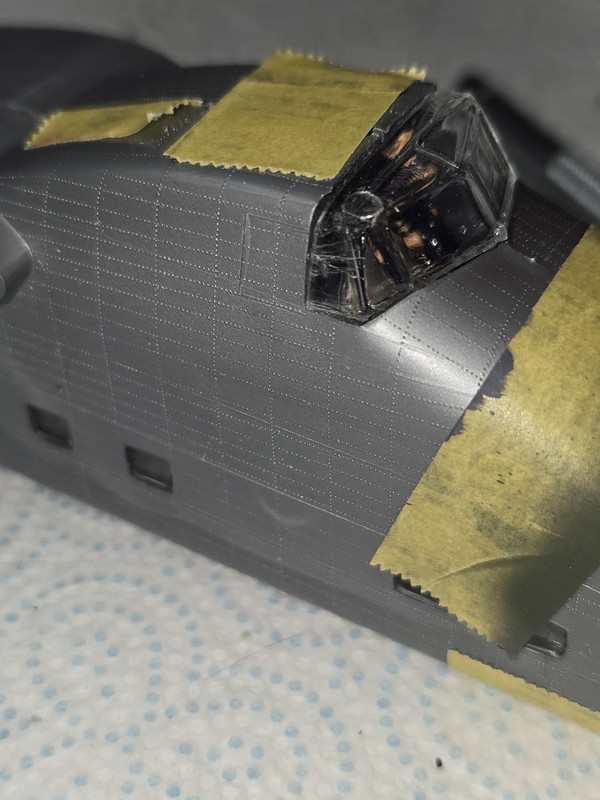
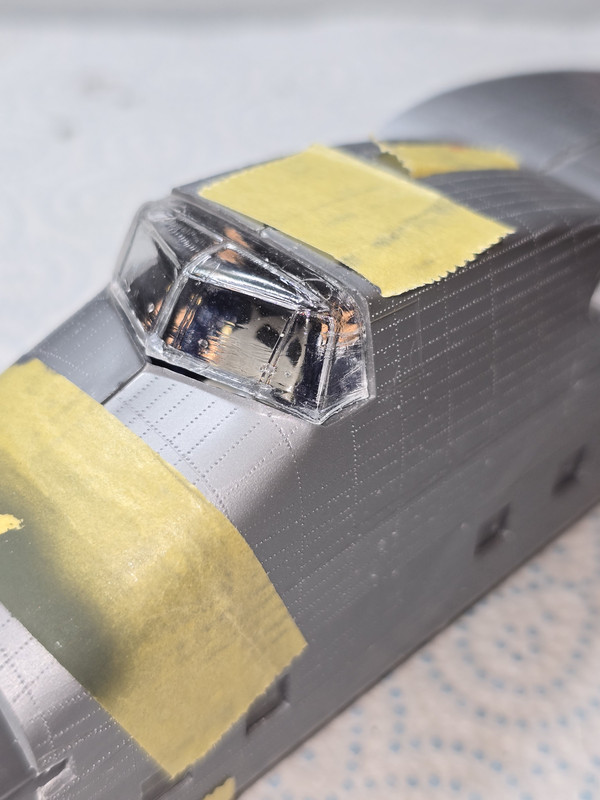
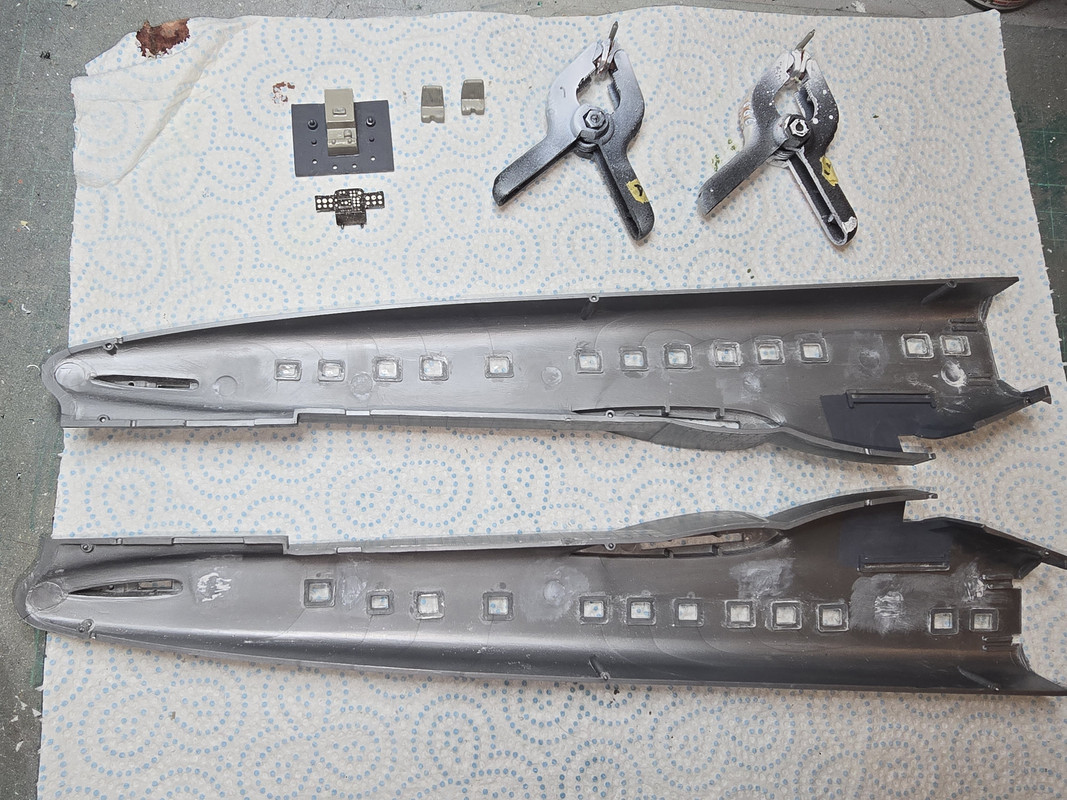
I started fitting the windows and immediately noticed they are a VERY loose fit in the apertures - not sure what, if anything, can be done:
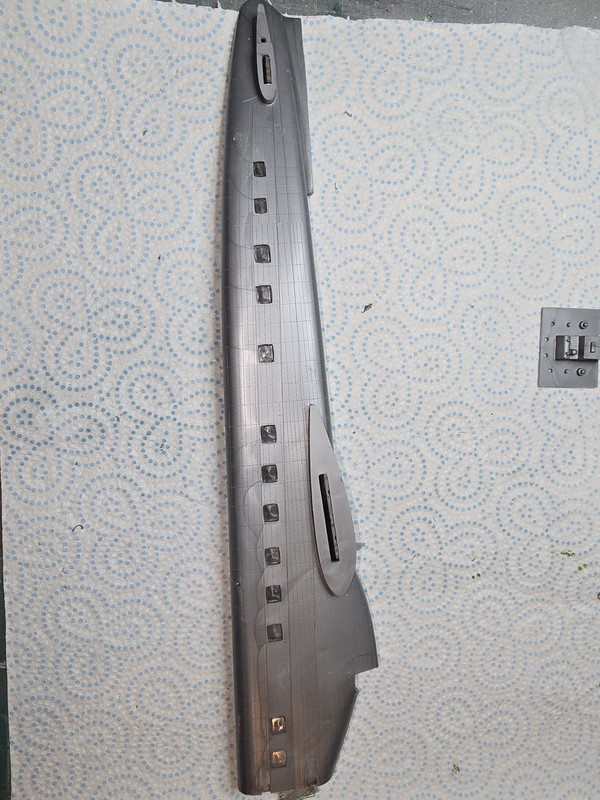
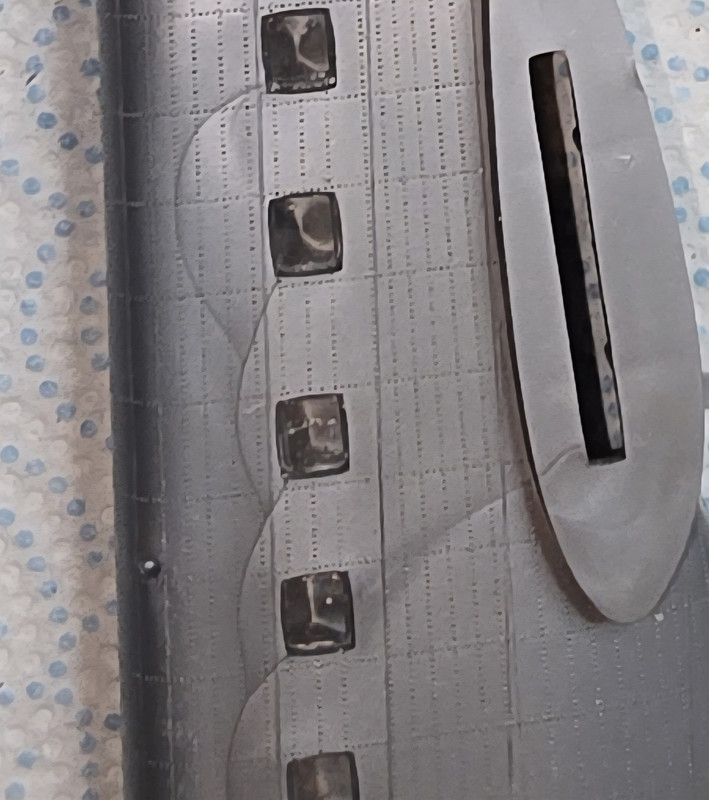
There were also some very nasty ejector marks on the inside that would have been highly noticeable so these were sanded and filled. Oddly on one side they wre raised plugs and on the other recesses with a wall of flash around them.
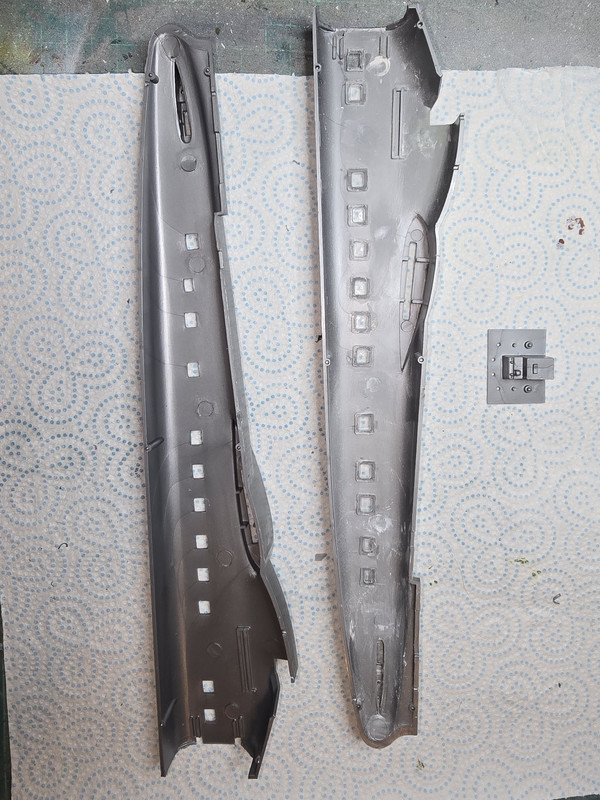
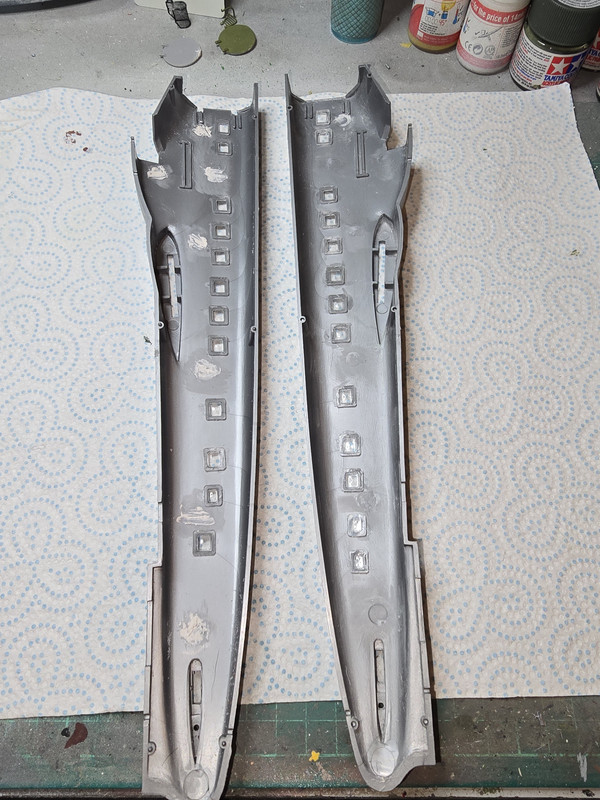
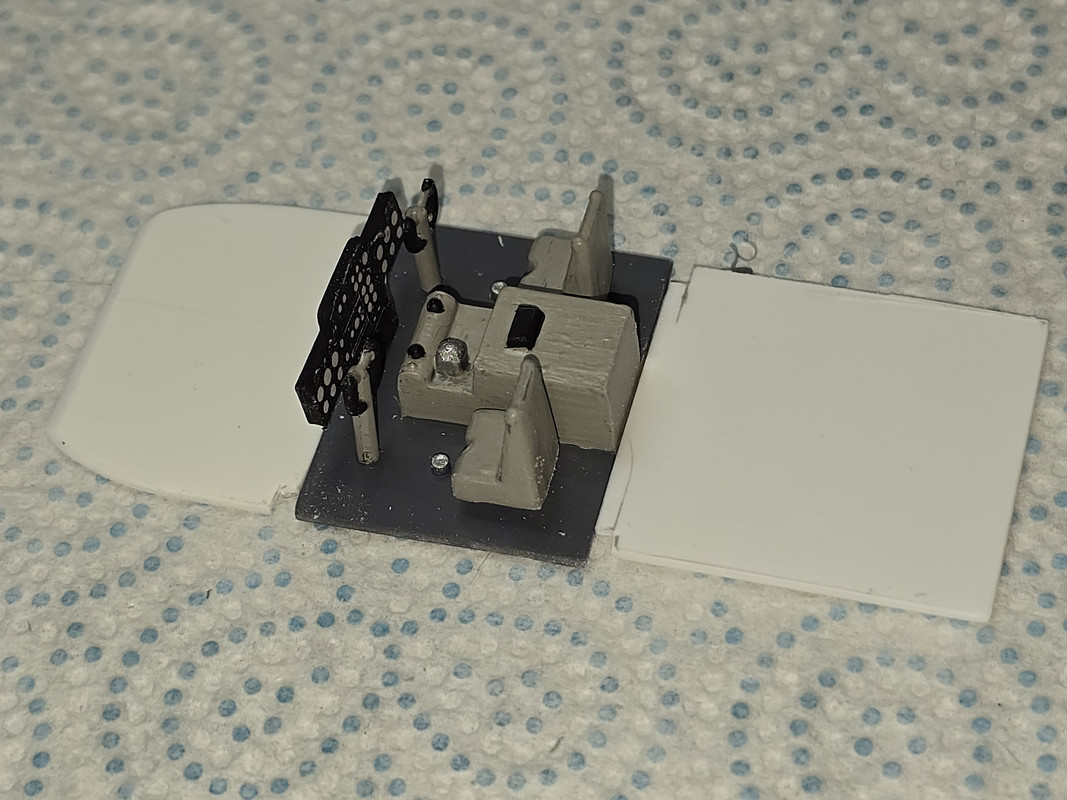
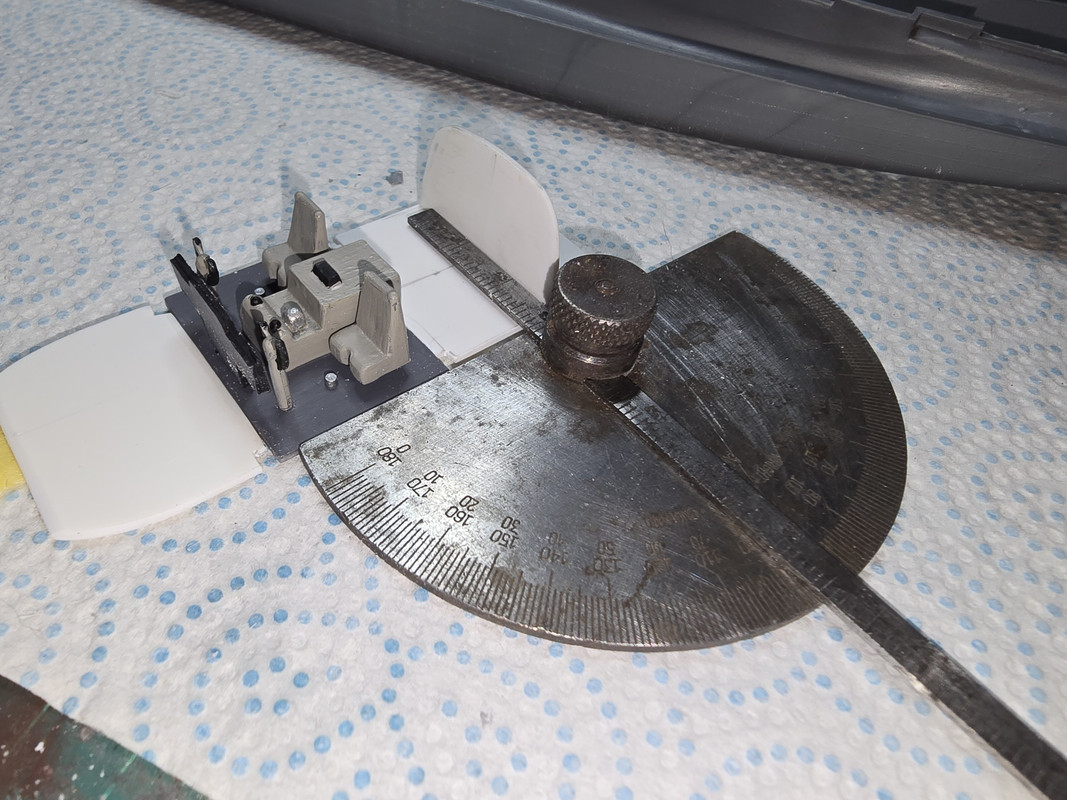
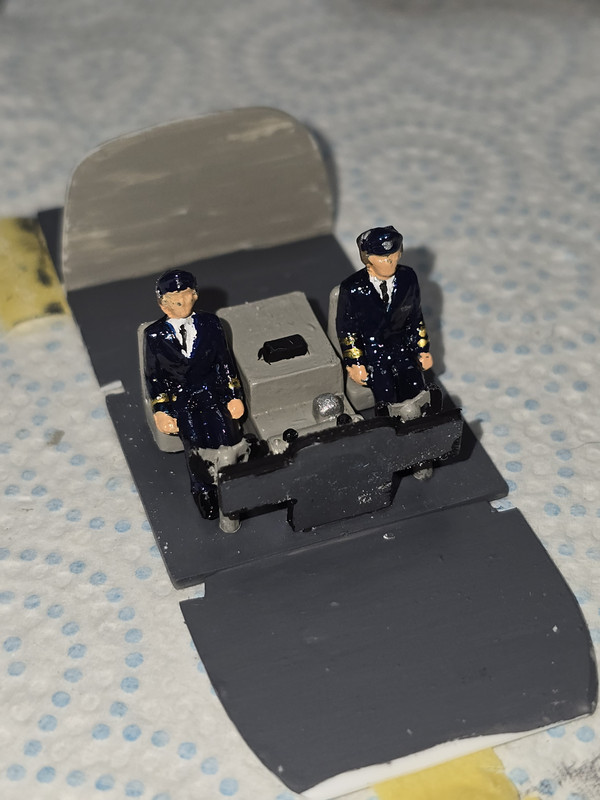
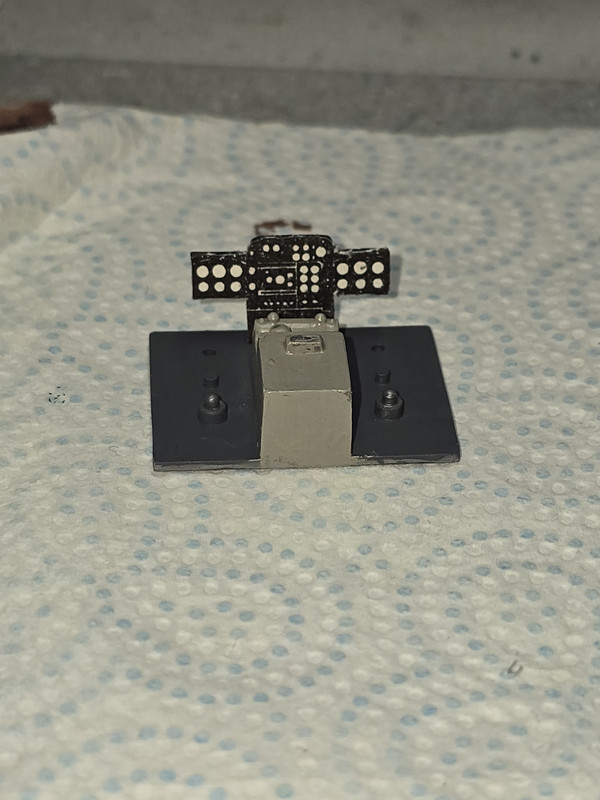
Once happy with the insides I started on the cockpit. Colours are the nearest match to photos I found of cockpits on the web.
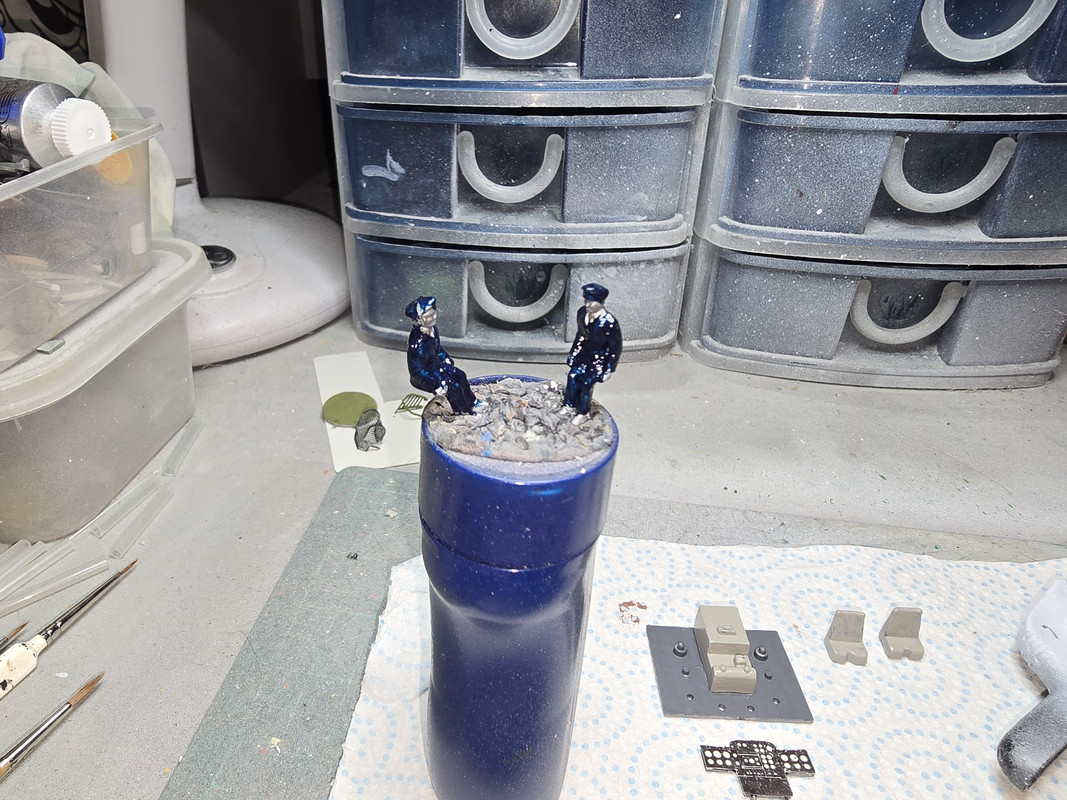
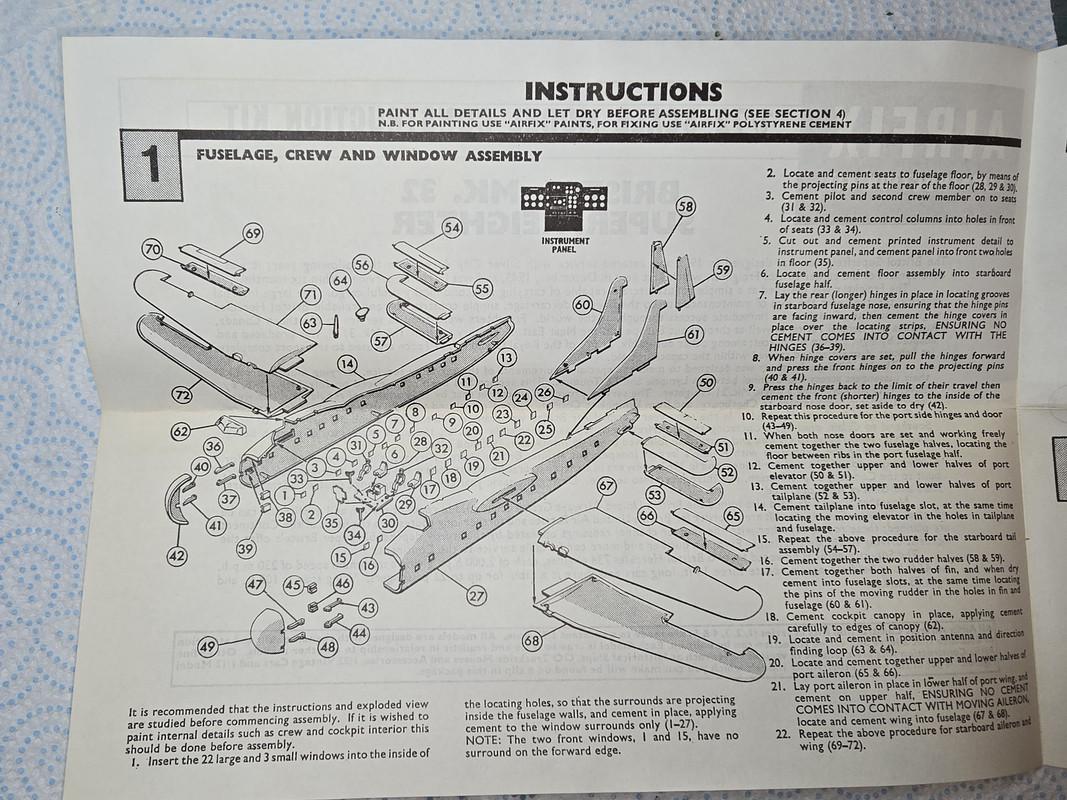
Instrument panel was a print on the instruction sheet that had to be cut out and stuck on. Needs a little tidying still.
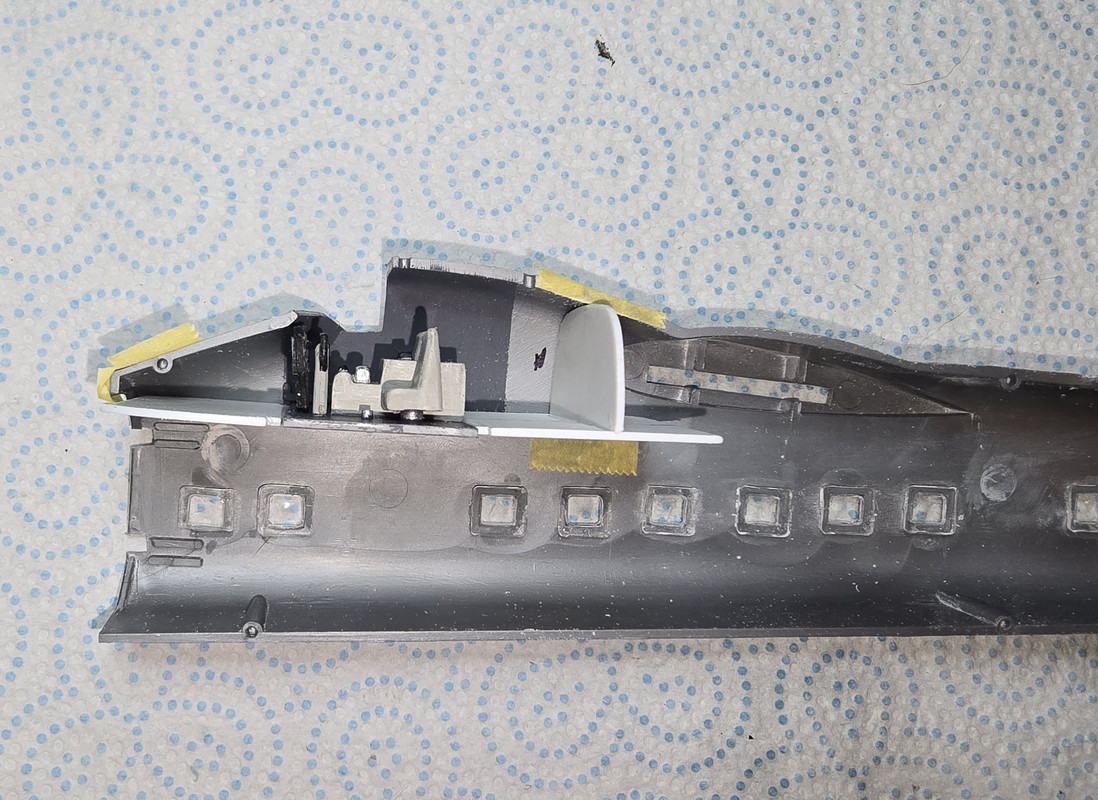
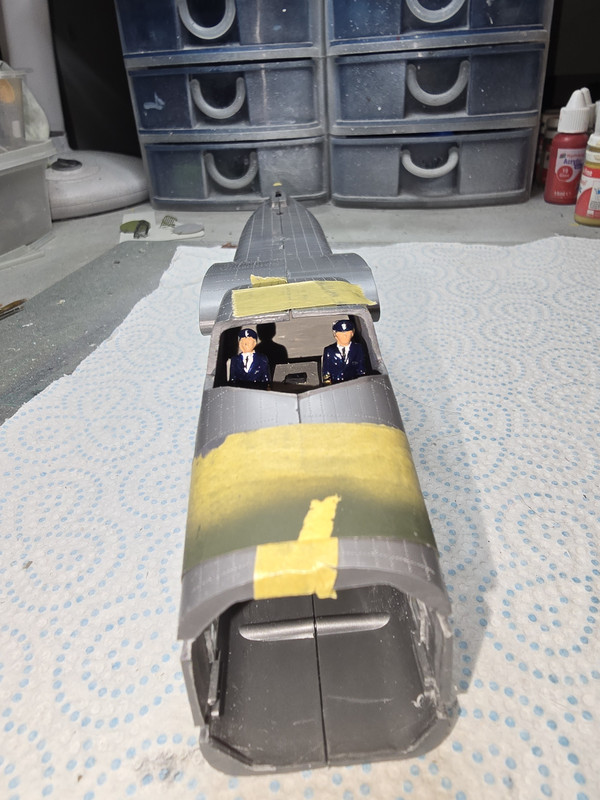
Lastly the fuselage halves were taped together to make sure the paint on the cockpit areas linedup. It did.

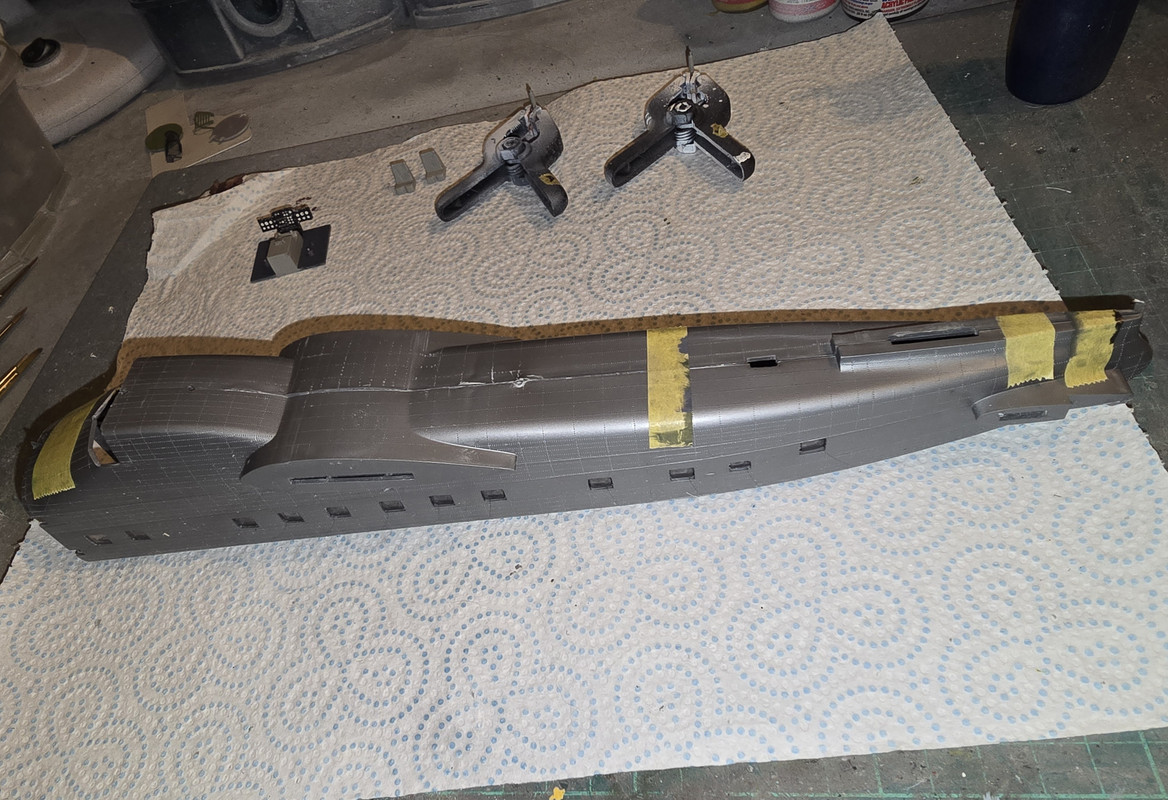
Plan now is to cut some ribs from 0.5mm sheet and add them to the sides as ribs and as the flight crews access ladder then lengths of 0.5mm dia rod between them as stringers. That then leaves me with trying to add a floor and ceiling.
Re: Bristol Superfreighter
Posted: Sun Oct 05, 2025 3:37 am
by cor
Cool old subject, and quite the challenge by the looks of that fit.
Re: Bristol Superfreighter
Posted: Sun Oct 05, 2025 8:31 am
by digger303
Re: Bristol Superfreighter
Posted: Mon Oct 06, 2025 3:15 am
by RangerNeil
Re: Bristol Superfreighter
Posted: Tue Oct 07, 2025 3:16 am
by RangerNeil
This is starting to get eerily reminiscent of the Mil Mi-V-12 build......

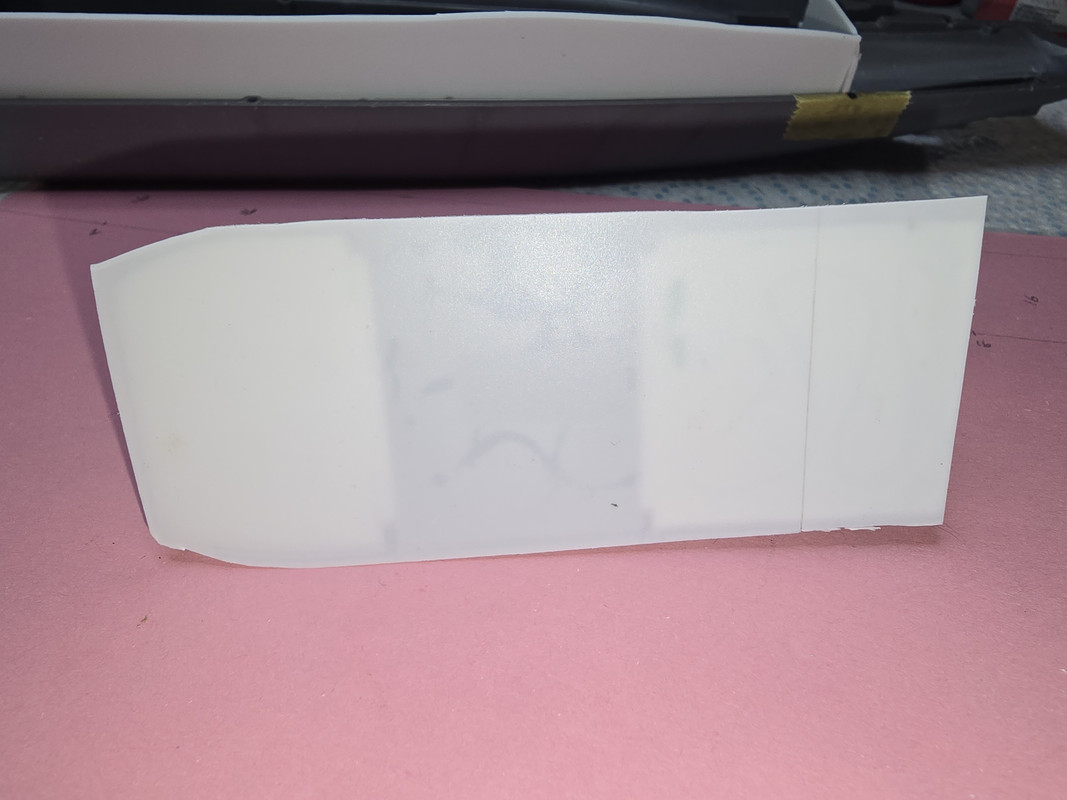
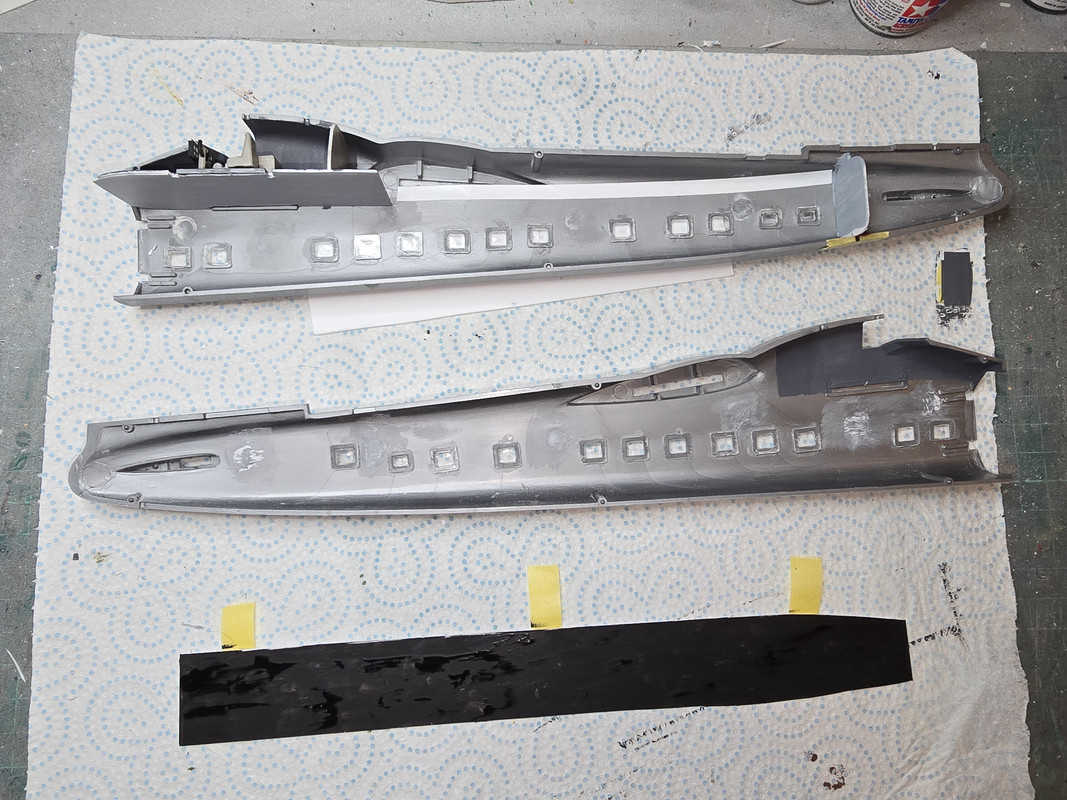
Tonight got the underside of the cockpit floor seal with a piece of 0.25mm sheet to hide all the holes and indents.
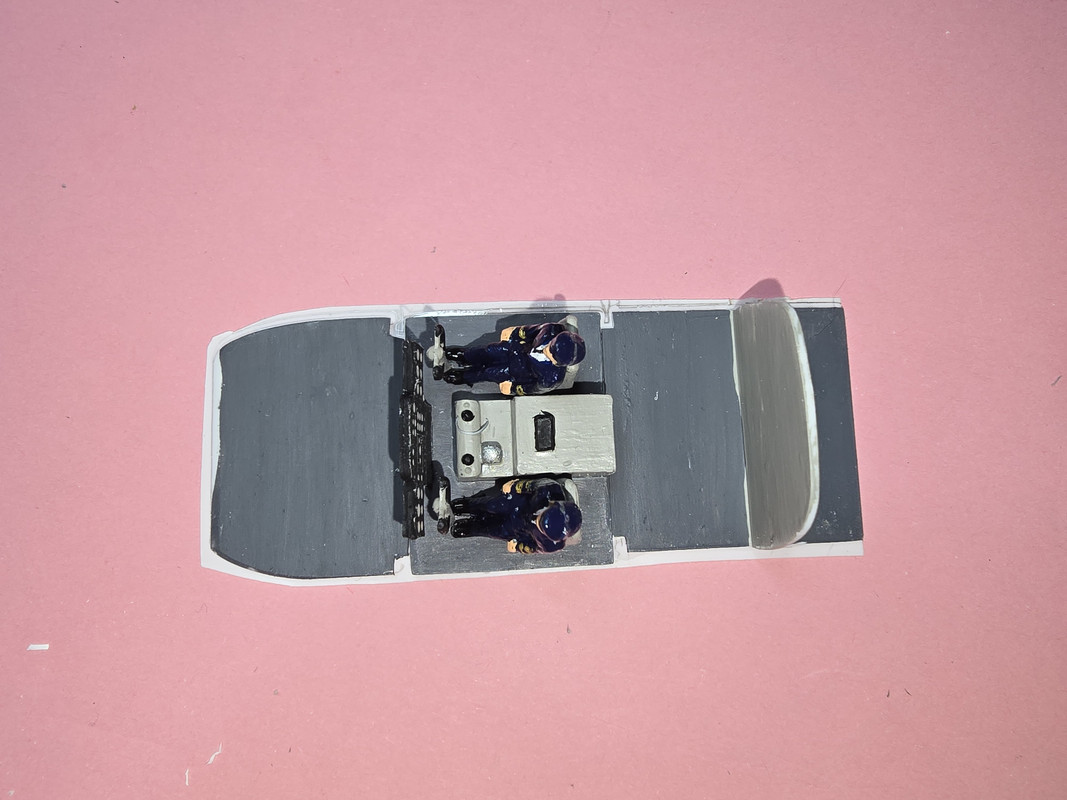
The rear bulkead was fixed in place and a cabin floor made from 1mm sheet.
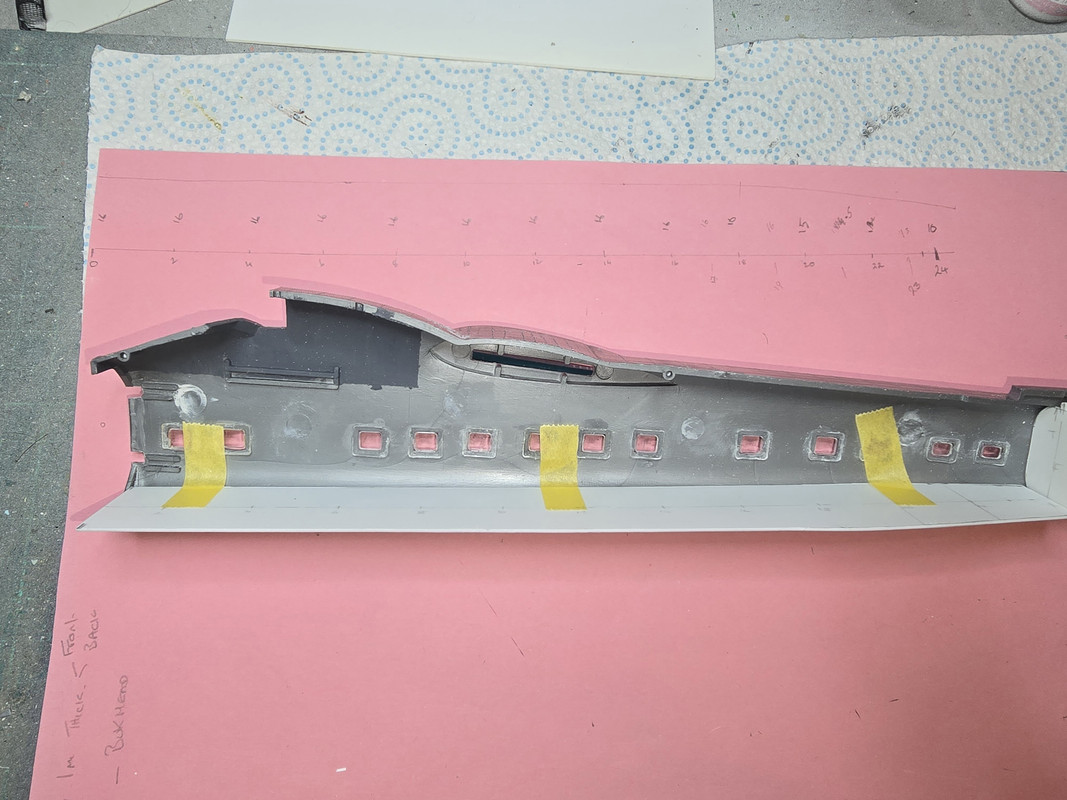
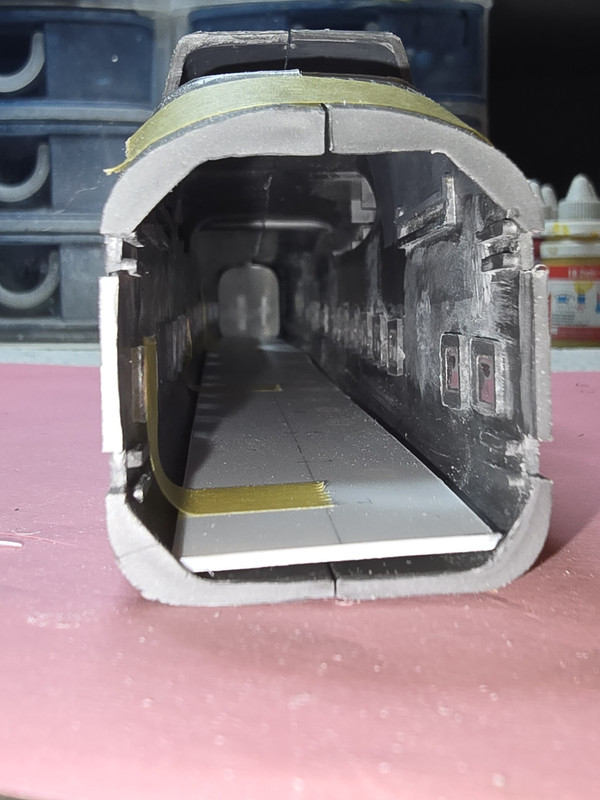
Its sitting high one side because the tapes holding it in place on the low side are tensioning it.
So at end of play today rear bulkhead is in and painted the closest Grey I can get to photos of the interior of the cabin on the web.
Rear access doors painted Dark Grey and tomorrow will be fixed to the rear bulkhead together with the access ladder for the rear door (currently under construction) which also hangs on the rear bulhead.
Re: Bristol Superfreighter
Posted: Tue Oct 07, 2025 11:44 am
by digger303
Re: Bristol Superfreighter
Posted: Wed Oct 08, 2025 3:33 am
by RangerNeil

The Mil was a lot easier, it was just a sheet for the lining that got slid in. This is going to have to be done a bit at a time. We left it last night with the floor sorted - today it was the turn of the cabin roof. As with the floor I drew on the old days at Ford and drew a set of "ten-lines" with line 0 being the front face of the fuselage then spaced every 20mm until the readings changed and then every 10mm. To get the readings I ran a length of tape inside the fuselage where I thought the roof line should be then placed a 6" steel rule across the fuselage half on every ten-line, used a trusty set of digital vernier calipers, and noted the reading. Once completed I measured the thickness of the steelrule and deducted that from every measurement. I then set the calipers to the revised dimension and used them to mark each side of the centre line of the roof material, joined the rusulting dots then cut the excess off and sanded it to shape.
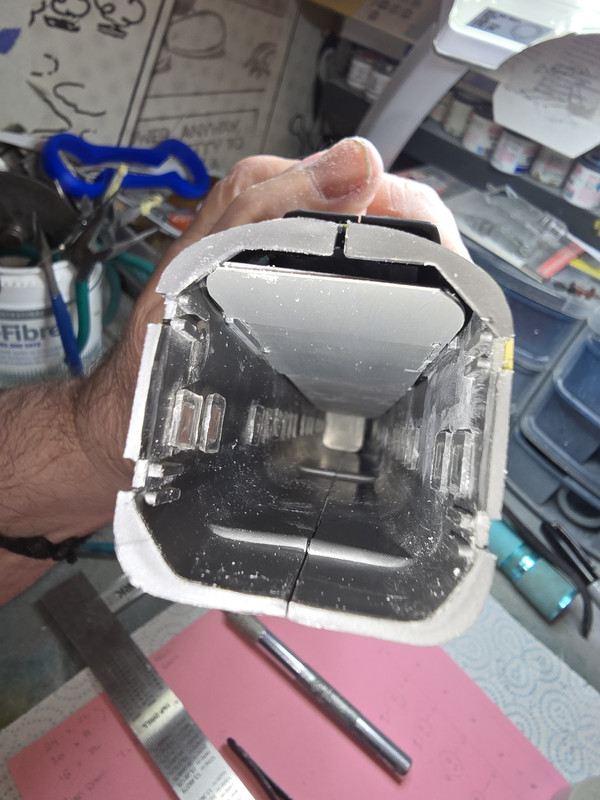
Spot where I goofed!!
First person to say " he measure the wrong side of the marking tape can award themselves brownie points.
So out it came again and the curvature at the rear got reduced in width till it fitted
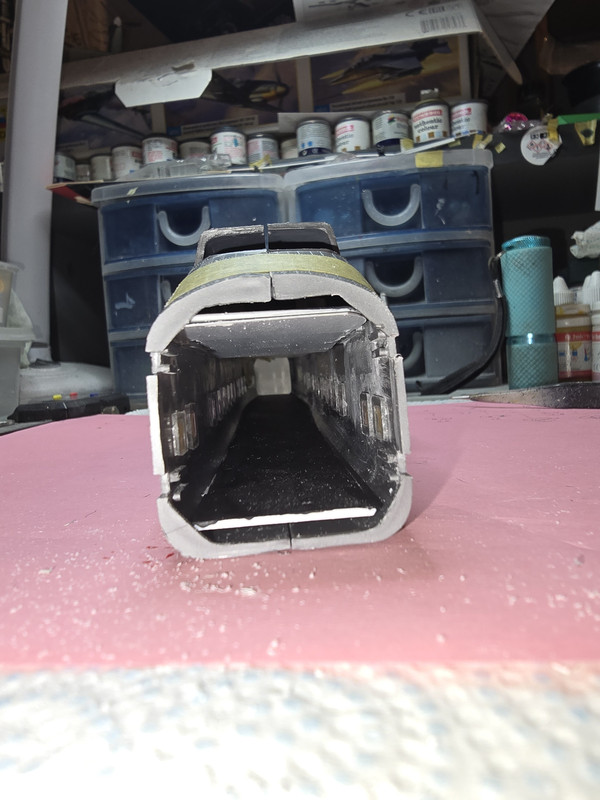
(Its dropped one side slightly due to the weight)
Test-fitted the other half of the fuselage just to make sure and it joined nicely the entire length.
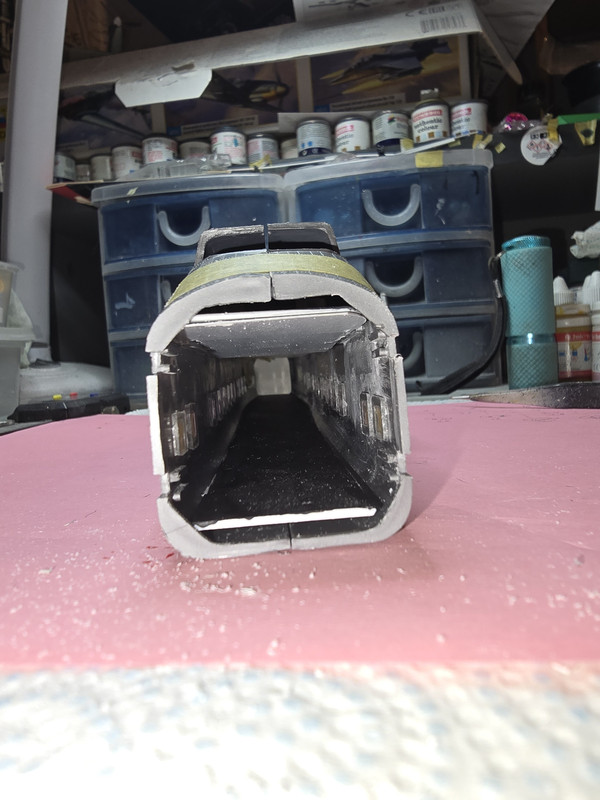
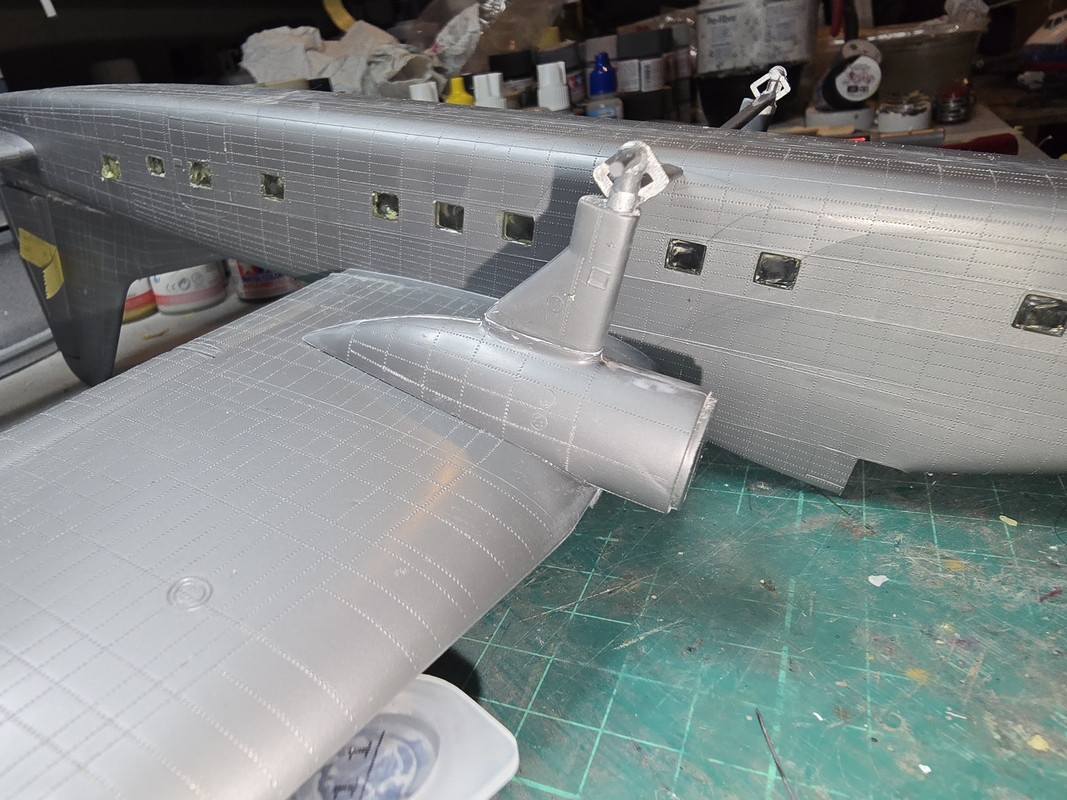
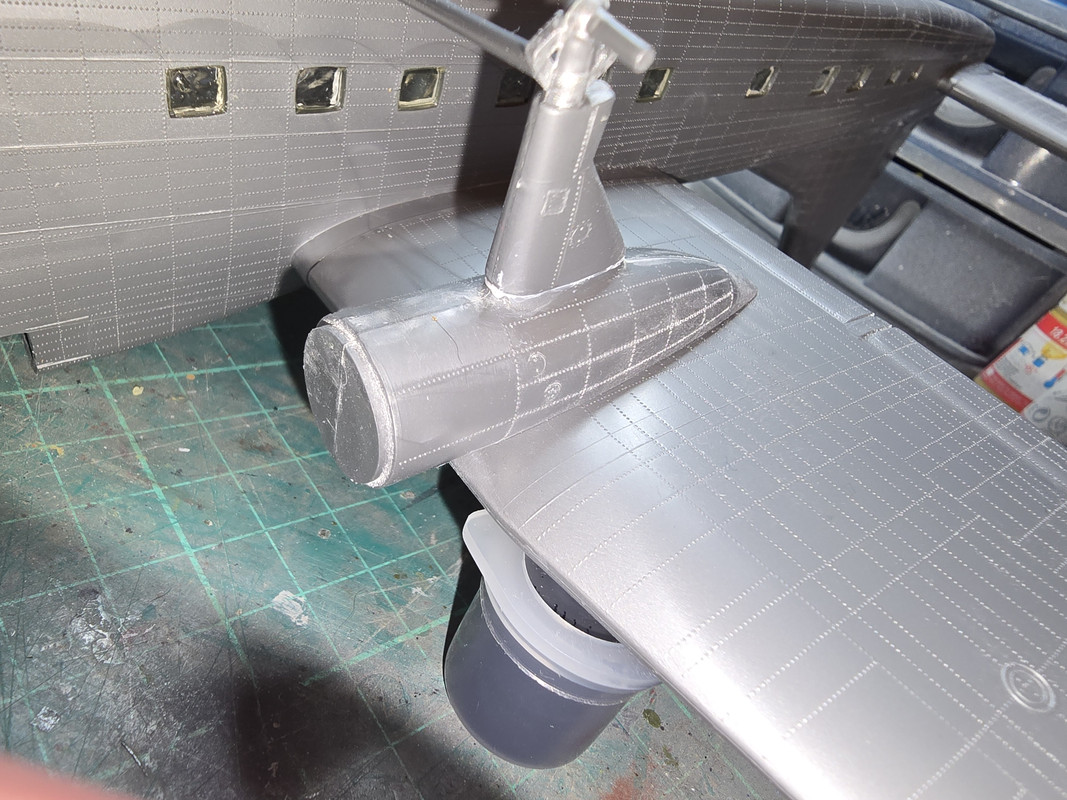
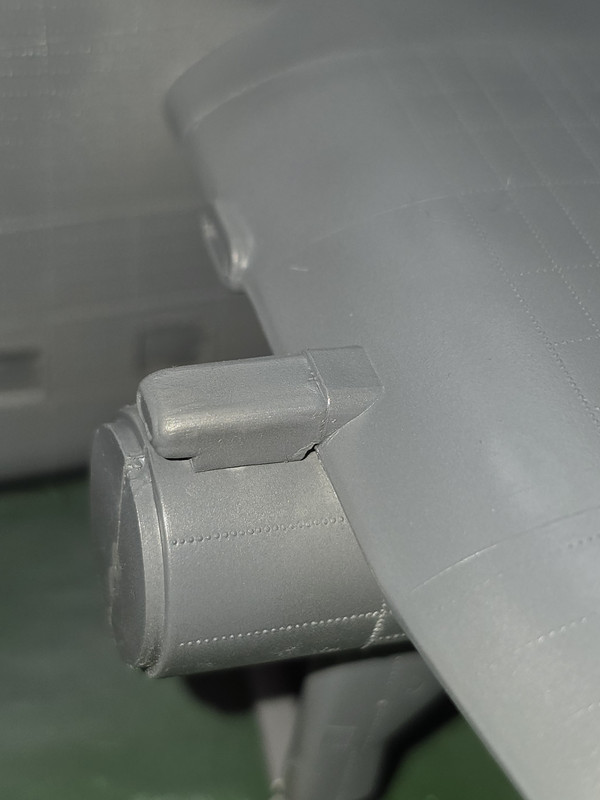
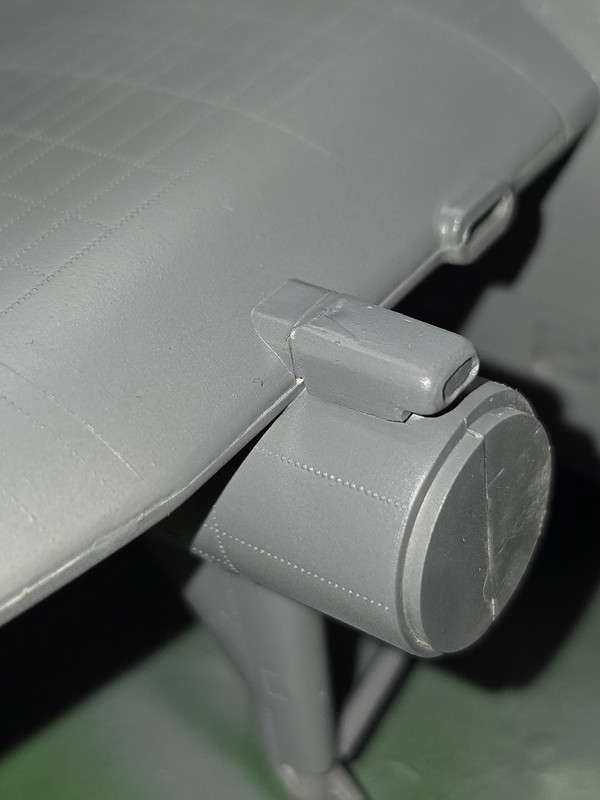
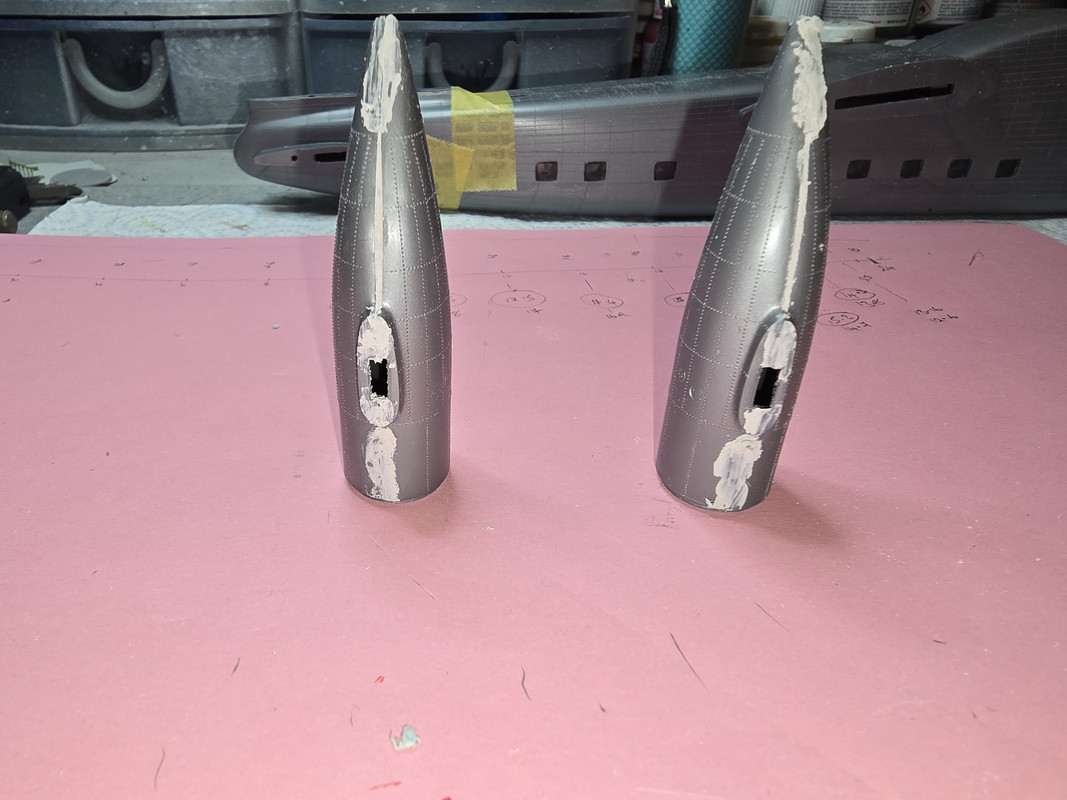
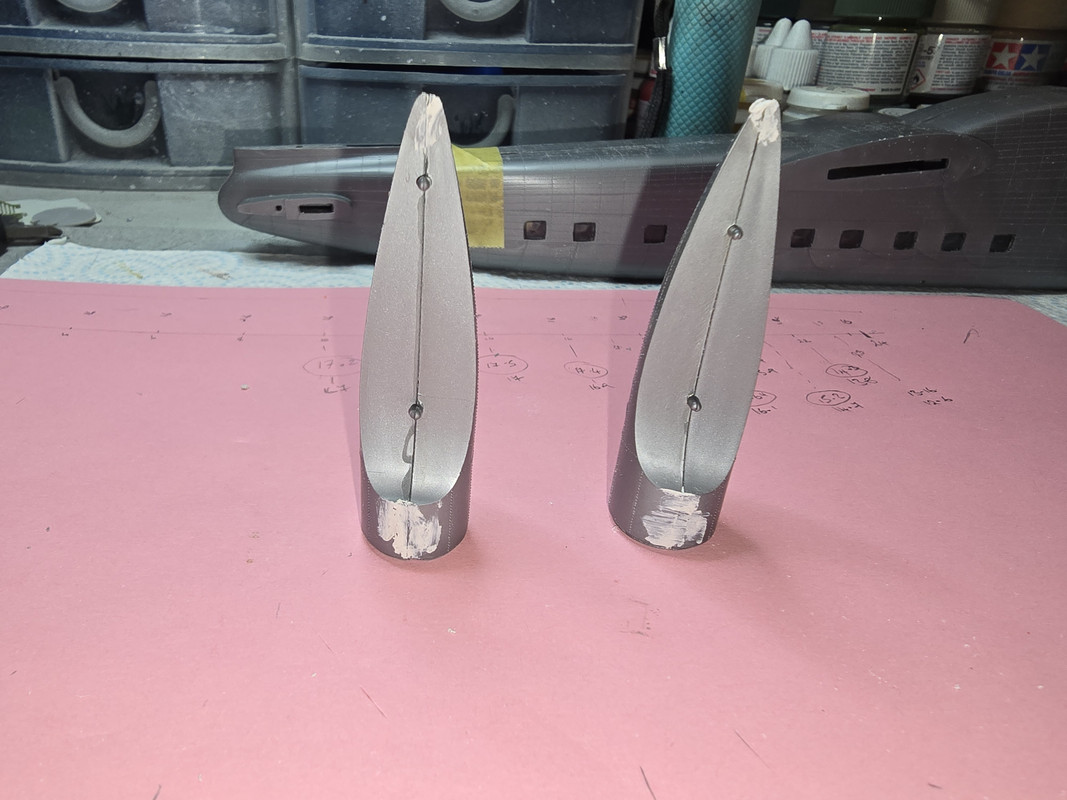
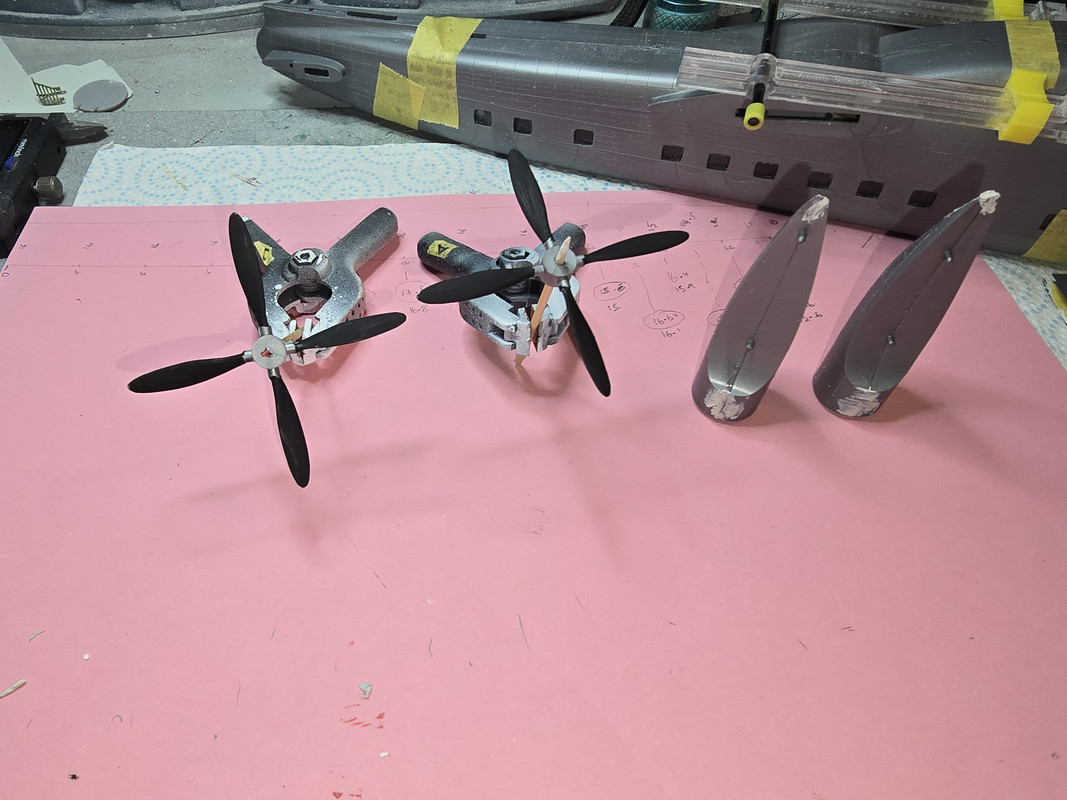
Now I need to work out make the ribs and stringers. Whilst I ponder that the engine nacelles were assembled ). When I joined the two haleves of the nacelles the edges made a Vee rather than a flush finish so out came the filler. This is drying overnight.
Re: Bristol Superfreighter
Posted: Wed Oct 08, 2025 1:20 pm
by digger303
I have heard of guys adding a retainer to the inside of the fuselage that can't be seen from the outside. In order to prevent the windows popping out resulting in a problem ya don't need.

Re: Bristol Superfreighter
Posted: Wed Oct 08, 2025 10:35 pm
by RangerNeil
digger303 wrote: Wed Oct 08, 2025 1:20 pm
I have heard of guys adding a retainer to the inside of the fuselage that can't be seen from the outside. In order to prevent the windows popping out resulting in a problem ya don't need.
Hopefully - he says with literally everything crossed - that shouldn't be a problem as the side windows went in with TET and had weights on them as it set......
Back to the build:
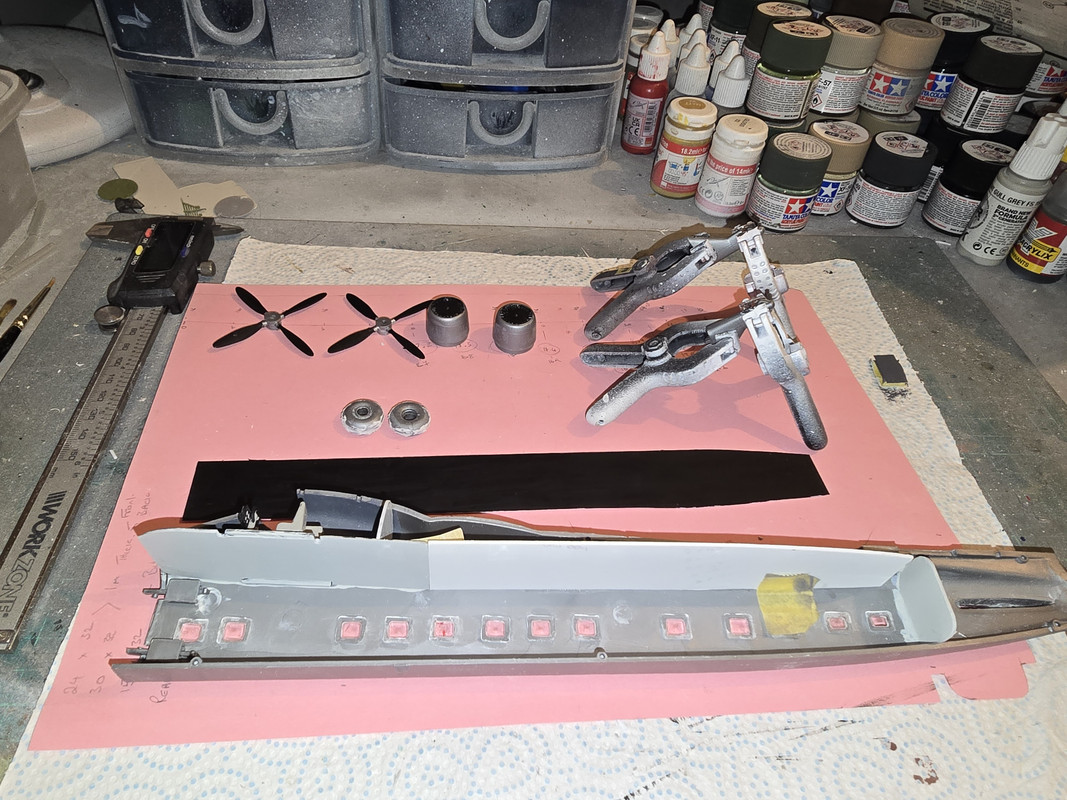
* The cabin roof is in and awaiting painting.
* The floor has had a second coat of Black as have the prop blades.
* The engine cowls have had the front face done in Gunmetal - I couldn't see any way of improving them without a degree of major surgery far beyond my paltry skill level.
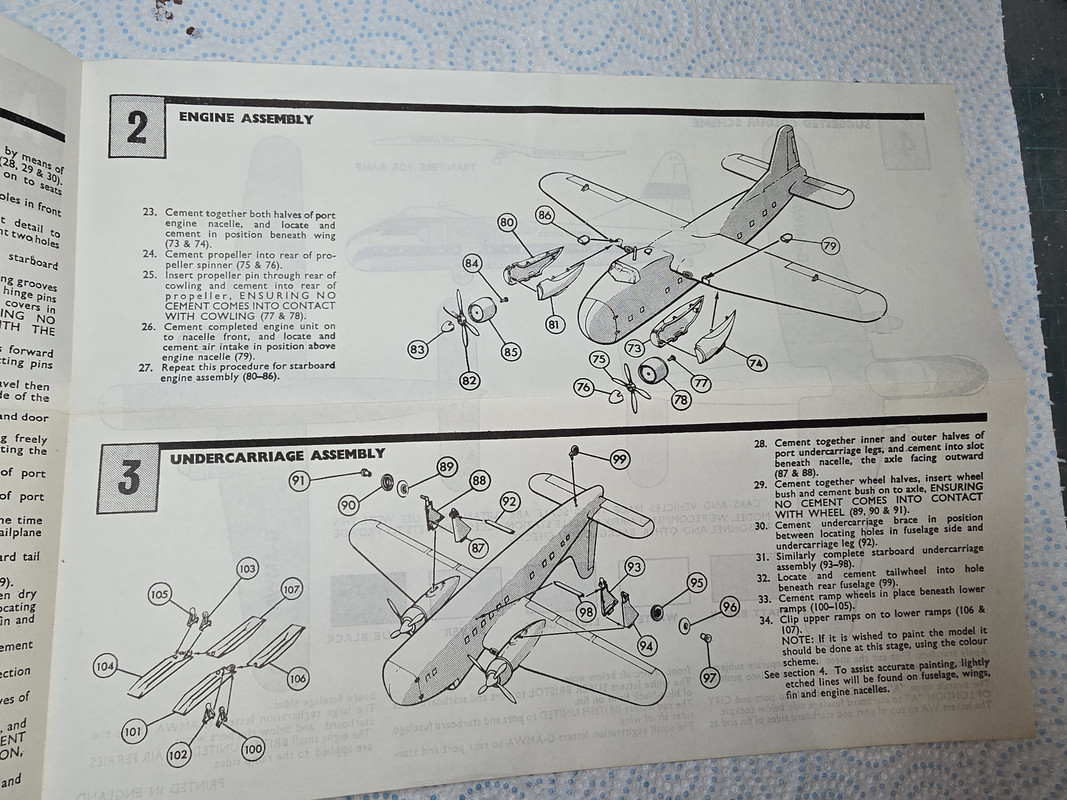
* The two undercarriage legs are clamped up and setting.
* The two main undercarriage wheels are assembled, where they join there is a groove again so thats been filled and awaiting sanding.
* The engine nacelles have been sanded and are fitted to their respective wings. Airfix made sure they couldn't be mixed by using a different spacing on the locating pins
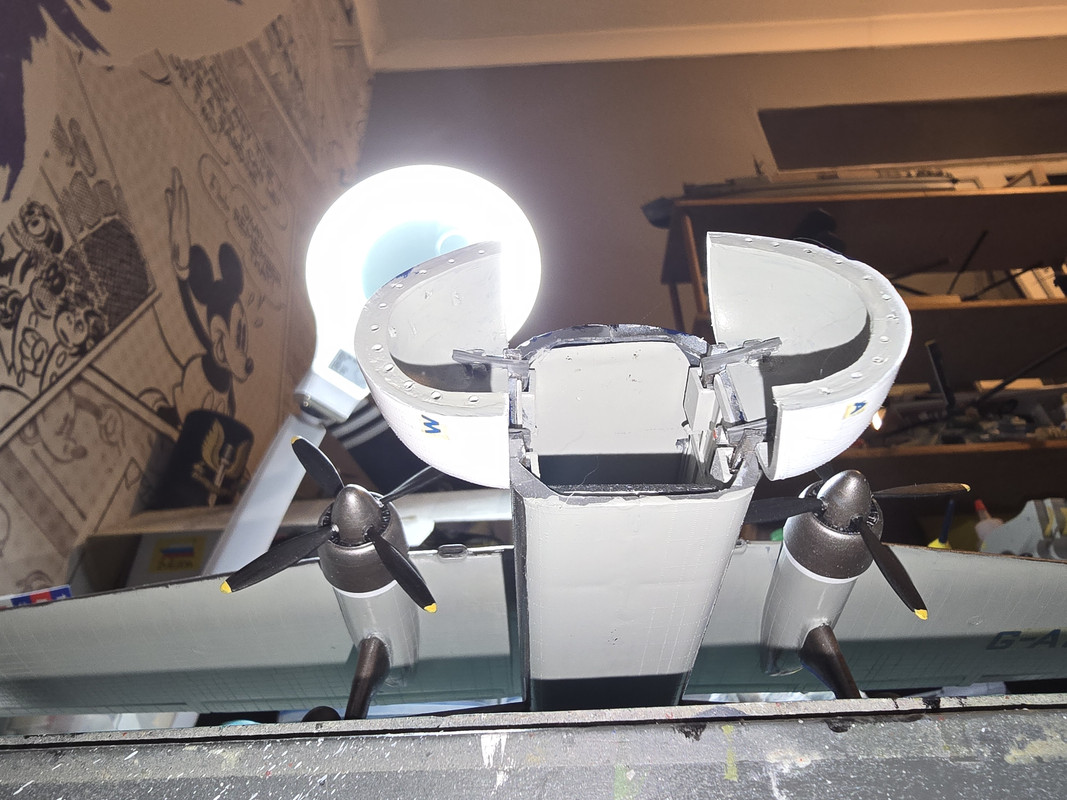
I've also added the hinges for the bow doors.
I'm still puzzling over how to do the interior fitments. At the moment I'm think of cutting some 1mm wide atrips of 0.5mm plastic card and working them back as far as the start of window #5 or #6 and then using 0.5mm dia rod for the stringers. Still very much a "what if" situation though.
Re: Bristol Superfreighter
Posted: Thu Oct 09, 2025 12:11 am
by digger303
Re: Bristol Superfreighter
Posted: Thu Oct 09, 2025 2:10 am
by RangerNeil
You have more faith in me than I do!!!
So - at close of play tonight the interior has a first coal of Light Grey. Under carriage legs are sanded as are the tyres which have had a first coat of Rubber Black. All 4 prop blades have had 2 coats of Matt Black and the centre sctions a coat of Flat Aluminium.
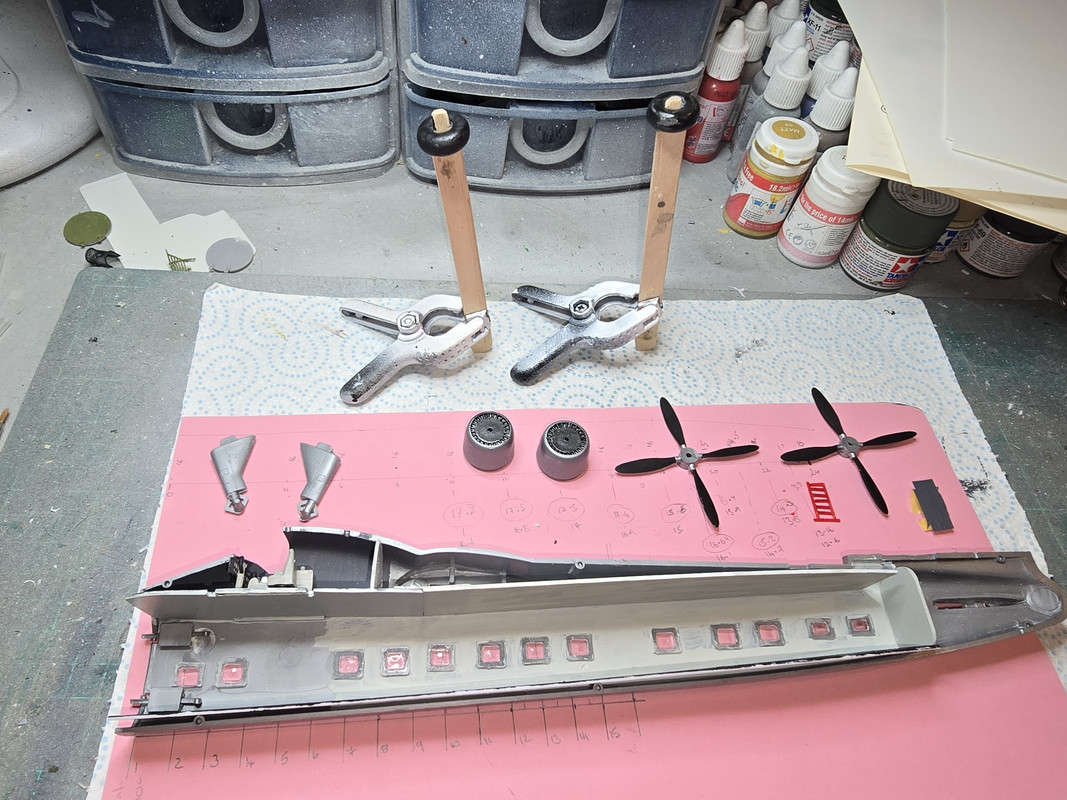
I've marked the approx position of the ribs on the pink papers.
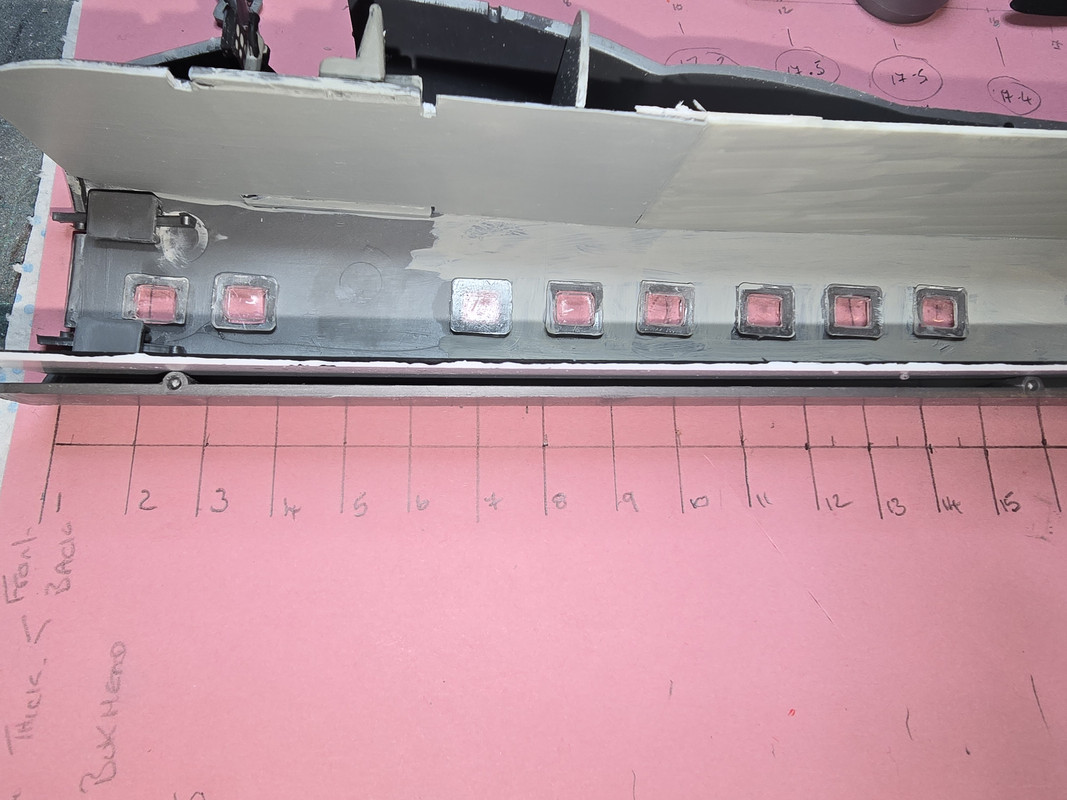
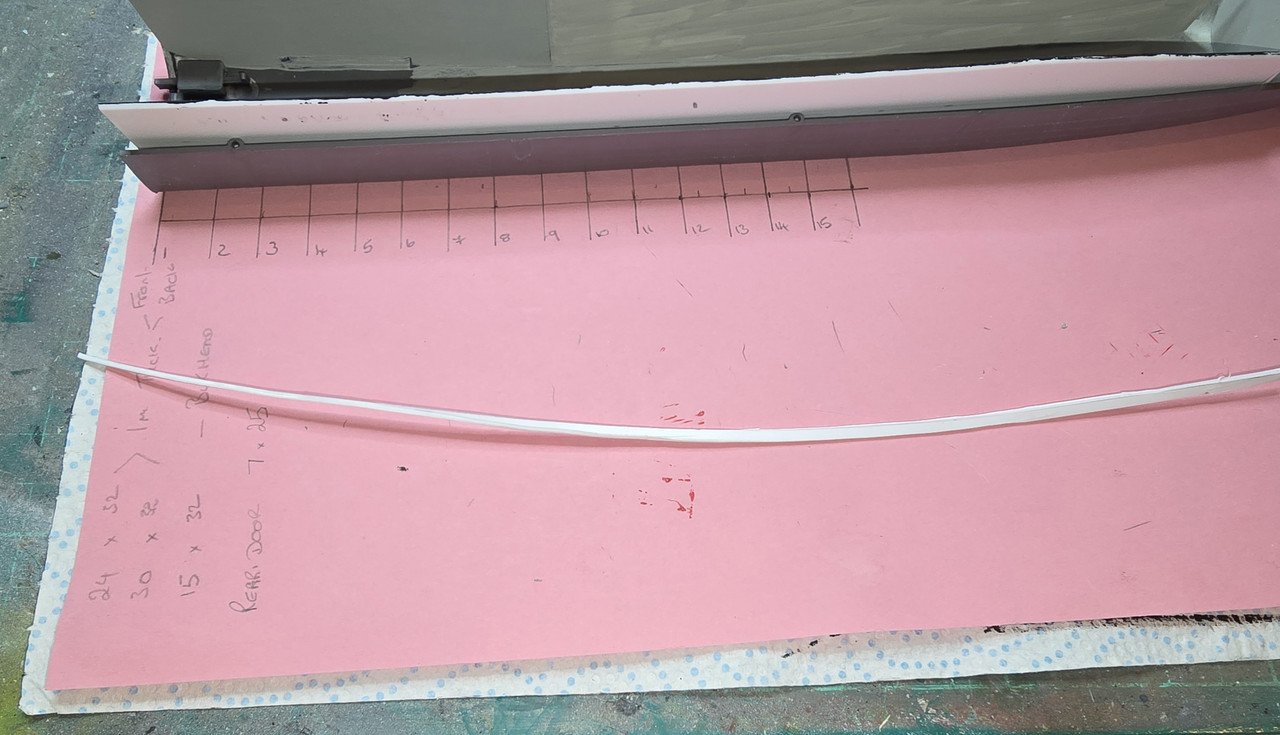
But the issue I'm finding now is as I cut a strip off the sheet to make them the strip is curling up! Got to find another way of cutting other than a ruler and sharp knife.
Re: Bristol Superfreighter
Posted: Thu Oct 09, 2025 1:01 pm
by digger303
Dang it.
Re: Bristol Superfreighter
Posted: Fri Oct 10, 2025 3:43 am
by RangerNeil
Had a go at the ribs - I used 2mm wide strips of 0.75mm plastic sheet. Any thinner on either dimension and cutting a strip resulted in a corkscrew mess!!

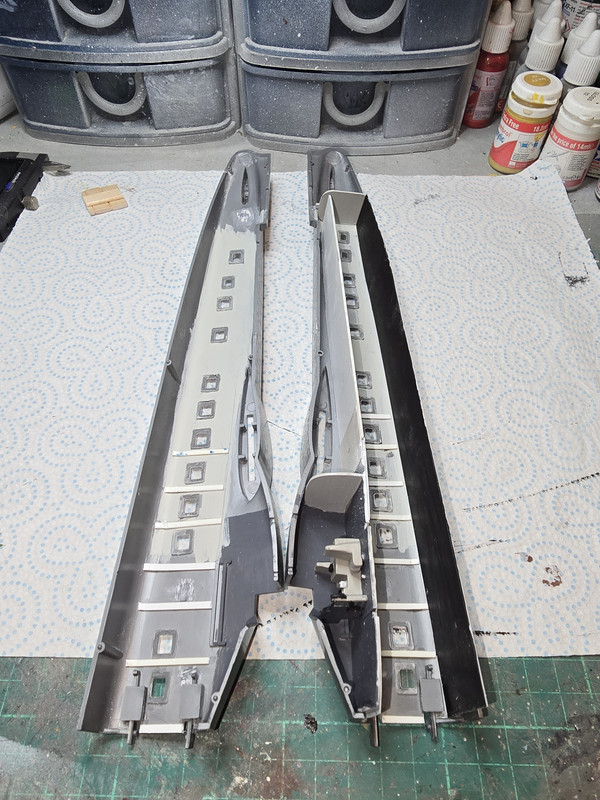
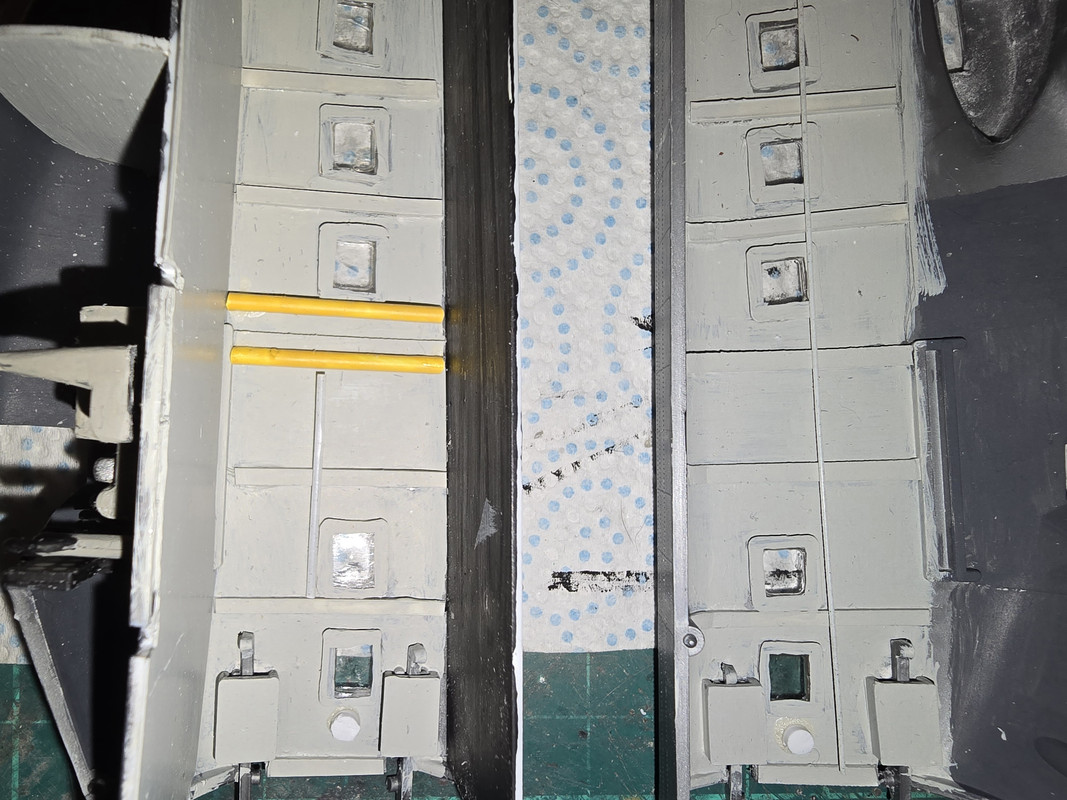
Ribs all done and painted. The yellow uprights are the sides of the crews access ladder to the flightdeck. I'll add the rungs tomorrow once the uprights are set. White circles up front are the manual cranks for opening the doors if the hydraulics go fubar.
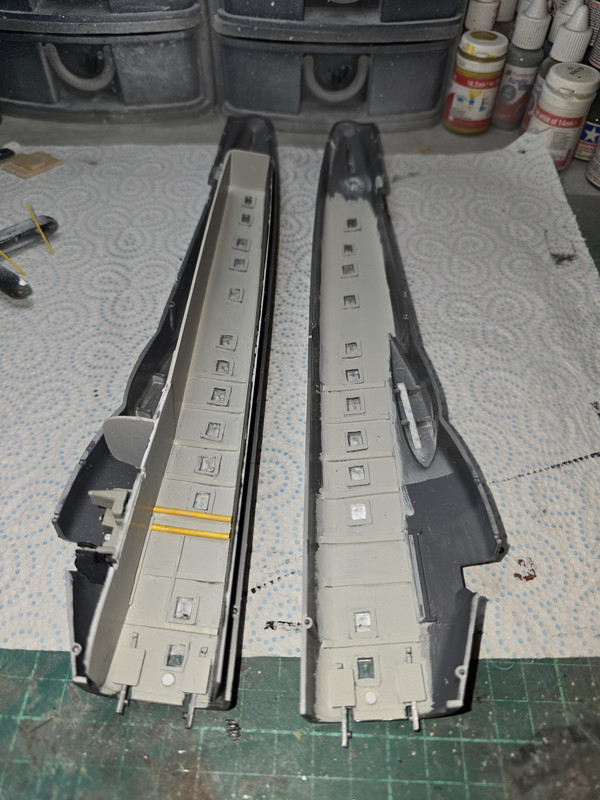
Just leaves the stringers running fore and aft between the ribs now. I can't make up whats left of my mimd which looks better - the 1mm rod on the left or the 0.5mm rod on the right.....
Re: Bristol Superfreighter
Posted: Fri Oct 10, 2025 6:28 am
by digger303
I like the 0.5mm rod
Re: Bristol Superfreighter
Posted: Sat Oct 11, 2025 2:42 am
by RangerNeil
digger303 wrote: Fri Oct 10, 2025 6:28 am
I like the 0.5mm rod
Thanks Digger
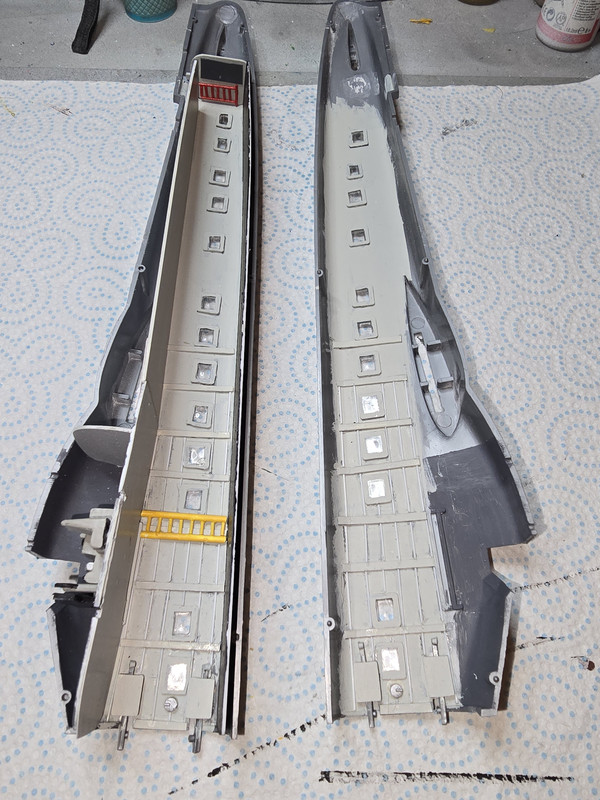
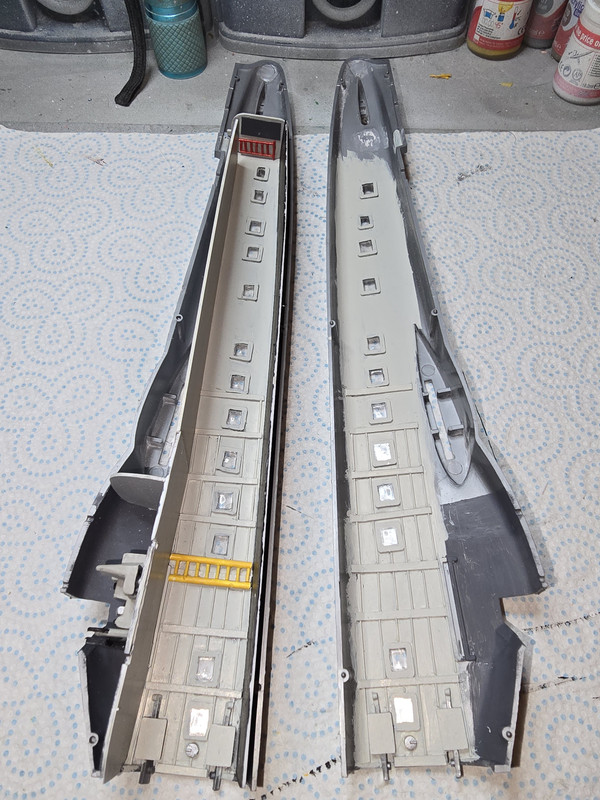
I was inclined to that size as well so went for it. Taken 2 complete lengths to do whats in the photos, I honestly don't think its worth going further back as it cannot really be seen.
This is the stringers in:
And painted:
And with the rest of the major sub-assemblies:
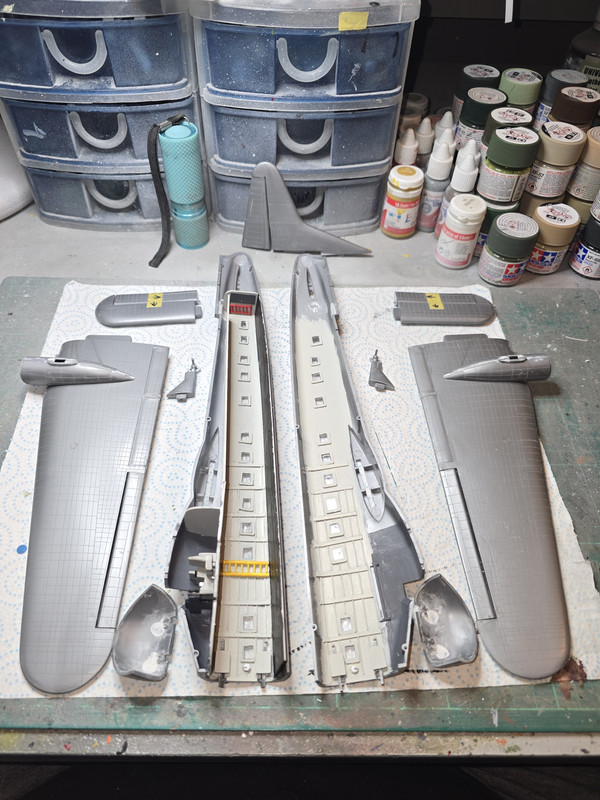
Next step now is joining the fuselage halves together. I think this will have to be done in sections so as to take out the worst of the alignment issues. Sanding will have to be done VERY carefully as the stripes on the fuselage etc. have to be painted, no decals are suppliefld for them and the guidelines are very fait indeed!

Re: Bristol Superfreighter
Posted: Sat Oct 11, 2025 6:17 am
by digger303
Re: Bristol Superfreighter
Posted: Sun Oct 12, 2025 12:01 am
by RangerNeil
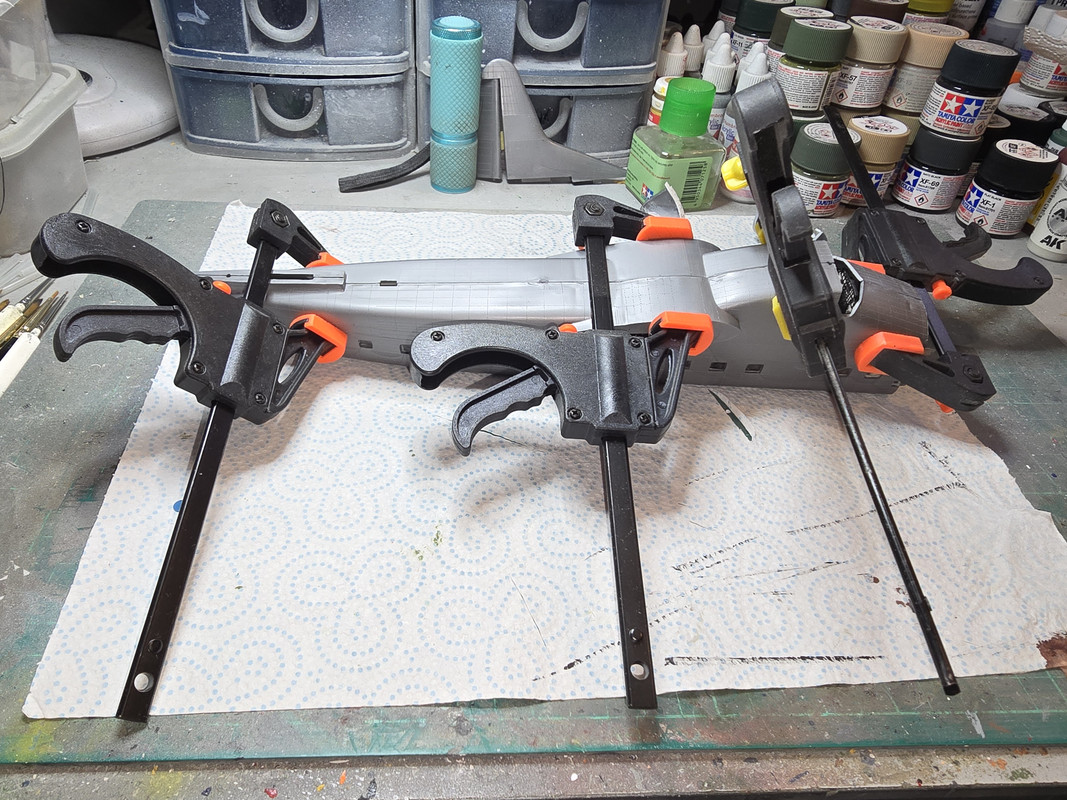
Fuselage halves are joined. As usual with a lot of clamps.... Mainly because it needed a lot of finessing to get the seams to line up. Pretty much got there too.
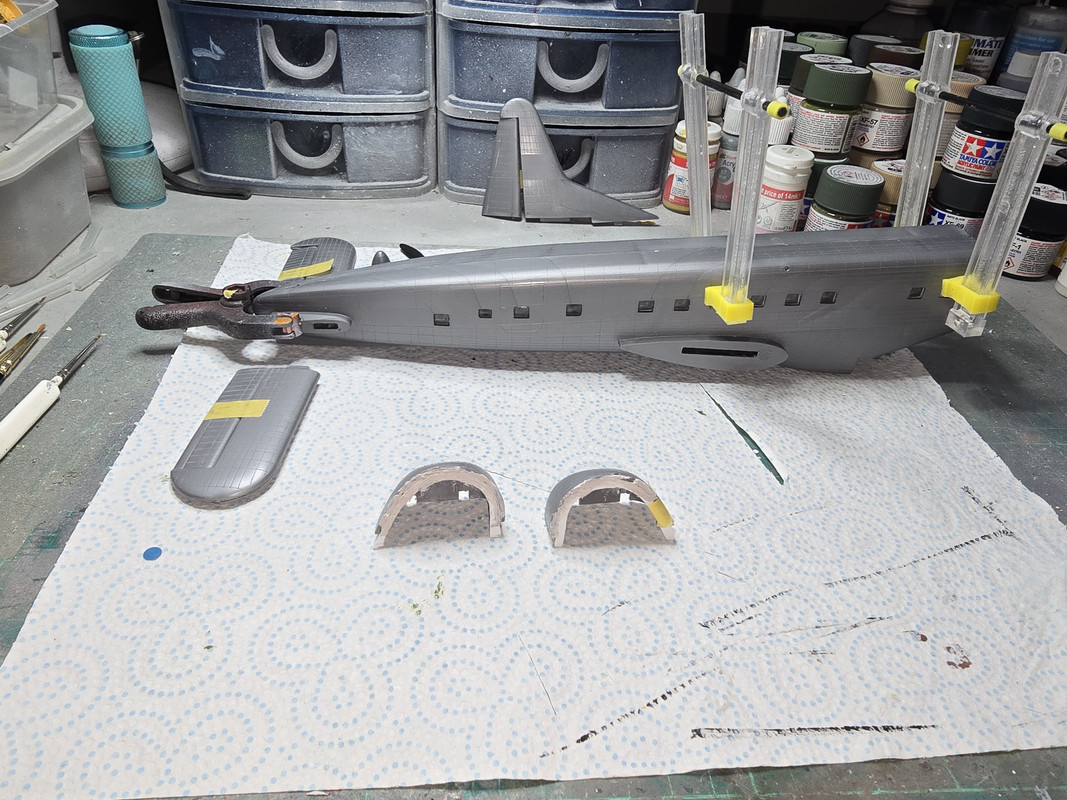
So a start has been made on the Bow Doors:
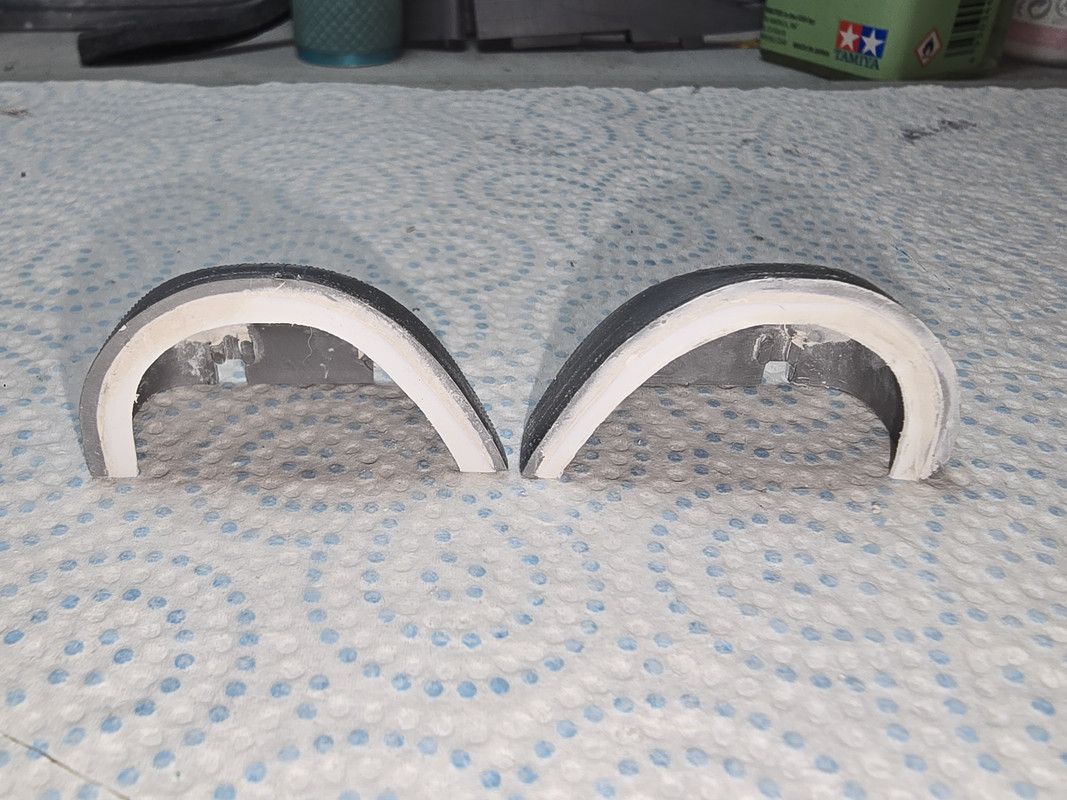
Still a bit to do on these!
Re: Bristol Superfreighter
Posted: Sun Oct 12, 2025 1:34 pm
by digger303
Re: Bristol Superfreighter
Posted: Mon Oct 13, 2025 3:14 am
by RangerNeil
Clamps came off tonight, apart from one area its not too bad.
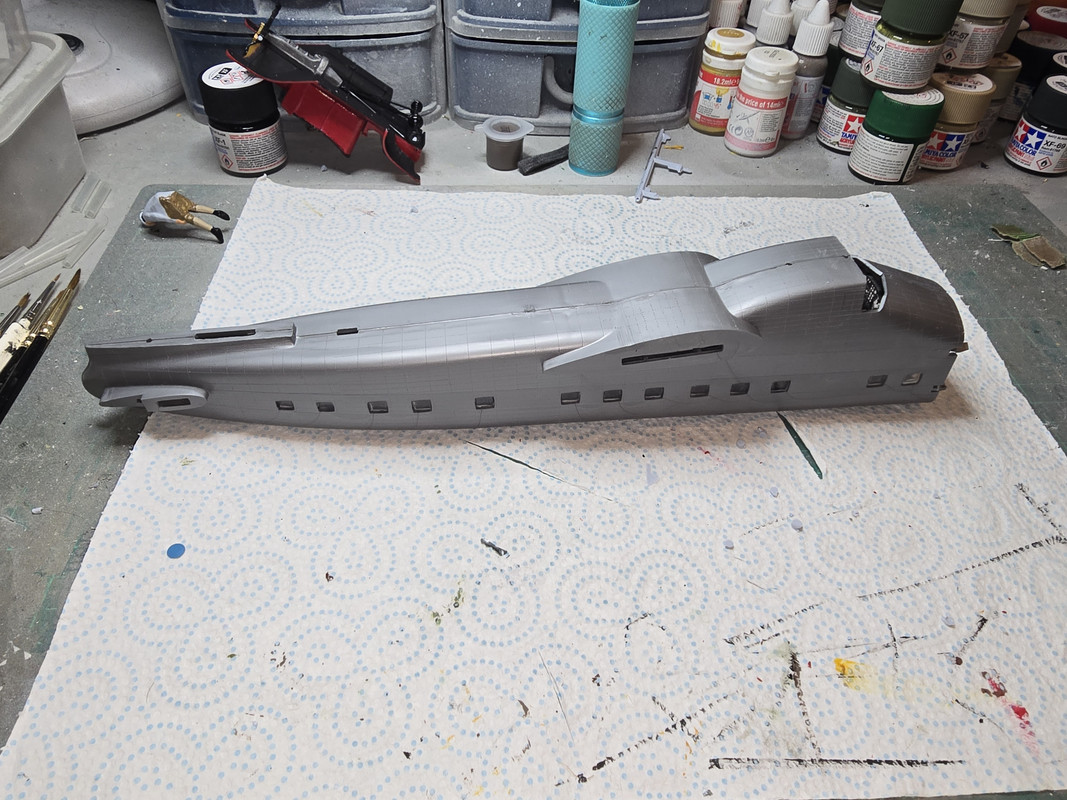
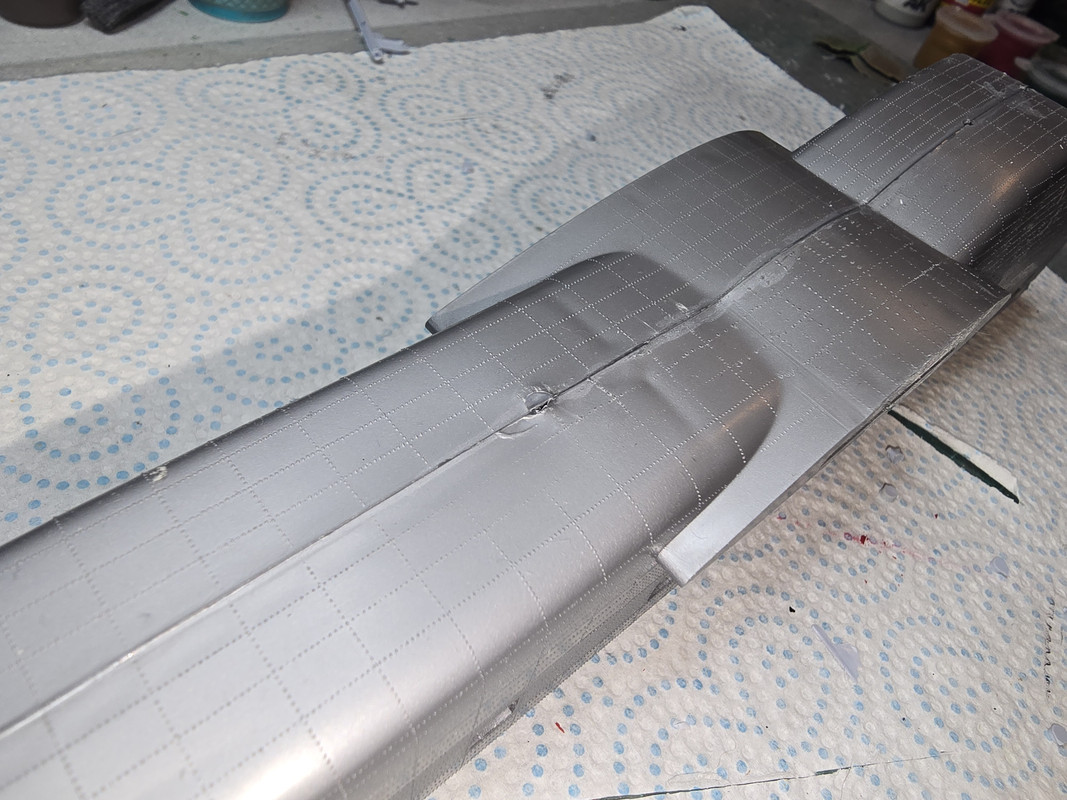
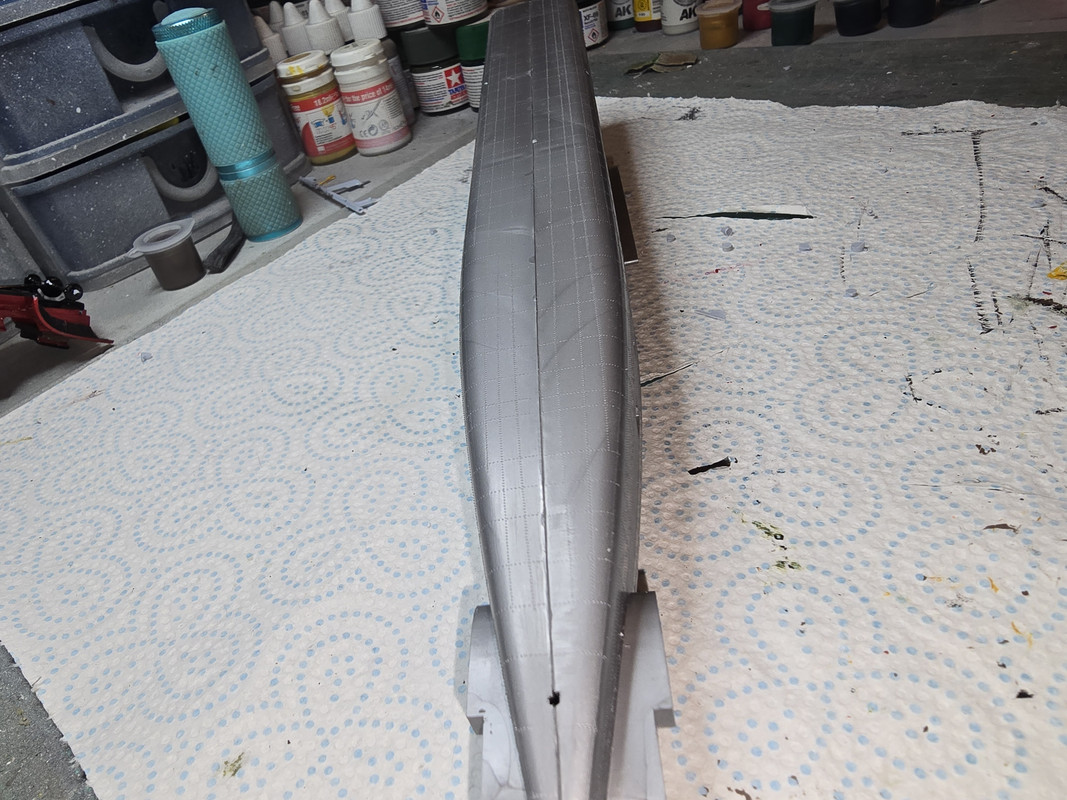
Theres a tiny little area at the very rear of the fuselage that didn't close despite the clamps and will need a dab of filler.
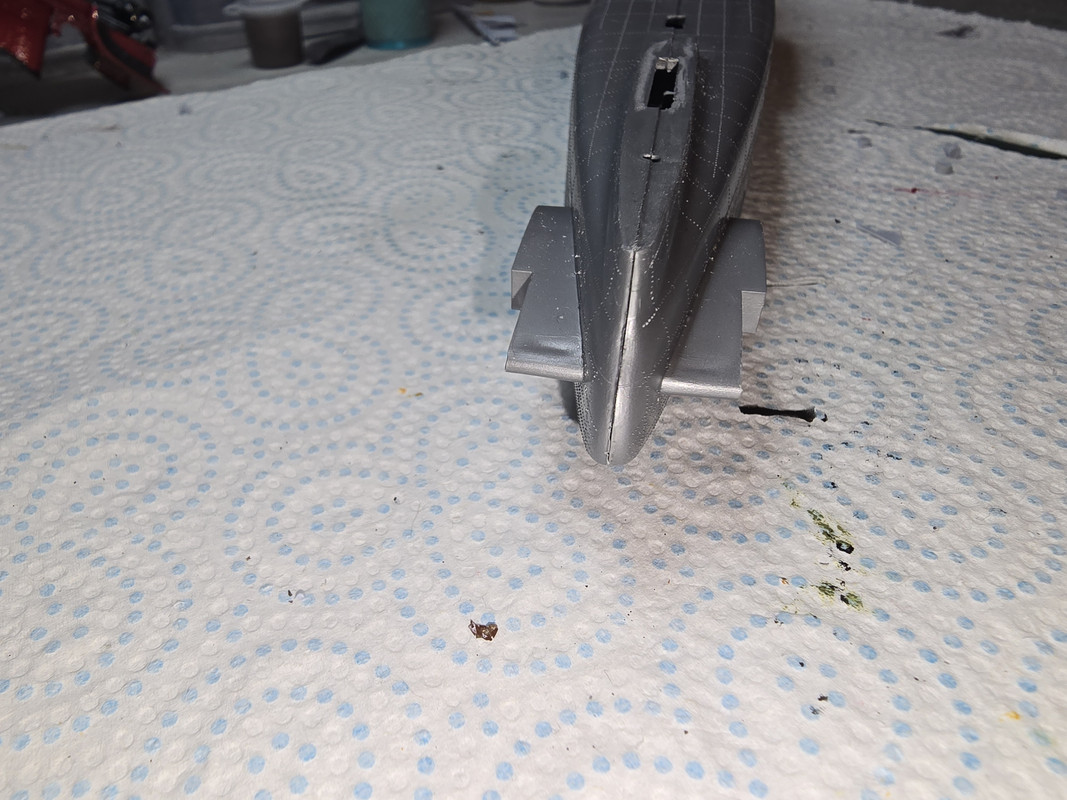
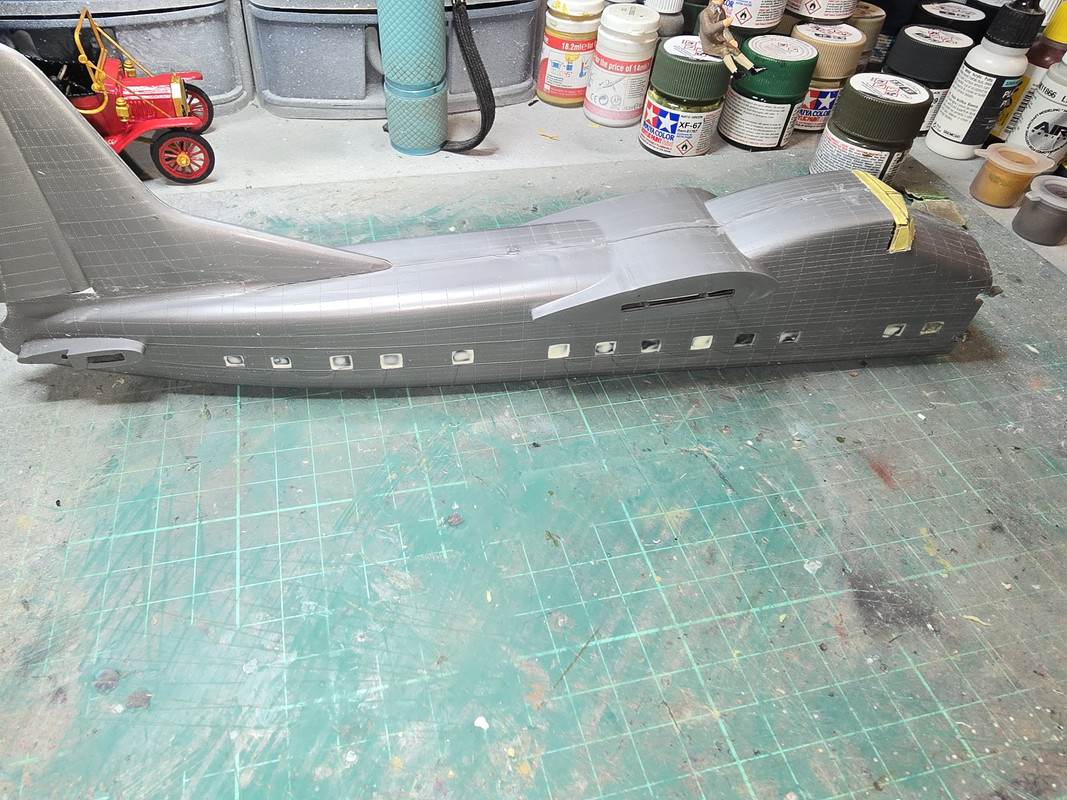
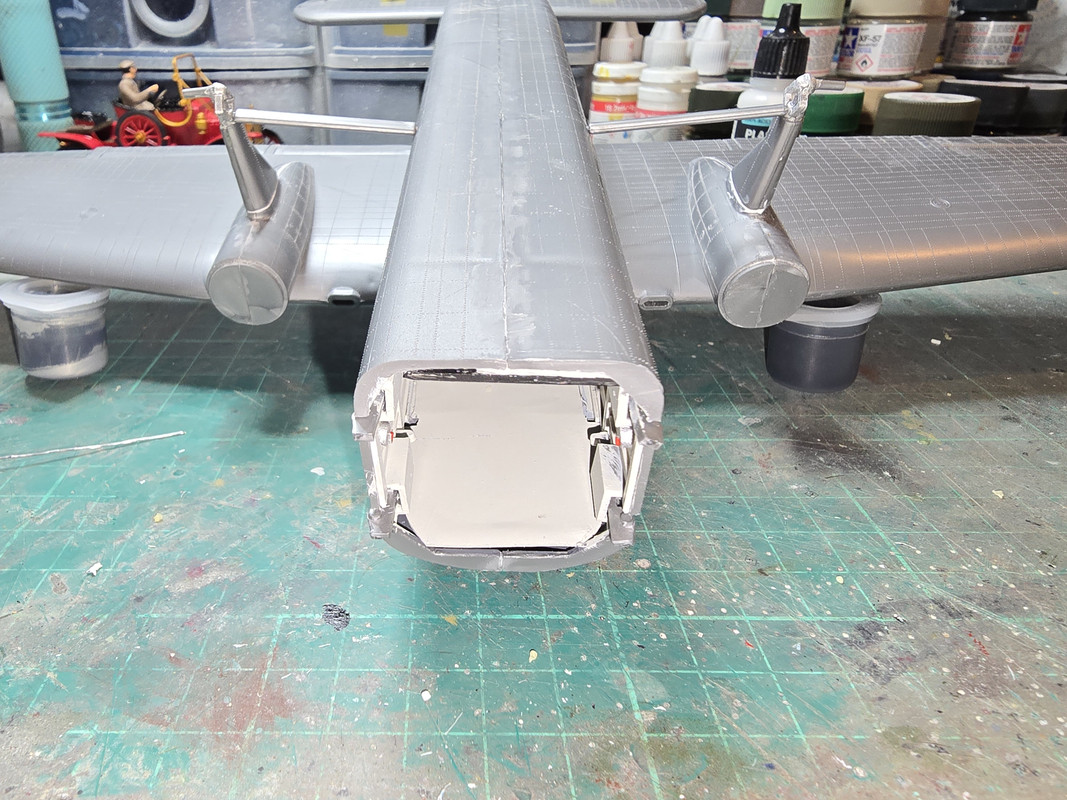
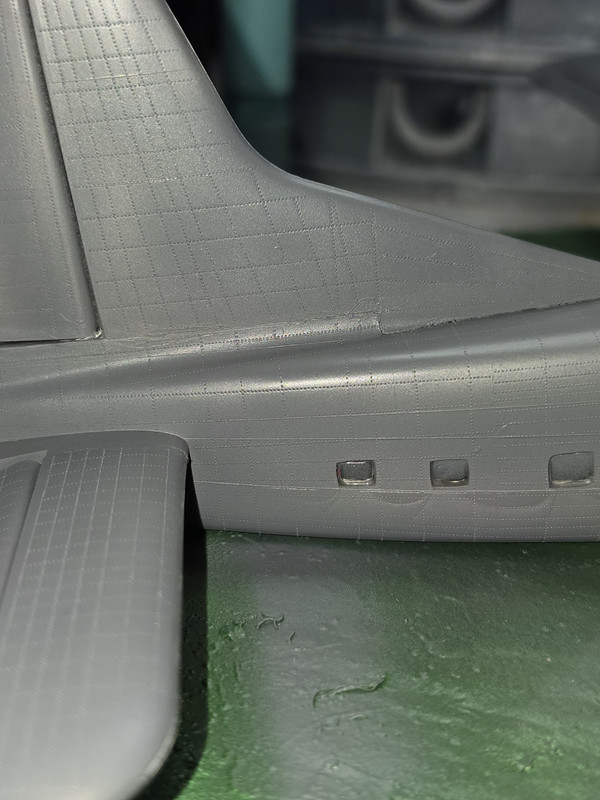
Regrettably the riveting is all raised so I'm going to have a strip down the top of the fuselage, maybe 5mmm wide thats going to be smooth. I might try sinking the lost ones but its a worry it will look odd so a decision for another day.
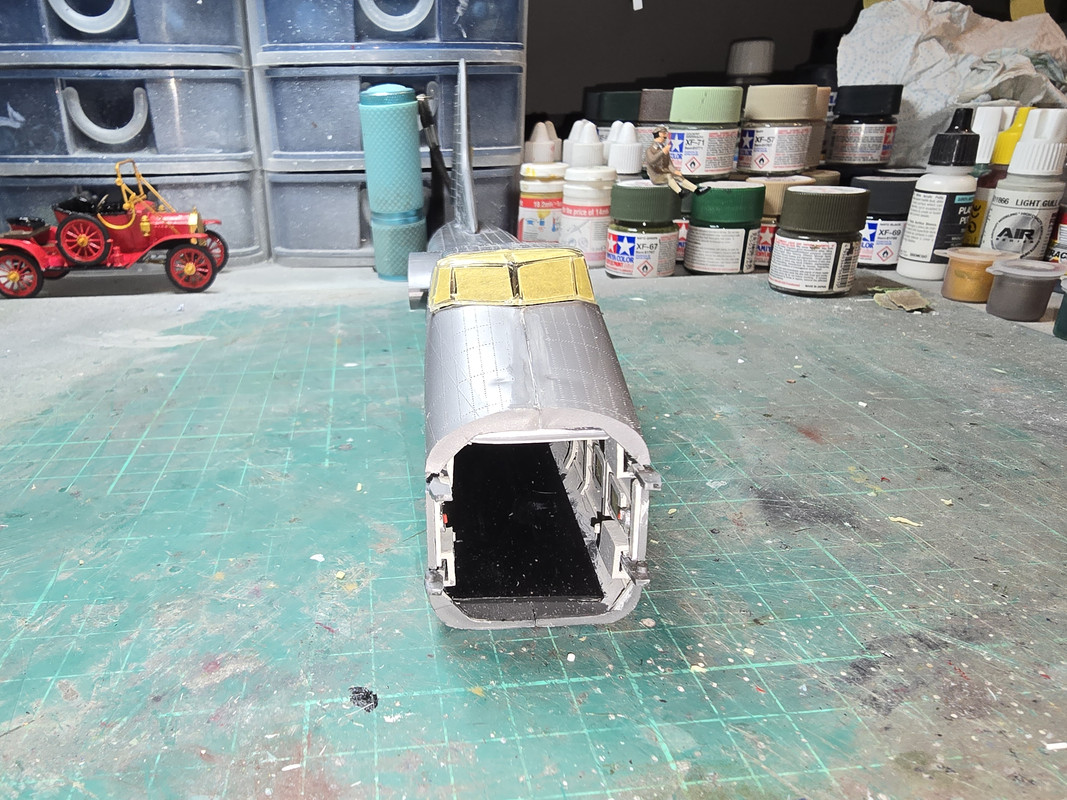
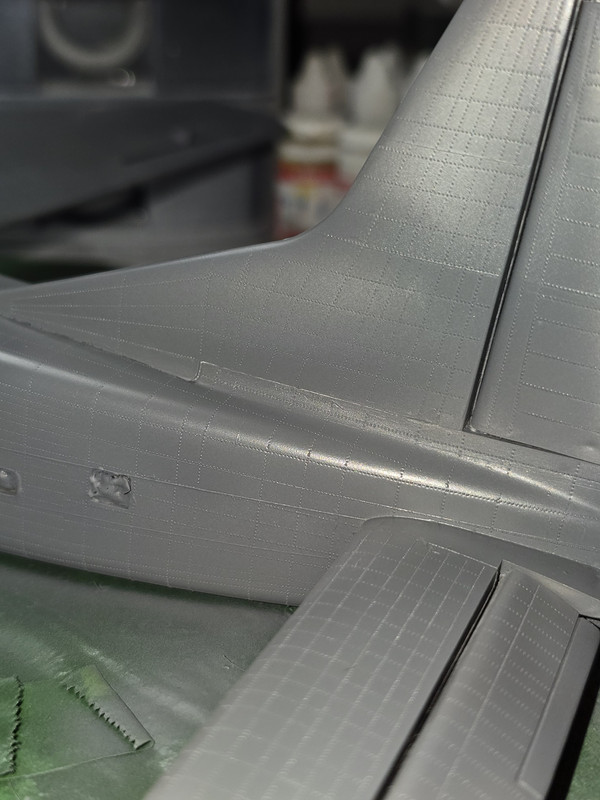
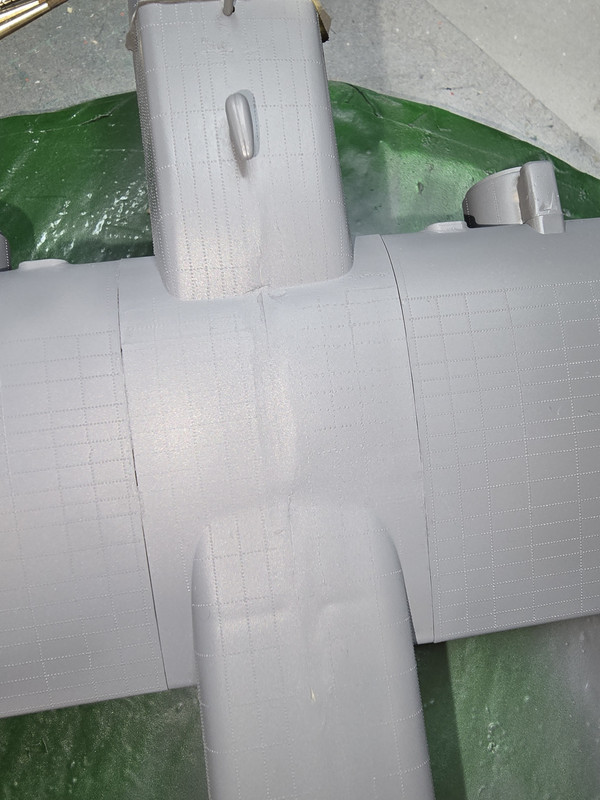
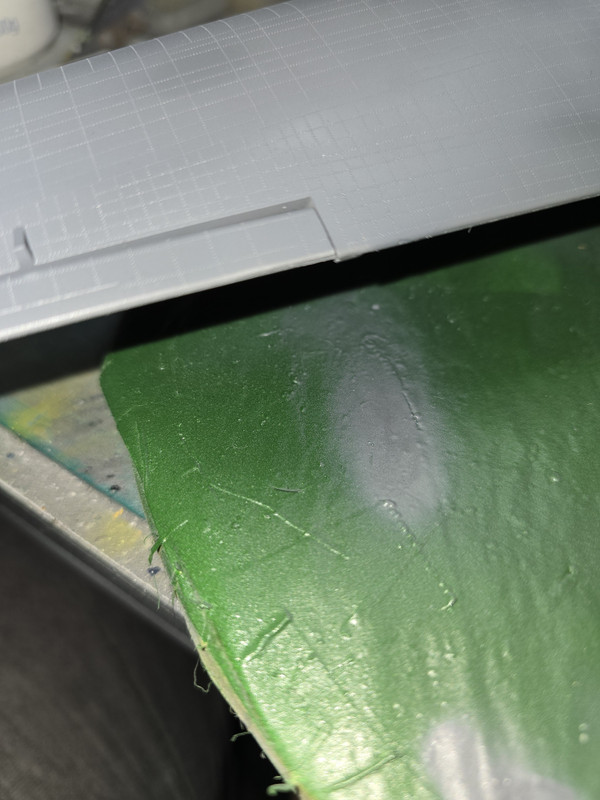
Now - problem areas. Firstly the tail fin is wider/thicker at the rear than the raised step on the fuselage:
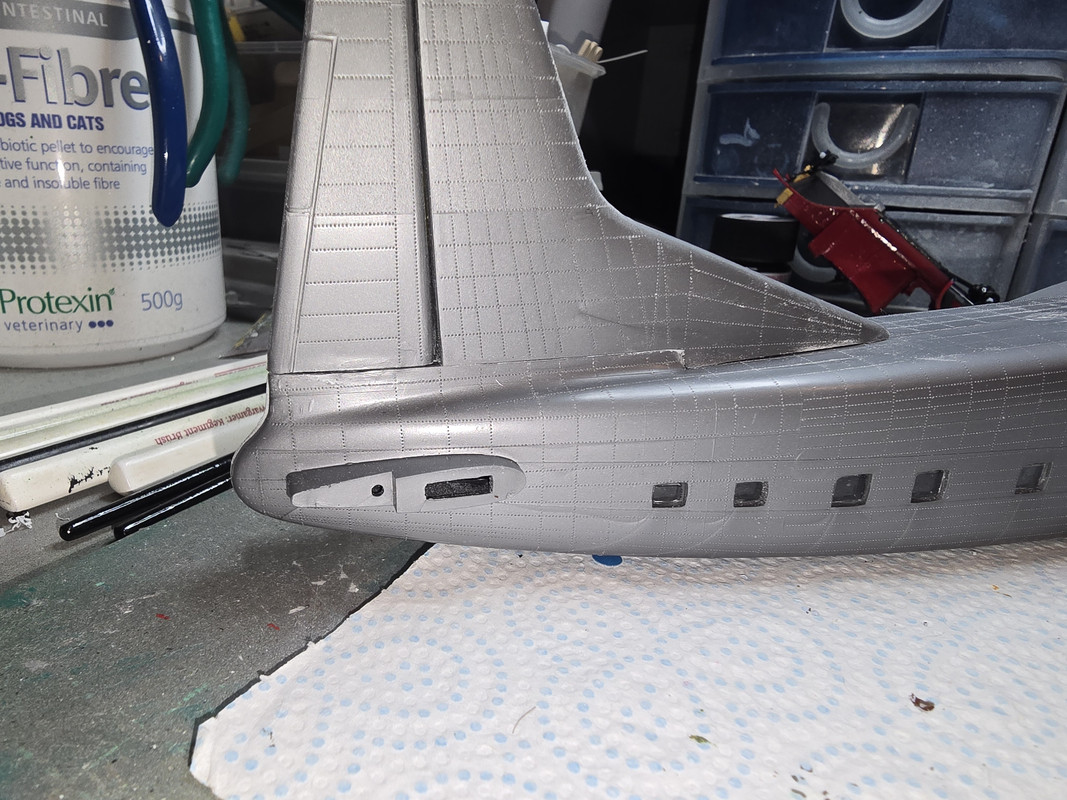
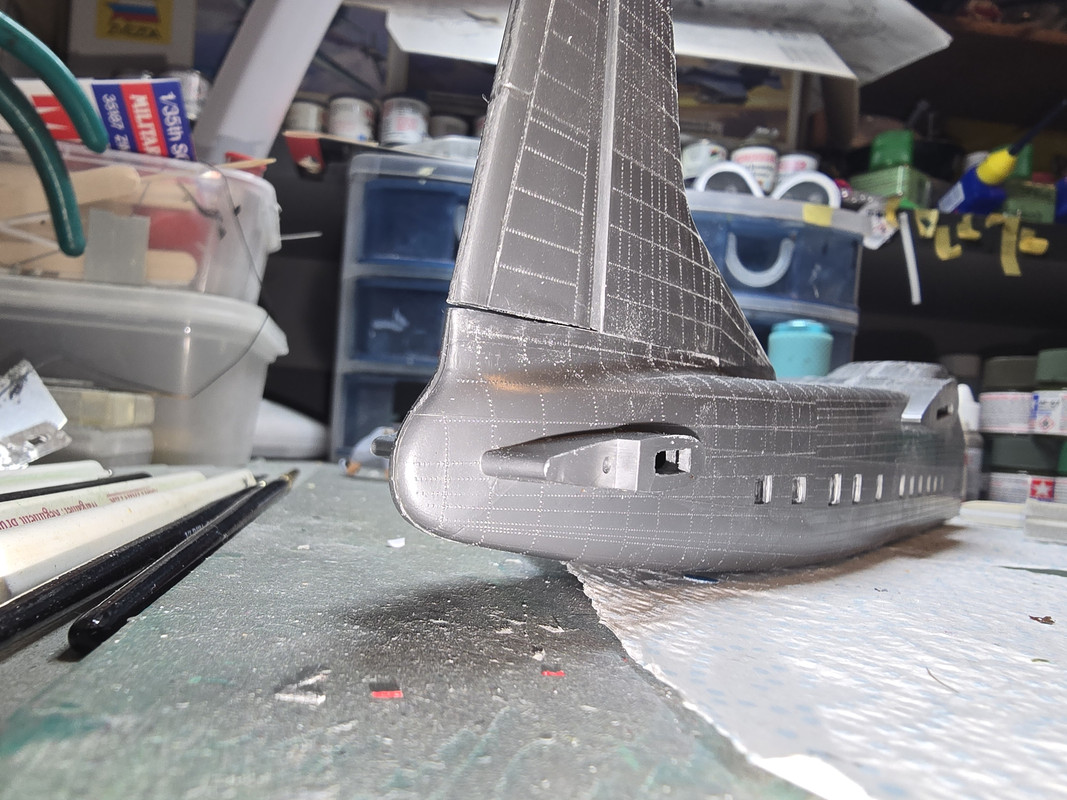
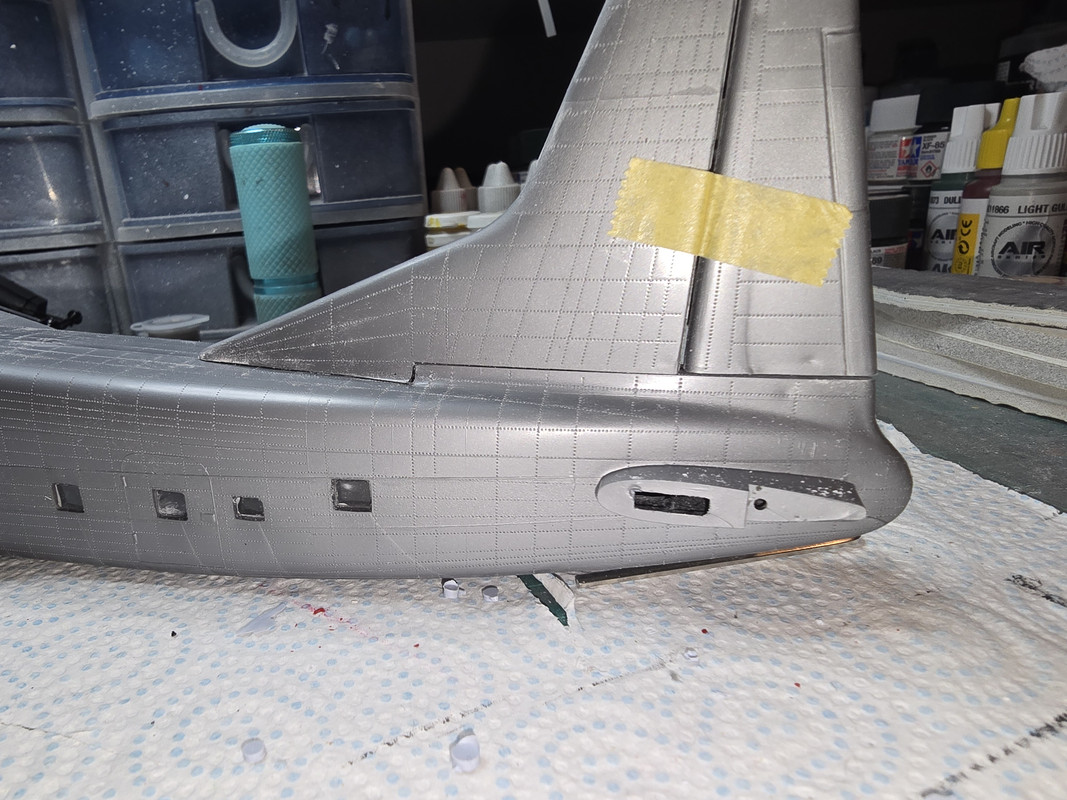
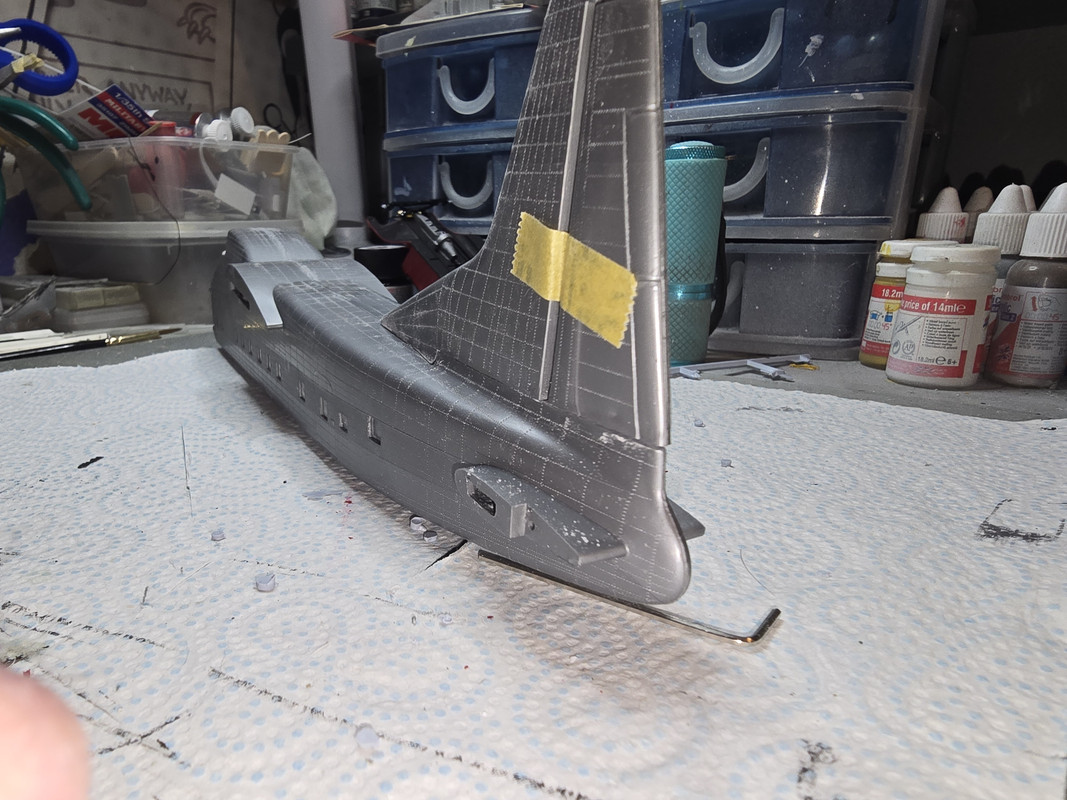
No ideas how to resolve this yet - filler is out as there is a lot of rivet detail on both fuselage and fin. Same goes for sanding the fin down.

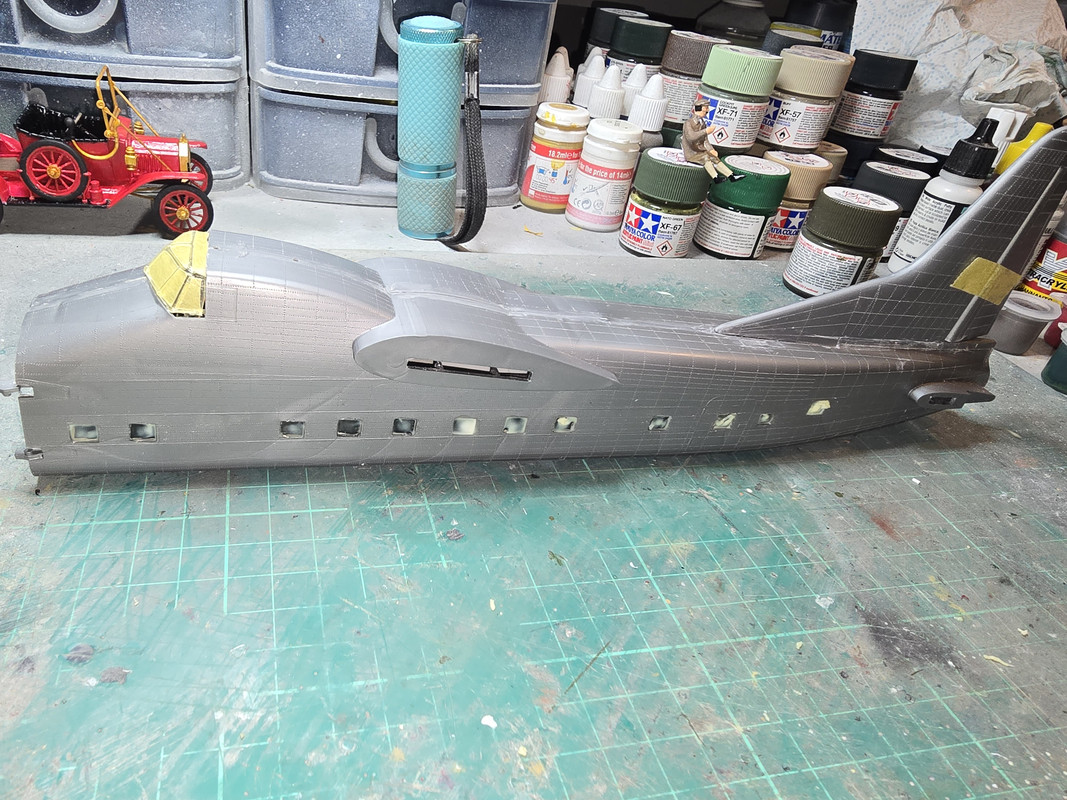
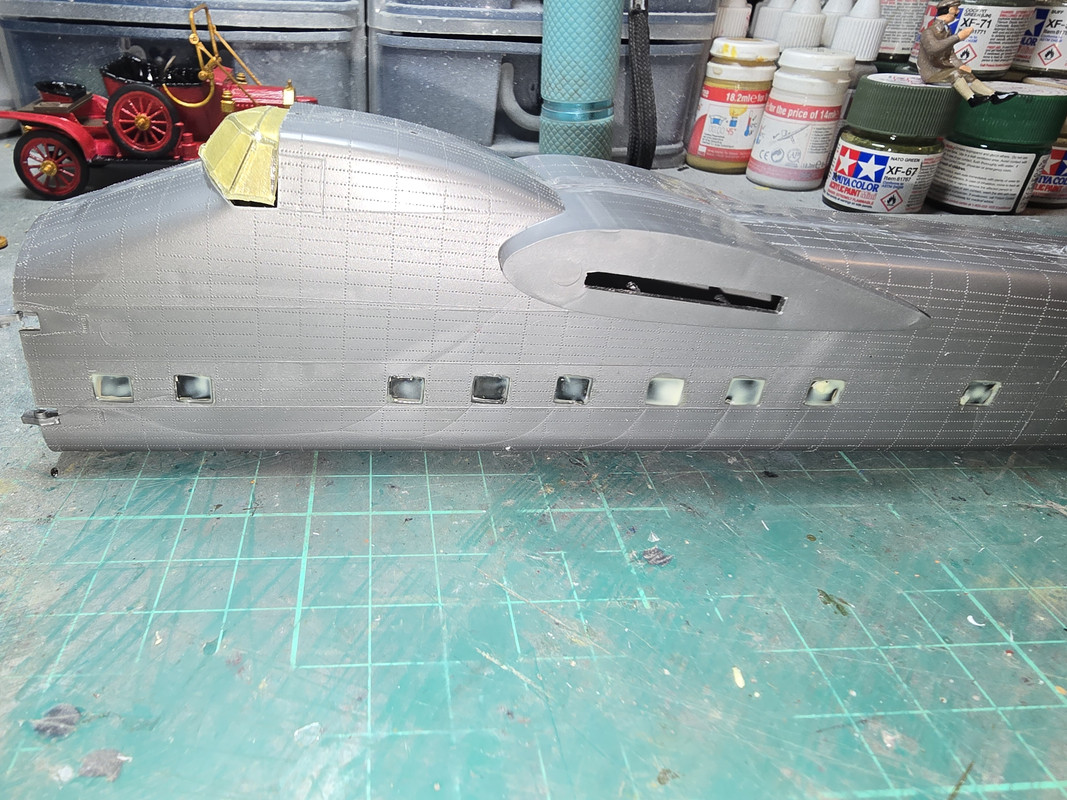
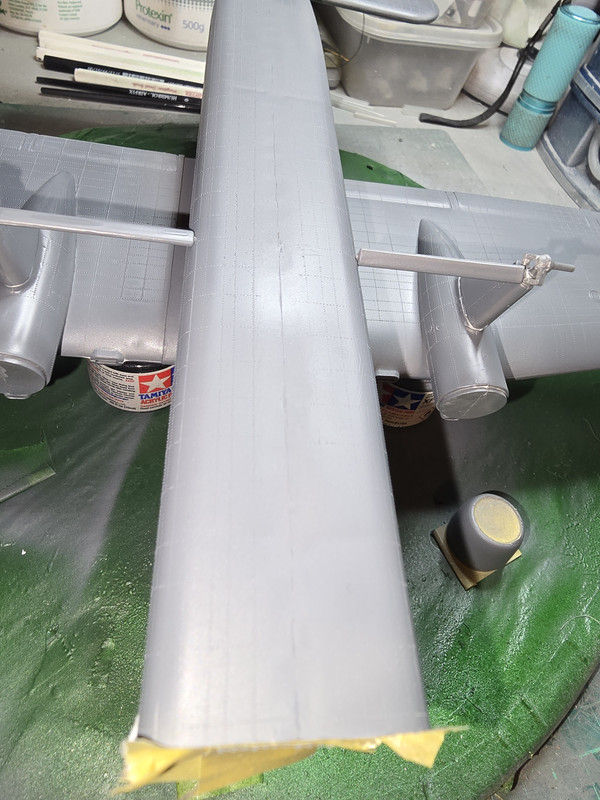
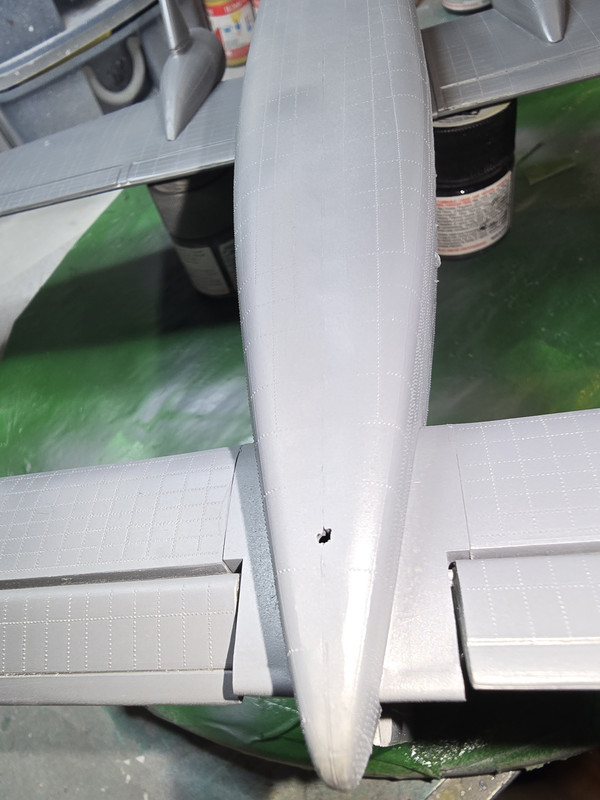
Other area of concern is the "hump" of the wing centre section. One side was higher then the other with the cockpit and fuselage seams aligned.
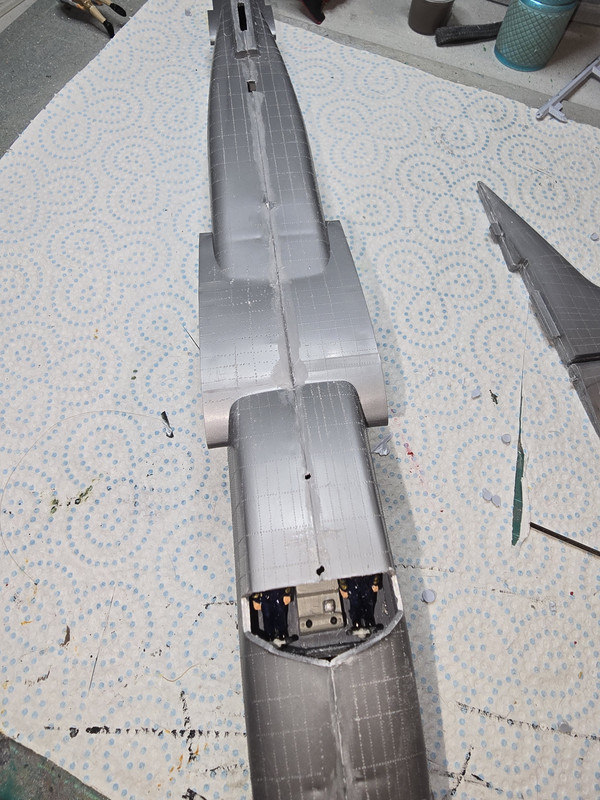
.
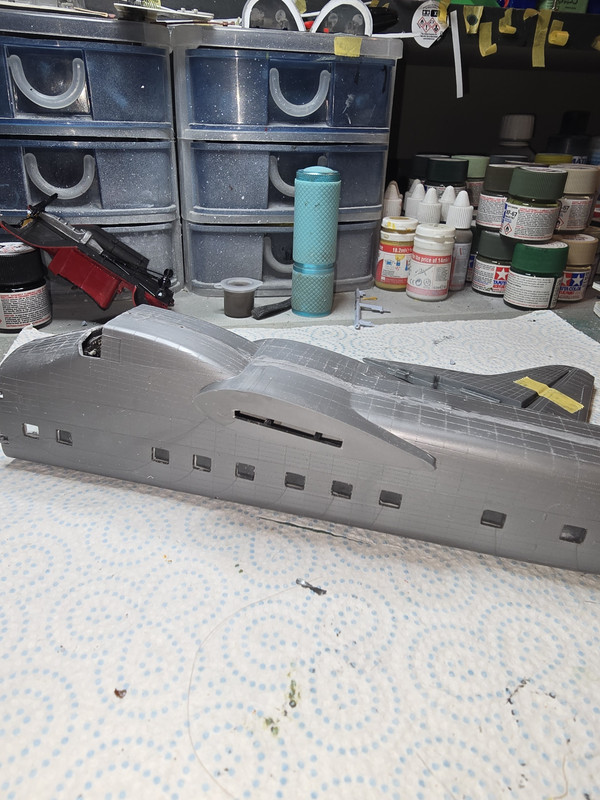
I've got the seam sanded smooth but there is a noticeable "ramp" on the thicker side. If I sand that area out then, again, a lot of rivet detail will be lost
Re: Bristol Superfreighter
Posted: Mon Oct 13, 2025 12:51 pm
by digger303
Re: Bristol Superfreighter
Posted: Mon Oct 13, 2025 9:16 pm
by DRUMS01
It's a neat model of a time gone by, but those issues are going to be tough to correct. If it was me, I would thin the tail fin or rudder to match the fuselage as it appears far too thick for the scale. Do I also see some mold dimpling on both the rudder and fuselage?
Perhaps it isn't too late to add some clear acrylic to the external recesses areas around the windows. Once dried, you can polish them to be near flush with the fuselage. My concern there would be polishing off the raised details around them.
For the wing root on the fuselage, I would carefully shave down the high area, add putty, and scribe the panel lines and rivets again, as it is a major area when looking at the kit. I know that is not very enjoyable, but your will be happy you did when the build is done.
Thats my input, that you didn't ask for (smile). I'm sure whatever you choose to do will be just fine.
Ben
Re: Bristol Superfreighter
Posted: Tue Oct 14, 2025 12:13 am
by RangerNeil
Re: Bristol Superfreighter
Posted: Tue Oct 14, 2025 10:22 am
by cor
Looking like its getting there. I like the rivet detail all over the outside surfaces.
Re: Bristol Superfreighter
Posted: Tue Oct 14, 2025 11:32 am
by digger303
One day I'm going to bit the bullet and go and re-scribe and re-rivet a whole plane.....won't be this or next year I can assure you. However reinstating raised rivets in this scale seems daunting.
Re: Bristol Superfreighter
Posted: Tue Oct 14, 2025 11:57 pm
by RangerNeil
Re: Bristol Superfreighter
Posted: Wed Oct 15, 2025 12:44 am
by digger303
Whoo boy, where's that bin
That's a lot of detail to fix. There are 3d rivet decals available if you decide to push ahead or a rivet maker to be purchased. It sounds painful even just suggesting it, but I know you don't like to give up.

Re: Bristol Superfreighter
Posted: Fri Oct 17, 2025 2:31 am
by RangerNeil
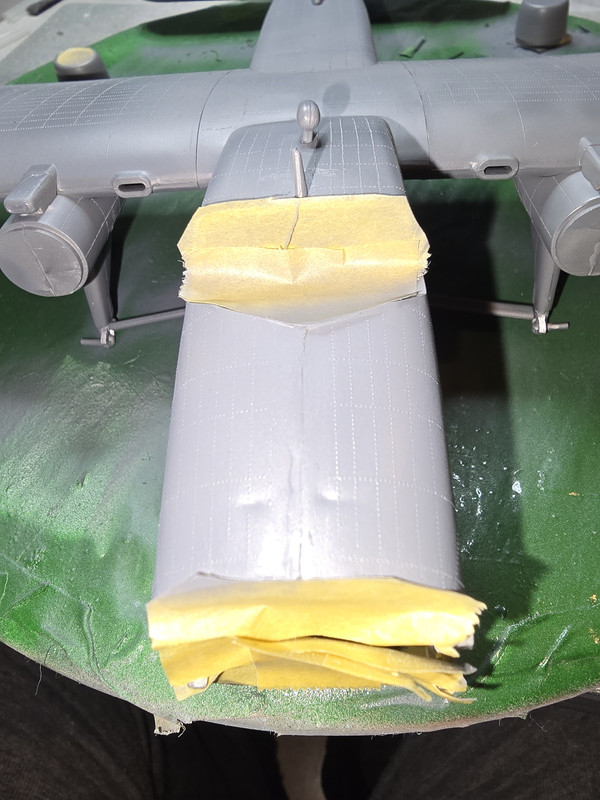
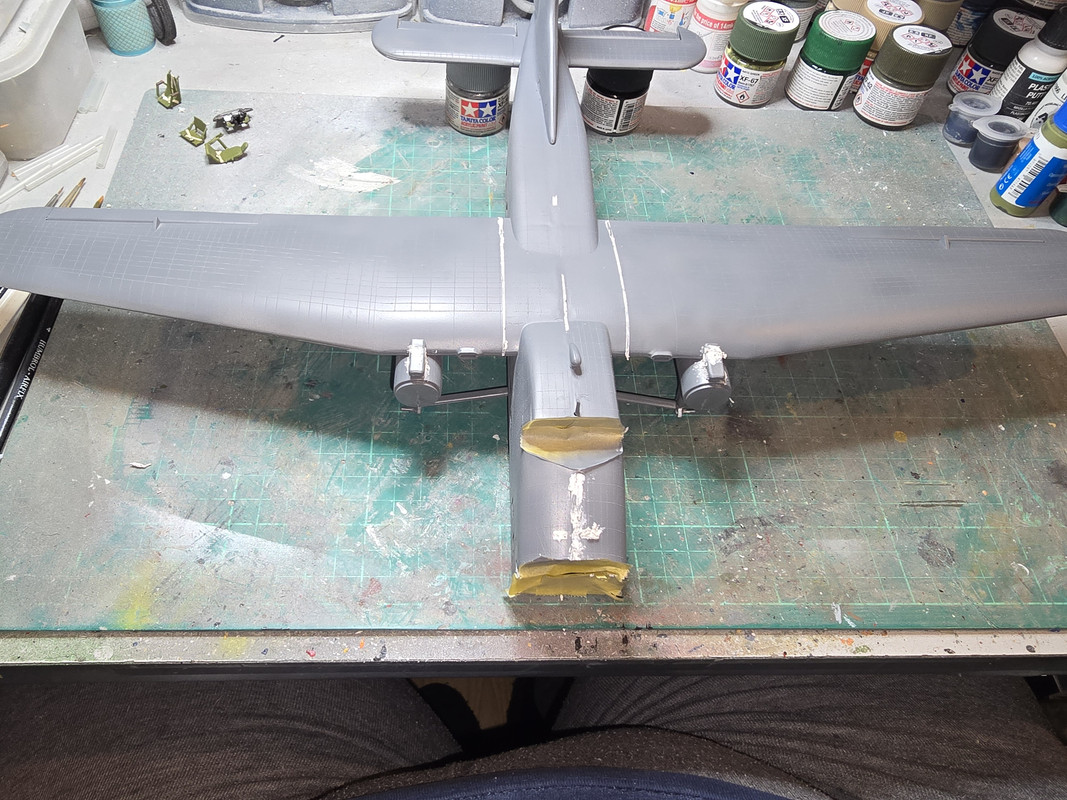
The problem areas have been masked then filled to keep the level of filler to the minimum. I'm going to leave it at least 24 hours before starting to sand. Surprisingly theres not a lot on top and on the underside I've tried keeping it between parralel runs of rivets fore and aft.
Re: Bristol Superfreighter
Posted: Fri Oct 24, 2025 8:18 pm
by RangerNeil
Thought I'd better update this thread too.
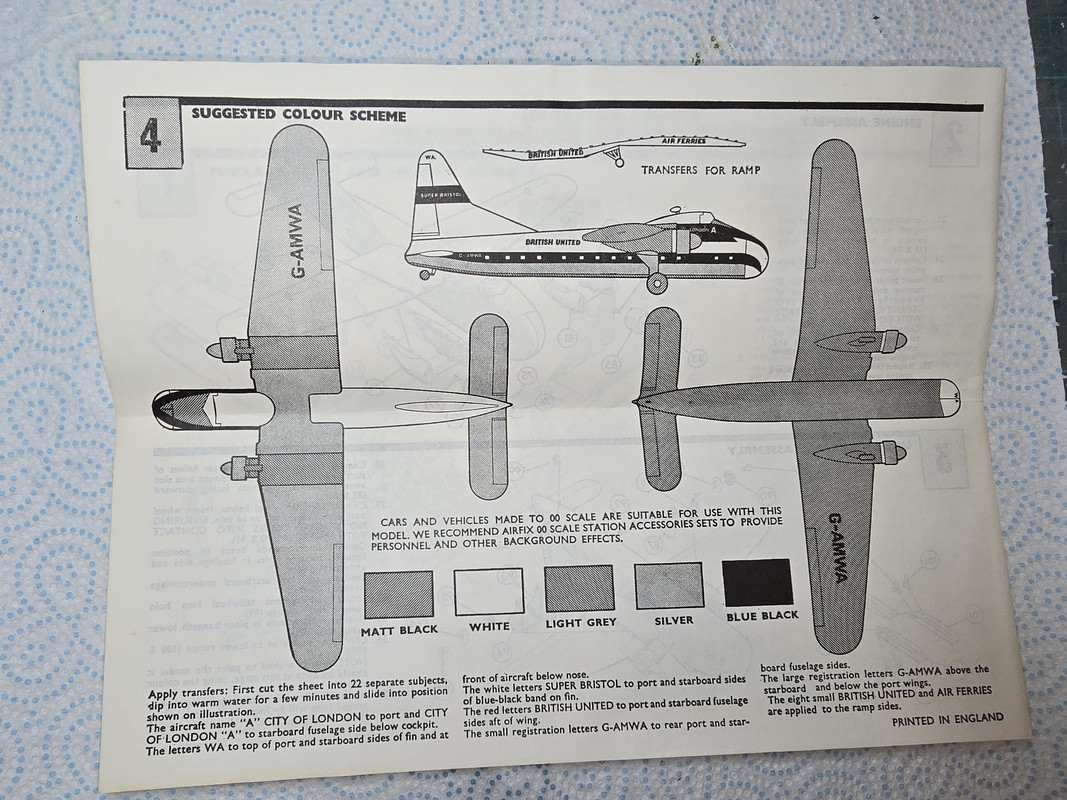
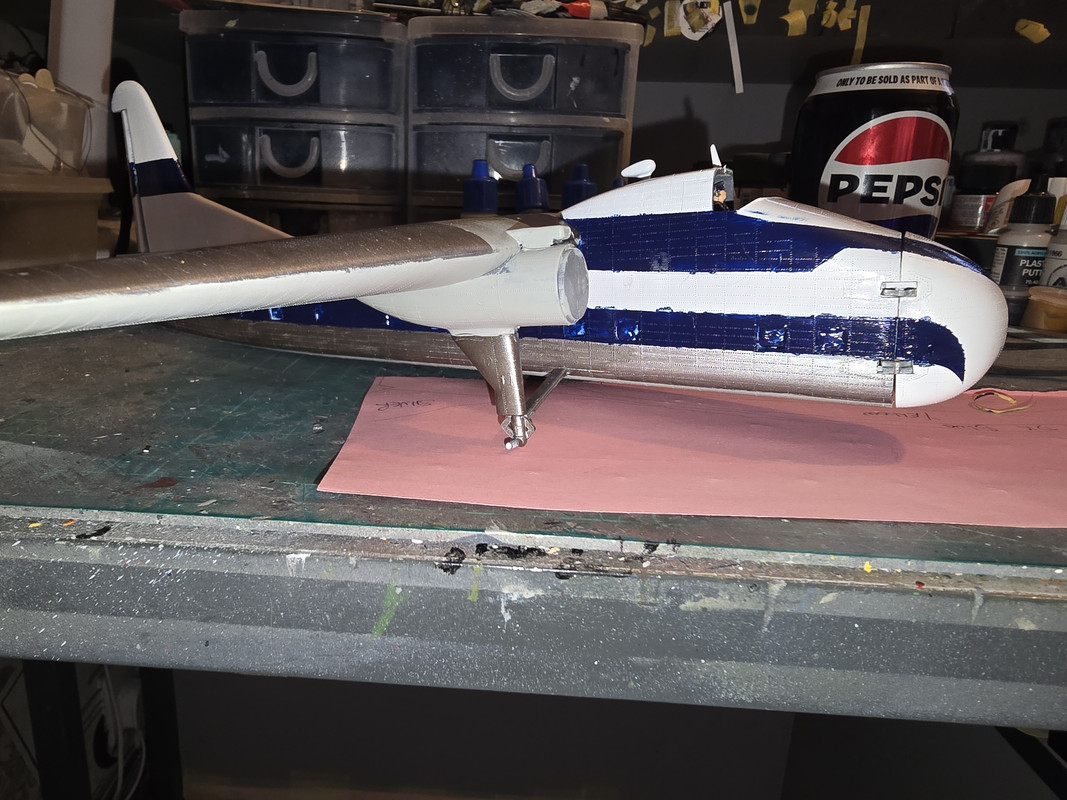
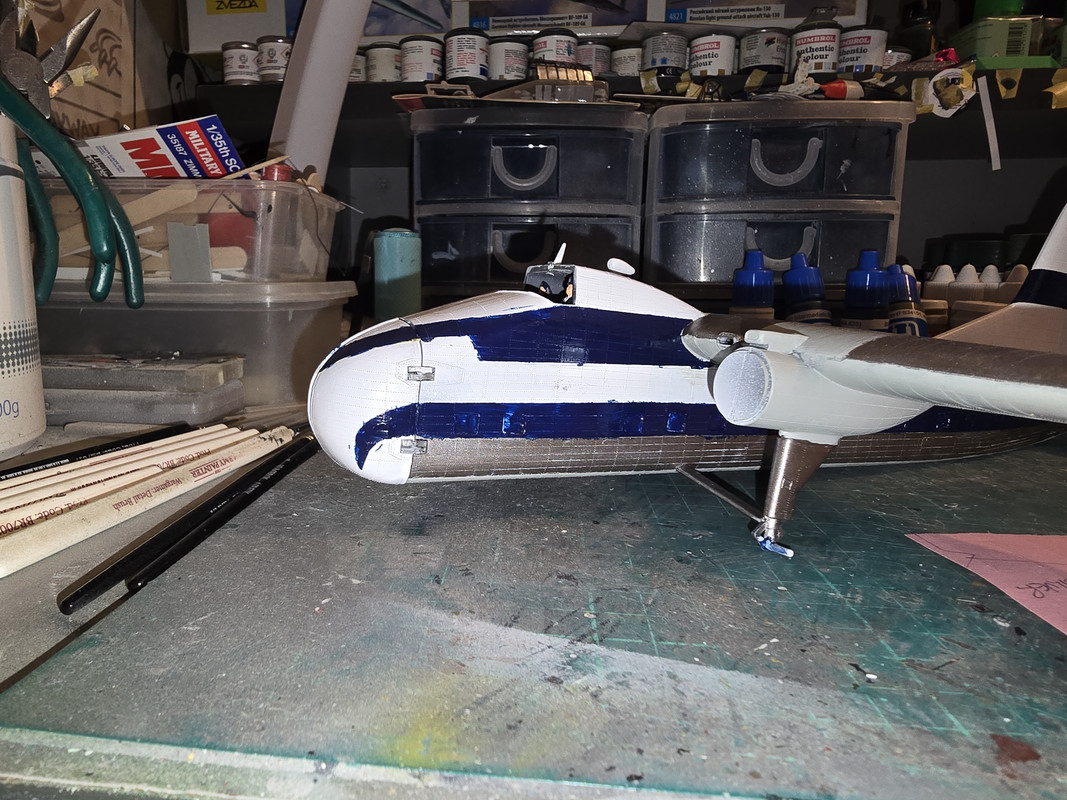
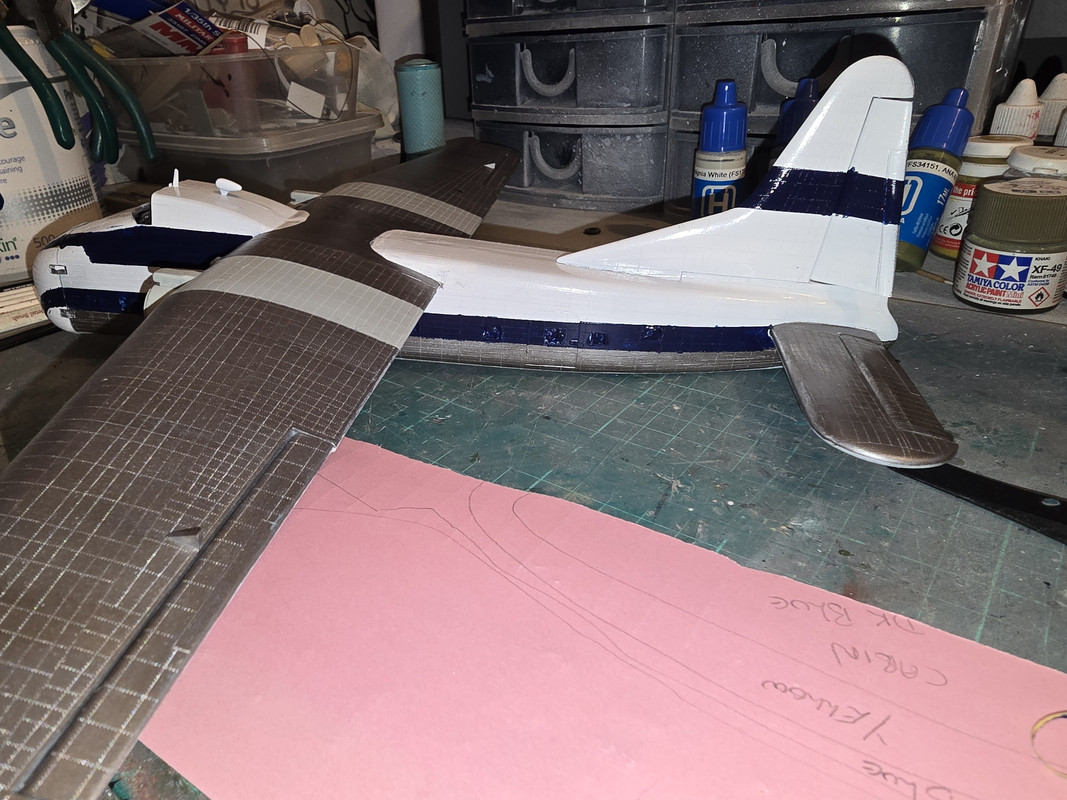
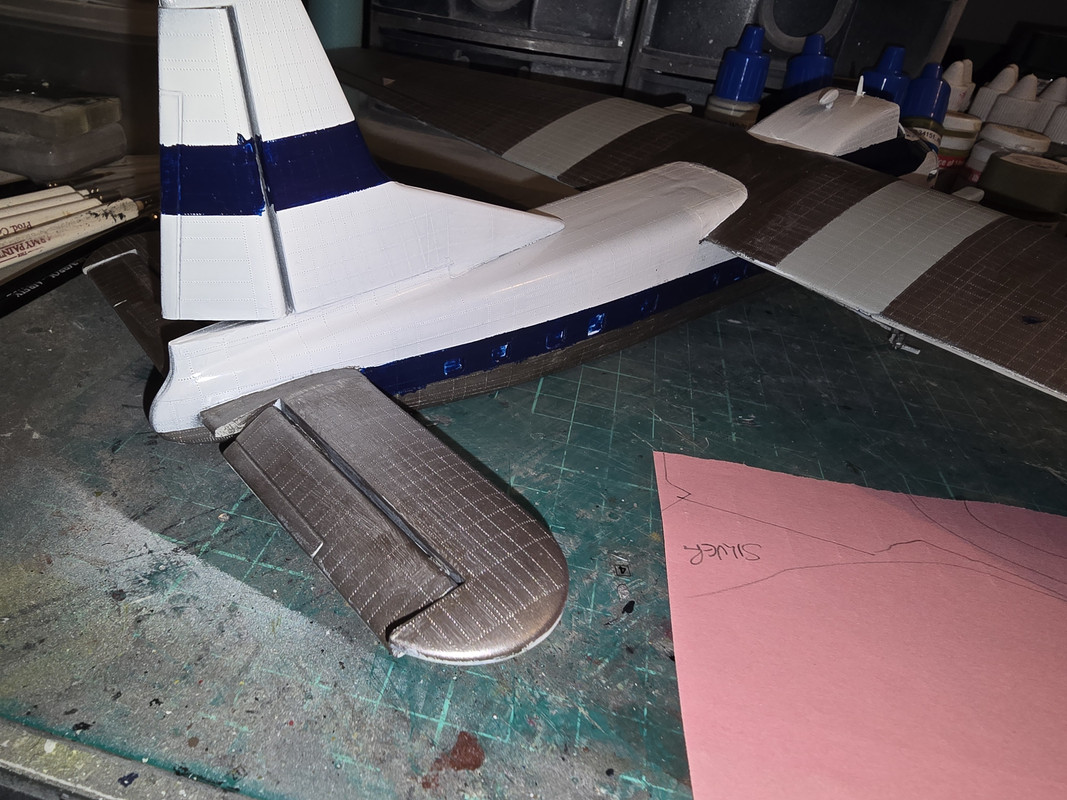
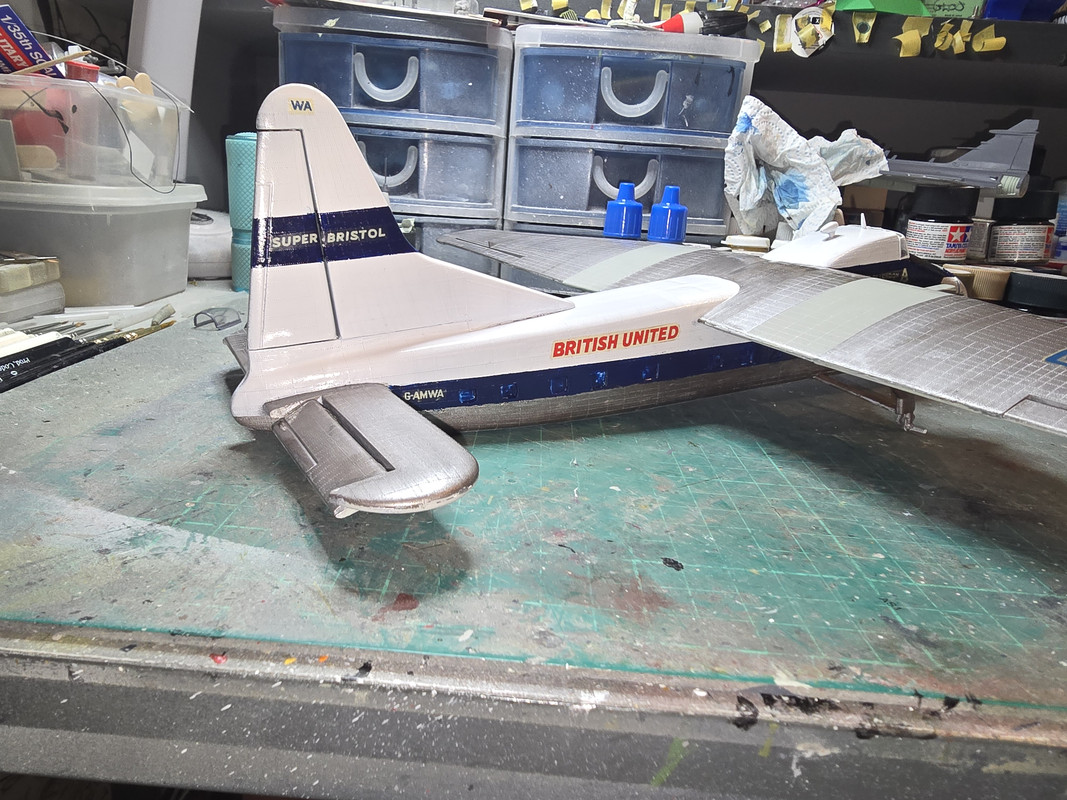
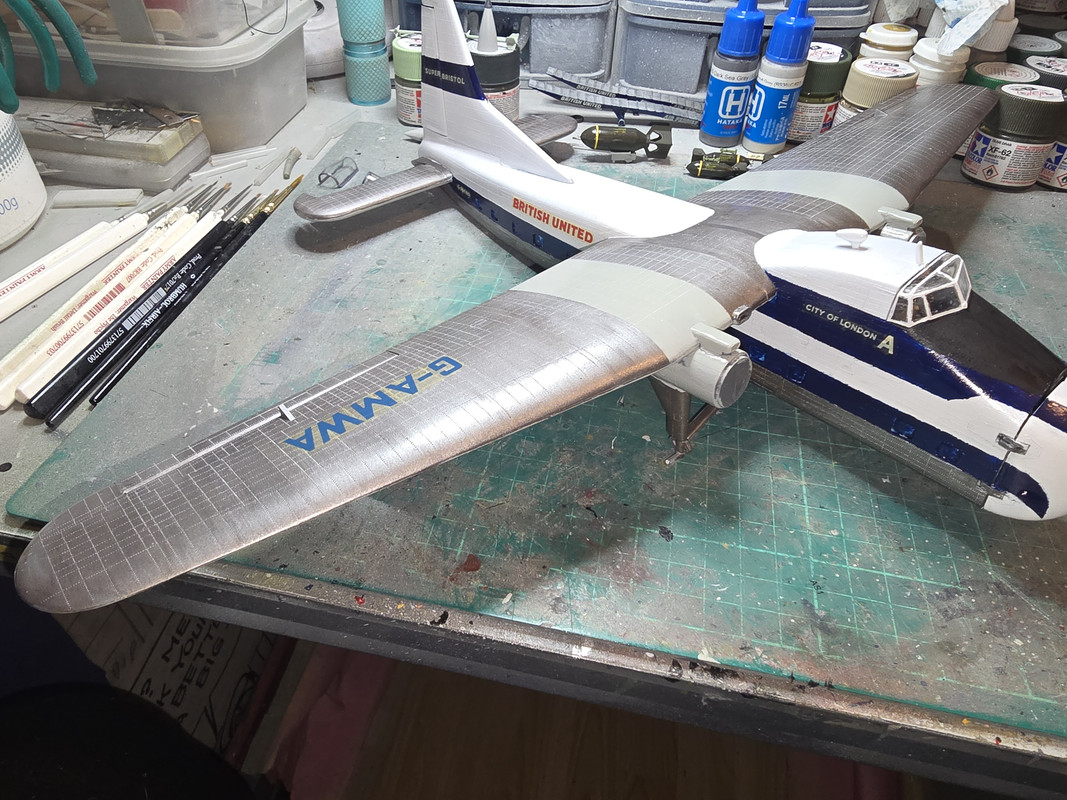
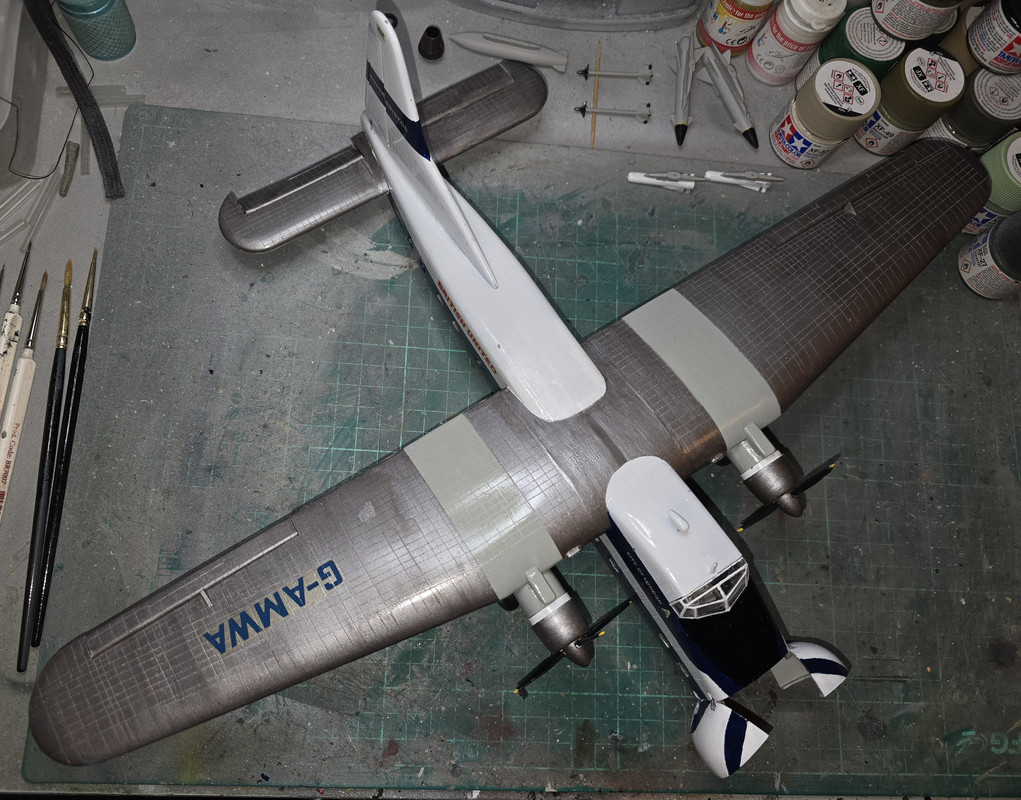
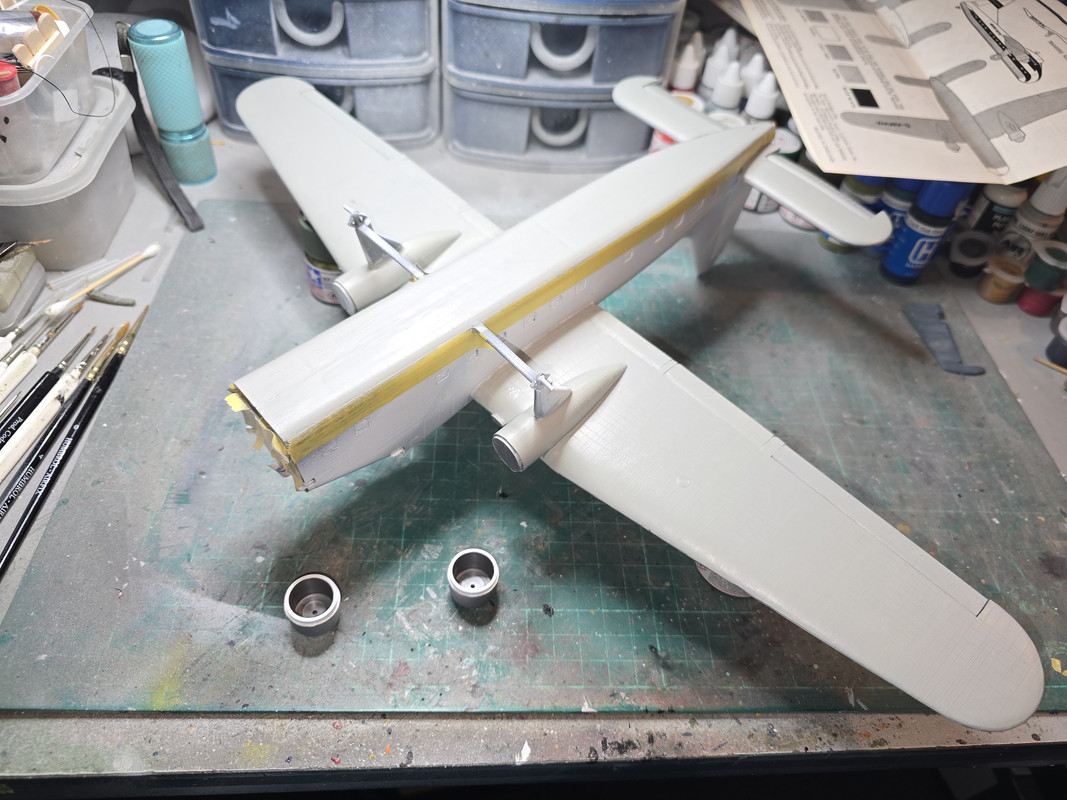
Gloss white is on the top of the fuselage, bow doors and fin,alsojust beenapplied to the bands on the engine cowlings.
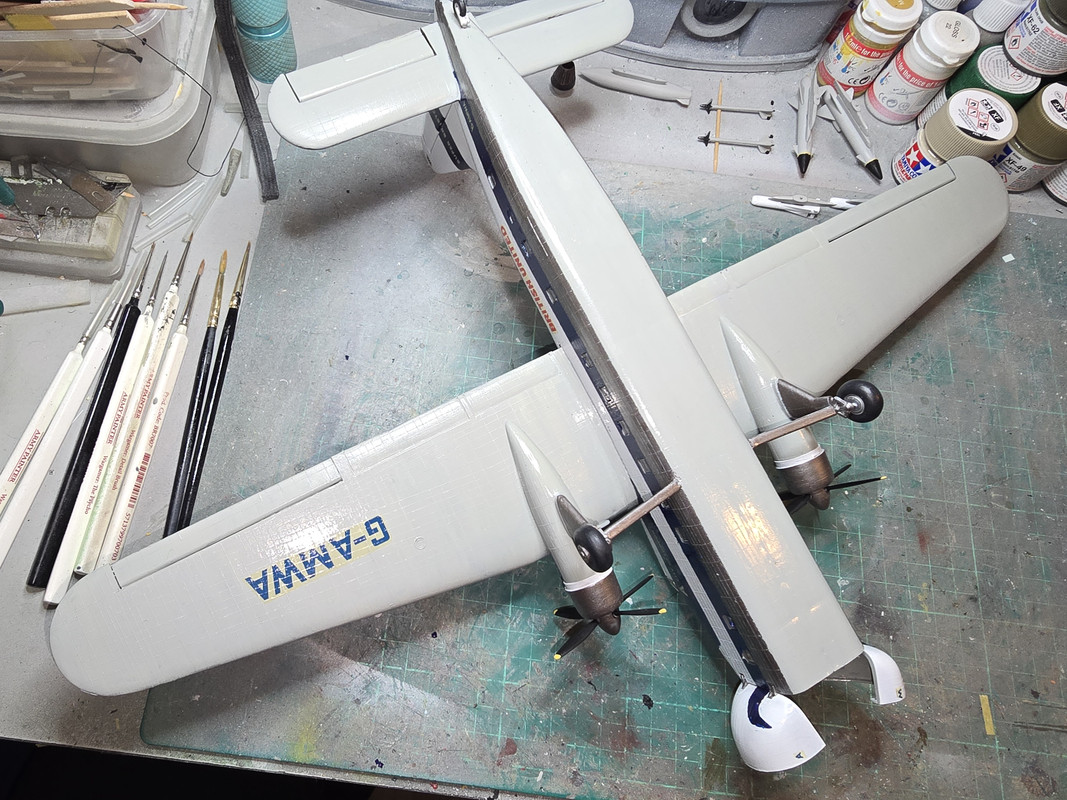
Lght Grey has just been applied to the undersides of the wings, fuselage and tail planes. This leaves the silver on the fuselage and upper wings then the blue line across the fin and fuselage sides
Re: Bristol Superfreighter
Posted: Sat Oct 25, 2025 5:24 am
by cor
digger303 wrote: Tue Oct 14, 2025 11:32 am
One day I'm going to bit the bullet and go and re-scribe and re-rivet a whole plane.....won't be this or next year I can assure you. However reinstating raised rivets in this scale seems daunting.
I suggest using a rivet guide, ruler with indentation, to give an even result. Hasegawa make a nice set of 4 rulers that I used on the big tomcat. It's surprisingly calming just plodding along and doesn't take that long.
Re: Bristol Superfreighter
Posted: Sat Oct 25, 2025 5:27 am
by cor
Plane is looking good. Primer certainly does show how much you need to fix after you think you've done a good job.
Re: Bristol Superfreighter
Posted: Sun Oct 26, 2025 9:40 pm
by RangerNeil
cor wrote: Sat Oct 25, 2025 5:27 am
Plane is looking good. Primer certainly does show how much you need to fix after you think you've done a good job.
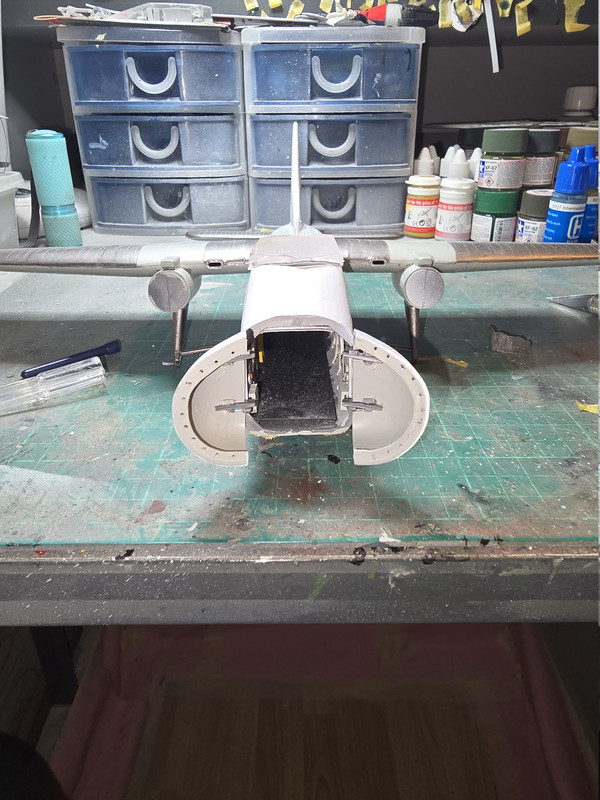
Indeed - it can be annoying and frustrating in equal measures. Unlike thefather of our unloved PM I really WAS a Toolmaker and one of the base skills is the "thumb nail test" - scraping a surface with the thumb nail to pick up defects/irregularities. So when you do this, it feels smooth, add primer and suddenly its not smooth any more... Grrrrr

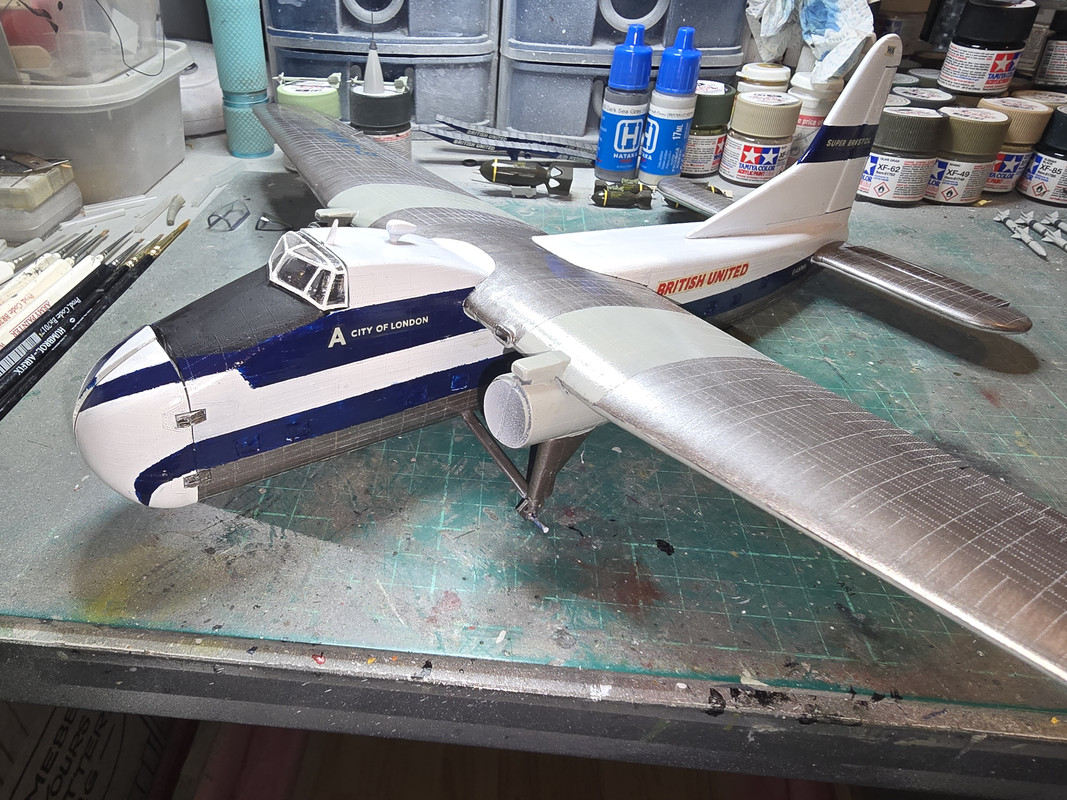
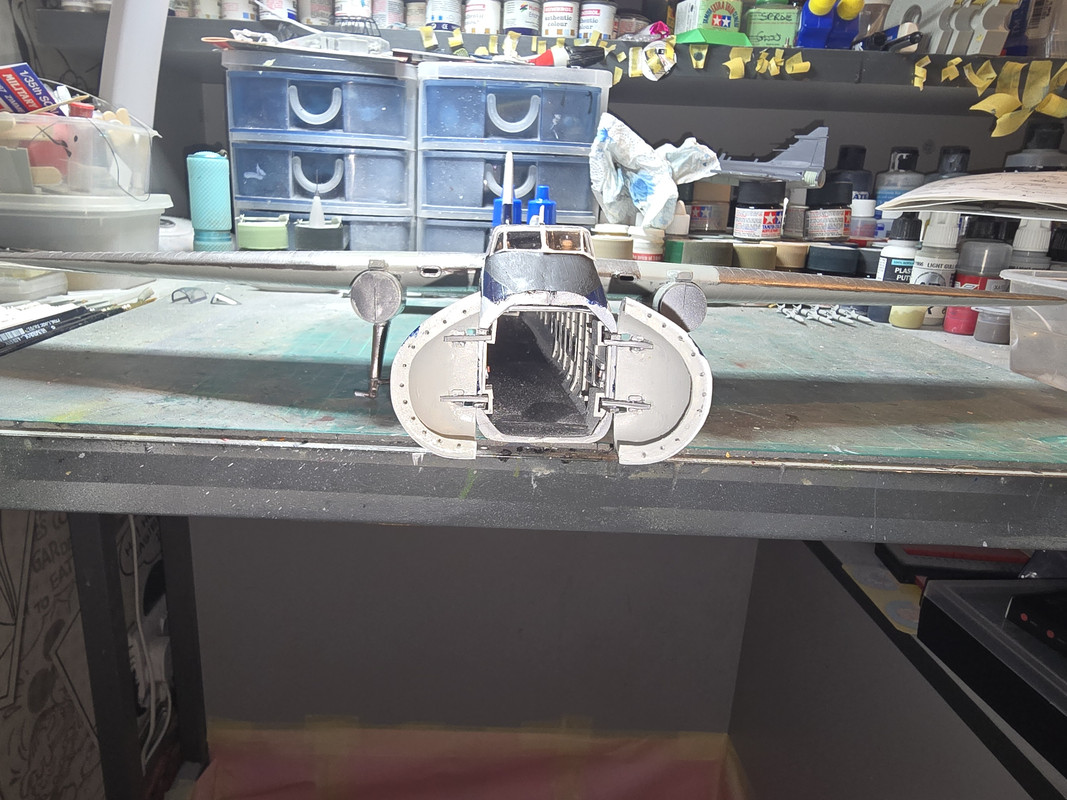
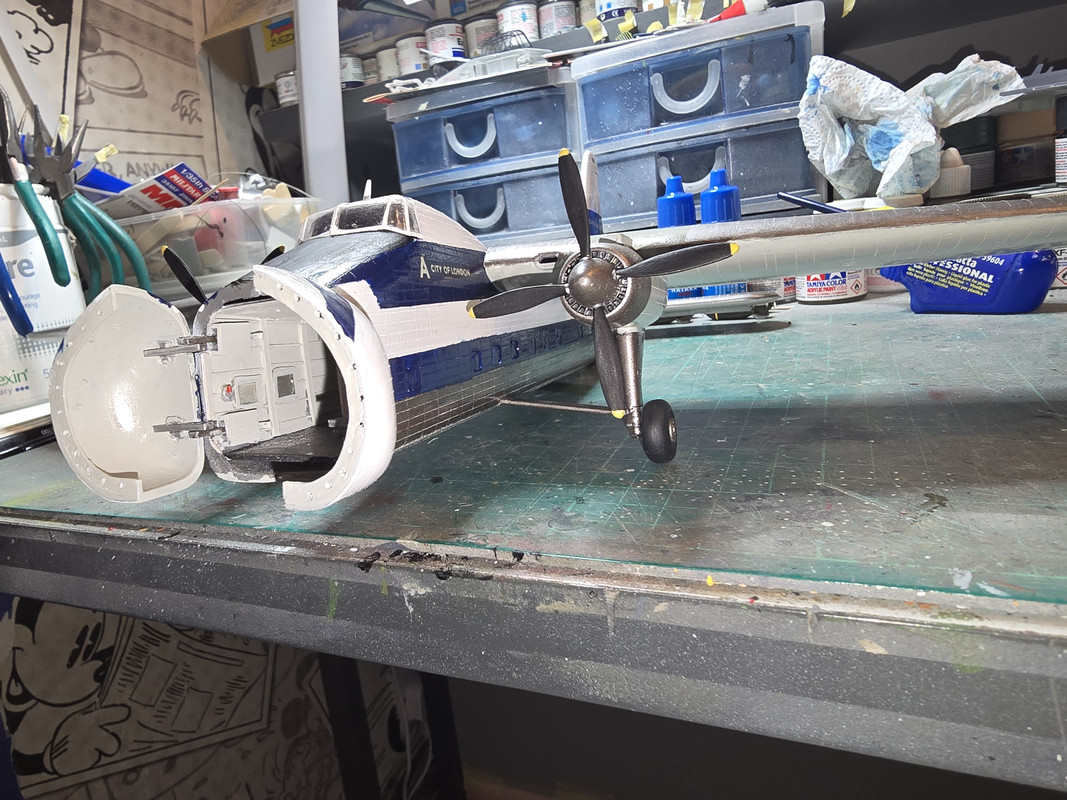
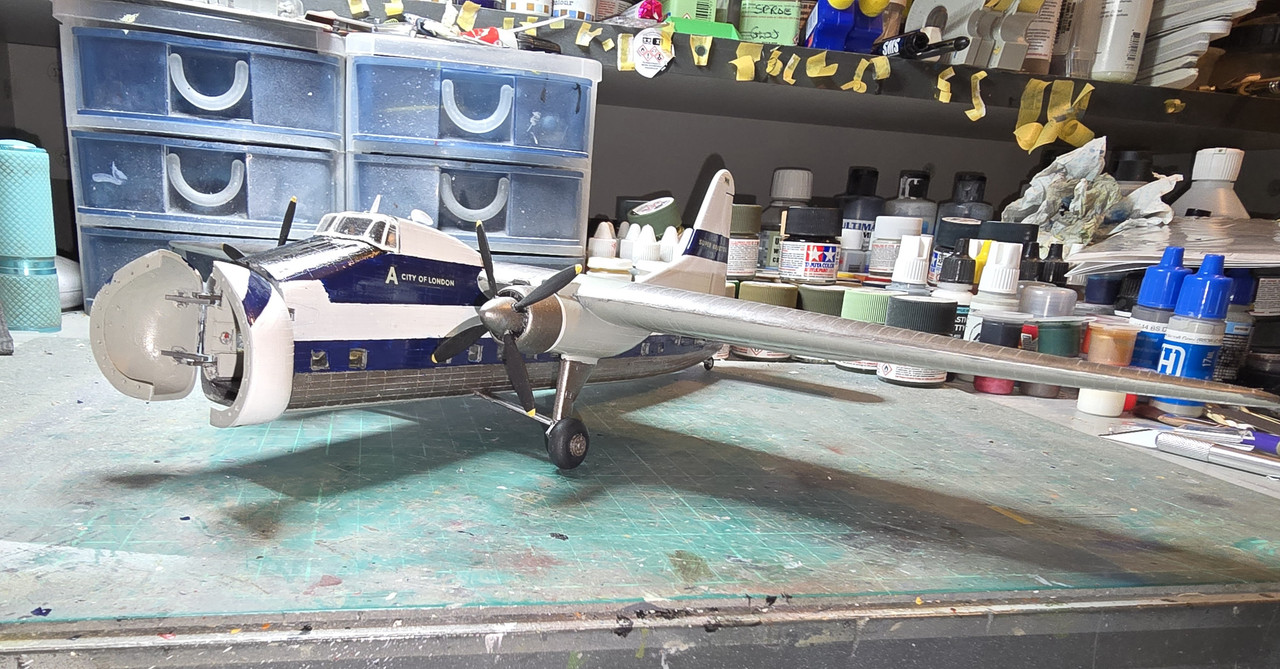
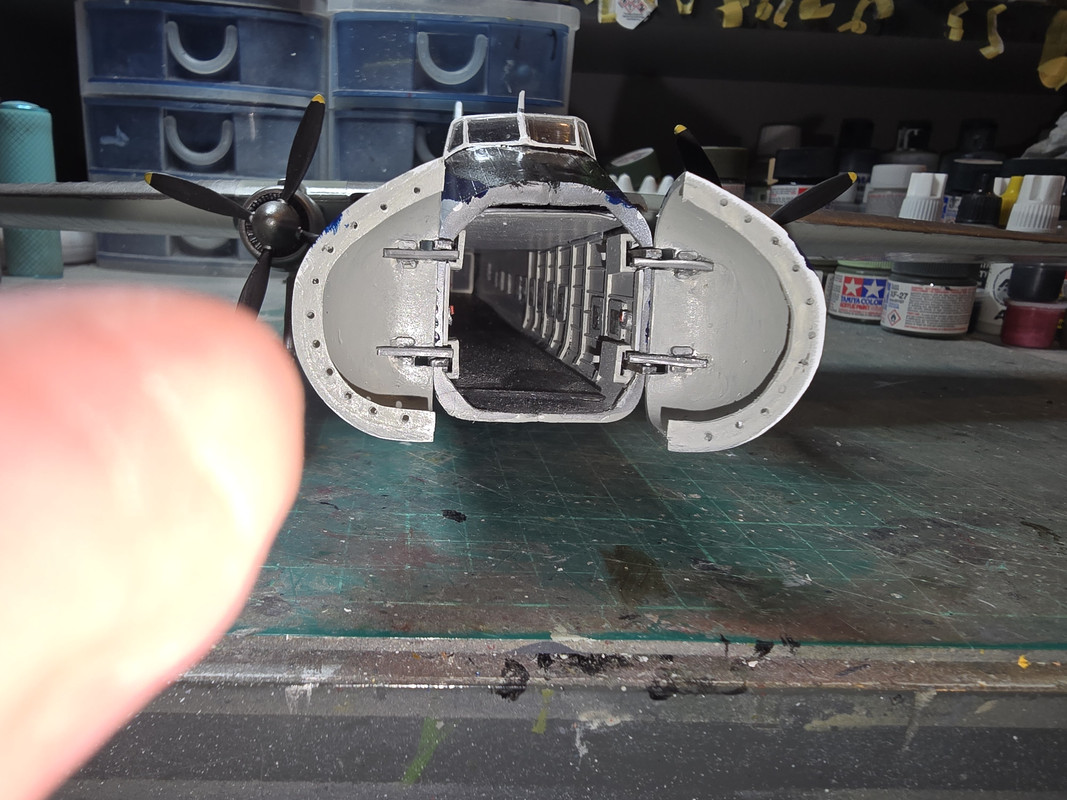
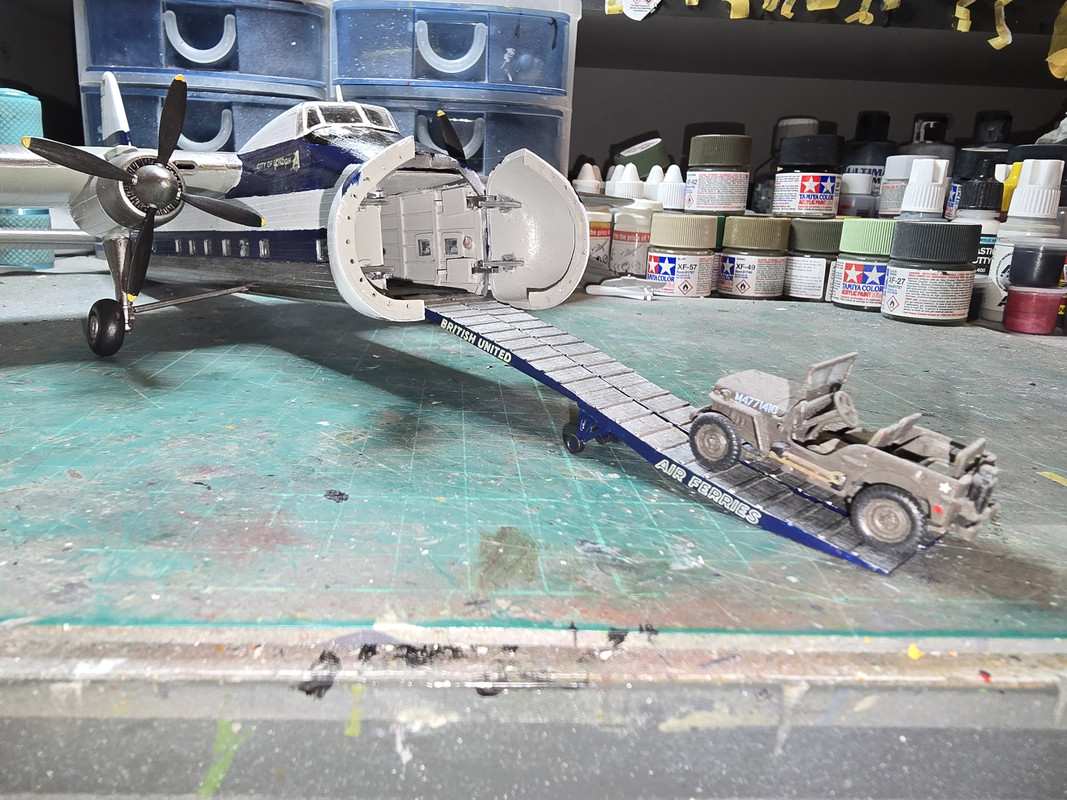
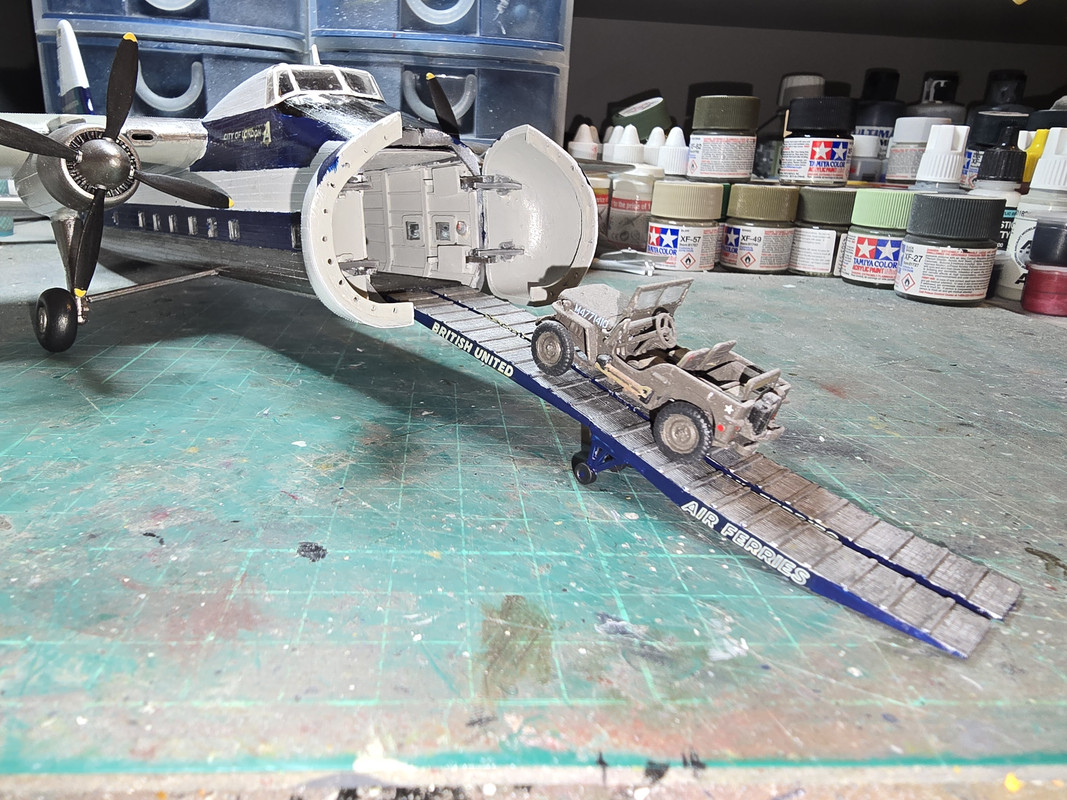
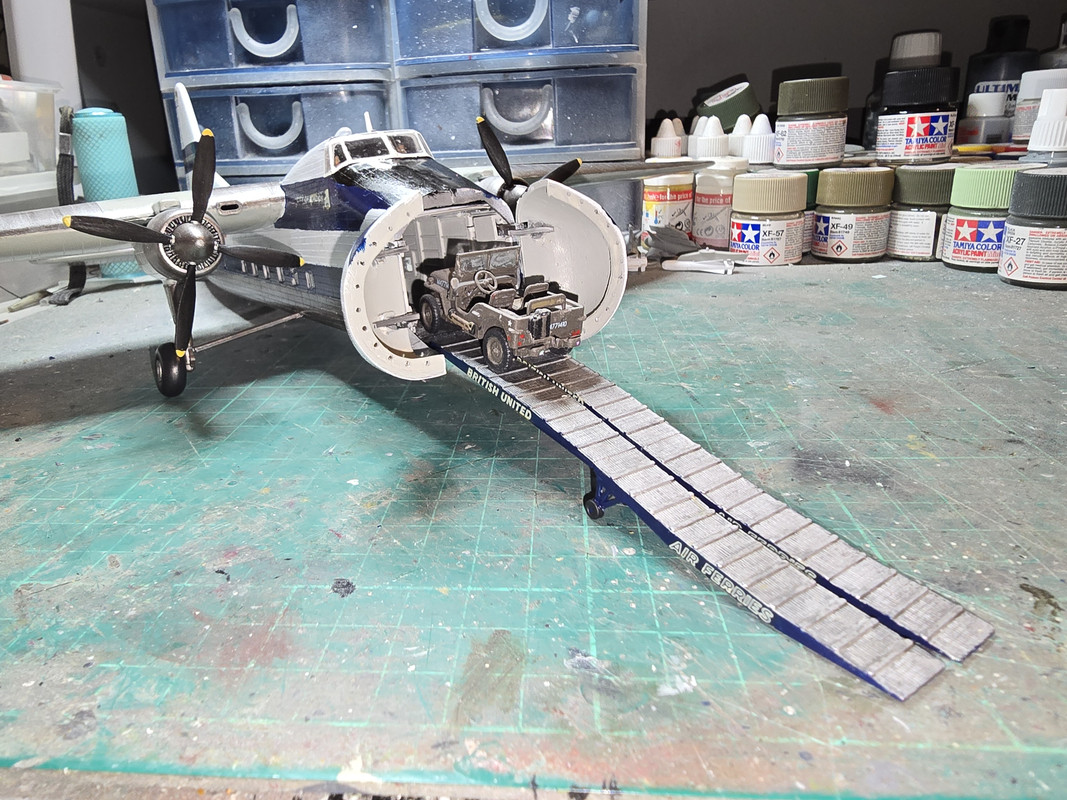
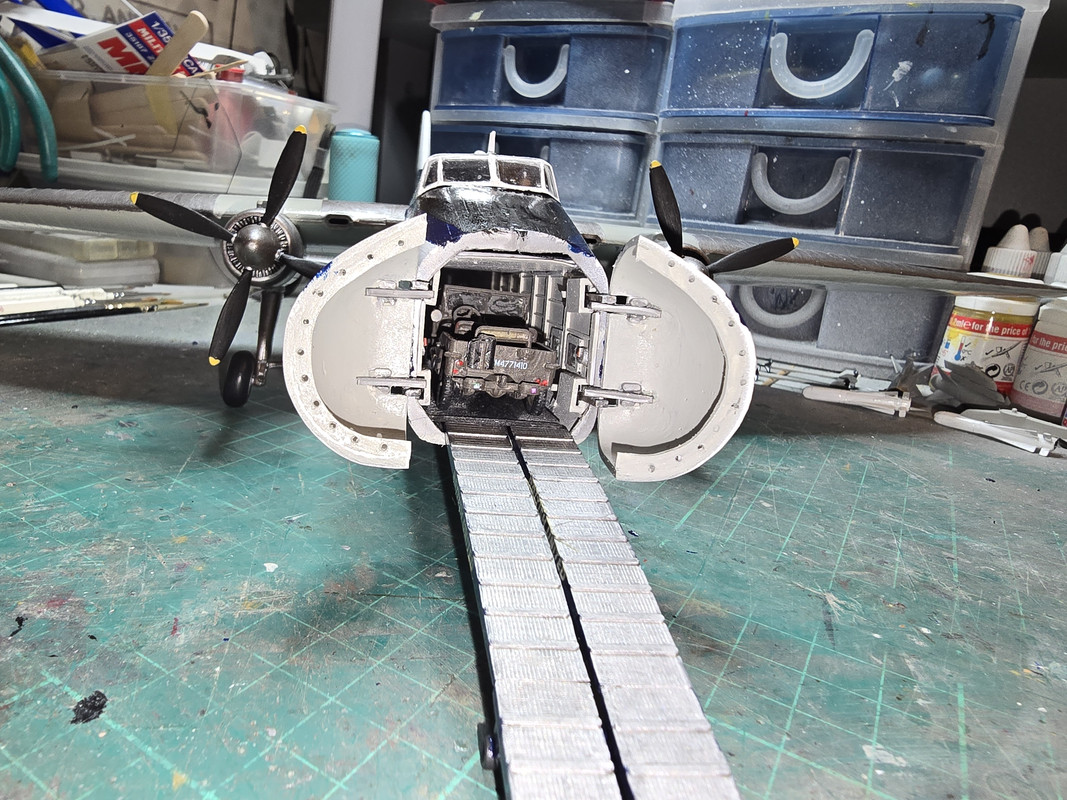
Anyways - bit more progress - the bow doors are now on!!
Re: Bristol Superfreighter
Posted: Tue Oct 28, 2025 4:32 pm
by RangerNeil
Re: Bristol Superfreighter
Posted: Tue Oct 28, 2025 11:56 pm
by digger303
Re: Bristol Superfreighter
Posted: Fri Oct 31, 2025 1:44 pm
by RangerNeil
Re: Bristol Superfreighter
Posted: Fri Oct 31, 2025 11:09 pm
by cor
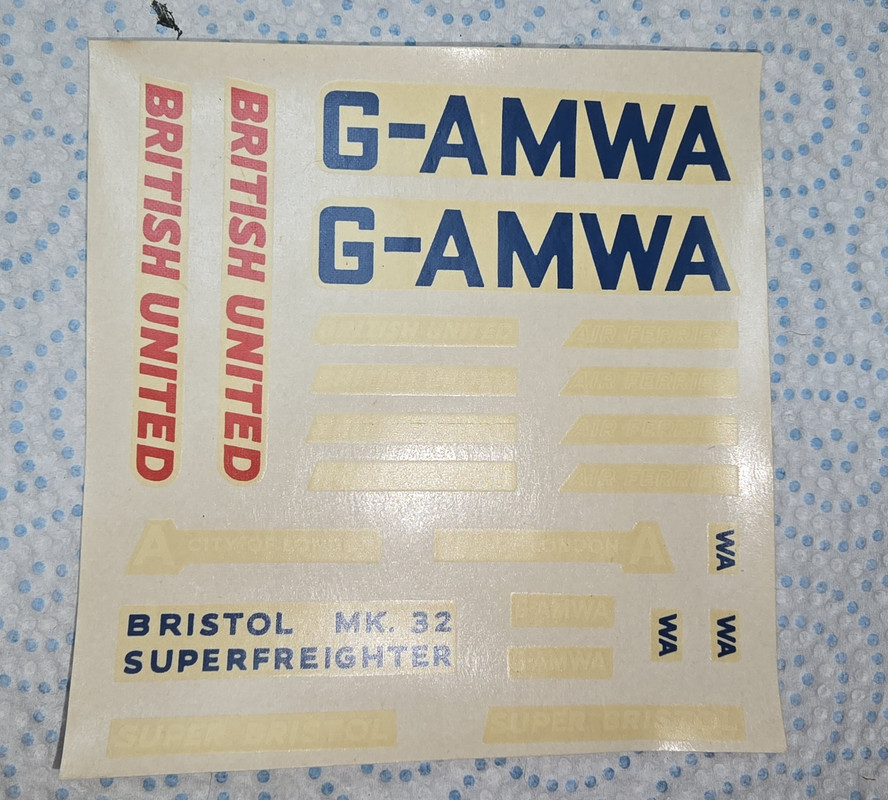
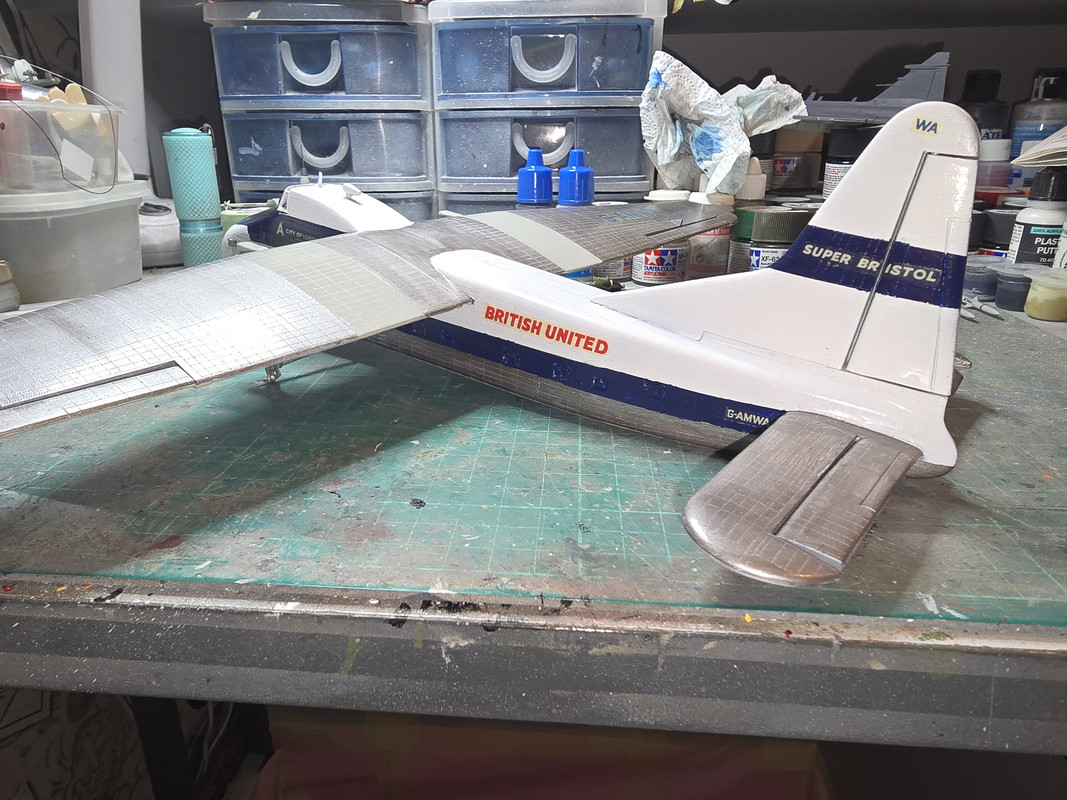
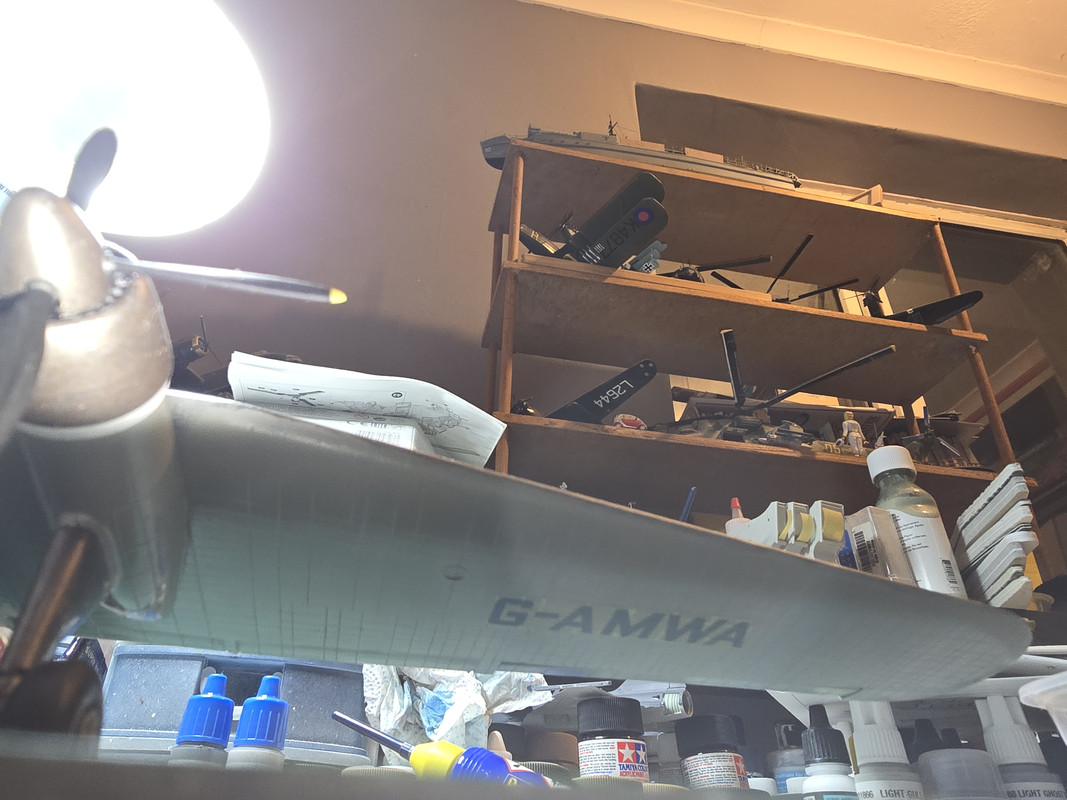
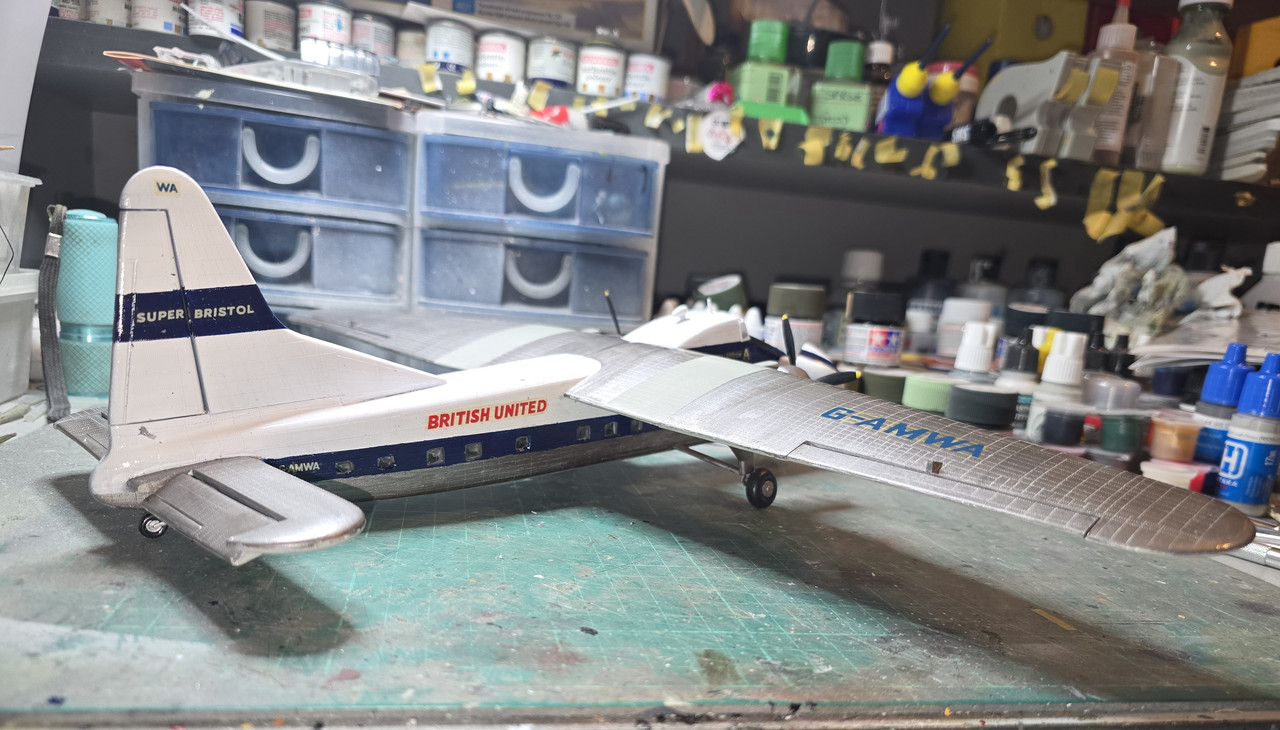
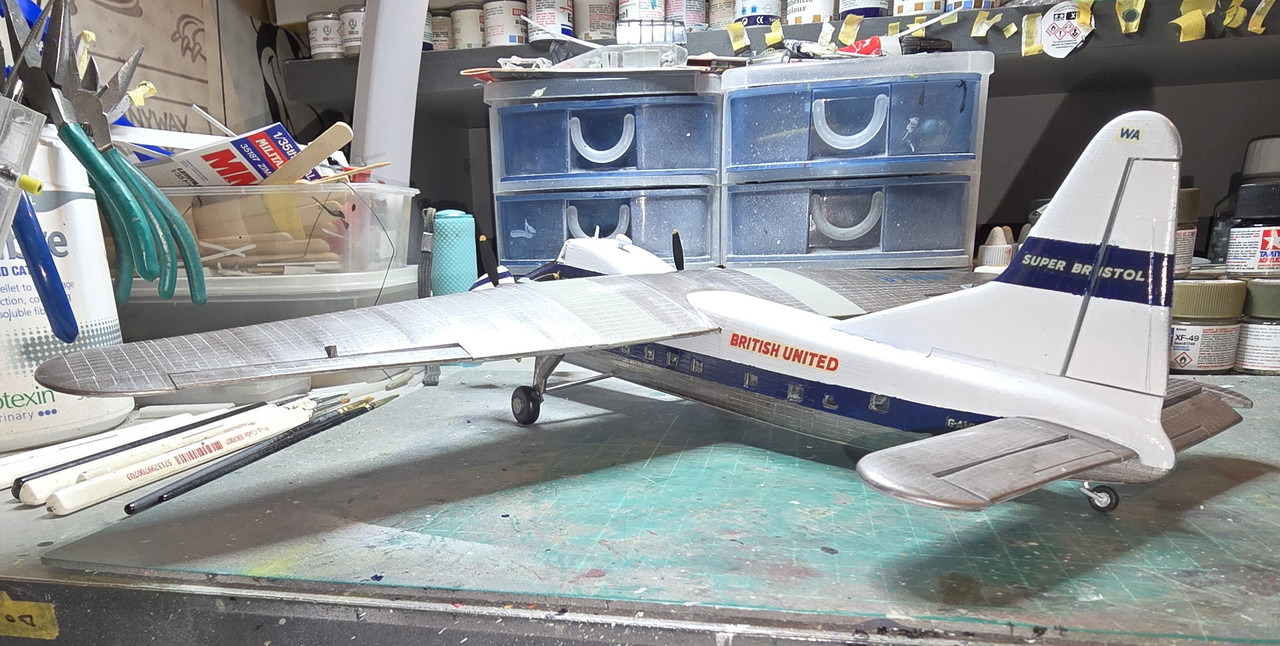
It's looking good now with the decals on. Front cargo doors are great
Re: Bristol Superfreighter
Posted: Fri Oct 31, 2025 11:27 pm
by digger303
Re: Bristol Superfreighter
Posted: Thu Nov 06, 2025 10:17 am
by RangerNeil
Re: Bristol Superfreighter
Posted: Fri Nov 07, 2025 11:20 am
by digger303
Re: Bristol Superfreighter
Posted: Fri Nov 07, 2025 12:52 pm
by RangerNeil
Thanks Digger
Kind words are much appreciated, the last stages of this really did sap the mojo.
Re: Bristol Superfreighter
Posted: Sun Nov 09, 2025 11:06 am
by cor
Looks like a tricky one to finish well. At least you didn't shelve it and it still looks great. Well done.