Page 1 of 1

Panda Hobby Object 279

Posted: Wed Feb 05, 2014 5:44 pm
by garywintin
Hello all. Now that I have started painting the DANA, I know it's gonna take time for me as I have to wait for drying paint and what not so I decided to crack open one of the kit I been itching to put on. This time, is the rather unique vehicle - a soviet unicon heavy tank Object 279.

This is from Panda Hobby -
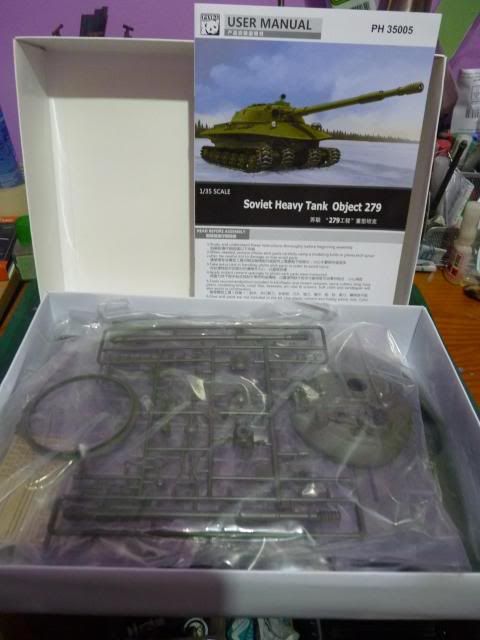
Image

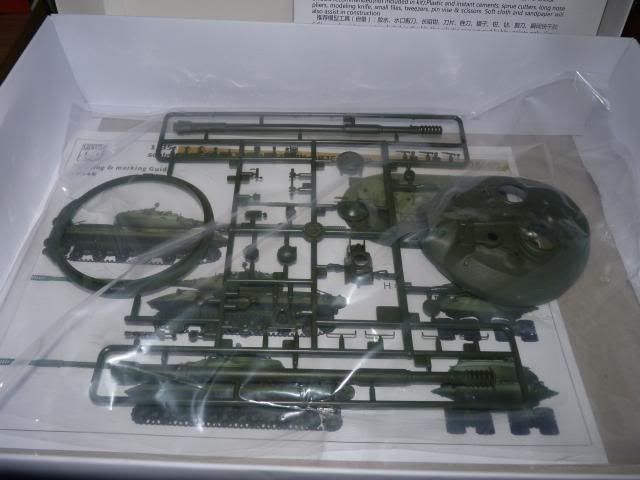
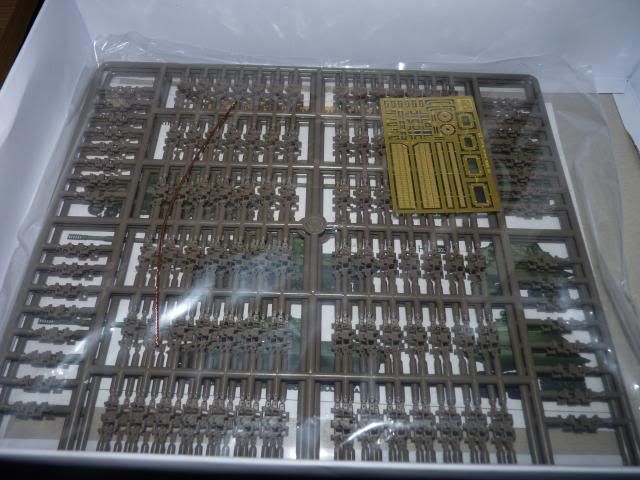
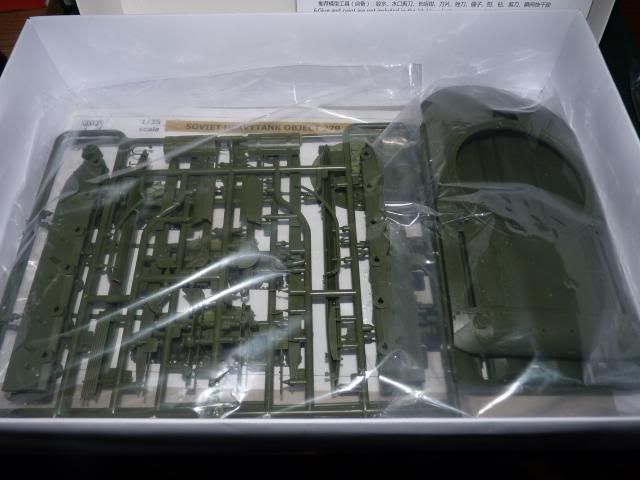
and here are the sprues -
Image

Image

Image

Image

I started on the running gears as instructed -
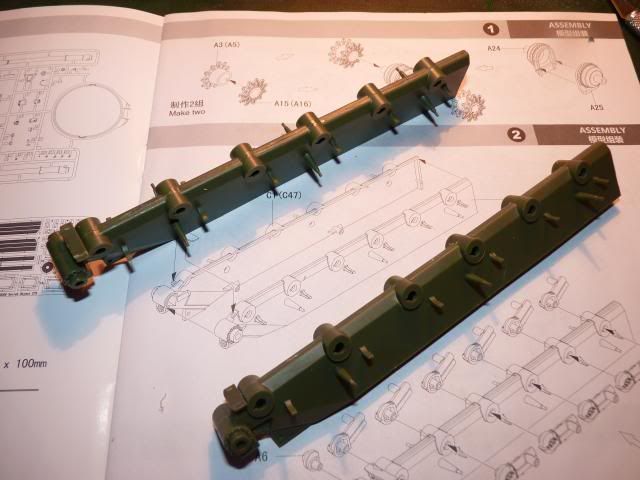
Image

followed that up with half of the suspension arms .. 12 is shown here out of a total of 24
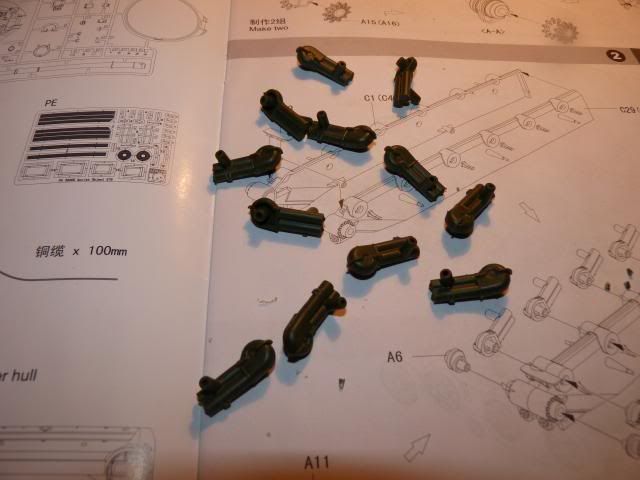
Image

Panda hobby has made them into two separate parts so there is a seam in the middle of each arm which is just annoying.
The arms goes on like so -
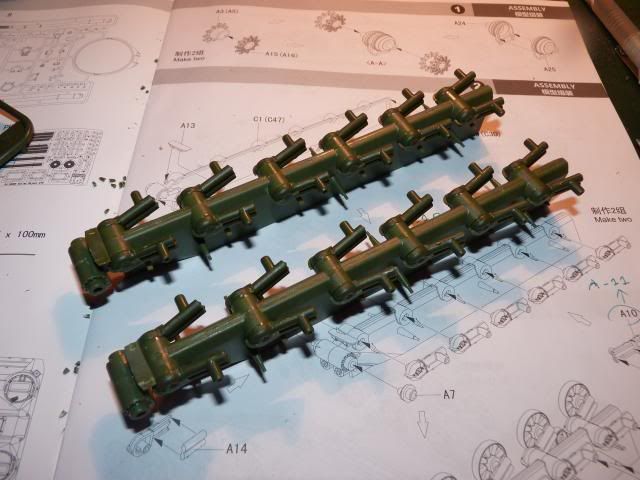
Image

If you are building this, be careful with this as I have noticed an error in the instructions -
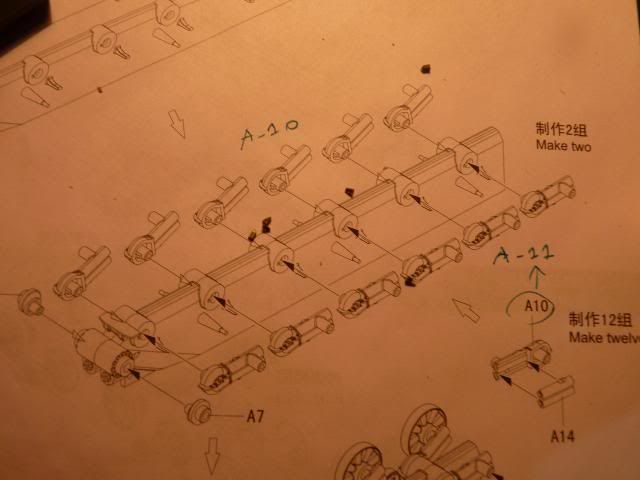
Image

As you can see from what I have scribble down, A11 and A10 are mis-labelled. Thankfully, I noticed it before gluing on the arms. if you followed that mistake, you will end up with suspension arms that are swung way upward, toward the bottom hull.

I followed that up with two little hooks on the front of the hull -
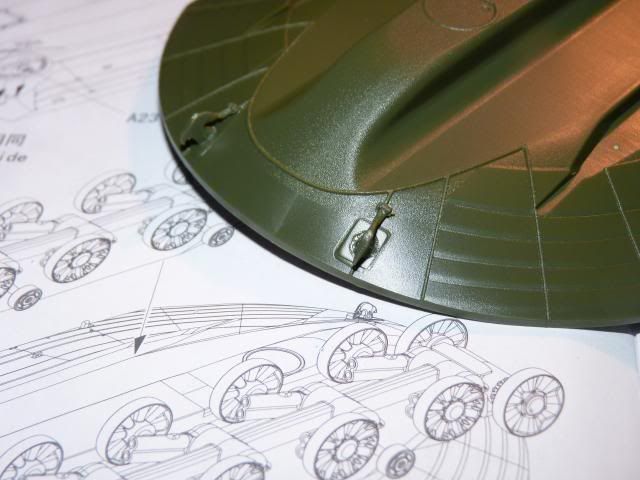
Image

and on the back hull as well. The sprocket have been glued on at this point -
Image

Next, I decided to put on the mantlet on and glue the two halves just to have a look at the turret -
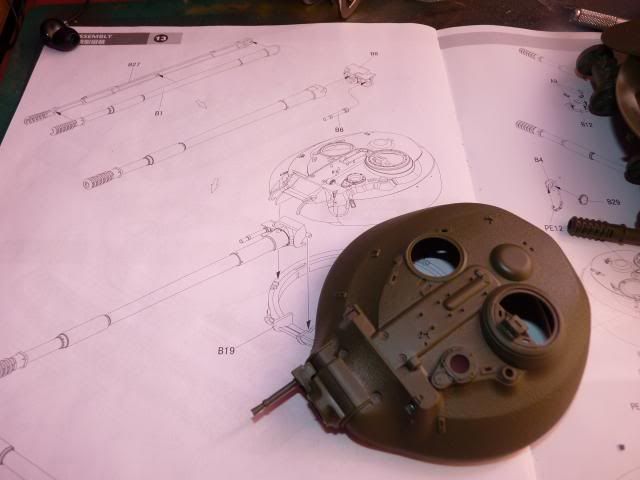
Image

I am greatly disappointed by the lack of clear parts -
This is the barrel, which is two halves -
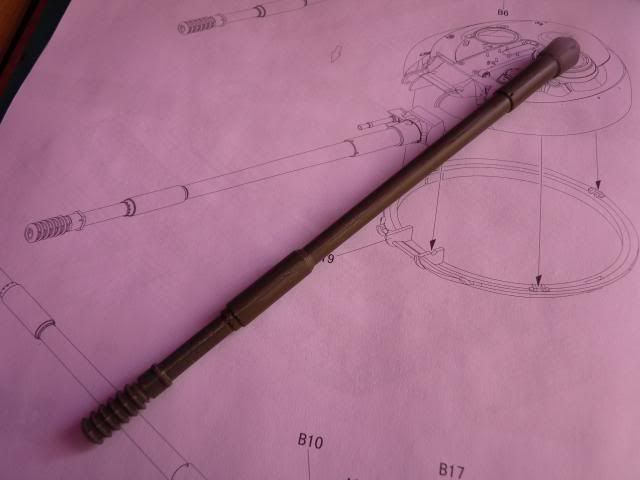
Image

I have put up quite a lot of two halves barrel but this one is probably the worst for me. I had a hard time making it align to get rid of the seam AND the complicated muzzle is moulded on each halves which make clean up harder for me.

Well that's it for now.
Stay Tuned for more
Re: Panda Hobby Object 279

Posted: Wed Feb 05, 2014 5:48 pm
by Paul
Nice kit Gary, look forward to seeing htta come together.

Re: Panda Hobby Object 279

Posted: Thu Feb 06, 2014 5:58 pm
by garywintin
Alright ... here's an update to this infernal thing

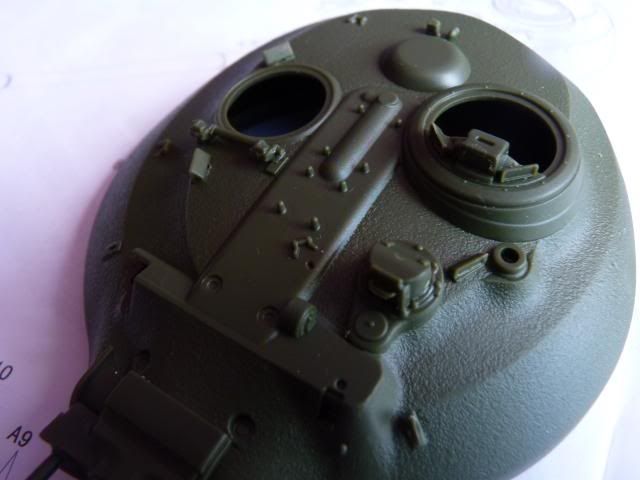
I decided to finish up the turret to give me more time later to deal with the tracks. First, I did what the instruction said and put on the bigger scope for the commander hatch and what I presume to be the gunner's sight.

The gunner sight's is really really poorly casted and I cannot tell if that thing is supposed to be open or not so I ended up searching up for walk around views and the pictures from Kubinka shows it closed so I presume the gunner sight in this kit is also moulded closed.

Image

Followed that up with the hatches and the little periscopes all around the turret. The hatches don't want to sit well so dry fitting was necessary and god, those periscopes were abysmal. Not only their casting was poor, they don't fit into the locating slots on the turret. I had to shave away plastics from the slots for the periscopes to go in.

Image

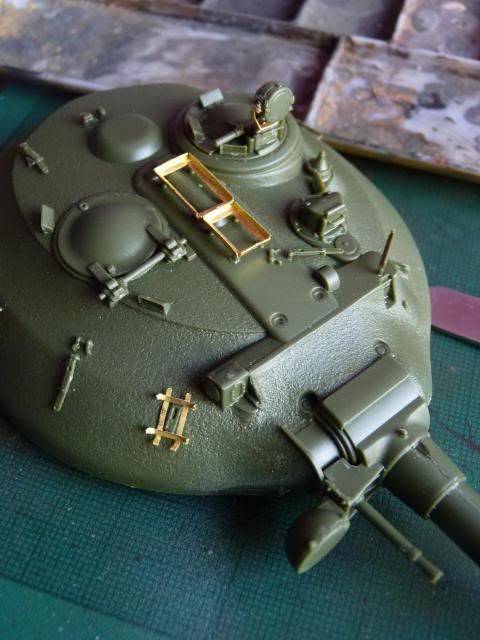
Which is followed up gluing on the P.E parts -
Image

The P.E. from this kits are really something. People usually say Hobbyboss P.E and/or Trumpeter P.E are hard and difficult to bend and what not but I have never had any body problems with them. But these P.E .. Oh my god. Not only are they hard and thick, they are very difficult to bend and the instruction doesn't help either. Obviously, the one on top is simple as you can see how it looks from many a pictures available but the rack looking thingy, I had no idea how to bend it. The instruction just say '' cut that P.E off and glue it on.. bam, there you go '' . I had to wing it and you will noticed I put that rack looking thing around a slot looking thingy. Yeah, that actually where a little hook was supposed to go but the fit was so poor that while I was trying to glue it on, the little hook just flew off. Out of frustration, I just put the rack thingy on top of it.

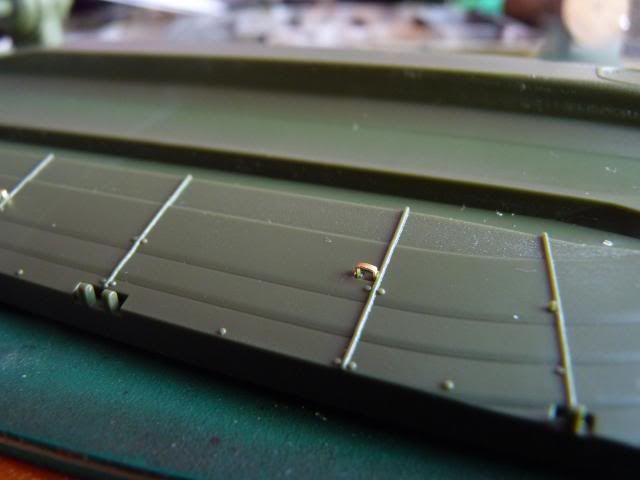
Since I was already working with P.E, I decided to put on the little P.E hooks/loops underneath the hull -
Image

6 of these little things in together. Since these are just simple rectangle shape, they were easy to bend.

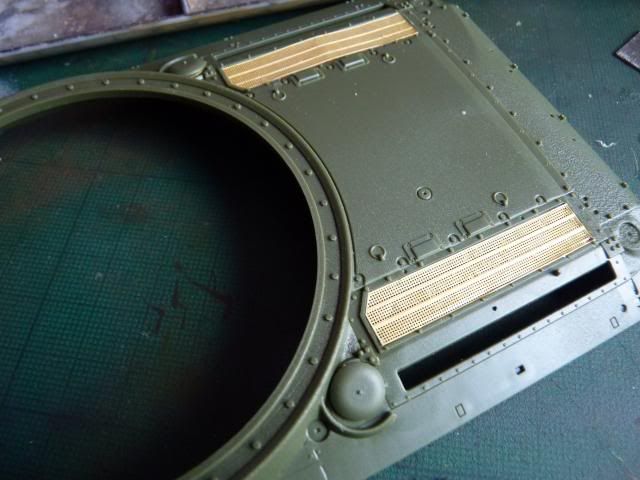
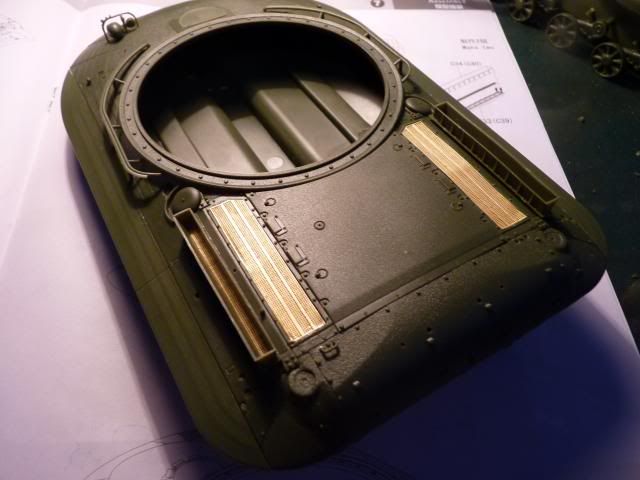
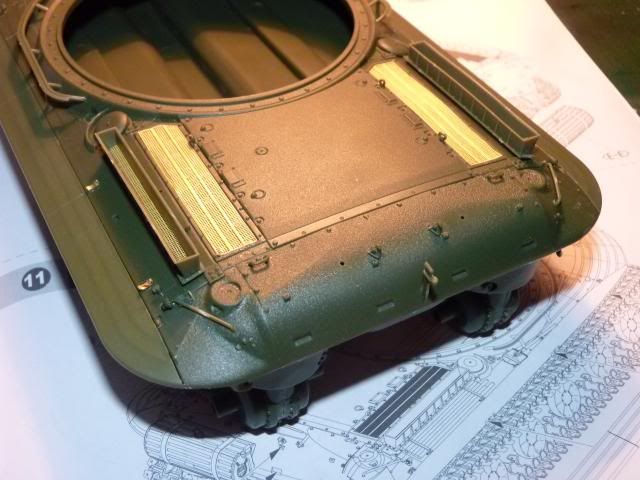
I put on the engine grilles next -
Image

No problem of any kind was met with these though, which was a great relief.

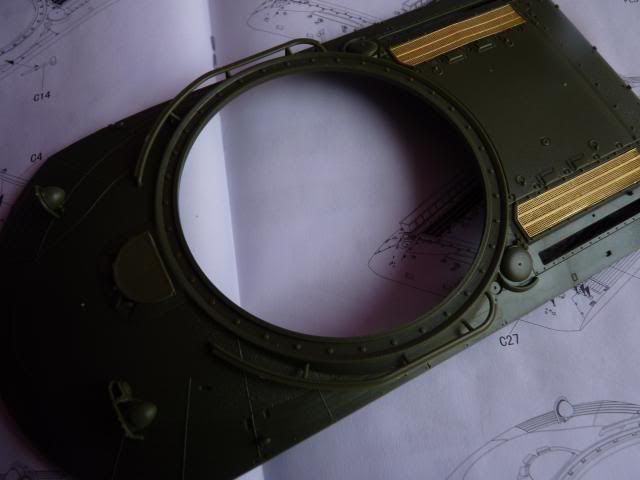
Next, I decided to put in those grab handles thingy around the turret ring -

Image

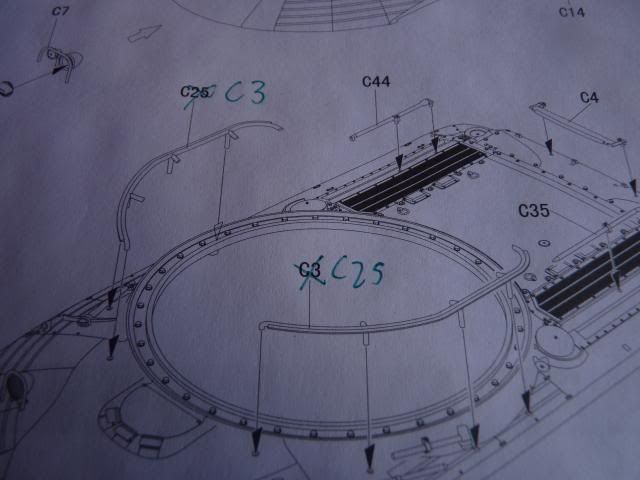
Now, Panda has made another Boo-Boo with manual here. As you can see from this photo -

Image

It's the other way around from the manual so be on the look out for that as well -

Having checked that it is safe to glue the hull together, I just went ahead and did so.
Image

A little bit of force was needed to click the to halves together and I didn't encounter any trouble there. A clamp would have came in handy as the to corners of the rear hull didn't actually want to stay together so I had to hold them for quite some time.

Well, that's it for now. Stay tuned for more.

Re: Panda Hobby Object 279

Posted: Thu Feb 06, 2014 10:45 pm
by Gav0909
Interesting subject there, and an "interesting" kit by the sounds of it. Shame you are having issues with it, but I suppose overcoming issues is what makes us modellers!

I bet your not looking forward to the track though...

Re: Panda Hobby Object 279

Posted: Thu Feb 06, 2014 11:07 pm
by Rob
Frightening looking thing though! War of the Worlds stuff. You seem to be getting the better of it, despite the challenges. I look forward to seeing more :th:

Re: Panda Hobby Object 279

Posted: Fri Feb 07, 2014 6:42 am
by AchtungPanzer
Wow Interesting project. Look good - Well done :th:

Re: Panda Hobby Object 279

Posted: Sat Feb 08, 2014 3:12 am
by garywintin
Gav0909 wrote:Interesting subject there, and an "interesting" kit by the sounds of it. Shame you are having issues with it, but I suppose overcoming issues is what makes us modellers!

I bet your not looking forward to the track though...
oh I'm defnitely am not looking forward to the track. Did you see those track sprues? Imagine cutting out links for 4 length instead of the normal 2 length... :crazy: :crazy: :crazy:

Re: Panda Hobby Object 279

Posted: Sat Feb 08, 2014 3:15 am
by garywintin
Rob wrote:Frightening looking thing though! War of the Worlds stuff. You seem to be getting the better of it, despite the challenges. I look forward to seeing more :th:
After a very old Dragon befehlspanther, the Dicker max and the complicated 3-in-1 Nashorn, the challenges of this has become a walk in the park LOL.... still annoying though

Re: Panda Hobby Object 279

Posted: Mon Feb 10, 2014 12:26 am
by conradschmid99
That kit looks great

Re: Panda Hobby Object 279

Posted: Mon Feb 10, 2014 2:56 pm
by garywintin
Actually Conrade, it's really not that great. I'm finding so much flash and poorly casted parts and soft details

Re: Panda Hobby Object 279

Posted: Tue Feb 11, 2014 7:26 am
by garywintin
Right, let's update this waste of £30 .....

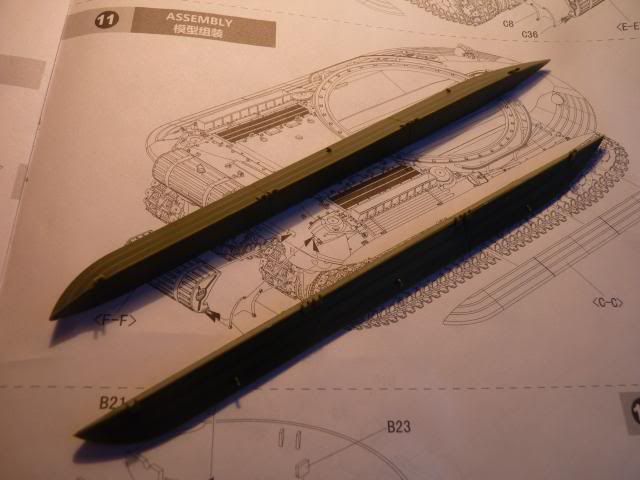
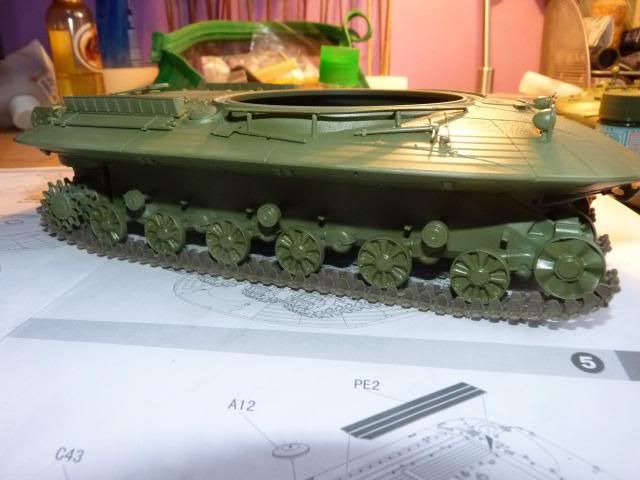
I followed up from what I left off by gluing on the curved edges of the hull-
Image

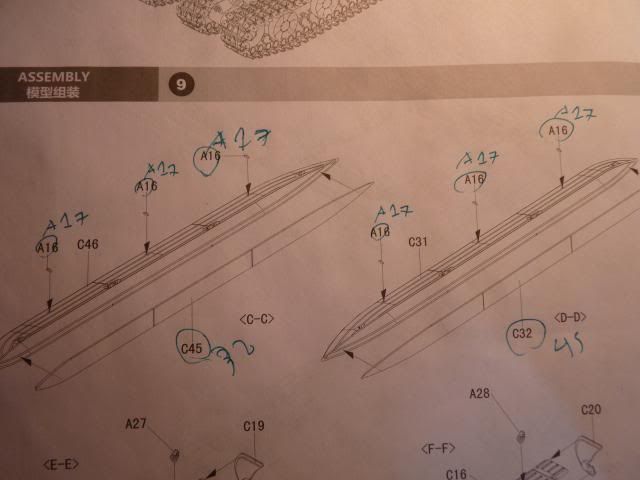
I found two mistakes in the the instruction manual as you can see from the photo -
Image

These two edges goes on the hull like so -
Image

A quick look at reference photos from the Kubinka Museum shows that there IS a seam line there so I did not get rid of the seam but also make sure there wasn't a gap either.

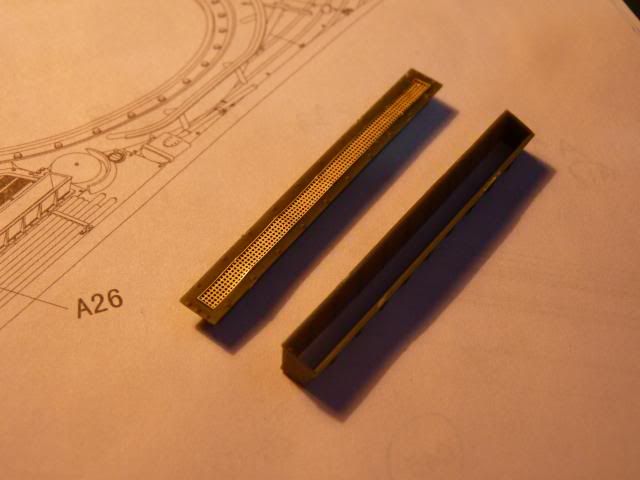
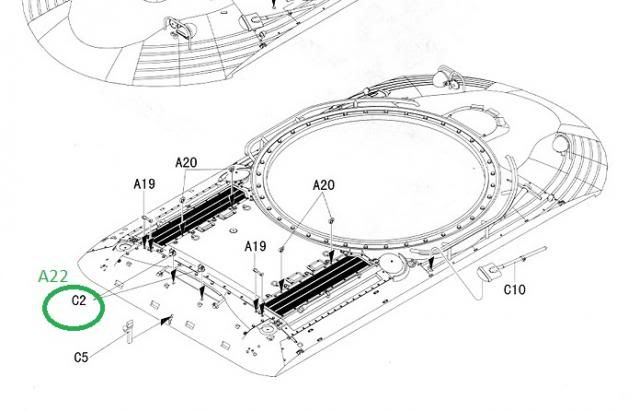
Next, I prepared to build the smaller set of grilles what extended walls around it -
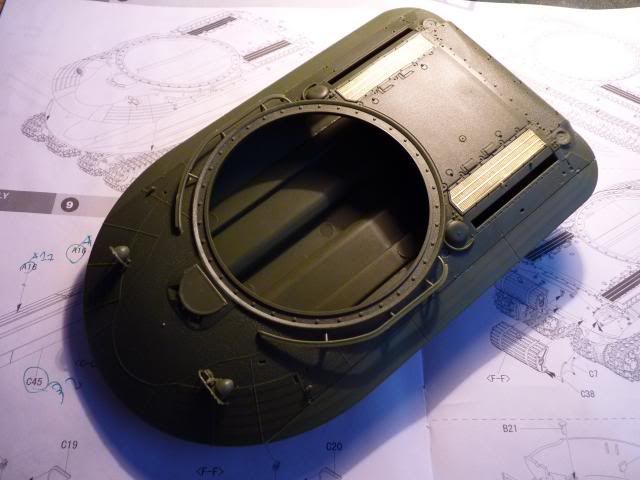
Image

These goes on to the engine deck, just next to the bigger grilles -
Image

Here, the instructions were not clear enough so referring to references photos is a must.

Next, I put on the small grab handles just behind the grilles, the bigger grab handles on the edge of the hull, some kind of wall or rack that goes in between the two external fuel tanks and the base hinges for the gun travel lock -
Image

Here, another mistake in the instruction has been spotted. The hinges for the gun travel locks are labelled wrong -
Image

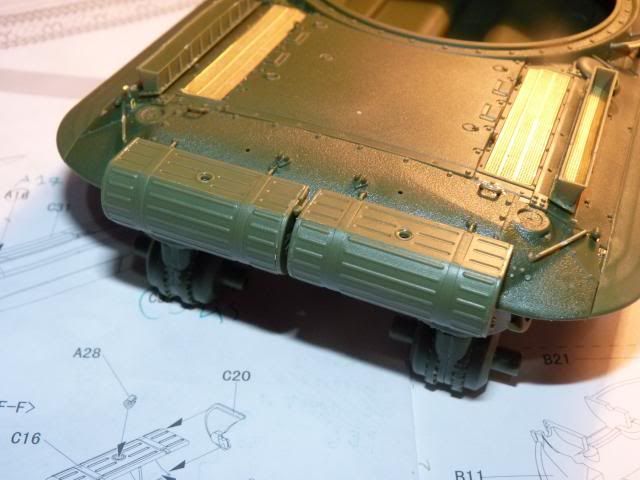
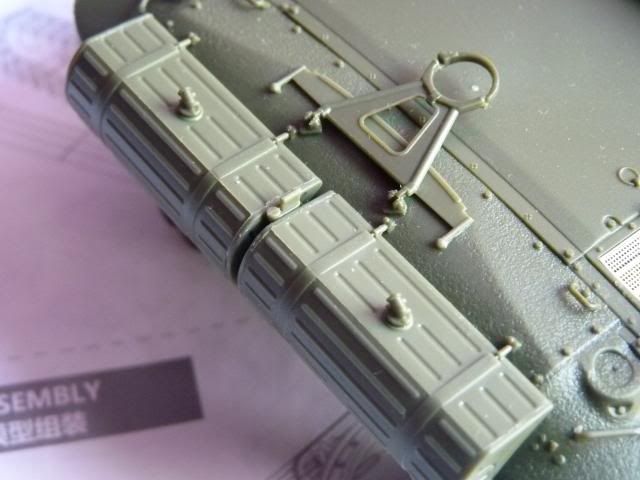
Next, I built the fuel tanks and glued them on the rear hull. The tanks themselves are very nice but gluing them can be a pain in the neck as it keeps falling down. Be sure to apply enough glue and hold them down for quite some time.

Image

Next, I put on the caps or nozzle of some sorts on top of the tanks.. glued on the saw and the gun gravel lock over it.

Image

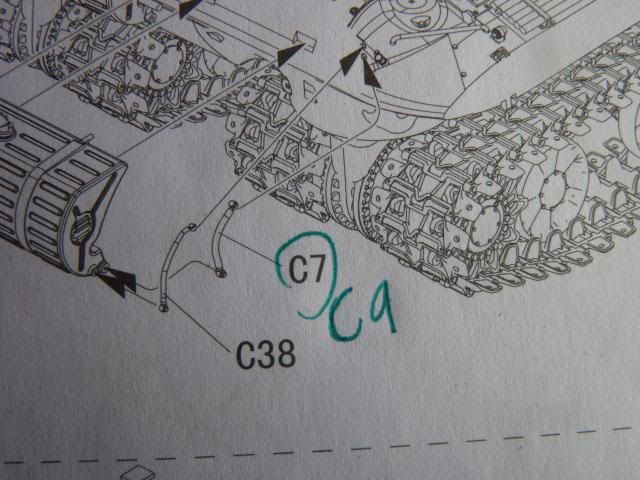
Next, I had to put on some kind of pipelines that goes from the fuel tanks in to the hull. Here, another mislabeled part has been found -
Image

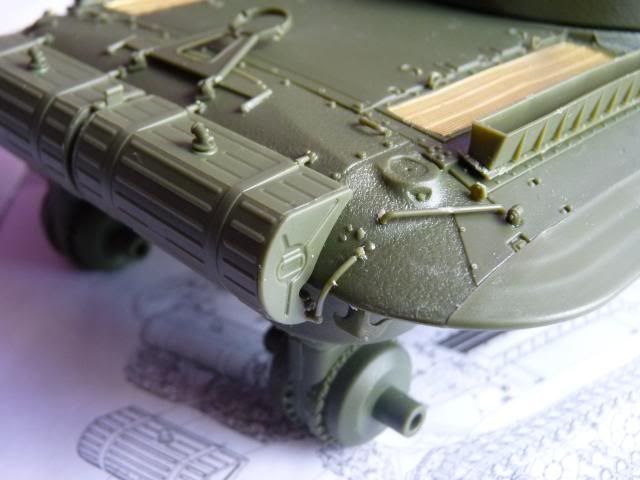
and another problem arise from this. As you can see from the photo, there are two pipes involved with each tank. The problem is Part C9 ( and C8 for the left tank) is too short and not curved enough to glue on. I tried to dry fit and see how the parts are actually glued on but I fail to come up with a satisfactory fit so I decided to throw them away altogether. Not only that, while C38 is curved enough, it is short to reach the attachment points and out of frustration, I just glued them on like so -
Image

The lack of the smaller pipe is bugging me and I might put one in using wire or small plastic rod. I don't know. I will see. The mounding of these fuel pipes are abysmal.

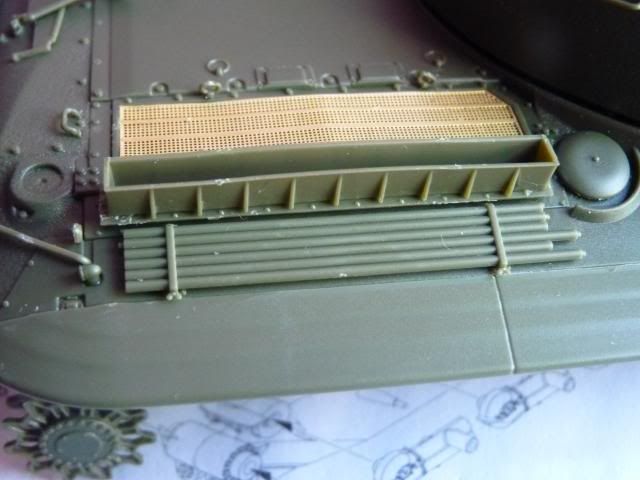
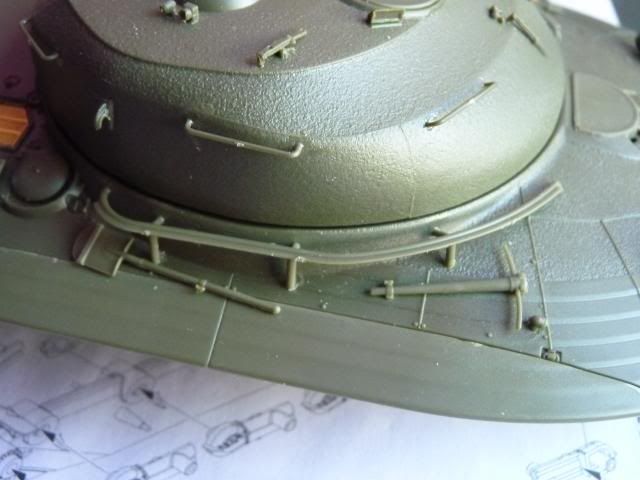
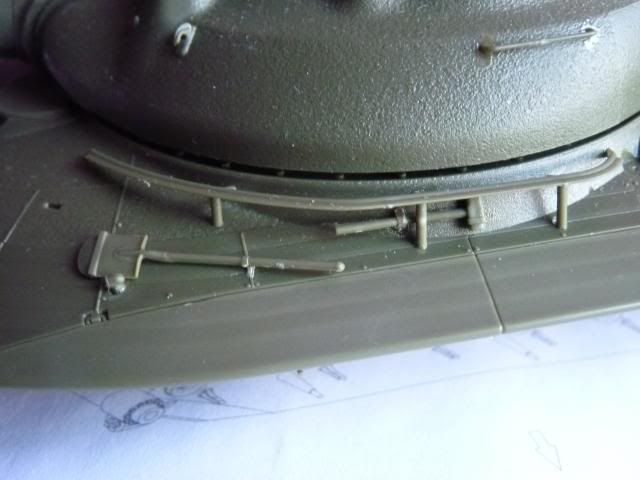
Following that, I decided to put on the tools all around the upper hull -
Here, we have the gun cleaning rods -
Image

Pickaxe and Shovel ( or a spade ) on the right hull -
Image

and Hammer and Shovel on the left -
Image

Again, the moulding is abysmal.

Well, that's it for this update. Stay tuned for more.

Re: Panda Hobby Object 279

Posted: Fri Feb 14, 2014 8:56 pm
by garywintin
Right... Let's update this guy -

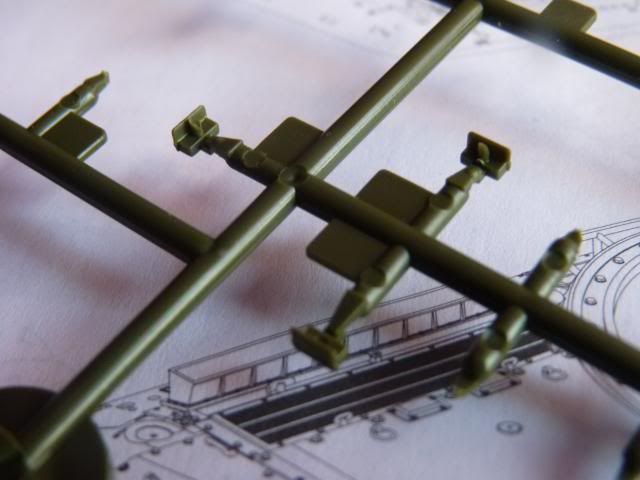
Last update, I left off from the tools .. now, I will put on the only remaining thing on the hull; the periscopes for the driver.

Image

I hope you can see from the picture the poor state those periscopes are in. There is a huge flash extruding from the pin mark on all six periscopes so no matter which three you use, you have to clean those up.

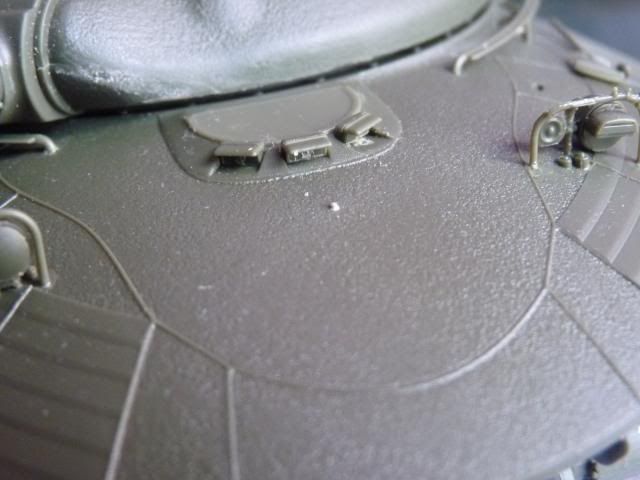
Which goes on the driver position like so -
Image

Again, fitting issues and I had to scratch away the locating slot for the pegs to go in.

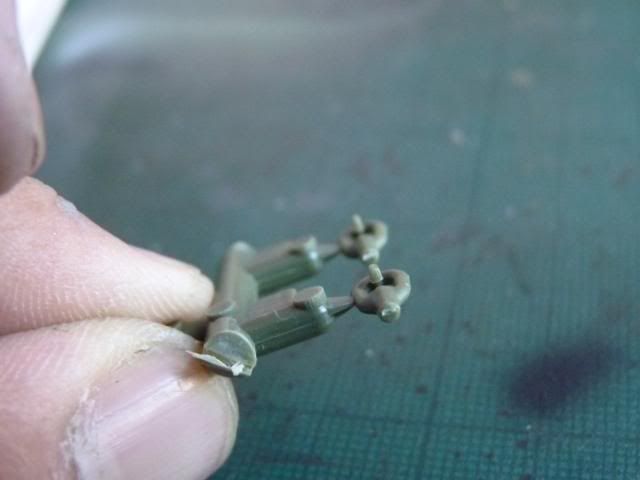
Next was the tow cable. The kit does comes with a Metal cable but the eyes for the cable were horrible.
Image

as you can see, there is no hole for the cable to go in. I had to drill holes and since it is a small, weak part, I can only drill a small hole and had to trim off the cable to fit in.

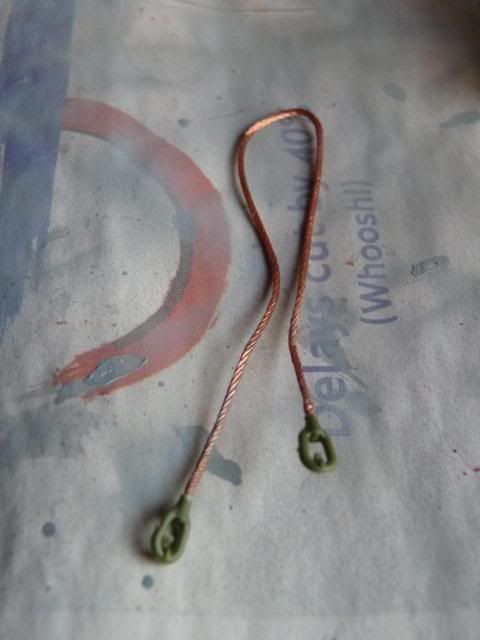
Managed to get them in tight and nicely -
Image

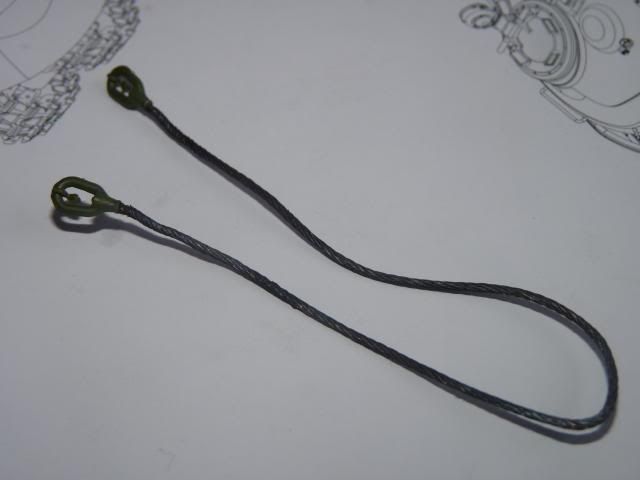
and I painted it to get it out of my way -
Image

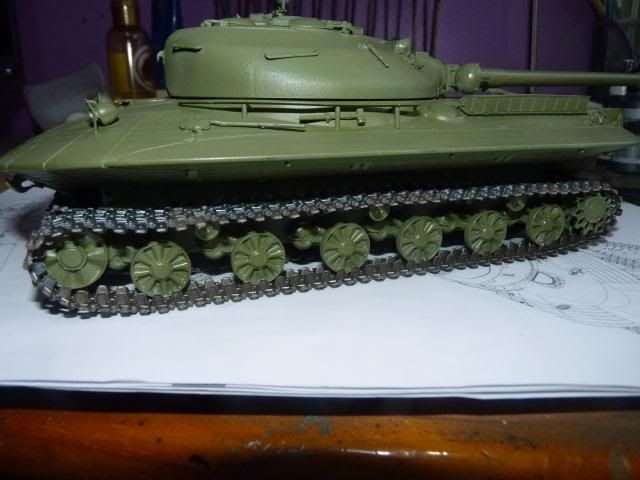
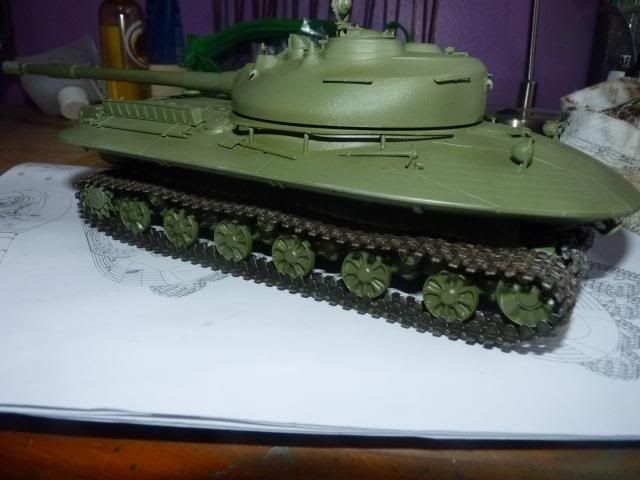
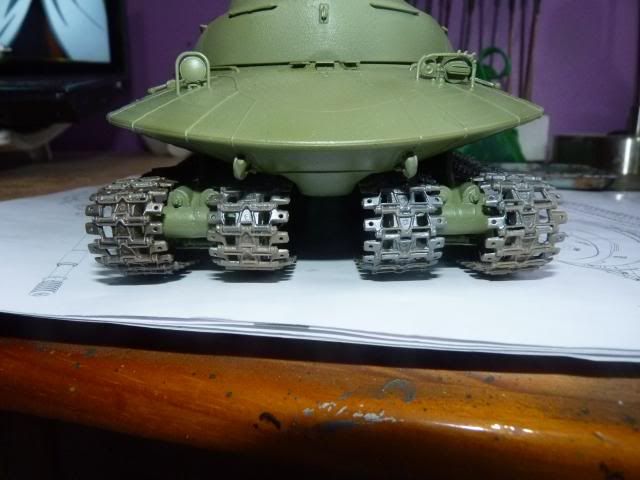
Next up are the tracks. The track assembly is fairly easy but a bit of frustrating. Especially the inner wheel set. Because of the hull shape, it was hard to join the upper runs and lower runs around the idler and sprocket on the inner wheel sets. The tracks go on the outer wheel set very quickly. I'd recommend you glue on the suspension first.

Following the instructions and decided to start the lower runs first, I got this -
Image

I apologize I couldn't take photos of the preceding steps but putting on 4 set of individual steps takes its toll on my body and eyes. I spent the entire day, putting them up and painting.

That being said, here is all the tracks on -

Image

Image

Image

I painted it very rudimentary so as not to paint them after they got on the pre-painted suspension. I need to take care of that to make them look better and more presentable.

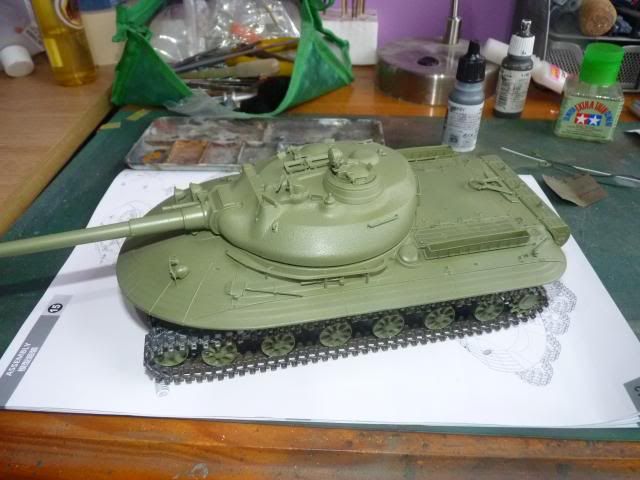
I also painted the whole thing a sort of light shade of green. I know it's wrong but I kind of like it.
Image

Now brings a very big problem - I have no idea about the finishing. I don't know what to do. I want to apply some camo so if anybody has any knowledge of 1959-60 cold war soviet camo, help me out please. Thanks.

Re: Panda Hobby Object 279

Posted: Sat Feb 15, 2014 12:33 am
by schweinhund227
It looks different from all other tanks on the market!

Keep up the good work!

Re: Panda Hobby Object 279

Posted: Wed Feb 19, 2014 6:43 pm
by garywintin
schweinhund227 wrote:It looks different from all other tanks on the market!

Keep up the good work!
Exactly why I'm building this kit man ...

thanks for the encouragement

Re: Panda Hobby Object 279

Posted: Mon Feb 24, 2014 9:07 am
by Joker56
Gary,
I found on some photo etch it's best to anneal ( hold over a flame from say a tea light ) which makes it easier to bend/ fold , hope this helps mate
:cheers2:
Peter

Re: Panda Hobby Object 279

Posted: Tue Feb 25, 2014 10:36 pm
by garywintin
Joker56 wrote:Gary,
I found on some photo etch it's best to anneal ( hold over a flame from say a tea light ) which makes it easier to bend/ fold , hope this helps mate
:cheers2:
Peter
Thanks Peter.. I am actually aware of that but all the previous etch I used from different brands ( trumpy, HB, Dragon, Eduard, Voyager ) didn't need to be annealed so I thought it wouldn't be needed on this kit as well.. not to mention getting frustrated over this has stopped my brain from remembering the annealing method ... :P