Page 1 of 1
Academy 1/35 K9 Thunder
Posted: Sat Apr 26, 2014 5:54 am
by garywintin
Hey guys.... As you all know, I have finished the Type 99, DANA and Pzh 2000 and I have been infected with the Arty fever. It doesn't help that Dr. Turner ( Gavin if you guys are not familer with the formal suffix ) is also doing a smilar theme like me so we become some what of a bit of rivals, racing with each other will be able to build as much ( or all ) of the SPG kits out there. So this time, to compliment my fleet of SPG, I will be adding the K9 thunder of the R.O.K army to the rooster.
The kit is a few years ( I think it came out in 2010 ) one but a pretty decent one-
Here's the box -

Sprue shots -

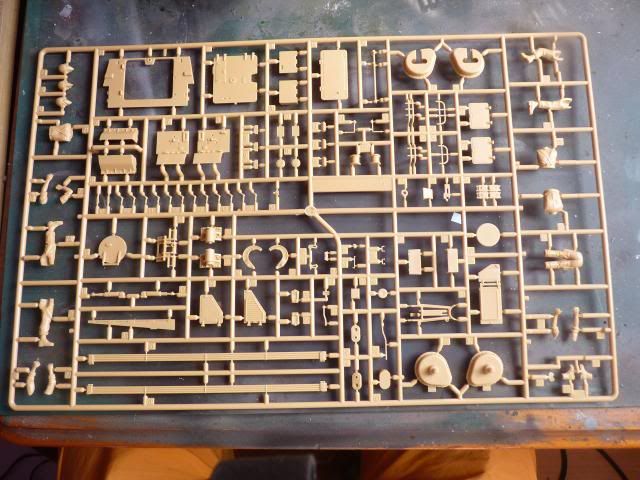


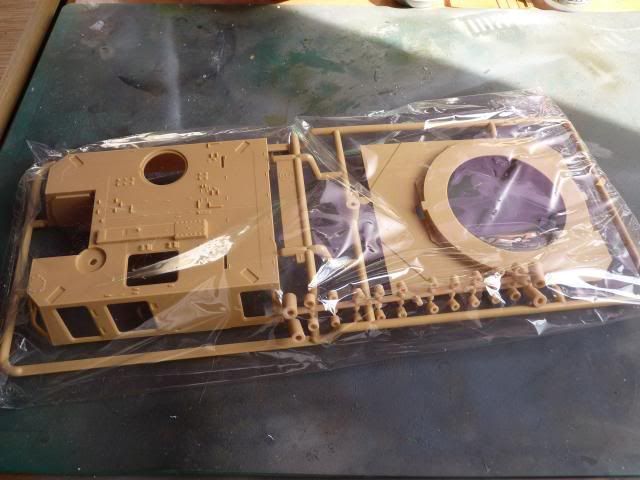
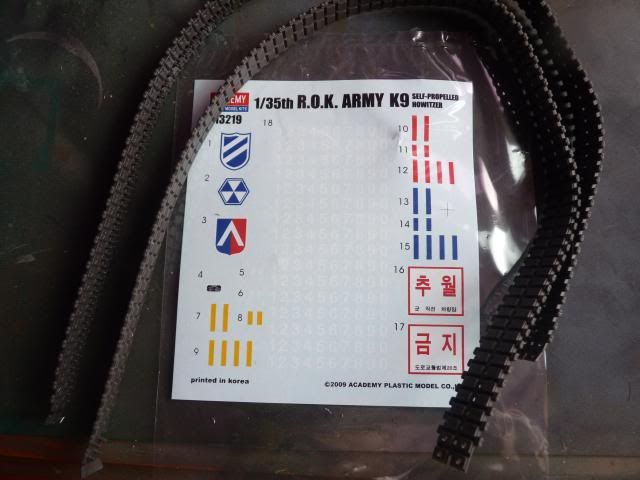
While walking around the Southen Expo show at Hornchurh a month back, I managed to accquired this little box -
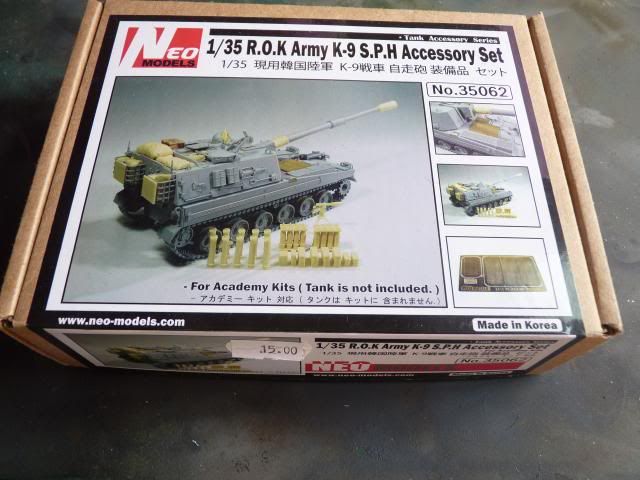
The resin parts are well casted and it also inlude a smell fret for the engine grilles. A lucky find indeed. I wanted to buy a more dedicated set from Orange Hobby but it was expensive so I backed out of that.
As per standard, everything starts from the lower hull -
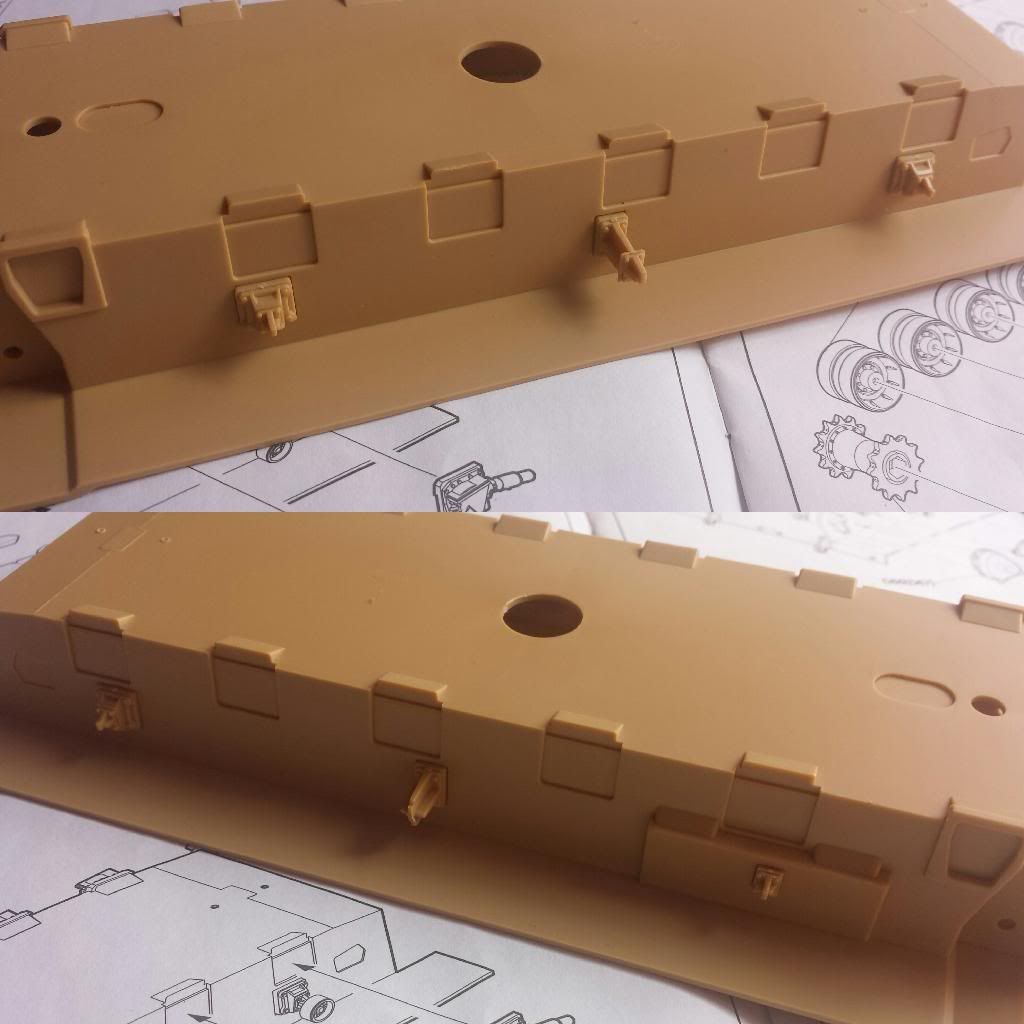
The instructions calls for the gluing of the return rollers arms -
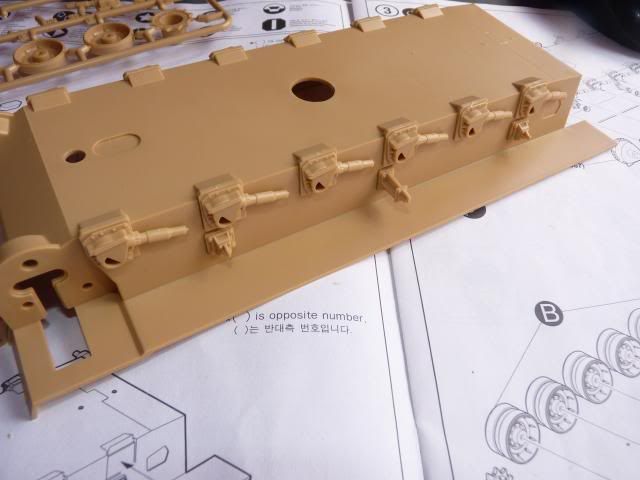
following with the show absorbers ( I think they are shock absorbers )
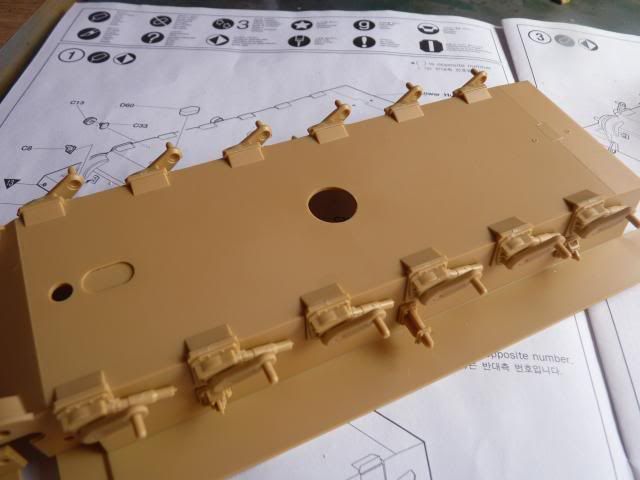
and the suspension arms -
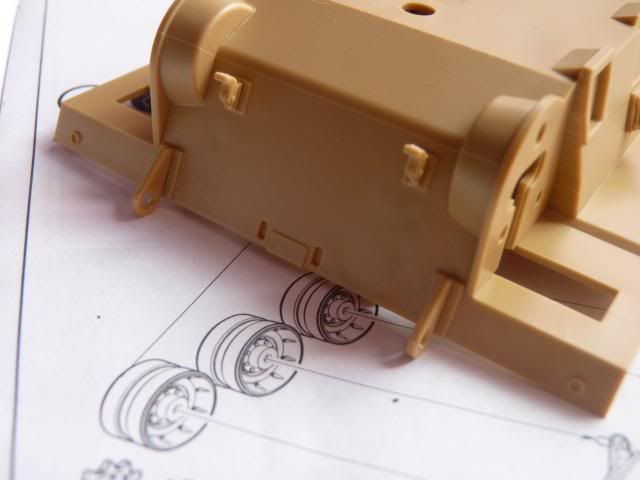
Followed up with two hooks and circles -
The transmission and sprocket hub -
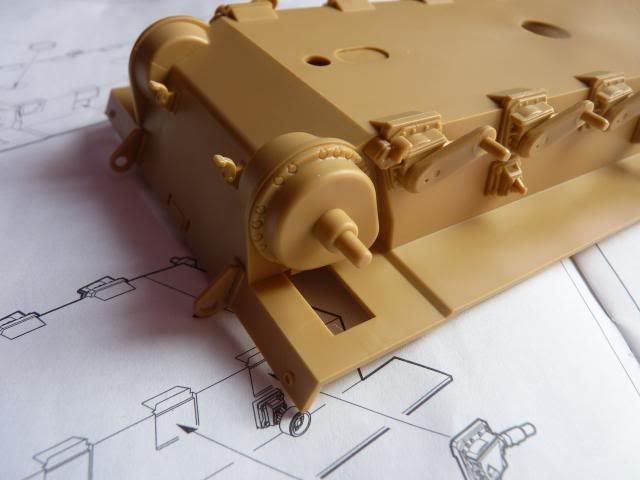
Followed by what I believed to be a shock absorber for the idler wheels -
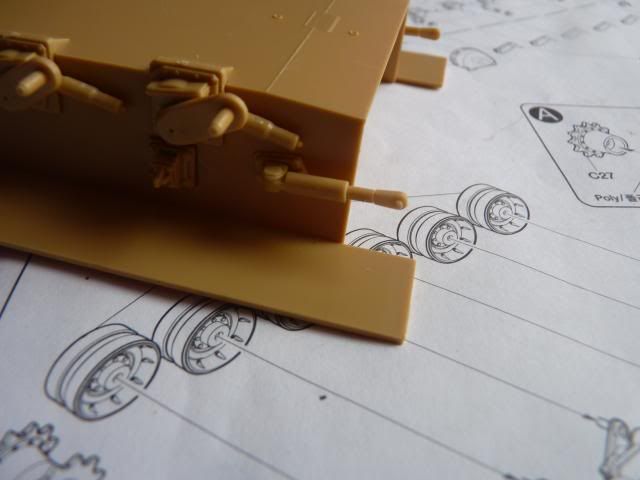
Then, I had to build the rear hull, following the instructions as you can see in the picture -
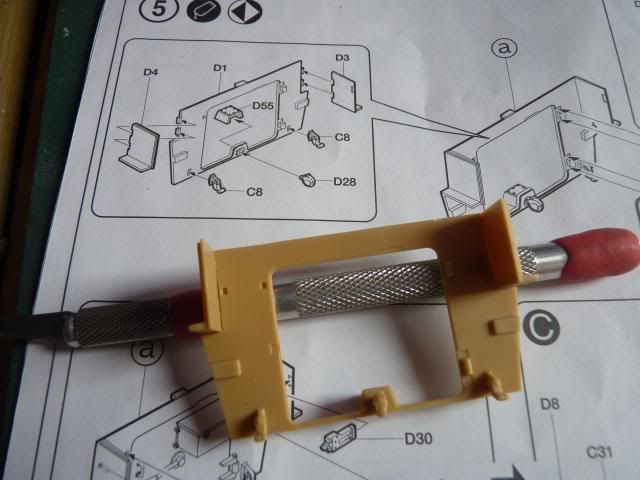
and the door of the rear hull -
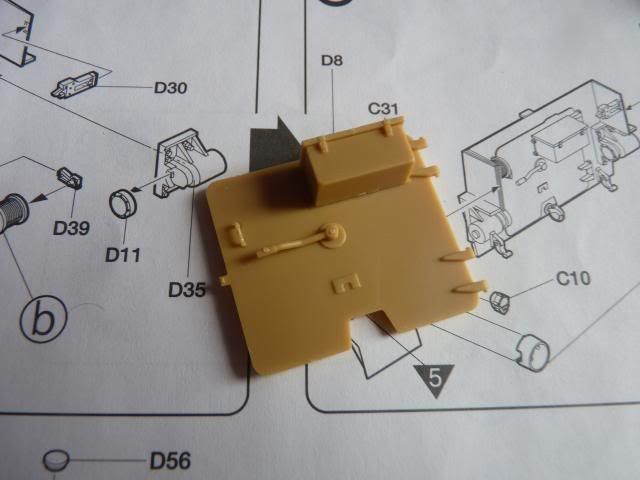
which goes on quite nice and tight on the rear hull -
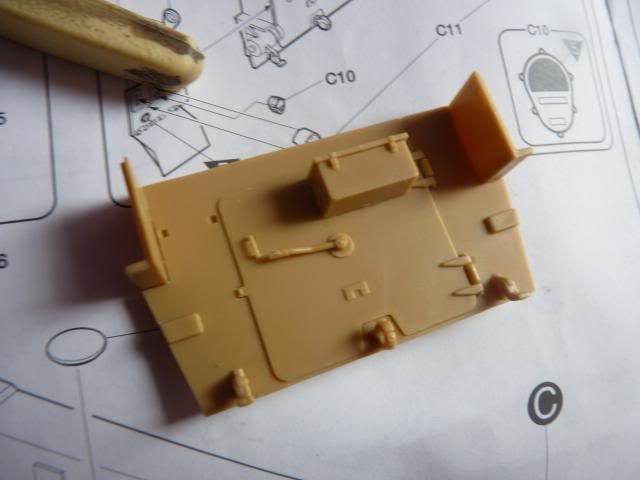
I then had to put on the sides of the rear hull and the mud flaps -
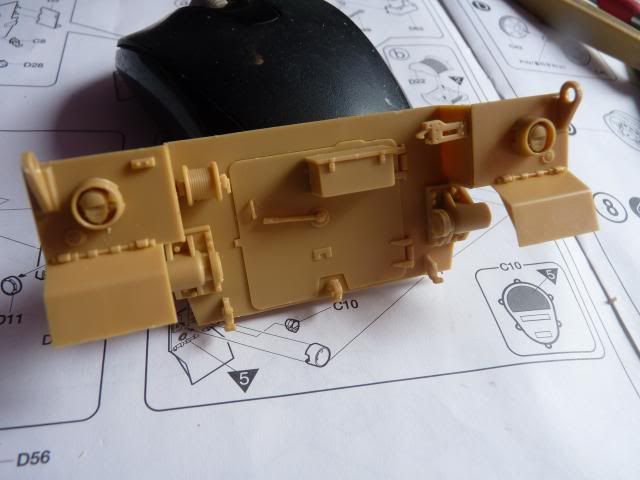
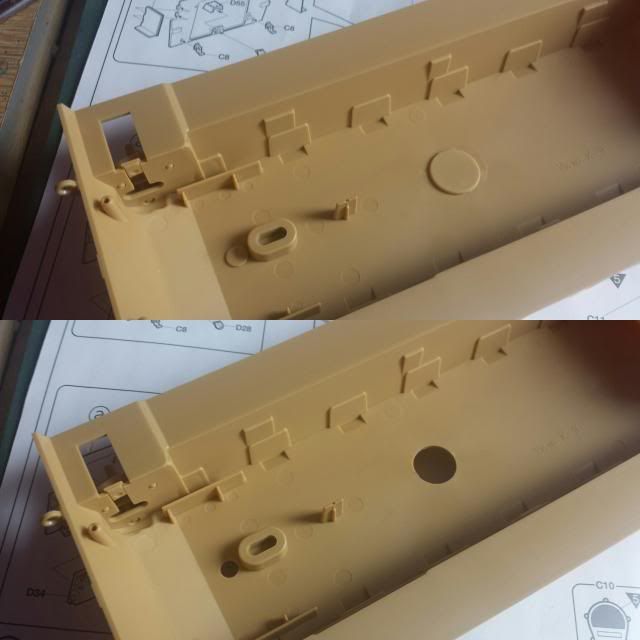
Academy has made this kit into R/C convertable so they included some pieces that is used to closed up the holes on the belly -

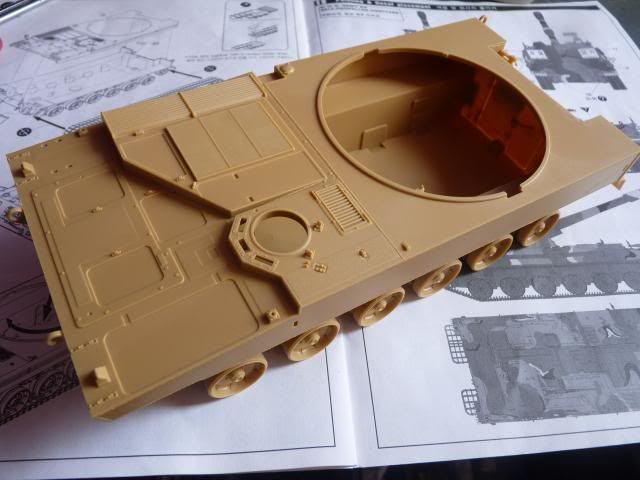
Checking everything, I glued the lower hull and the upper hull together. There was no problem with the front, it went on very smoothly with no seams but the rear hull was a bit of a problem. I still have to fill the gap but also put in some welding seams as I have seen from some reference photos. -
So that's it for now ... stay tuned for more
Re: Academy 1/35 K9 Thunder
Posted: Sat Apr 26, 2014 11:09 am
by PaulAyrey
Looks like a great kit Gary, can't wait to see you get stuck into this one!
Re: Academy 1/35 K9 Thunder
Posted: Sat Apr 26, 2014 4:36 pm
by gustavlekstal
Guns blazing!!!
Re: Academy 1/35 K9 Thunder
Posted: Sun Apr 27, 2014 10:07 pm
by garywintin
PaulAyrey wrote:Looks like a great kit Gary, can't wait to see you get stuck into this one!
It's actually a pretty decent kit ... would make into a very nice model once completed ... assuming I don't screw up

gustavlekstal wrote:Guns blazing!!!
Indeed
Re: Academy 1/35 K9 Thunder
Posted: Mon Apr 28, 2014 9:32 pm
by Gav0909
Coming on nice Gary. The extra bits look nice too, and will add something to it I am sure. SPGs look good with lots of stowage on them.
Re: Academy 1/35 K9 Thunder
Posted: Tue Apr 29, 2014 9:33 am
by garywintin
Gav0909 wrote:Coming on nice Gary. The extra bits look nice too, and will add something to it I am sure. SPGs look good with lots of stowage on them.
Indeed Gav..
Re: Academy 1/35 K9 Thunder
Posted: Tue Apr 29, 2014 9:34 am
by garywintin
Alright Time for an update for this gal ....
On to the turret -
I glued the turret floor, roof and the back wall together -

I put up the Mantlet after that; it's pretty well done and gun elevation is very stabe and controlled. Love it.

coming up next is the gun barrel. I glued two halves of the lower half of the barrel, cut off the bag thingy ( for the life of me, I can't remember what is is called ) from the kit and glued on the resin piece. It looks alot better and more defined-
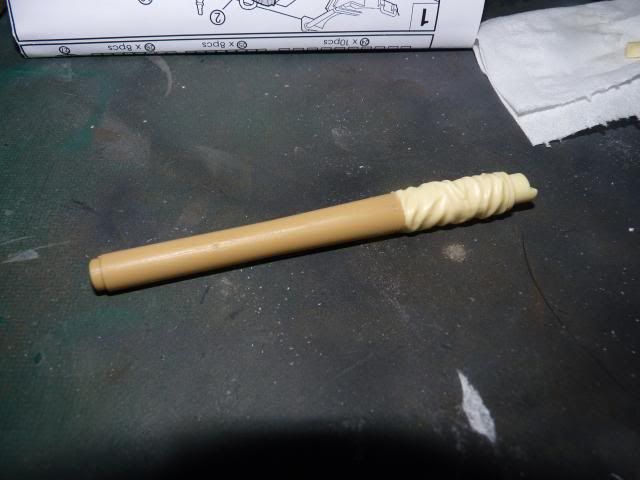
after that, finished up the barrel -

The great size of the barrel can be appreciated here.. love those big guns
After that, I have to put on the floor of the gun mantlet on top of the big gaping hole on the turret floor -
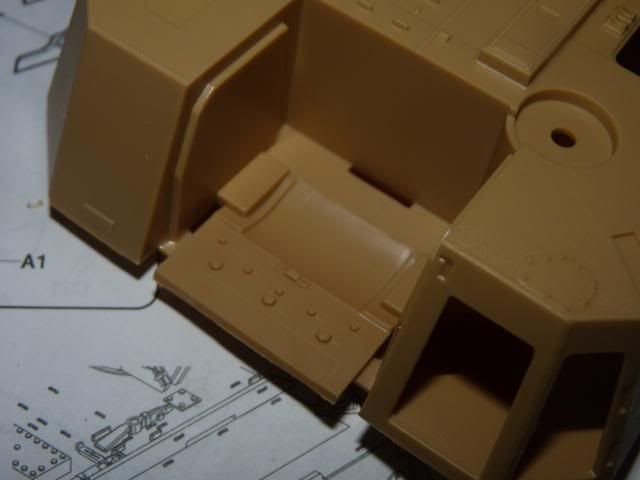
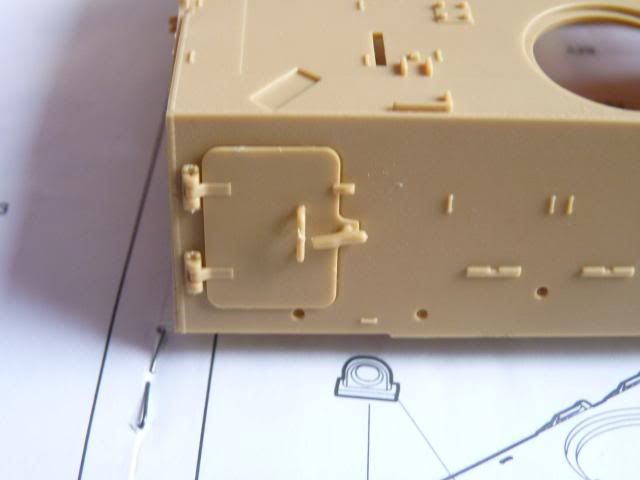
I followed that by putting on all the various doors on the sides of the turret -
Started with two on the rear of the turret -

And the remaining doors on the front left side of the turret -
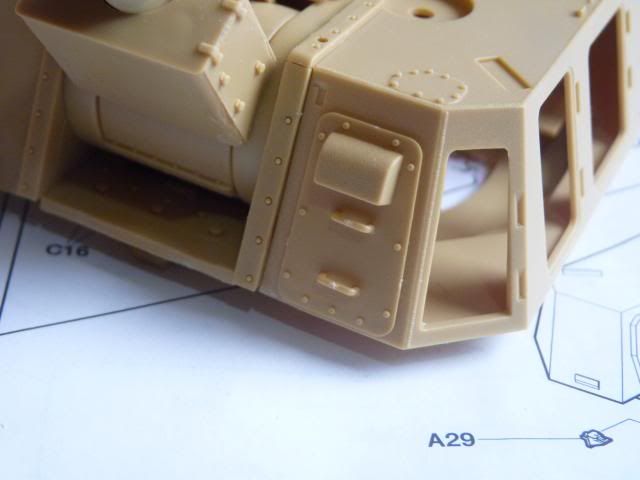
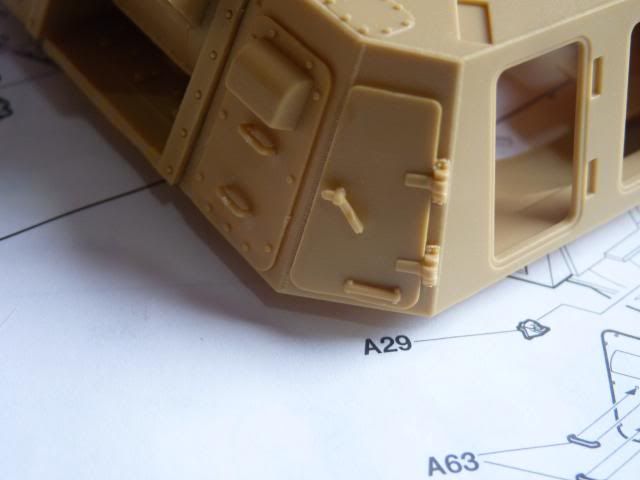

The small details are a little bit soft but looks pretty presentable.
After that, I moved back to the front glacis plate. I put on all the hatches doors and some handles and lock -
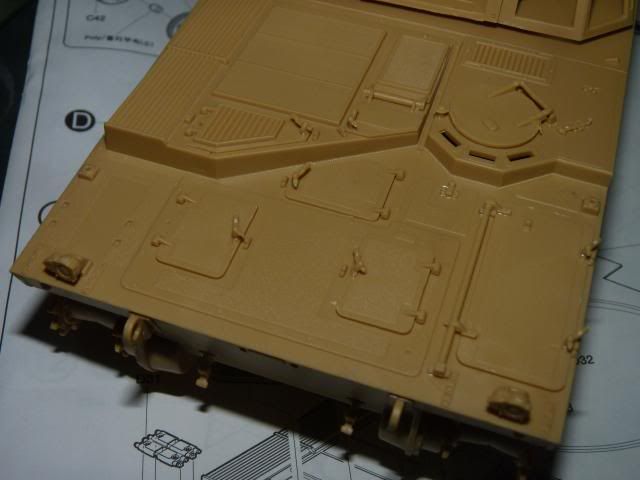
Put on the vision blocks for the driver. The blocks are provided with their covers closed. I could modify it into showing the covers opened but I couldn't be bothered.

After that, I put on the photo etch for the engine grilles -
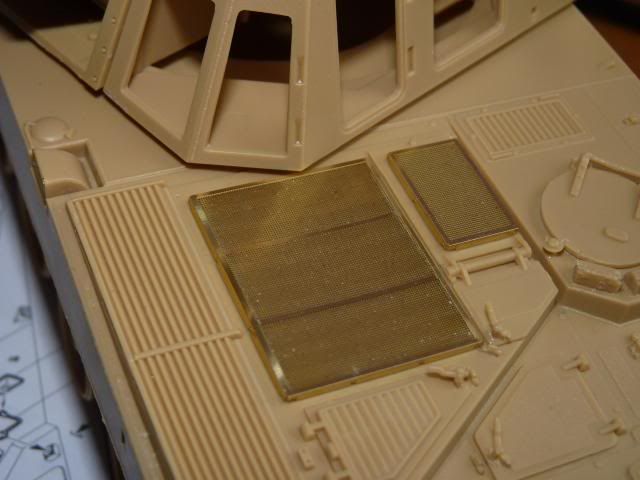
and a exhaust cover -
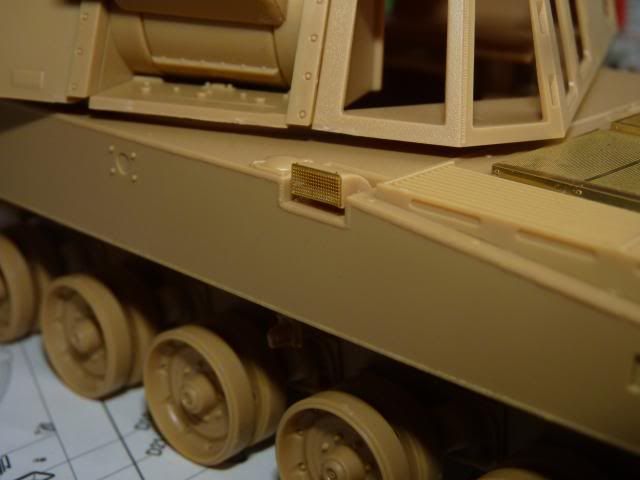
and put on the head lights -
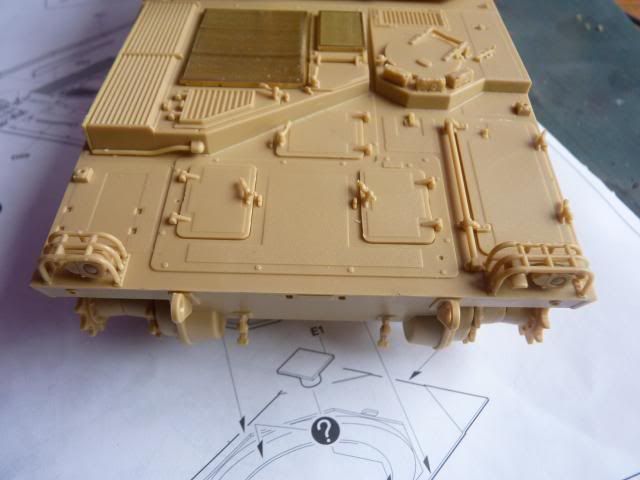
Doing pretty fine so far, haven't met with that much problem yet and enjoying ever bit of this.
Wel, that's it for now... until the next update....
Thank you for looking...
Re: Academy 1/35 K9 Thunder
Posted: Tue Apr 29, 2014 12:33 pm
by Nige99
Looking good so far! I like the amount of pics you put up. Really good step by step guide.
Re: Academy 1/35 K9 Thunder
Posted: Wed Apr 30, 2014 8:28 am
by garywintin
Nige99 wrote:Looking good so far! I like the amount of pics you put up. Really good step by step guide.
Thanks Nigel .. I do my best to keep my WIPs as detailed as possible so that beginners can look at it and learn ( if there's anything at all )
Re: Academy 1/35 K9 Thunder
Posted: Fri May 02, 2014 1:39 pm
by garywintin
OKAY .. Part the third for this one ... picking up from where we left off, this is what I have right now -

Just before that, I put on the very long rods along the length of the hull sides. I don't know what these rods are for but I believe they are gun cleaning rods
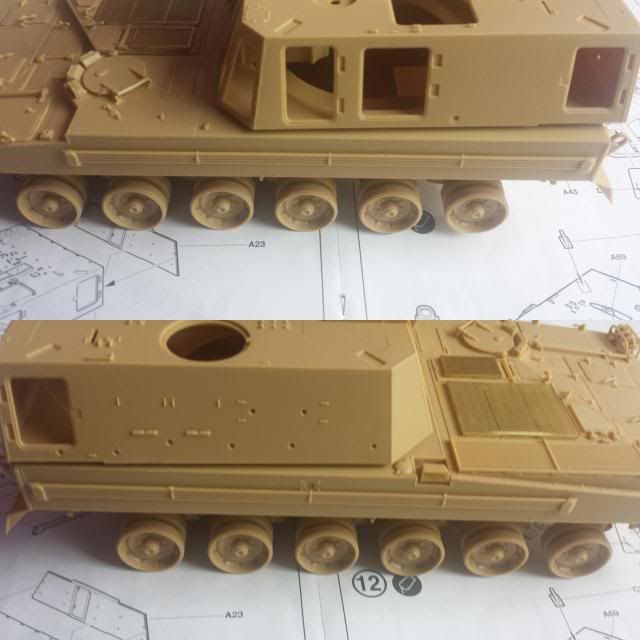
after that, I turned my attention to the gun travel lock.
First, I inspected the lock it self and I found ejector pin marks so I filled them up with Perfect Plastic Putty-
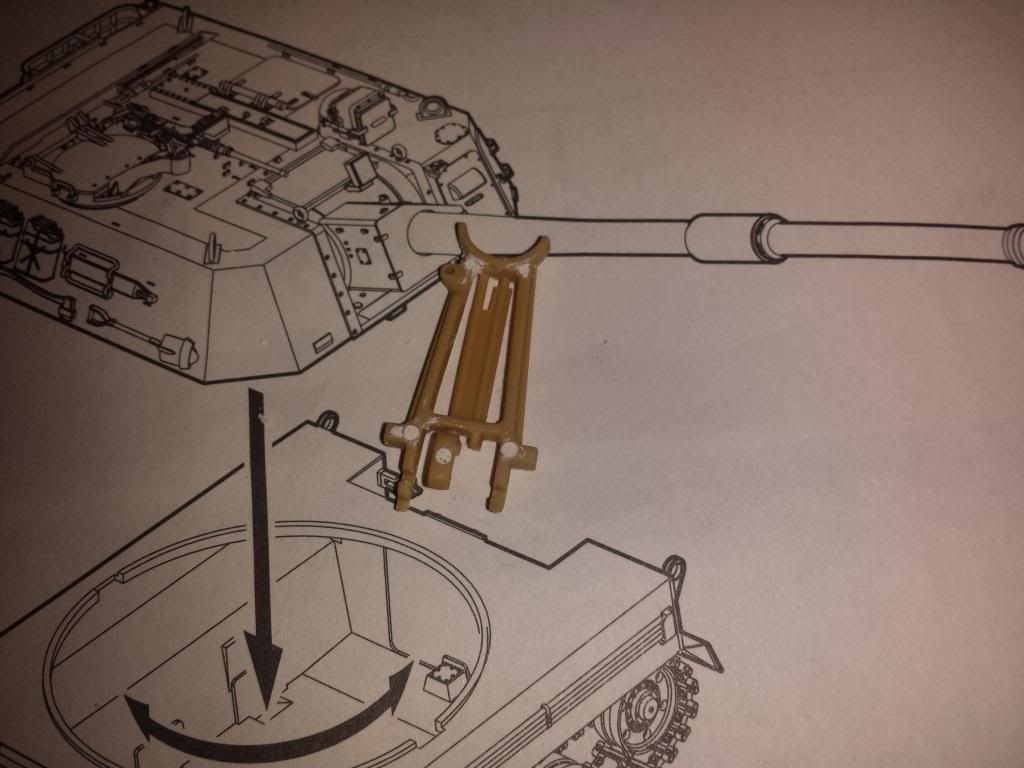
Follow that up with the hinge base which goes on the front of the hull. I also put on the front mud flaps-
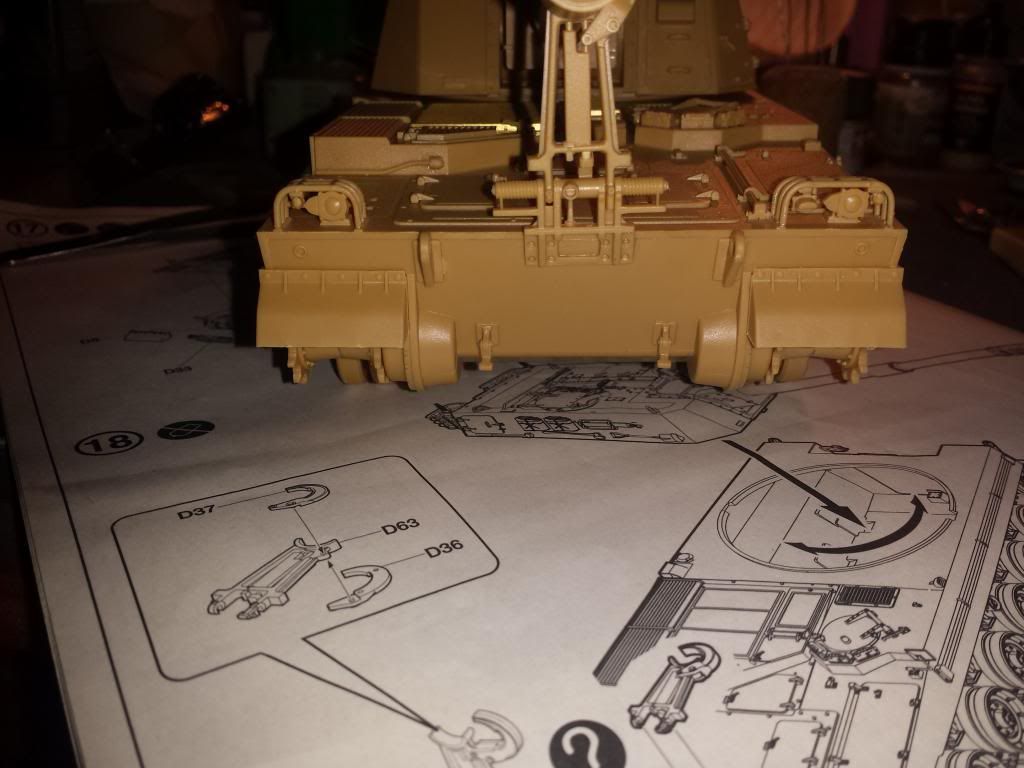
The lock can be swivel up and down -
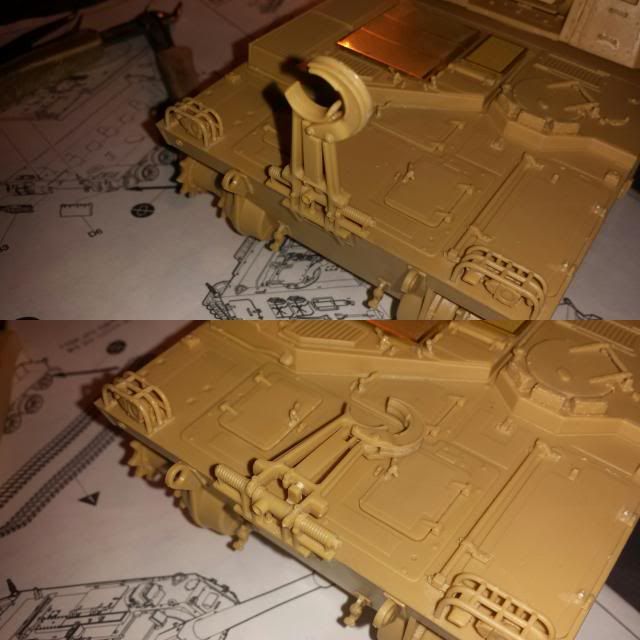
and it can be open and closed -
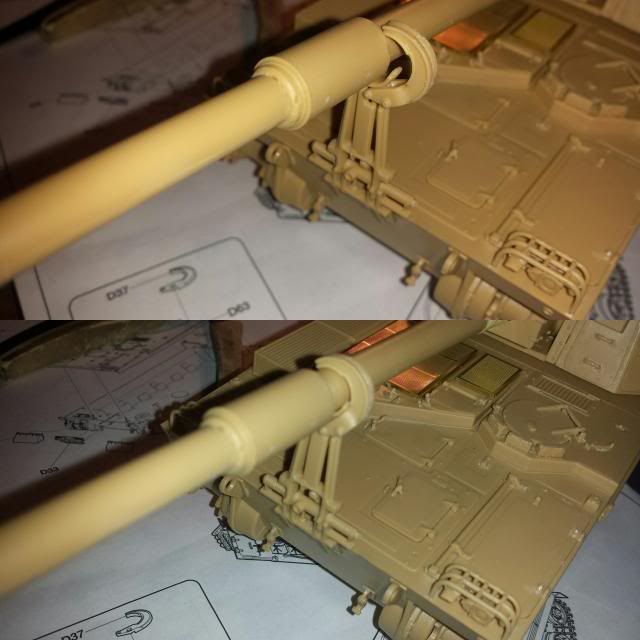
I am grateful toward academy for designing the kit like this. I hate to have to make decision on whether to keep it glued up or down.
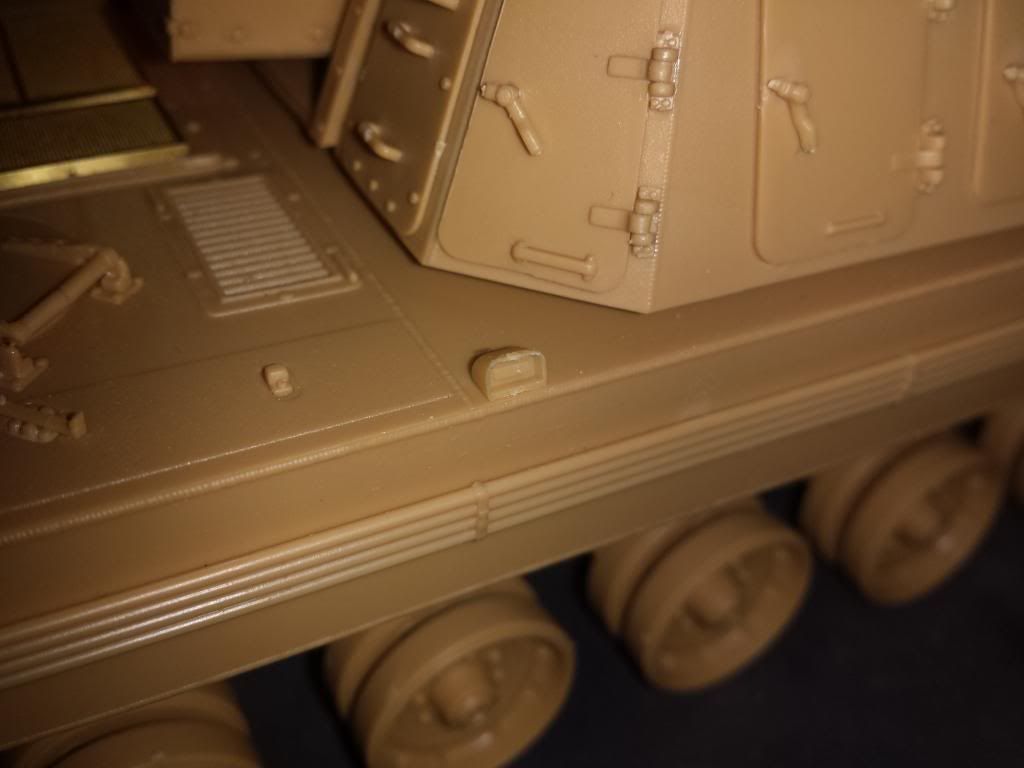
I had to put on this little piece which looks like a signal light or something on the top of the hull -
After that, I moved on to the commander's cupola and hatch. Upon inspection, the sight on the cupola is all flat and I didn't like the idea of it so decided to improve on it. I glued some plastic on the edges of the sight to show that '' border '' features around glass.
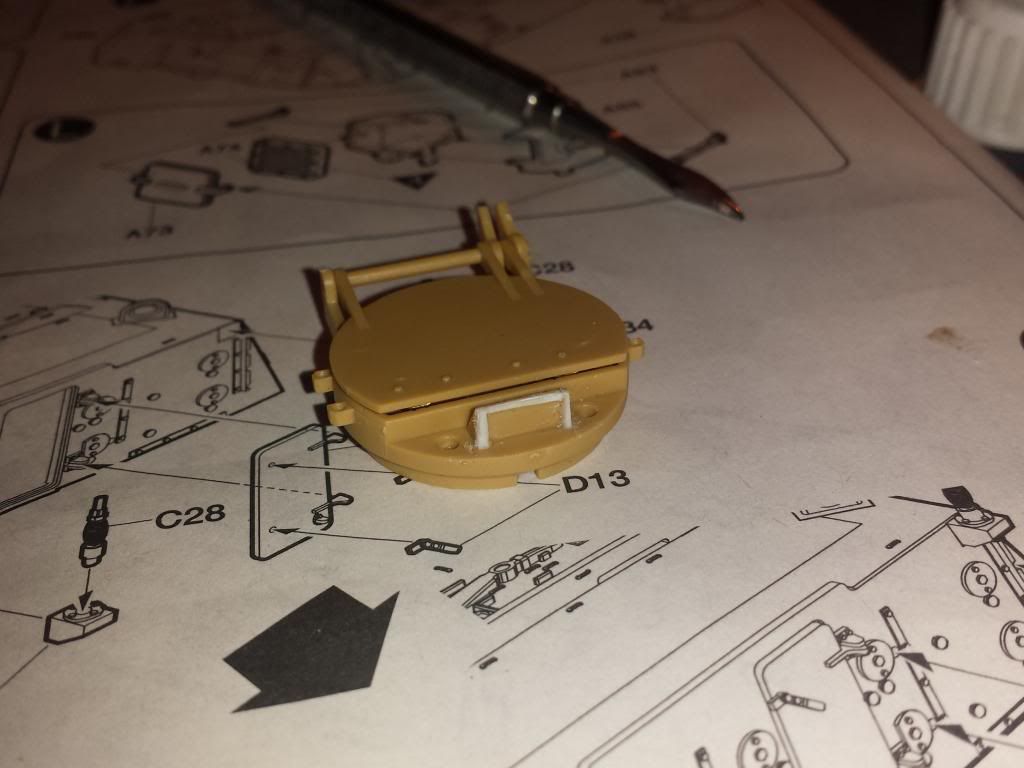
and checking the references, I modified the inner details of the hatch as according to the real thing -
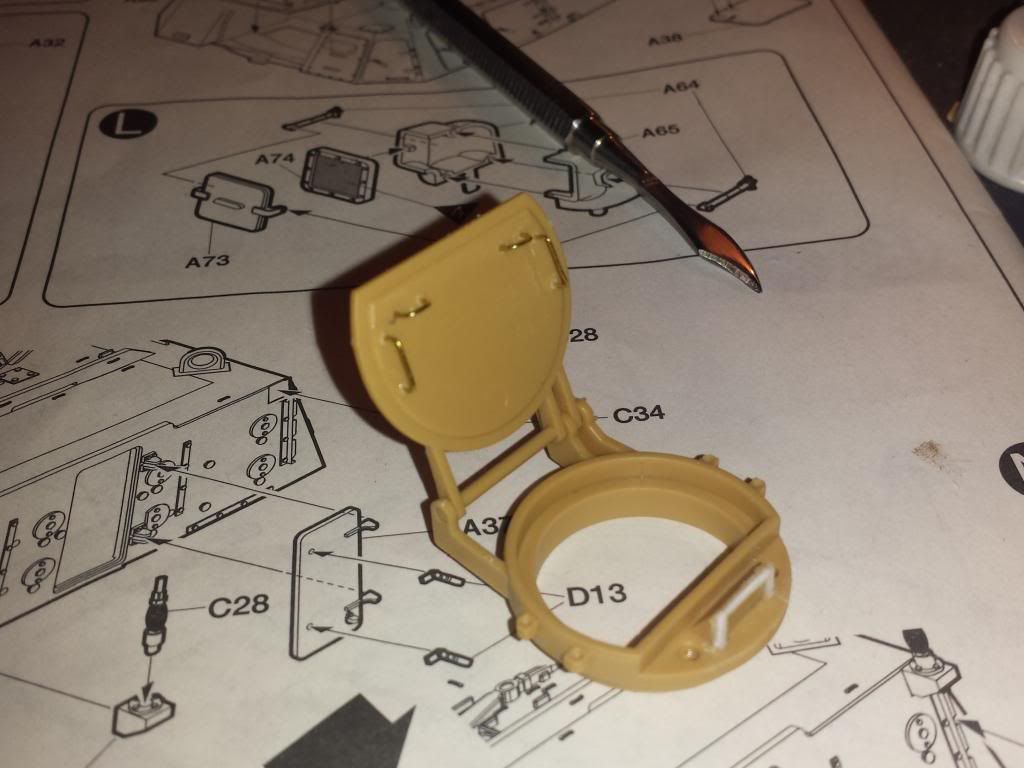
The 4 grab handles are just simple brass wire glued on. It's not perfect but it is presentable.. ( I think )
The commander cupola and another crew member hatch goes on -
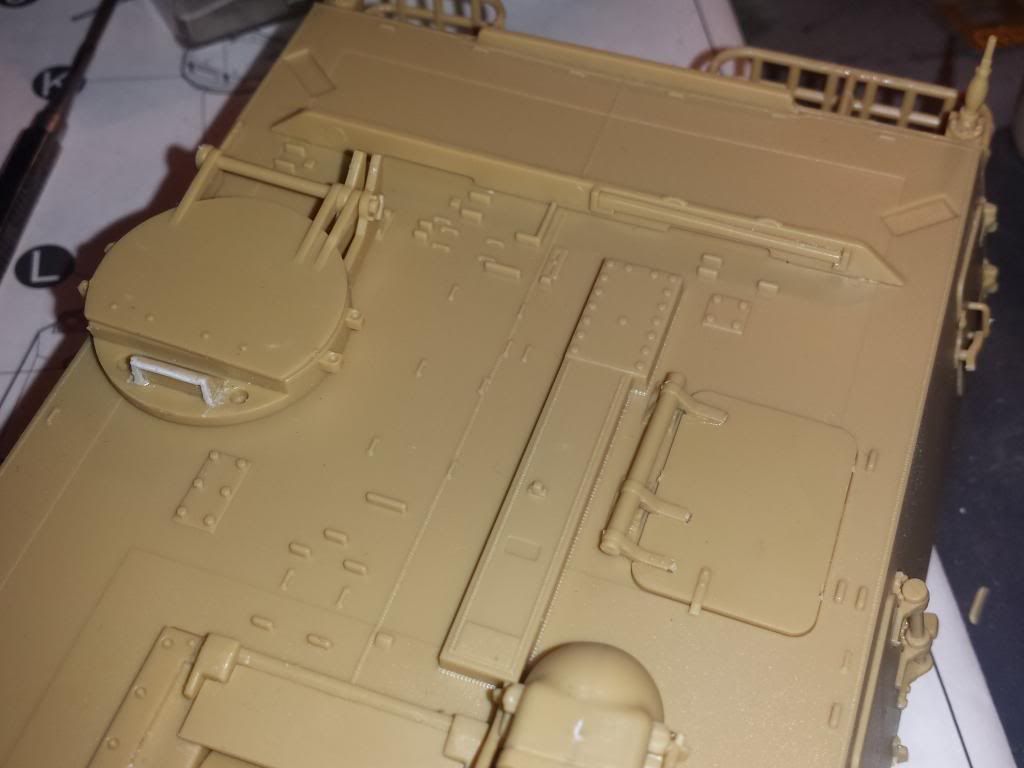
You can also see some kind of small guard wall that's sticking out near the back of the turret.
The gunner sight goes on after this. The kit doesn't include any clear part but the ballistic covering was well made. Having no desire to paint the glass effect, I decided to put on the cover.
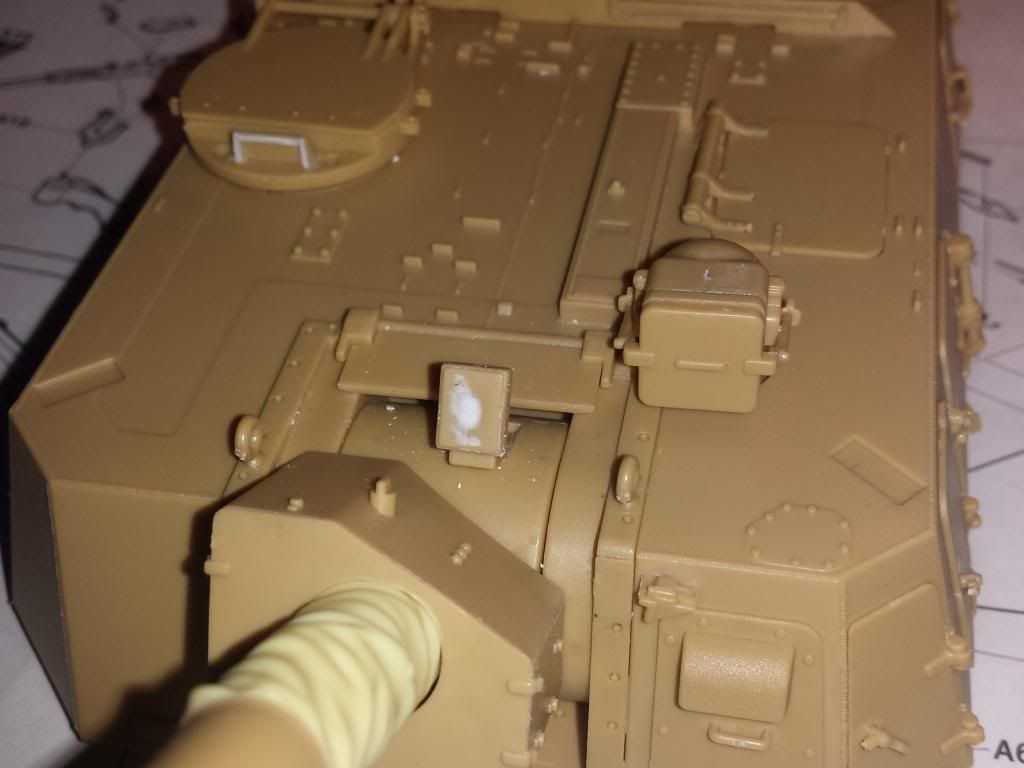
You can also see that little sight or detector thingy that has been treated with perfect plastic putty. That part has one big sink hole so I had to fill it up.
After that, I put on 4 of the big hook on the four corners of the turret ...
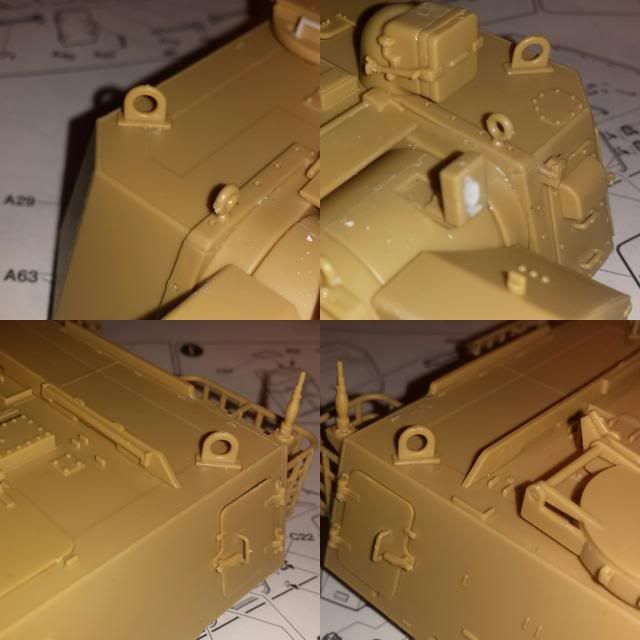
and that's it for this update ....
Until the next one ....
Re: Academy 1/35 K9 Thunder
Posted: Fri May 02, 2014 1:46 pm
by Coen
That's some really fine work Gary. Nice photography of it too.
but... do you think that they're compensating for something with that barrel?
hehe.
Re: Academy 1/35 K9 Thunder
Posted: Wed May 07, 2014 12:03 am
by garywintin
Coen wrote:That's some really fine work Gary. Nice photography of it too.
but... do you think that they're compensating for something with that barrel?
hehe.
Thanks Coen.. I do my best to keep my WIP as step-by-step as possible...
and the compensating... well, ....... no comment.. hahaha
Re: Academy 1/35 K9 Thunder
Posted: Wed May 07, 2014 9:14 am
by alextheblue
Great work as always Gary, I'll be staying tuned to this one!


And that gun is HUGE!

Re: Academy 1/35 K9 Thunder
Posted: Sat May 10, 2014 1:23 am
by garywintin
alextheblue wrote:Great work as always Gary, I'll be staying tuned to this one!
And that gun is HUGE!
indeed.. one of the few L/52 guns in the world ... I am really enjoying this kit.. for an old one, it's quite fun
Re: Academy 1/35 K9 Thunder
Posted: Sat May 10, 2014 2:39 pm
by longlance67
nice work Gary
looks very cool mate
Shane
Re: Academy 1/35 K9 Thunder
Posted: Sun May 11, 2014 10:42 pm
by theunrealisticartist
Looks like a nicely detailed kit and it's great how you're presenting each stage.
Looking forward to the next steps!
Re: Academy 1/35 K9 Thunder
Posted: Fri May 16, 2014 8:29 am
by garywintin
longlance67 wrote:nice work Gary
looks very cool mate
Shane
Thank you shane.. thank you
theunrealisticartist wrote:Looks like a nicely detailed kit and it's great how you're presenting each stage.
Looking forward to the next steps!
Thank you .. I do my best to make my wips enjoyable
Re: Academy 1/35 K9 Thunder
Posted: Fri May 16, 2014 9:10 am
by garywintin
Right... and update is long over due on this gal .... let's do this ...
with everything glued on, it's time to start painting this gal..
I had to put on the base colour, which is dark green but having no other brand apart from revell Aqua, I thinned that with Ultimate Modelling Product fantastic thinner and spray it like so -

Revell Aqua is just like Vallejo, dry too fast inside the nozzle ( for me that is ) and somewhat a pain to put on but Ultimate thinner just made it go on as smooth as a baby's bottom... Really surprised and happy with the results.
After that, I followed up with MR. Hobby Aqueous Wood Brown -
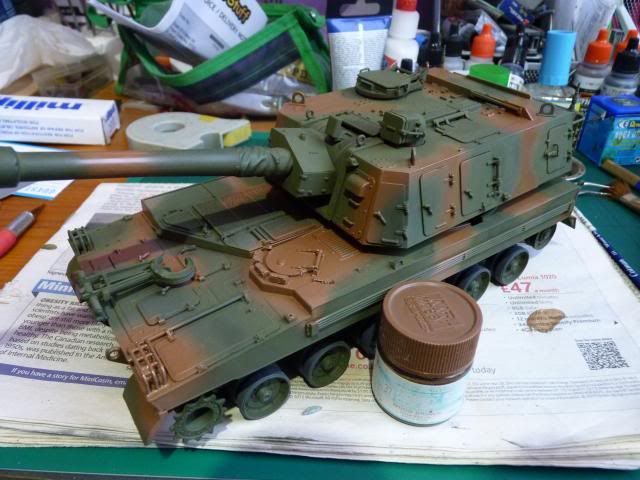
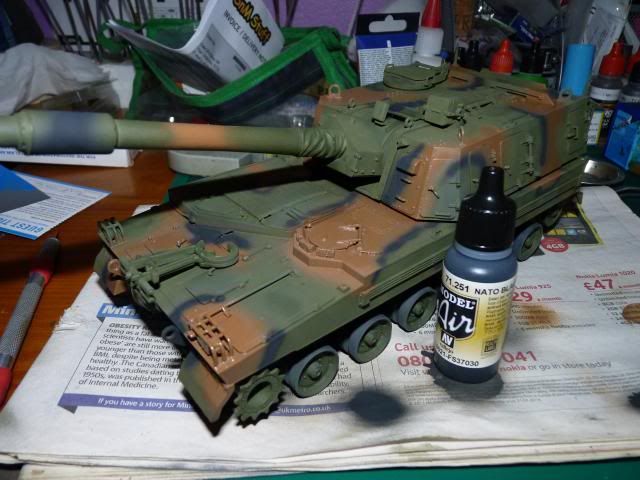
I decided to use Nato Black instead of Black. I love Nato Black. It has a very nice muted,flat greyish black tone and just lovely.
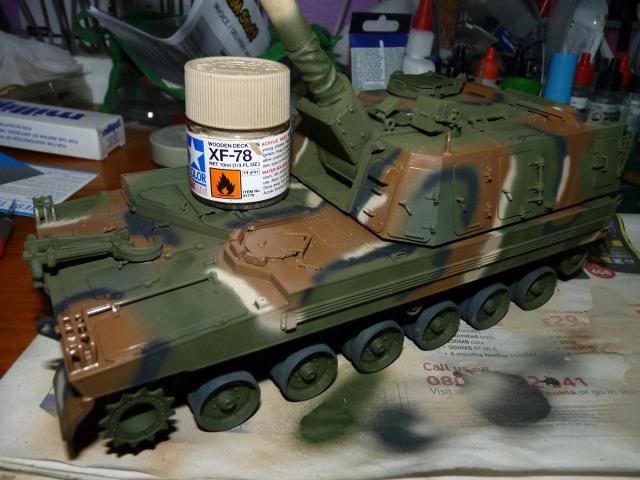
Followed that up with Tamiya Wodden Deck Tan . I wanted to put on just flat Tan and bought Flat Tan ( labelled as Tan Earth on the bottle ) but that colour looks very much like a friend Salmon pink so I just opted for the Wooden Deck Tan. I wanted to use Deck Tan but my Deck Tan ran out.
Followed that up with decals and pin wash -
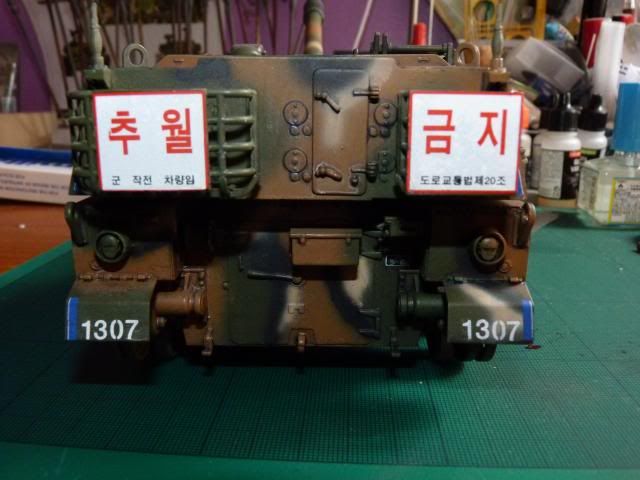
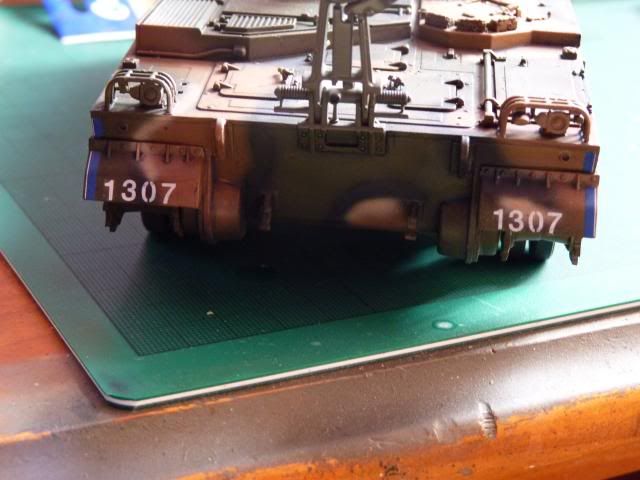
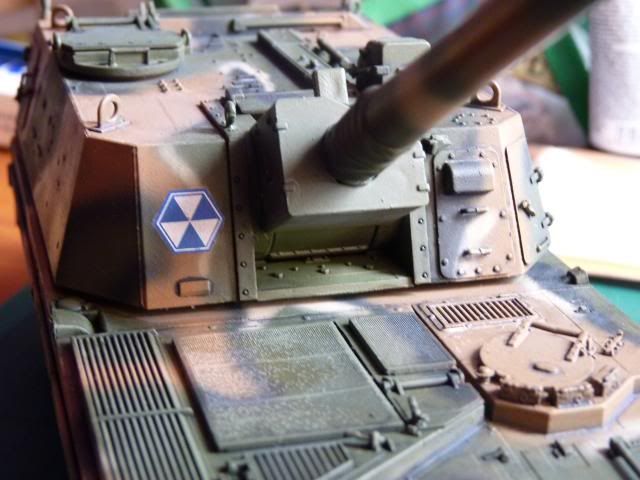
With all the pin wash, it toned down the bright colour combinations and looking like this for now -

Now, come to weathering this gal up. I decided to go for a very wet situation. I saw some videos of these gals doing exercise in a very rainy weather so I thought '' hey, rain .. wet vehicle.. wet mud..'' so I went ahead and start preparing for adding wet mud.
First, I decided to mix a lighter, dried shade of mud with pigment, thinner and plaster.
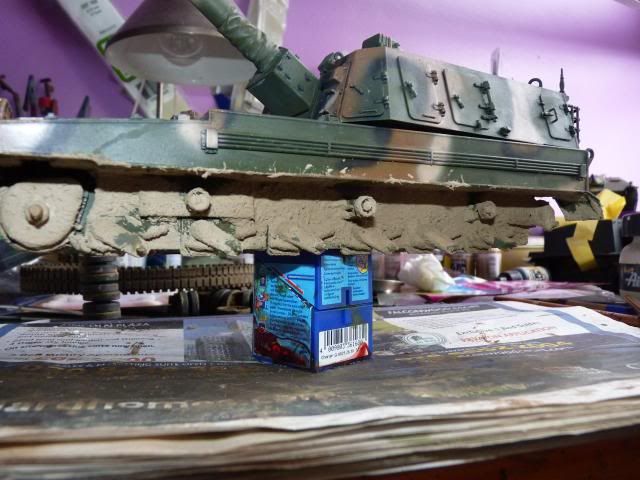
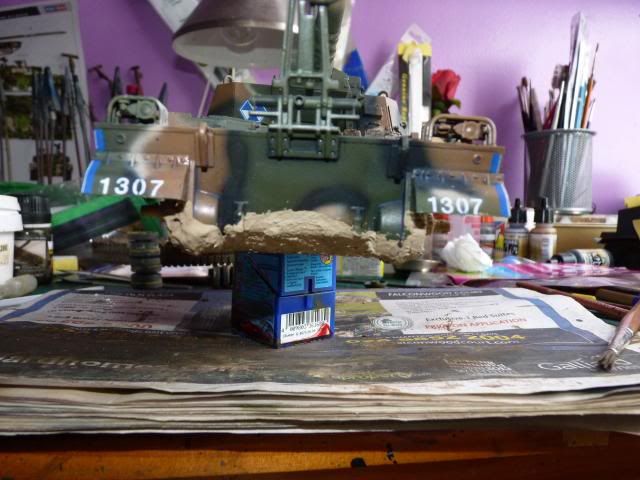
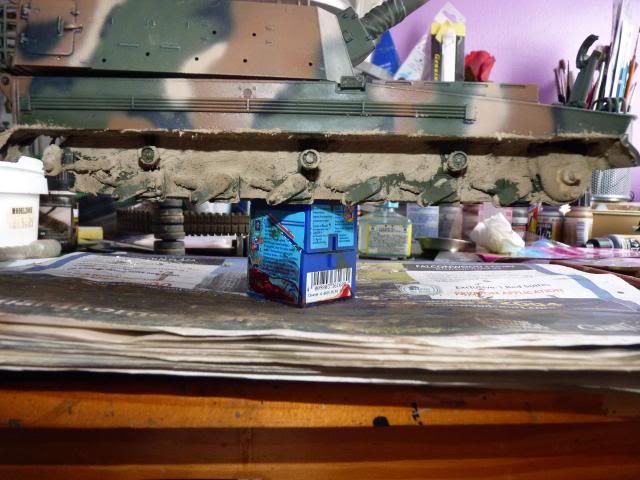
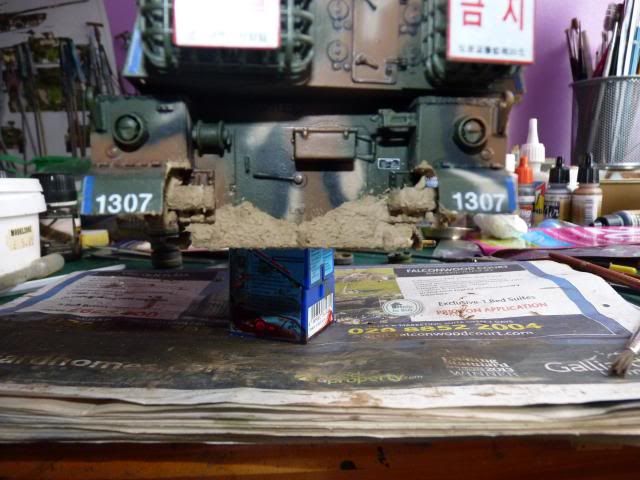

Left them dry for half a day and started working on the wed mud layers.
This time, I put in only a small bit of plaster, more pigments and thinned Vallejo Gloss Acrylic Resin heavy gel and mix them all into a slightly thinned paste and put it on top of the previous layer of mud.
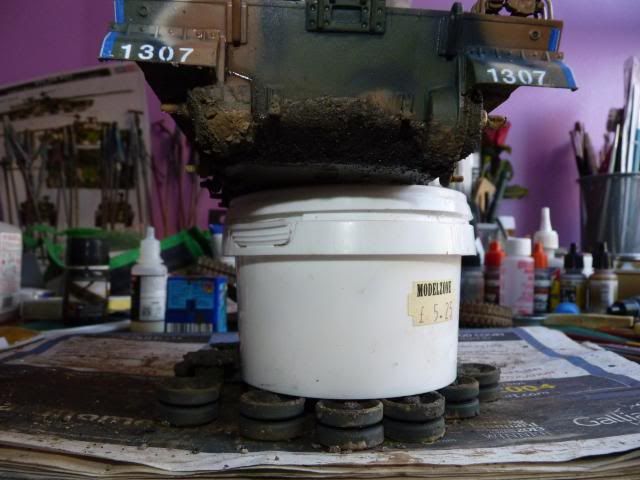

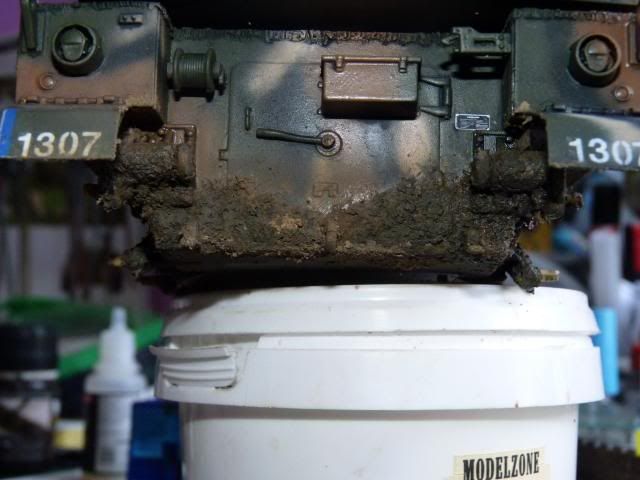
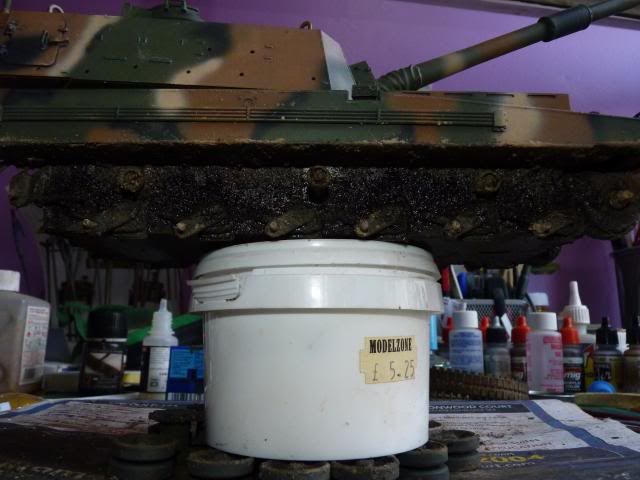
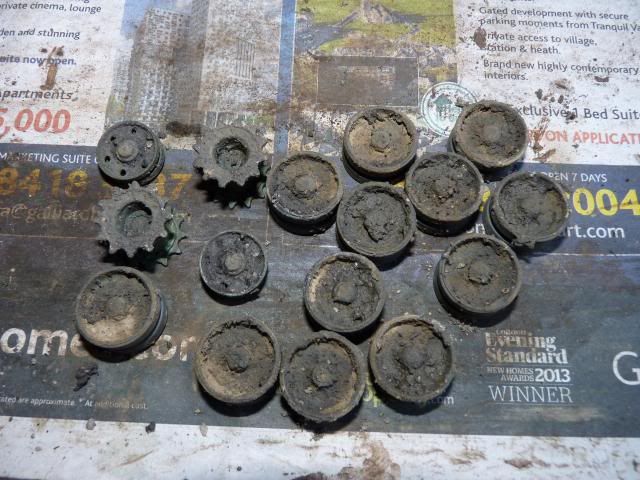
It's not all dried yet so I can't tell how wet/glossy it is so I'm gonna let it dry and see if I need to put more.
I did sprinkle some dry pigment and fix them with pigment fixer for added texture.
After that, I turned my attention on the track. This is the first time I have ever got so lazy painting track so all I did was bombard them with pigment, washses and arcylic resin to show the similar effect as the running gears.

Well that's it for now... IT's slowly coming along and I'm enjoying every bit of it.
Coming up next will be the crew and the wet effects on the top ( which I am dreading ) .. Should I buy some Wet effect fluid from AK or Ammo ? or should I just use Acrylic resin/ Gloss varnish ?? I don't know.... any input?
Until the next update.
Re: Academy 1/35 K9 Thunder
Posted: Fri May 16, 2014 9:42 am
by lasautin
K9? I thought it was a dog. Hahaha. Ha. No? Ok...
Anyways, looks like a very nice kit and you're making a dang good job of it. Nice work! I specially like your camo work very much.
Re: Academy 1/35 K9 Thunder
Posted: Fri May 16, 2014 7:07 pm
by garywintin
lasautin wrote:K9? I thought it was a dog. Hahaha. Ha. No? Ok...
Anyways, looks like a very nice kit and you're making a dang good job of it. Nice work! I specially like your camo work very much.
Haha .. .the korean really should gave it some thoughts when they name it ...
it is a nice kit .. I thought it would be a bit sucky but I was proven wrong.... enjoying this
Re: Academy 1/35 K9 Thunder
Posted: Fri May 16, 2014 10:38 pm
by JohnP
Great progress, Gary!

Nice work with the sign decals... I've seen photos of people's work with modern Korean armor. They always put the signs upside-down

Re: Academy 1/35 K9 Thunder
Posted: Sat May 17, 2014 7:25 am
by gustavlekstal
Nice work buddy! Love your camo with 4 different brands of paint. Been to border between North and South Korea. Wish I had seen one these k9 instead of some guards with raybans....
Re: Academy 1/35 K9 Thunder
Posted: Sat May 17, 2014 12:40 pm
by AchtungPanzer
Very good work Gary
. I look forward

Re: Academy 1/35 K9 Thunder
Posted: Tue May 20, 2014 7:15 am
by garywintin
JohnP wrote:Great progress, Gary!
Nice work with the sign decals... I've seen photos of people's work with modern Korean armor. They always put the signs upside-down
haha.. if I did that, I couldn't call myself a fellow Asian anymore John.. do u have any idea what do they say??
gustavlekstal wrote:Nice work buddy! Love your camo with 4 different brands of paint. Been to border between North and South Korea. Wish I had seen one these k9 instead of some guards with raybans....
haha.. yeah... I didn't have all the colours in one brand so I had to use 4 different brand. It was fun putting down different type of brand. LOL.. you're lucky these guys with raybans didn't do anything to you
AchtungPanzer wrote:Very good work Gary
. I look forward
Thank you buddy.. I will keep you updated
Re: Academy 1/35 K9 Thunder
Posted: Tue May 20, 2014 10:15 am
by alextheblue
Great progress Gary - love the camo scheme and those mud effects look the business!!
Re: Academy 1/35 K9 Thunder
Posted: Tue May 20, 2014 10:33 am
by Rob
Nice work Gary. I can see the attraction of these these big guns, they look really mean!
Re: Academy 1/35 K9 Thunder
Posted: Mon Jun 02, 2014 11:01 am
by garywintin
alextheblue wrote:Great progress Gary - love the camo scheme and those mud effects look the business!!
thank you .. that was what I was aiming for ... the business
Rob wrote:Nice work Gary. I can see the attraction of these these big guns, they look really mean!
I love for the big guns Rob.. LOL .. I have yet to build any vehicles sporting anything smaller than a 75mm