Australian M113 Mine Roller
Posted: Sun Sep 21, 2014 5:43 pm
Australian M113 Mine Roller
In June 1966 the Australian government sent the 1st Australian Task Force to support the American war in Vietnam. They were located in a rubber plantation at Nui Dat in the middle of Phuoc Tuy province (approximately 60 kilometres South - East of Saigon). 1 ATF was instructed by the Americans to “pacify” the province.
Six months later the newly appointed Task Force commander, Brigadier Stuart Graham decided to lay a barrier fence and minefield from Dat Do village (next to Nui Dat plantation) southwards to the coast 11 kilometres away. Graham believed that the minefield would separate the people in the heavily populated South - West from the enemy in the North and East. It would also release more troops to conduct Search and Destroy missions that was the American strategy at the time. Graham chose to lay the minefield against the advice of his senior advisers, including his Combat Engineering Specialist.
The minefield was 11 kilometres long, 100 metres wide and consisted of over 20,000 M16 “Jumping Jack” mines, with approximately 12,000 of these fitted with anti lift devices (hand grenades). Either side of the minefield was a barbed wire fence. While laying the minefield several Australian soldiers were killed and more were wounded as the mines detonated during the laying process.
One of the basic tenets of military mine laying is to ensure the minefield is covered by observation and covering fire in the event of enemy incursion. Neither of these rules was followed, nor were there any plans for the removal of the mines at a later date.
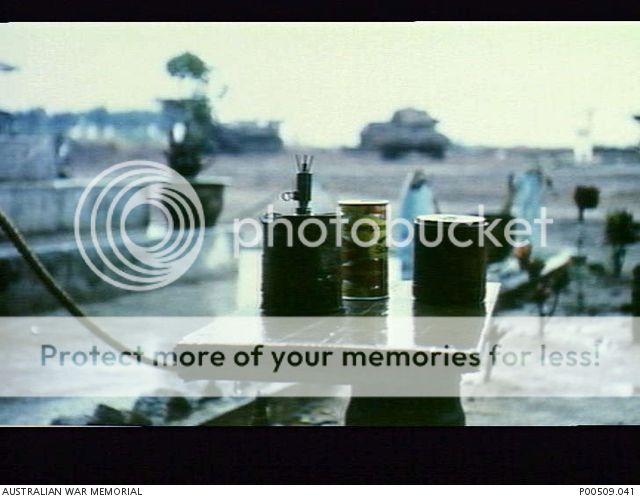
After an initial period of several months exploring the minefield at night, and losing over 30 soldiers the Viet Cong eventually devised a method of safely lifting the mines and defeating the anti lift device. It has been estimated that over 3000 mines were removed and later used against Australian patrols with devastating and fatal effect. In fact the stolen mines were the source of most of the Australian casualties from that time. It was not unknown for an M16 mine to take out a complete infantry section of 10 soldiers.
Brigadier Graham returned to Australia and was promoted!!!!!!!!!!!
After much procrastination and a rising death toll from the mines it was decided to remove the mines. The Australians had had virtually no experience of clearing mines since the Western Desert Campaign of World War 2 and as a consequence had no specialist mine clearing equipment in Vietnam.
The 1st Field Squadron of the Royal Australian Engineers was given the task.
The 1st vehicle they modified was a Centurion MBT. It did not prove to be very successful as it kept missing mines which would then damage the tracks or wheels.
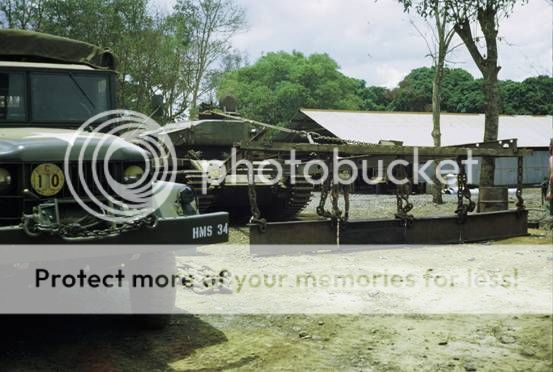
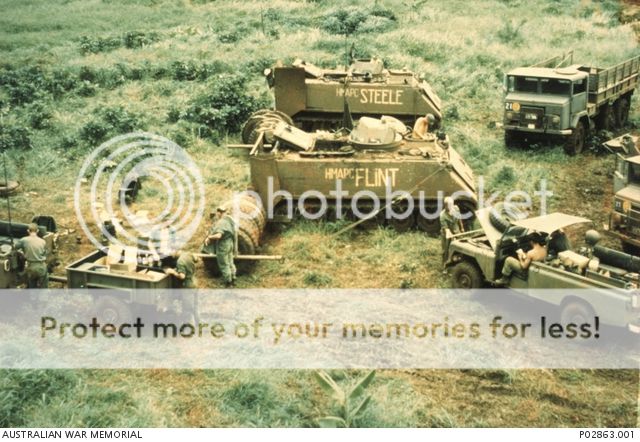
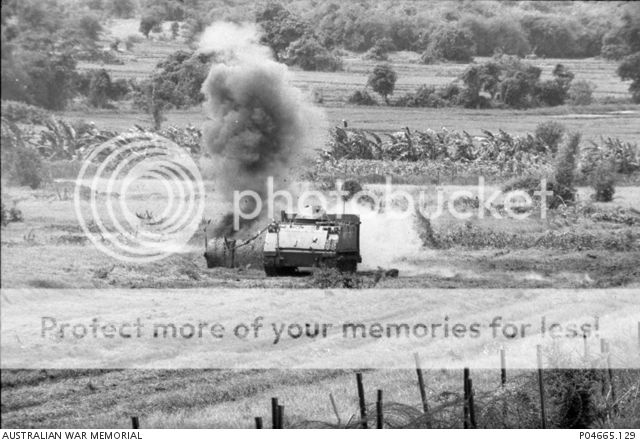
They then modified three M113’s and called them HMAPC FLINT, STEEL and GEORGE. The procedure was to roll the tyres over the mines at a set speed where the exploding mines would detonate at the rear of the vehicles with the add on armour plate absorbing only minor shrapnel damage. Unfortunately this procedure was also not as successful as was hoped for.

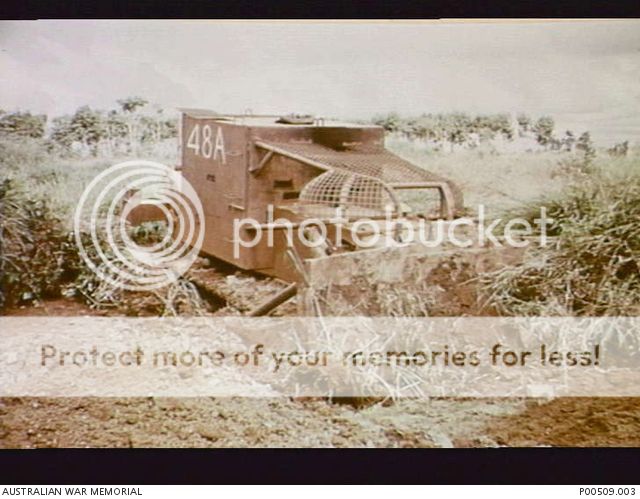
Finally the decision was made to armour plate some bulldozers and bury the mines. During this operation one of the dozers fell into a tunnel that had been dug by the VC to steal the mines.
The subject of my build for this GB is to be one of the M113 mine rollers (FLINT).
HMAPC Her Majesty’s Armoured Personnel Carrier
FLINT Named in honour of a former engineering luminary
STEEL As above
GEORGE Captain George who was in charge of mine clearing operations.
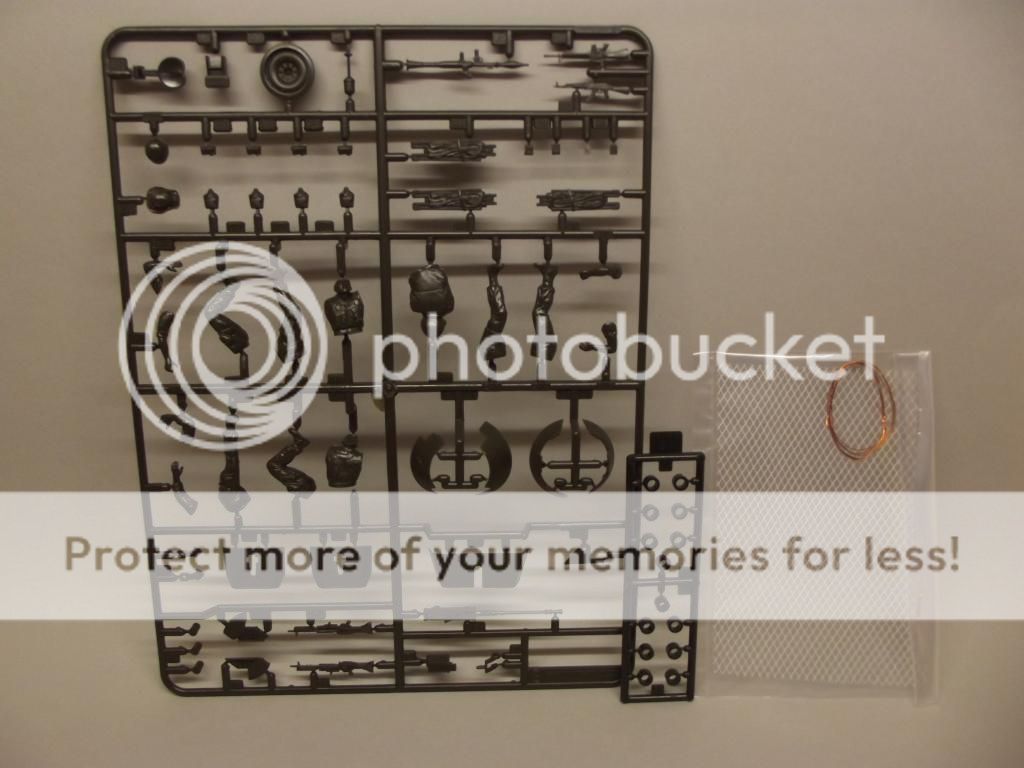
Here are the sprue shots.
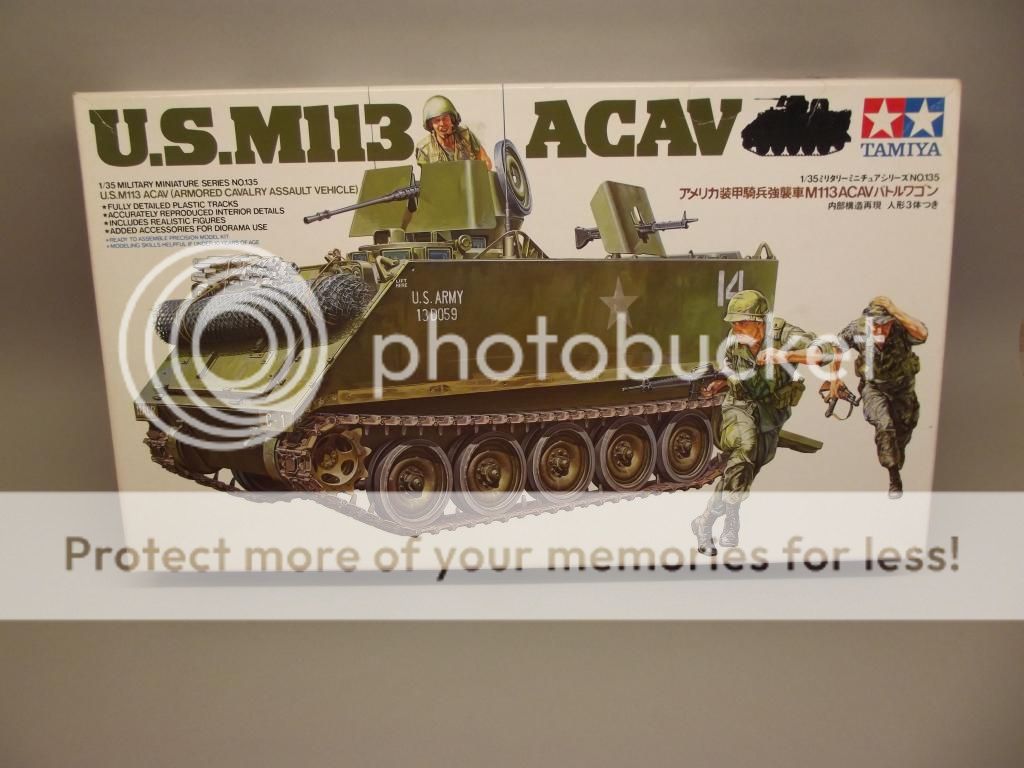
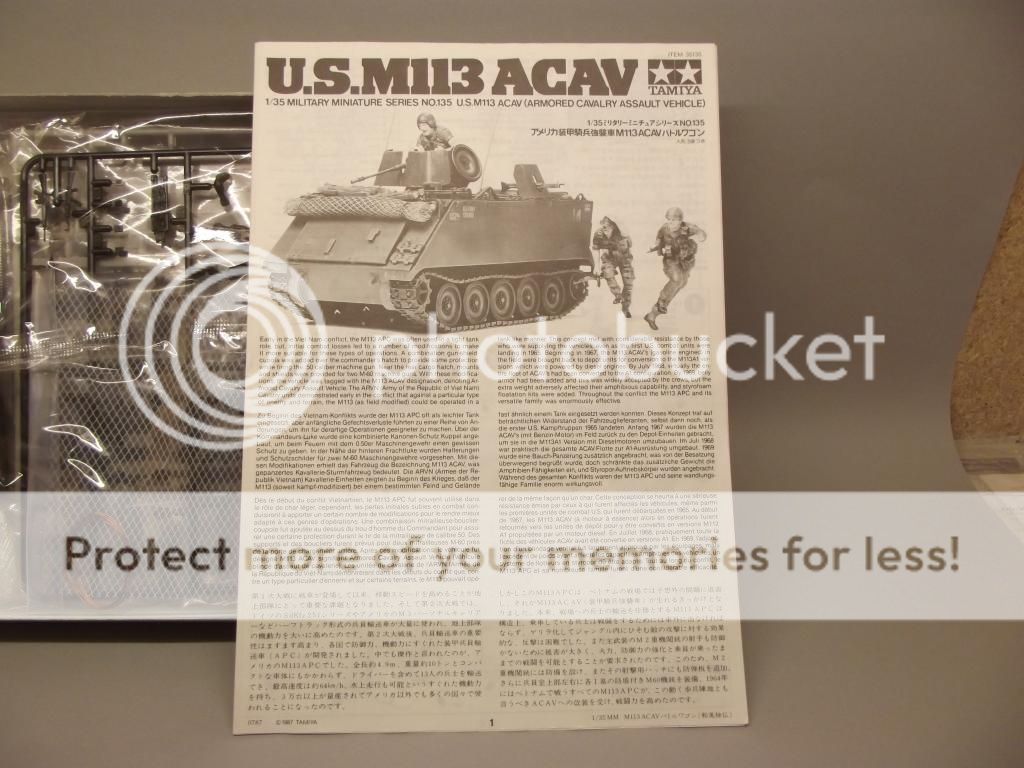

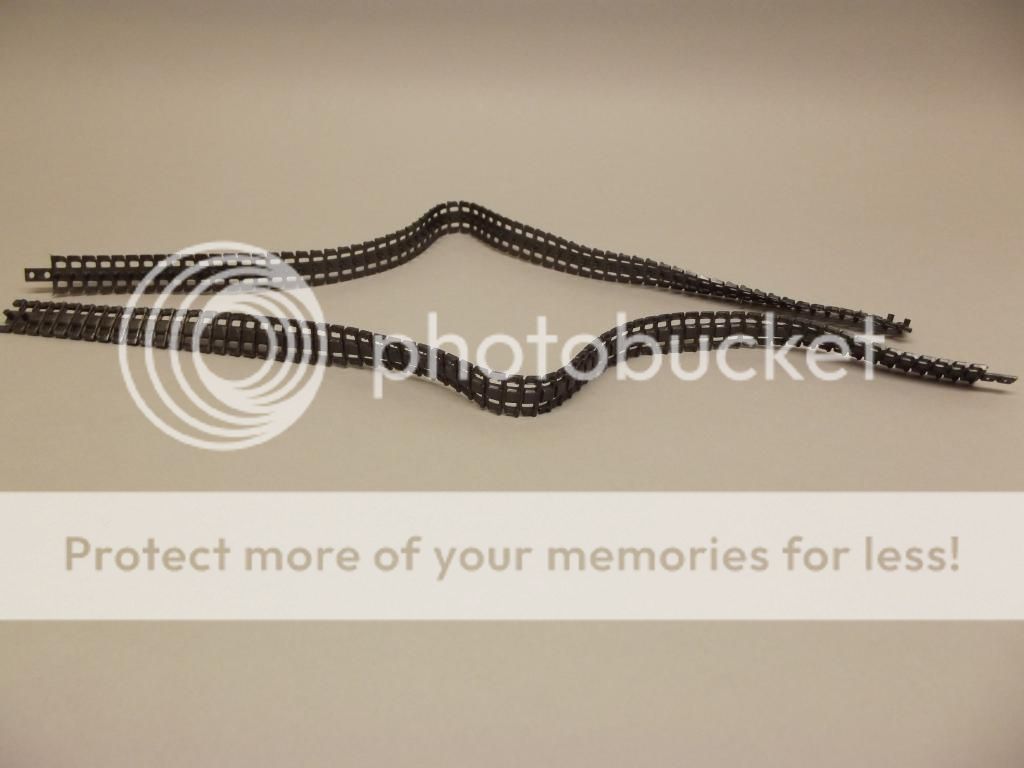
The tracks are quite well detailed on the outside but there is no detail whatsoever on the inside. so I may replace them.

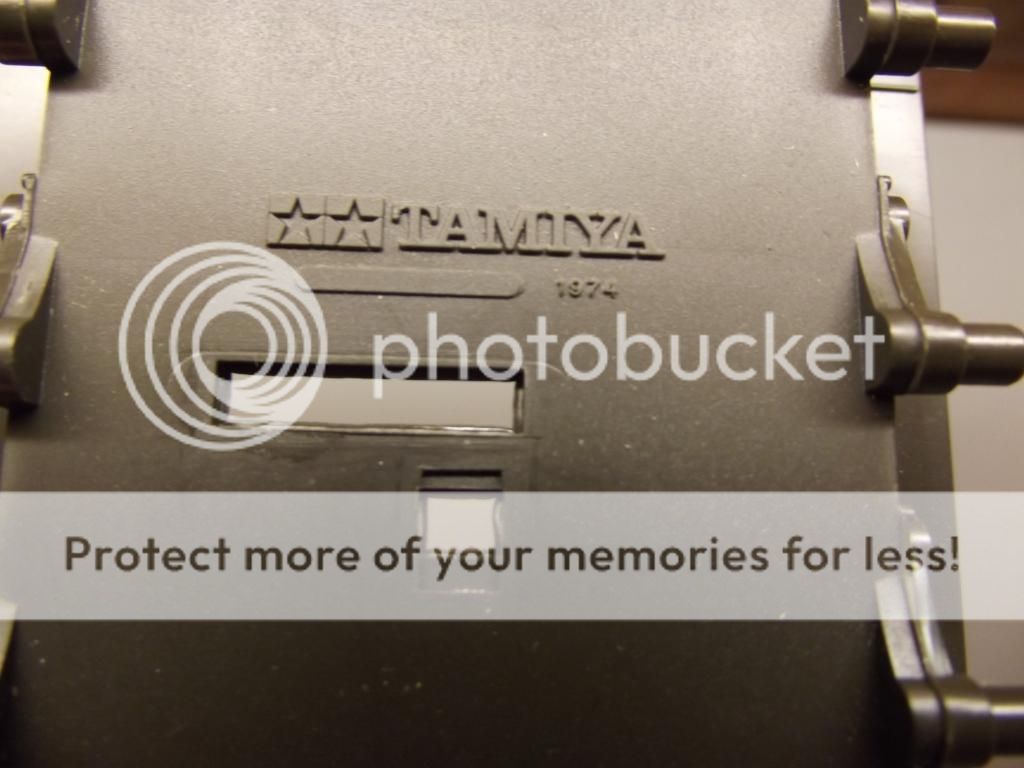
This is obviously quite an old kit!!!!!!!!

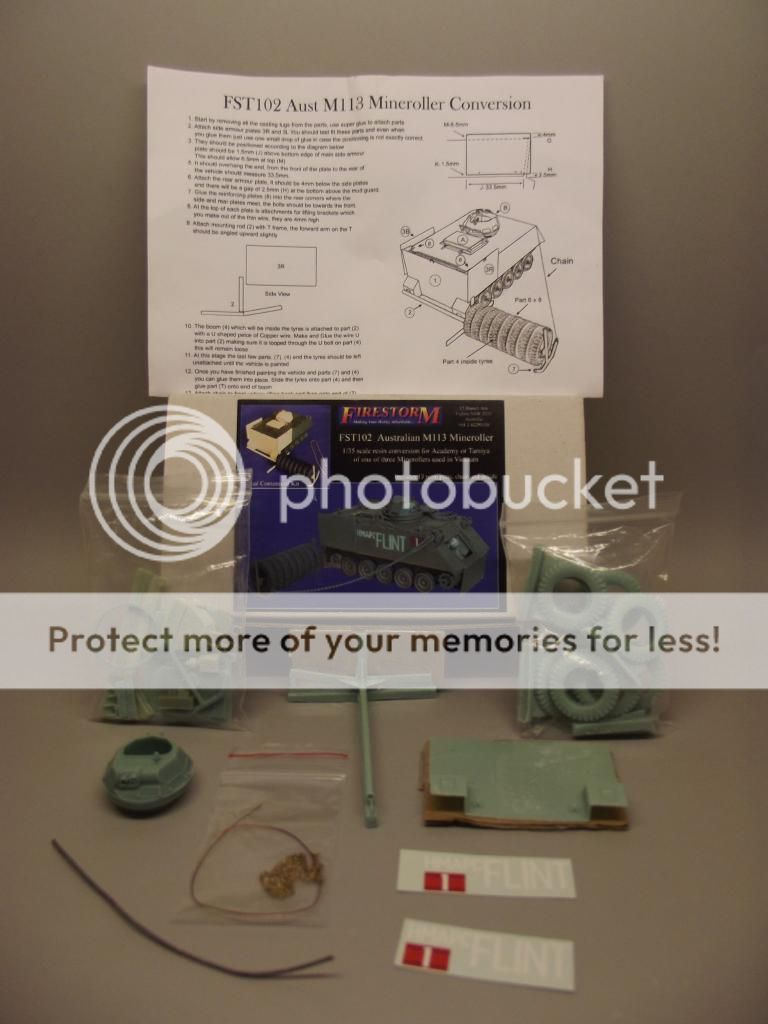
Decals, probably won't need these. They don't look great anyway.

And the good stuff. The upgrade components.
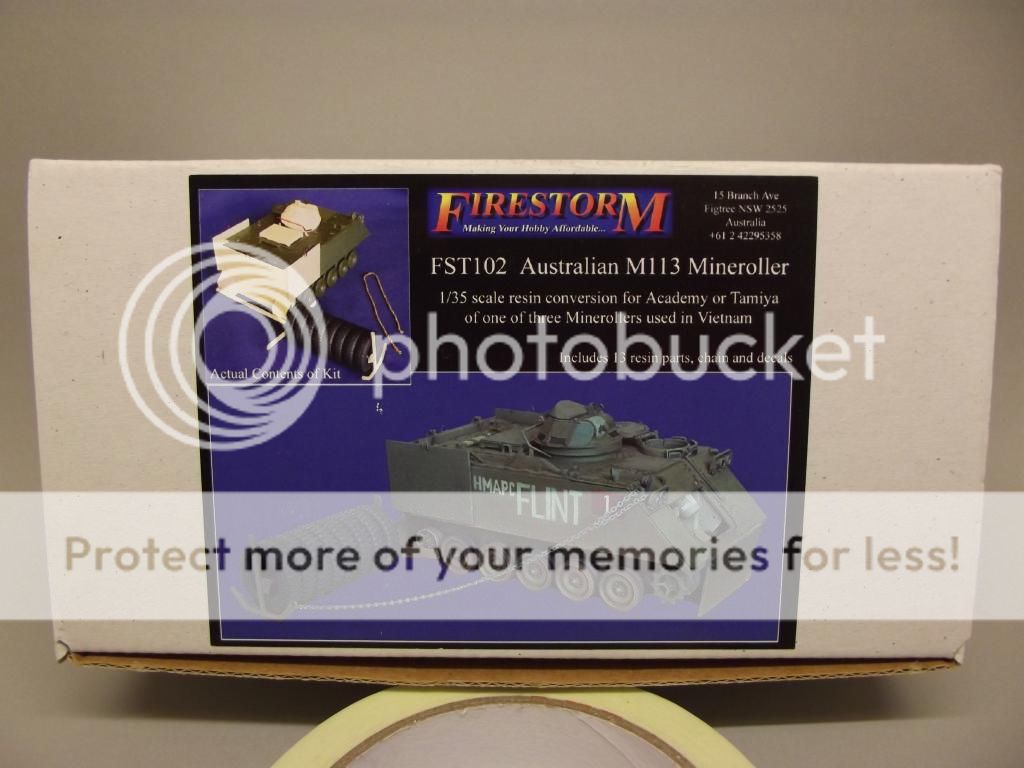
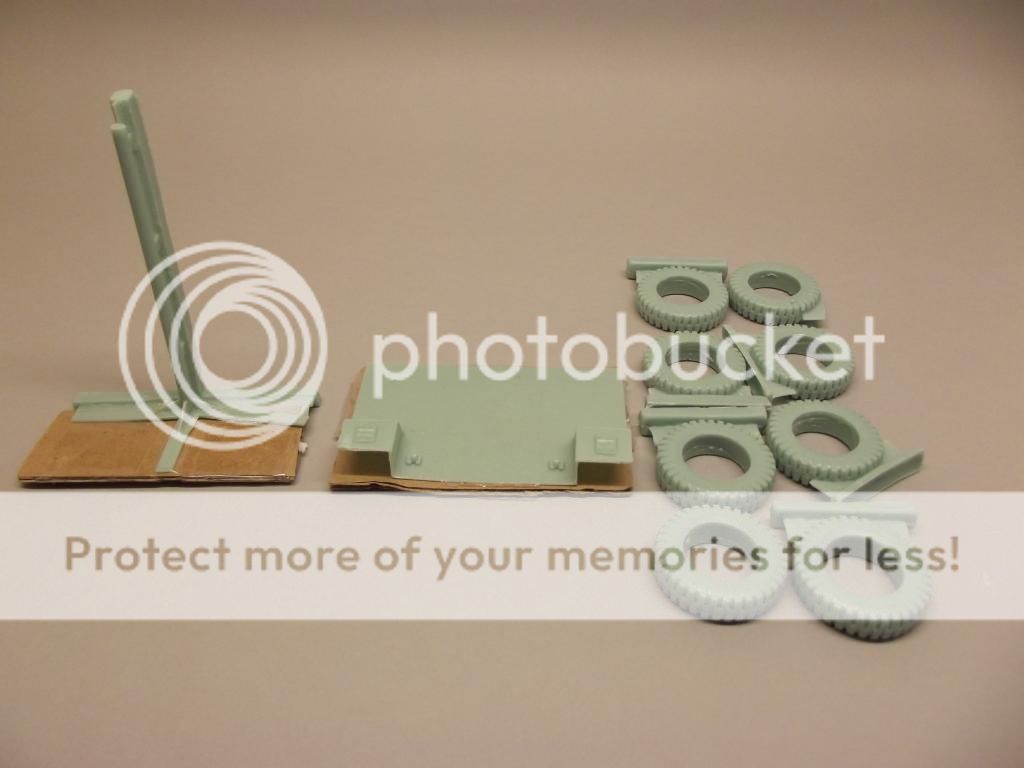
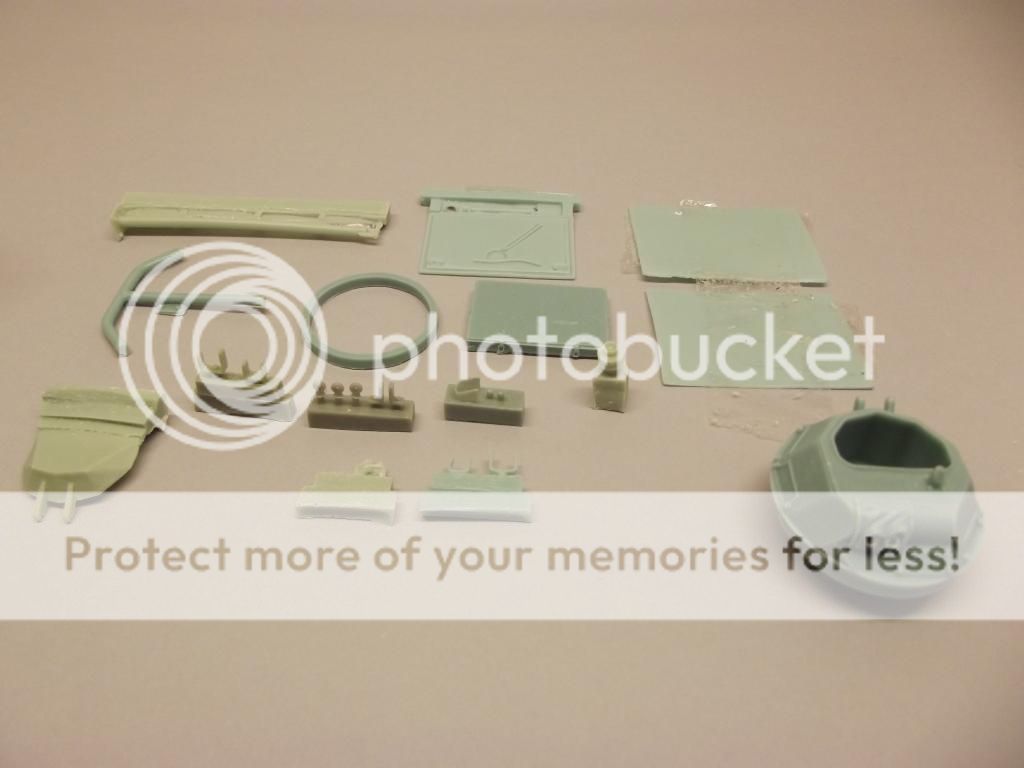

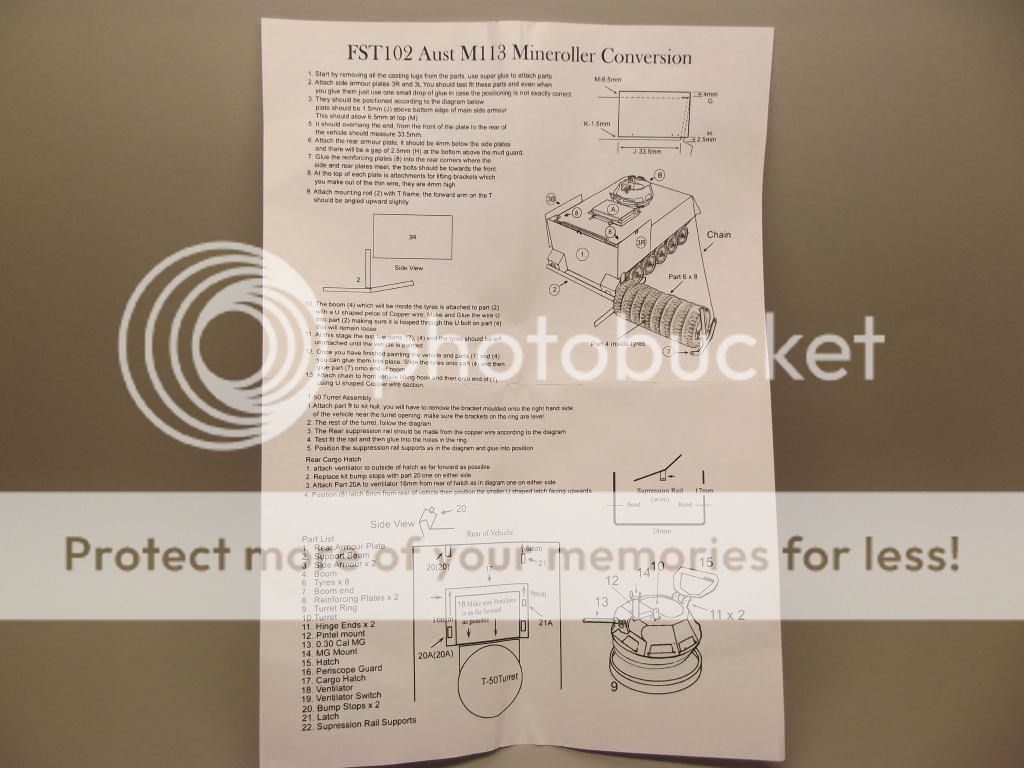
Instructions, pretty good but still a bit scary.
I am also thinking about a diorama. Maybe something along these lines. LOL
TO BE CONTINUED
In June 1966 the Australian government sent the 1st Australian Task Force to support the American war in Vietnam. They were located in a rubber plantation at Nui Dat in the middle of Phuoc Tuy province (approximately 60 kilometres South - East of Saigon). 1 ATF was instructed by the Americans to “pacify” the province.
Six months later the newly appointed Task Force commander, Brigadier Stuart Graham decided to lay a barrier fence and minefield from Dat Do village (next to Nui Dat plantation) southwards to the coast 11 kilometres away. Graham believed that the minefield would separate the people in the heavily populated South - West from the enemy in the North and East. It would also release more troops to conduct Search and Destroy missions that was the American strategy at the time. Graham chose to lay the minefield against the advice of his senior advisers, including his Combat Engineering Specialist.
The minefield was 11 kilometres long, 100 metres wide and consisted of over 20,000 M16 “Jumping Jack” mines, with approximately 12,000 of these fitted with anti lift devices (hand grenades). Either side of the minefield was a barbed wire fence. While laying the minefield several Australian soldiers were killed and more were wounded as the mines detonated during the laying process.
One of the basic tenets of military mine laying is to ensure the minefield is covered by observation and covering fire in the event of enemy incursion. Neither of these rules was followed, nor were there any plans for the removal of the mines at a later date.

After an initial period of several months exploring the minefield at night, and losing over 30 soldiers the Viet Cong eventually devised a method of safely lifting the mines and defeating the anti lift device. It has been estimated that over 3000 mines were removed and later used against Australian patrols with devastating and fatal effect. In fact the stolen mines were the source of most of the Australian casualties from that time. It was not unknown for an M16 mine to take out a complete infantry section of 10 soldiers.
Brigadier Graham returned to Australia and was promoted!!!!!!!!!!!
After much procrastination and a rising death toll from the mines it was decided to remove the mines. The Australians had had virtually no experience of clearing mines since the Western Desert Campaign of World War 2 and as a consequence had no specialist mine clearing equipment in Vietnam.
The 1st Field Squadron of the Royal Australian Engineers was given the task.
The 1st vehicle they modified was a Centurion MBT. It did not prove to be very successful as it kept missing mines which would then damage the tracks or wheels.

They then modified three M113’s and called them HMAPC FLINT, STEEL and GEORGE. The procedure was to roll the tyres over the mines at a set speed where the exploding mines would detonate at the rear of the vehicles with the add on armour plate absorbing only minor shrapnel damage. Unfortunately this procedure was also not as successful as was hoped for.


Finally the decision was made to armour plate some bulldozers and bury the mines. During this operation one of the dozers fell into a tunnel that had been dug by the VC to steal the mines.

The subject of my build for this GB is to be one of the M113 mine rollers (FLINT).
HMAPC Her Majesty’s Armoured Personnel Carrier
FLINT Named in honour of a former engineering luminary
STEEL As above
GEORGE Captain George who was in charge of mine clearing operations.
Here are the sprue shots.


The tracks are quite well detailed on the outside but there is no detail whatsoever on the inside. so I may replace them.


This is obviously quite an old kit!!!!!!!!


Decals, probably won't need these. They don't look great anyway.

And the good stuff. The upgrade components.


Instructions, pretty good but still a bit scary.


I am also thinking about a diorama. Maybe something along these lines. LOL

TO BE CONTINUED


 .
.


