so here i am again
this will be the final update and it will be for the base and the diorama construction
so let's get to it
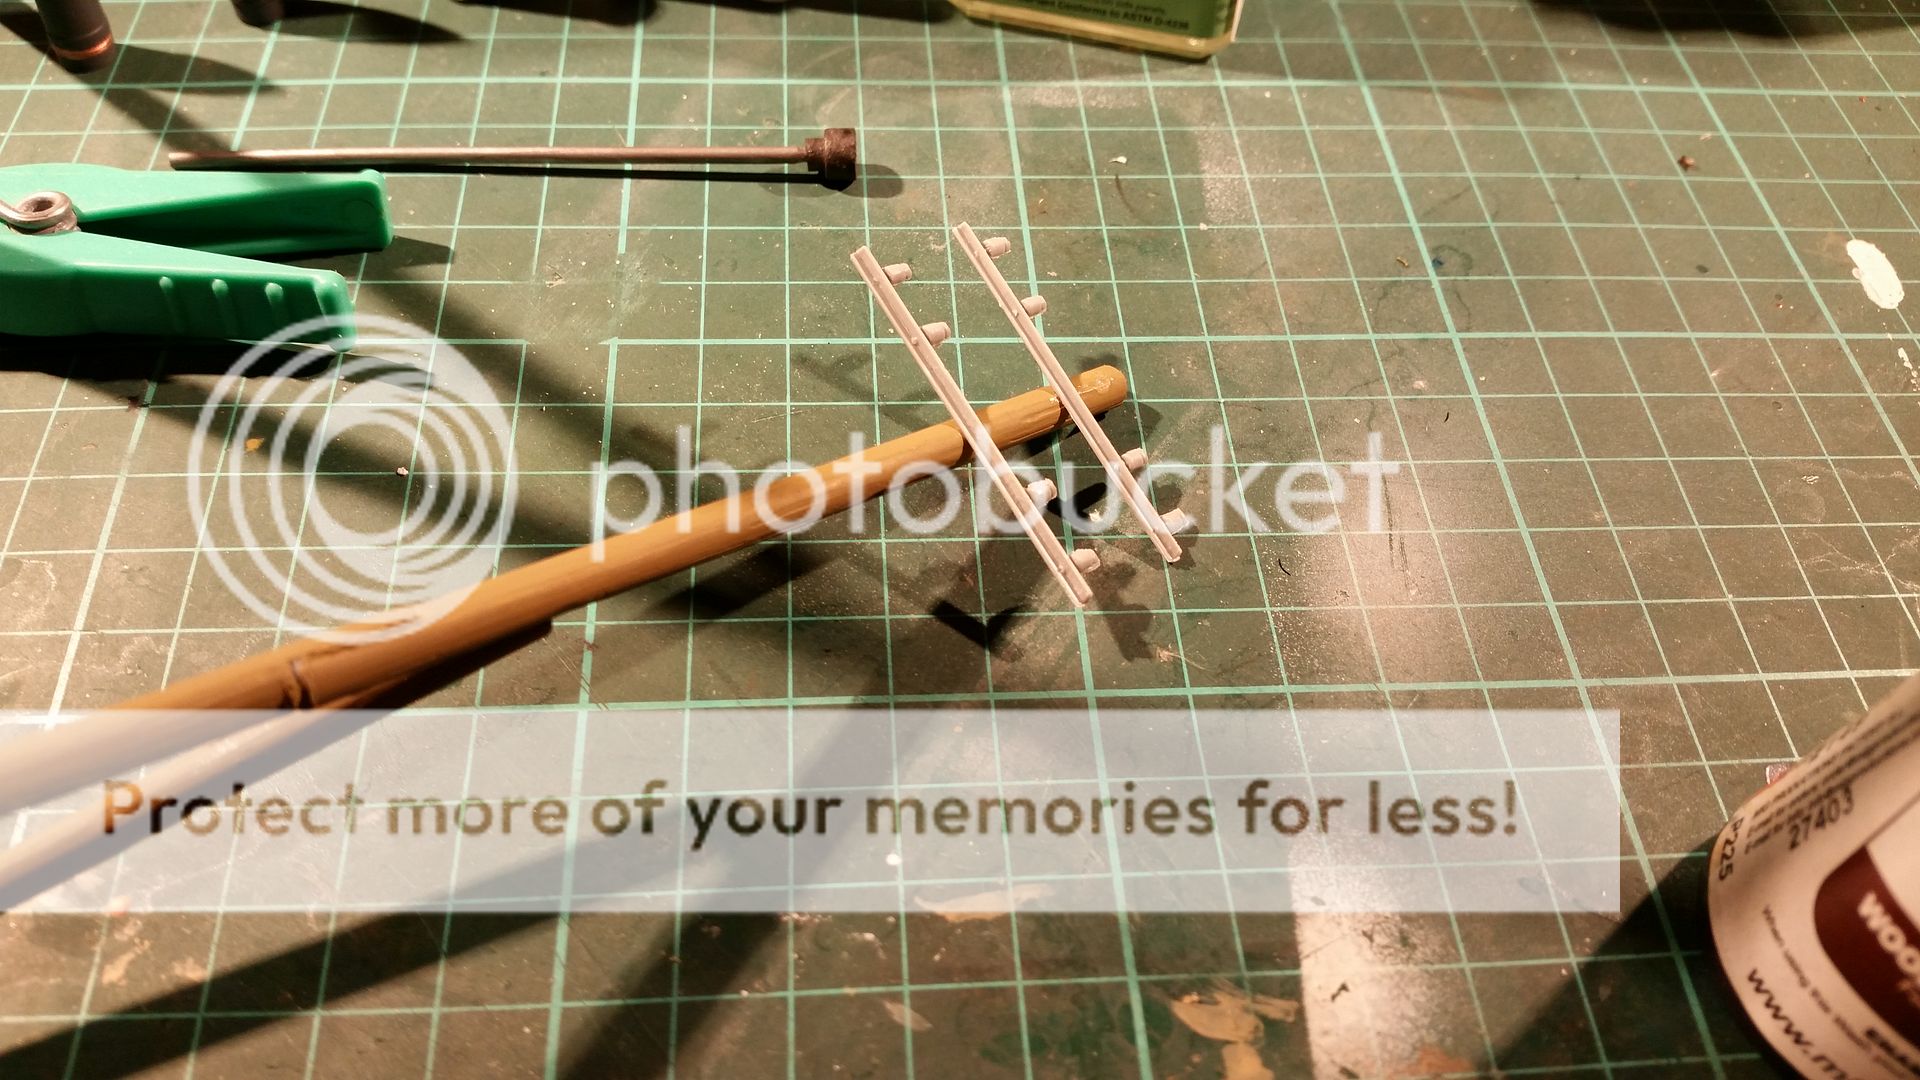
the first thing to do when building a diorama is to get everything ready to go and all finished up
so i decided to add 3 telegraph poles and 1 wooden box
the poles are from mini art and i think that they could be better (and worse) but i don't think you can expect much from a 5 euro kit
the conductors are covered in flash wich is a pain to remove as these are delicate parts
so the clean up wasn't all that good
but i then painted the poles with a mix of English uniform and white from vallejo in a 4:1 ratio
this serves as my basecolor for the wood (i use it on all wooden subjects)
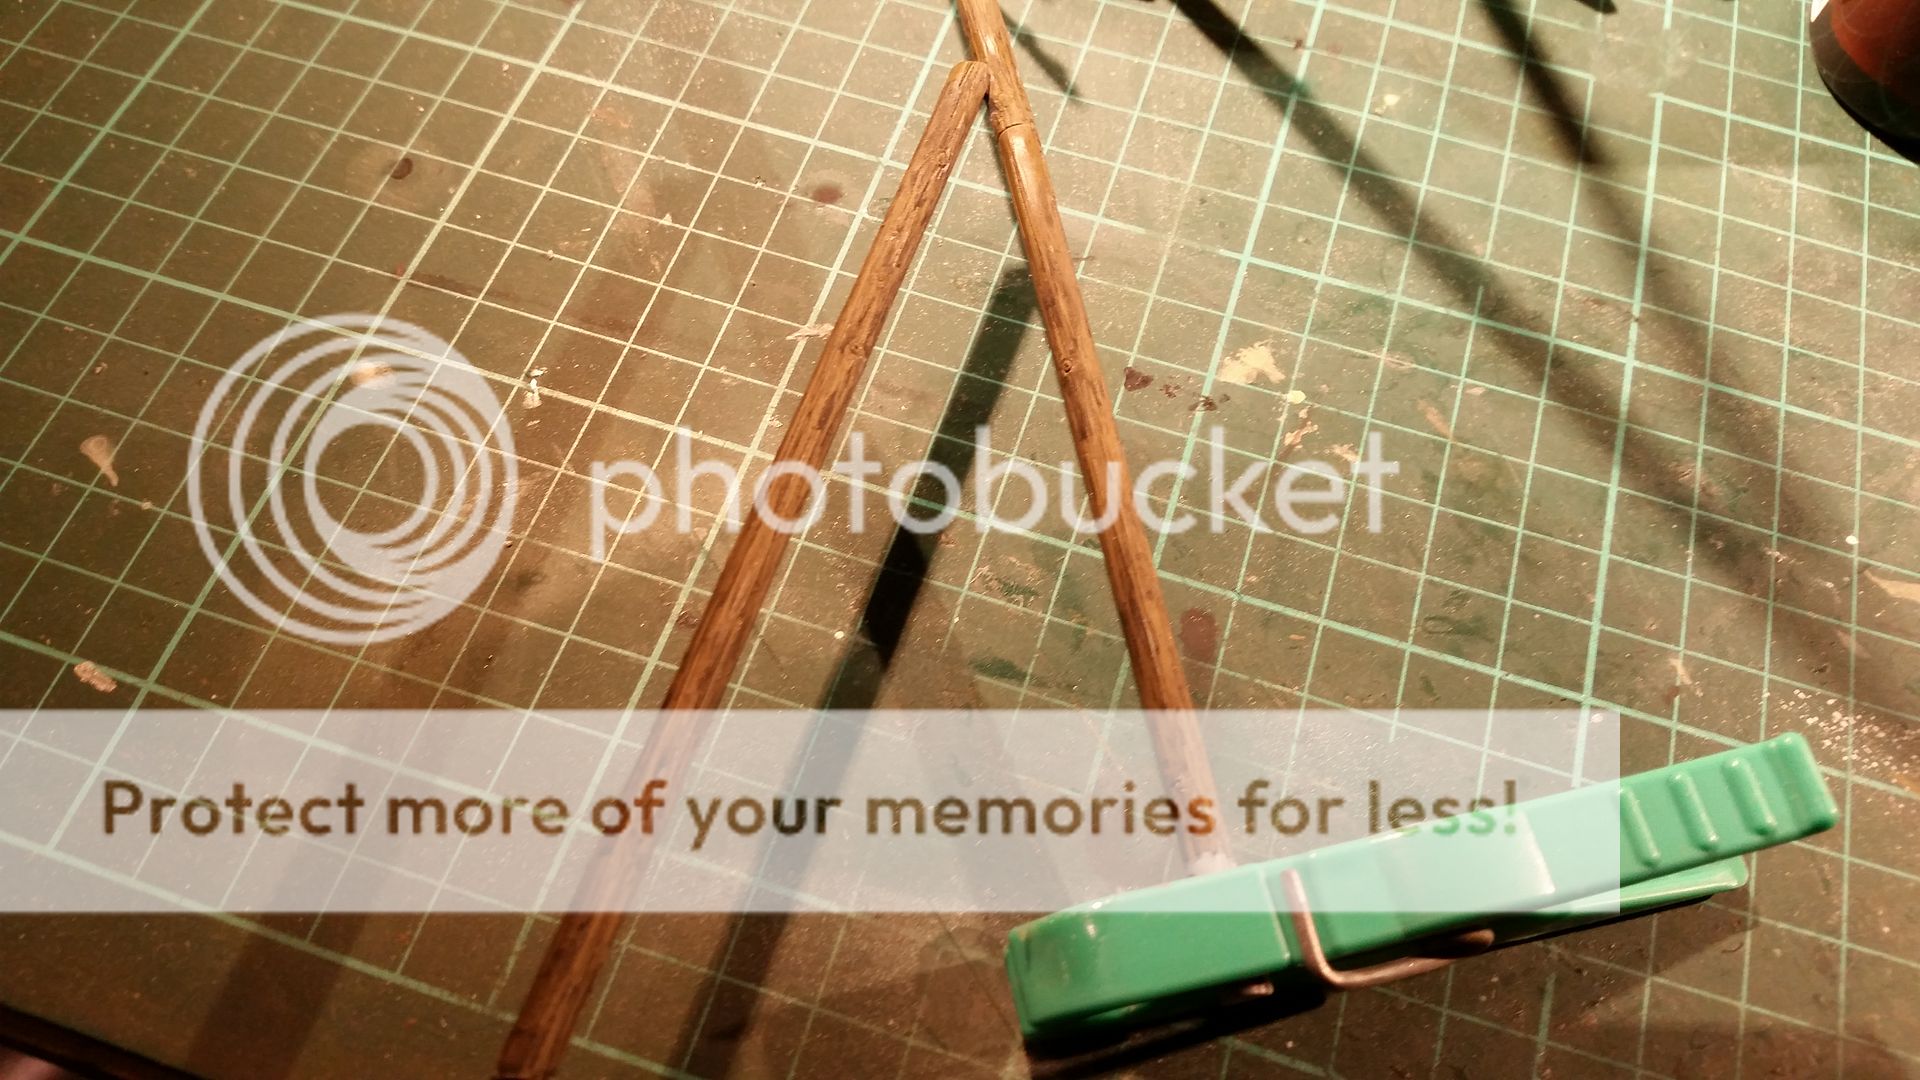
i then used mig productions wood aging wash
this gives a greyish look to wooden surfaces (not on real wood) and makes it look old
but after this coat i find it too light
real life telegraph poles and other constructions with this kind of purpose are much darker
this is because of the wood preservation agents that they use to keep them from rotting

so a second coat was applied
this time it looked better in my opinion so i left them like this
then the lower parts where painted with vallejo modelcolor black
this is get the effect of tar that was used to protect the part of the pole that went into the ground

then the conductors where painted with vallejo black
while the metal brackets where painted with mr metal stainless steel (gunze)
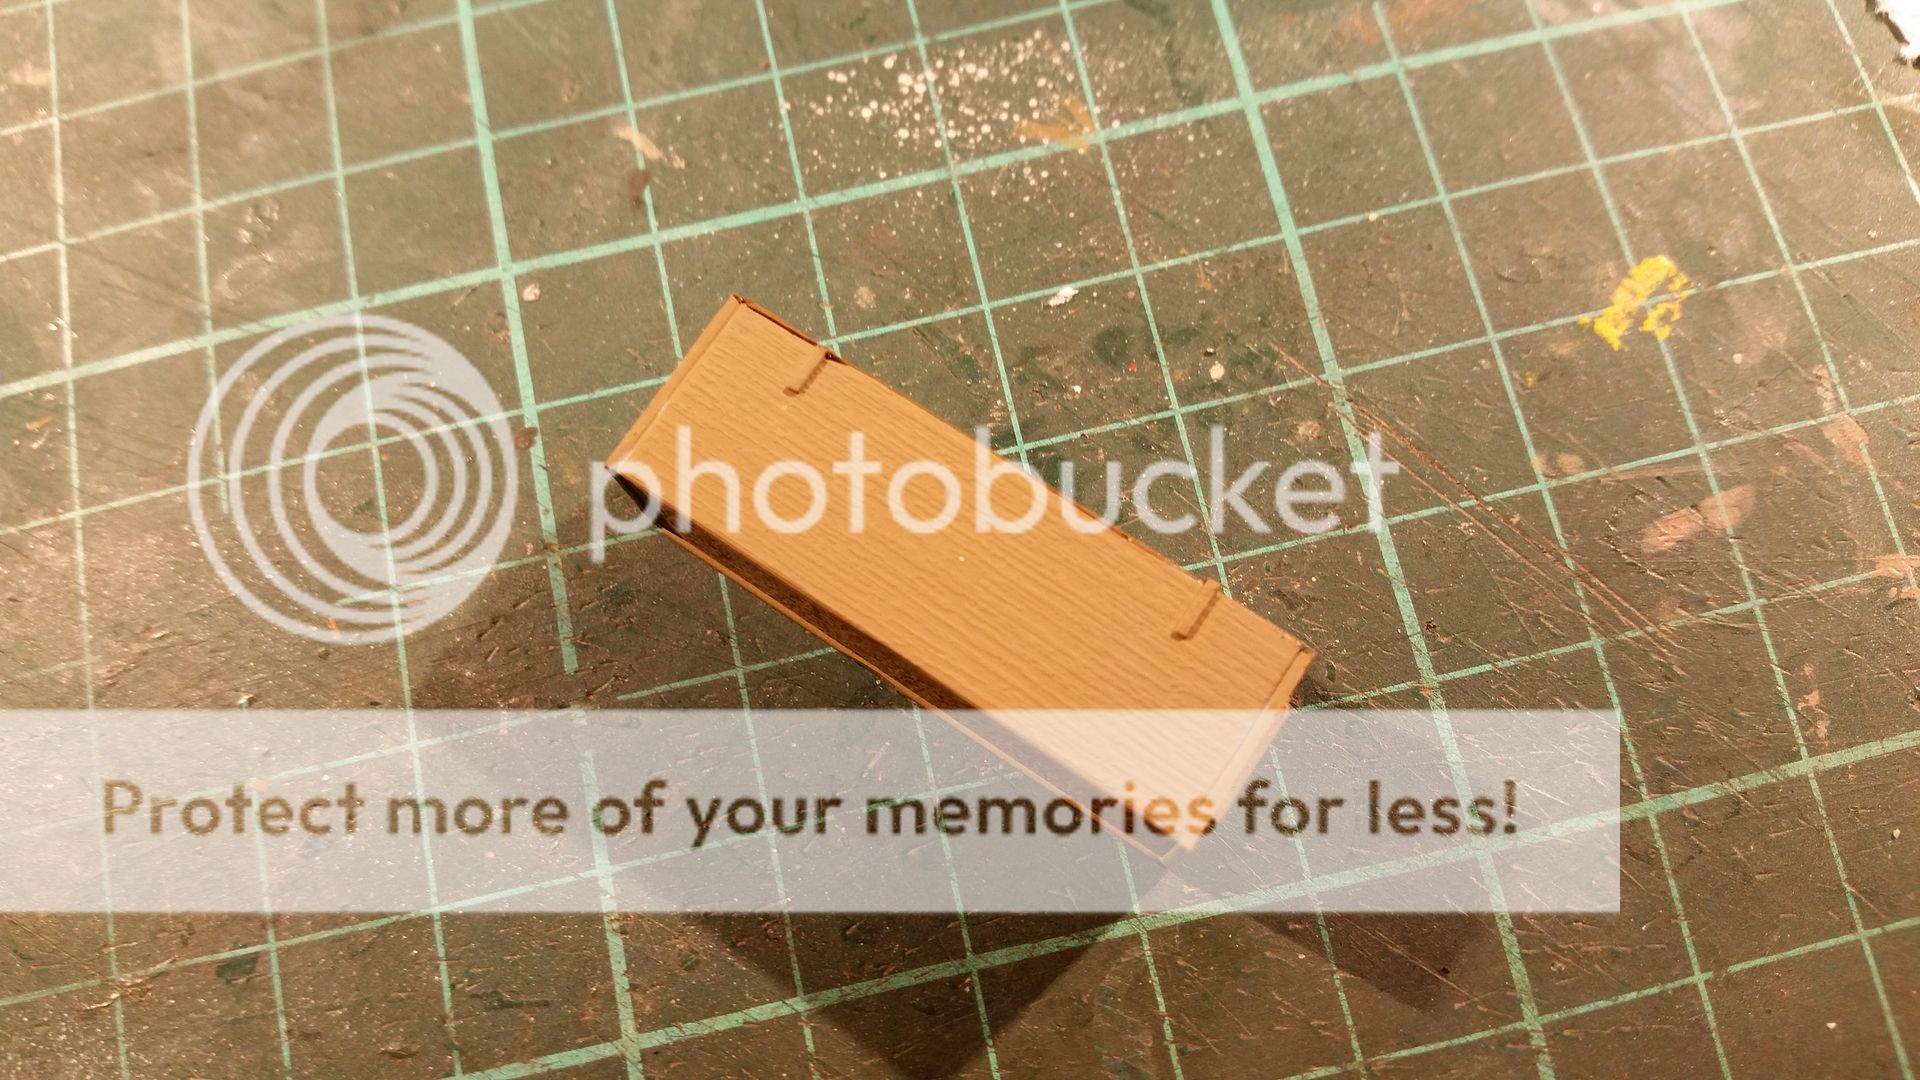
then the wooden box
this will be for a figure to lean on
it was painted with the same paintmix as the poles

i then painted over the basecoat with vallejo smoke
then before it could dry i whiped it down with some kitchen paper
this way it will remain in the woodgrain and works like a wash
and it also changes the color of the basecoat to a more brownish color

then the base itself
i used a mdf radiaator cover that i got from my dad when he made a radiator cover in our home
i just flipped it over and glued sheets of 5mm thick balsawood on the sides and back
then i used modur foam to fill up the base
this foam can be drilled sanded cut ,you name it and it can be done
aslong as you dont use too much heat
so i scraped out the basic layout i wanted and then had a big mess as the foam forms a almost sanding dust like dust that flies all over the place

so once i had the vacuumcleaner back in it's place i started to cover the base with earth
this is a mix of sand water and white/pva glue
i make a rather thick paste from it and scoop it on the base
and i started at the back working my way to the front
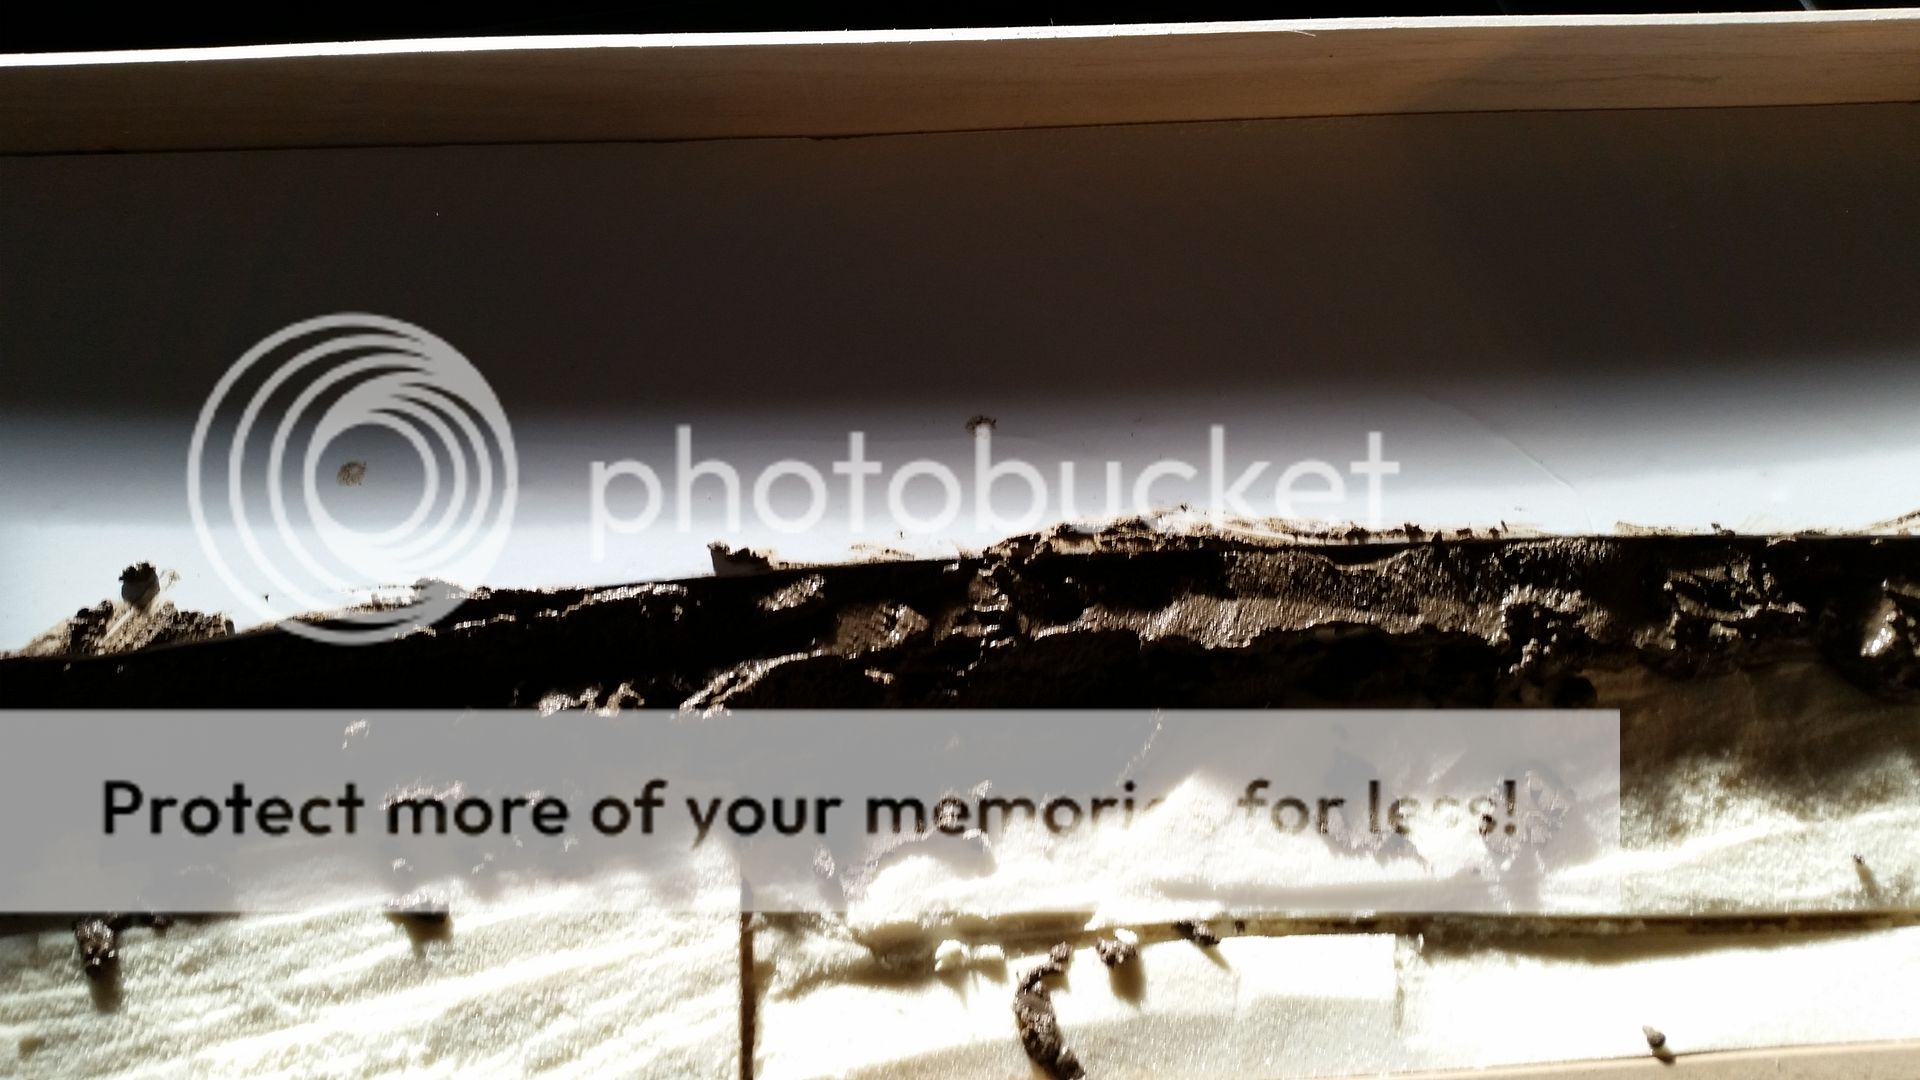
then this sand layer was covered with a piece of foamcore sheet
this is basicly a foamlayer sandwiched between 2 layers of cardboard paper
this will serve as the foundation of the tracks later on

a test fitting of the railroad tracks

then the telegraph poles where planted in the foam/sand base

then a test fitting of the vehicles and figures that will go in the foreground

then the front section was also covered with the sand mix
and while it was wet i added static grass from Noch (railroad modelling) to cover most of the enbankment
i then added some grass tuffts with long grass from the same company
this comes in 6 cm long strands and you can cut them to the size you want
the brushes are made with trees from Heki again a railroad modelling company
these can be cut to size and are good for bushes and small trees in this scale
i also added soe flowers from Faller that where simply pushed into the sand
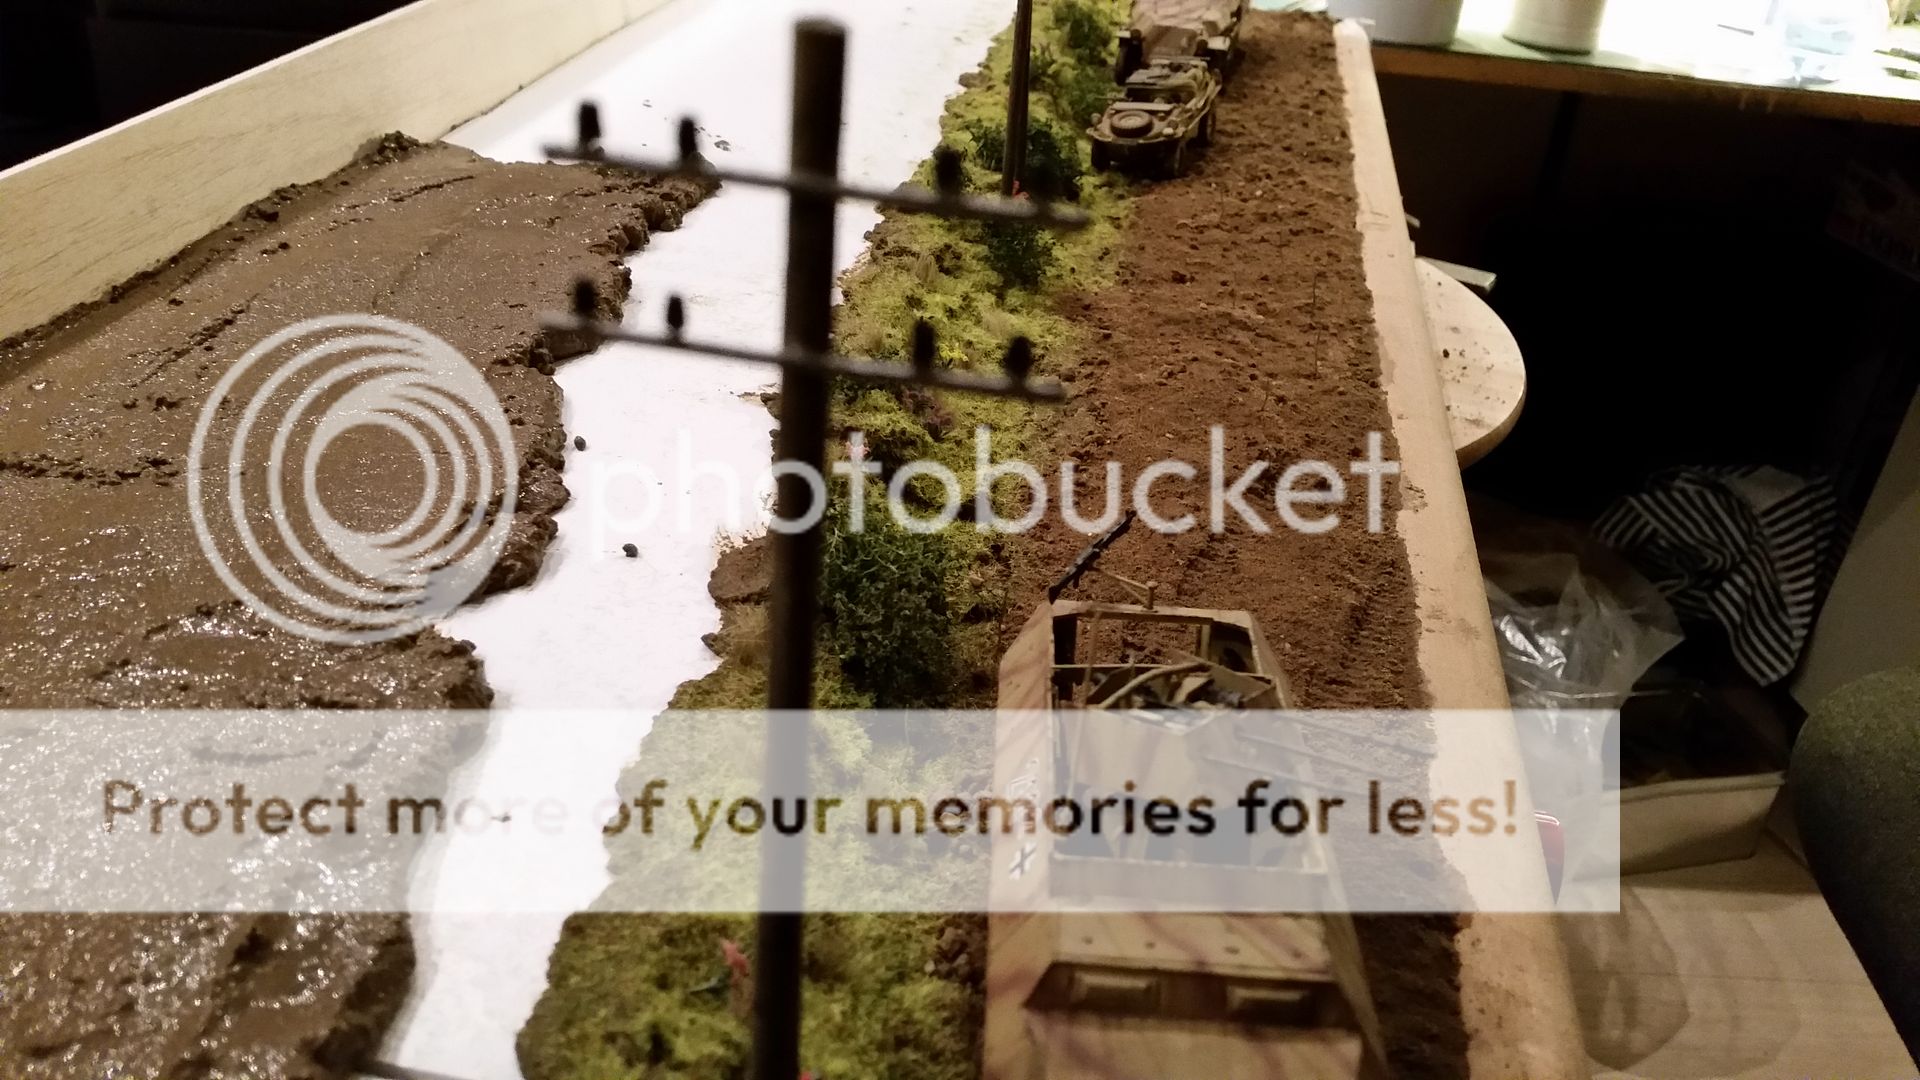
then i used the vehicles to push in the tracks in the sand
i used an old figure to do the same for the footprents
in the back you can see the last addition to this build
i noticed that 1 of the figures was different so i though he could be a scout and that the Schwimmwagen is his vehicle
so problem solved


i then put sand on the foamcore sheet and pressed in the tracks

the sand that was pushed away by the tracks was used to form the embankment
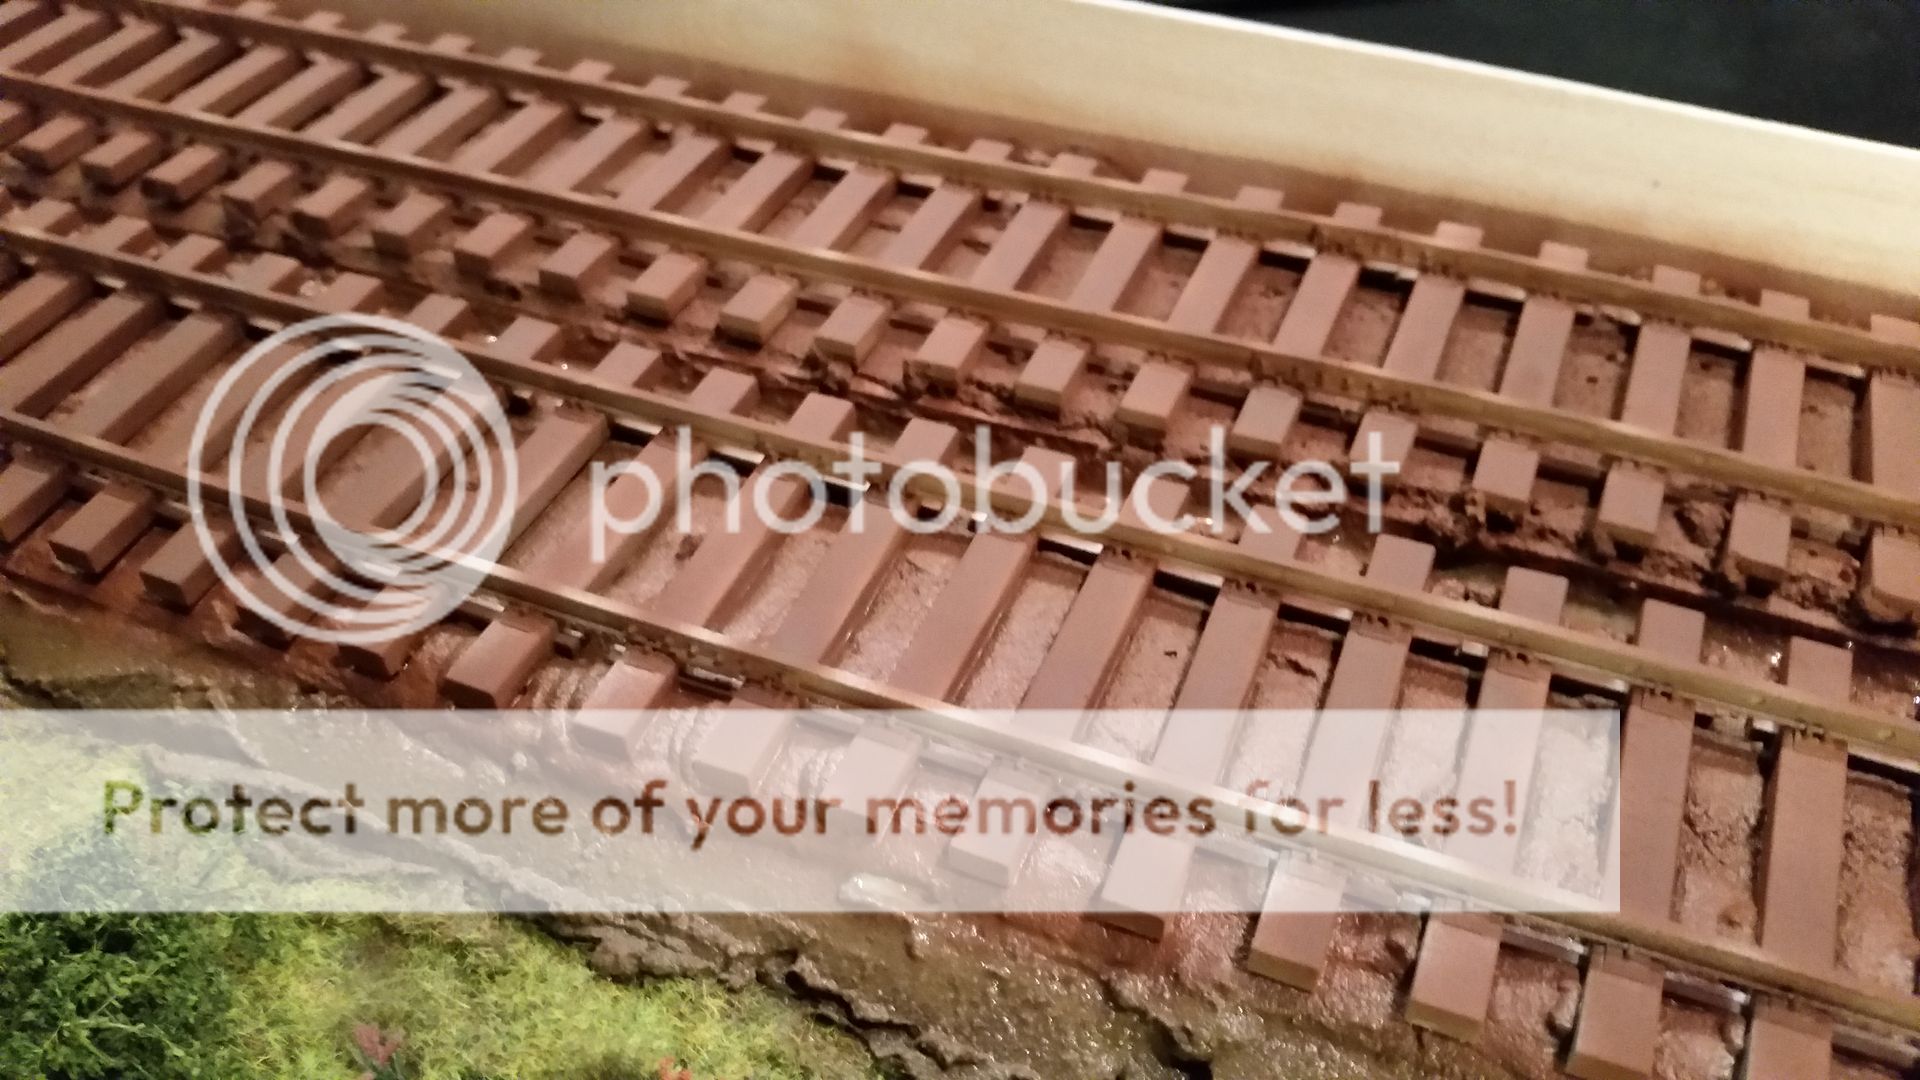
i then used the airbrush to spray the beams of the tracks with tamiya nato brown
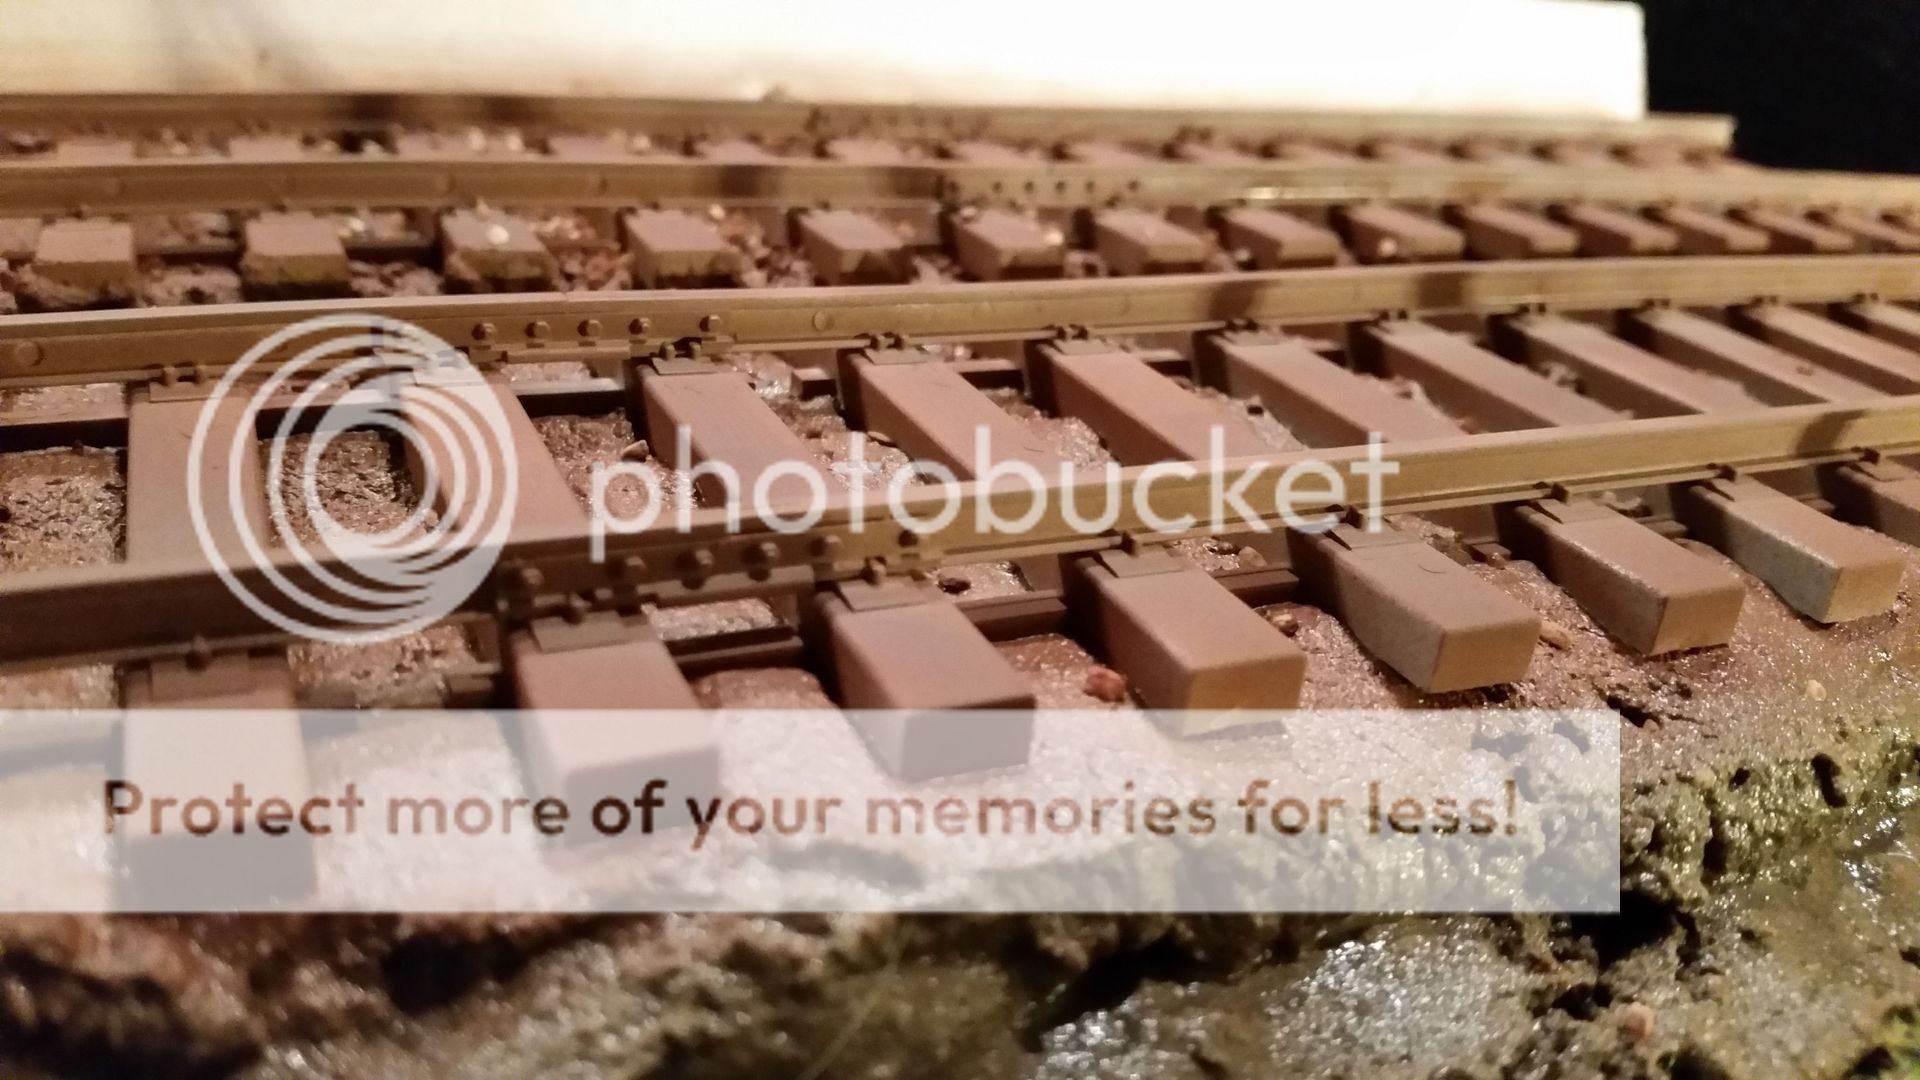
and the metal part of the tracks where basecoated with tamiya red brown

the top was painted with vallejo gunmetal grey for the shiny look where the wheels meet the tracks

i then poured gravel on the tracks and used a brush to whipe it from the wooden beams

then i covered the gravel with about 5 layers of hairspray and left it to dry
this will make the little stones stick to eachother and that allows me to use the airbrush to give it a coat of tamiya red brown
the red brown will serve as a basecolor for the pigments later on

i then used mig productions rubble dust to give the gravel a random look and to make it look a bit more grey then rust colored

then i dusted the road with mig prod. dry mud for a more random apearance

the sides of the railroad tracks where dusted with mig prod. railway rust
it is okay when you spill a bit on the beams and gravel as the rust gets there in real life too
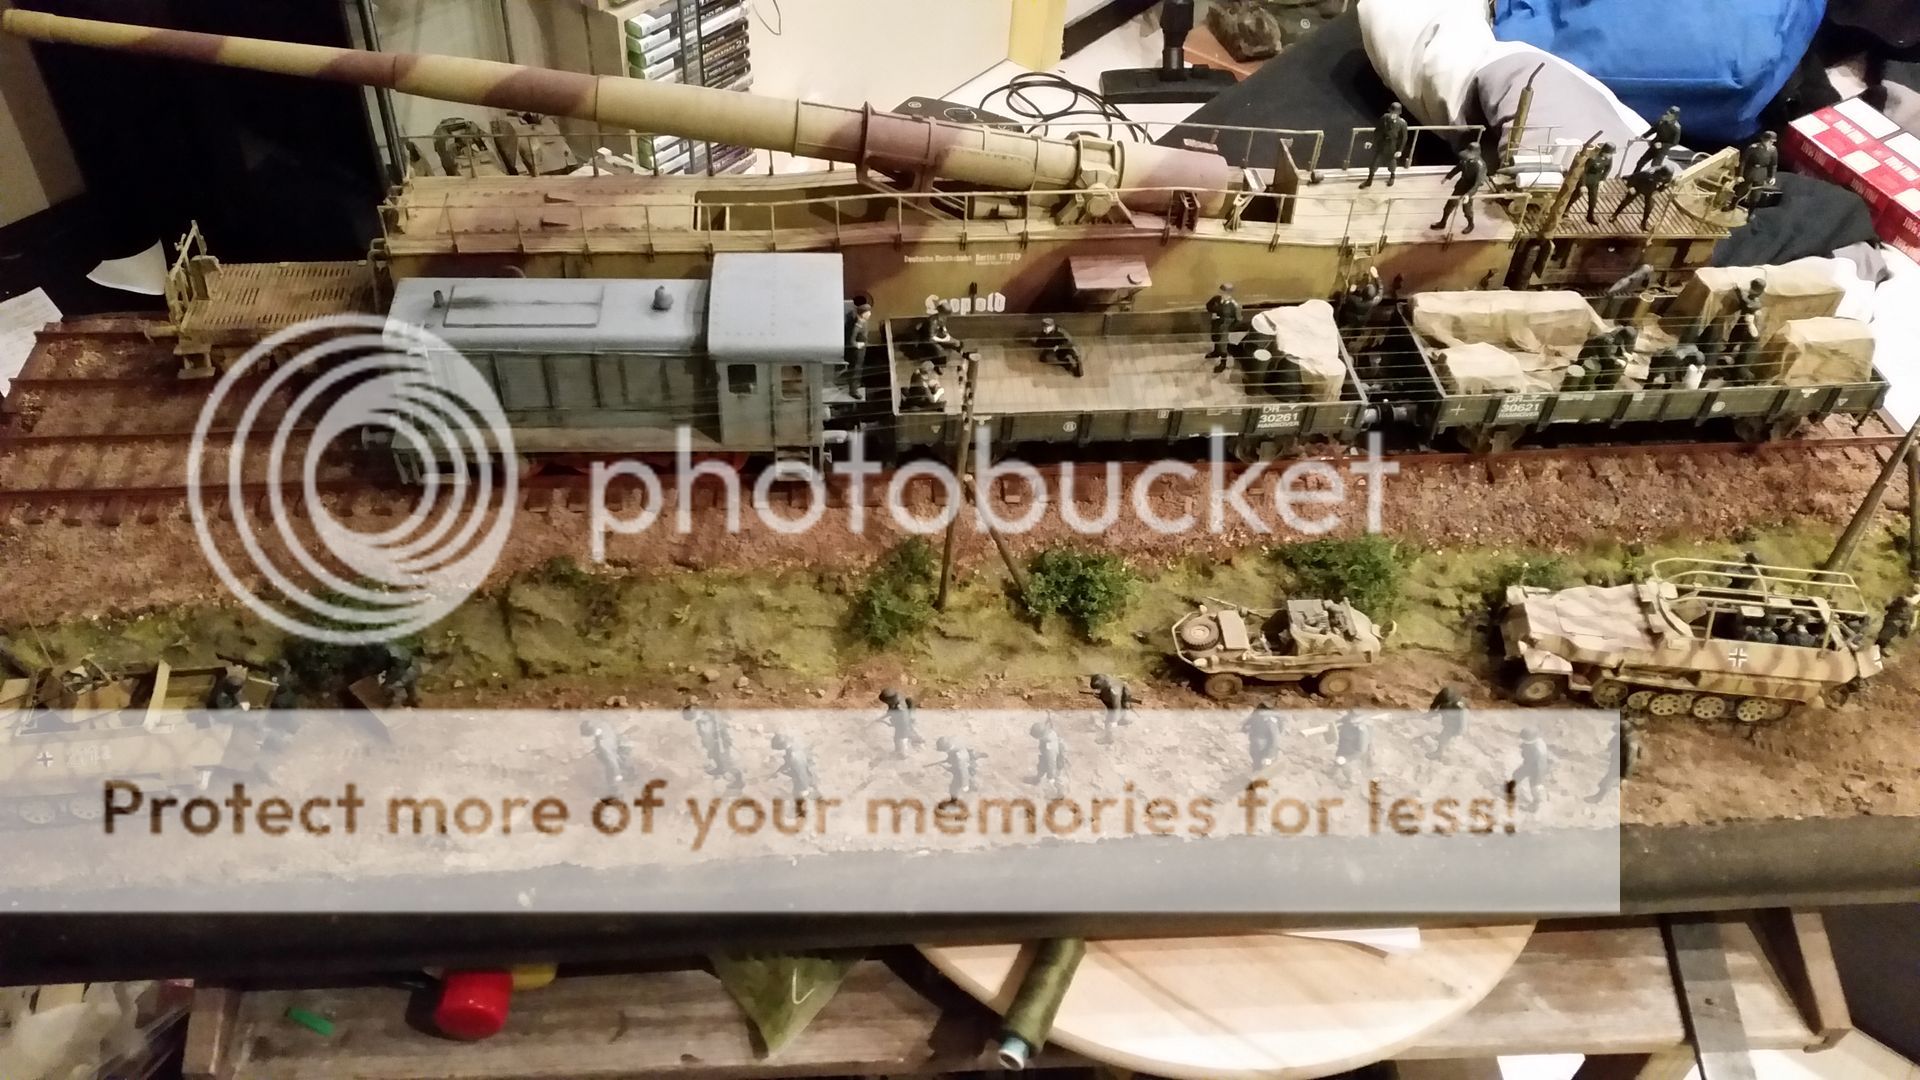
as a final step i added some string to the telegraph poles wich was secured with some ca glue
and then i started to place the vehicles and figures
but when i looked to see if everything was to my limking i spotted a problem
there was nothing to hoist the ammo with
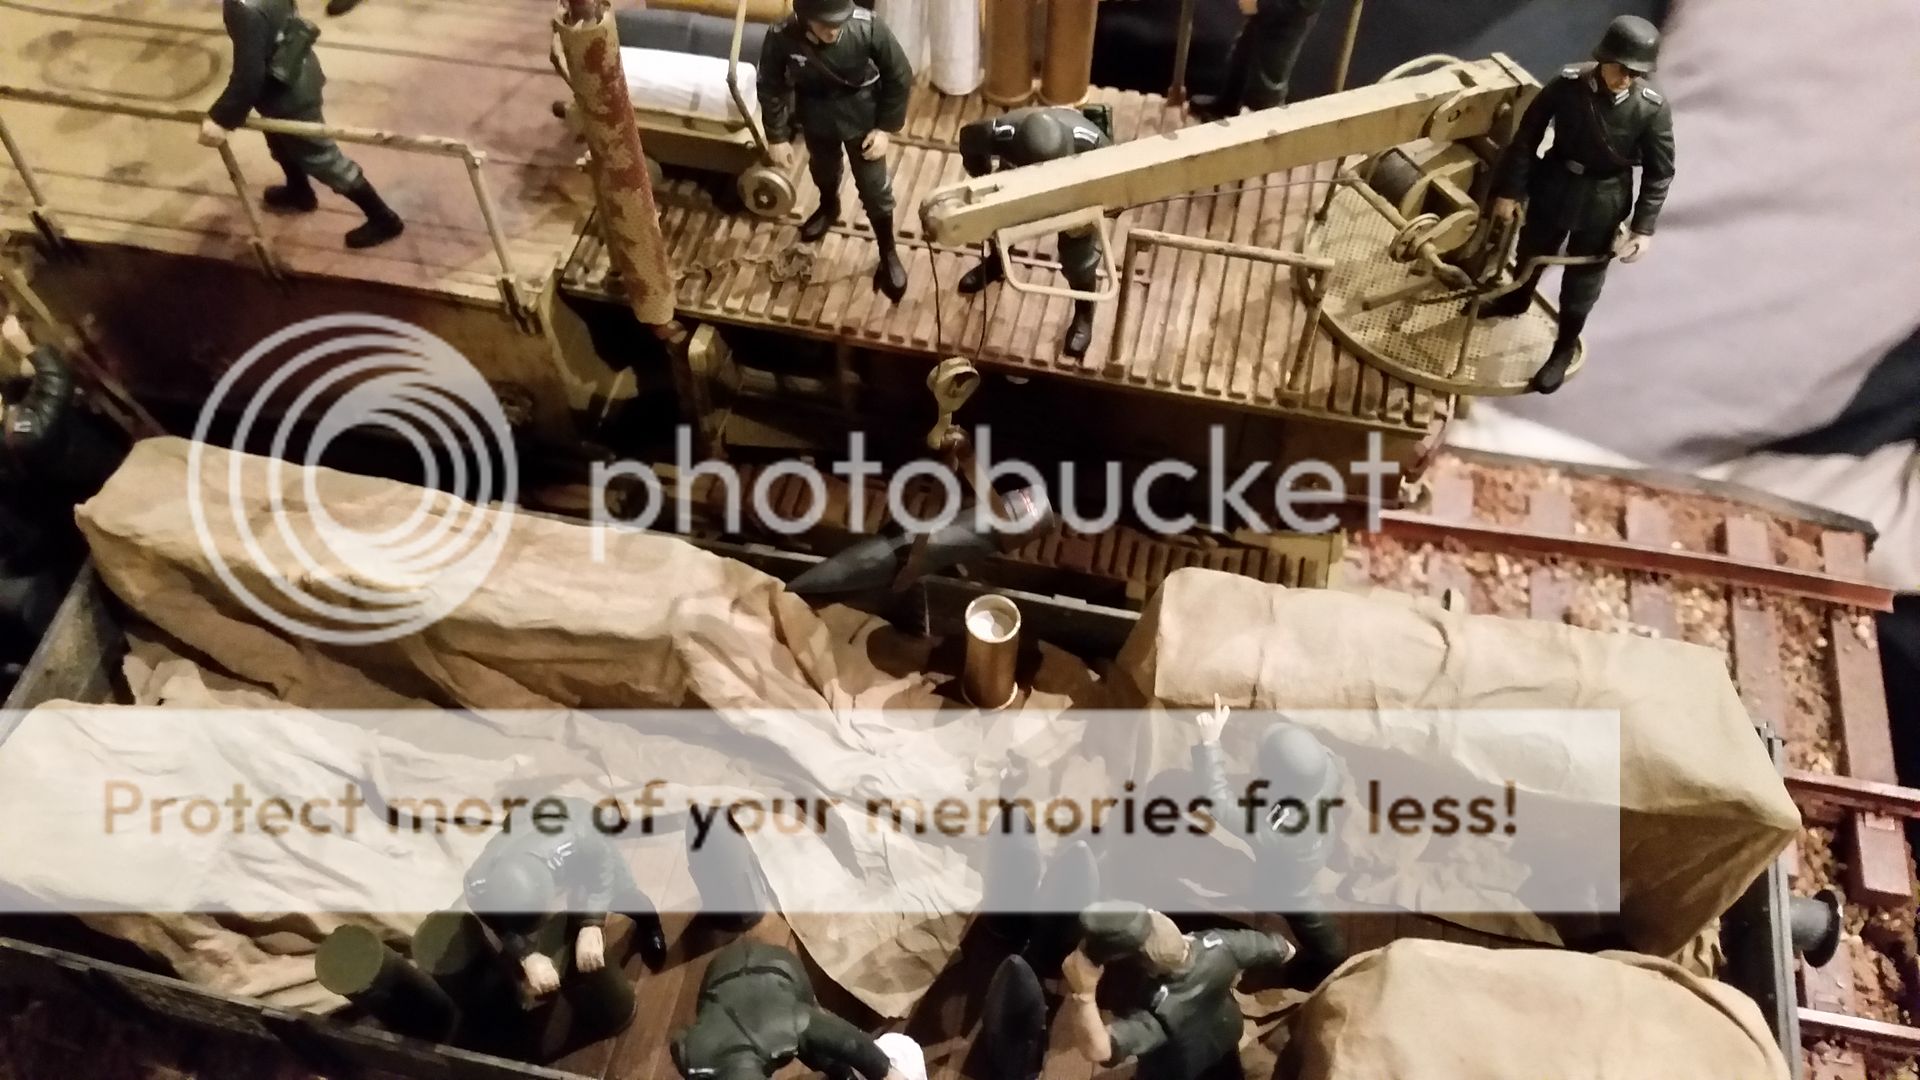
so i got me 2 strips of lead foil and glued the ends together
i then formed them around one of the shells
a coat of leather brown paint from vallejo to give it some color and a bit of dry mud pigments for a worn look later and then i was really finished
i don't know if they really used this method for hoisting the ammo but i don't have another system aat hand
it wasn't in the kit as i would have saved
and i don't think i am able to reproduce the grabber i have seen on some photographs
so that is all i have
i think i have covered all the parts of this build by now
only the Schwimmwagen wasn't covered in any update because i decided to use it when i was almost done and it was simply grabbed from the displaycabinet and put on the diorama
so thanks for watching and ofcourse thanks for all the comments i received during this build
untill next time
cheers Mark


