Making Sandbags
Posted: Wed Nov 27, 2013 9:17 pm
Hello guys!
I was making sandbags for a diorama, and reading the comments, it seems that there are a lot of people who want to know how to make them.
So I decided to do a little how to on making sandbags.
I want to be able to explain it as clearly as posible, so I had a little help with the text from Ronny Noben (roadkill) of Armorama. English is not my native language, so that why
Here we go!
To make good sandbags you don't need many tools:
Milliput (or A+B Epoxy putty).
Smooth surface.
A knife.
A piece of cloth (cheese cloth ore fine mesh even a old sock will do).
Your fingers.
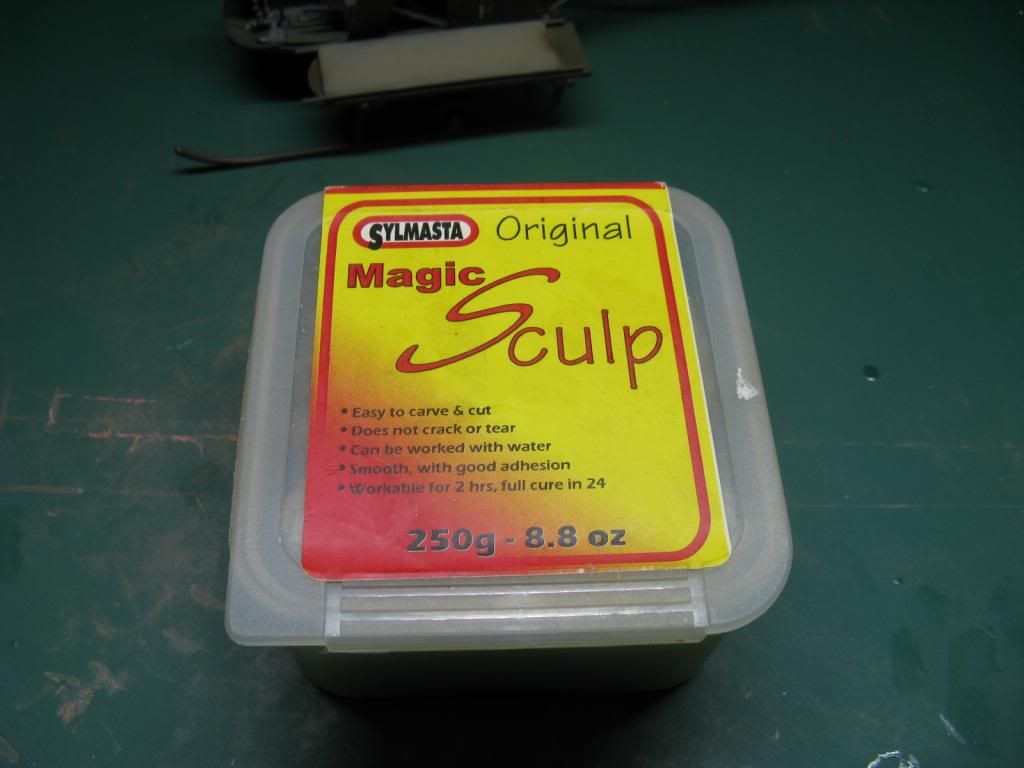
Mix the Milliput according to the instructions into a good homogeneous mixture. Use a smooth plate to work on.

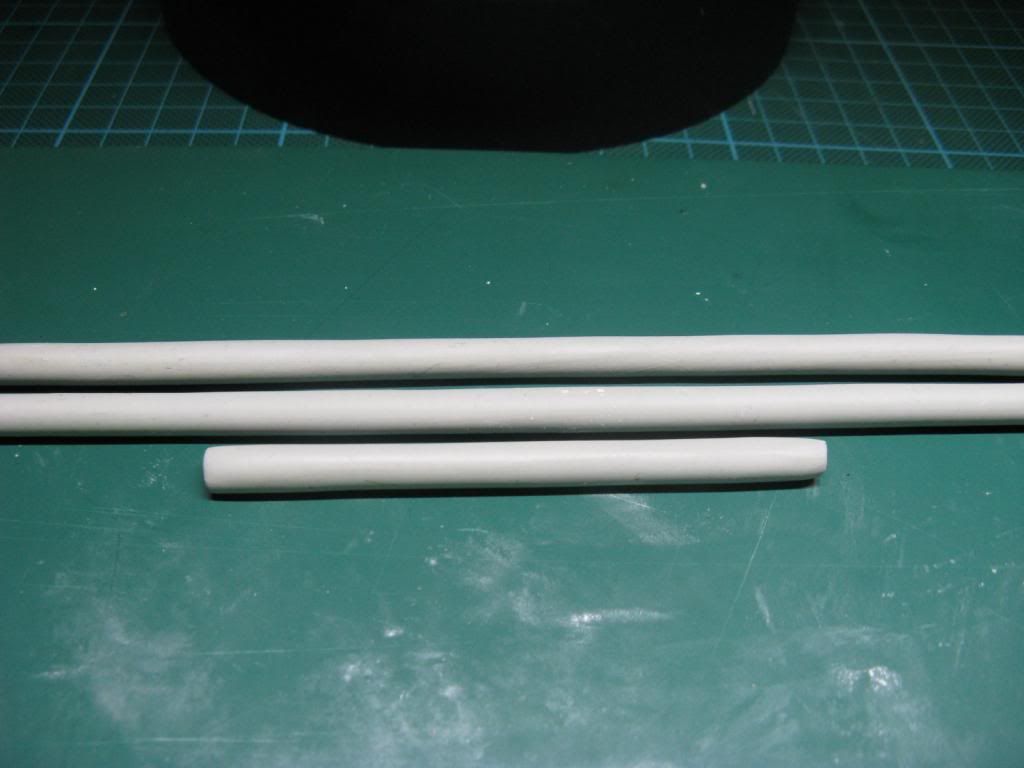
Roll from this mixture several sausages from about 8-10 cm long and 6mm in diameter (if necessary put a little Talcum powder on your glass plate to prevent the Milliput from sticking to much). Cut this sausage in to little pieces of about 1 cm

Take these little lumps of Milliput between your fingers and form them into little blocks

Now you have created rectangular shapes, which you can starting to stack onto each other, by using a little pressure when stacking them, they will form themselves like sandbags. Don't worry about the different shapes and sizes you create by applying pressure. This is very natural because of the material and content of real sandbags. If you are using the sandbags to fortify a bunker or MG nest then you should also consider to put some wooden ammo boxes on the sides of the construction, these where placed to reinforce the sandbag construction.

Let the sandbags dry for about 10 minutes then use some cloth and press lightly on the bags to give them some texture. Don't forget to scribe some seams on the side of the bags using a pencil or knife.

Now painting them....
First I prime them flat black and paint it in a canvas base colour.

Then a black wash...

And finaly a light canvas drybrush for the highlights.

That is how I make sandbags.
I hope this small tutorial will help
Cheers, Frans

I was making sandbags for a diorama, and reading the comments, it seems that there are a lot of people who want to know how to make them.
So I decided to do a little how to on making sandbags.
I want to be able to explain it as clearly as posible, so I had a little help with the text from Ronny Noben (roadkill) of Armorama. English is not my native language, so that why
Here we go!
To make good sandbags you don't need many tools:
Milliput (or A+B Epoxy putty).
Smooth surface.
A knife.
A piece of cloth (cheese cloth ore fine mesh even a old sock will do).
Your fingers.

Mix the Milliput according to the instructions into a good homogeneous mixture. Use a smooth plate to work on.

Roll from this mixture several sausages from about 8-10 cm long and 6mm in diameter (if necessary put a little Talcum powder on your glass plate to prevent the Milliput from sticking to much). Cut this sausage in to little pieces of about 1 cm


Take these little lumps of Milliput between your fingers and form them into little blocks

Now you have created rectangular shapes, which you can starting to stack onto each other, by using a little pressure when stacking them, they will form themselves like sandbags. Don't worry about the different shapes and sizes you create by applying pressure. This is very natural because of the material and content of real sandbags. If you are using the sandbags to fortify a bunker or MG nest then you should also consider to put some wooden ammo boxes on the sides of the construction, these where placed to reinforce the sandbag construction.

Let the sandbags dry for about 10 minutes then use some cloth and press lightly on the bags to give them some texture. Don't forget to scribe some seams on the side of the bags using a pencil or knife.

Now painting them....
First I prime them flat black and paint it in a canvas base colour.

Then a black wash...

And finaly a light canvas drybrush for the highlights.

That is how I make sandbags.
I hope this small tutorial will help
Cheers, Frans


 this will help me out alot